I adore a good dessert table. It's perfect for someone like me that can never just commit to one dessert. Anyone else want the cookie AND the ice cream? I remember when I was a little kid and my parents would let us get one treat-I'd always try to find a way to get two! Why have just ice cream when you can get an ice cream sandwich with two chewy cookies hugging that ice cream. Right?! A dessert table at a party is always a good thing...and in some ways it's easier! Making a batch of a few things brings me so much more joy than stressing about making one gigantic perfect cake. And something I've learned in my years of hosting parties and my experience owning a dessert catering company (raise your hand if you knew this-and if you didn't-let me know in the comments below and if you want me to blog about that amazing adventure) is not everyone likes cake (gasp!). So I knew a dessert table was the way to go when it came to our daughter, Milly's first birthday shellebration!
How cute is this babe holding her birthday cake truffle? For the record Mama took it out of her hand before she could sneak a bite (sorry baby girl!). If you read Milly's first birthday party post, then you already know I didn't end up making her a homemade smash cake like I wanted to. We actually didn't let her do a smash cake at all and guess what? It was fine! She already got her first taste of buttercream when we gave her a cupcake during her one year photos and that was enough for both Mr. A and I to agree that we don't need to let our babe go ham on some cake.
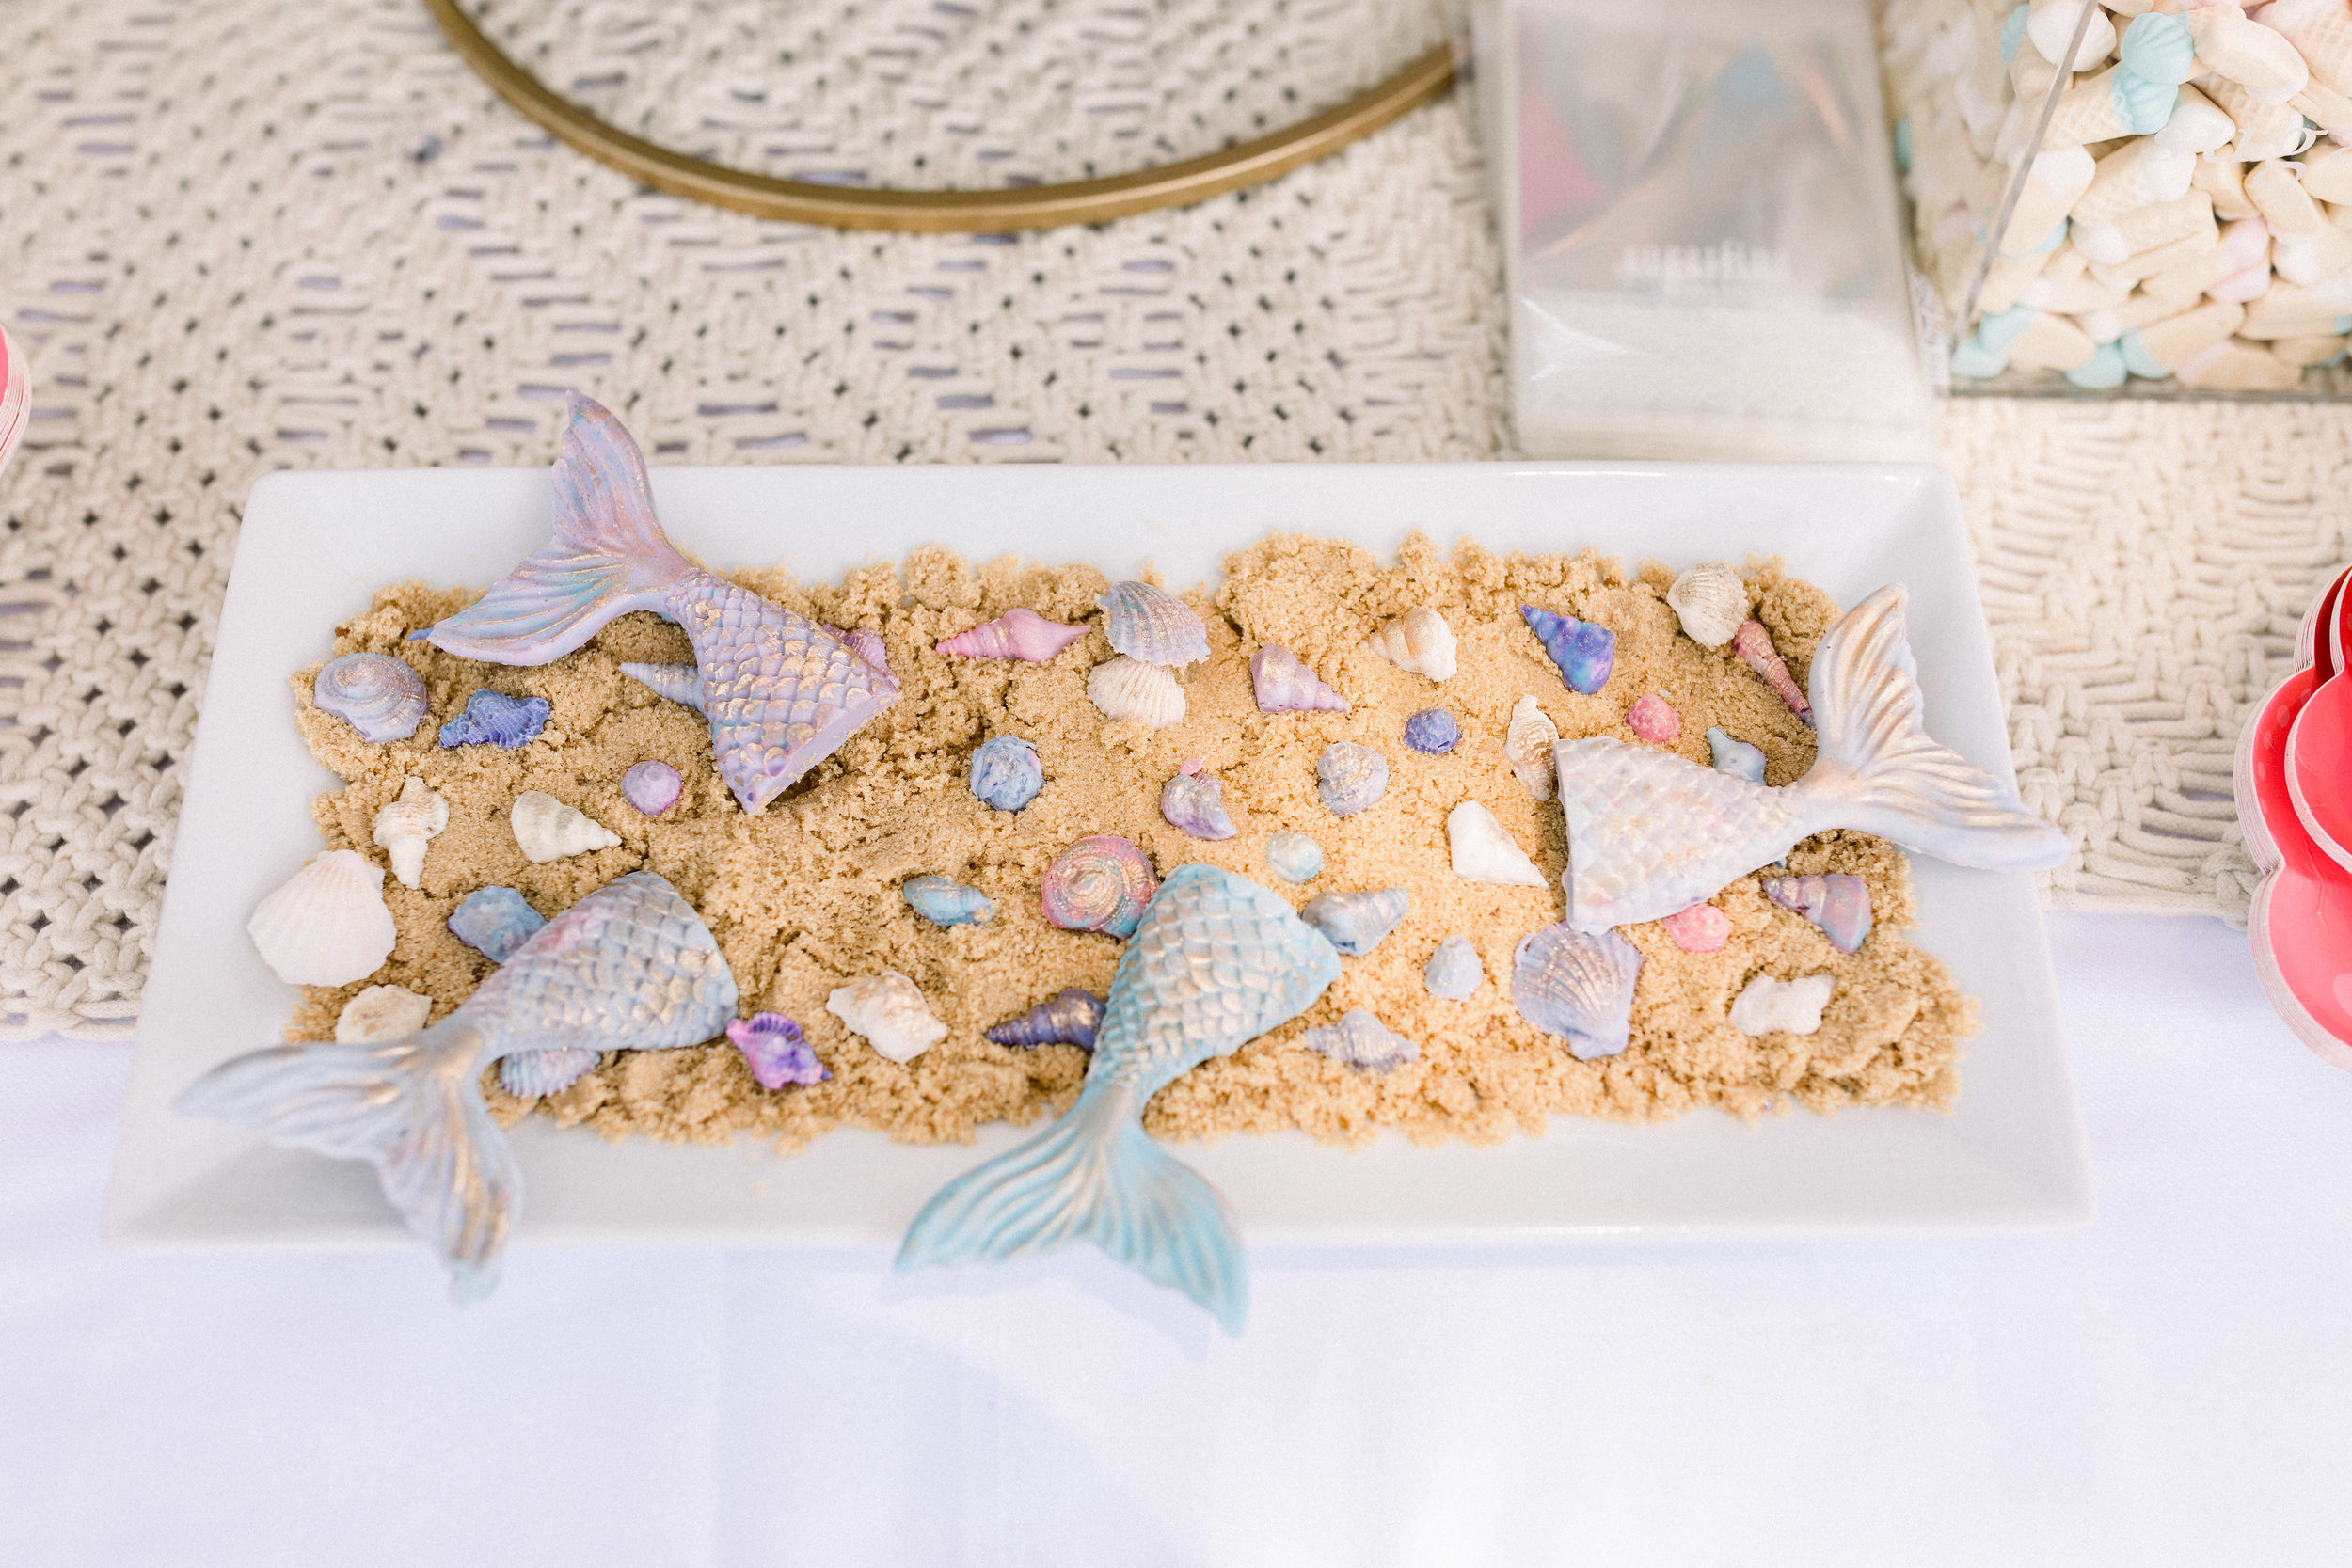
We did however make sure we had cake for our guests! I ordered our favorite birthday cake and truffles from Momofuku Milkbar and made my favorite funfetti cupcakes topped with chocolate seashells and mermaid tails.
These are SO easy to make and you can find the molds for each online. Scroll down for the full recipe/directions on how to make these.
One of the easiest treats to make ahead of time for a party are marshmallow treats! You can't tell, but these are made with brown butter giving them a salty caramel flavor. It's my absolute favorite way to elevate any dessert. Then while they were still warm, I sprinkled my favorite sprinkles from Sweetapolita on top. These were gone in like .2 seconds!
And if that's too much work and you want to keep things simple, host a candy bar! Even if it's just to see adults act like giddy little kids-have a candy bar at your party. I'm telling you it's amazing! We love Sugarfina because they have all the best candy.
I'm partial to gummies so we chose 5 of our favorites (baby whales, peach bellini, baby butterflies, apple frogs and ice cream cones). Nothing brings me more joy than to watch the look on people’s faces as they load up their candy bag! I also love how this pretty much acts as a party favor meaning one less thing I need to do which by the way-I don’t like party favors and think they’re a total waste of money. :)
The last dessert we made were these cookie dough gems. Mr. A and I actually tag teamed making these because they’re that easy to do! They’re filled with homemade egg less cookie dough using this recipe (or you can also just buy Edoughble). All I did was tint white chocolate using gel food coloring (you can also use candy melts) and then filled each mold with the melted chocolate. Flip it over to allow the excess to drip and then place in freezer for about 5 minutes to set. Then you fill each chocolate coated mold with cookie dough and top with more melted chocolate to seal. Place back in the freezer for at least 15 minutes to harden. To remove gems from the mold, just tap on a kitchen towel covered counter. You can make these up to a week in advance if kept in a cool, dark place. You can also keep them in the refrigerator but they can sometimes sweat. For a finishing touch, I dusted mine with luster dust.
I melted several different colors of white chocolate and then swirled them with a knife to create the marble effect before coating each mold!
I actually used the same chocolate for the gems as I did with the mermaid tails and shells. Keep it simple!
I just adore how our daughter's party turned out. Let me know what you think! And if you recreate any of these recipes or ideas, tag me on instagram @BrandiMilloy. For the full party blog post including the simple DIY balloon arch Mr. A and I made, be sure to check out Milly’s First Birthday Shellebration. And scroll down for a quick recipe for these show stopping mermaid tails!
CHOCOLATE MERMAID TAILS RECIPE
by Brandi Milloy
Ingredients:
Coating Chocolate/Different Colored Candy Melts
Directions
Slowly melt candy melts using a double boiler method or in the microwave for 30 seconds and then 10 seconds at a time. Once they are melted, use a spoon to carefully fill the mold, tapping it on a hard surface to get rid of any air bubbles. I mixed a few different colors to achieve the pastel watercolor look.
Place mold in the freezer to harden and set for about 10 minutes. You can make these up to a week in advance and they will still taste and look fresh as long as you keep them in a dry cool place.


