Posts in Lifestyle
Organizing Your Fridge with These 5 Easy Tips
6D4A5856.jpg

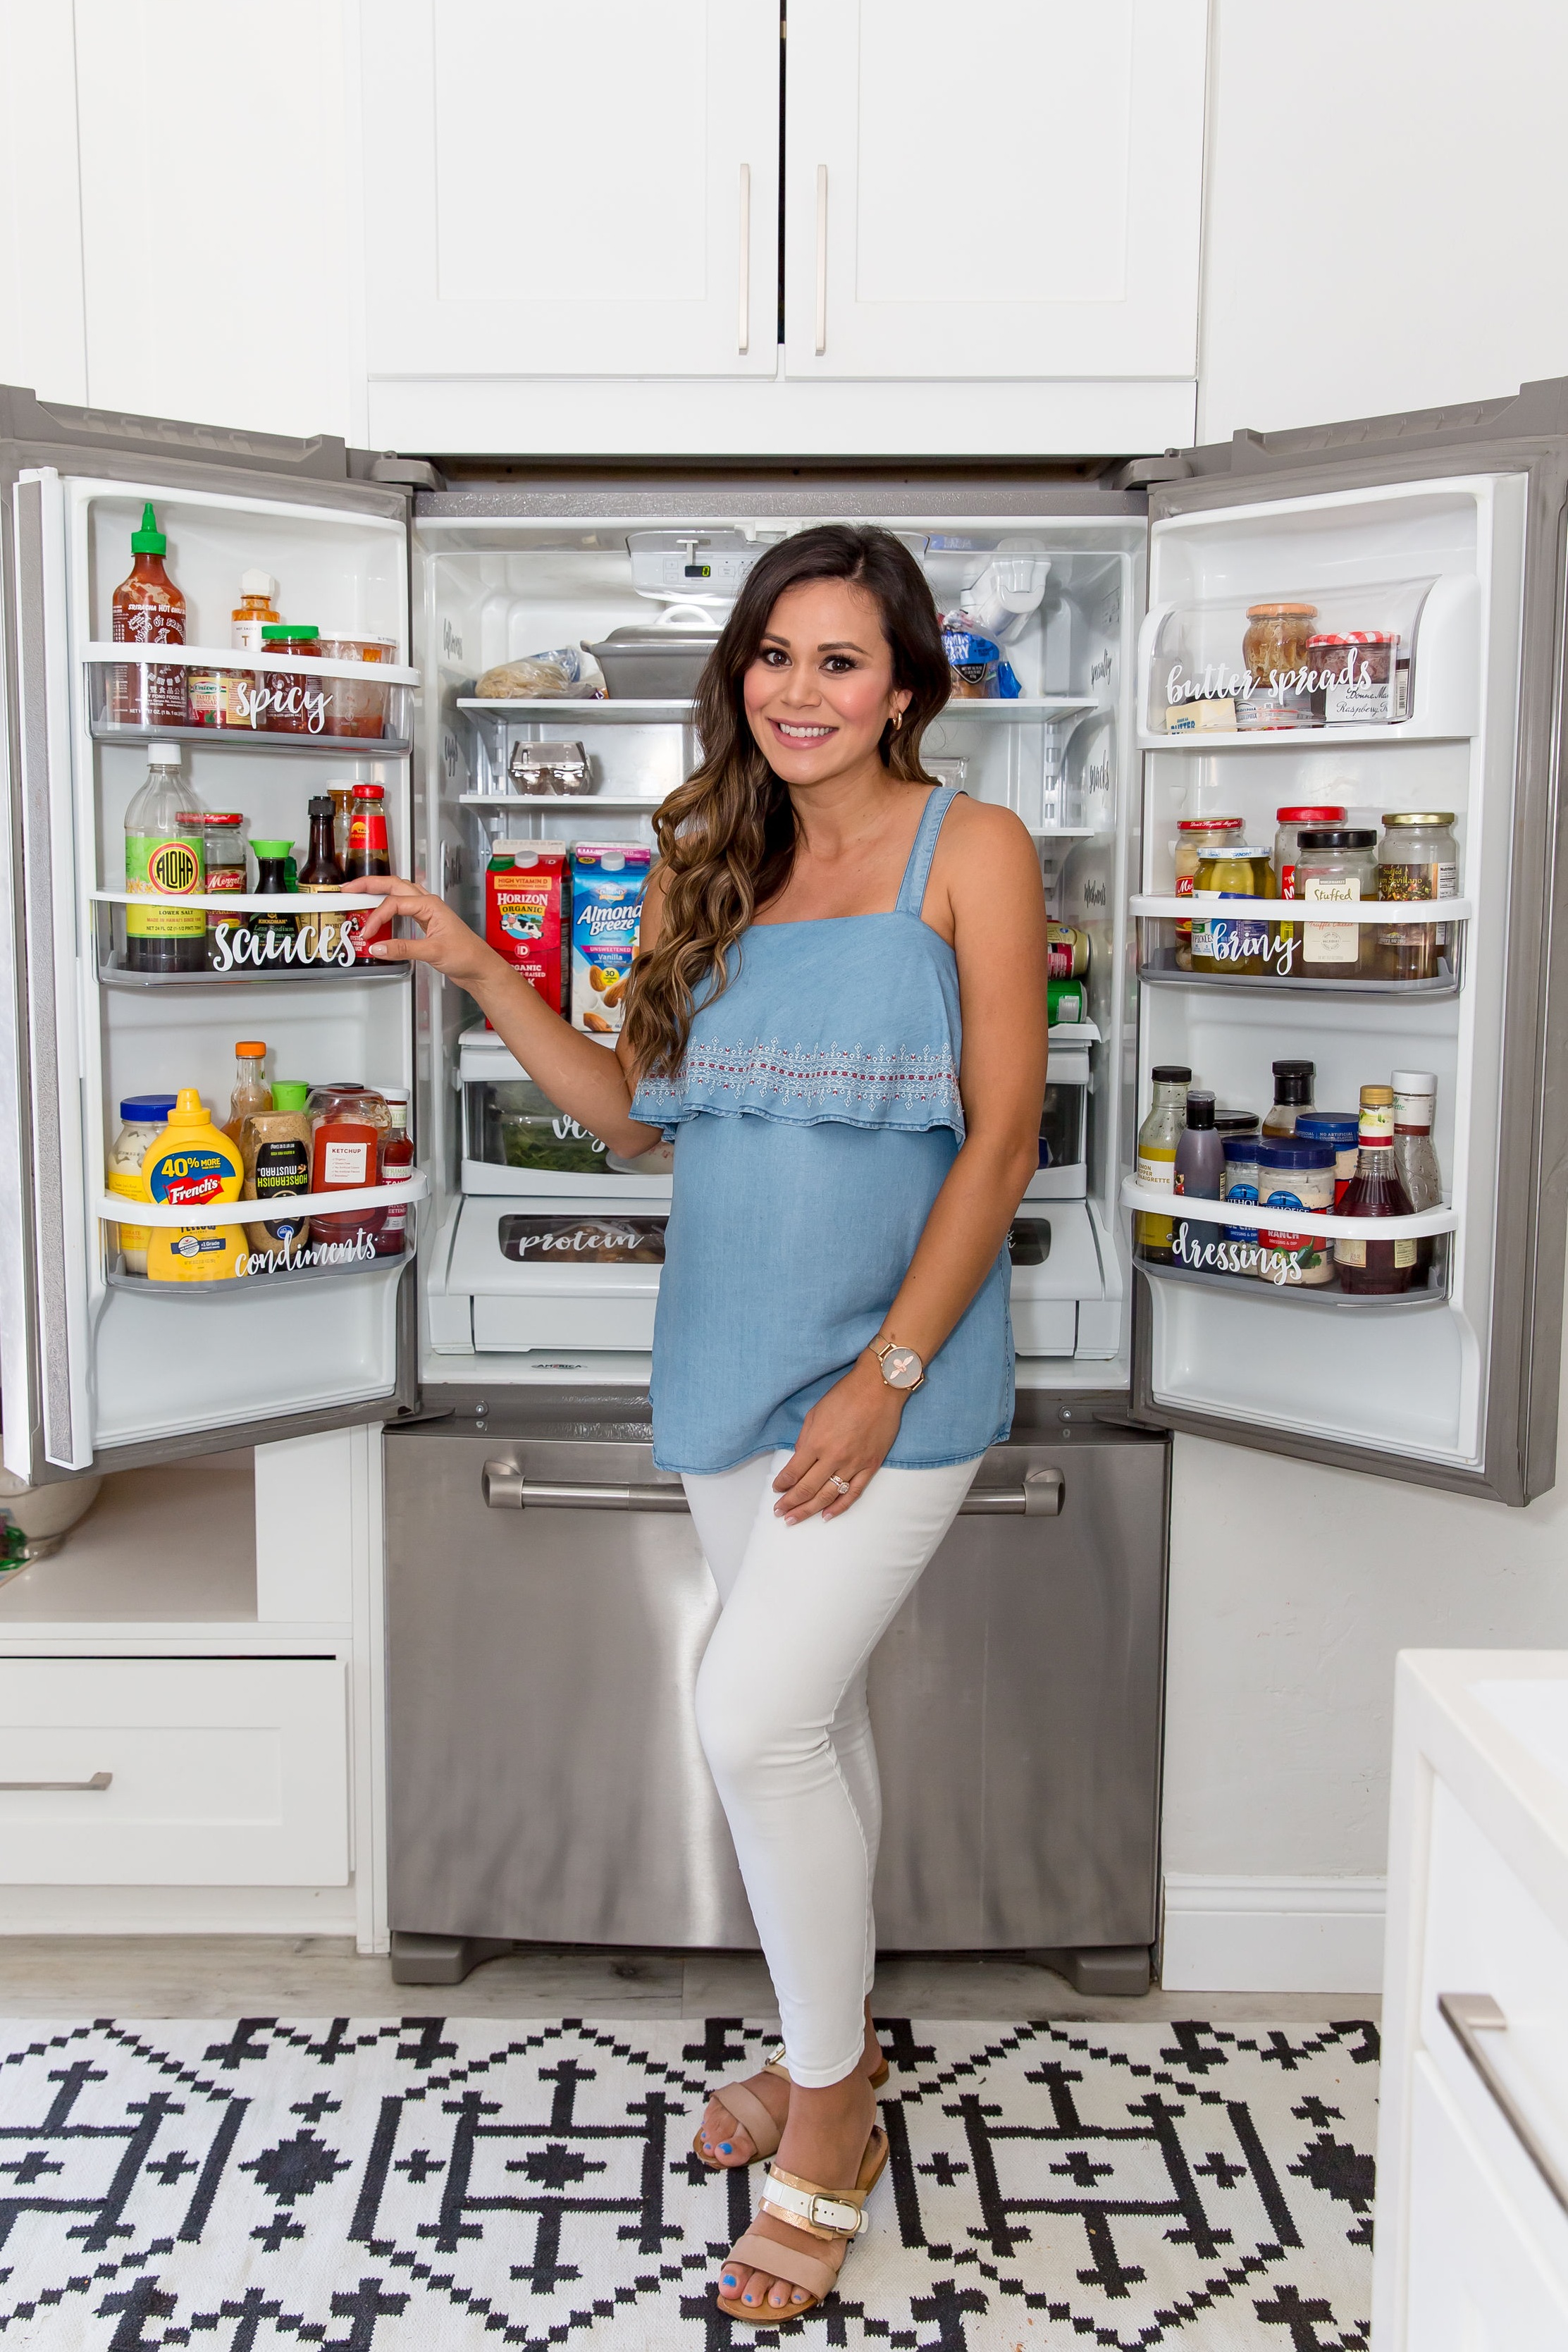
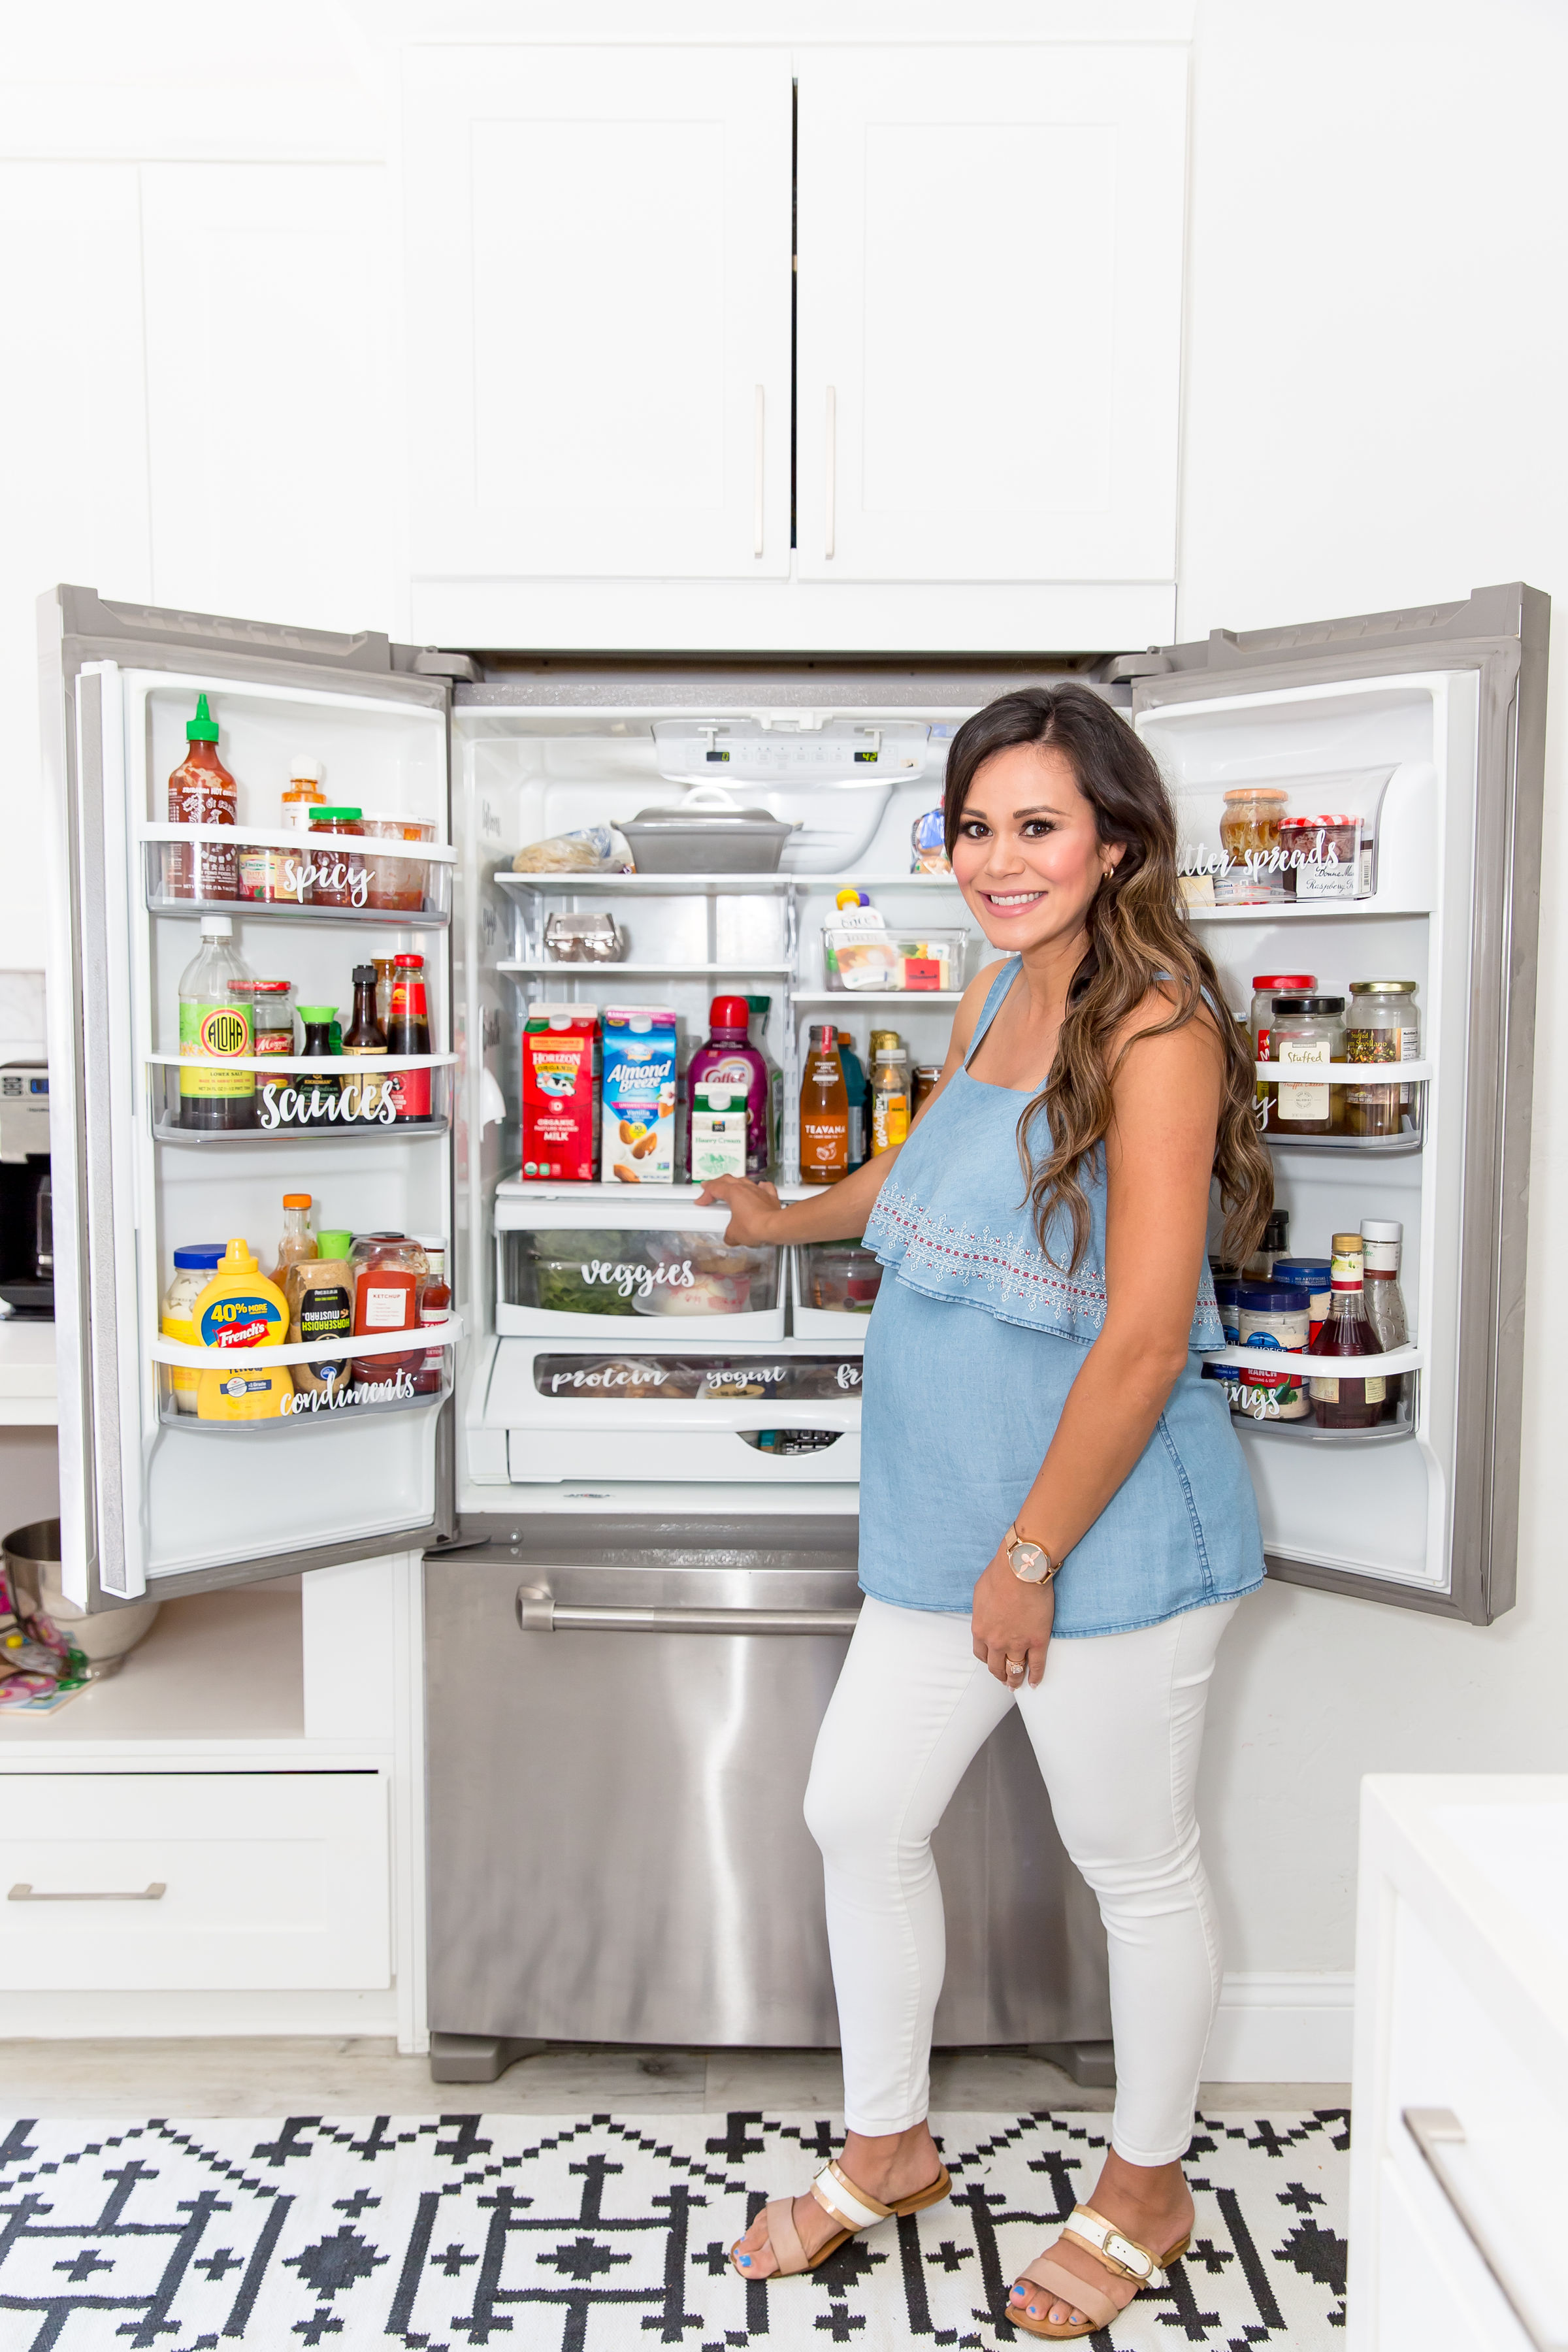
Organizing my fridge and labeling everything has been on my list of things to do for a while now so as soon as I put these labels on I couldn’t wait to snap some pics. I actually needed to do a fair amount of grocery shopping when I took these photos so this is not a post about my fridge must haves because that is something I’m thrilled to share with you. We were out of a lot of food we keep on hand (Dr. Pepper to name one!) so stay tuned for that post and IGTV episode. In the meantime I’m excited to share how I organize our food in the fridge.

6D4A5864.jpg

PURGE AND CLEAN

I mean, this is self-explanatory really but get rid of any old food (check expiration dates), condiments you never use and random things you’ve been keeping in there. For example, small jars of jam you got at a hotel that you thought were super cute so you took but you’ve never used? Tip: these are really cute but maybe put them in the pantry (as long as they’re unopened) and bring out the next time you put together a charcuterie board! Take out each drawer, shelf and bin and wash in hot soapy water and dry before returning to your fridge.

CHECK INVENTORY

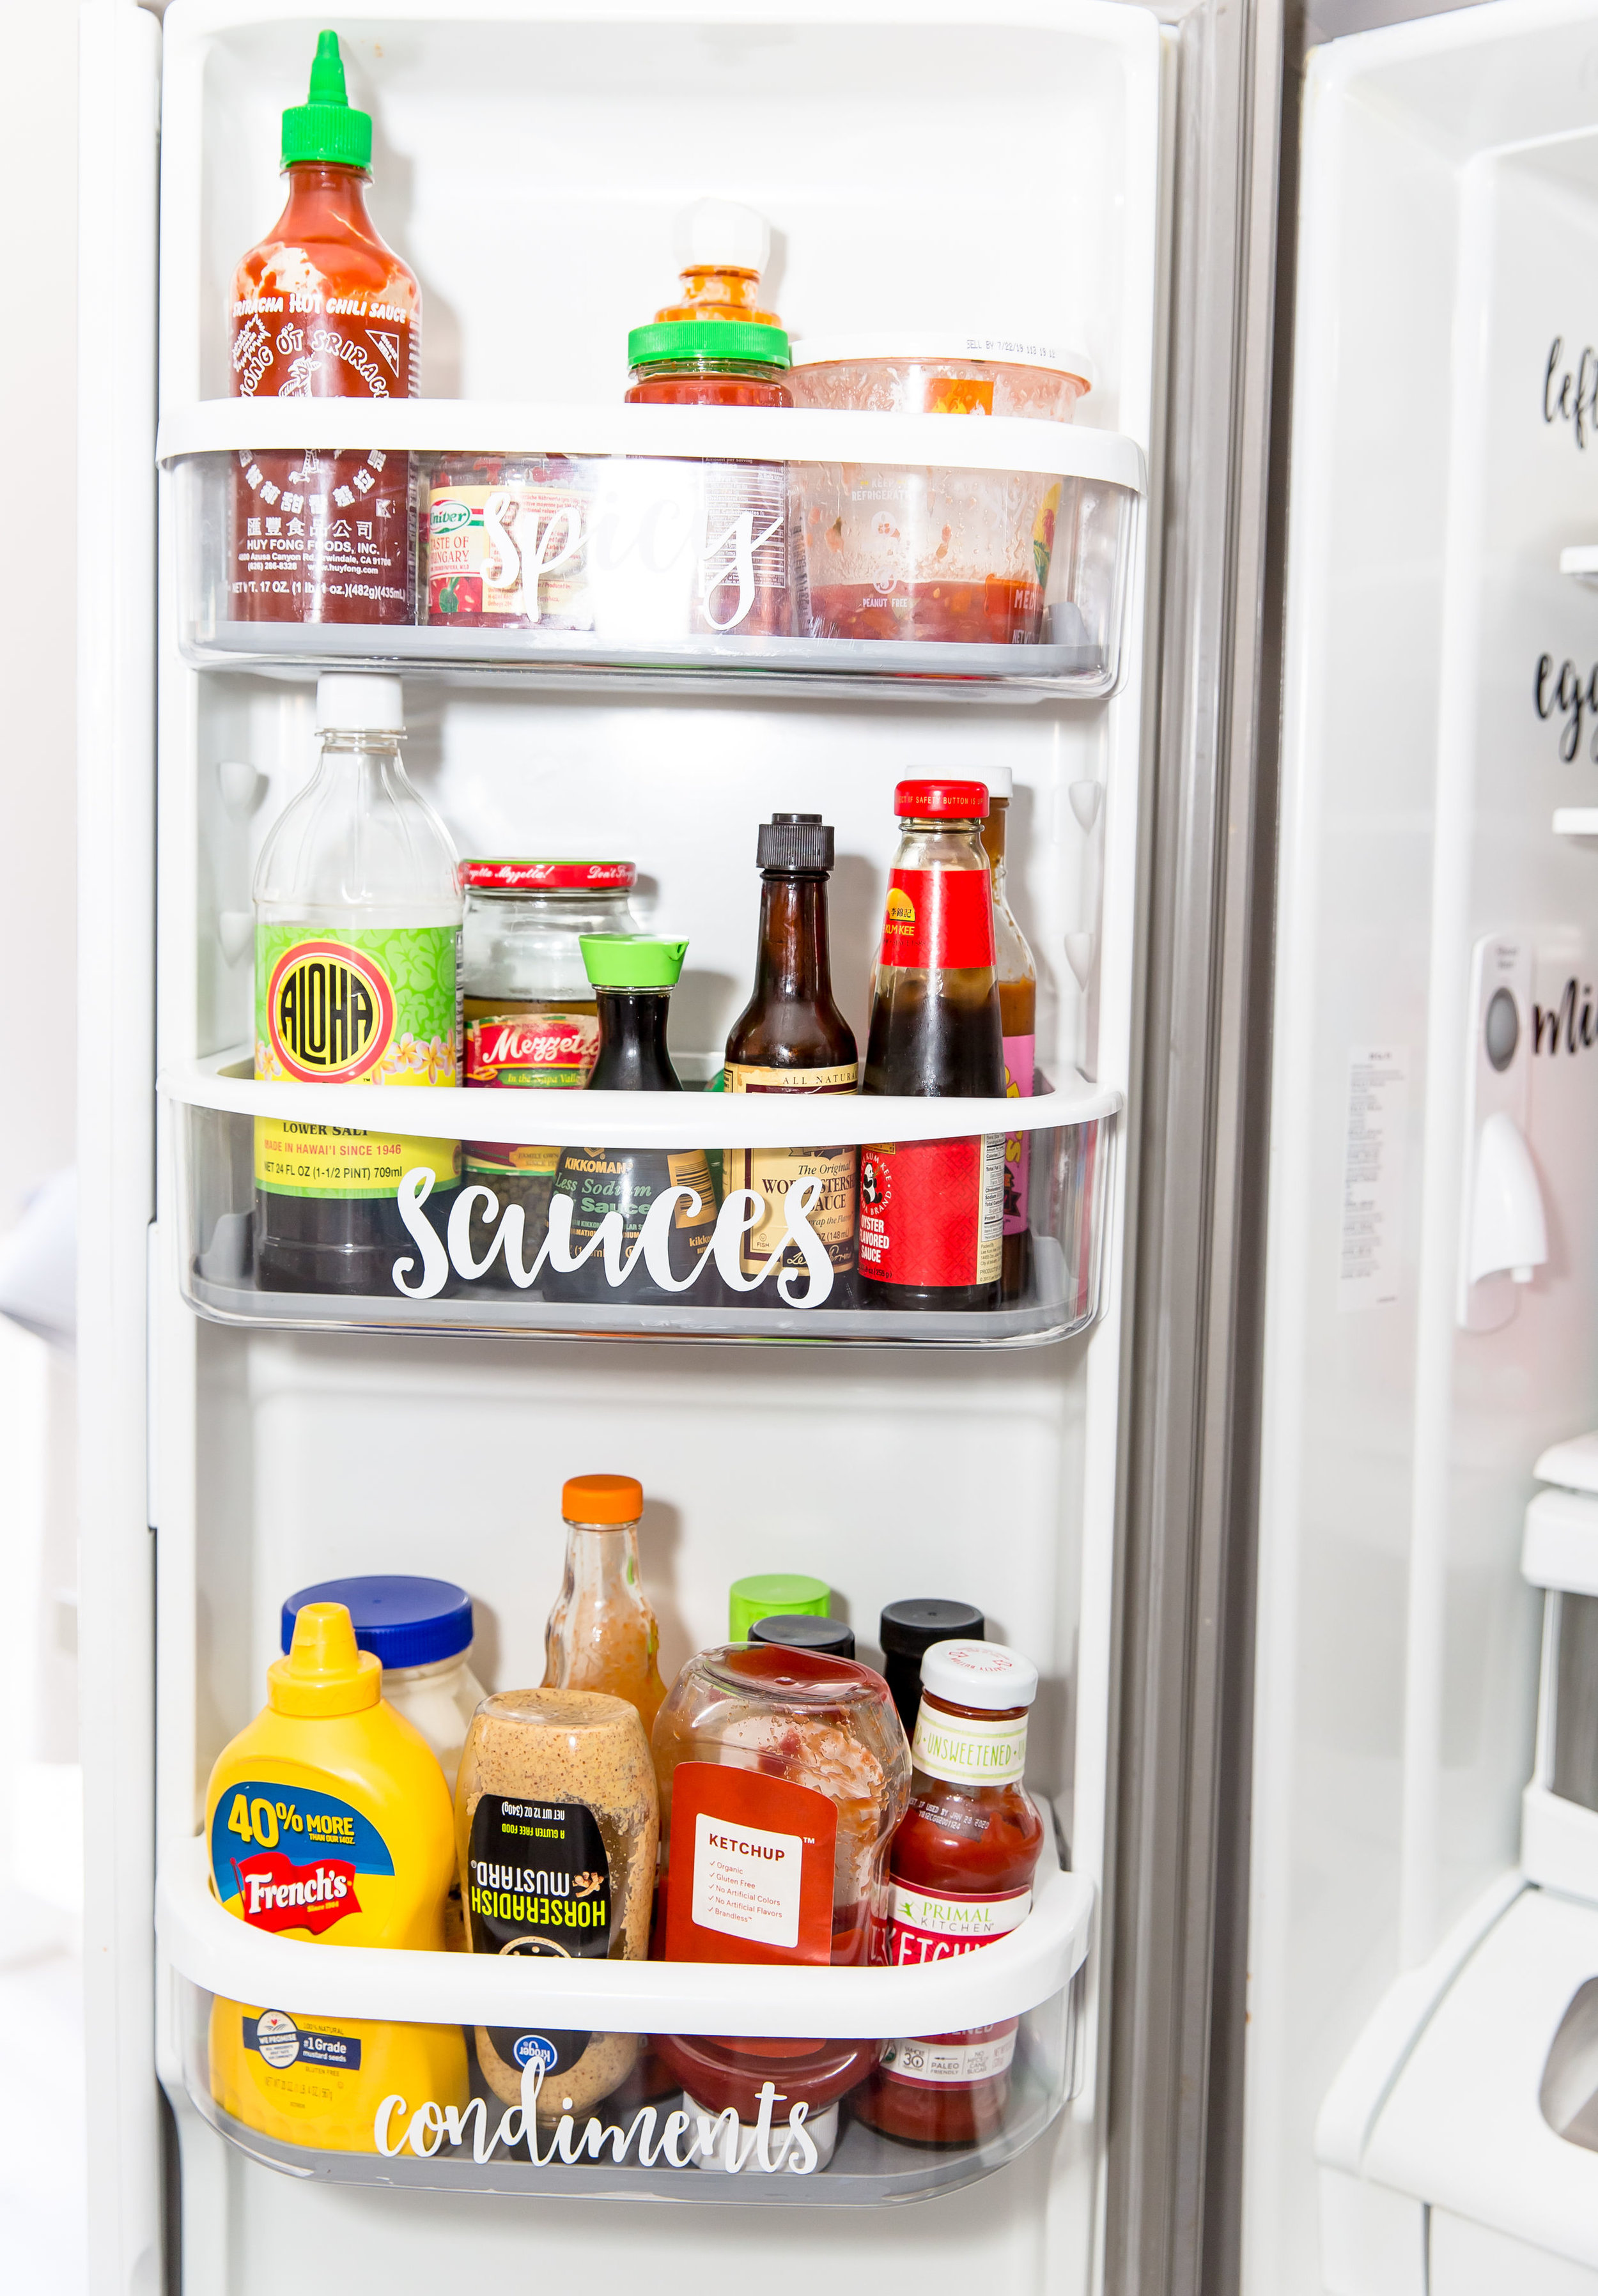
As I was putting each food item back, I started taking inventory of anything I needed or what I realized I had a lot of. For example, we love hot sauce so I made a mental mark that we’d probably want to designate an area for all of our spicy sauces!

DECIDE WHERE YOU WANT EVERYTHING TO GO

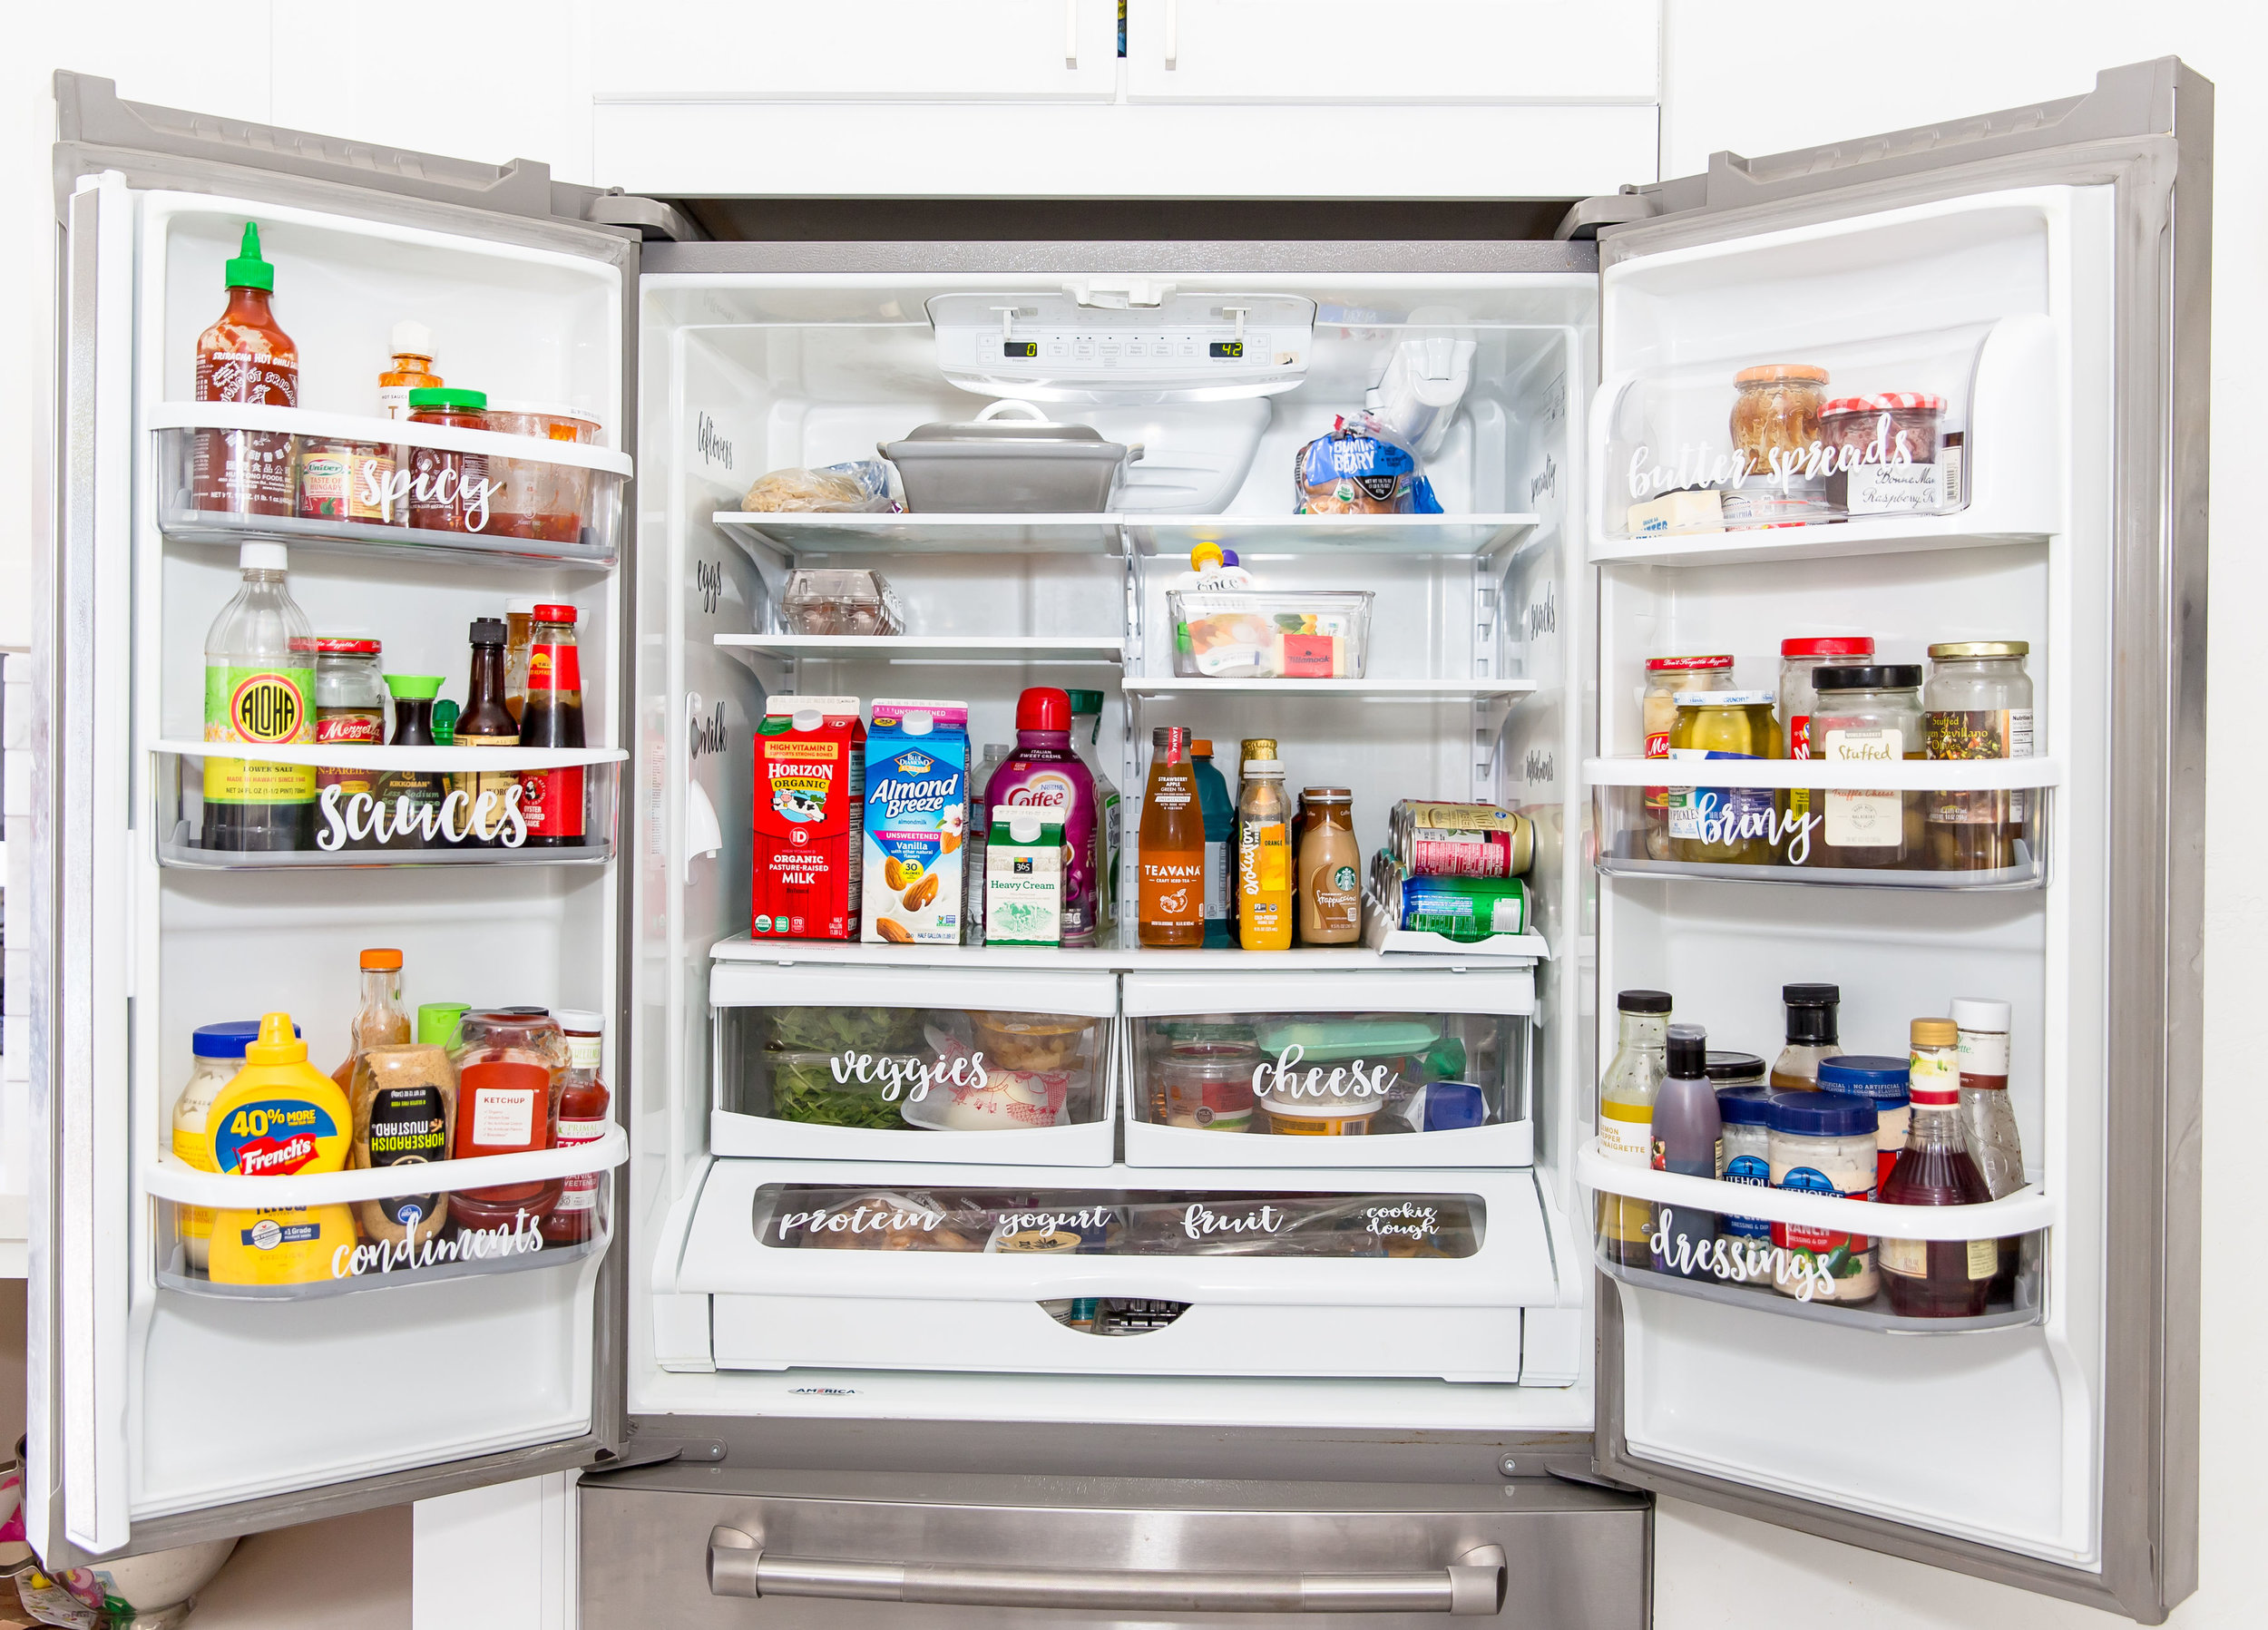
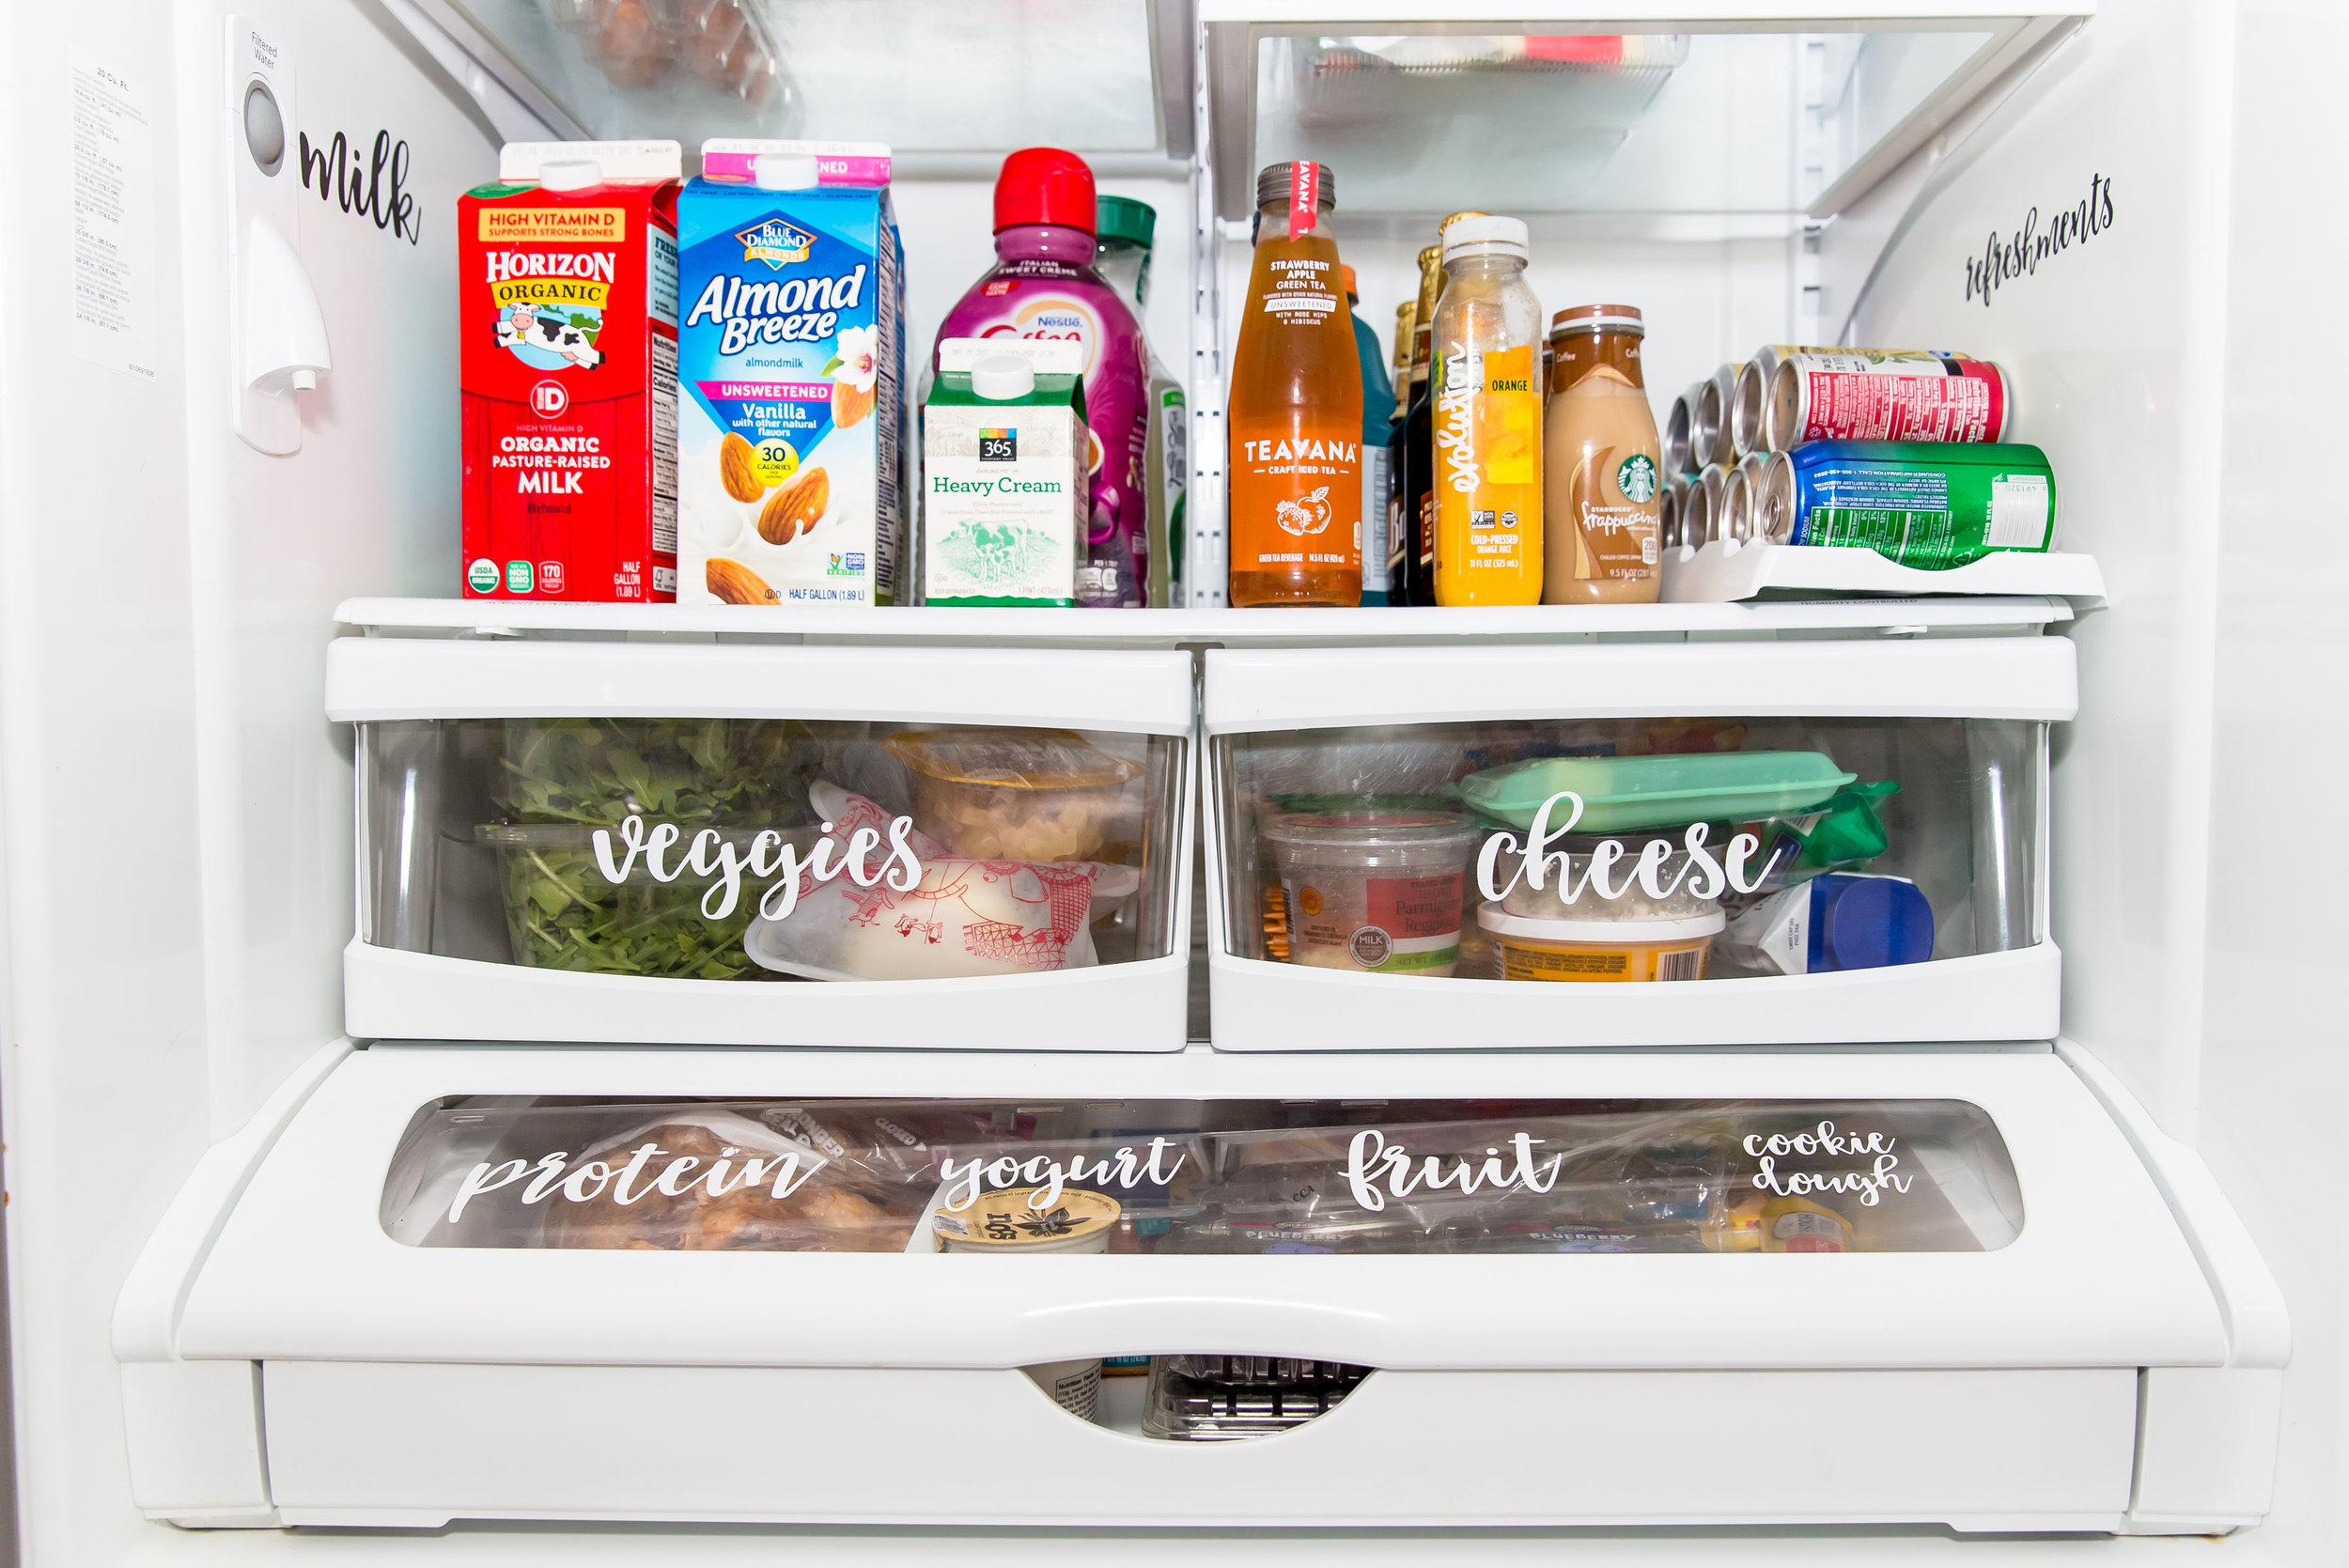
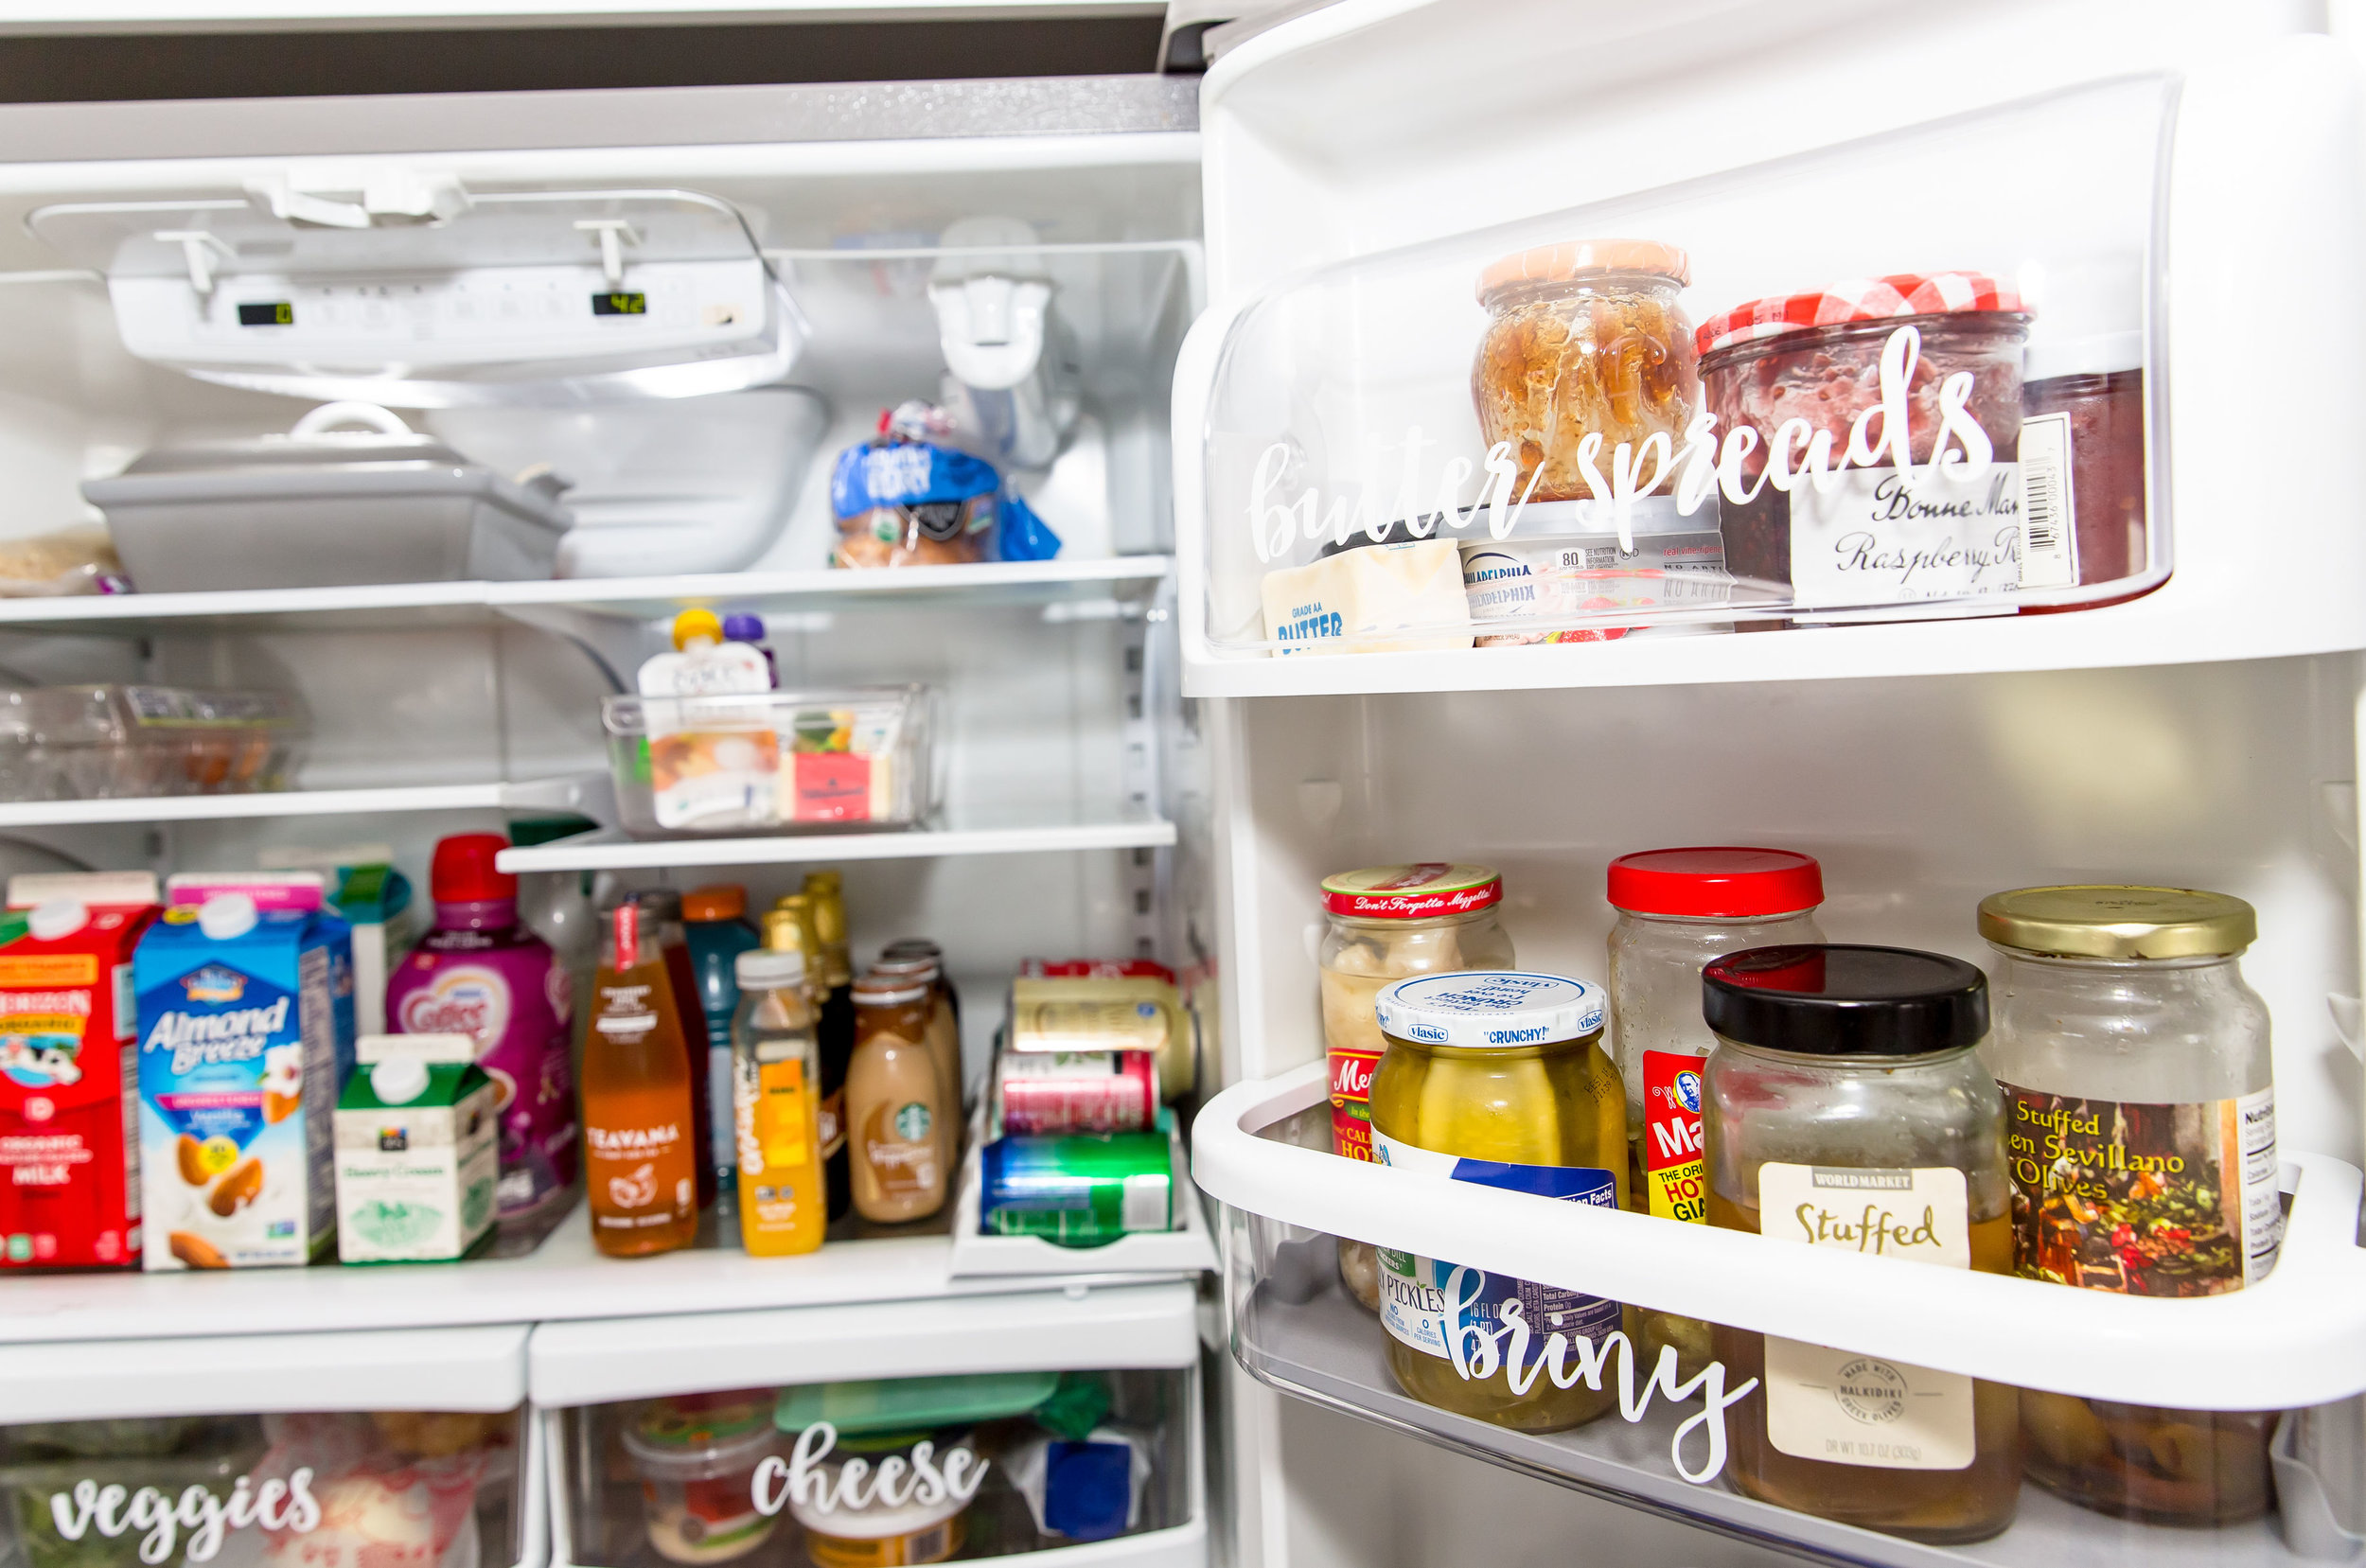
Everyone has different needs and eats different foods so once you’ve emptied your fridge and cleaned it out then you can really access what kinds of foods you keep on hand. This helped me see what space made the most sense for each category and helped me choose the place where I wanted everything to go. Traditionally you see refrigerator drawers filled with vegetables and fruit but for us, we keep a lot of fruit on our counters so having a drawer just for fruit would be a waste of space for us. I decided our love of cheese would go in a drawer instead.

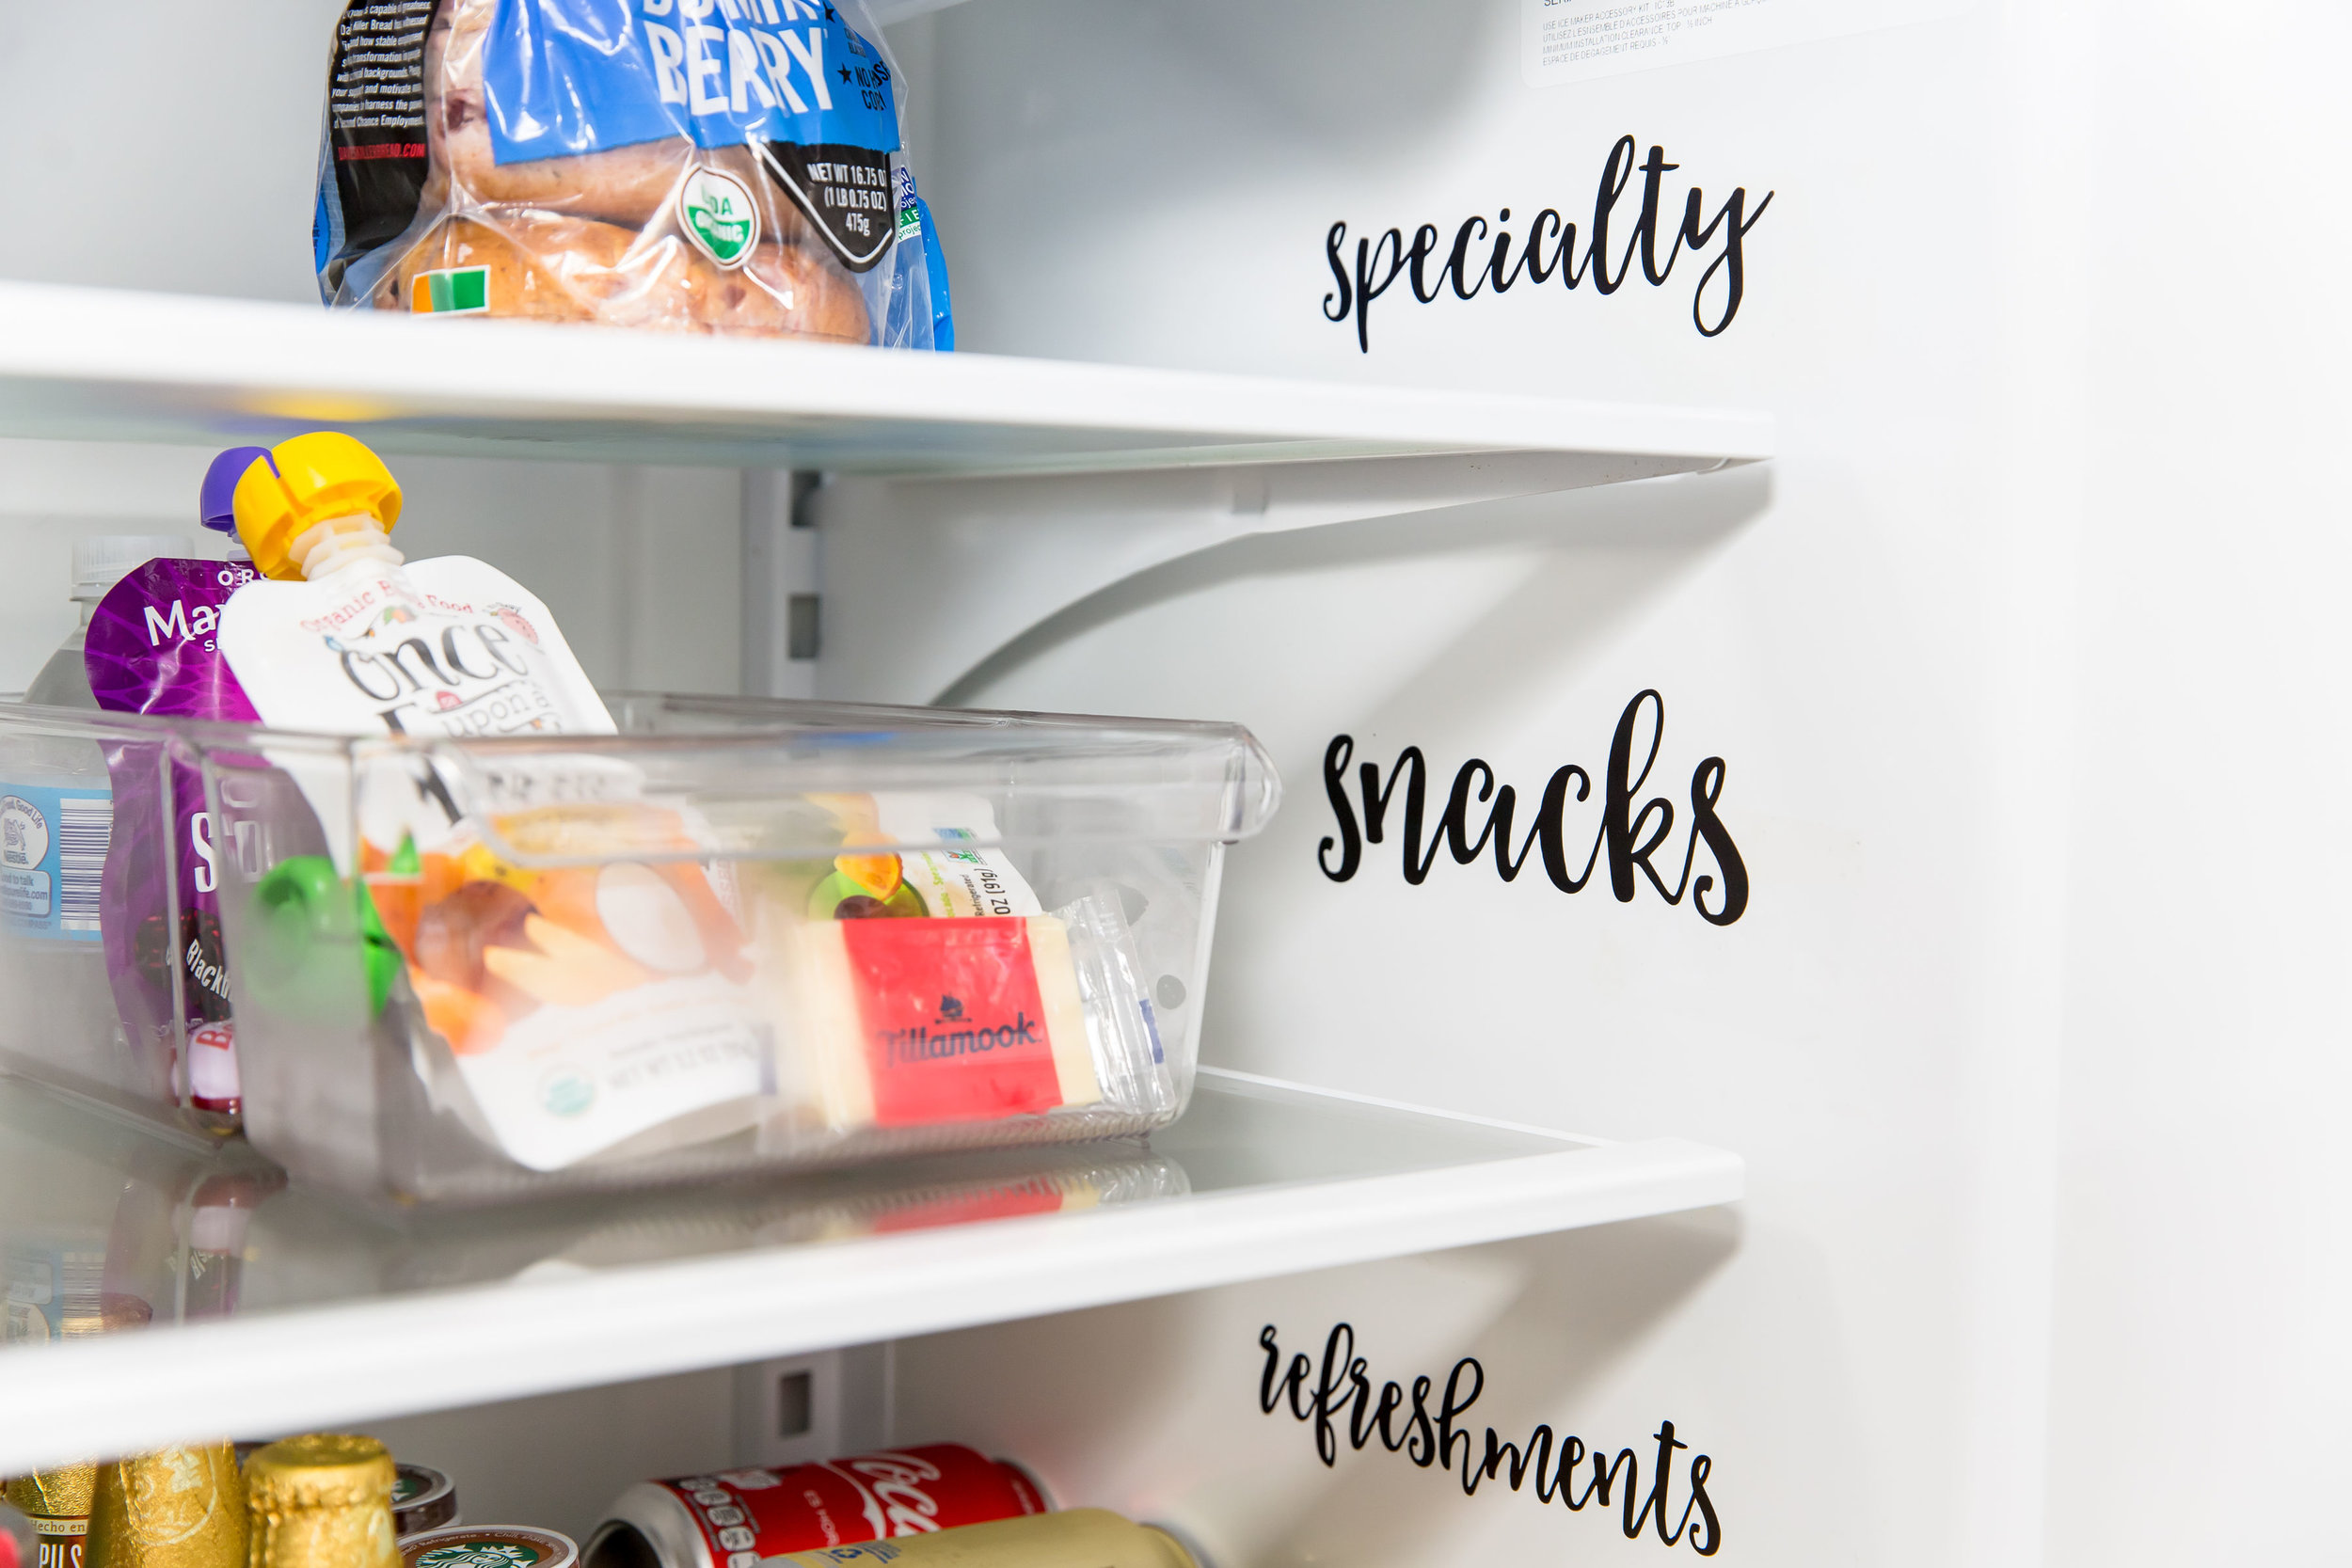
LABEL IT

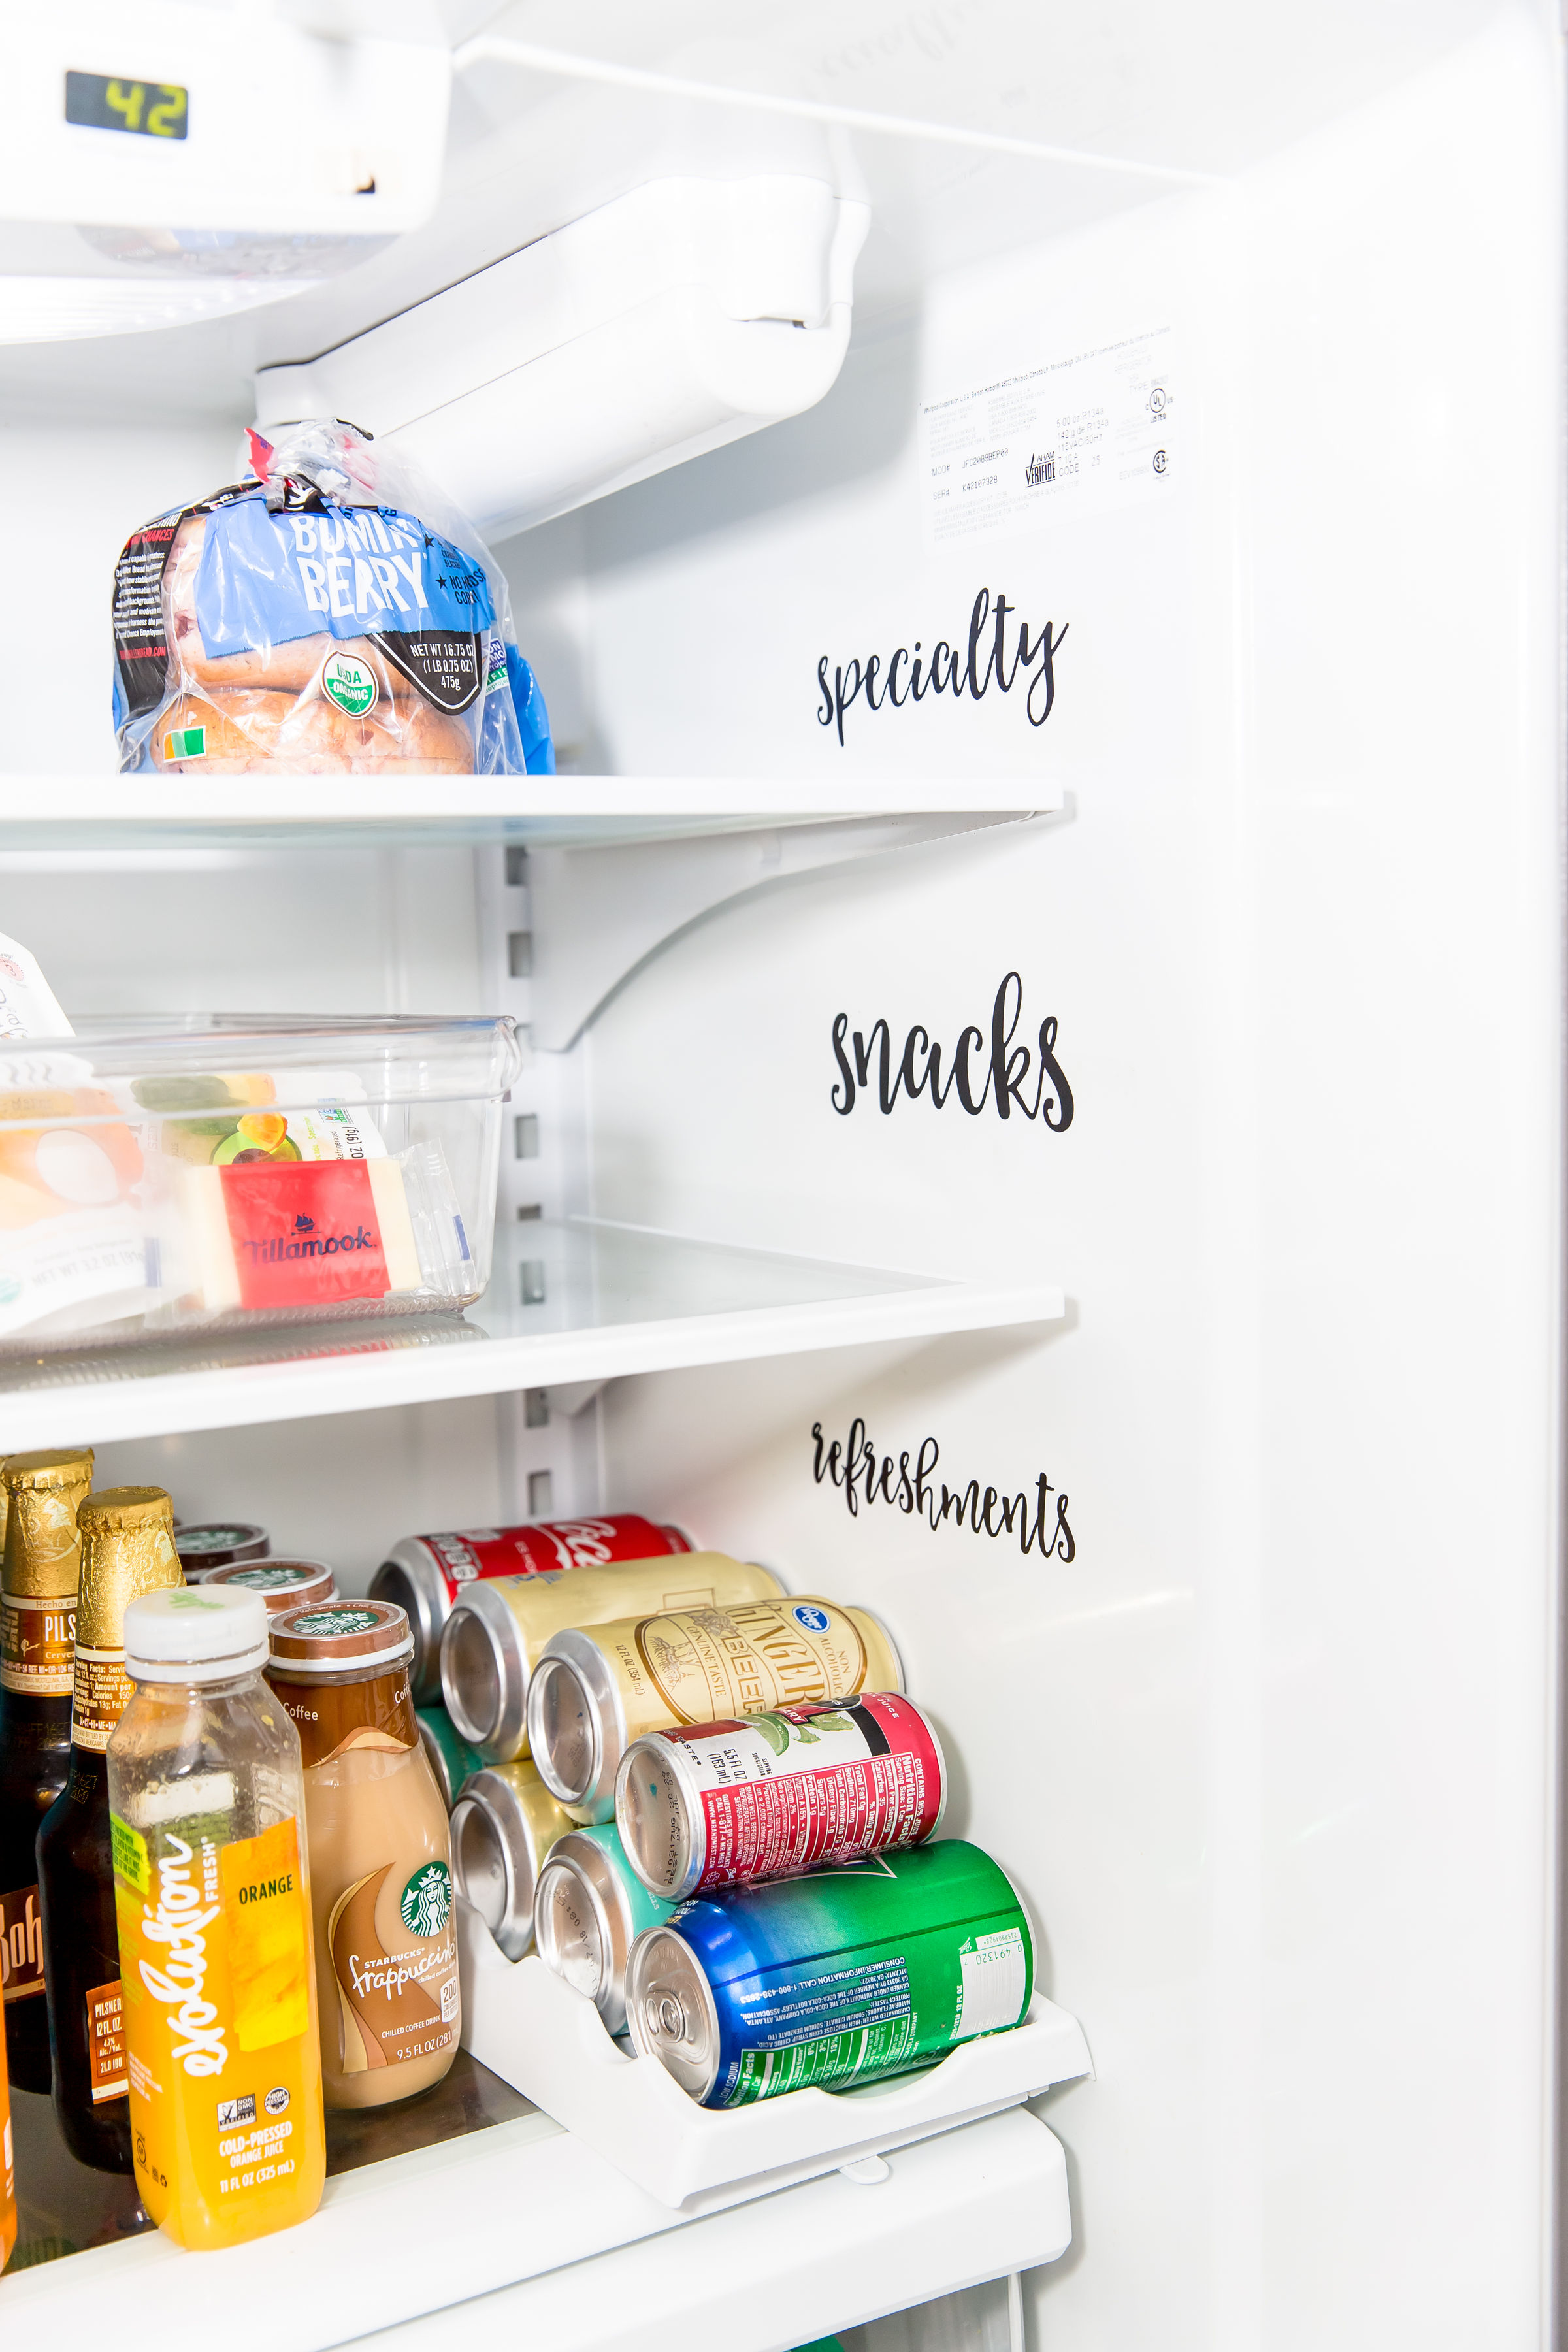
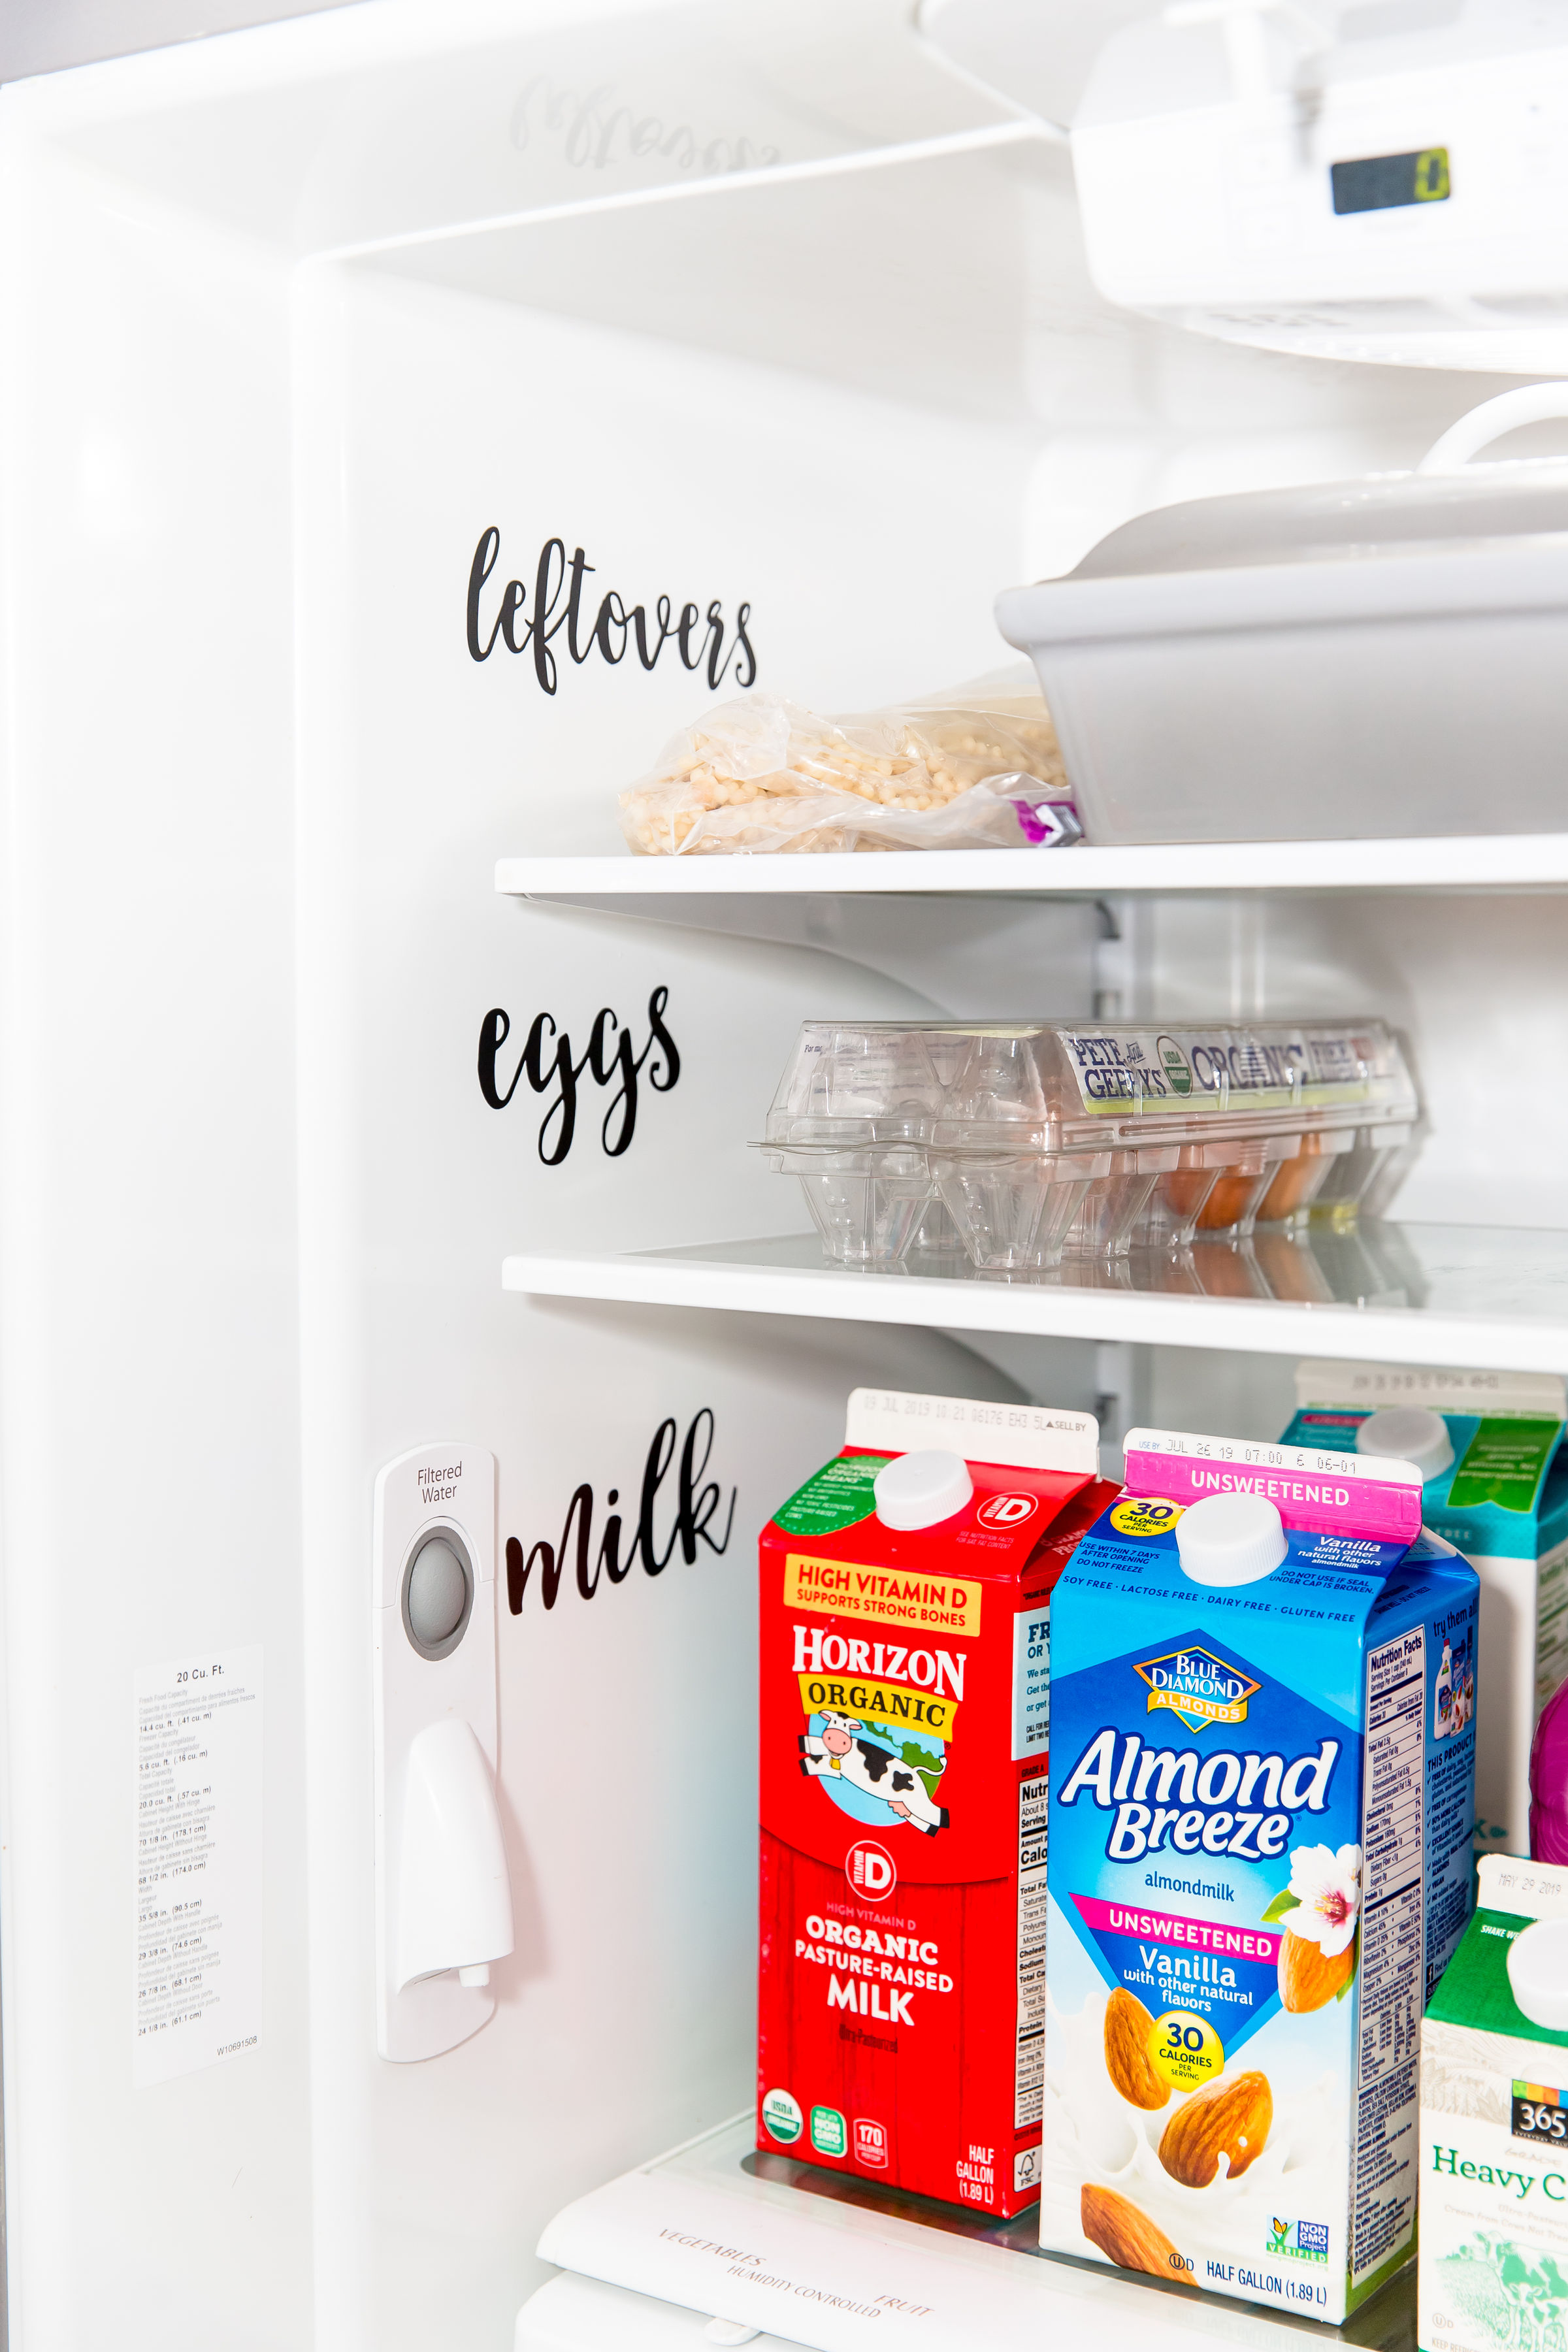
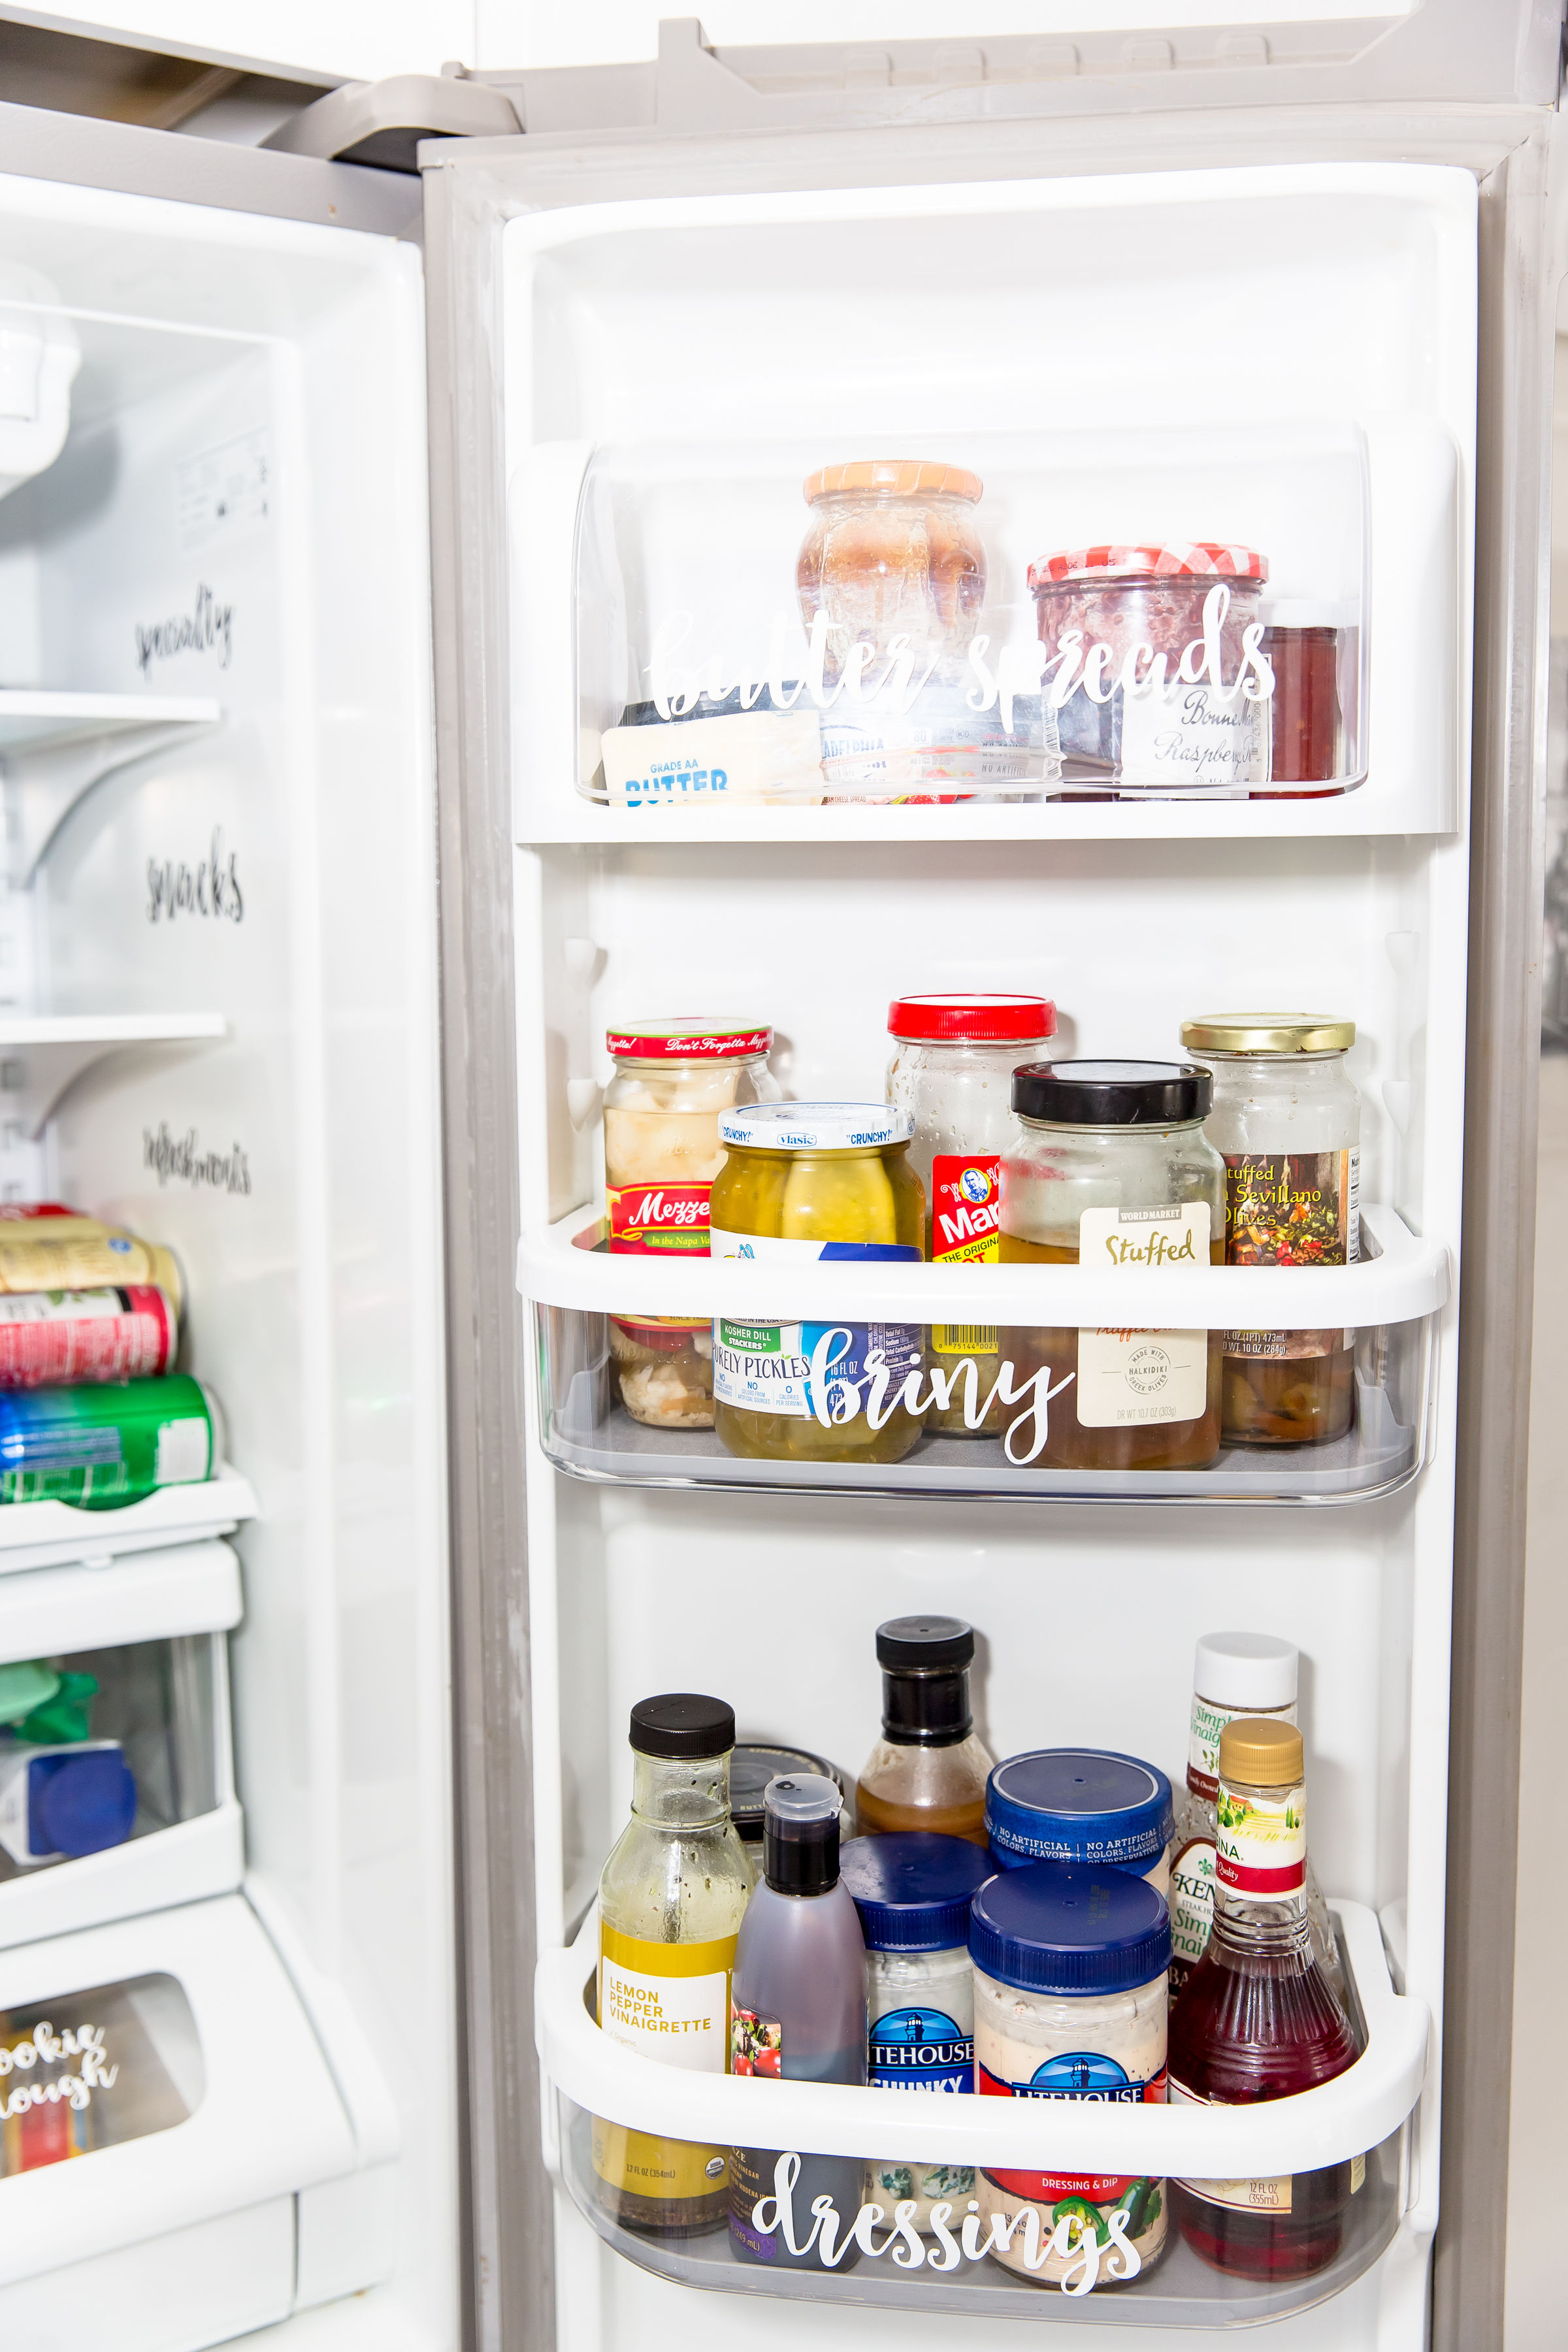
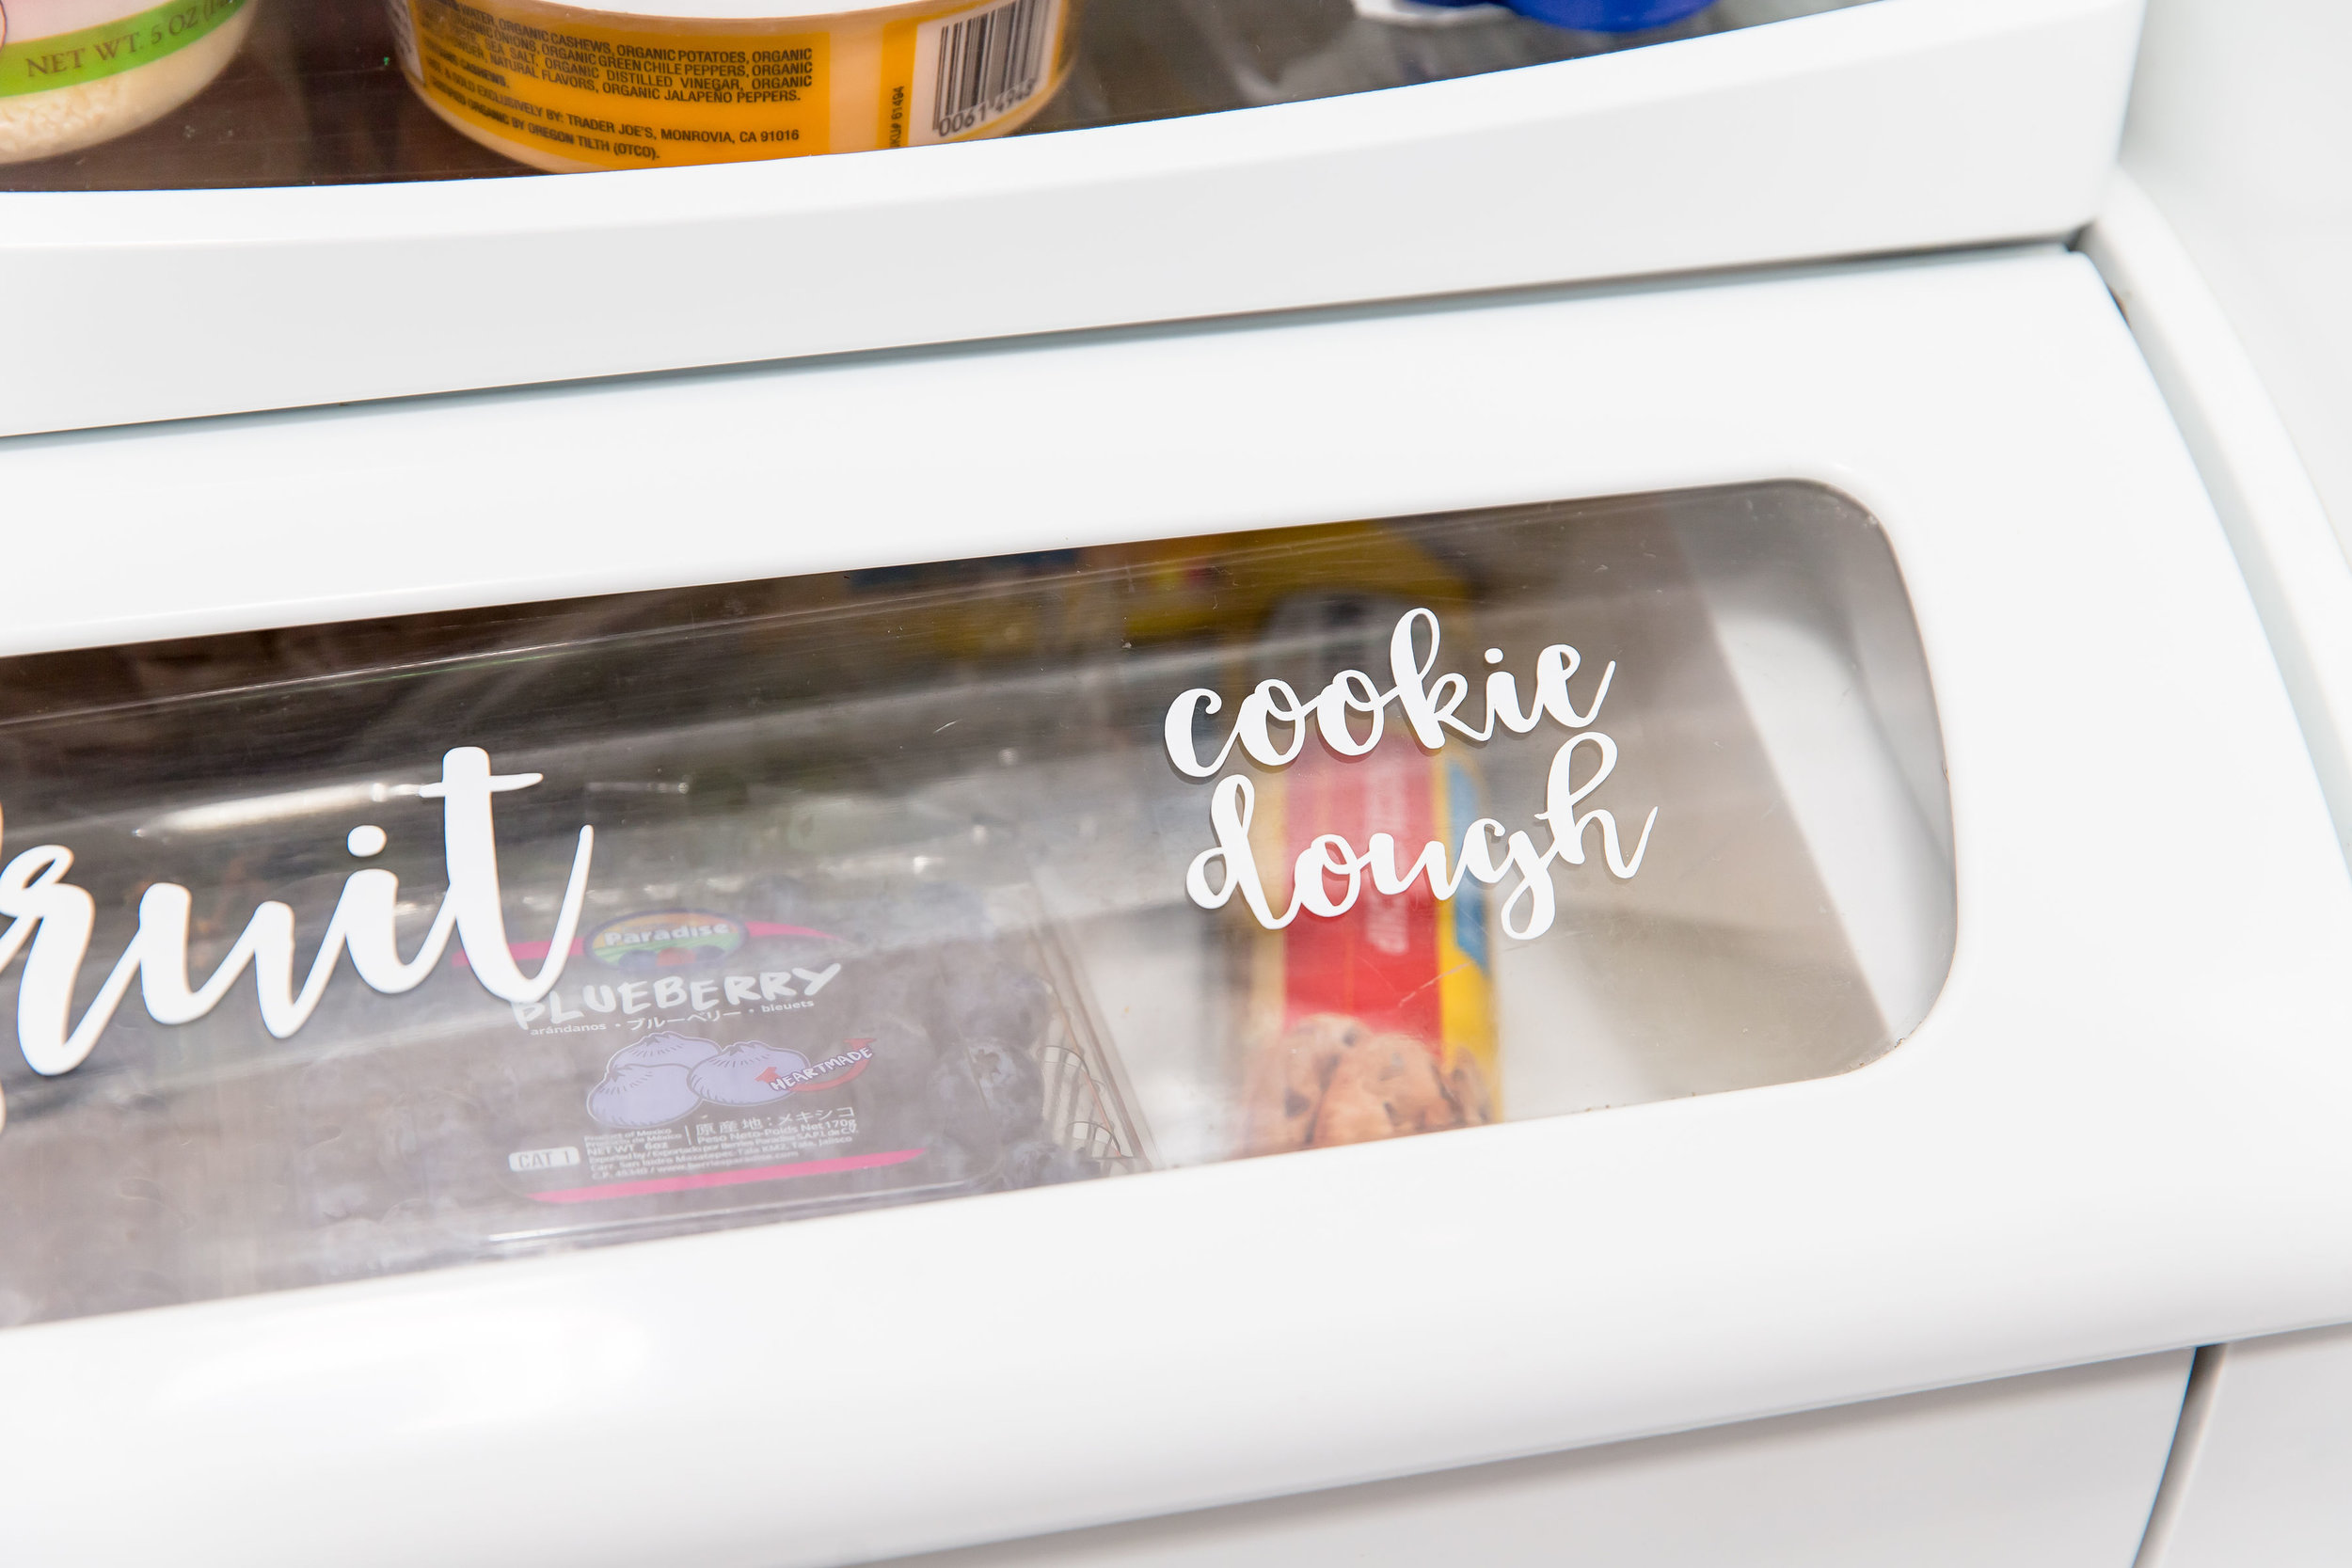
When I came across these custom labels on etsy by Vinyl Goods Co I knew I wanted to use them in our fridge (and pantry…blog post part 2 coming soon)! The farmhouse calligraphy script font was just perfect for our style and I loved that I could custom design exactly the categories that made sense for us. I mean, have you ever seen a label for a fridge that says “cookie dough”? Probably not. But in our house, we always have it on hand! Once I decided each category I wanted and the color and size I needed, I emailed Tiffany at Vinyl Goods Co and shared my list with her. For all of the clear bins, I choose white and then black for the labels on each shelf to make them easy to read. Here’s what I ended up with:

  • Leftovers

  • Refreshments

  • Milk

  • Snacks

  • Eggs

  • Specialty

  • Sauces

  • Veggies 

  • Fruit 

  • Cheese

  • Protein

  • Condiments

  • Dressings

  • Butter 

  • Spreads

  • Yogurt

  • Briny

  • Spicy

  • Cookie Dough

The labels were really easy to transfer onto each surface and they included instructions for how to do so. With each label I got more and more excited to finish!

6D4A5872.jpg
6D4A5864.jpg
6D4A5876.jpg
6D4A5858.jpg

MAINTENANCE

The only way for your fridge to stay organized is by weekly check ins. Every time I take something off a shelf, I give a quick glance at what else is over there. I wipe down bbq sauces and make sure things are staying in place. I find that every time I grocery shop I end up doing a bit of maintenance to keep things nice and organized. This has been especially helpful when we have someone care for Milly. I love that they can easily find her snacks and since we added a bin just for Milly she can choose her snacks and the nanny can find her lunch easily because it is all contained.

6D4A5874.jpg

What I love about an organized fridge is the more organized you keep it, the less chance of food going to waste! It also discourages you from buying things you don’t need. I hope this helps inspire you to organize your fridge. I’d love to see your photos and hear about any other ideas you come up with as you organize. Post your photos on instagram and tag me! xoxo, B

A Gift For Dad This Father’s Day

This post is sponsored by ibi

Jenny Quicksall Photography

Jenny Quicksall Photography

It’s still so surreal to me that at the end of next month we’ll go from being a family of three to a family of four.  Especially with Father’s Day right around the corner, I’m feeling extra sentimental thinking back at how much our lives have changed since becoming parents to Milly.  I remember a few days into being a new mama and trying to find the first photo I took of Milly in my camera roll and laughing at how many photos I had already taken of our new bundle of joy. It was practically like a flip book because I had taken almost 100 in just 3 days! Hashtag mom life, right?

ibi companion app

ibi companion app

I used to always take a ton of photos because I love to document everything. I mean- I am a journalist after all! But when I became a mom the documenting went to a whole other level! I was taking photos of every expression, every moment, every new experience-I wanted to capture everything! A product I mentioned I loved for a Mother’s Day gift and I’m equally excited to share for Father’s Day is ibi.

We love our ibi!

We love our ibi!

It’s a smart photo manager that allows me to collect, organize, and privately share photos and videos with only the people I want. The device holds 2TB (that’s about 500,000 images) – so we can relive our favorite moments with our closest friends and family. 

WesternDigital_ibi_LifestyleVideoShoot_ReColored-62.3.jpg

Even though Mr. A isn’t the biggest fan of taking photos, I swear one of his favorite things to do is look through old photos. He just loves it! And as much as we love sharing our lives online, not every moment goes up on social media. I think becoming parents has tremendously changed the way we share those moments.  For us, some special moments are only meant to be shared and experienced by our inner circle of friends and family, and ibi gives you full control over who to share each memory with.

WesternDigital_ibi_LifestyleVideoShoot_ReColored-50.3.jpg

I love that ibi saves and organizes our precious memories in one place so they’re easy to find, which for me is so important, because my photos are spread across all sorts of different devices and sites. 

We keep our ibi in our family room

We keep our ibi in our family room

This means that with ibi, you can sync all of your favorite photos and videos from your devices, cloud and social media accounts – and store them all in one place. This has really been a game changer! Right now ibi is having a price promotion on meetibi.com. They’ll be offering ibi for $149.99 down from $179.99. This goes from 12:01 am on June 9 CDT to 11:50 pm CDT on June 15. 

Jenny Quicksall Photography

Jenny Quicksall Photography

The other day Mr. A and I were reminiscing with Milly about when she was a baby and going through all her newborn photos.  It was so nice that we had ibi at our fingertips to revisit all of those great memories.  With the ibi companion app you can easily organize and find what you’re looking for  by searching location or using the timeline to find your photos and videos by date.  I really think this has been a powerful way to prepare her for her new sibling. As we prepare for baby #2 these next few months we are just soaking up every moment together as a family and anticipating our hearts exploding all over again!


Mini Blueberry Hand Pies

This post is sponsored by the U.S. Highbush Blueberry Council

6D4A8694.jpg

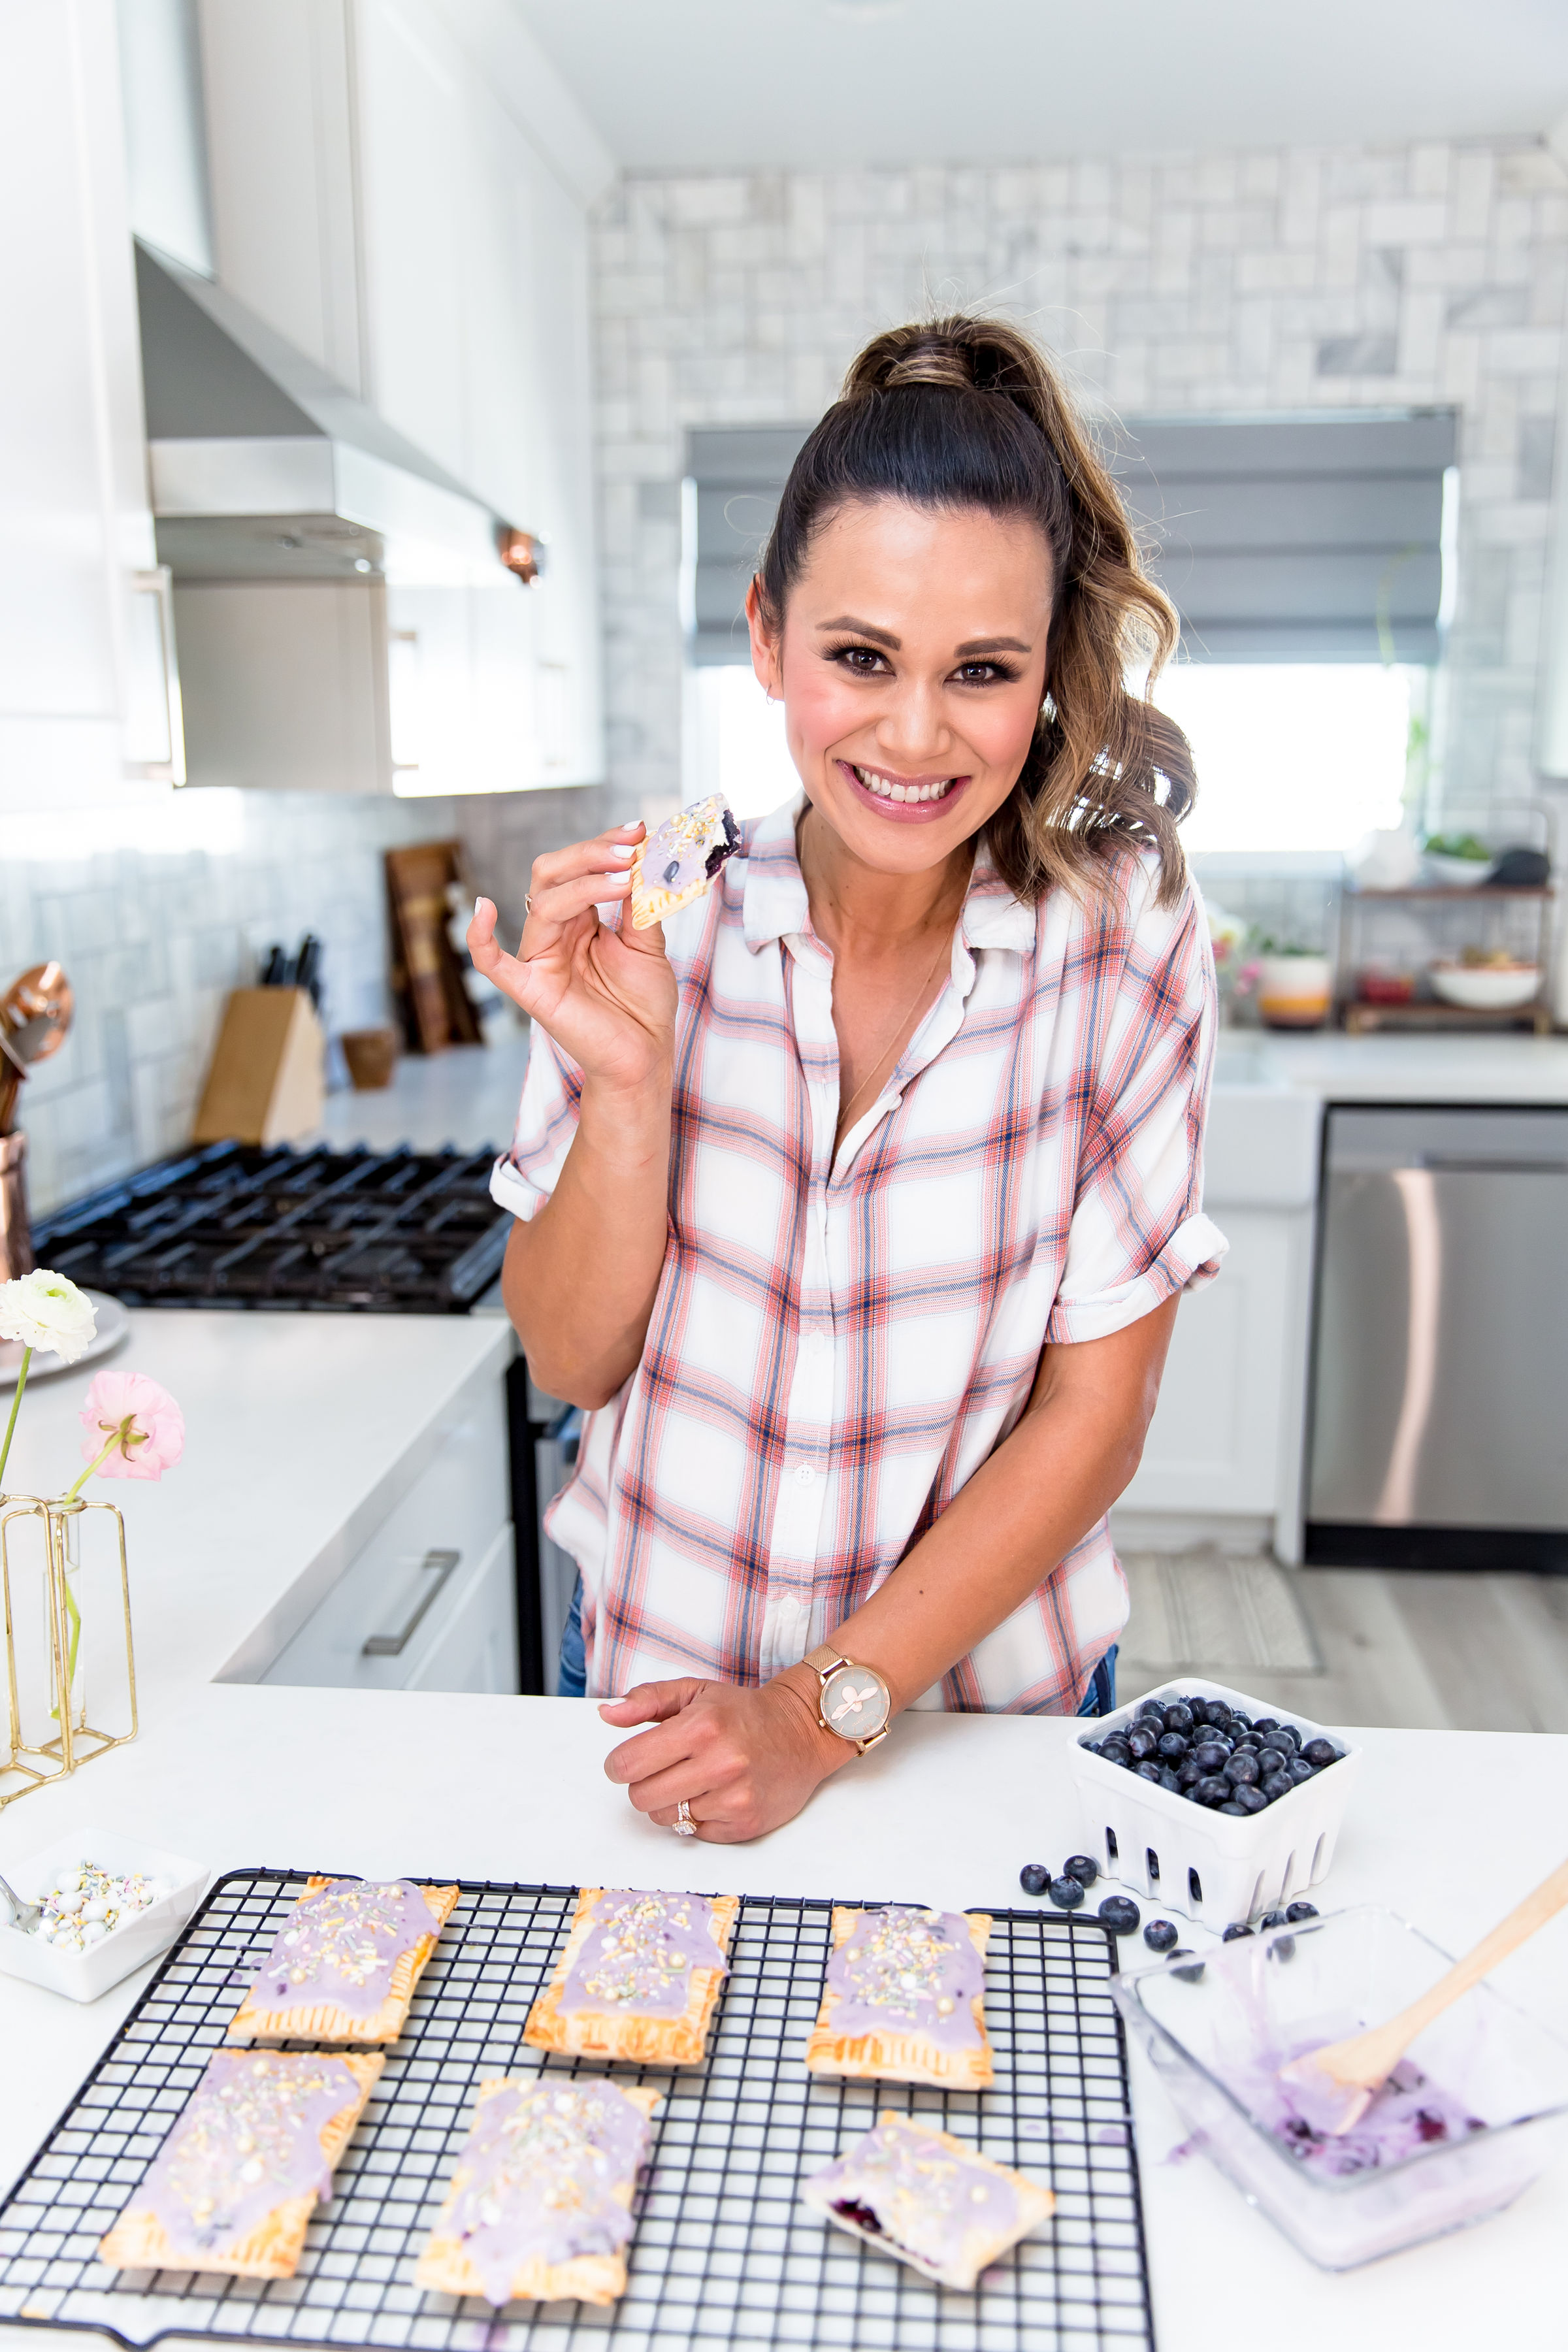
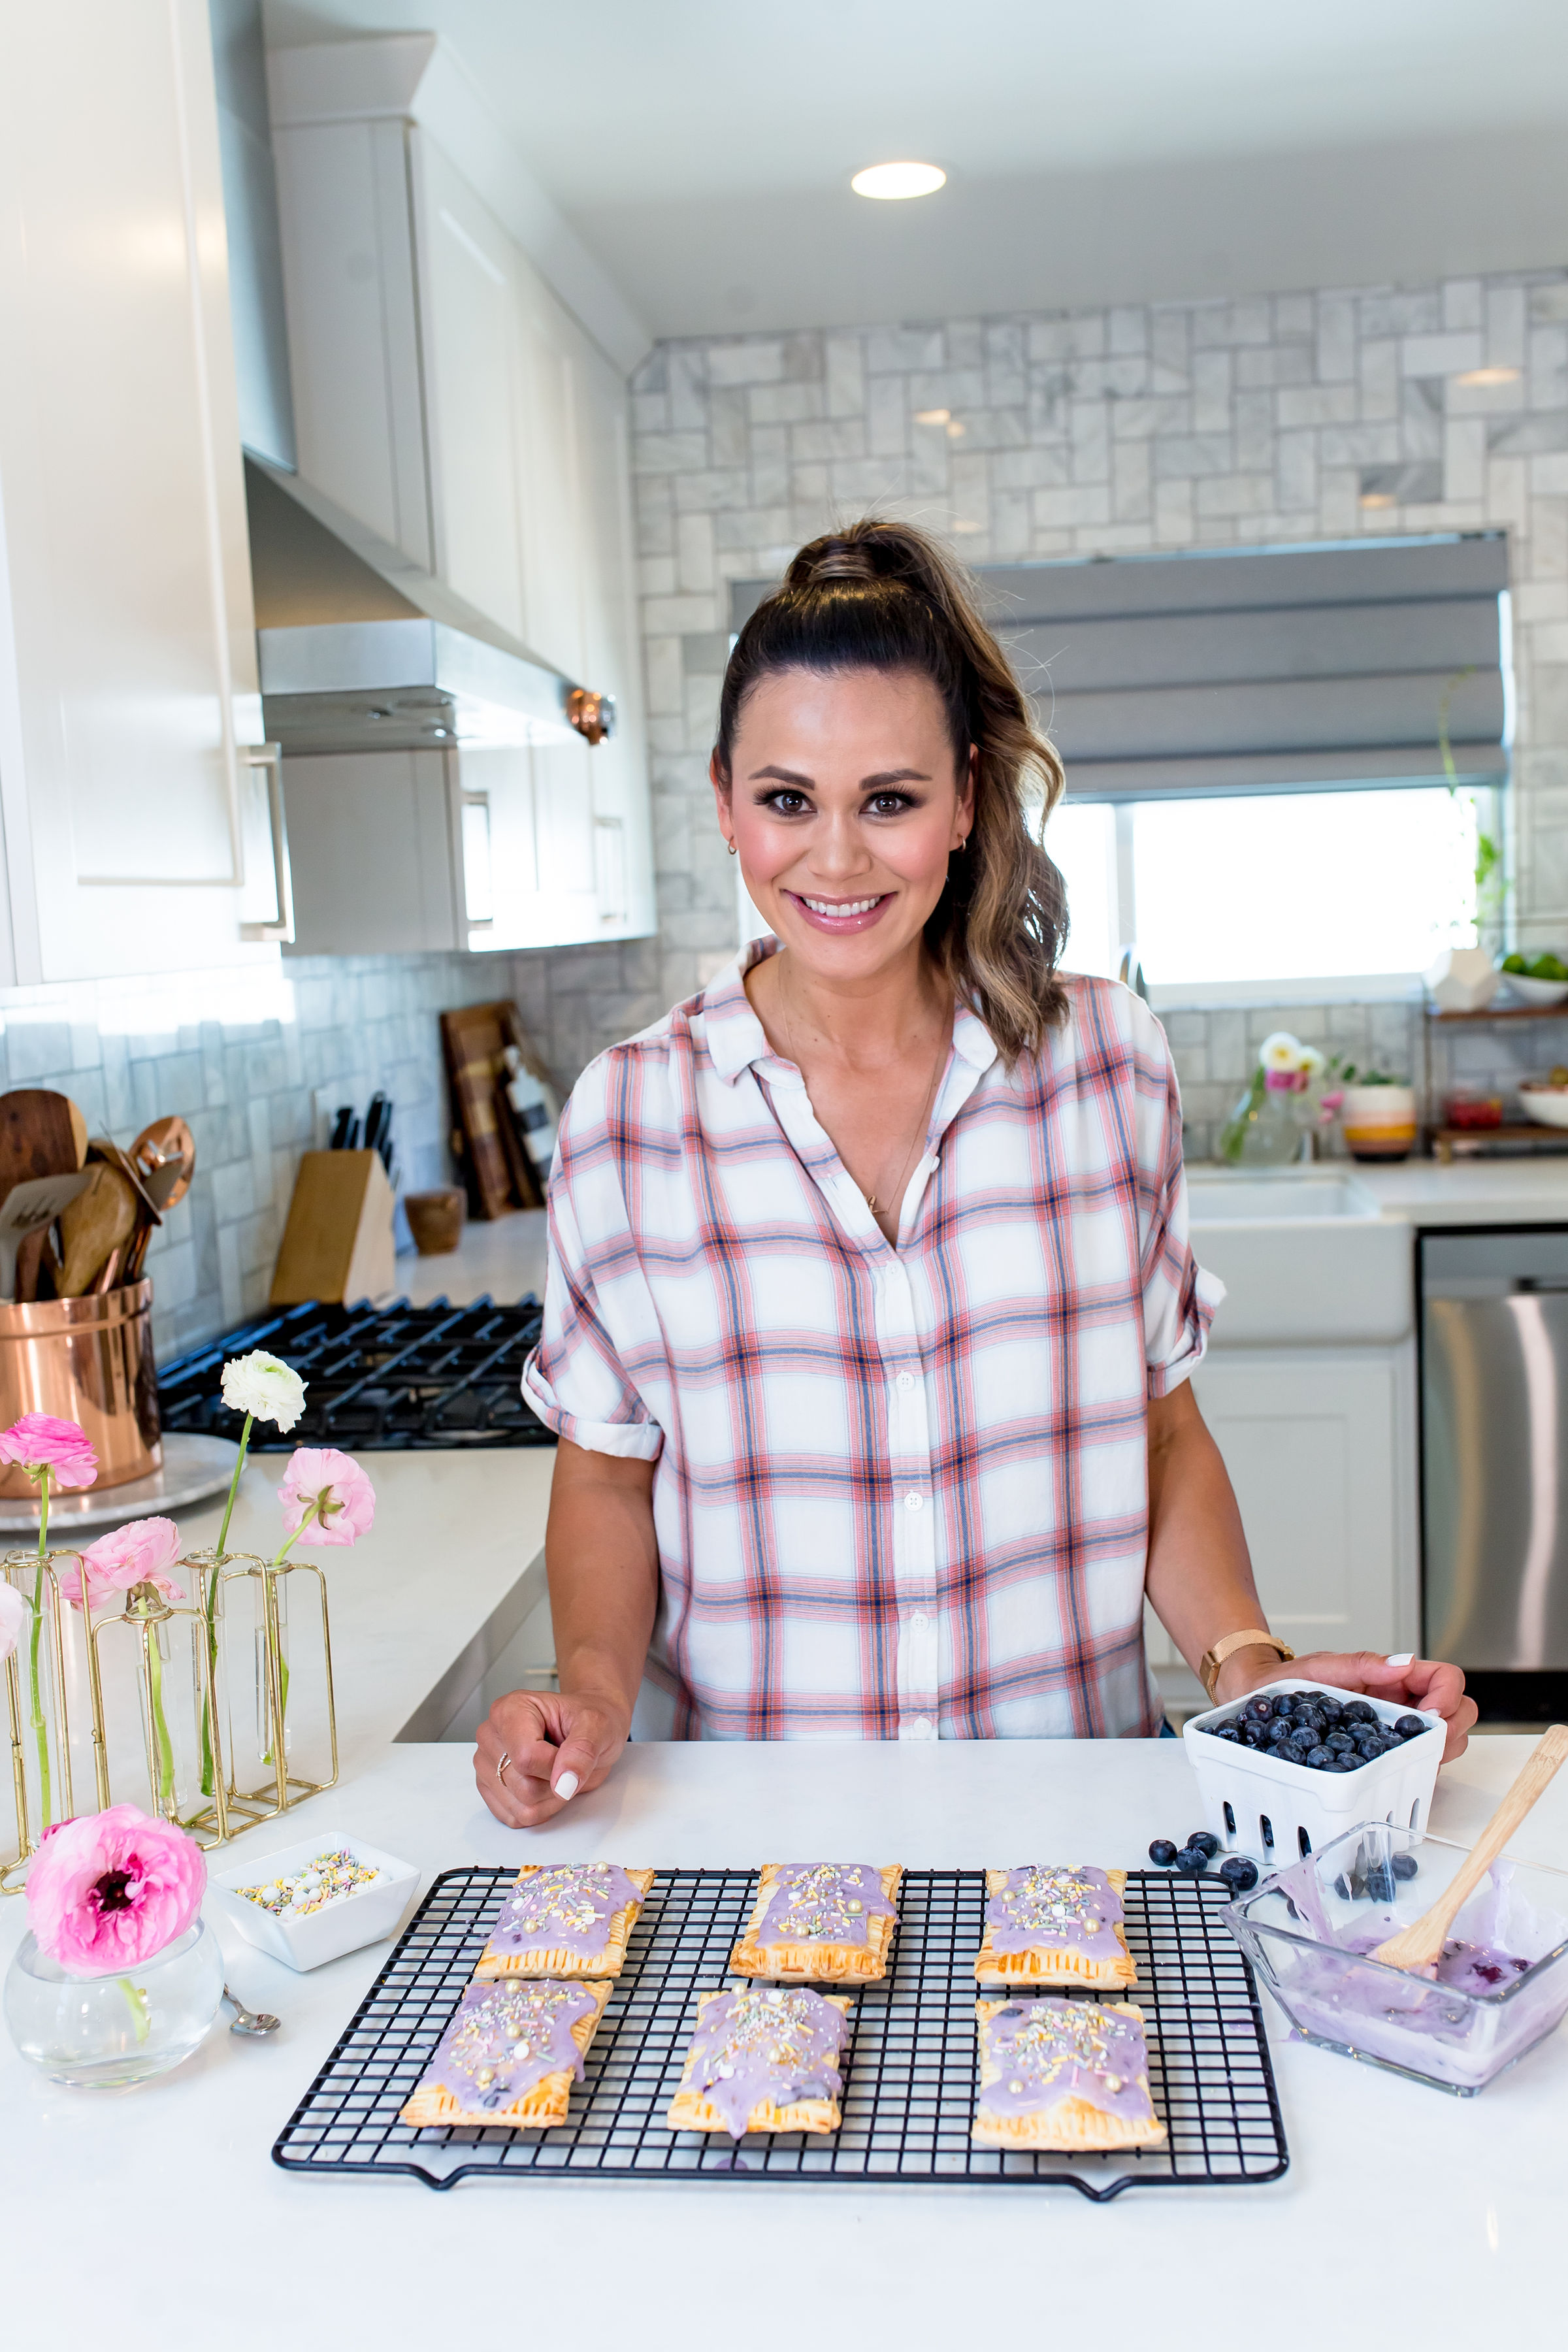
These are one of my favorite anytime treats and are way better than the toaster pastry in the box that you ate when you were 10. Bursting with bluetiful blueberry flavor, these are straight up sublime!

6D4A8630.jpg

Super simple to make and made with three ingredients (store bought pie crust, homemade blueberry jam and glaze), I find myself whipping these up during the week for a sweet treat.

6D4A8588.jpg

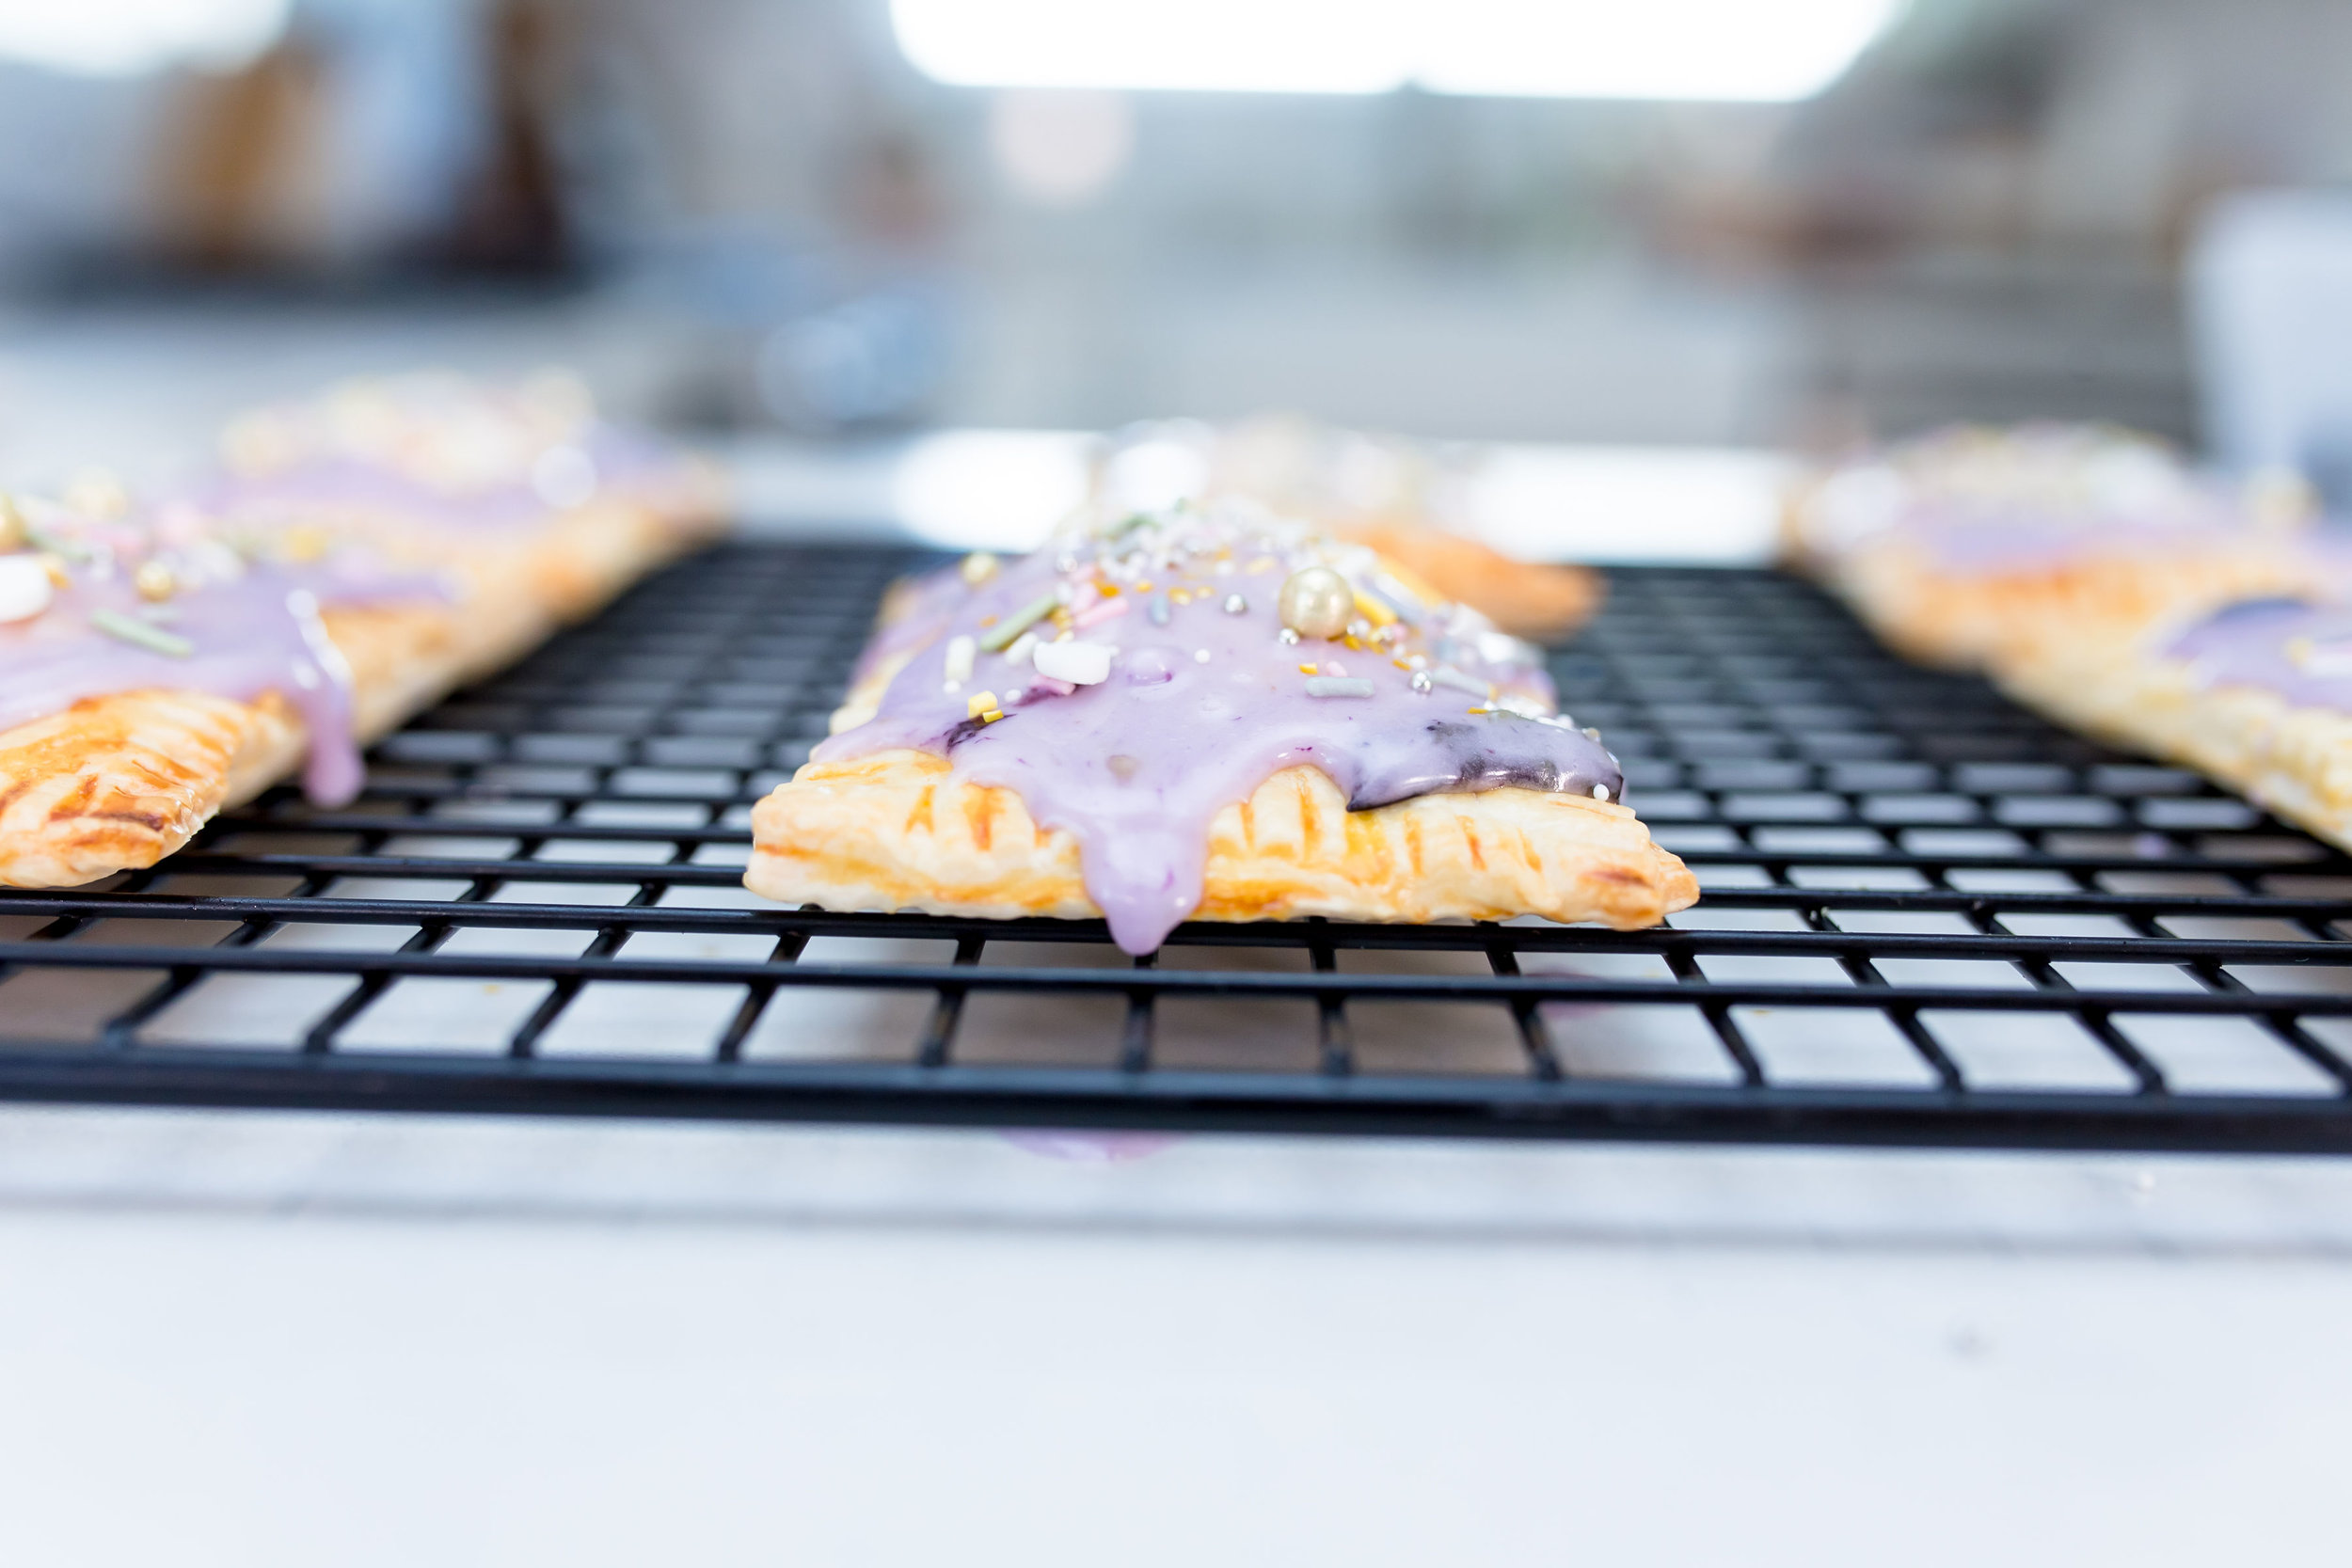
Filled with delicious blueberry jam and topped with sweet glaze and sprinkles, they are almost too pretty to eat! Check out my latest episode on IGTV where i show you how to make these and then scroll down for the full recipe!

6D4A8627.jpg
6D4A8654.jpg
6D4A8675.jpg
6D4A8696.jpg

BLUEBERRY HAND PIE RECIPE

by BRANDI MILLOY

INGREDIENTS

  • BLUEBERRY JAM

    • 4 heaping cups organic blueberries, rinsed

    • 1 cup sugar

  • HAND PIES

    • 1/2 cup blueberry jam (recipe above)

    • 1 large egg

    • 2 refrigerated pie crusts

  • ICING

    • 1½ cup powdered sugar

    • 1 tablespoon heavy cream or milk

    • 1 tablespoon blueberry jam (recipe above)

    • 1 teaspoon almond extract, optional

  • Sprinkles, for garnish

DIRECTIONS

  1. For the blueberry jam:

    Place berries in a stainless steel pot and bring to a full boil, mashing the berries with a spoon. Boil for 1 minute on high heat, stirring constantly.

    Using a potato masher, break and smash blueberries. Add sugar and continue to gently boil for 3-5 minutes. Keep cooking and stirring for about 10 minutes or until thickened.

    For the hand pies:

    1. Preheat oven to 400°F. Line a baking sheet with parchment paper and set aside.

    2. Crack egg into small bowl with a teaspoon of water, whisk and set aside.

    4. Unroll pie crusts and using a pizza cutter, cut the edges off (about 1 inch off all sides to create two 9-inch squares). Then cut each square into three 3-inch wide strips. You should have 6 total.

    5. Place 1½ tablespoons of jam on the bottom end of each strip. Brush exposed piecrust with egg to glue the sides. Gently fold top part of piecrust over the jam end. Using a fork, crimp the edges together on all sides. Repeat the process with the remaining piecrust.

    6. Place hand pies on prepared baking sheet and bake for 15-18 minutes.

    For the icing:

    In a bowl, whisk together powdered sugar, heavy cream, 1 tablespoon of jam and almond extract until smooth.

    To serve:

    Drizzle icing on top of each pastry tart and garnish with sprinkles.


Grapefruit Creamsicle Popsicles

This post is sponsored by Sunkist

All photography by @Ographr

All photography by @Ographr

These popsicles are creamy, tart, sweet and so refreshing! Made with fresh squeezed Sunkist California Star Ruby Grapefruit juice and vanilla bean ice cream, they are like the older, more sophisticated sister of the orange dreamsicle. You know, the one that traveled after college and lived in Europe for a year so she could immerse herself in another culture!

6D4A9764.jpg

This grapefruit creamsicle popsicle is luxurious but also super easy to make and the best treat to serve after an evening of al fresco dining. I keep at least half a dozen on hand in the freezer for those hot summer days too. Great for grown ups and children, it’s my go to sweet for summer. I hope you enjoy this recipe as much as I do. Be sure to scroll down for the full recipe!

6D4A9278.jpg

GRAPEFRUIT CREAMSICLE POPSICLE

Makes 10 popsicles

Ingredients

  • About 2.5 cups of fresh squeezed Sunkist California Star Ruby Grapefruit juice (2-3 grapefruits)

  • 2-3 tablespoons of agave (optional)

  • About 2.5 cups of vanilla bean ice cream, softened

  • Supplies: Frozen Popsicle Molds with Sticks

Directions

  1. If you’d like your grapefruit juice sweeter, sweeten juice to taste, adding 1 tablespoon of agave at a time.

  2. Fill each popsicle vessel with about 1/4 cup of juice. Top with about 1/4 cup of ice cream.

  3. Add popsicle sticks and freeze for 4 hours or overnight.

  4. Enjoy!

6D4A9980.jpg
Milly's Zucchini Carrot Banana Muffins

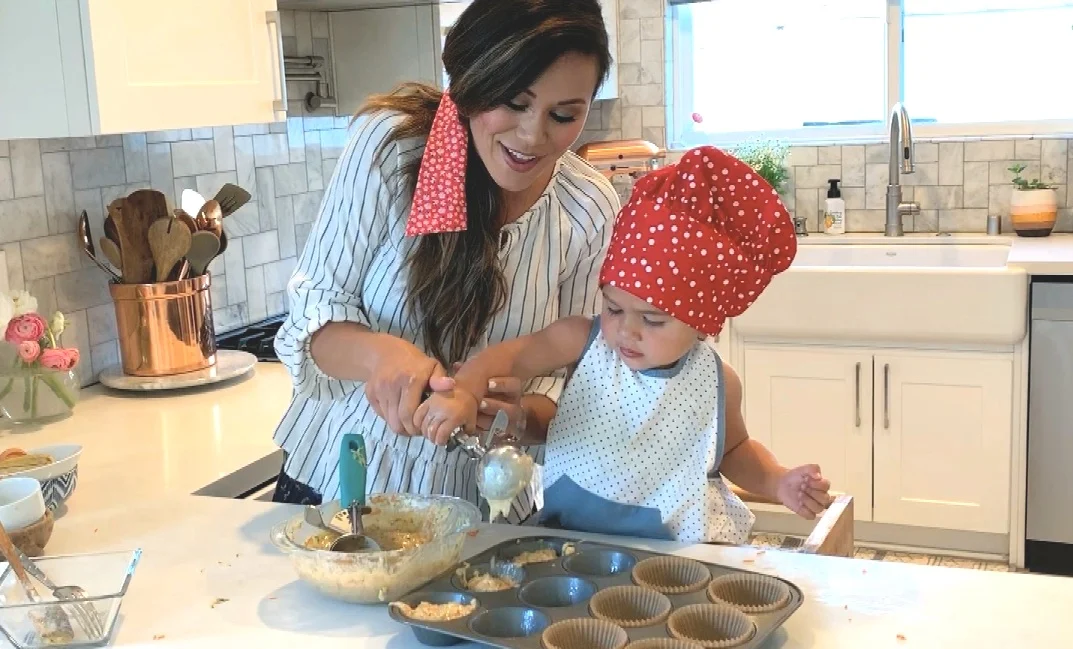
Anytime I post these muffins on IG, I get dozens of comments asking for the recipe. I finally wrote it up and even shot a video with Milly making them!!! Still need to take pics but it’s on my list of things to do!

These are my go to homemade snacks for Milly. She loves them and as I’ve said before, I never give Milly food I don’t love too. These muffins are slightly sweet, packed with veggies, whole wheat and I did a few healthier swaps too (no refined sugar). One batch makes 12 standard muffins or 24 mini muffins. I usually double the batch and freeze half for those weeks when I open the fridge or pantry and feel like there’s nothing to eat between meals. They are great for on the go. Anytime we travel, you can find these in our bag! If you like zucchini/banana bread and carrot cake you’ll love them too!

Screen Shot 2019-05-14 at 11.14.20 PM.png

Last fall I swapped out carrots for pumpkin puree because I had some leftover in a can already. So instead of adding 1/2 cup of carrots, just add 1/2 cup of pumpkin. I know there are many of you reading this right now thinking “Blasphemy! You can’t have pumpkin if it’s not fall!” and I actually agree with you LOL but from what I know about all you PSL Basic B’s out there, you’re already imagining it so I’m giving you permission. Do it! This photo is from last year when I did just that! Scroll down for the full recipe and then tag me on IG when you make these!

6D4A0924.jpg

Zucchini Carrot Banana Muffins

By Brandi Milloy

Ingredients

  • 1 large egg

  • 2 tablespoons butter, unsalted and at room temperature

  • 1 cup zucchini, finely grated and patted dry (about 2 small zucchini)

  • 1/2 cup carrots, finely grated

  • 1 ripe banana, mashed

  • 1/2 cup applesauce

  • 1/2 cup pure maple syrup (you can also use honey or agave)

  • 1 cup whole wheat flour (we use white whole wheat flour) or all purpose flour is fine!

  • 1/2 teaspoon cinnamon

  • 1/2 teaspoon nutmeg

  • 1 teaspoon baking soda

  • 1/4 teaspoon salt

Directions

  1. Preheat oven to 350F. Place cupcake liners in muffin tin.

  2. Into a bowl, mix your wet ingredients (egg, butter, zucchini, carrots, banana, applesauce, syrup). Into another bowl, mix your dry ingredients (flour, cinnamon, nutmeg, baking soda, salt).

  3. Combine wet and dry ingredients and mix.

  4. Using an ice cream scoop, fill each tin about 3/4 full.

  5. Bake for 18-20 minutes or until muffins rise and bounce to the touch.

Screen+Shot+2019-05-14+at+11.18.36+PM.jpg
My Mother's Day Gift Guide 2019

I can’t believe this is my second Mother’s Day! I get so emotional just thinking about how much of an impact being a mother has made on my life. Milly is such a gift from God. Mr. A and I say all the time that if we knew how wonderful being parents was going to be we’d find each other sooner and have all the babies! Last year’s Mother’s Day was just perfect. Mr. A took me to brunch at 189 by Dominique Ansel where they serve food dim sum style so servers walk around with food on boards and you choose what you want. It was SO much fun! Not sure what his plans are this year but all I know is mothers should be celebrated everyday and especially on Mother’s Day! And while gifts are never the goal here-we all cherish those hand written notes 100X more than any monetary thing, those thoughtful gifts are special as well. I’ve rounded up a few of my favorite things I think any Mama would appreciate. Head to my instagram IGTV Channel to watch my gift guide or scroll down to read about each of them.

THE MILLY PENDANT BY EDWARD AVEDIS

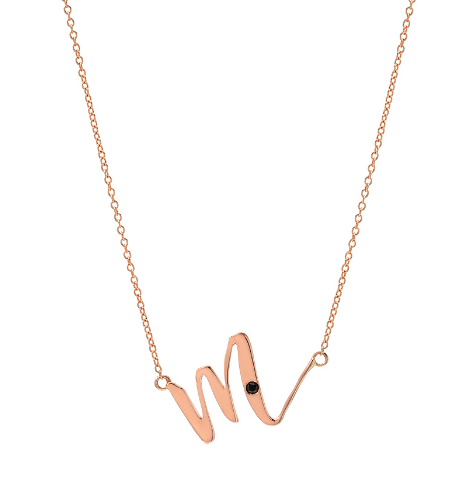
I designed this necklace with my good friend, Avo of Edward Avedis with my daughter, Milly in mind. I love having her initial around my neck and it’s a piece of jewelry I never take off. You can choose any initial you like in this beautiful delicate font. The Milly Pendant is available in 14 KT yellow, white or rose gold and sterling silver, too it’s something Mom will cherish forever. Use code BRANDI for 20% OFF

PHOTO ALBUM

Mom would love it if you just put all of her pictures into an album. There are so many apps available that make it super easy to choose the photos from your phone and have it printed into a book. I decided to start doing this every quarter so that Milly has photos she can look through and we can start documenting our lives better. We don’t do screen time in our home or let Milly play on our phones but I realized she really enjoys looking at photos on my phone! So after my parents and sister and nephews visited us from AZ I decided to compile all of the photos we took into a book for her and it’s now one of our favorite things to look through!

Screen Shot 2019-05-02 at 10.27.27 PM.png

GIRL WASH YOUR FACE by Rachel Hollis

This book is such a powerful read you won’t be able to stop turning the pages. Rachel Hollis has such an authentic, relatable, inspiring sense of energy you’ll feel like the badass Mama you are when you’re done reading it. It’s one of my go to gifts and one any woman would appreciate!

Screen Shot 2019-05-02 at 10.34.30 PM.png

IBI at MEETIBI.COM

If your Mom takes a ton of photos or has boxes of old photos, hard drives and laptops this is the gift for her. Ibi is a smart photo manager that comes with a companion app so you can sync all of your social media accounts, , cloud accounts etc with this device and have all of your photos in one place organized by date and location. It collects, organizes and saves all of your photos in one place! We take so many photos but never know where any of them are! This has been a lifesaver for me! The device holds 2TB (that’s about 500,000 images) so she could even share the space on the Ibi with you!

Screen Shot 2019-05-02 at 10.45.17 PM.png

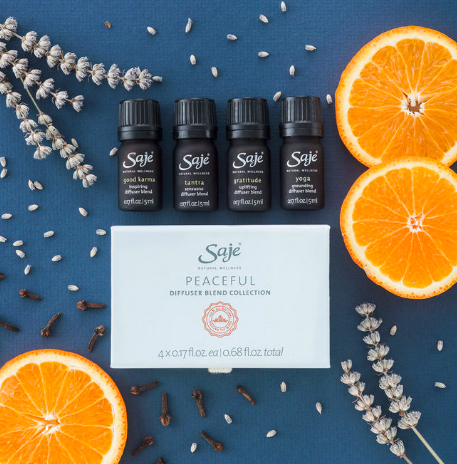
SAJE ESSENTIAL OIL DIFFUSER BLENDS

I swear by essential oils and have been using them for a few decades. We diffuse them in Milly’s room at night or when she is resting/napping to create a calm relaxing environment. I love the natural blends Saje carries and enjoy so many of their products including their diffusers and essential oil rollers. You can choose the individual oils for Mom or get her a collection of them. I especially love their Peaceful and Blend Collection.

Screen Shot 2019-05-02 at 10.55.54 PM.png

MARA UNIVERSAL FACE OIL

I have been using this oil for almost a year and I can’t live without it! So many of my friends started using it too and swear by it! It’s really the only face oil you need for bouncy, glowing skin. MARA Universal Face Oil is for all skin types and is loaded with age-defying algae, plankton extract and four superfood plant oils to replenish and hydrate tired, dry skin. It feels SO good on the skin. You can use it day and night but I definitely I don’t go to sleep without putting my MARA on!

Screen Shot 2019-05-02 at 10.58.02 PM.png

GIFT CARDS

Gift cards should never be considered impersonal or unemotional because I think it’s so thoughtful when someone finds out your favorite restaurant/spa/nail salon etc and gives you a gift card to that place! A handwritten card with a gift card inside is absolutely a wonderful gift. The best way for Mama to feel pampered is for her to be treated!

MARBLE & WOOD BOARD

This board is not only functional but beautiful! Just leaning against the backsplash in her kitchen is sure to make Mom smile. This is the gift for the mom that loves entertaining and having people over. It doesn’t matter what she puts on the board (cheese & meats, desserts, fruit, crackers) it will make her the hostess with the mostest!

Screen Shot 2019-05-02 at 11.06.58 PM.png

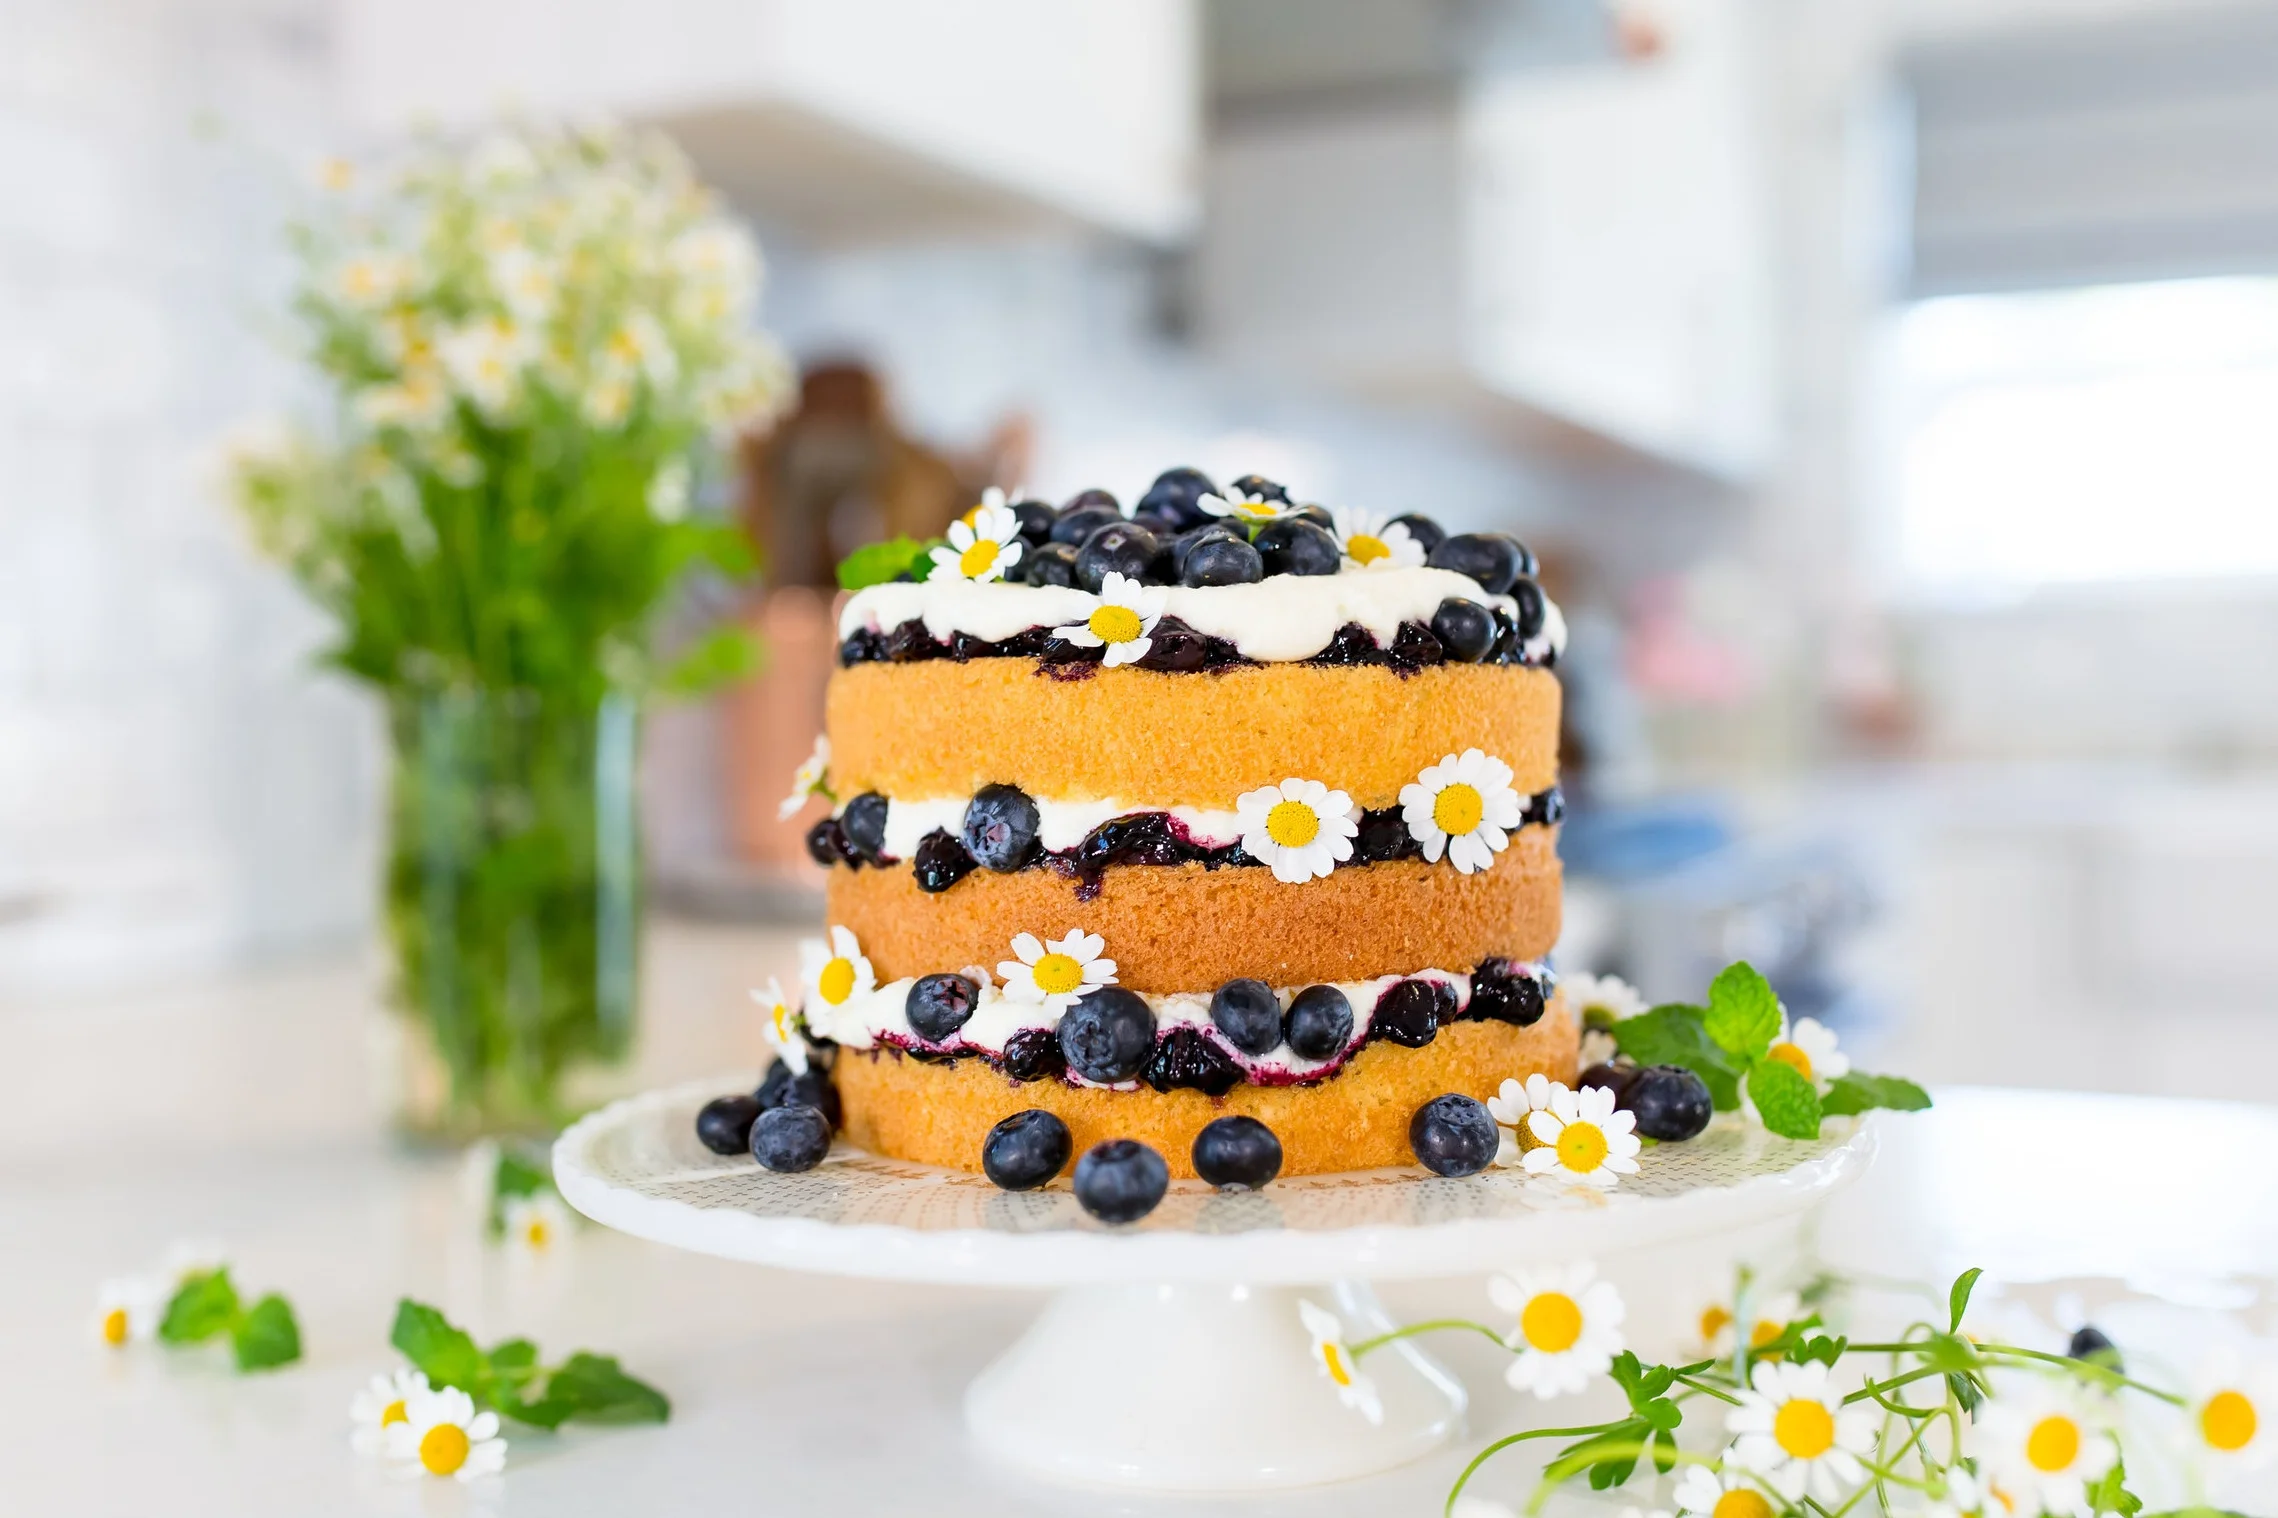
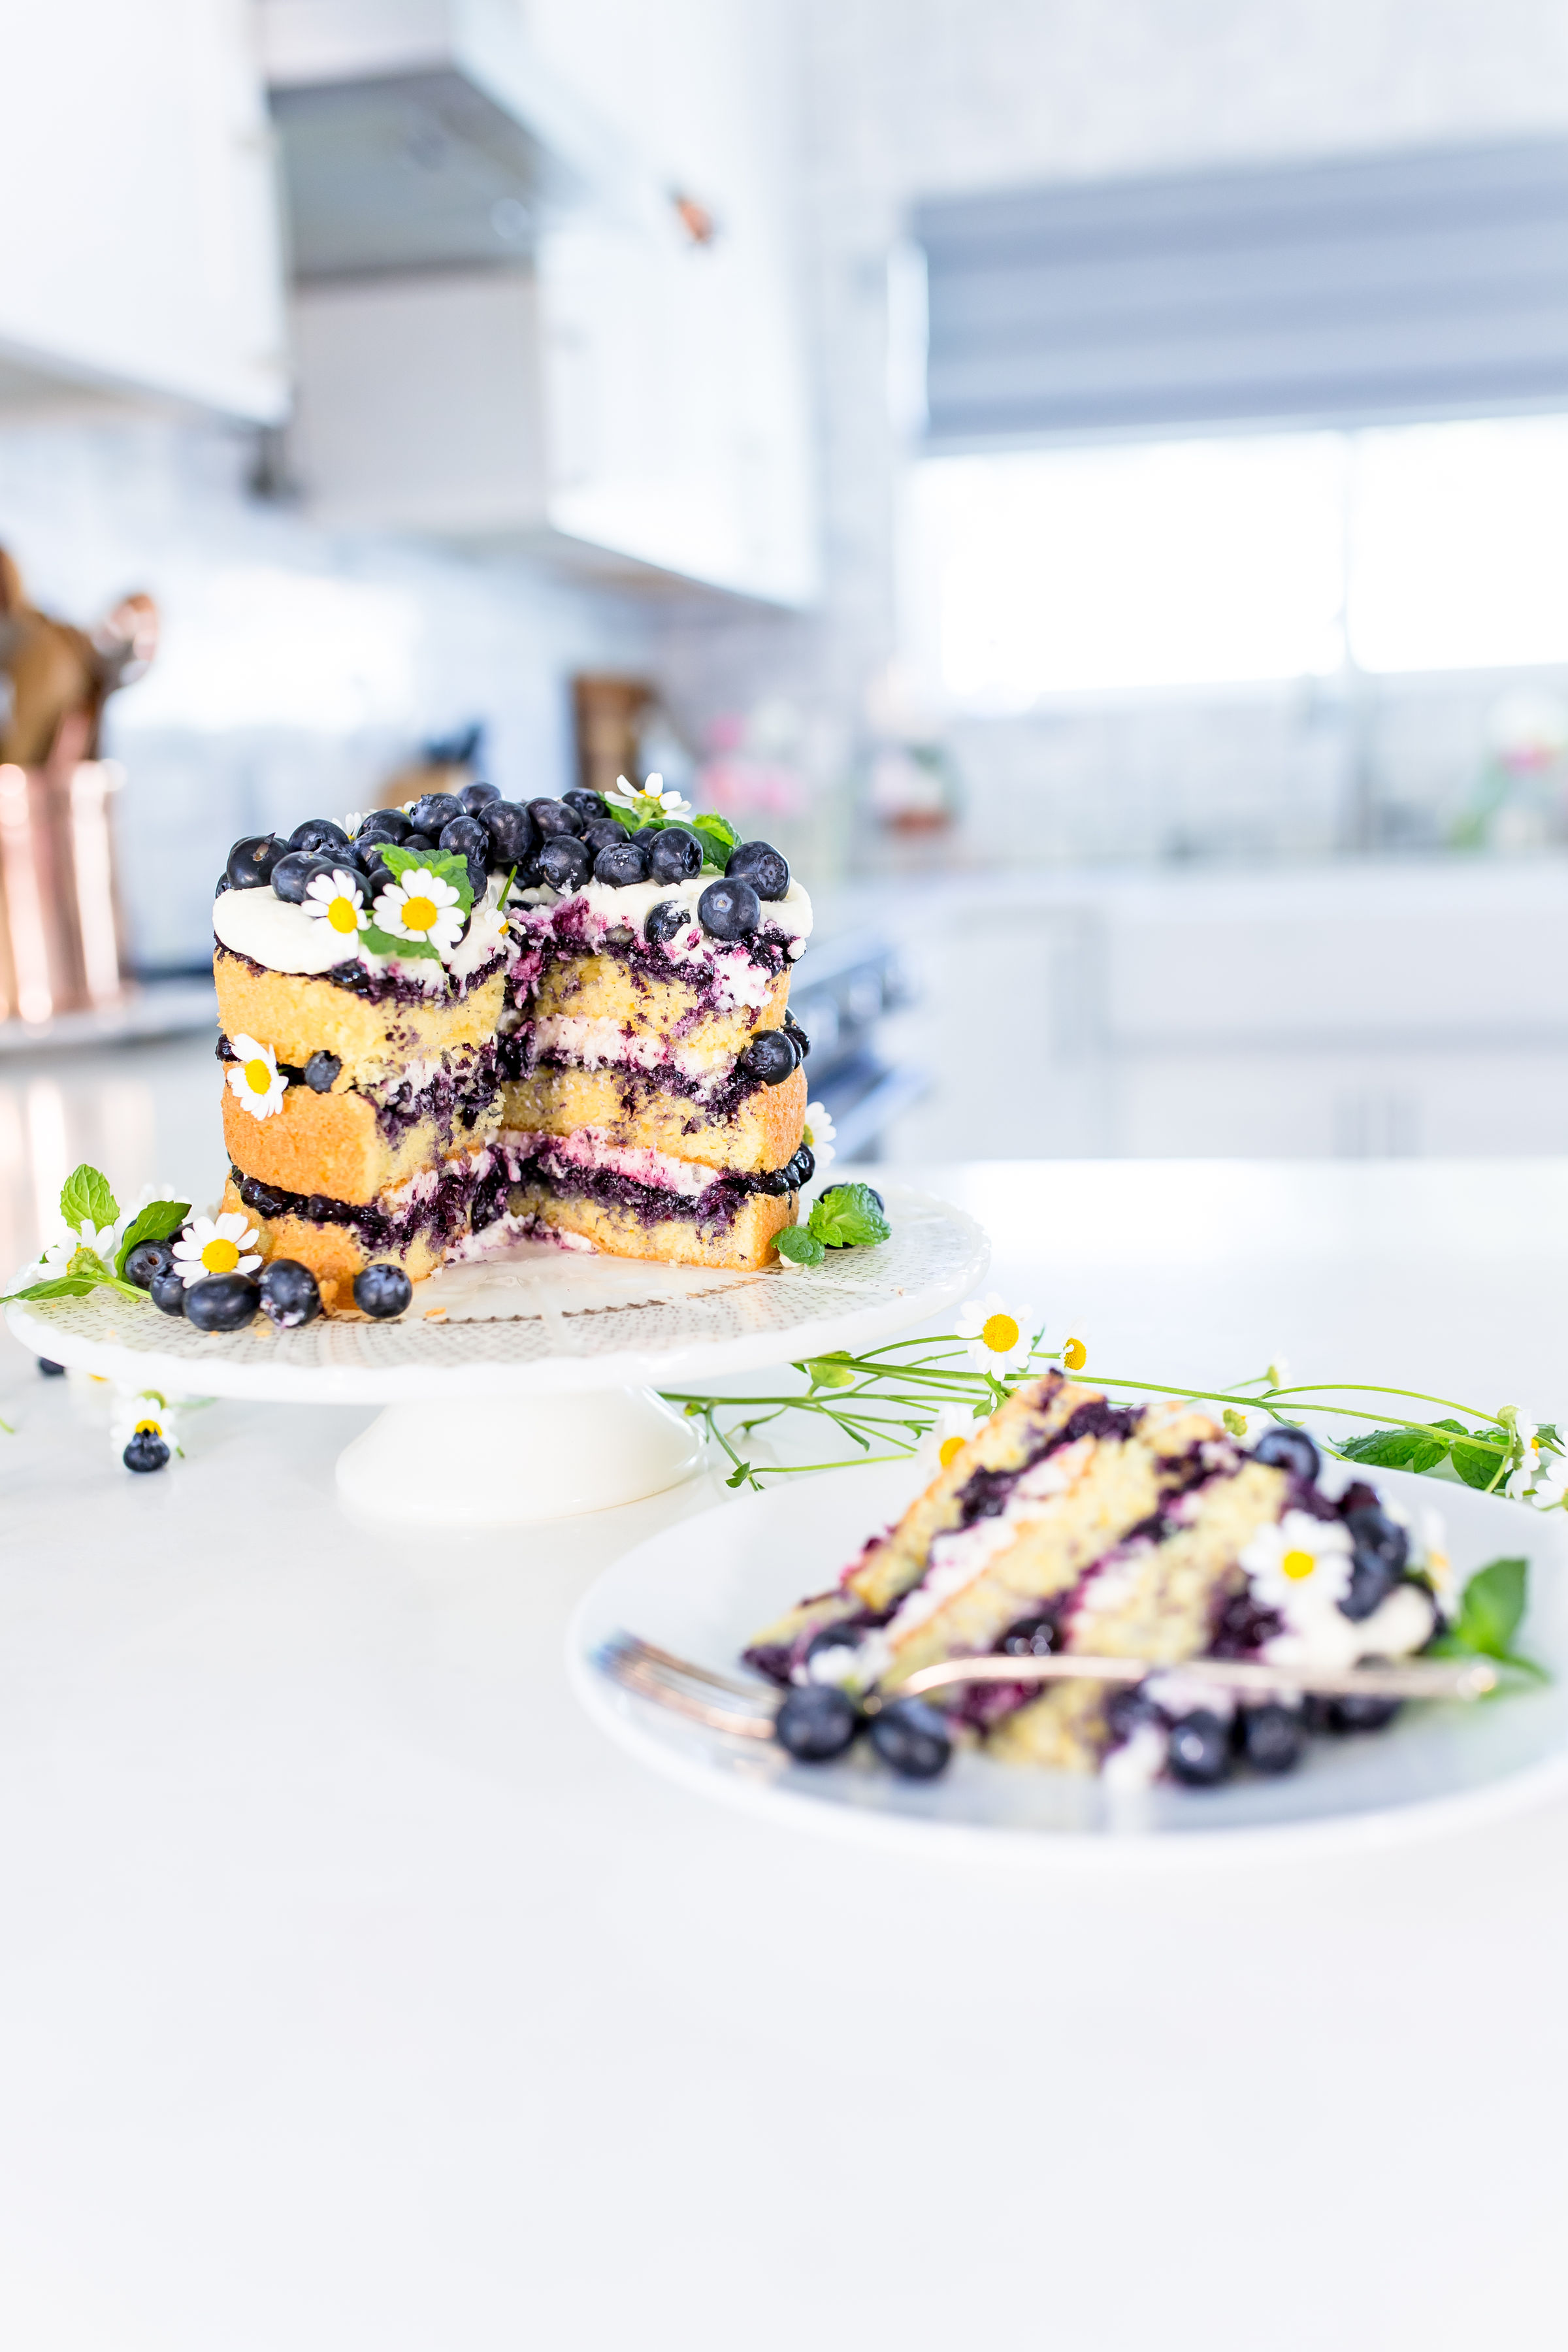
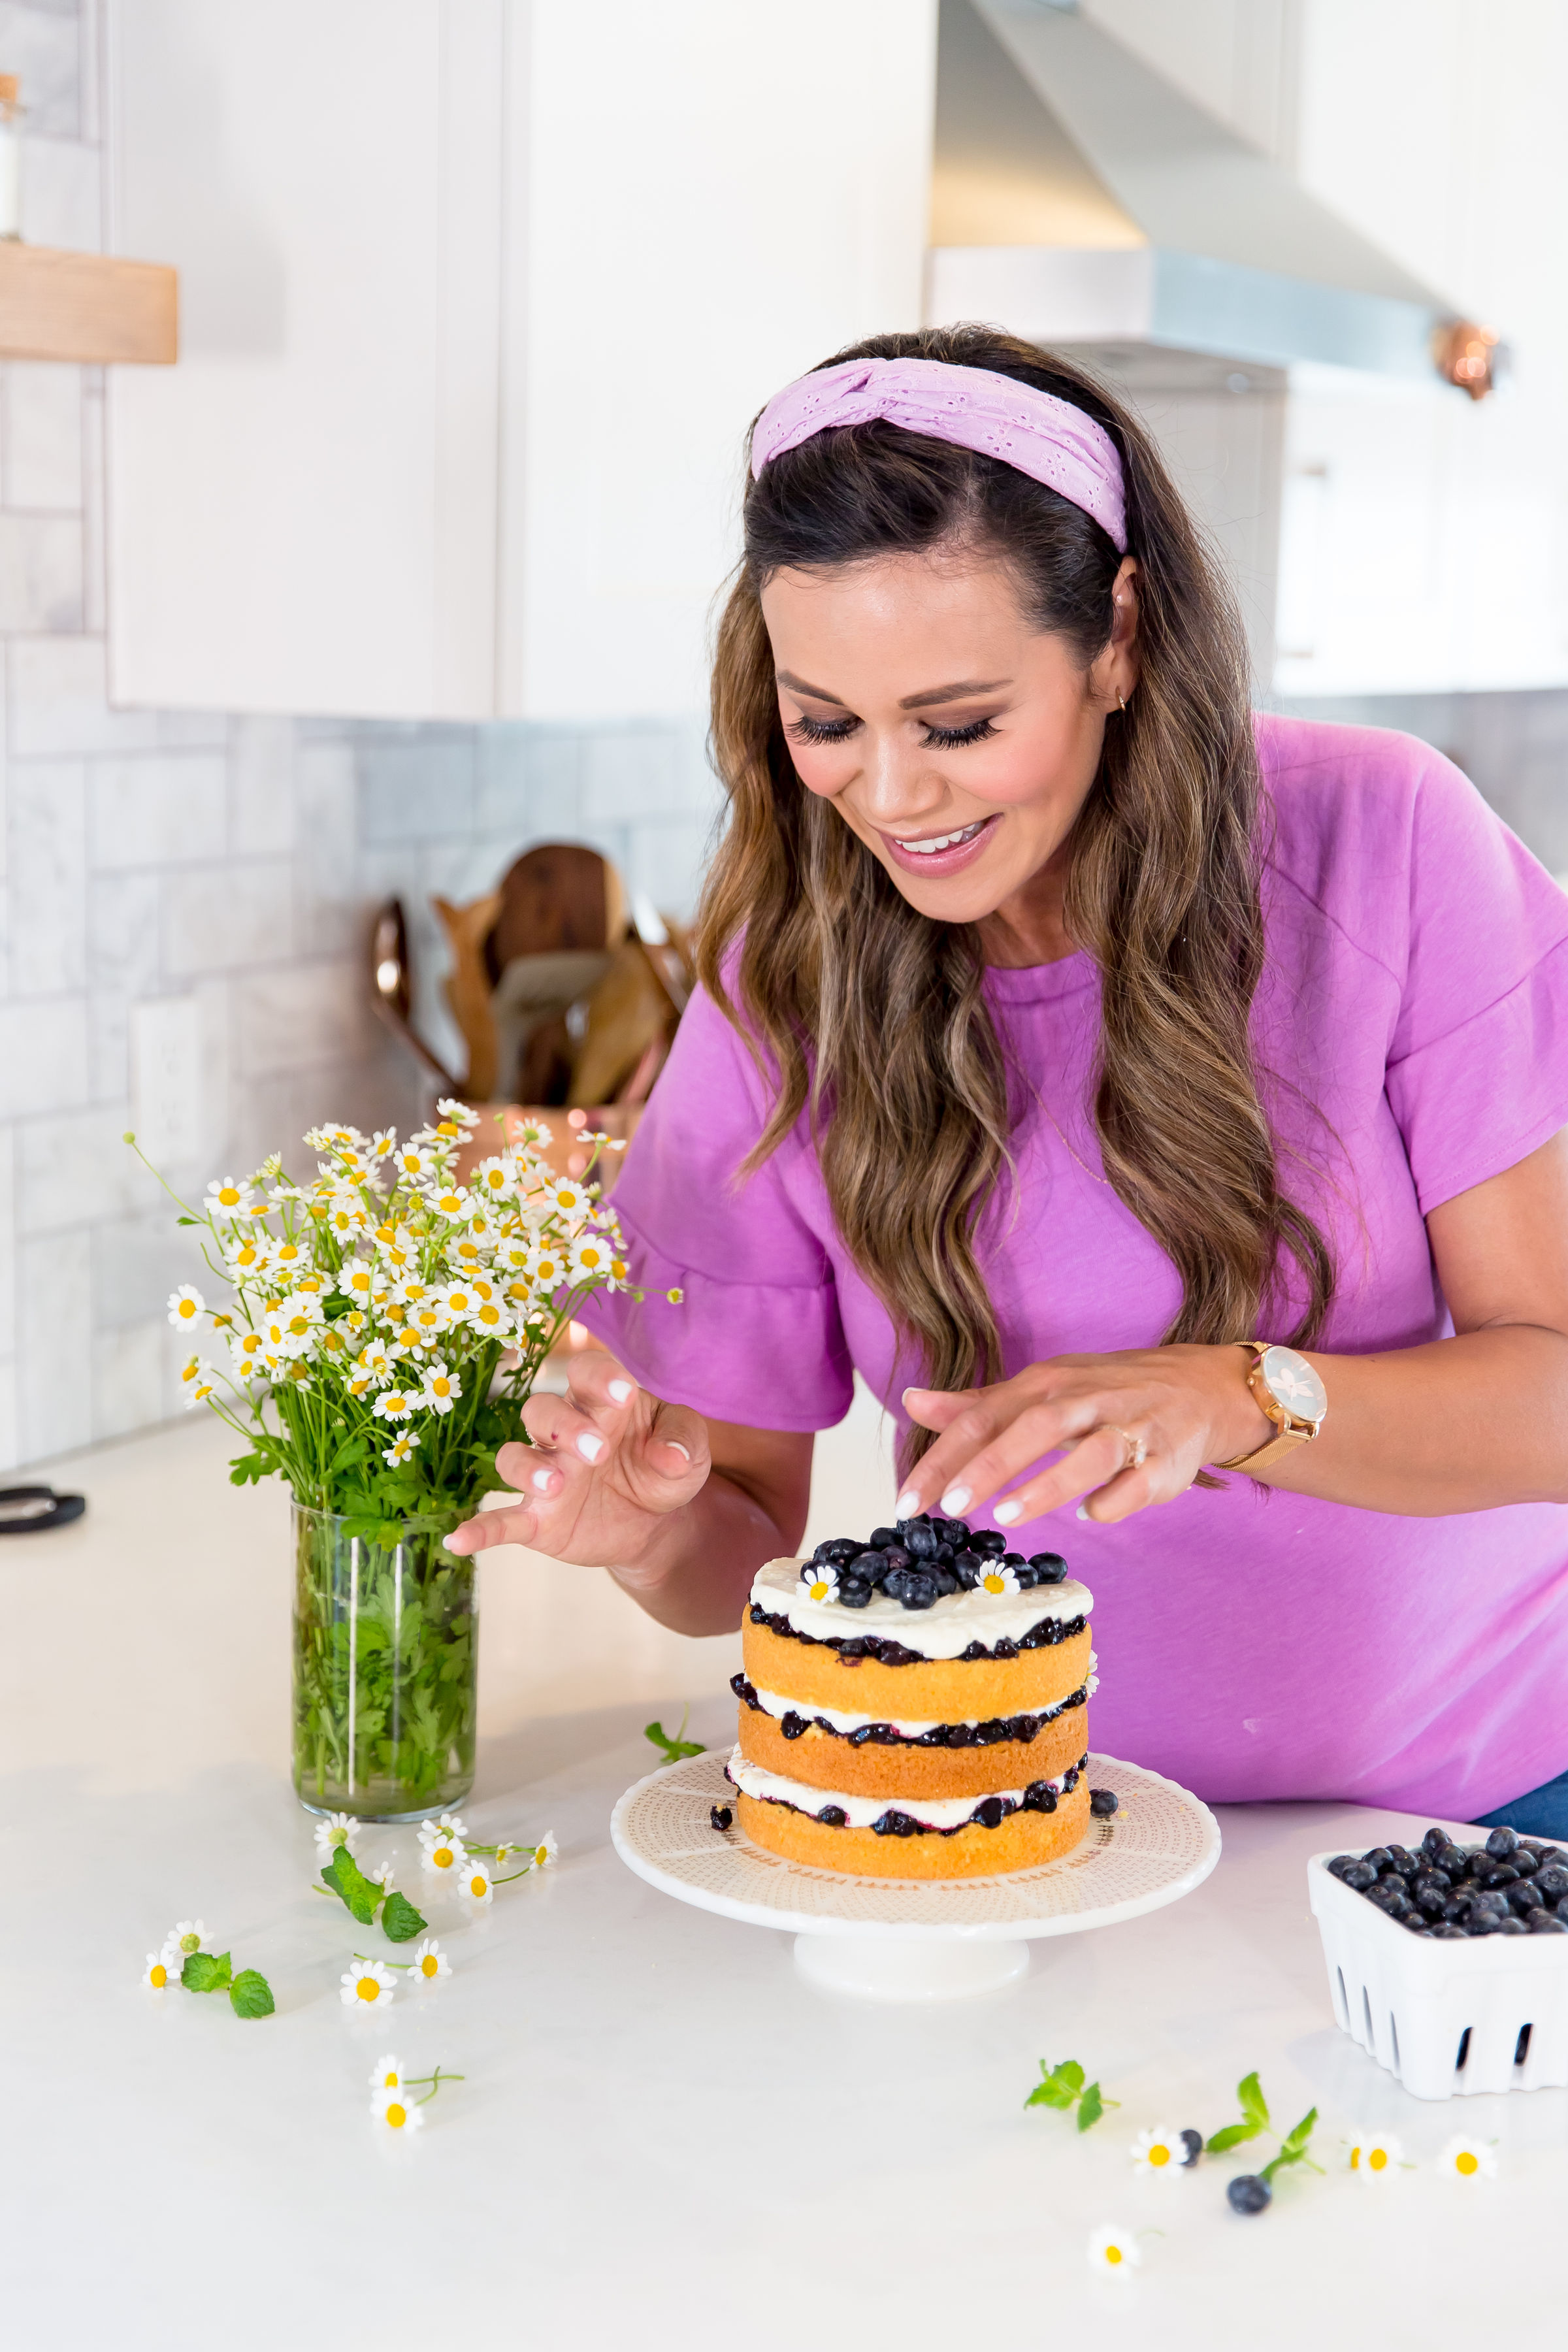
MY HOMEMADE BLUEBERRY LAYERED CAKE

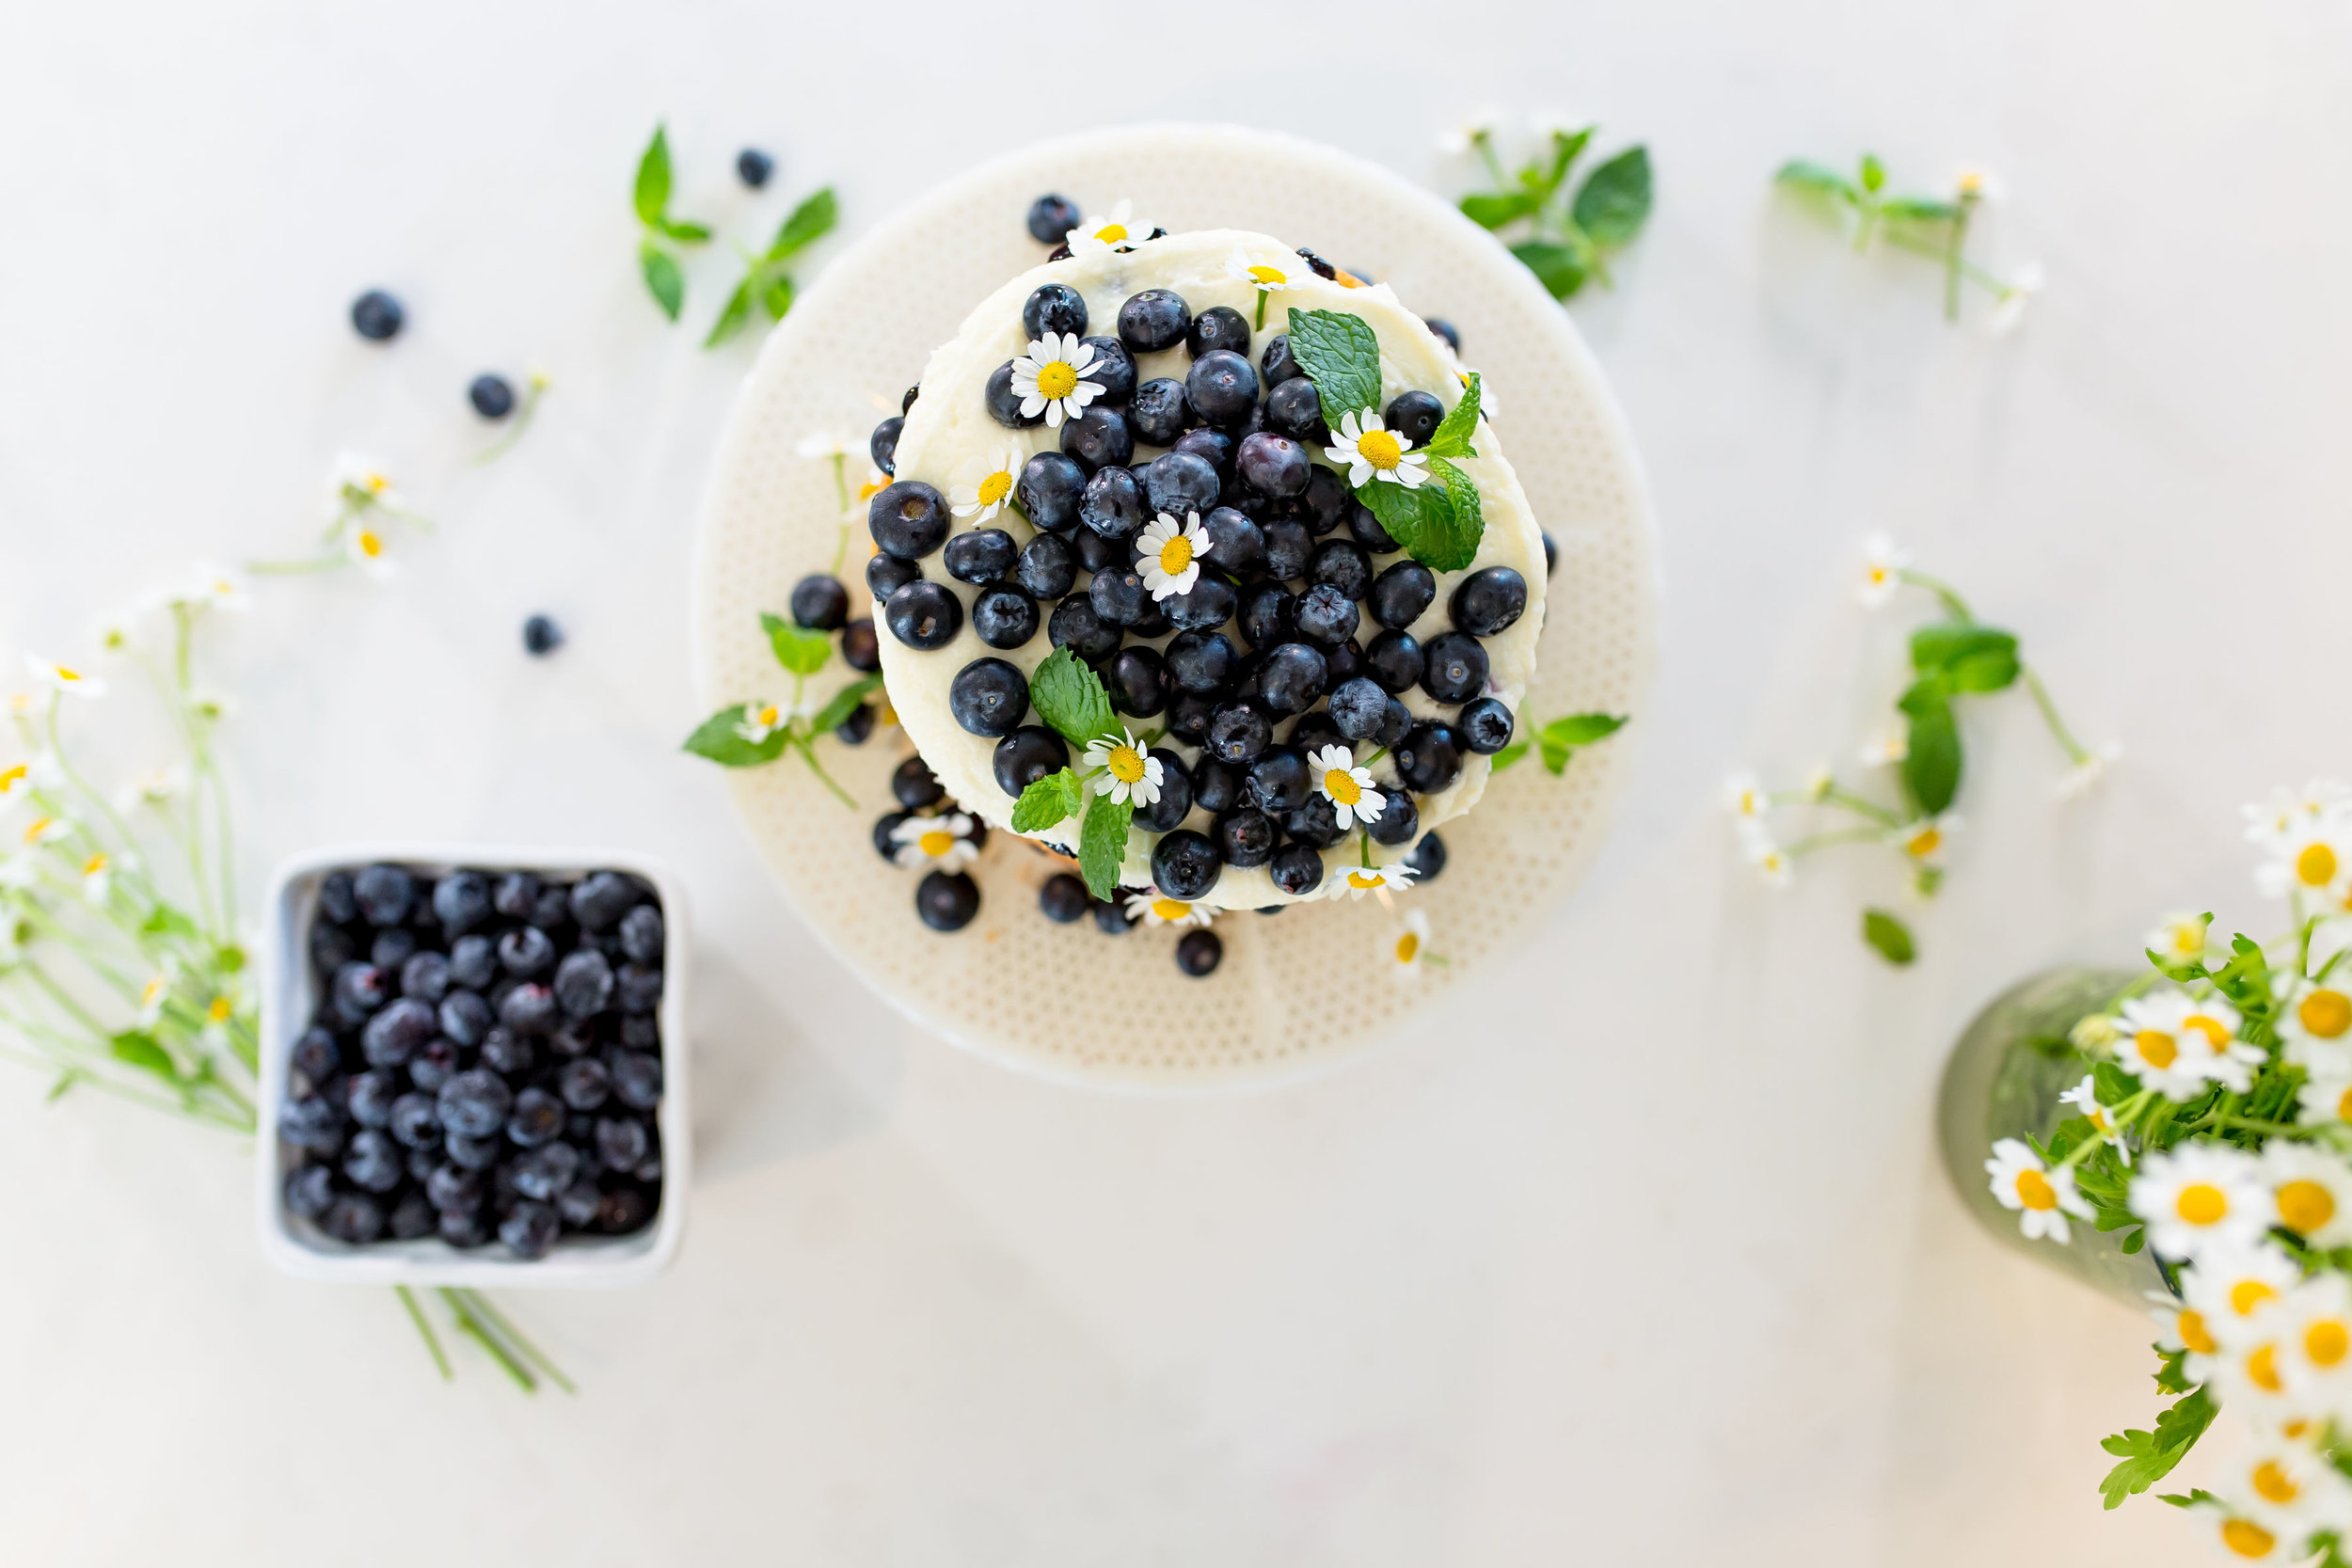
Making something for Mom homemade is so sweet and a much appreciated gift! My blueberry layered cake is one of those desserts that looks impressive but isn’t difficult to make! Layers of butter cake, juicy blueberry filling and creamy buttercream frosting make up this showstopper that will have Mom gasping, smiling and crying all at once. It’s that good! The full recipe can be found here.

6D4A8343.jpg

Be sure to tag me on instagram letting me know what you did for your Mom on Mother’s Day! And if you gave here one of these gifts, I’d love to know her reaction! Hope everyone has a beautiful day celebrating our everyday superheros, Mothers!

Blueberry Layered Cake

This post is sponsored by the U.S. Highbush Blueberry Council

6D4A8319.jpg
6D4A8318.jpg
6D4A8241.jpg
6D4A8325.jpg

This blueberry layered cake might just be the sweetest most charming dessert I’ve ever made! Layered cakes are one of those impressive desserts that look like a lot of work but I have a few tricks for making them so well you’ll be volunteering to make them for every special occasion!

6D4A8461.jpg

From the fluffy buttery cake to the creamy frosting and the juicy, fresh blueberry filling this is one of those cakes everyone can’t get enough of. It’s perfect for any bunch-your Mom on Mother’s Day, a bridal shower, baby shower or a birthday! Be sure to post your photos on Instagram-I can’t wait to see your creations and tag me @BrandiMilloy. Keep scrolling for the full recipe!

6D4A8312.jpg
6D4A8238.jpg
6D4A8322.jpg
6D4A8306.jpg
6D4A8418.jpg

All photography by @Ographr

BLUEBERRY LAYERED CAKE

BY BRANDI MILLOY

INGREDIENTS

CAKE

1 box butter cake mix (you can also use yellow or white cake)

ingredients for cake mix (eggs, oil, water)

Three 6” round cake pans

Non stick cooking spray

BLUEBERRY FILLING

2 cups frozen blueberries, rinsed and patted dry

2 tbsp. maple syrup

Juice from half a lemon

BUTTERCREAM FROSTING

1 cup unsalted butter (2 sticks, at room temperature)

4 cups powdered sugar, sifted

3-4 tbsp. heavy cream or milk

1 tsp. vanilla extract

Garnish

1 cup fresh blueberries

handful of chamomile flowers or other edible, organic flowers

DIRECTIONS:

  1. Prepare cake mix according to box. Spray cake pans with non-stick cooking spray and then divide batter into three cake tins. Bake at 350F for about 25 minutes or until cake is baked through. Allow cakes to cool. Once cooled, use a serrated knife to level and make each cake even by removing the baked dome part.

  2. For the blueberry filling, add all of the ingredients into a sauce pan and cook on medium heat for about 10 minutes stirring as it cooks and mashing the berries slightly. Mixture will start to thicken. Remove from heat and allow to cool completely

  3. Make buttercream frosting by adding butter, powdered sugar and salt to mixer and mix. Slowly add in heavy cream/milk 1 tablespoon at a time. Add vanilla and keep mixing until fluffy! Put frosting in pastry bag or place in plastic bag and snip corner about 1/2” opening.

  4. To assemble cake: Start by adding a little bit of frosting to center of cake stand/cake plate. Place one cake in center. Top with 1/3 of buttercream and 1/3 of blueberry filling. Repeat this step two more times.

  5. Garnish cake with fresh blueberries and chamomile flowers and serve! Can be kept in refrigerator for up to 3 days but allow to come to room temperature before serving.

Ideas For a Non-Candy Easter Basket

Check out my IGTV to watch me reveal Milly’s First Easter basket featuring non-candy ideas. I loved putting this together for her! There are so many wonderful items to give your children that encourage learning, fuel fun and inspire imagination! I hope this sparks your own ideas for your little one’s Easter basket. Check out the full list of items below and then I’d love to know what other ideas you have down in the comments below! Happy Easter! xo, Brandi

Yoobi Glitter Chalk

Roly Poly Dog

Hair Accessories

Wooden Bug Catching Puzzle

We Are the Gardeners Book

Reusable Sticker Book

Bubble Wand

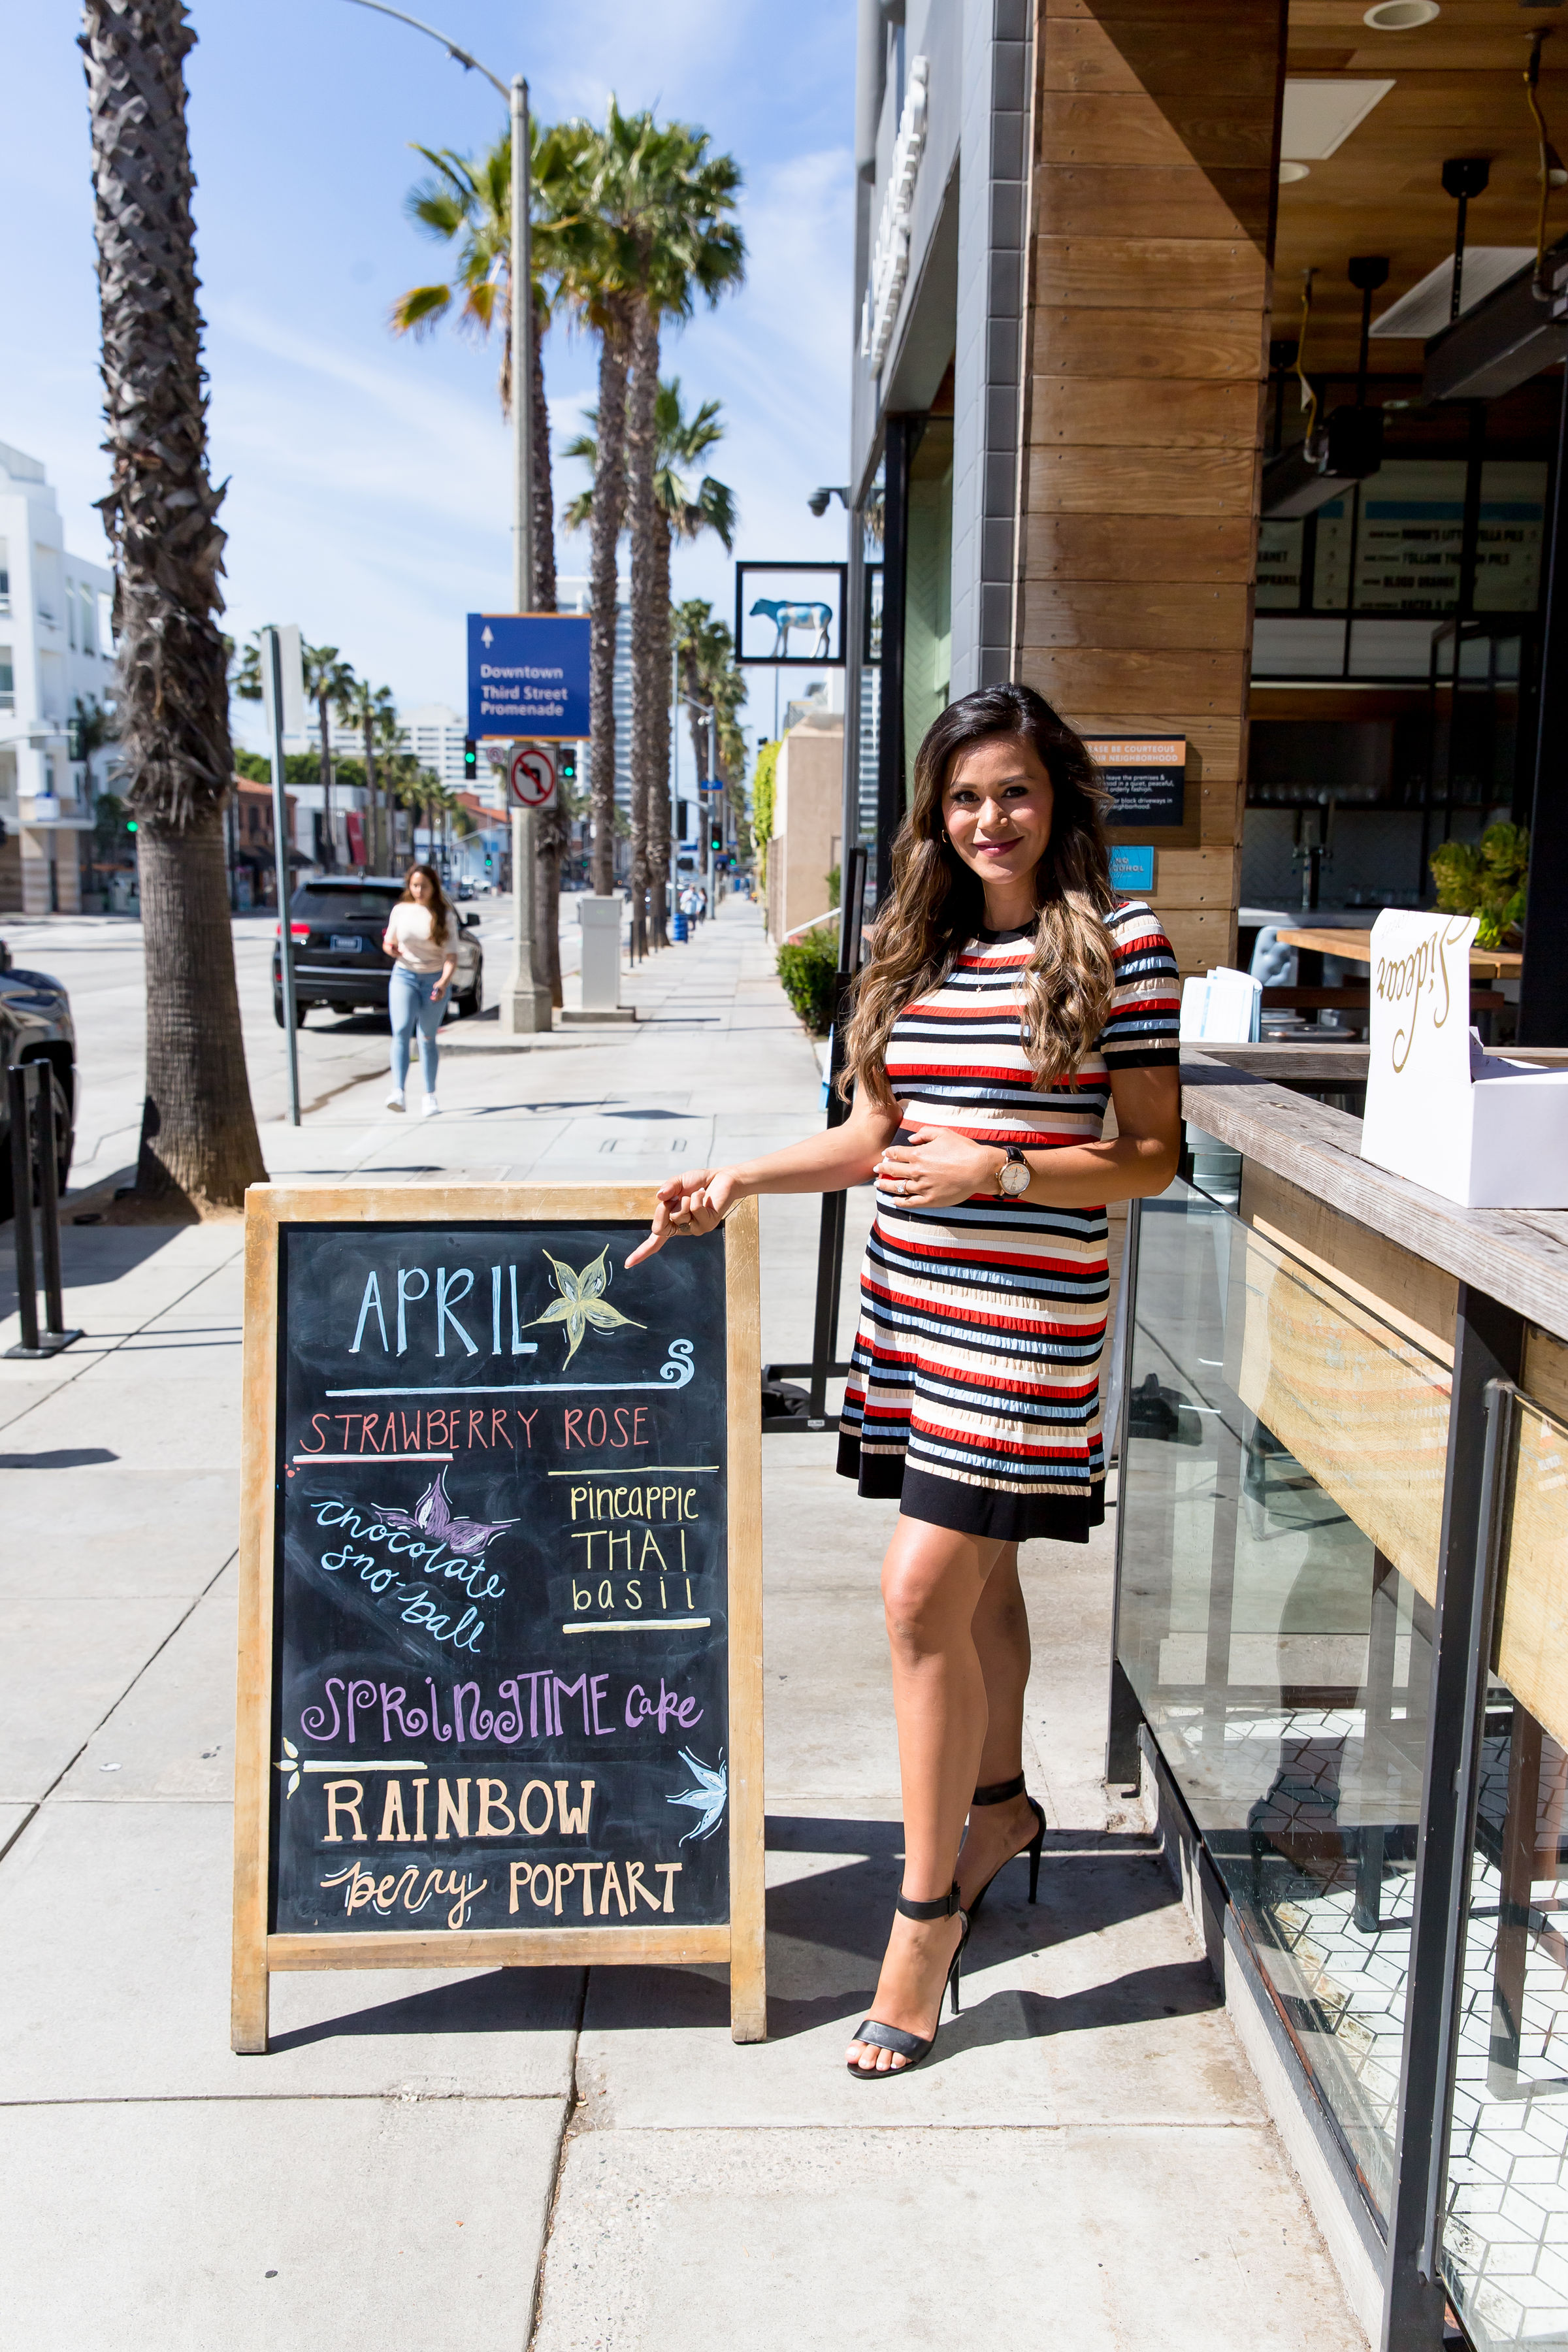
My Rainbow Berry Pop-Tart Doughnut at Sidecar
6D4A9848.jpg

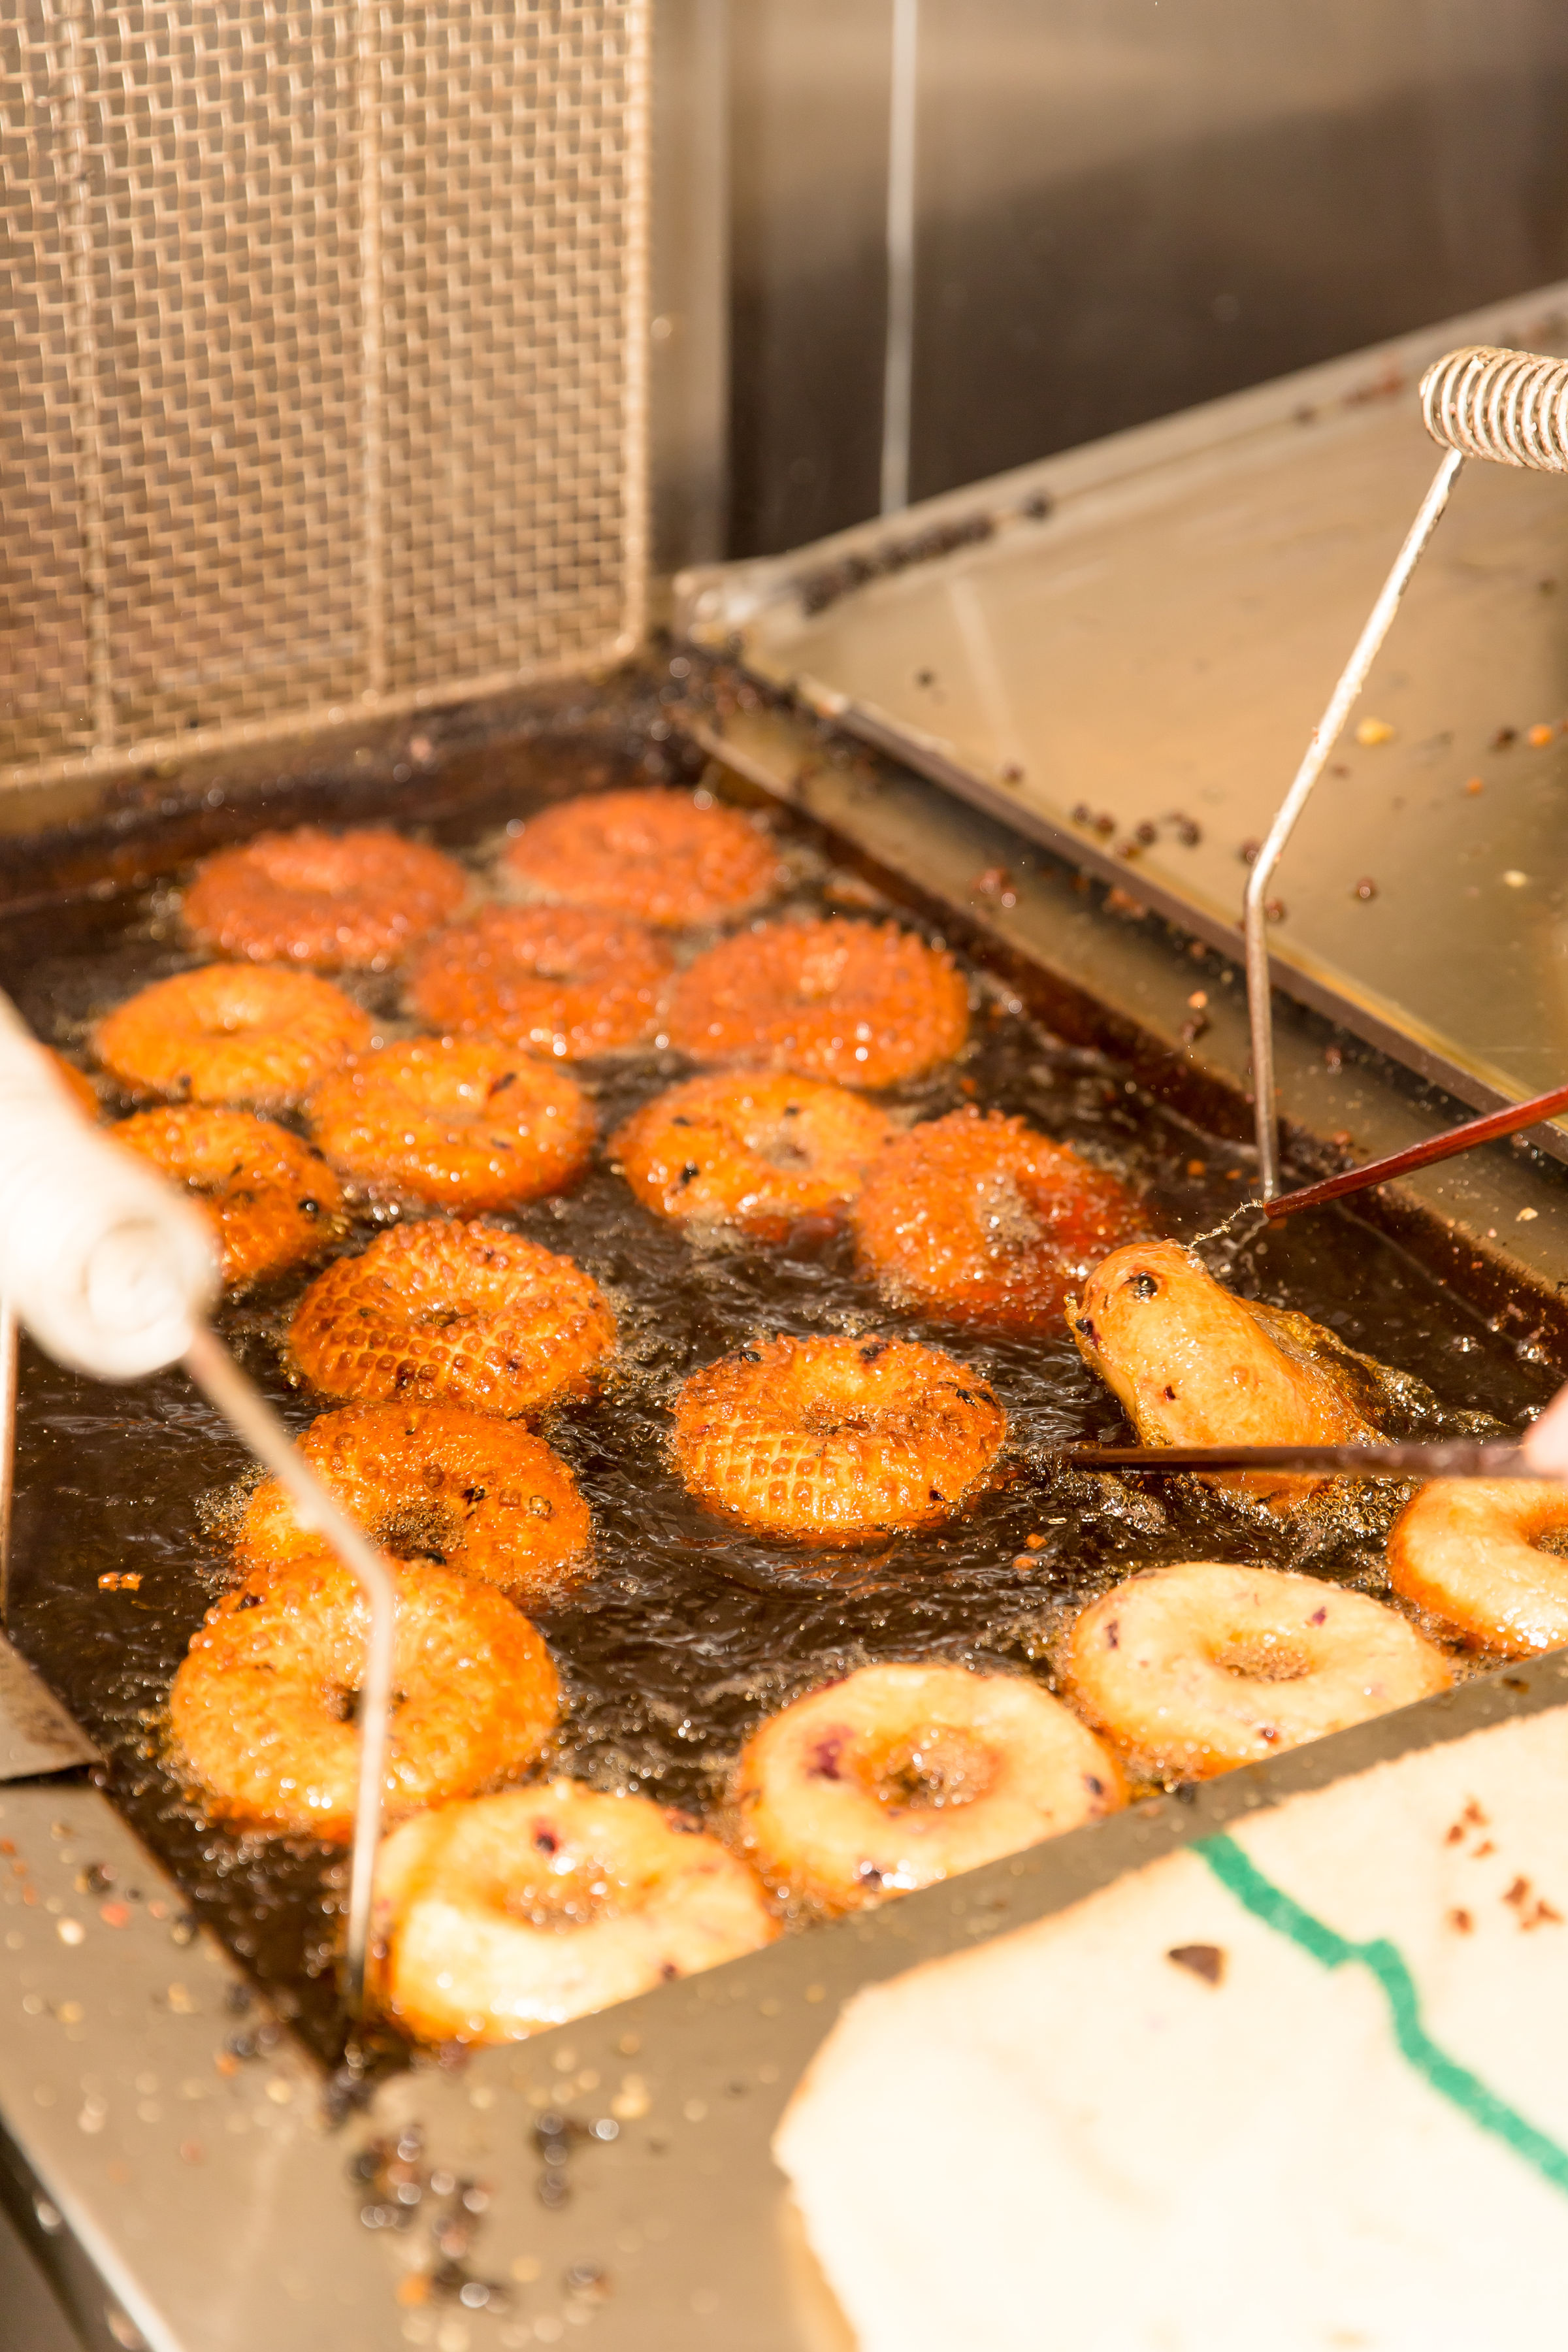
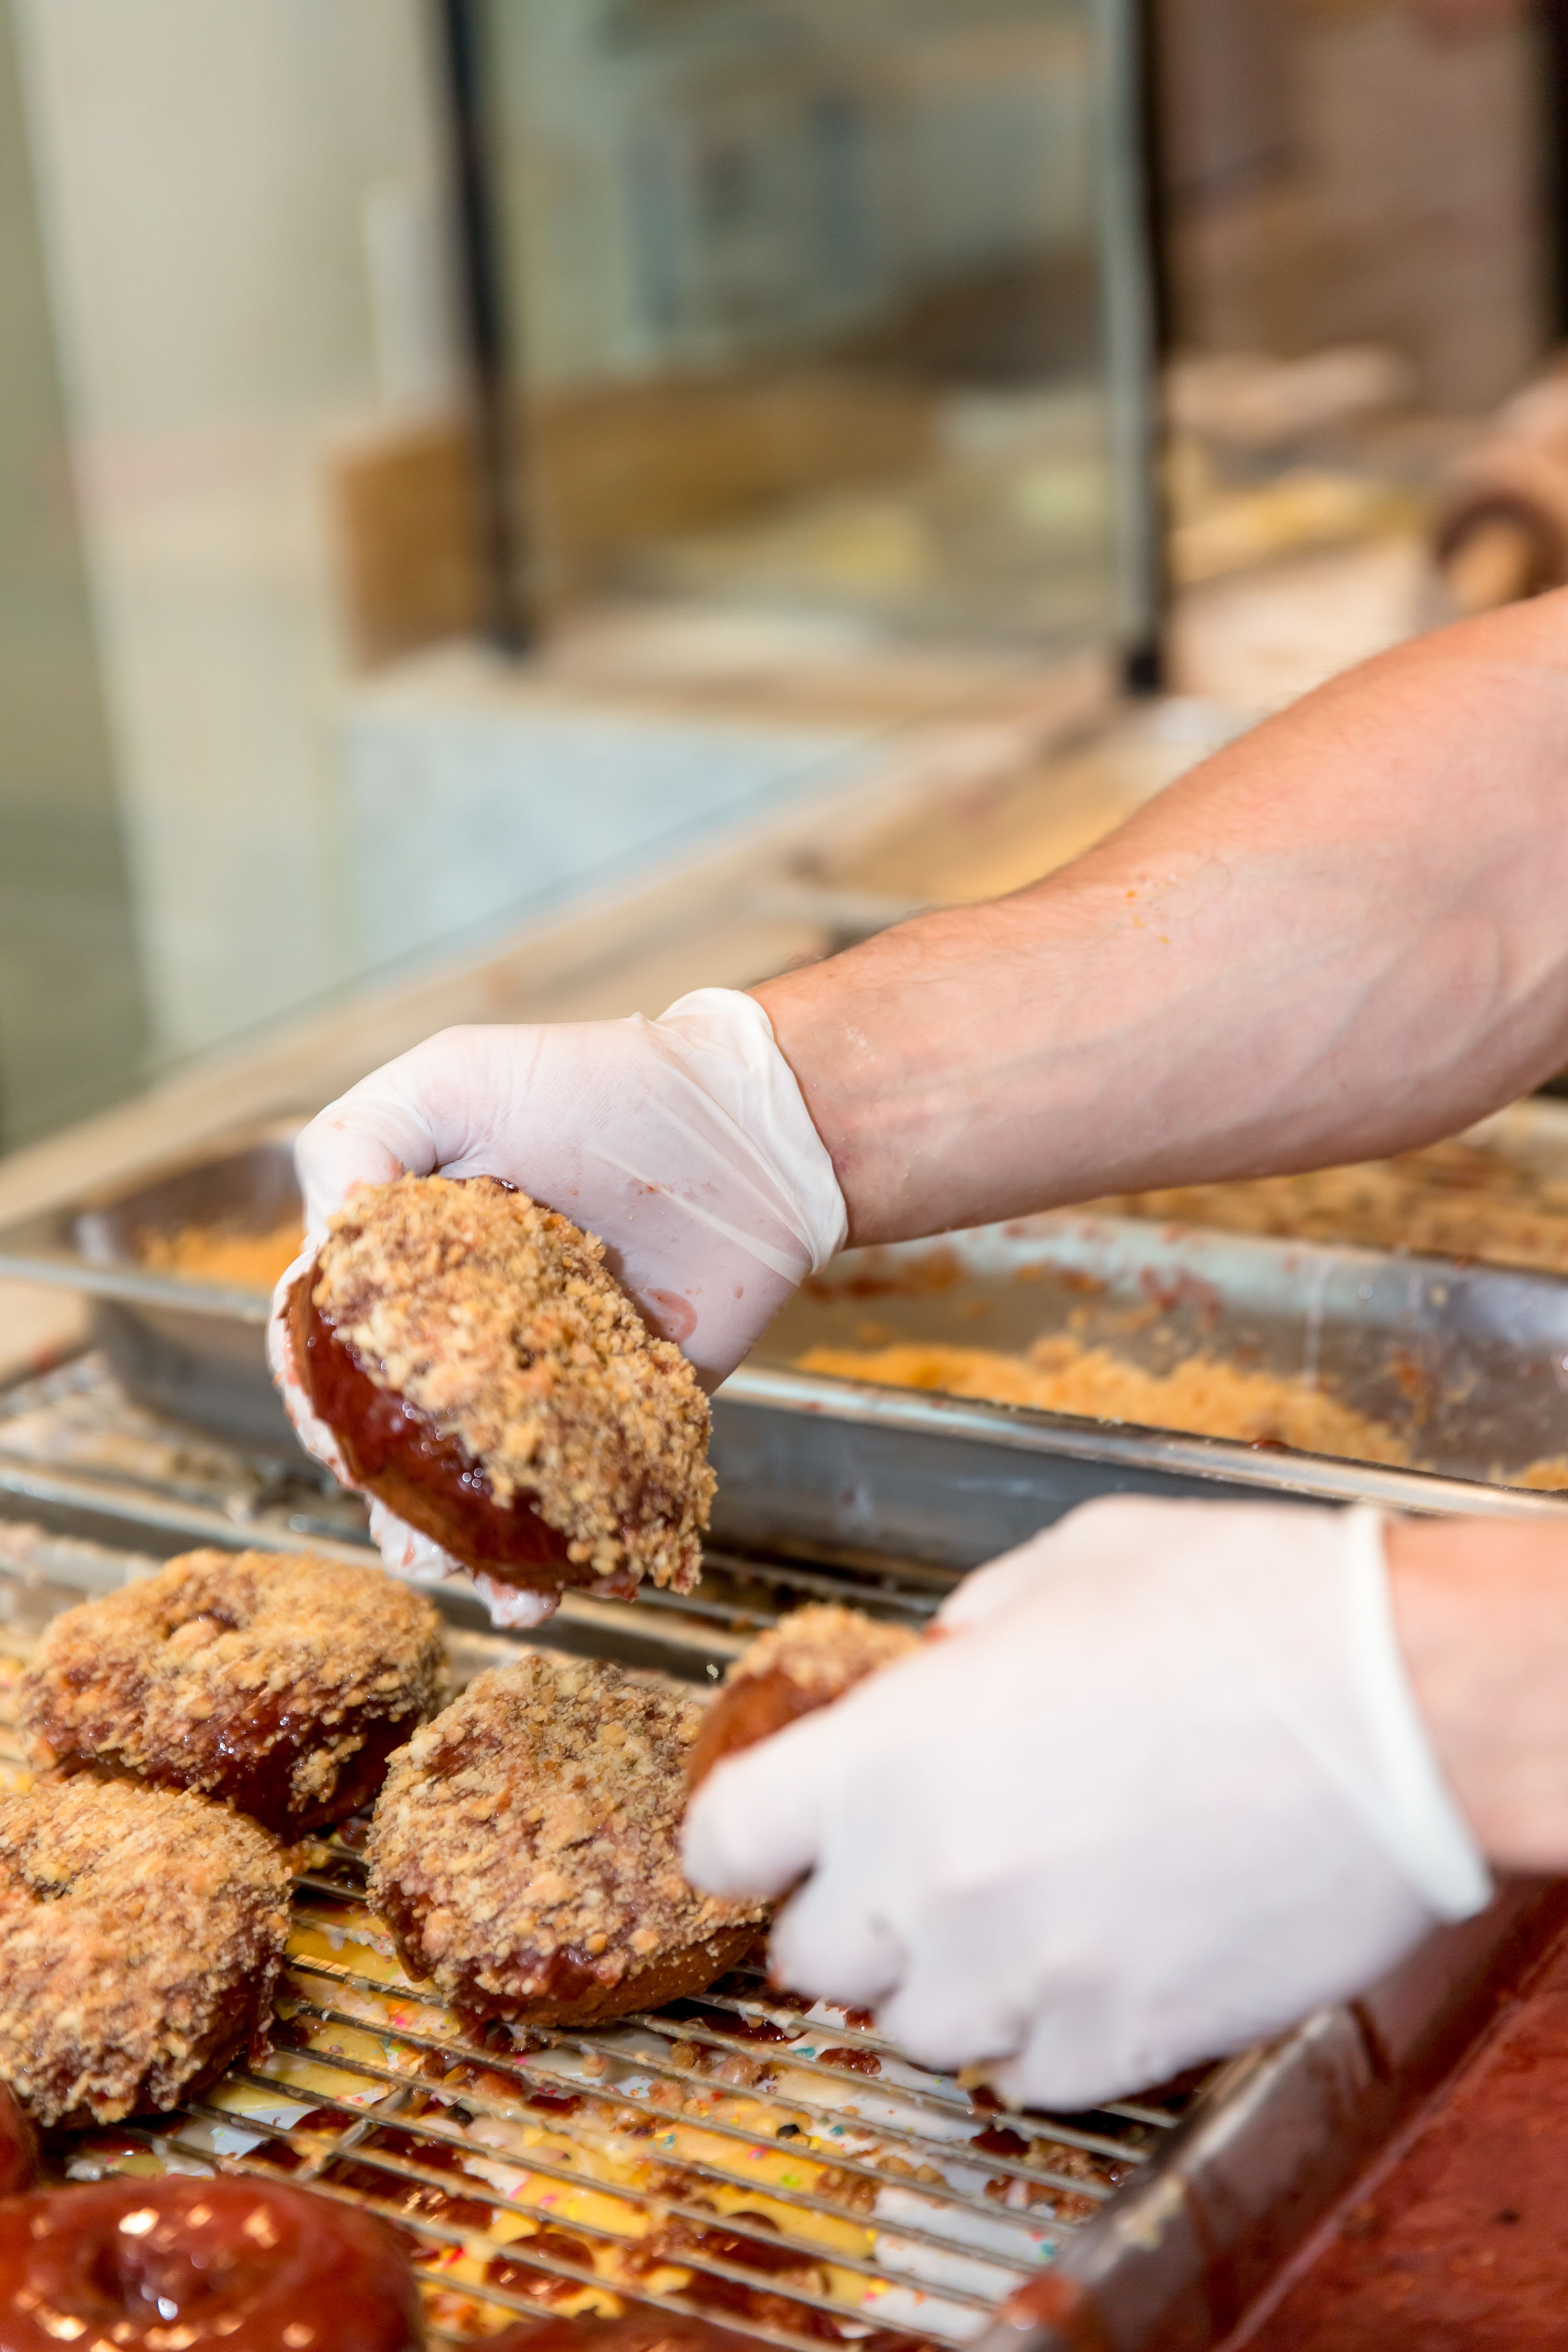
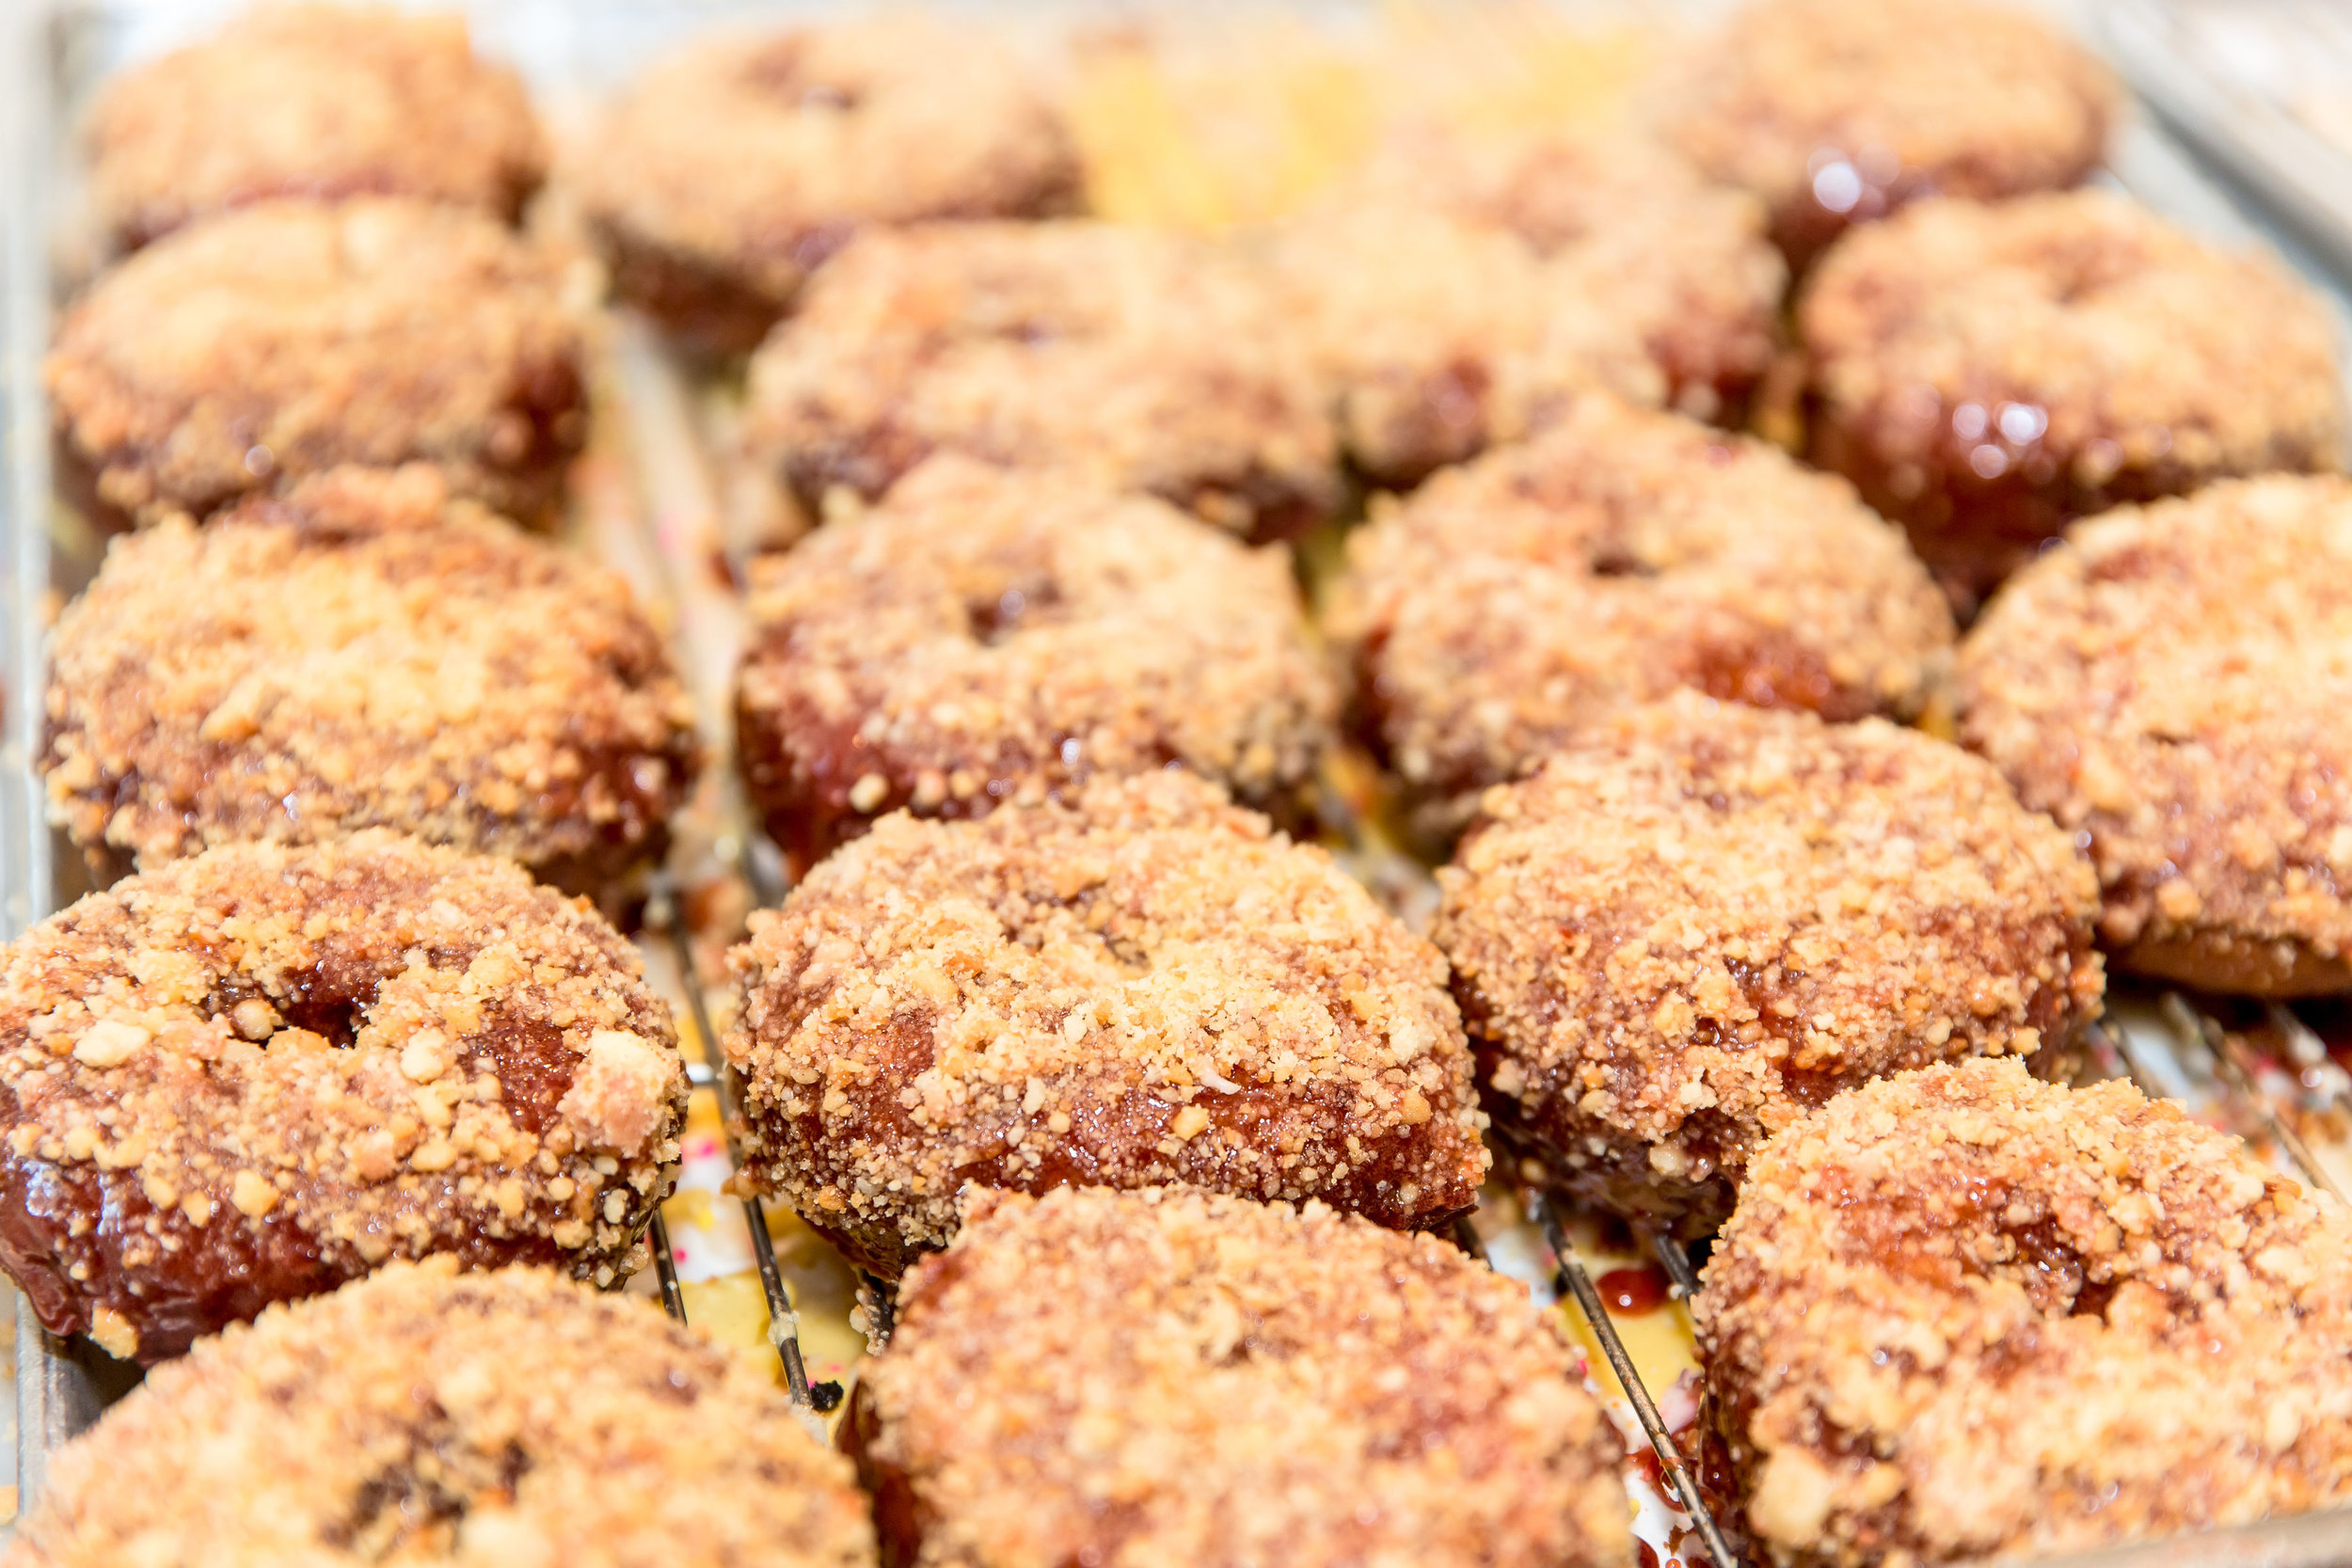
What an honor to be chosen to create a doughnut for Sidecar Doughnut’s Chef Series Collaboration program. Creating this doughnut was so much fun but also tough because I had so many ideas! I mean you probably already know what a few of those are (I mean can you google me without Oreo popping up?) but I kind of don’t want to share them cause they’re SO good. Haha!

6D4A9698.jpg

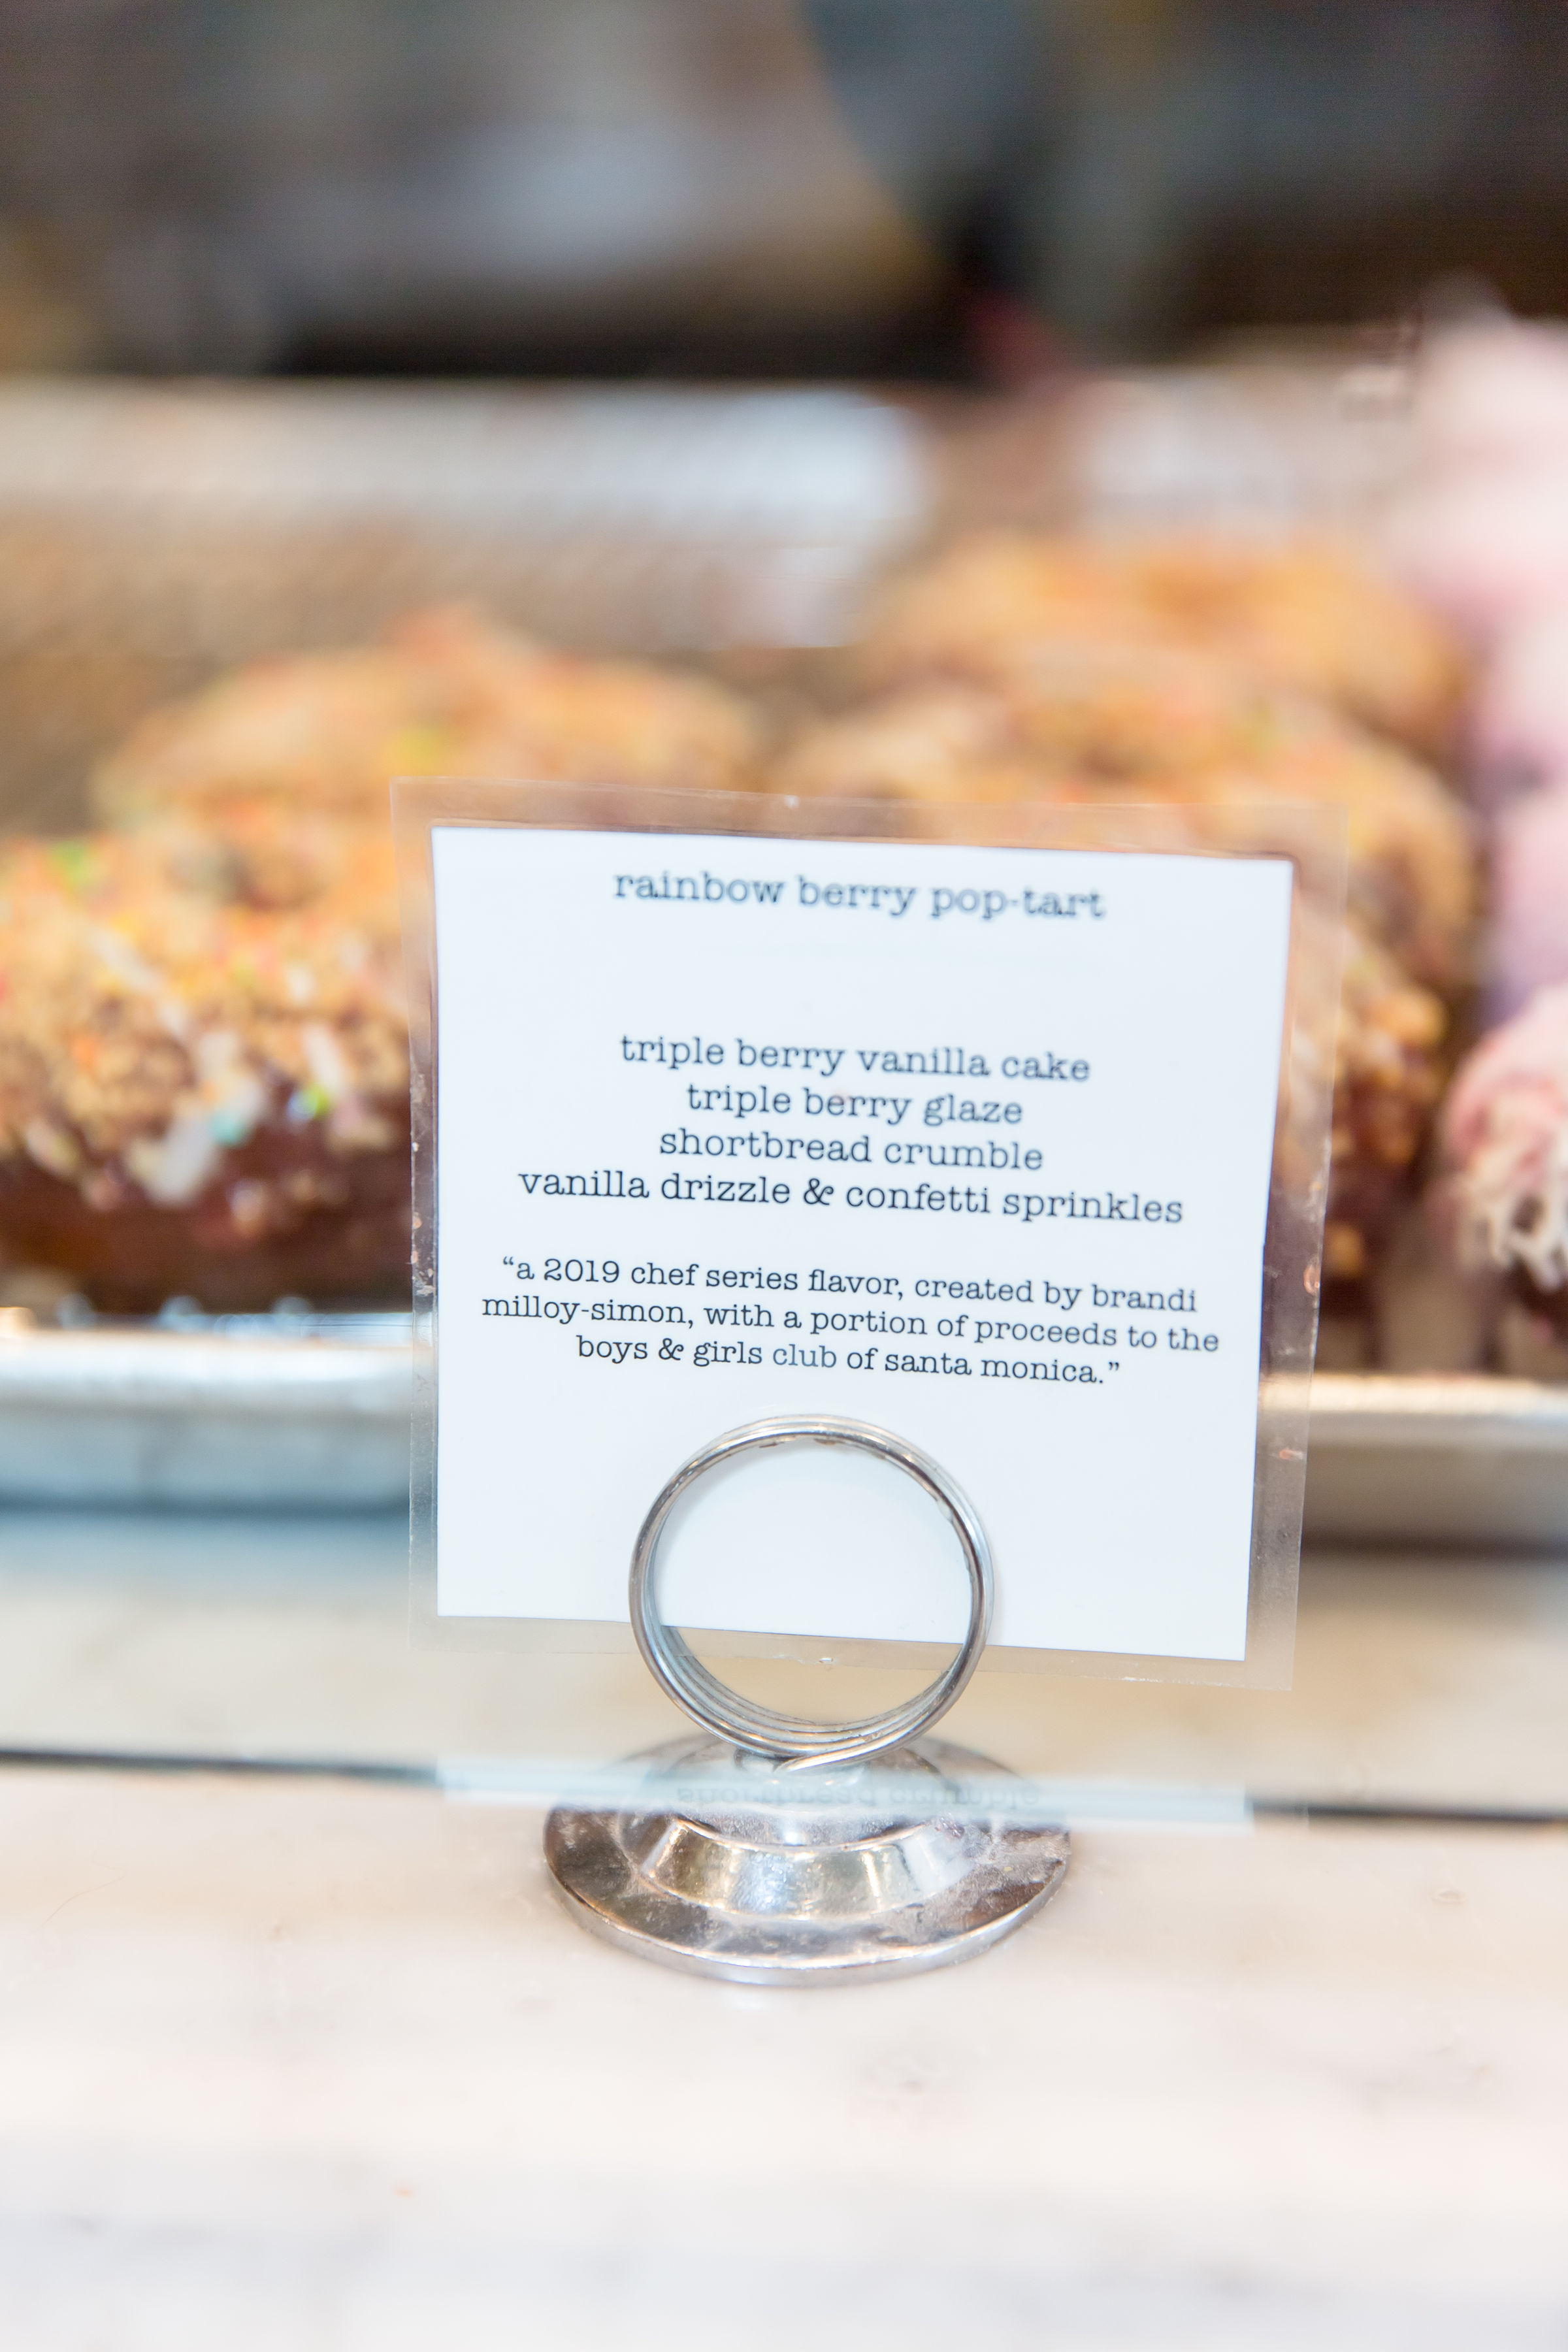
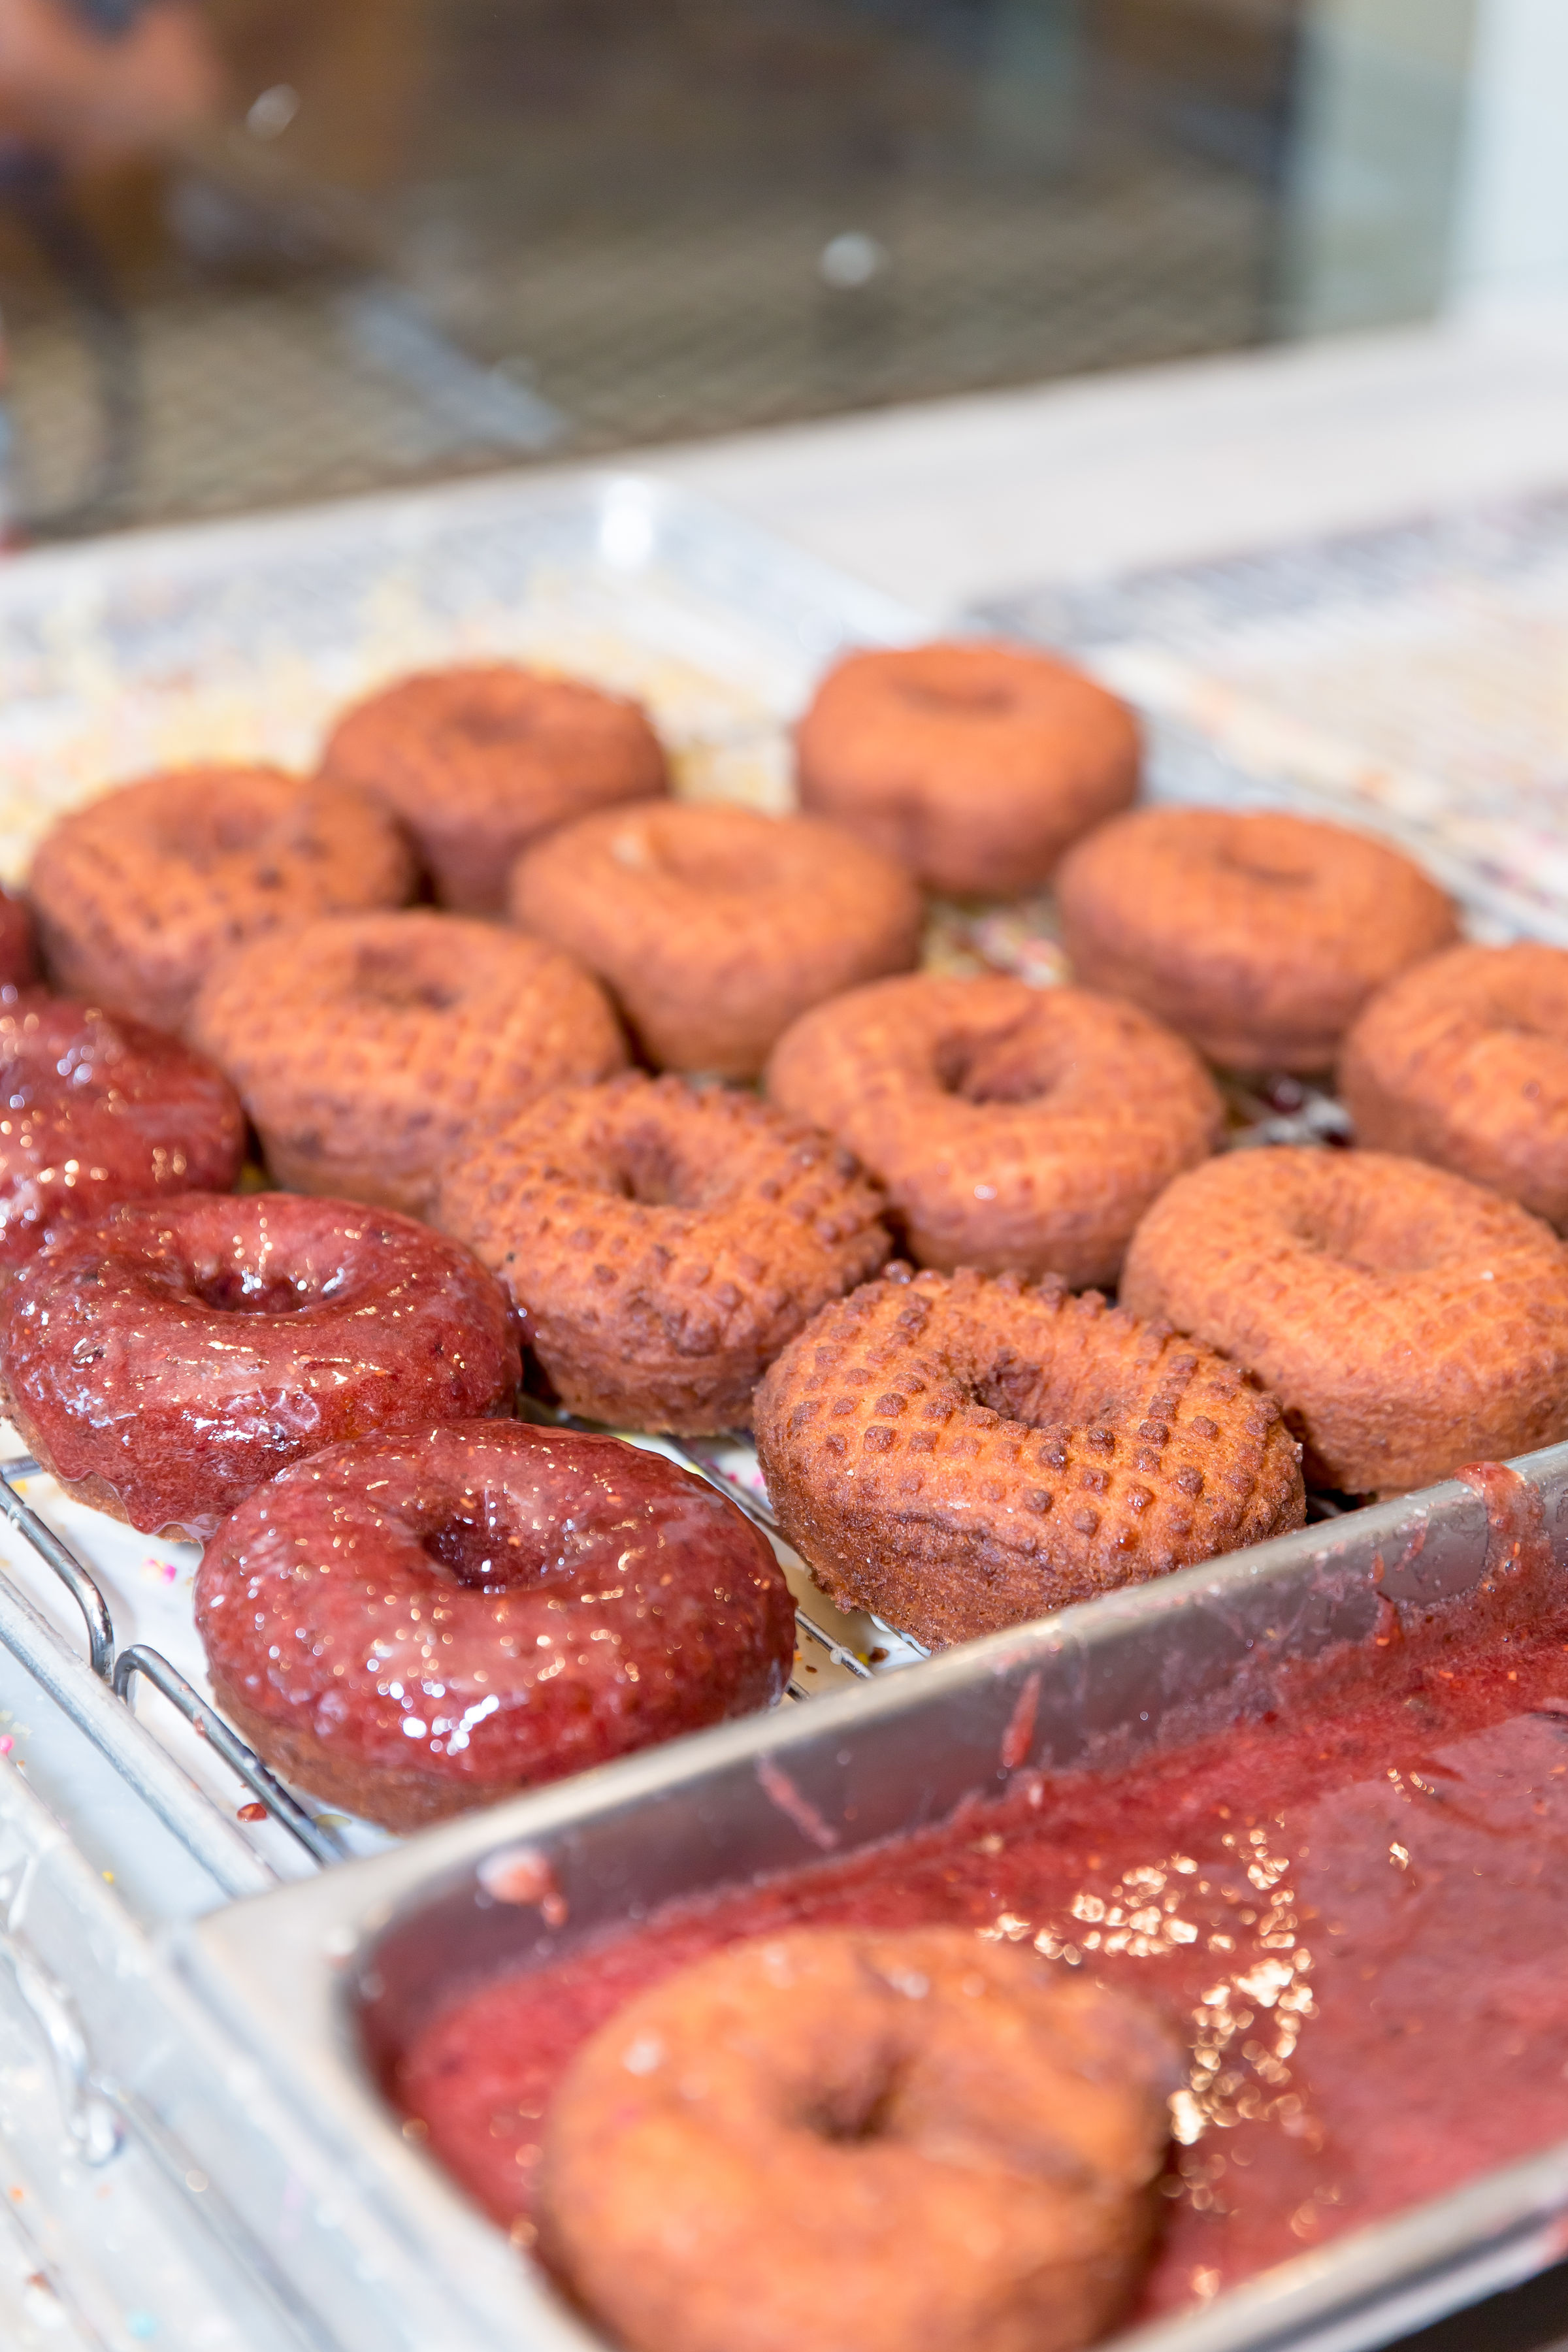
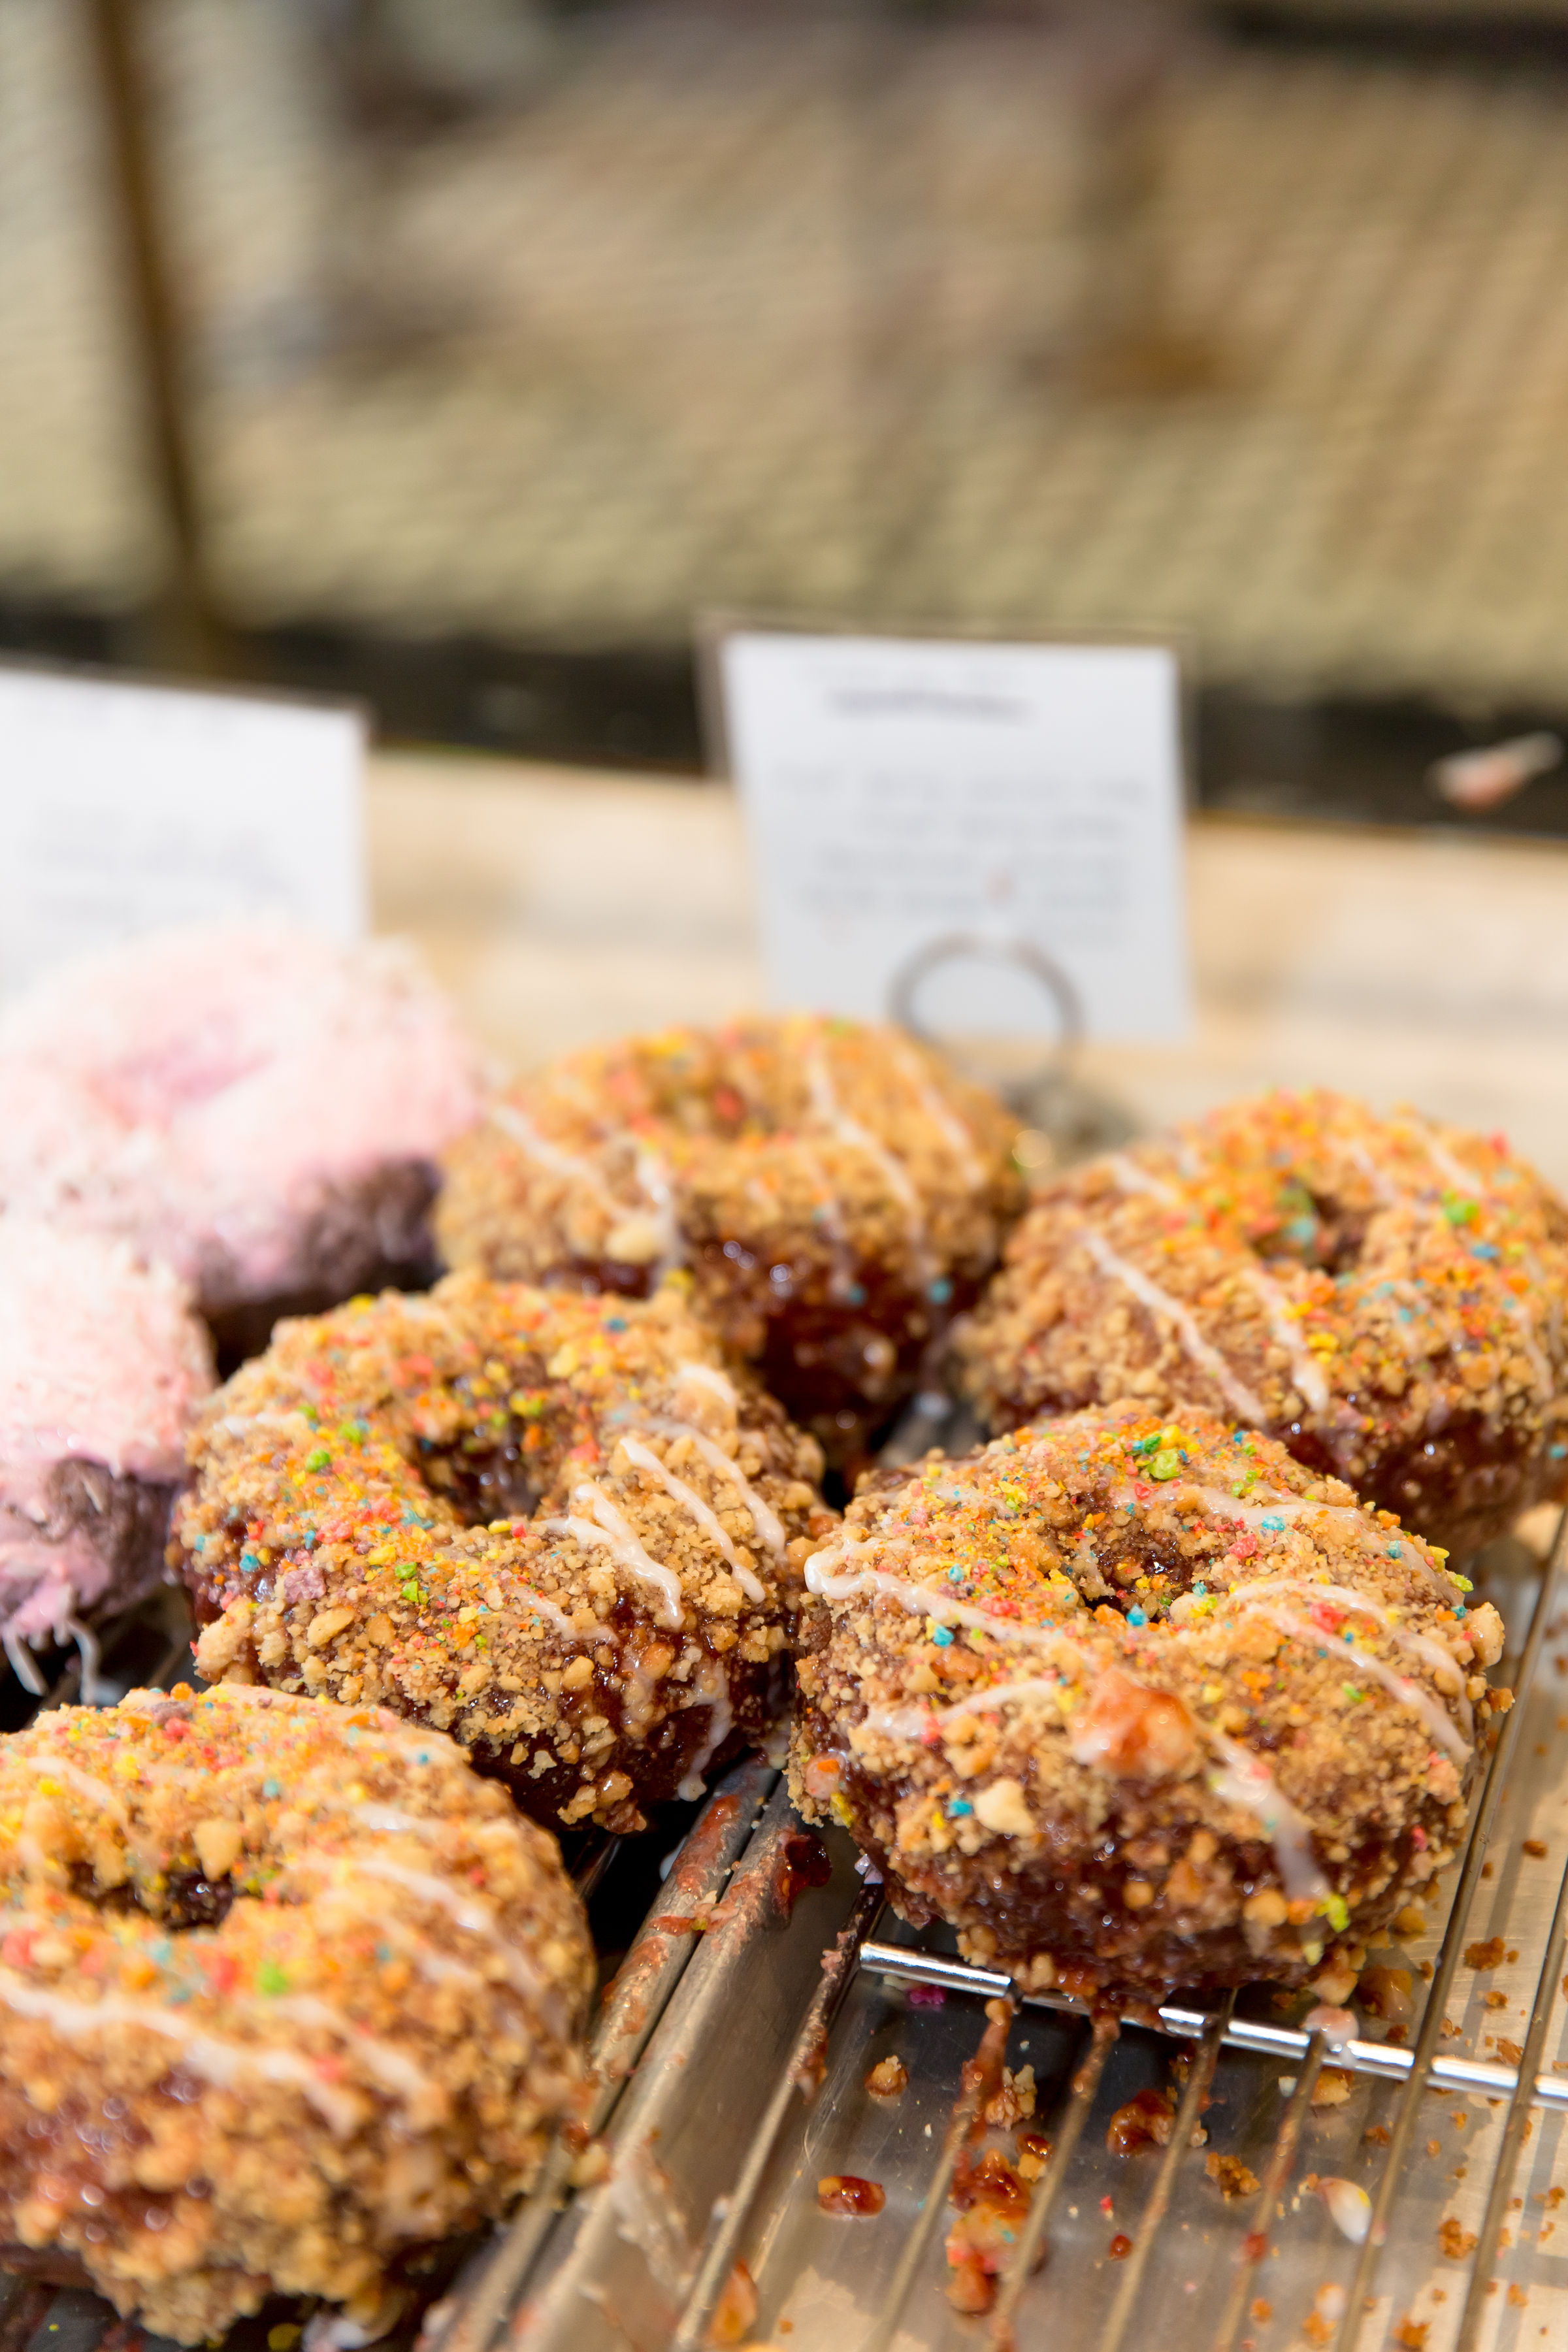
Ultimately we landed on a bit of a 90’s throwback doughnut that reminds me of my favorite anytime treat, the Pop-Tart! Allow me to introduce you to my rainbow berry pop-tart doughnut! Isn’t’ she a star?

6D4A9693.jpg
6D4A9587.jpg

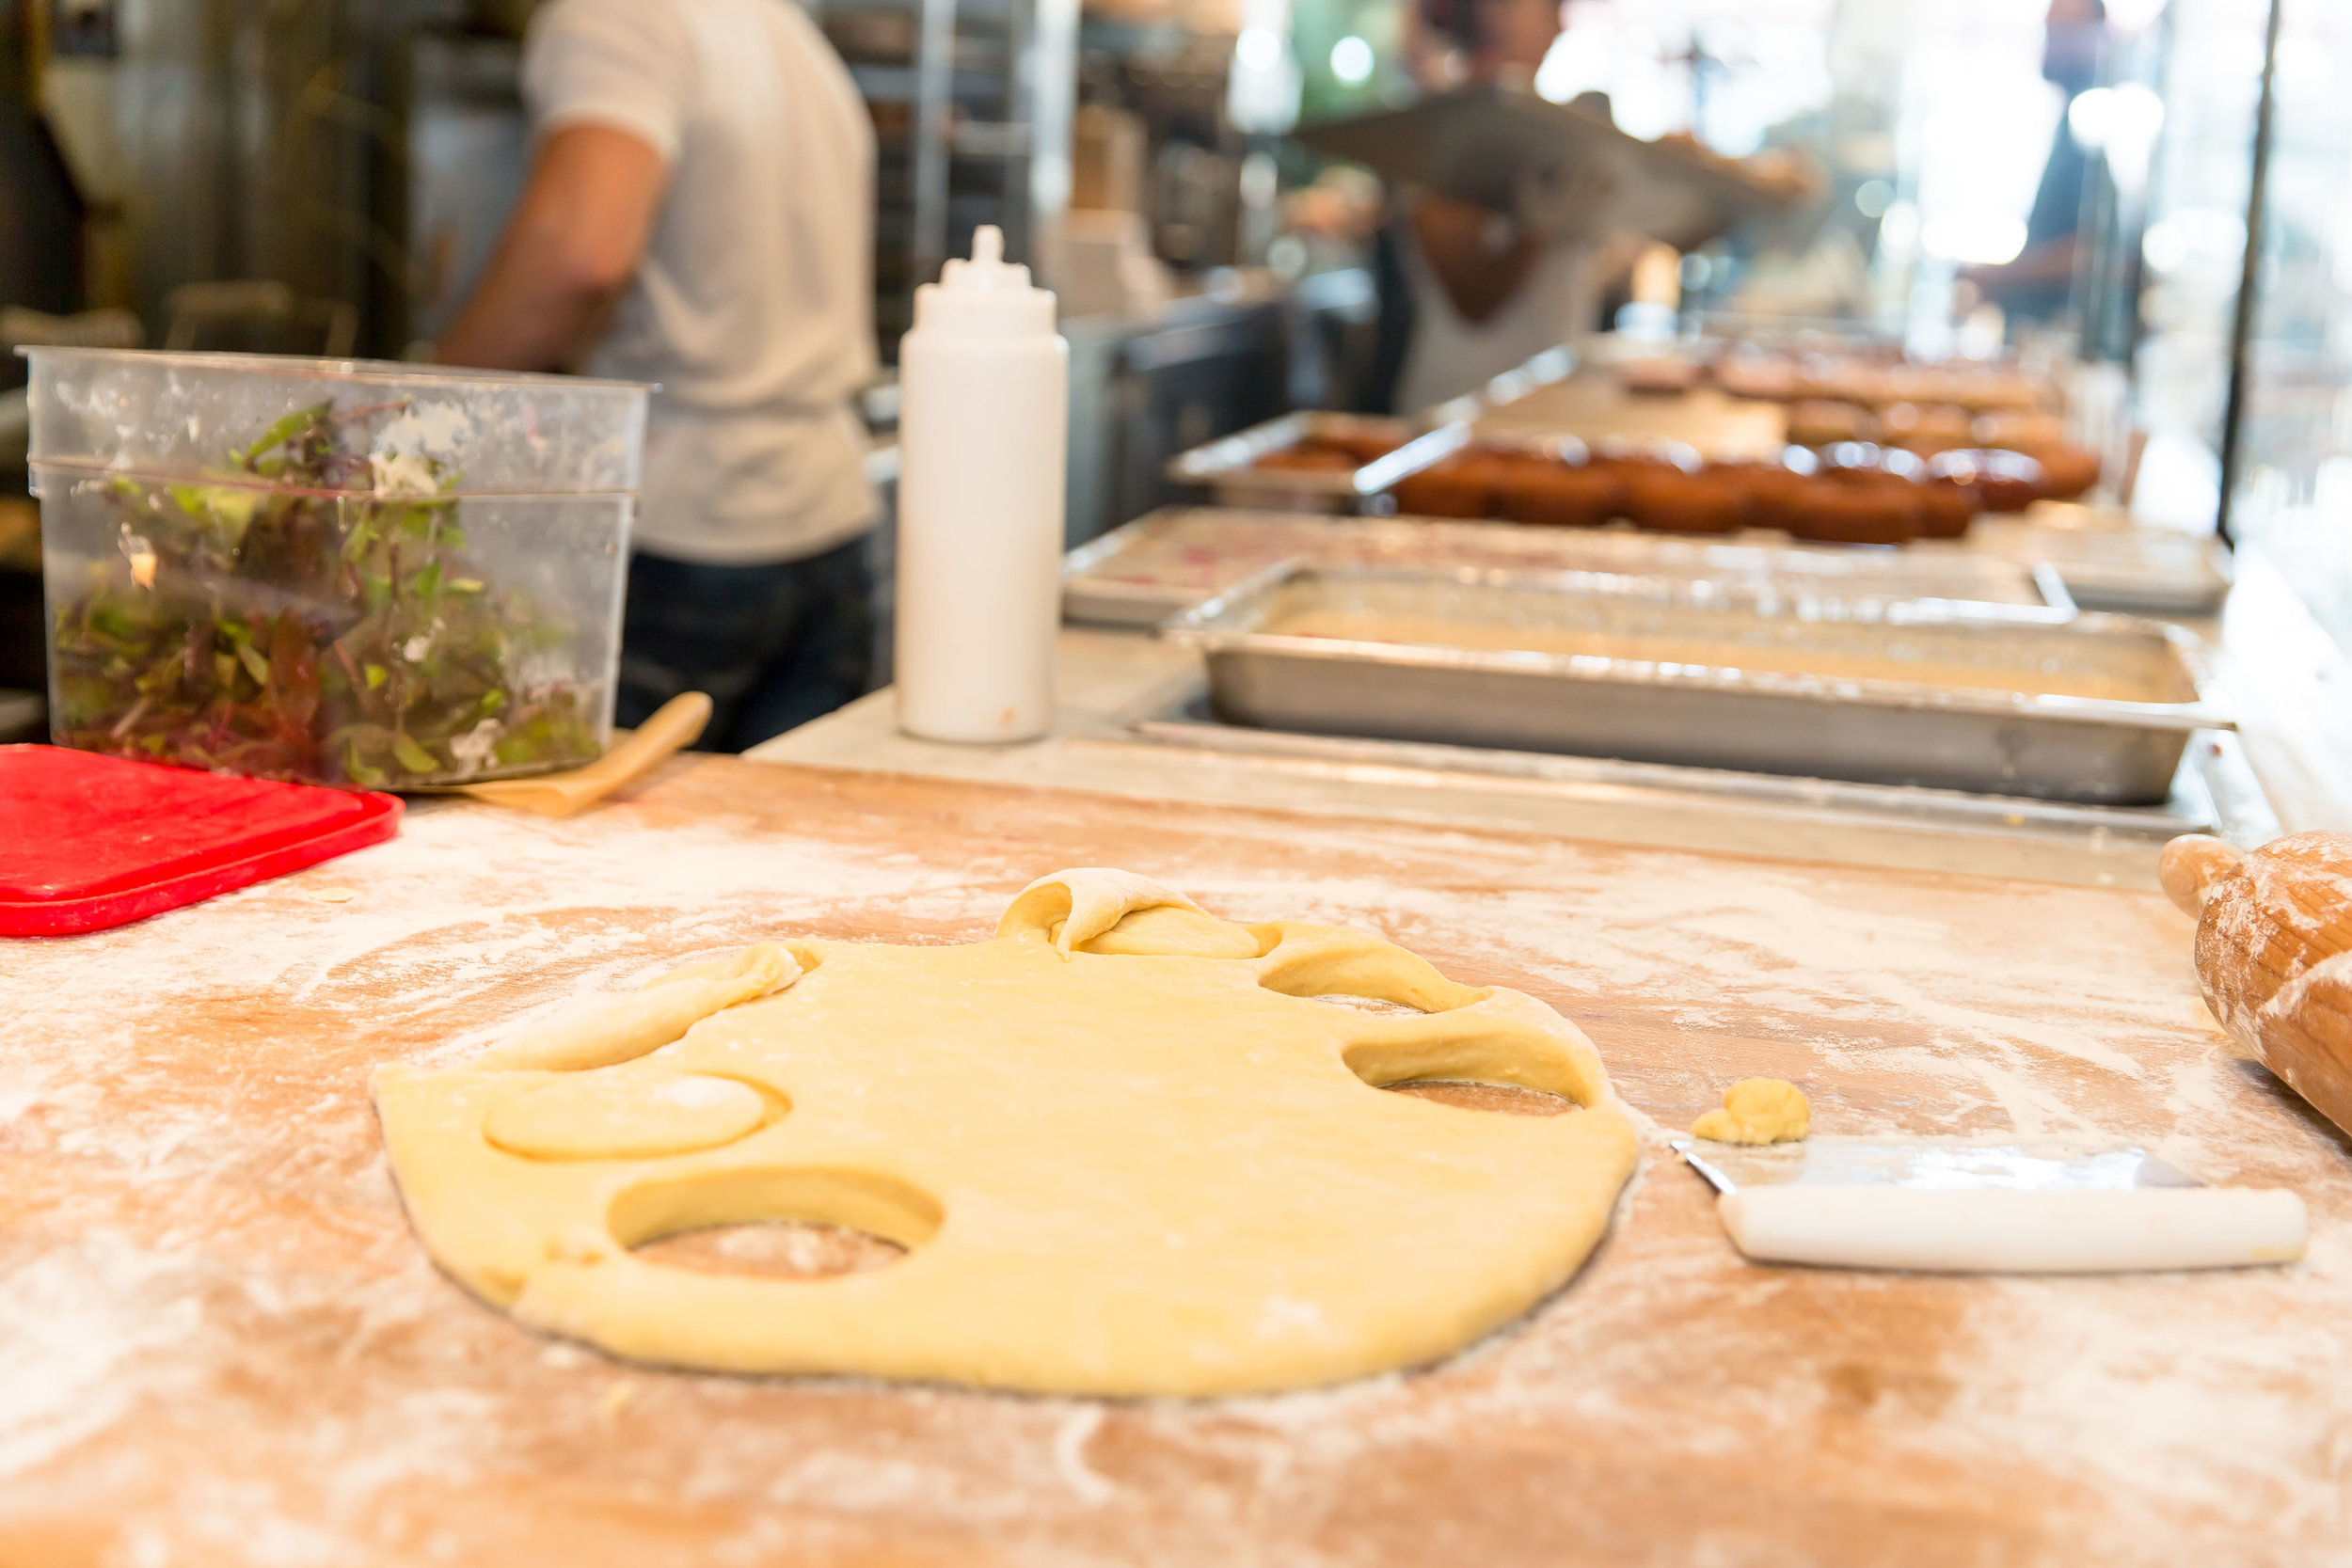
The process was really so hard though. I couldn’t decide between creating it with a raised yeast doughnut or cake doughnut but if you’ve ever been to Sidecar they kill it when it comes to cake doughnuts so I had to choose cake! It’s so doughy and dense and like no other cake doughnut I’ve ever had before!

6D4A9867.jpg

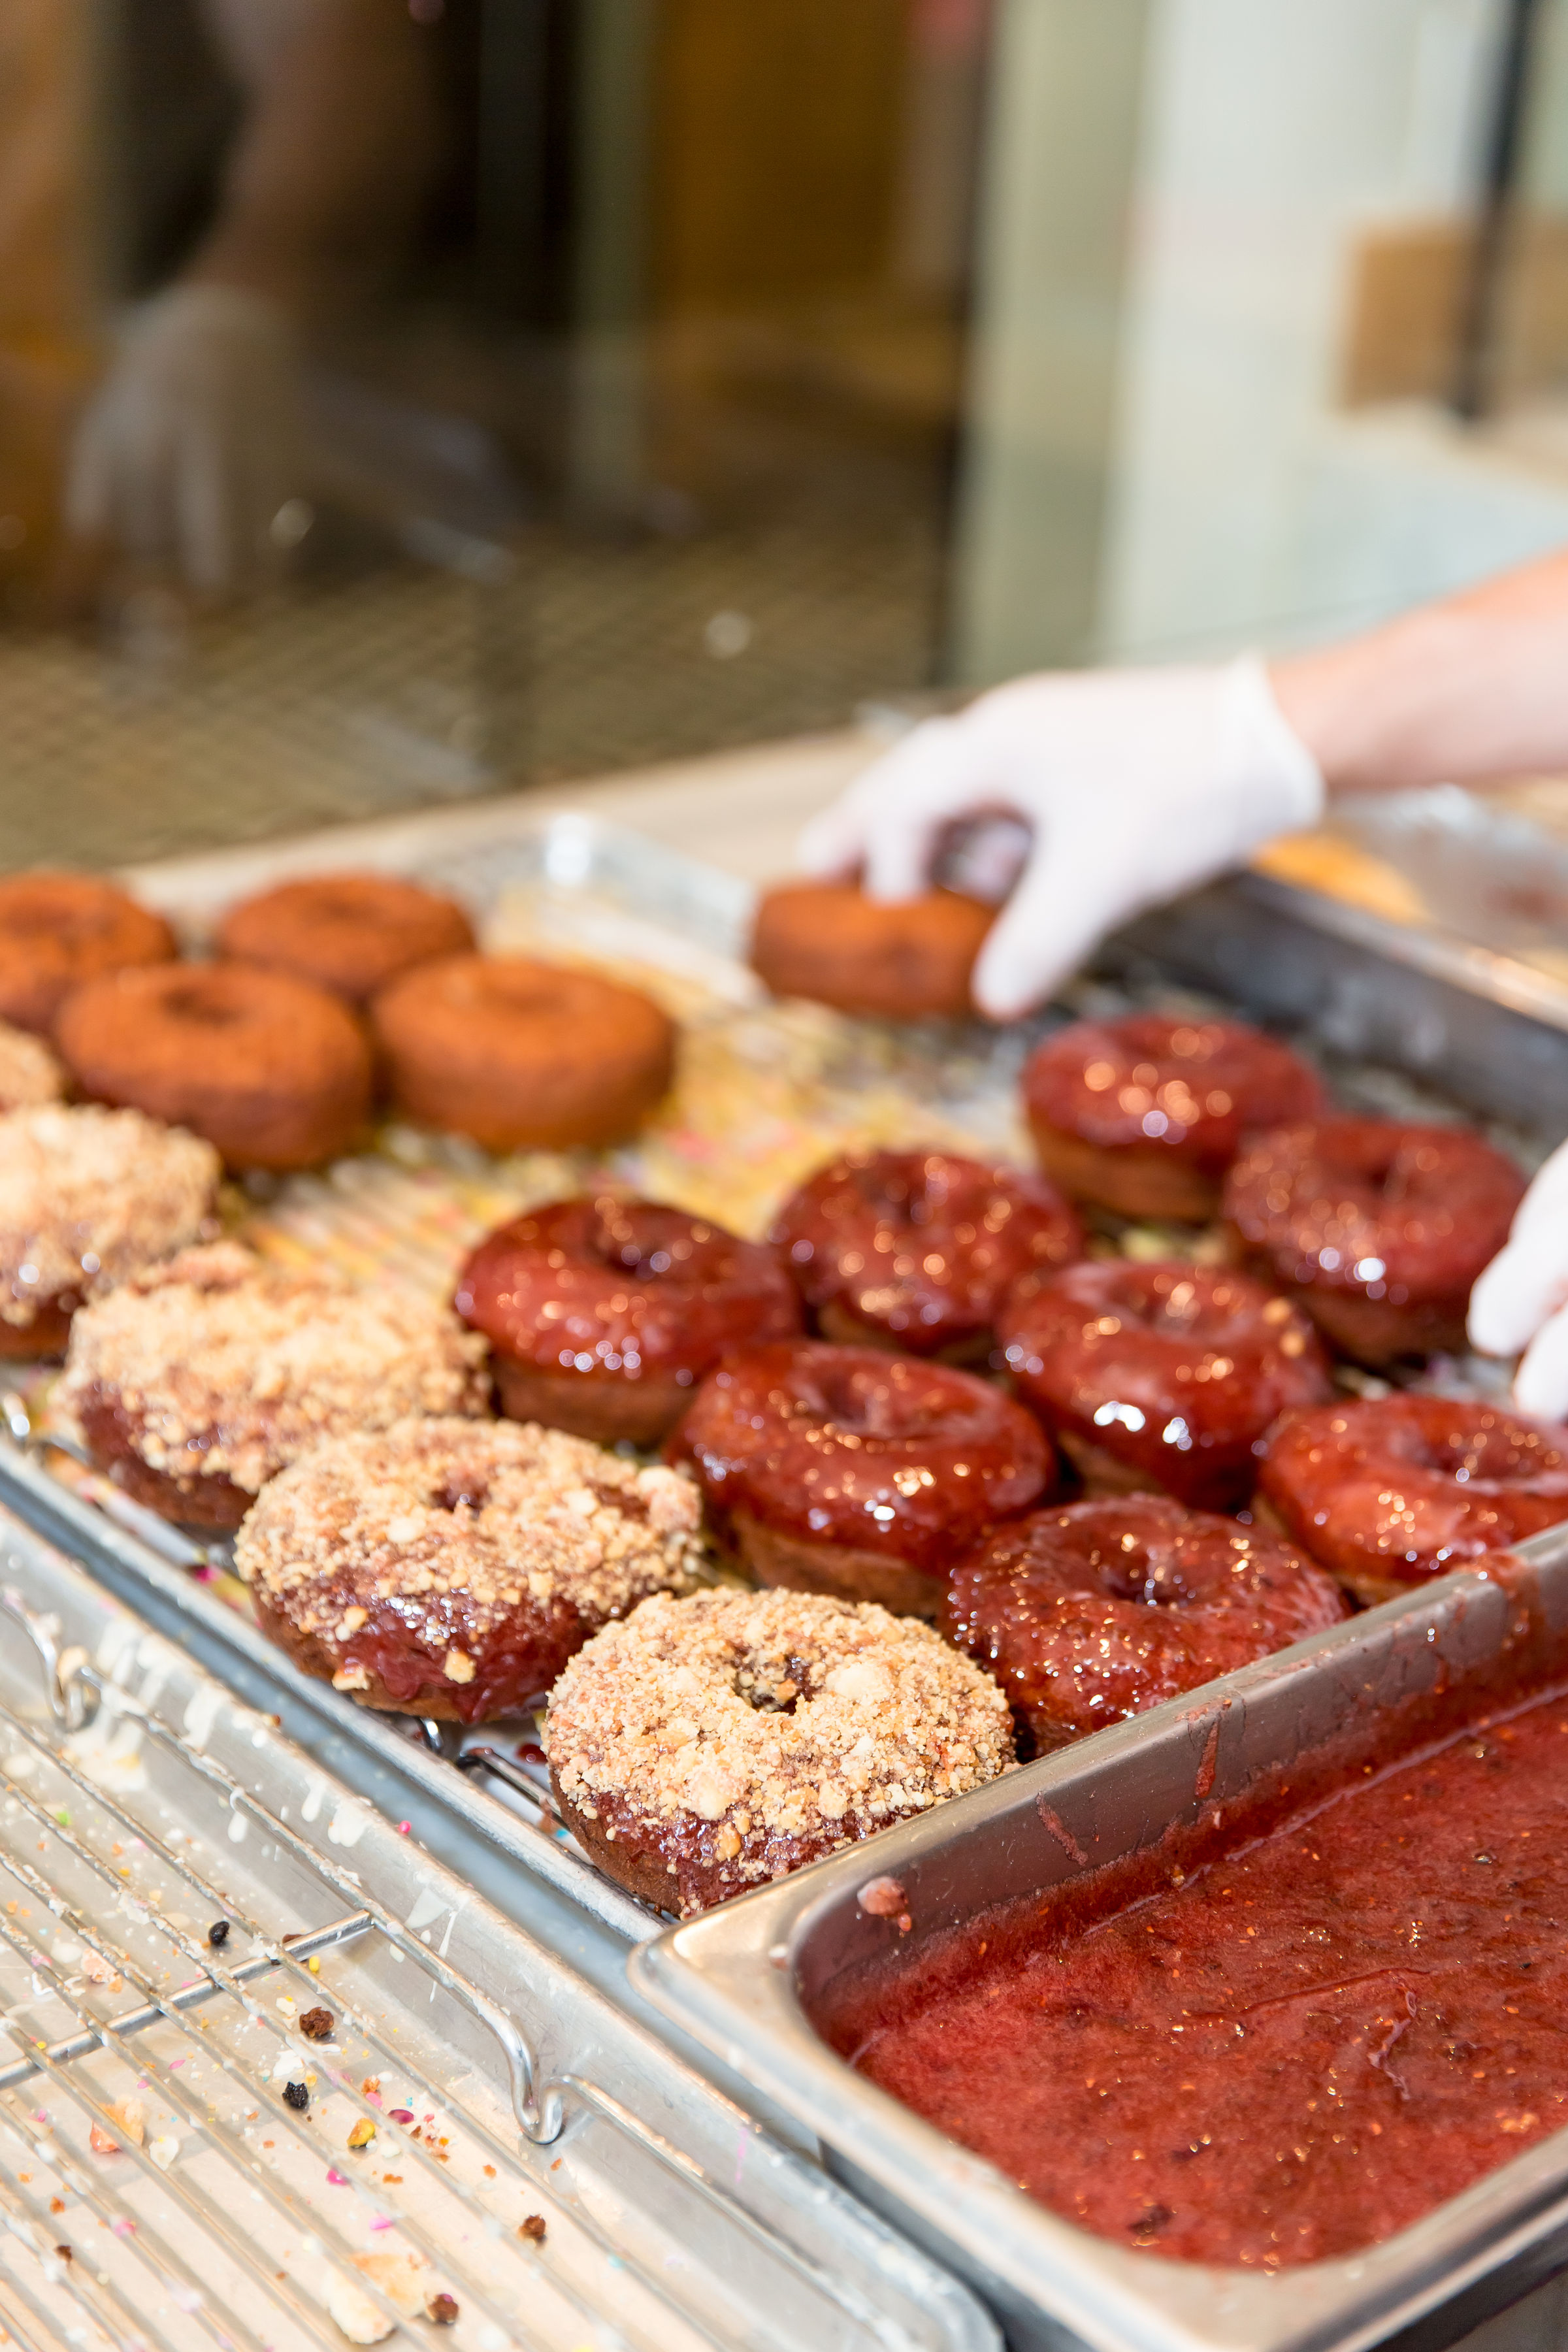
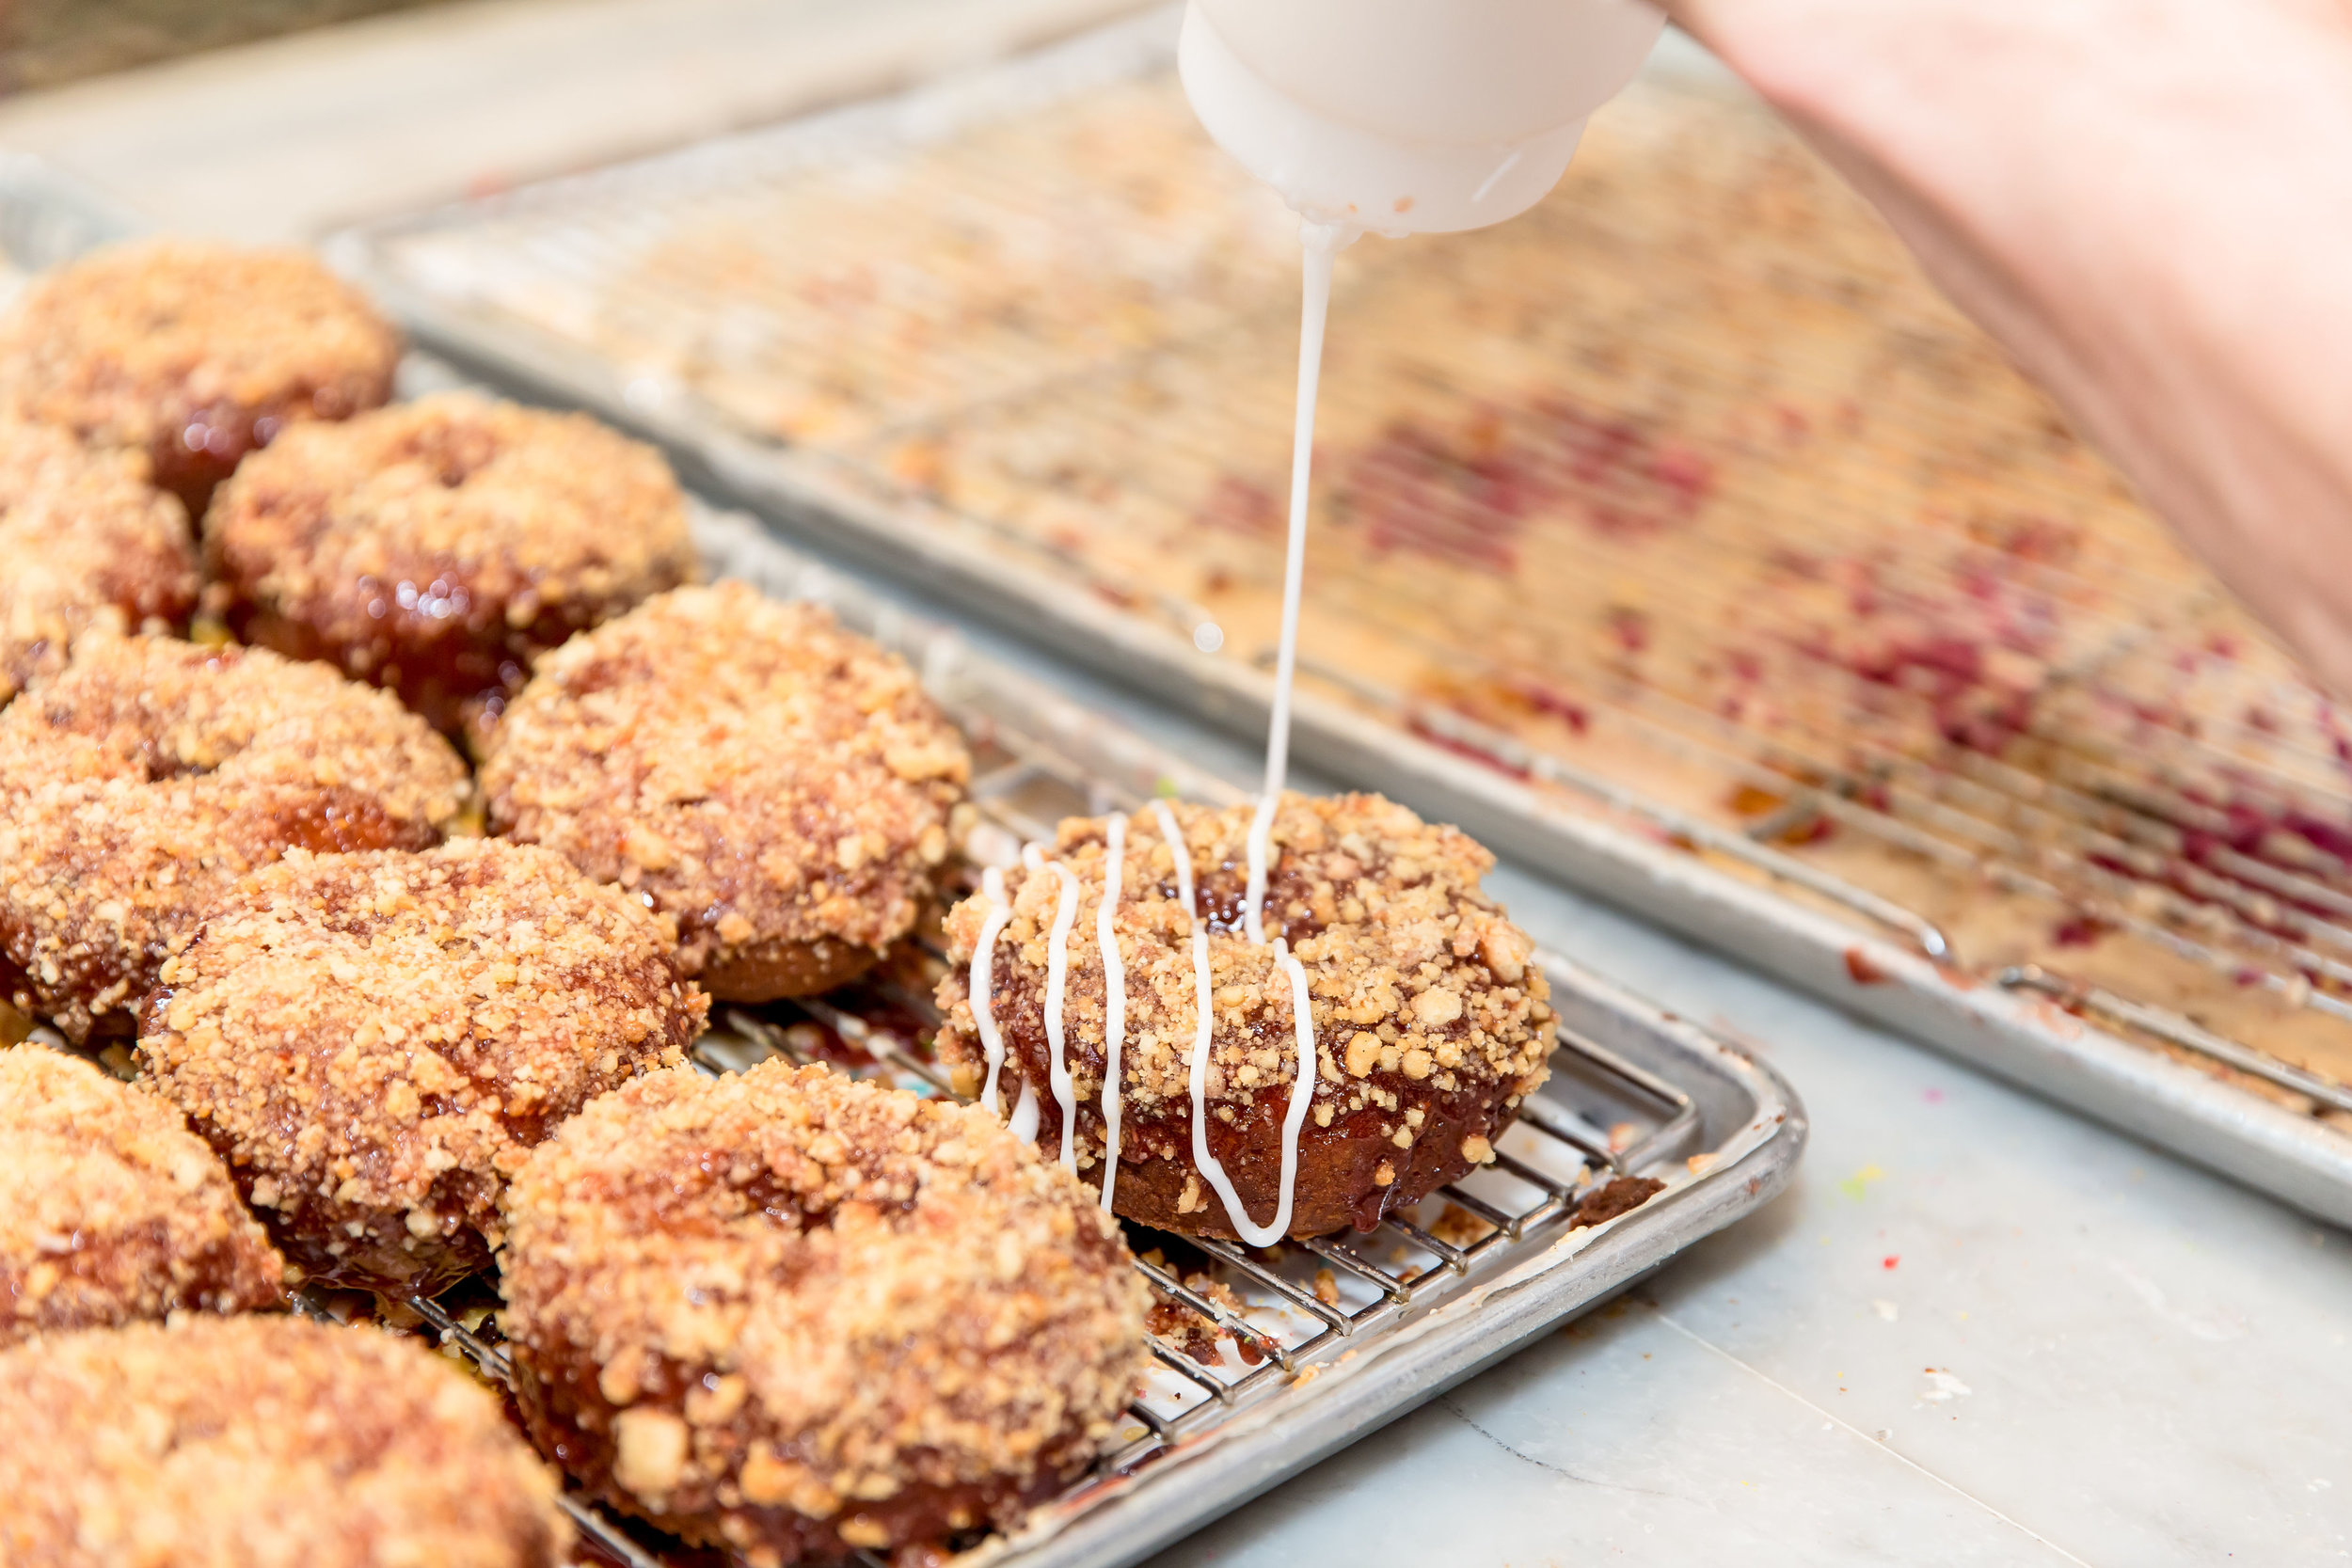
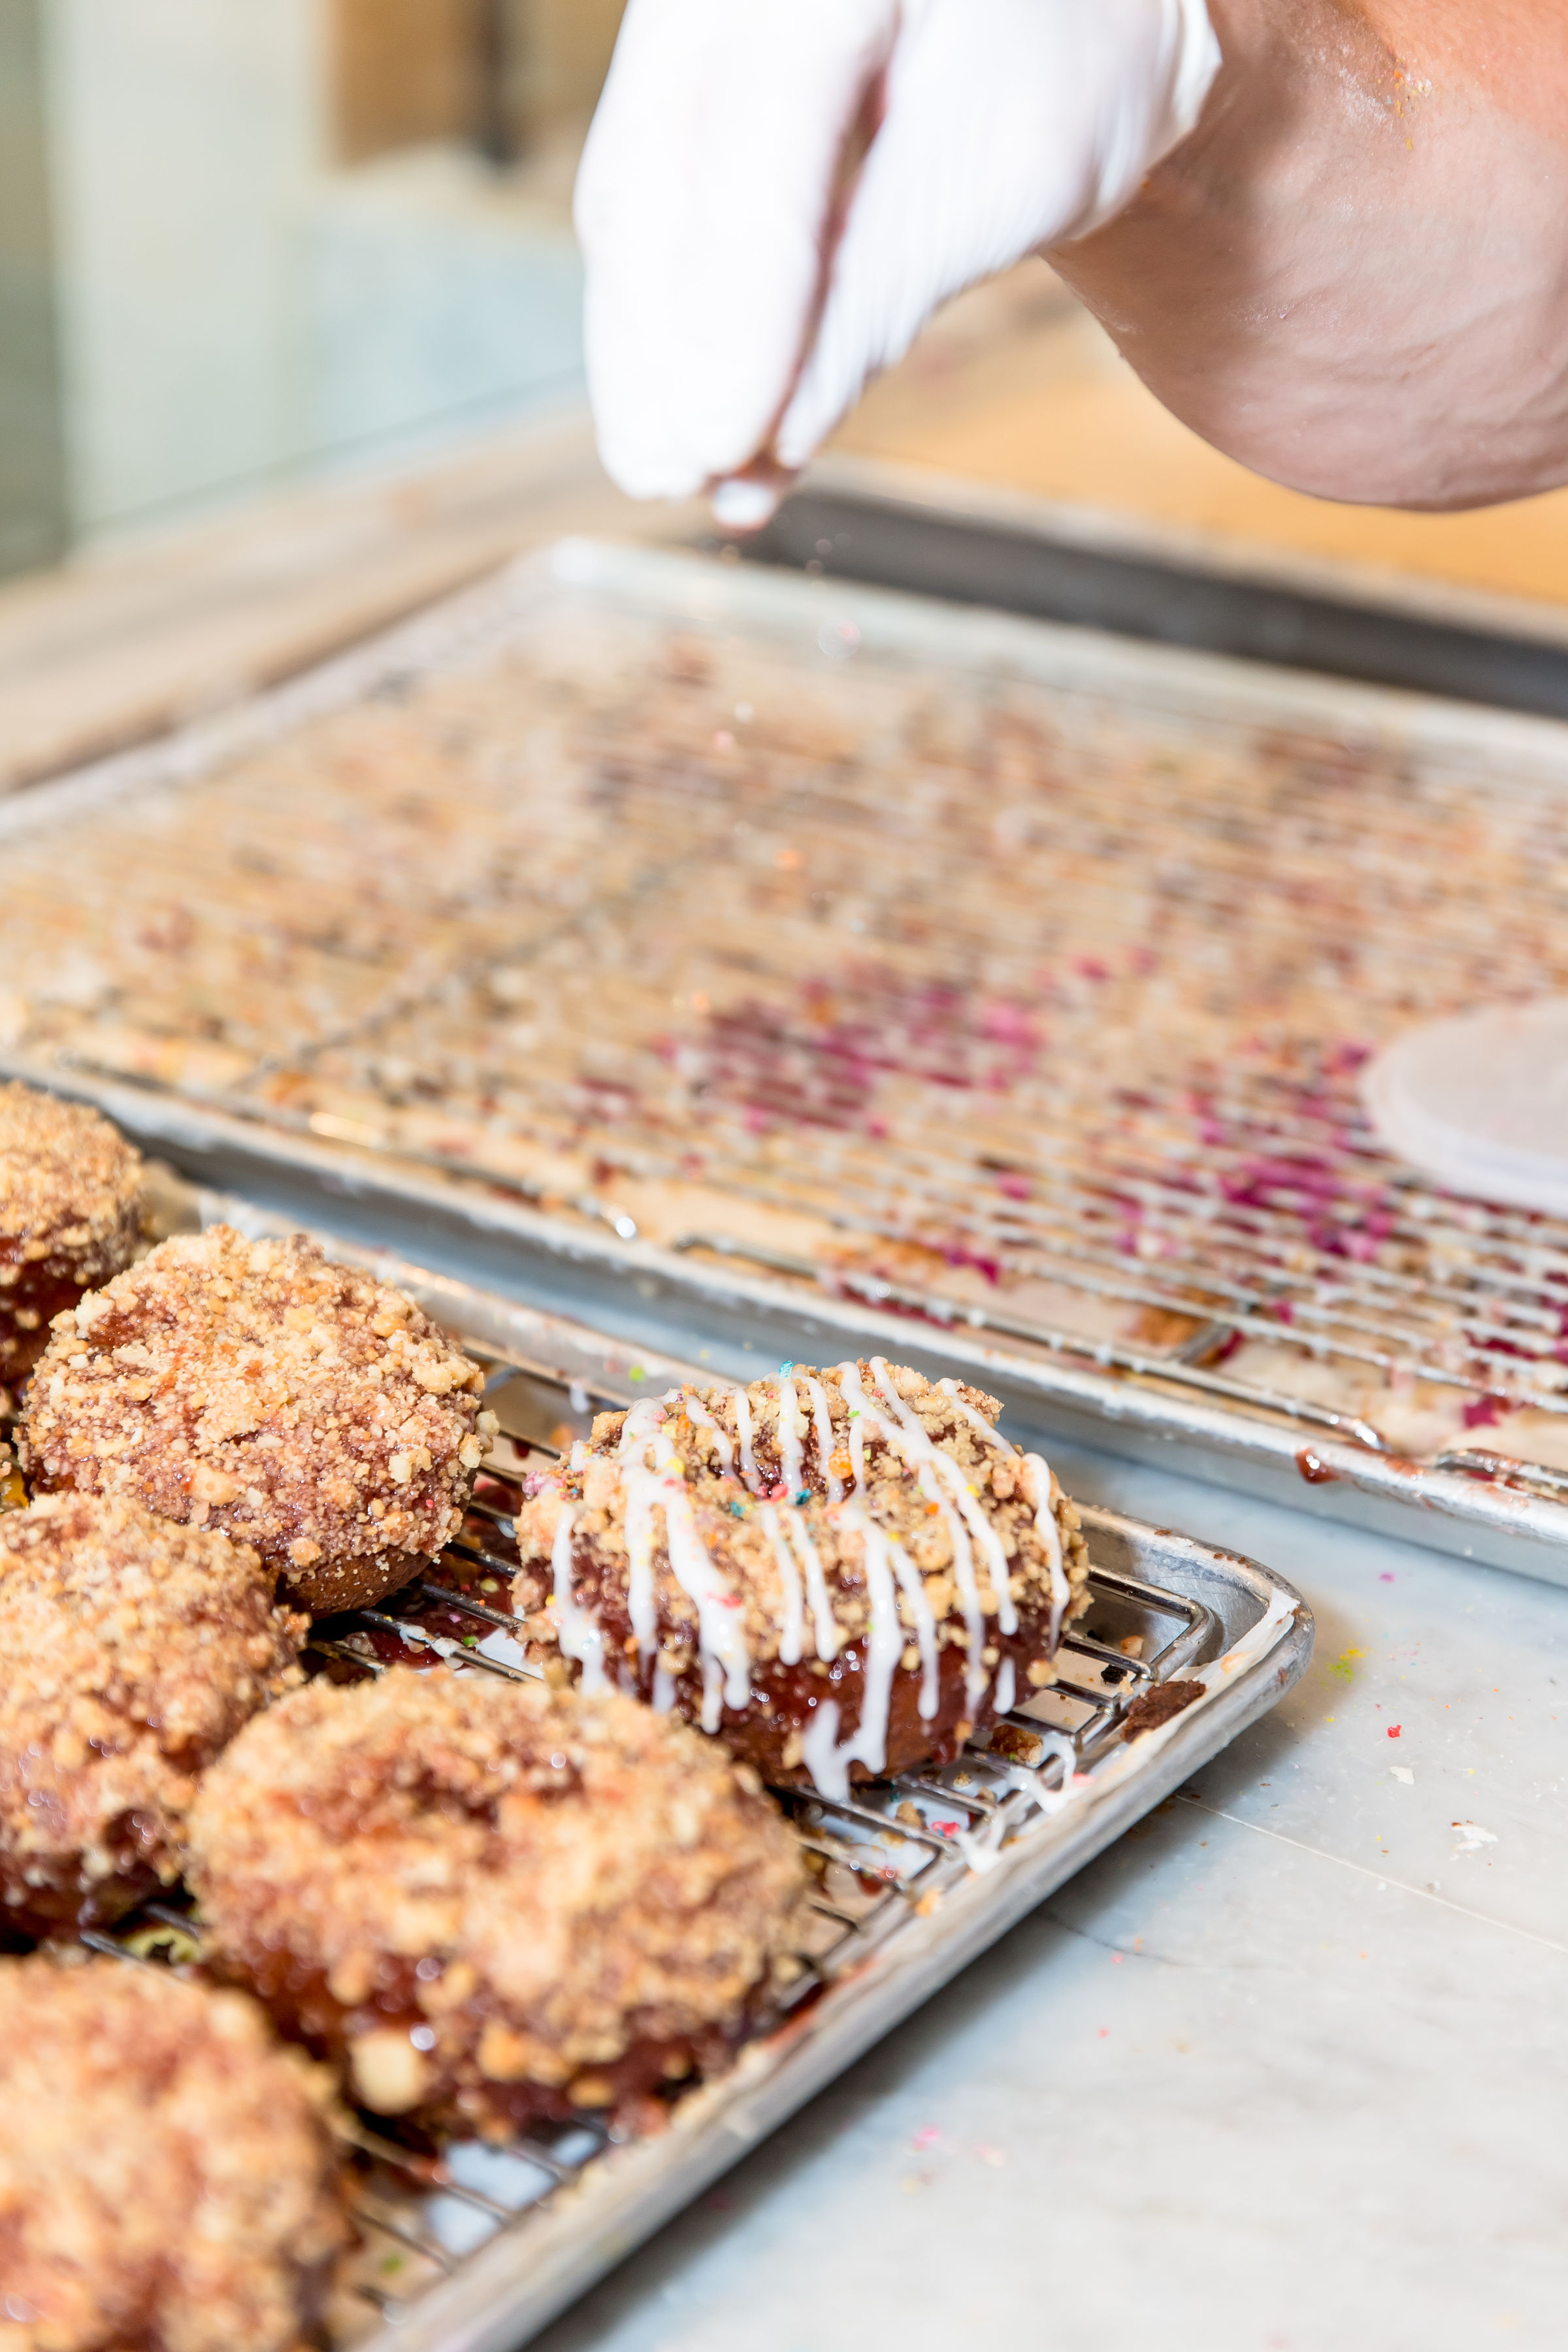
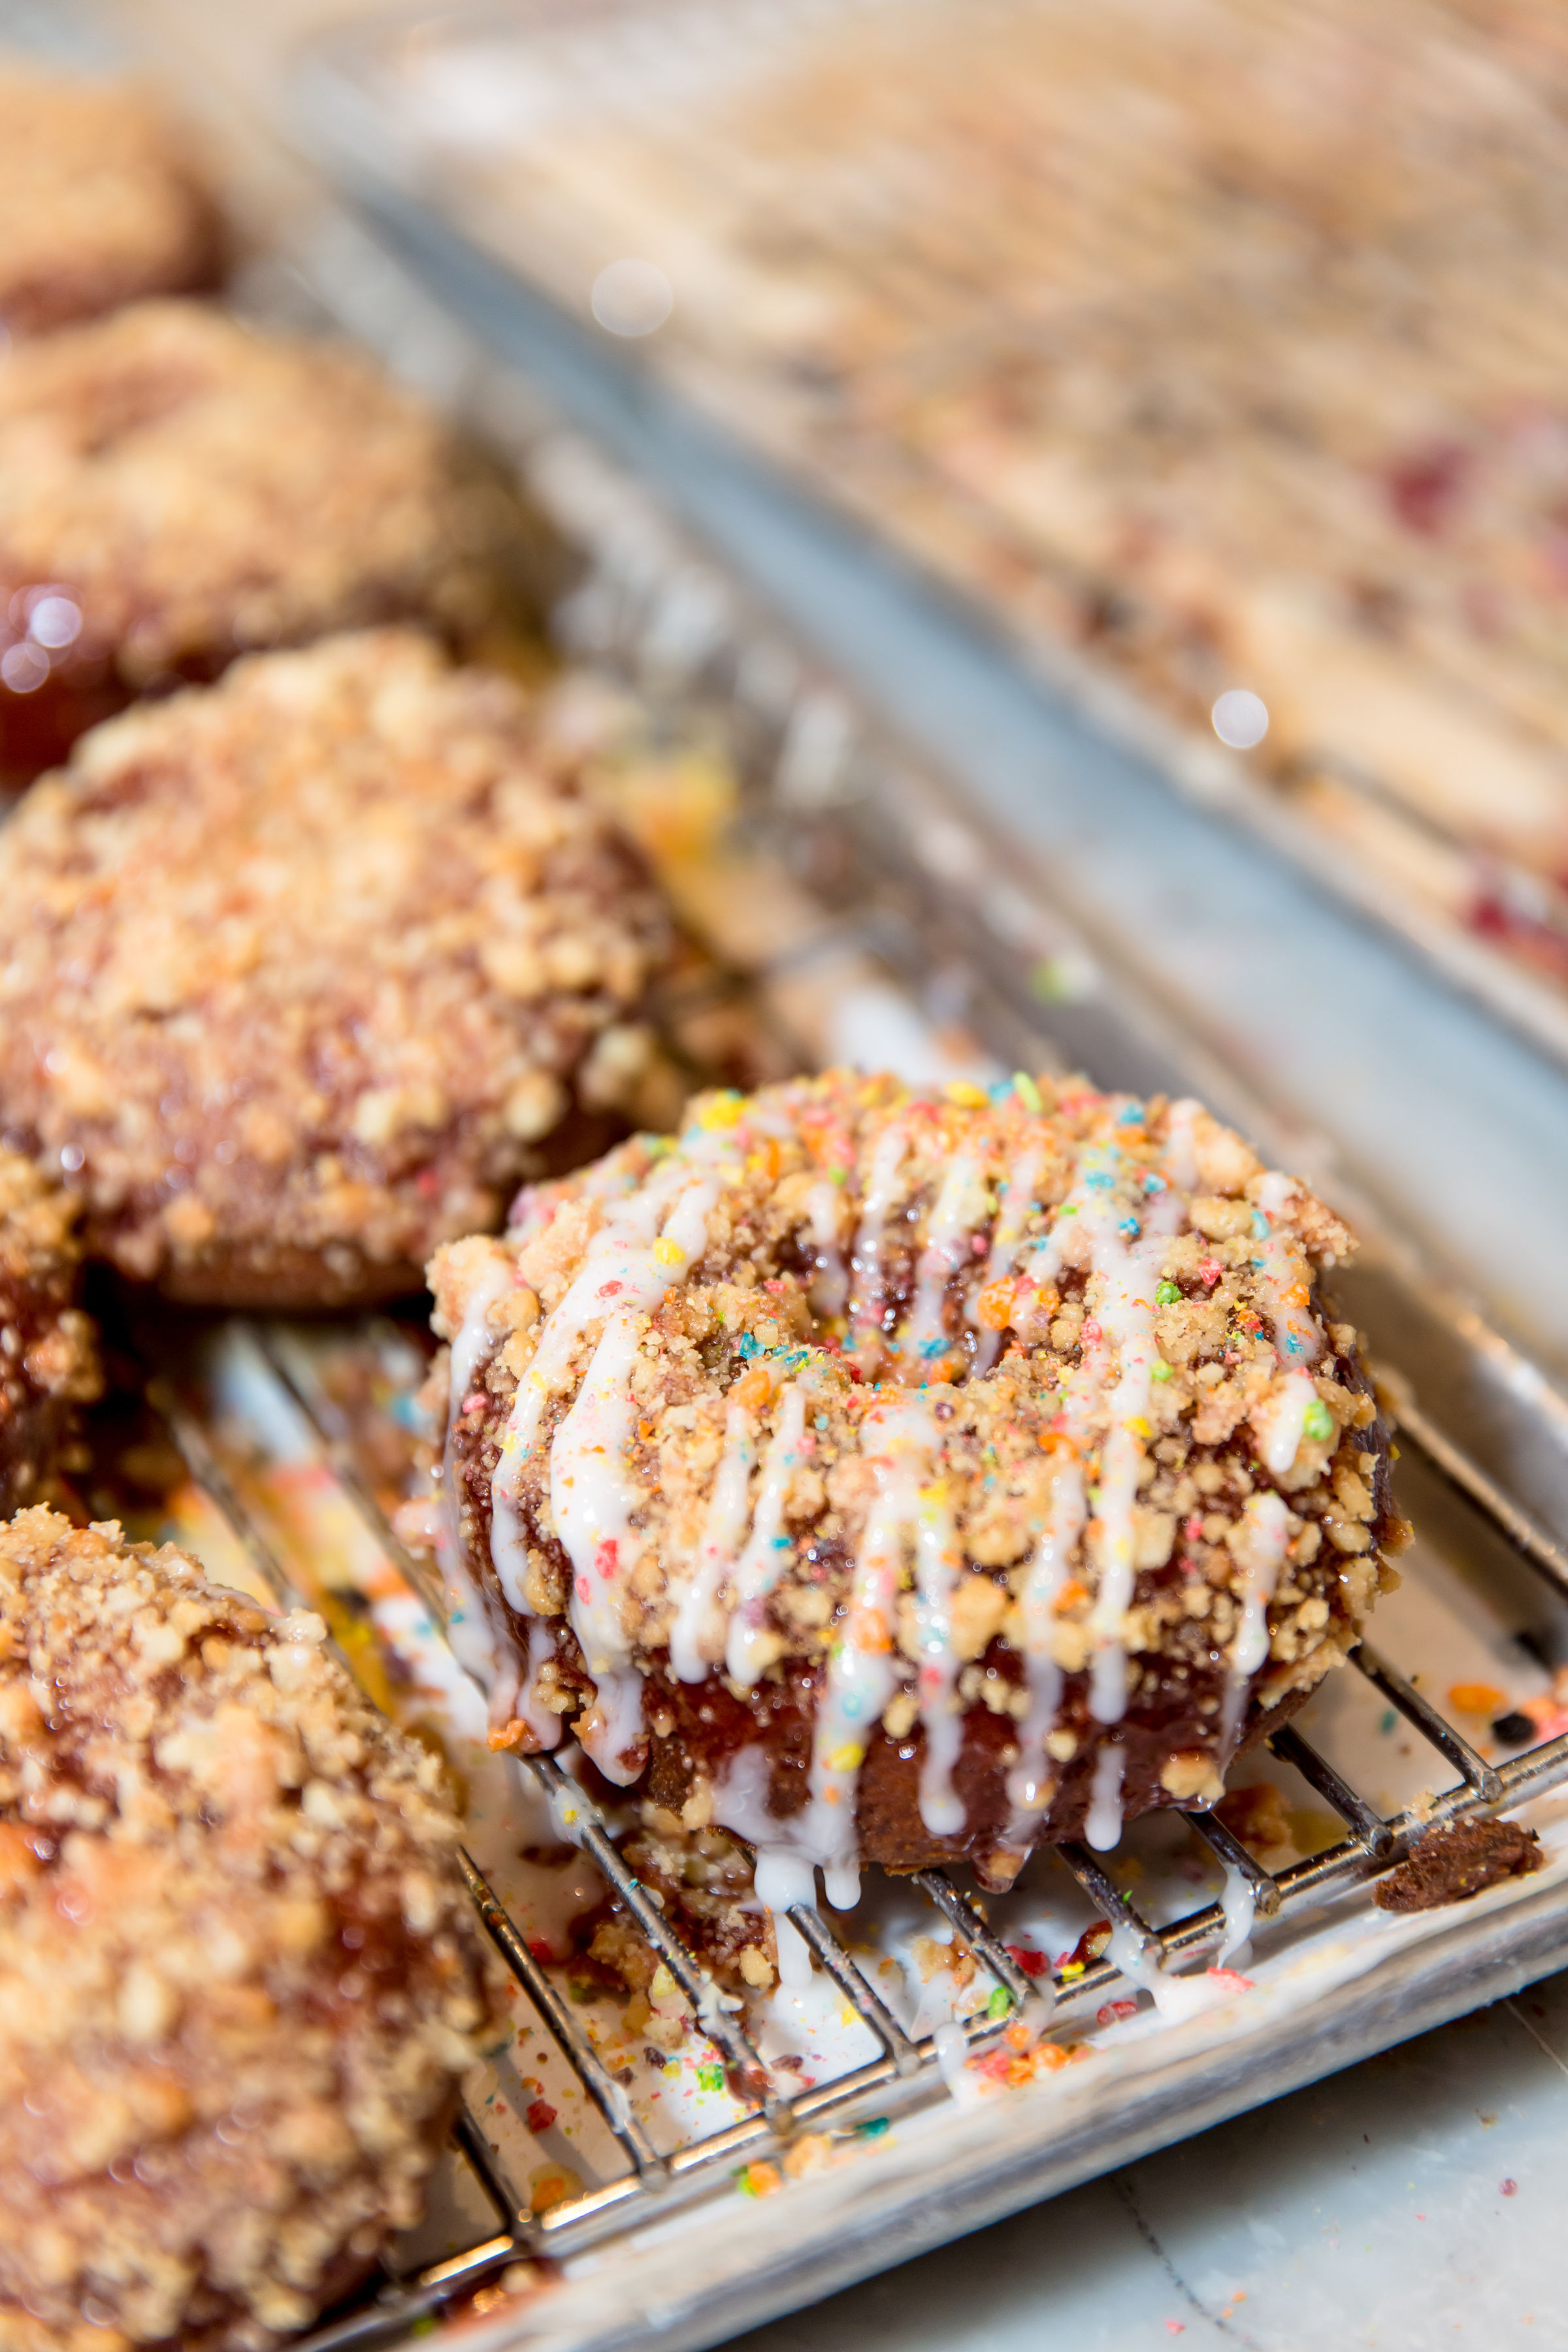
It’s dunked in a triple berry glaze featuring blueberries, strawberries and raspberries and then dipped in a shortbread crumble, drizzled with vanilla cream and topped with rainbow dust aka my favorite fruity cereal! It’s so spot on delicious and I’m so proud I could cry!

6D4A9736.jpg
6D4A9825.jpg

It’s been doing so well and selling out fast but don’t worry, they make them every two hours in small batches so just hang around at the beach until they’re ready. It’s so worth it!

6D4A9732.jpg

Also, my doughnut is only available the entire month of April so head over to Sidecar before May AND I’m beyond thrilled to share that a portion of all proceeds will go to the Boys & Girls Clubs of Santa Monica! This is a cause that is near and dear to my heart and a place I worked and volunteered at for several years when I first moved to LA while I was auditioning to be a TV Host. I love supporting their efforts to develop young people, especially those who need us the most. It also made sense since the club is just a few blocks away from the Sidecar Santa Monica location!

6D4A9679.jpg

I’ve been so grateful to see all of people enjoying my doughnut. I love getting tagged on instagram or even text messages from friends saying they are at the shop grabbing the doughnut. It really means so much to me. I can’t wait because in a few days I invited a few kids from the Boys & Girls Club to try the doughnut and I hope they enjoy it! Thank you to everyone who has been just as excited as me at this opportunity. It’s one for the books! xo, Brandi

6D4A9884.jpg
Homemade Fruit Stand Snack
fresh+fruit+stand.jpg

I love everything about summer- especially when it really starts to get warm and on every corner in LA you’ll see a rainbow umbrella perched atop a fruit cart stand. Ripe watermelon, bright mango, juicy pineapple, melon, cucumber and jicama sliced large and wrapped in bags ready for the next customer drive by. If you want it served the traditional way, they’ll squeeze fresh lime juice and sprinkle chili lime seasoning on top. One summer I practically lived on these bags of fruit. I’d get off work late, pull up and buy a bag of Mexican fruit and sit in traffic long enough to miss dinner and be so exhausted by the time I got home that the only thing sustaining me after 3pm was the fruit. This is one of those snacks that takes little effort but most are too lazy to do. I mean you do need to wash and slice fruit so I get it. We are people of convenience. If I’m just making this for myself and only have a few ingredients on hand, I’ll try to do at least two sweet options and one vegetable. The recipe is so easy I’ll spare you on actually writing something out but basically you slice your fruit , sprinkle with a little fresh lime juice and top with chili lime seasoning or Tajin (these little to go packets are perfect). This is a great snack for on the go! Being a Mom forces you to always pack snacks and this is when I pack one for myself too. Wait to squeeze the lime and seasoning on top until you’re ready to enjoy. Would love to know what fruit combos you put together and if there are any other toppings you like, let me know! I’m always down to try something new.

My Go To Store Bought Snacks for Toddlers

As any parent of a toddler knows, snacks are life! Truly lifesavers. I don’t leave the house without them and you best bet I take more care in packing Milly’s snacks for a trip than I do her clothes! If you think your husband/boyfriend/significant other gets HANGRY when they don’t eat, try being around a toddler when they want food. It’s not pretty. Save yourself from your sweet LO getting upset and/or maybe having a full on meltdown by always having your diaper bag/purse/car/stroller stocked with snacks for little fingers.

And as much as I enjoy making homemade snacks for Milly, these are my go to store bought snacks we buy regularly and highly recommend. This post is not sponsored but even if it was-please always remember I only work with companies I use and love. You can scroll down for the full shopping list or keep reading to hear why I love each one of these snacks.

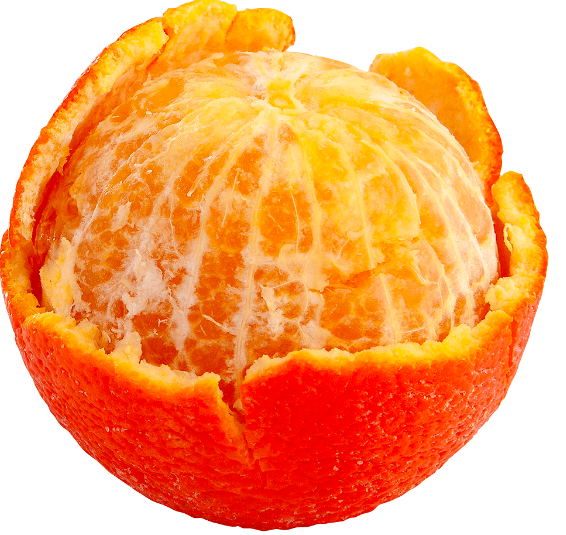
I keep bowls of these Sunkist Delite® mandarins on hand. They are so juicy and delicious. They end up in my purse, the diaper bag, stroller and our car cup holders. They are always a win and Milly loves peeling them herself. This is one of those snacks I keep a few of with me cause one is just never enough! Plus these little citrus gems pack a nutritious punch.

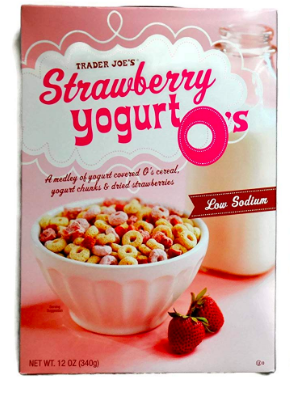
At the end of the day, those popular puffs treat containers are bulky and are really just cereal in my opinion. I allow Milly to pick out her own cereal and then pour it into her snack cups for on the go crunchies. I don’t know what it is about little cereal with holes in it that makes kiddos lose their mind but Milly enjoys Trader Joe’s Strawberry Yogurt O’s .

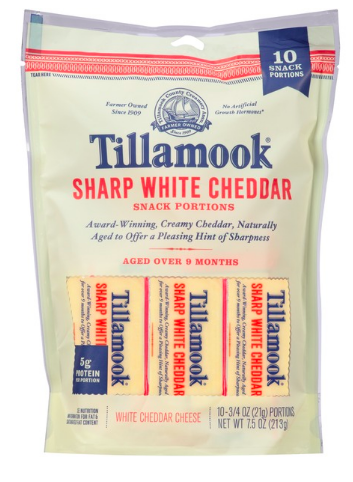
Many of these snacks are ones I enjoy too just to be honest. And these Tillamook Sharp White Cheddar slices are so good for a little afternoon pick me up. Add a few crackers in your purse and some fruit and it’s a make-your-own cheeseboard. Haha! These are individually wrapped which make it so convenient to just grab and go and each slice has 5g of protein!

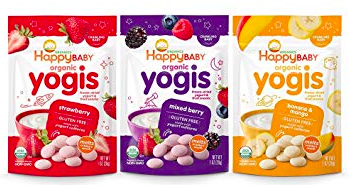
This next treat should get its own post because Happy Baby Organic Yogis Freeze-Dried Yogurt & Fruit Snacks make Milly do whatever I need her to do. It’s like a dog to a bone! If she’s squirming when I’m trying to put her in her carseat, if she’s losing patience in the line at the post office…anytime she’s absolutely “over it” I take a little Yogi out and she’s all smiles. I only use these for those necessary moments so these are not for snacking but my little secret mama weapon. I think if I ever let her snack on them they’d lose their power so they live in a special container in my purse and car and I always make sure I’m never out.

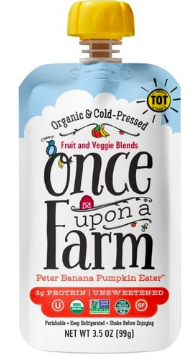
The first time I discovered these Once Upon a Farm Fruit and Veggie Blends we were at the grocery store and I let Milly pick one out to snack on while we shopped. Her favorite flavor is Peter Banana Pumpkin Eater. All organic with 3 grams of protein and 3 grams of fiber, they’re like cold pressed smoothies for kids. I also put them in her whole milk yogurt popsicles.

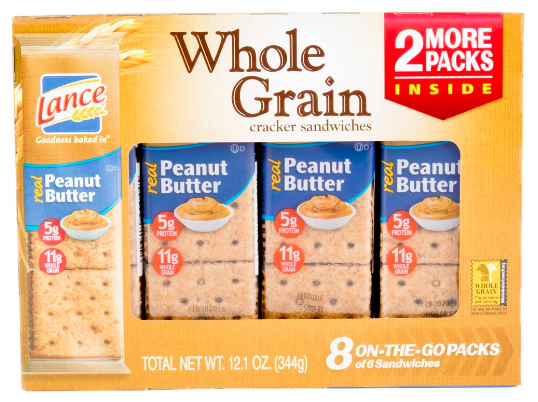
Just like her father, Milly loves peanut butter. I keep these Lance Whole Grain Wheat Peanut Butter Cracker Sandwiches around for both of them, really! She usually only eats two at a time so it takes a while to go through 1 pack but they’re always a sure thing with her. These are classic cracker sandwiches made with whole wheat flour.

Another whole wheat flour snack we like are Annie’s Organic Cheddar Bunnies. We purchase a lot of Annie’s Organic products including their macaroni and cheese and graham crackers. I prefer to buy the big box and portion it out myself and sometimes I’ll make my own snack mix with a few of these other dry treats for a little something different.

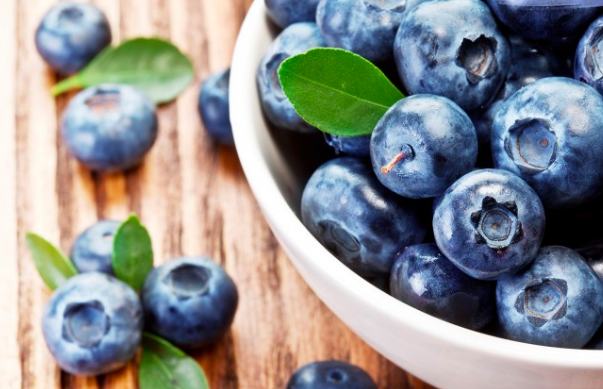
Great for grab and go with no work are Blueberries. If you follow me on Instagram you know that this is Milly’s favorite! Available year round, I buy these by the box full. I especially like bringing these when we go out to eat incase the food takes too long I know Milly will enjoy some bluebs without spoiling her appetite. When she was teething I liked keeping them in the freezer for relief from those swollen gums. They’re also great to add into her oatmeal and smoothies.

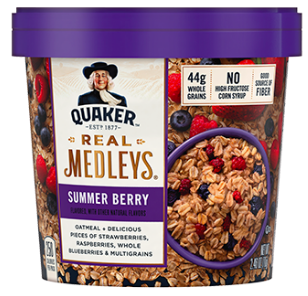
Speaking of oatmeal, Milly just got on an oatmeal kick so especially for an on the go snack, I like Quaker Real Medleys Oatmeal Cups. Just add hot water and you’re set. I add fruit for extra yumminess too. This oatmeal is sweet enough for it to feel like dessert and it’s been a good in between meal for when our schedules are wonky. It’s also a great food to practice self-feeding and using a spoon.

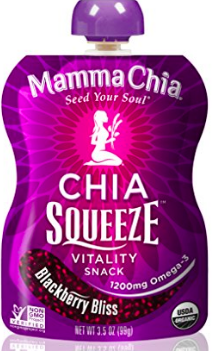
We don’t buy that many snack packs but these Mama Chia Squeeze are a fun little find I spotted by the applesauce. High in omega 3’s, protein and fiber this is also a wonderful vegan and gluten free snack. You can serve them refrigerated or room temp. Usually Milly only drinks half of a pouch so I also mix these into her yogurt popsicles and smoothies.

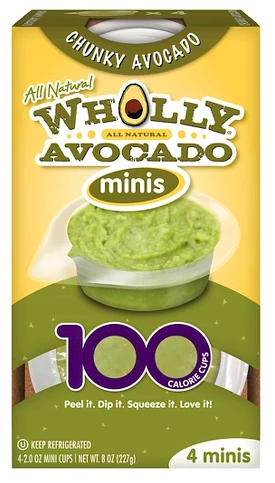
Maybe it’s cause she’s a Cali girl but Milly loves avocados! She has avocado toast at least 5 x week so it’s no surprise she loves Wholly Guacamole Classic Minis. I pack these in her lunchbox with cucumbers or crackers for dipping and she gobbles it up!

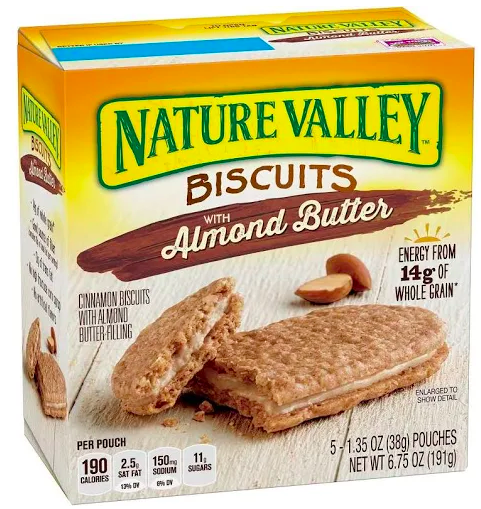
Last summer when we were in NYC shooting my Food Network show, “Let’s Eat!” these Nature Valley Breakfast Biscuits with Almond Butter were in my dressing room. I brought them back to the hotel for Mr. A and Little A to have and they both immediately liked them. Slightly sweet with creamy almond butter between the granola biscuits, each pack comes with two which is perfect. We’ve been rotating them in our snack pantry ever since.

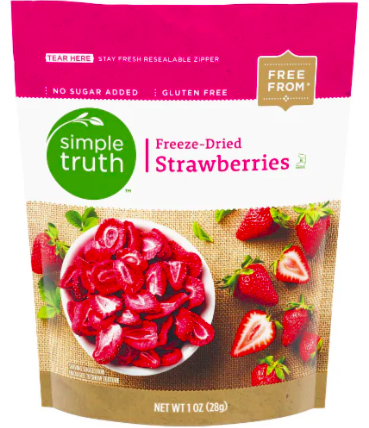
I’ve talked about this a lot on Instagram but often times when I go to Starbucks to get myself a grown up drink, I will ask for a tall water with freeze dried strawberries for Milly. She only drinks water and we do not offer her juice at this time so this kid friendly pink drink makes her feel like she’s a big girl. I like to have Simple Truth Freeze Dried Strawberries on hand for homemade versions or I will mix them into her snack mixes I create.

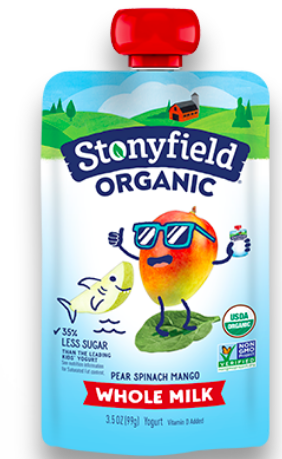
Milly has never been a huge fan of cow’s milk and this is probably because she was breastfed 18 months and Mama’s milk is much sweeter than cow’s milk but we also don’t drink cow’s milk in our home. I try to use it in my cooking and baking but we also started incorporating Stonyfield Organic Whole Milk Yogurt Pouches into her snacks. Sometimes Milly isn’t into the whole pouch thing (as I mentioned already the only pouches we buy are the Once Upon a Farm and Mama Chia) so I’ll squeeze these into a smoothie or her tumbler and she’ll guzzle it down. I think there is something to be said about being able to see what she’s eating.

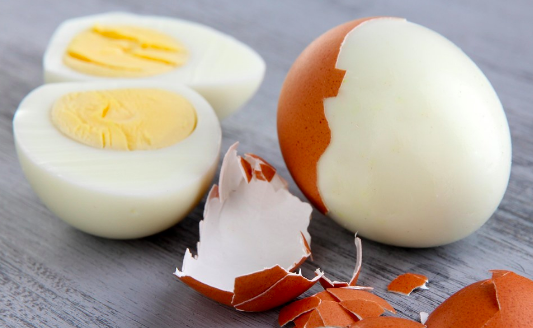
I know you can buy Boiled Eggs already boiled and peeled but I prefer doing them myself. I’ve tried a ton of different brands and I really think they taste better when I make them. Heehee. They also don’t get that weird slime on them they get when you buy from the bags at the store. I keep my eggs unpeeled for on the go and usually bring a fun dip for them like hummus or Everything But the Bagel seasoning.

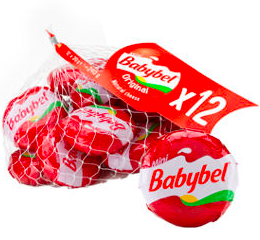
I grew up eating Mini Babybel Cheese so naturally I buy them for Milly. They taste so good and they’re softer than the sharp white cheddar ones so we like to keep options on hand!

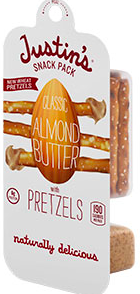
Any snack that involves an activity or action is more exciting for a toddler. Justin’s Classic Almond Butter Snack Pack with Pretzels accomplishes just that. Reminds me of those dipping snacks I loved when I was a kid but these are so much better for you!

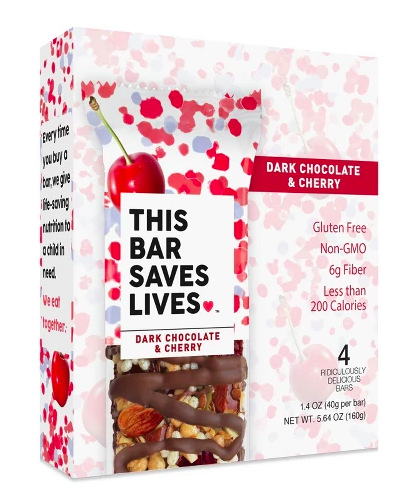
I buy these for me but Little Amazing loves them too. This Bar Saves Lives are our favorite since I’m not a fan of most traditional bars or energy bars. The kid ones have been out of stock at Target lately but we will share the grown up versions. The chocolate can be a little messy and anything with chocolate is considered a treat in our home so they are for special moments only.

I hope this list sparks some new ideas for snacks to incorporate into your pantry for your toddler. If there’s one you didn’t see on here that you love, please share in the comments below! I’d love to know your go to snacks incase they are ones we haven’t tried yet! And don’t forget to follow me on Instagram, Facebook and Twitter for daily updates. xoxo

SHOPPING LIST

Sunkist Delite® mandarins

Trader Joe’s Strawberry Yogurt O’s

Tillamook Sharp White Cheddar

Happy Baby Organic Yogis Freeze-Dried Yogurt & Fruit Snacks

Once Upon a Farm Fruit and Veggie Blends

Lance Whole Grain Wheat Peanut Butter Cracker Sandwiches

Annie’s Organic Cheddar Bunnies

Blueberries

Quaker Real Medleys Oatmeal Cups

Mama Chia Squeeze

Wholly Guacamole Classic Minis

Nature Valley Breakfast Biscuits with Almond Butter

Simple Truth Freeze Dried Strawberries

Stonyfield Organic Whole Milk Yogurt Pouch

Boiled Eggs

Mini Babybel Cheese

Justin’s Classic Almond Butter Snack Pack with Pretzels

This Bar Saves Lives

Sunkist Cara Cara Navel Orange Yogurt Donuts

This post is sponsored by Sunkist

Photography Credit: @Ographr

Photography Credit: @Ographr

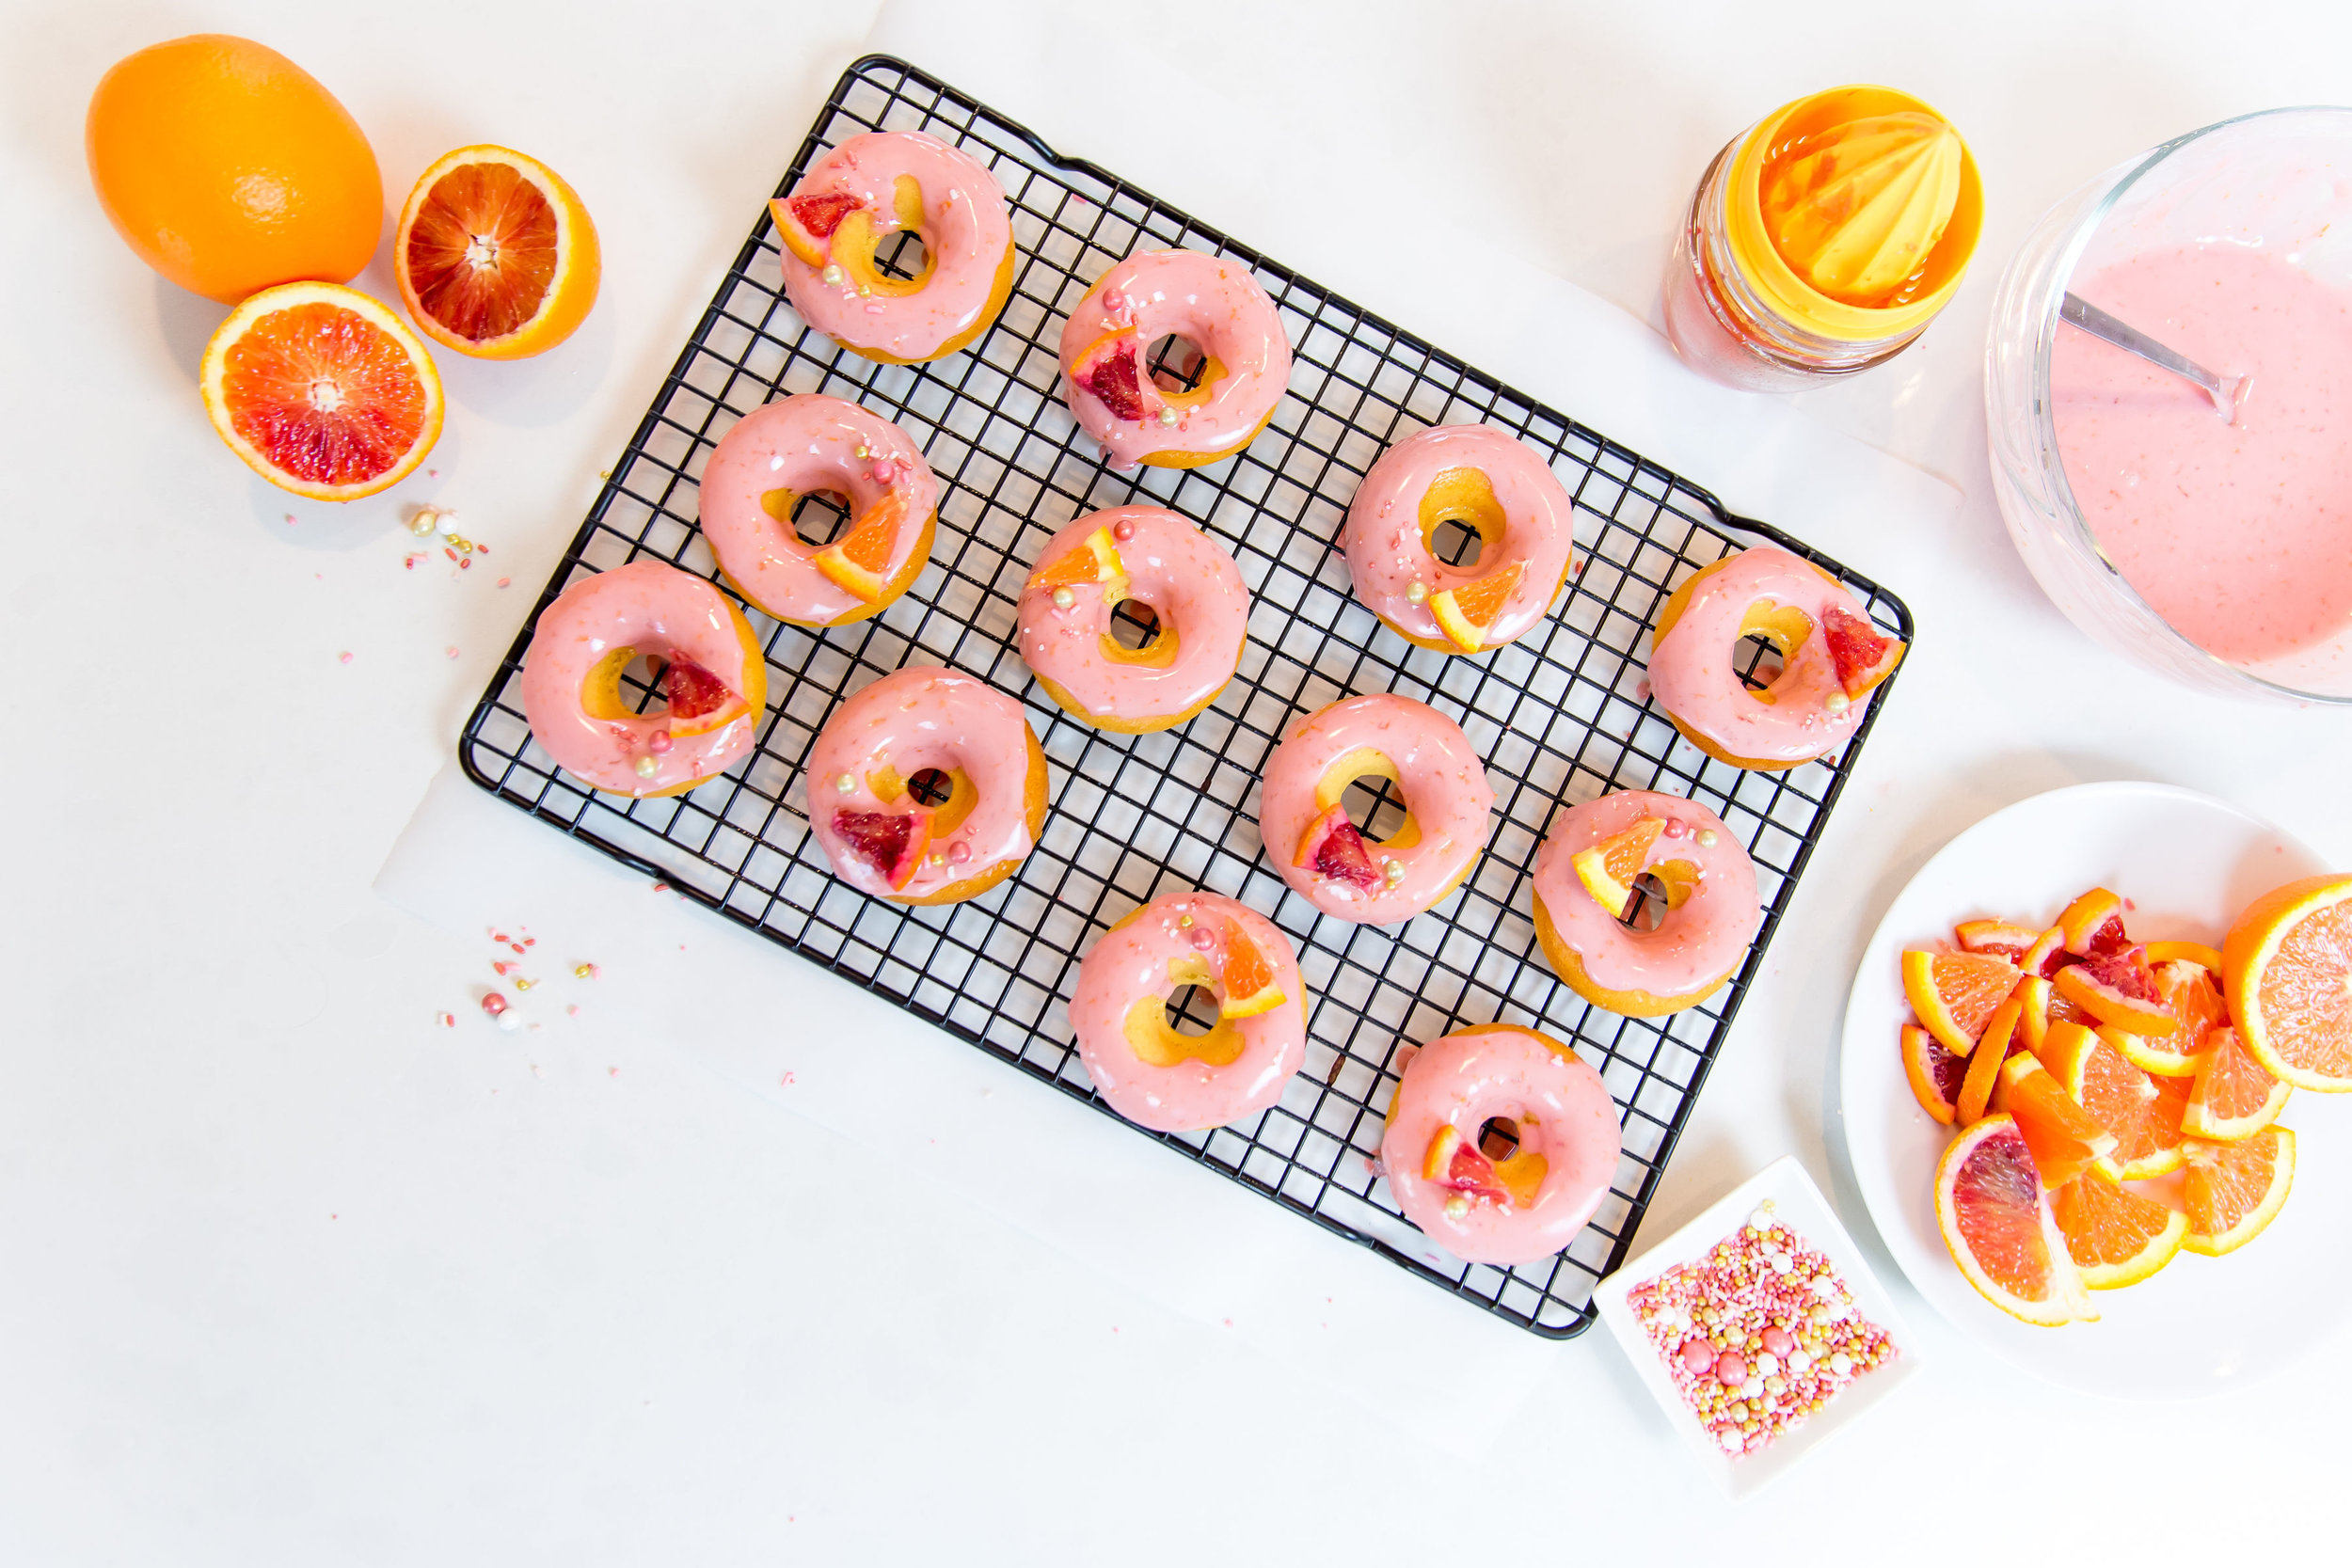
These donuts are the sweet secret weapon you are going to want to add to your recipe arsenal.  Using only 5 ingredients you probably already have on hand, it’s the perfect treat to whip up any time of the day. And if you're as obsessed with Pantone's Color of the Year: Living Coral as I am, you'll love my trick to getting the perfect shade of glaze. I mean, even if you just want to make these for the insta-likes, you might as well, but the flavor of these donuts are bursting with bright citrus from the Sunkist Cara Cara Navel oranges. And because they’re baked instead of fried like traditional donuts, they are super light and fluffy but every bit delicious so let’s get started!

6D4A8883.jpg

Here’s what you need: pancake mix, sugar, freshly squeezed Sunkist Cara Cara Navel orange juice, yogurt, and eggs.

6D4A8791.jpg

(Your eggs don’t need to be blue or brown but I couldn’t help it because they’re so pretty!)

Preheat your oven to 355°F and then into a bowl, mix all of the ingredients until the batter is nice and smooth.

6D4A8916.jpg
6D4A8912.jpg

That’s it. Really. You toss 5 ingredients into one dish, give it a mix, and now we’re ready to pour the batter into our donut pan.

6D4A8927.jpg

A quick tip to getting the filling in the donut pan easily is to create a homemade piping bag. Just place a gallon size plastic bag in a jar and pour the batter into the bag, snip one of the corners and fill each well evenly.

6D4A8937.jpg

Tap the bottom of the pan to release any air bubbles and then bake for 15-18 minutes or until golden brown and baked through.

6D4A8949.jpg

Once the donuts are baked, place them on a wire rack to cool and then make your glaze. It’s just powdered sugar and some freshly squeezed Sunkist blood orange juice. Depending on how bold the color is of your blood orange will determine the color of your glaze. I love how mine ended up having this muted maroon shade! So pretty!

6D4A8986.jpg

To frost the donuts, you can drizzle the glaze on top or spread some glaze around the top of the donut and let the excess fall. I love this “Homer Simpson” style look! If you’d like to add a garnish, do so while the glaze is still wet. I added a few sprinkles and a small segment of citrus on top of each!

6D4A9070.jpg
6D4A9051.jpg
6D4A9079.jpg

I mean, if you haven’t already paused scrolling to check your pantry to make sure you have everything to make these….

Oh and by the way I should mention that Sunkist Cara Cara Navel oranges are available December through May so you can make these all season long! I’d love to see your photos of these donuts and how you gave them your own special touch so post your photos on Instagram and tag me @BrandiMilloy! Also, to watch the full video of me making these just go to my IGTV Channel! Then scroll down for the full recipe, I donut mind at all! :) And for more delicious recipes visit Sunkist.com/recipes

6D4A9111.jpg
6D4A9140.jpg
6D4A9146.jpg

Sunkist Cara Cara Navel Orange Yogurt Donuts

PREPARATION: 10 minutes

COOKING: 15 minutes

INGREDIENTS

  • 1 1/4 cups pancake mix

  • 1/3 cup granulated sugar

  • 1/8 cup Sunkist Cara Cara Navel orange juice, freshly squeezed

  • 1/2 cup plain yogurt

  • 2 eggs, large

  • 2 cups powdered sugar

  • Zest from 2 Sunkist blood oranges

  • 1/4 cup freshly squeezed Sunkist Blood orange juice

  • Sprinkles, optional (these are the vintage rose gold sprinkles I used)

DIRECTIONS

  1. Preheat oven to 355°F.

  2. In a large bowl, combine the pancake mix and sugar. Add in the orange juice, yogurt and eggs.

  3. Stir well to combine. Batter should be smooth, but do not over-mix. Divide the batter evenly among the donut ring molds (a few tablespoons, depending on the size of the ring mold).

  4. Bake in preheated oven for 15-18 minutes. (Cooking times will vary depending on your oven. Start checking at the 12 minute mark.) Donuts should be golden brown and dry to the touch.

  5. Remove from the oven, and allow donuts to cool completely in the ring molds. 

  6. Meanwhile, make glaze by mixing powdered sugar, zest and juice. If glaze is too thick, add 1/2 tablespoon of juice at a time until desired consistency. Frost donuts and garnish with sprinkles if desired.

    Note:
    • A donut pan is required for this recipe.
    • Before removing from the oven, test donuts with toothpick to ensure they are cooked through.


Grilled Strawberries & Brie
IMG_7384.JPG

This is one of those dishes where no one knows what to expect and then they give it a try and they are totally coming back for more. I made this recipe on my show, Let’s Eat! on Food Network and my co-hosts were totally surprised too. Maybe you’ve seen raspberry jam paired with brie but strawberries? They aren’t even the star of the show, really. I think the fresh thyme is really what pulls this dish together and grabs you. But who am I to tell you who the star is. Make it for yourself and then let me know what you think. I’d love it if you even posted your photo on instagram and tagged me @BrandiMilloy with the hashtag #BrandisBites

xo,

B

Grilled Strawberries & Brie

by Brandi Milloy

Ingredients

  • One 8.8-ounce wheel Brie

  • 2 tablespoons peanut oil

  • 8 ounces strawberries, hulled and sliced in half lengthwise

  • 1/4 cup packed light brown sugar

  • 3 sprigs fresh thyme

  • Pinch fleur de sel

  • Pinch red pepper flakes

  • Crackers, for serving

    Directions

  1. Preheat a grill or grill pan to medium-high heat. Brush the Brie with some of the oil. Grill until softened and grill marks appear, 3 to 4 minutes per side. Carefully transfer to a serving platter or board.

  2. Toss the strawberries in the brown sugar in a bowl until coated. Brush the grill with the remaining oil and add the strawberries cut-side down. Grill until the sugar is caramelized and the strawberries are tender, 1 to 2 minutes per side.

  3. Arrange the strawberries around and on top of the Brie. Garnish with the thyme and sprinkle with the fleur de sel and red pepper flakes. Serve warm with crackers.

Optional: Try a drizzle of balsamic glaze for a decadent touch.

Favorite Drugstore Beauty Staples
6D4A9947.jpg

I love a good beauty find and saving money is my favorite thing to do! These are a few of my beauty staples you can find at the drug store, pharmacy and your local Target/Wal-Mart that I LOVE just as much as my pricey beauty products. I got a ton of feedback from you guys after I posted my travel video and you saw how small my makeup bag is which inspired me to show you what I love to use. I’ll definitely share what’s inside my makeup bag but I wanted to start with a few of my go to staples that are great for anyone and very affordable.

6D4A9935.jpg

L’Oreal Lash Paradise Mascara

I LOVE this mascara. Some people say it’s kind of like Too Faced Better Than Sex Mascara and I can see the similarities but I swear this one doesn’t get clumpy and dry as quick as Too Faced and the L’Oreal one is a third of the price! Hello. I love saving money-what about you? The brush on this mascara is really good-it grabs all of my lashes and the super thick formula makes my lashes dark, bold, thick and futtery. If you like the look of wispies, that’s kind of what this does to your lashes. Sometimes I just put on my powder and this mascara and I don’t look completely like I just rolled out of bed.

Thayers Witch Hazel Toner

This is the beauty product you probably don’t use but need to start using immediately. The last two times I got facials, both estheticians told me that if I do anything to my skin it’s USE TONER. A gentle non alcoholic toner removes dirt, oil, excess makeup your face wash may have missed, unclogs pores AND restores your skin’s PH balance. But it also does more than that. Toner refreshes and hydrates your skin. It’s the easiest step you can add to your nightly beauty regimen with big payoff and SO affordable! I like this one because it’s alcohol free so it doesn’t dry and strip the skin. It’s just undistilled witch hazel, aloe vera and rose water-easy!
Natural Bristle Dry Brush

Oooh I love dry brushing so much. It’s invigorating and the best way to start your shower or bath regimen. I try to dry brush at least 3 x week but if I remember, I’ll do it more often. It’s not for the faint of heart but once your body gets used to it, you’ll be addicted like me. I also love the way it hurts so good. Haha! It gets rid of dead skin cells (gross) and exfoliates your skin but I love the other benefits like the way it increases my circulation and helps with lymphatic drainage. This means it reduces bloating! If you don’t know about lymphatic drainage, please educate yourself because it is LIFE CHANGING. I do facial massage daily to help reduce swelling and anytime I get a massage I ask for lymphatic drainage. This topic probably needs it’s own post but maybe later.

So the way you dry brush is you do it on dry skin before you shower or bathe and start at your ankles brushing in upward movements towards your heart. It doesn’t feel good at first unless you’re like me and fall in love immediately. I also have a high pain tolerance but it’s not even that. The sensation is probably new but it’s like a wake up call to your skin which by the way is the largest organ on your body so do more for it!!! This will get your blood flowing in the best way! As you keep brushing you move up your legs, stomach and arms-all while doing small strokes toward your hard. When you get to your back you can go down your back from the top of your neck. I remember when I was little I read an article about Jennifer Aniston swearing by dry brushing and from then on I was hooked. I’ve probably been doing this since high school. It helps with skin tone and texture and supposedly it helps with cellulite which never hurt anybody!

Essie Cuticle Oil

This cuticle oil is pretty much always in my purse. It’s a great way to refresh any mani and keeps my nails and cuticles moisturized and healthy. It’s especially great in between trips to the salon when my gels have grown out or my nails are nude-they still look good. You brush it onto your nail bed along your cuticles and then rub in any access. Makes such a difference when people see your hands. I mean they are a dead giveaway for age and no one likes dry cracked nails and hands. Sometimes I even bring the cuticle oil down my fingers onto the tops of my hands just to give that extra something.

I hope this helped you discover some new beauty finds you weren’t familiar with and I’d love to know what your beauty staples are too! Tell me all about them below and then I’m always curious what else you want to see on the blog so let me know that too.

xo,

B

6D4A9939.jpg
Get Your Pendant Necklace I Designed with Edward Avedis Now!
M necklace3.jpg

Friends! I designed a necklace and I'm so proud to share it with you. Made in 14kt white, yellow or rose gold and sterling silver in the upper or lowercase letter of your choice, this pendant necklace is something you'll have forever and if you're like me, you'll pass down to someone special one day. I’ve always been a minimalist jewelry person. If you pay attention, I pretty much wear the same earrings everyday (these rose gold studs Mr. A gave me on our wedding day), my wedding ring, my watch and a necklace. Before I designed the Milly Pendant, you’d always see me wearing my tiny cross necklace which is also by Edward Avedis. I like jewelry that is meaningful that I can wear everyday. Sure I own and wear costume jewelry and cheapy stuff but my staples are quality jewelry I really love.

M necklace2.jpg

Designing this necklace was so much fun. The custom font is feminine and personal. The way the initial hangs on the necklace is so different because it just flows within the chain. I love how the lower case letters look but you can do upper if you prefer! Each piece is handmade here in Los Angeles, CA which was super important to me.

The best part is if you use code: BRANDI you'll get 20% off. I’m so grateful to be able to work with my dear friend EDWARD AVEDIS Jewelry on this piece and I'm excited to collaborate on more ideas I have. Feel free to share this with someone that needs a subtle hint on what you want in your stocking this year!

M necklace1.jpg
Let's Celebrate National Cookie Day

Over the years I’ve made SO many cookies, especially while I was the host of POPSUGAR’s Eat The Trend and Get the Dish with Brandi Milloy. To celebrate National Cookie Day, I decided to pull together a round up of a few of my favorites. Hope you enjoy and if you make any of them, be sure to post on social and use the hashtag #BrandisBites


Tips for Traveling with a Toddler
IMG_1015.jpg

Five words. Keep calm and carry on! Seriously. Travel becomes so much easier and less stressful when you simplify all the stuff you don’t need and pack only what you will actually use. I hate checking bags. I have anxiety just thinking about all the extra time it takes to check them and then wait for them at baggage claim (if they don’t get lost-which is another thing I have anxiety about)! I’ve also done my fair share of traveling with Milly solo and the less crap, the better! I’ve never felt more like a badass than when I traveled with her by myself and didn’t need anyone to help me with my bags. It’s feels so good to do it all on your own! Watch below for my tips for traveling with a toddler and how to get away with just bringing a carry on!

Here’s what I carry on:

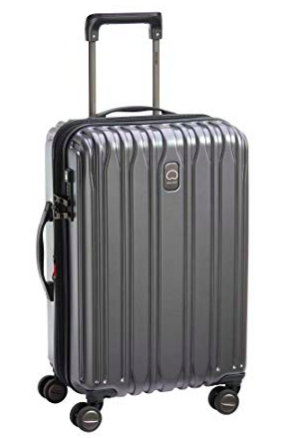
  • my carry on sized suitcase with spinner wheels (you can’t use a bag with regular wheels ever again!)

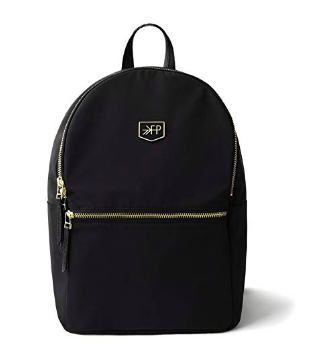
  • diaper bag back pack (again, you can’t travel with anything else! I mean you need your hands as free as possible.)

  • baby carrier (this is our favorite for so many reasons!)

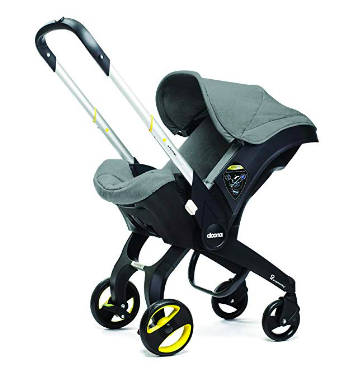
  • And if you need a travel carseat and/or stroller or both (I know some folks borrow them from friends & family once they arrive at their destination), this is an investment but we are obsessed with it. Especially with the amount of travel we’ve done, this convertible carseat stroller combo is a must have!!! We have it in grey but there are so many beautiful colors and they are alway sold out!

A few tips but scroll down to watch the full video where I cover everything:

  • Plan outfits for your babe ahead of time and take photos of each ensemble. It might seem silly and stuff only fashionistas would do but it’s super helpful and makes getting ready each day easy peasy.

  • Pack toddler’s outfits in gallon size zip bags. It’s like the poor man’s version of vacuum seal bags but work just as well! It’s great for keeping worn or soiled laundry contained too!

  • Two shoe rule. This kind of applies to adults too. I usually only bring the shoes I wear and another pair. IF I absolutely need to bring one other option, I try to look through my closet one more time at any options that are versatile enough to work. If not, I figure it out.

  • Pack only the things you use on a daily basis (diapers, wipes, cream) with the exception of a small “Just in Case” bag. For us, it’s Milly’s toiletry bag where we keep a thermometer, toothbrush, medicine, essential oil rollers, Nose Frida, etc.

  • The diaper bag is really the most important thing you pack. You should have everything you need for at least 1 day of travel in there. You never know when you’ll face a delay, etc.

And for ideas on what to pack to entertain your toddler age 12-18 months, watch this video on how to assembly a “busy bag!”

I live for travel tips and hacks so if you have any more, spill! Leave me a comment with all the advice and then share this post with a mama friend. And if you haven’t subscribed to my YouTube Channel, you can do that here. I appreciate the support from my Mama Tribe! Thanks, xo Brandi

A few other travel related posts:

My Favorite Products for Traveling with a Baby

How to Survive a Trip with a Newborn

My latest vlog where we traveled to Seattle.