Posts in Food
Three Ingredient Donuts
donut+cake4.jpg
donut cake2.jpg

When Home & Family invited me on the show to share something special for #NationalDonutDay I knew exactly what I wanted to make! These three ingredient donuts are so easy they will blow your mind. Essentially being only 1 ingredient made with biscuit dough, you can transform these donuts into your favorite glazed, cinnamon sugar or jelly donut! For something extra special, stack your donuts on a tiered cake stand and add a few sugar pearls and edible gold to make a donut cake! You can watch my segment on the show here and then scroll down for the full recipe!

donut cake3.jpg

Three Ingredient Donuts

By Brandi Milloy

Ingredients:

3 packages of biscuit dough (like Pillsbury)

6 cups powdered sugar 

3/4 cup half & half 

3 teaspoons vanilla extract 

2 cups granulated sugar 

3 tablespoons cinnamon 

Vegetable oil, for frying

Edible flowers, for garnish 

Gold leaf, for garnish 

Directions

To make the donuts:

1. Fill heavy bottomed pot (at least 2 quart) with oil, about 3” high and heat over medium heat until 350F. 

2.  Open container and separate each biscuit. Using a small 1” cookie cutter, cut hole in center of each biscuit. 

3. Fry the dough in hot oil for 60-90 seconds on each side until golden brown and cooked through. Drain on paper towel lined baking sheet allowing them to cool. Repeat until you’ve fried all of your donuts. 

For glazed donuts:

1. Into a bowl, add powdered sugar, half and half and vanilla and mix. 

2. Drizzle or dip each donut in the glaze and allow to set. 

For cinnamon sugar donuts:

1. Into a bowl, add granulated sugar and cinnamon and mix. 

2. Dip each donut in the cinnamon sugar mixture. 

To assemble donut cake: 

Arrange donuts on cake stand, filling the stand completely to make the first layer. Begin to lay the rest of the donuts on top between each of the first layer to create a sacked cake. Repeat until you’ve created your donut cake! Alternatively, you can also stack three cake stands and fill each with your donuts. Once you’ve created your cake, garnish with edible flowers and edible gold leaf. 

Sticky Wings with Asian Blueberry Sauce

Thank you to the U.S. Highbush Blueberry Council for sponsoring this post

6D4A5781.jpg

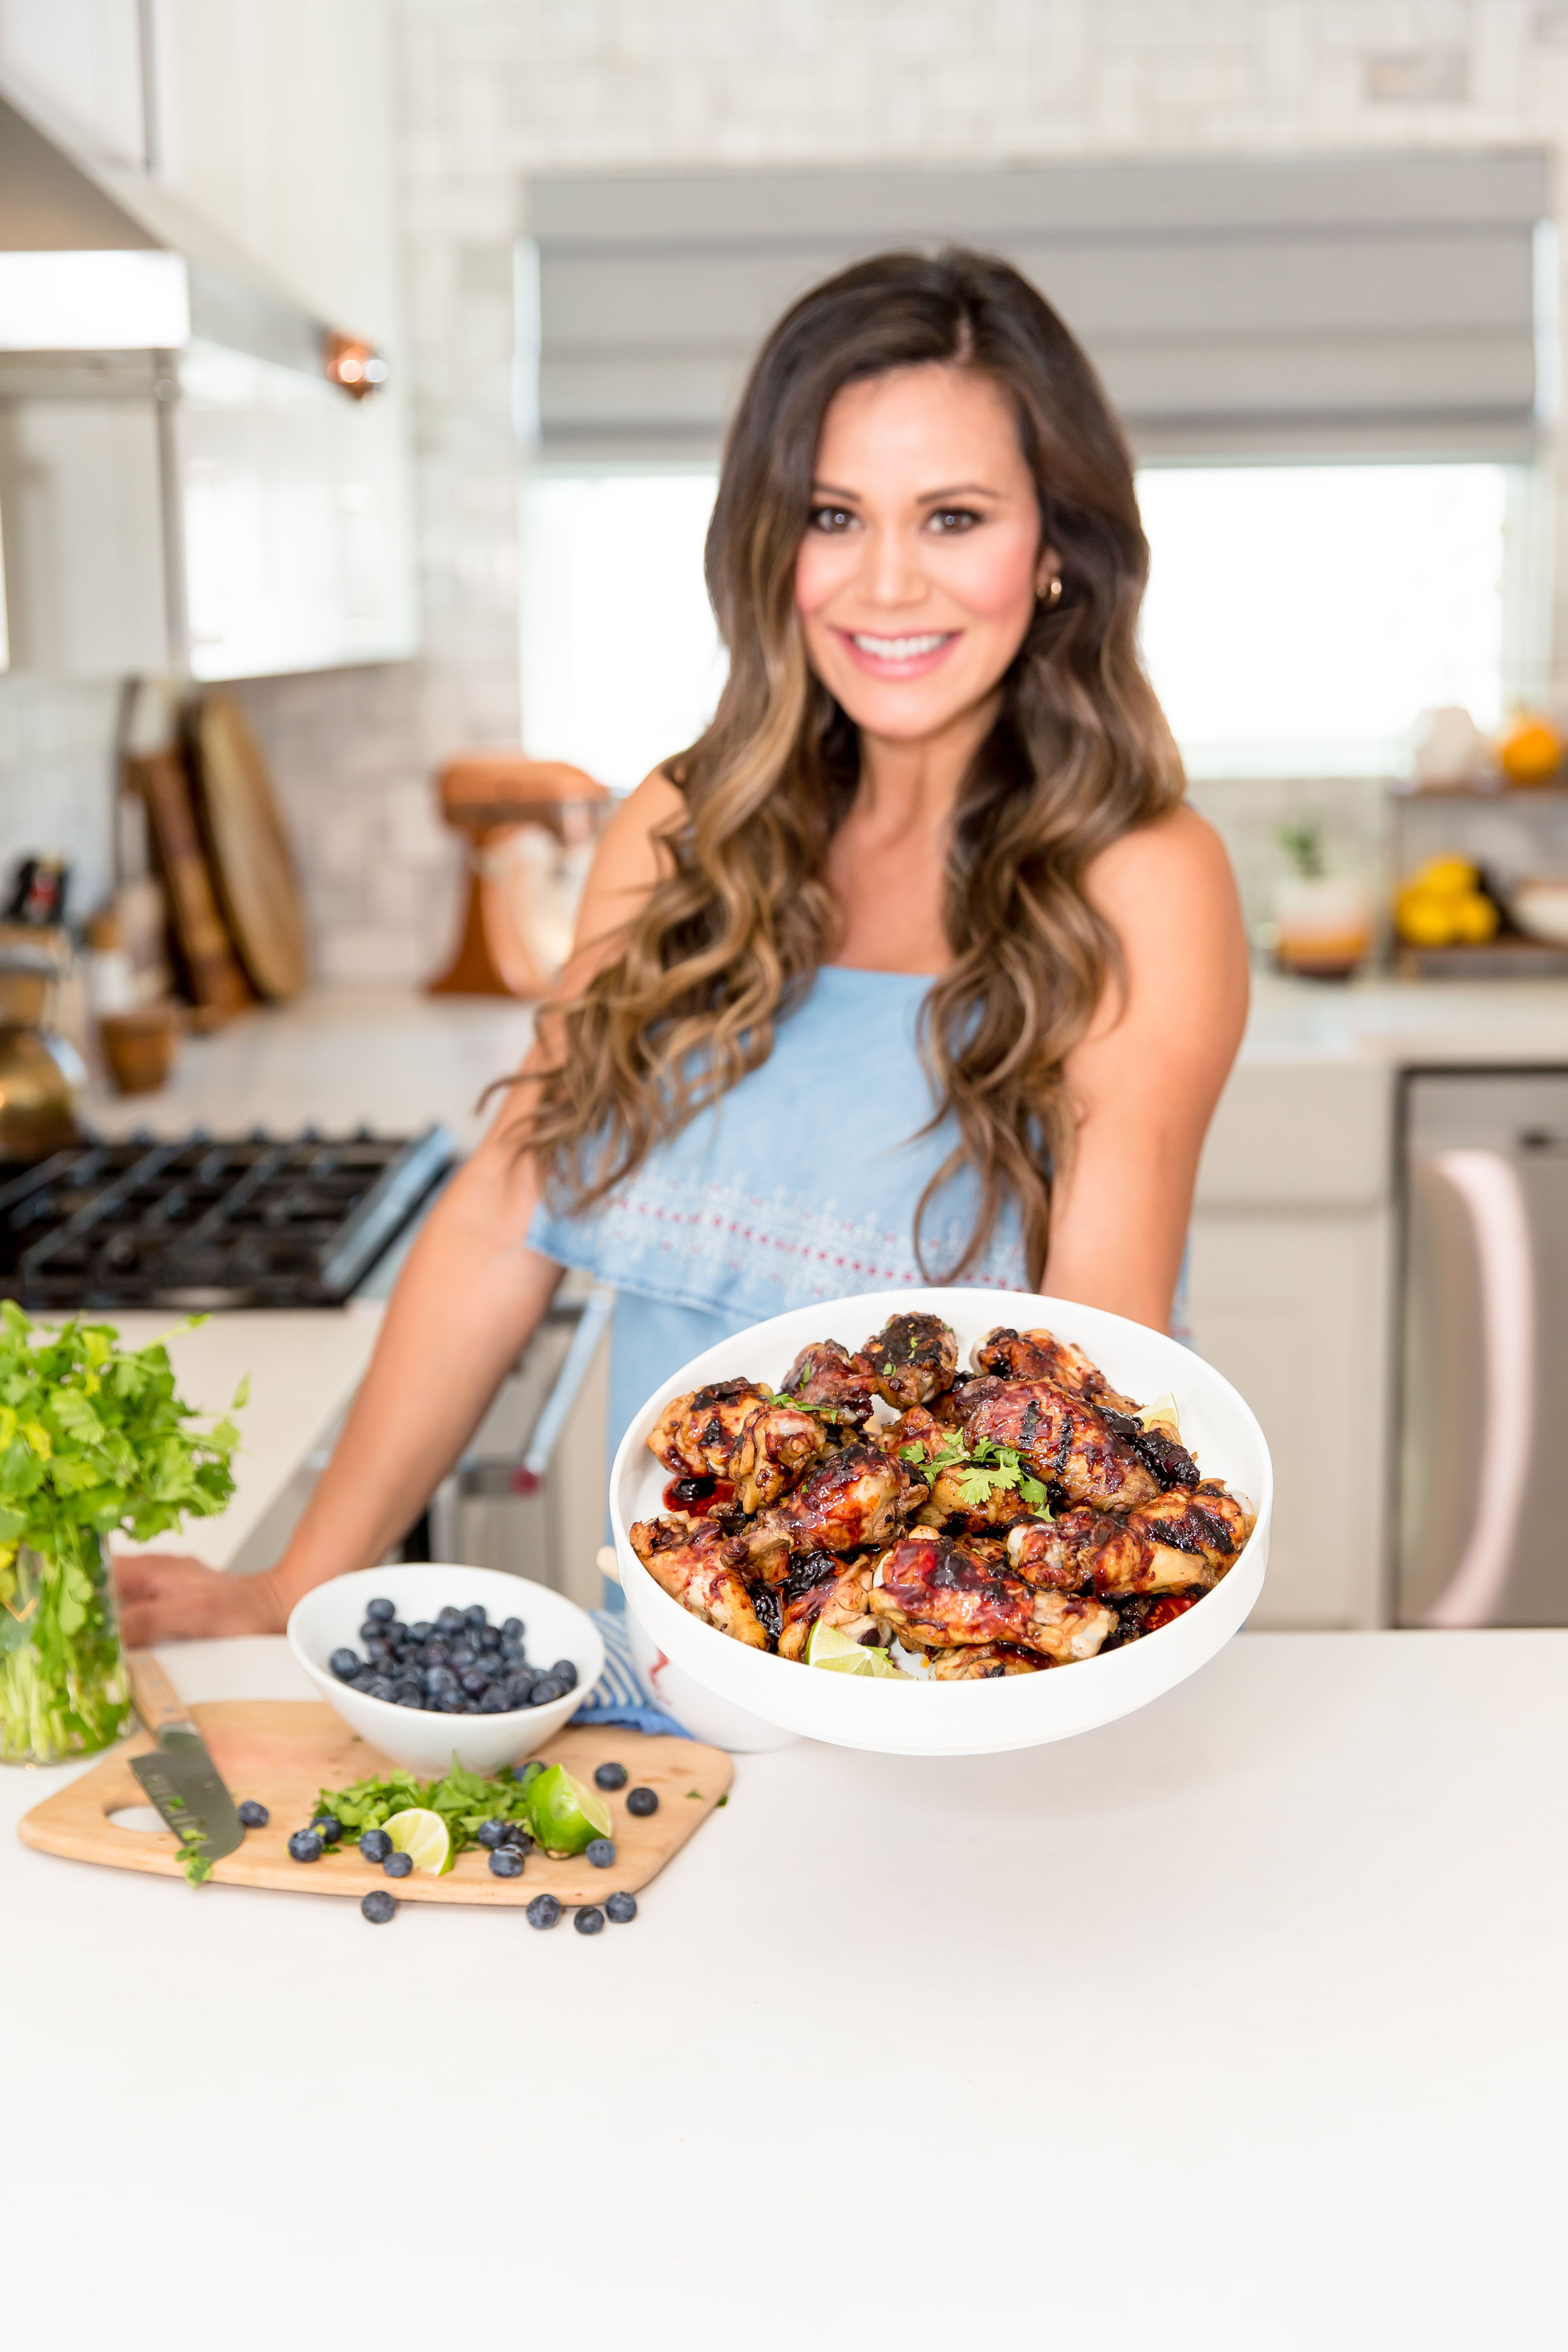
These are one of my favorite entertaining appetizers for summer!  These sticky wings with asian blueberry sauce are spicy, sweet and tantalizing!  Head to my IGTV channel to learn how to make them and then scroll down for the full recipe!

6D4A5760.jpg
6D4A5769.jpg
6D4A5816.jpg

Sticky Wings with Asian Blueberry Sauce

by Brandi Milloy

Serves 6

Ingredients

  • 1 tbsp. chili garlic sauce

  • 1/3 cup Sesame oil

  • 1/2 cup brown sugar

  • 1/2 cup rice wine vinegar

  • 1 cup soy sauce

  • 1 lime zested and juiced

  • 1 cup fresh blueberries

  • 24 chicken wings, uncooked

Directions

  1. Into a bowl add everything but the chicken and mix. Slightly break up the blueberries with a whisk and then pour half of the mixture into a plastic zippered bag. Add the chicken to the bag and marinate 4 hours or overnight. Meanwhile, pour the remaining sauce into a pot and cook on medium heat for 5 minutes or until sauce thickens.

  2. Preheat oven to 350F. Place wings on a baking sheet in the oven for about 45 minutes turning them half way through. When ready to serve, finish wings on a hot grill for about 3-4 minutes on each side to get that smoky flavor and add some grill marks!

  3. Serve with sauce and enjoy!

Meal prepping: Chicken 3 Ways
1A9A3601.jpg

Being a busy working Mama means making the most of my time and a huge part of that is by meal prepping! Post-it® Extreme XL Notes make it easy for me to tackle 3 of my favorite weeknight meals-Greek Chicken Bowls topped with roasted veggies, Chicken Enchiladas and my One Pot Chicken Pasta. 

C0031.MP4.07_42_01_35.Still001.jpg

Post-it® Extreme XL Notes are perfect because they have enough space for me to write out the full recipe, and stick securely on my counter, near the oven and even on containers in the fridge or freezer, making them the ultimate meal prepping hack!

I'd love to know your tips for meal prepping in the comment box below and don't forget to subscribe to my You Tube channel if you aren't already. Scroll down for the full recipes.

1A9A3491.jpg

MEAL PREPPING: CHICKEN 3 WAYS

Key Ingredients:

  • 6 large chicken breasts, cubed

  • 8oz. white mushrooms, sliced

  • 8oz. mini bell peppers, sliced

  • 8oz. rainbow carrots, sliced

  • 8oz. broccoli, sliced

  • 8oz. butternut squash

  • EVOO

  • Seasoning salt

  • fresh rosemary, chopped

  • fresh thyme, chopped

To start: place chicken breasts on baking sheet. Drizzle with EVOO and season with seasoning salt, pepper, rosemary and thyme.

Place vegetables on baking sheet and drizzle with EVOO and season with salt and pepper. Bake at 425F for about 25 minutes or until chicken is cooked through.

post it.00_01_55_02.Still033.jpg

Greek Chicken Bowls

by Brandi Milloy

Ingredients

  • 1/3 of the prepped and cooked chicken

  • The roasted vegetables (peppers, carrots and butternut squash)

  • 1 cup quinoa

  • 1 bouillon cube

  • 2 cups water

  • 4 oz. arugula

  • 6 oz. feta cheese

  • 1/2 cup sour cream

  • 1/4 cup mayo

  • 1/2 tbsp. Italian spices

  • 1/2 tsp. salt

  • 1/2 tsp. pepper

  • Juice from 1/2 lemon

  • 2 Persian cucumbers

  • 8oz. cherry tomatoes, sliced

Directions

  1. To make quinoa: Pour quinoa, bouillon cube and 2 cups of water in rice cooker and cook.

  2. To make dressing: Into a blender, add feta cheese, sour cream, mayo, italian spices, salt, pepper and lemon juice and blend until smooth.

  3. To assemble grain bowls: Add desired amount of the arugula to a bowl or glass container. Top with quinoa, chicken, veggies, cucumbers and tomatoes. Serve with dressing and enjoy!

post it.00_47_41_20.Still010.jpg

One Pot Chicken Pasta

by Brandi Milloy

Ingredients

  • 1/3 of the prepped and cooked chicken

  • Remaining roasted vegetables (broccoli and mushrooms)

  • 8 oz. dry penne pasta

  • 3 tbsp. butter

  • 3 tbsp. flour

  • 1 1/2 cups half & half

  • 3/4 cup reserve pasta water

  • 1/2 cup shaved parmesan cheese

Directions

  1. Cook pasta according to box and reserve about a cup of water for sauce.

  2. To make sauce: Into a large pot melt butter and add flour to make a rue. Add half and half and water and mix until smooth. Add chicken, vegetables, pasta and cheese and serve warm.

post it.00_25_50_17.Still020.jpg

Chicken Enchiladas

by Brandi Milloy

Ingredients

  • 1/3 of the prepped and cooked chicken

  • 12 oz. jar salsa verde or enchilada sauce

  • 2 cups cheese

  • 16 corn tortillas

  • sour cream

  • cilantro

Directions

  1. Shred chicken using a fork or knife and toss with half of the salsa verde or enchilada sauce and 1 cup of cheese.

  2. Place a few tablespoons of chicken filling in a tortilla and wrap. Place in casserole dish, seam side down. Repeat and layer until you’ve filled all your tortillas.

  3. Cover with remaining cheese and bake covered at 400F for about 20 minutes. Serve with sour cream and cilantro.

Tips For Connecting with Your Family Over Breakfast

Thank you Hilton Breakfast Alliance for sponsoring this post

All photography by @Ographr

All photography by @Ographr

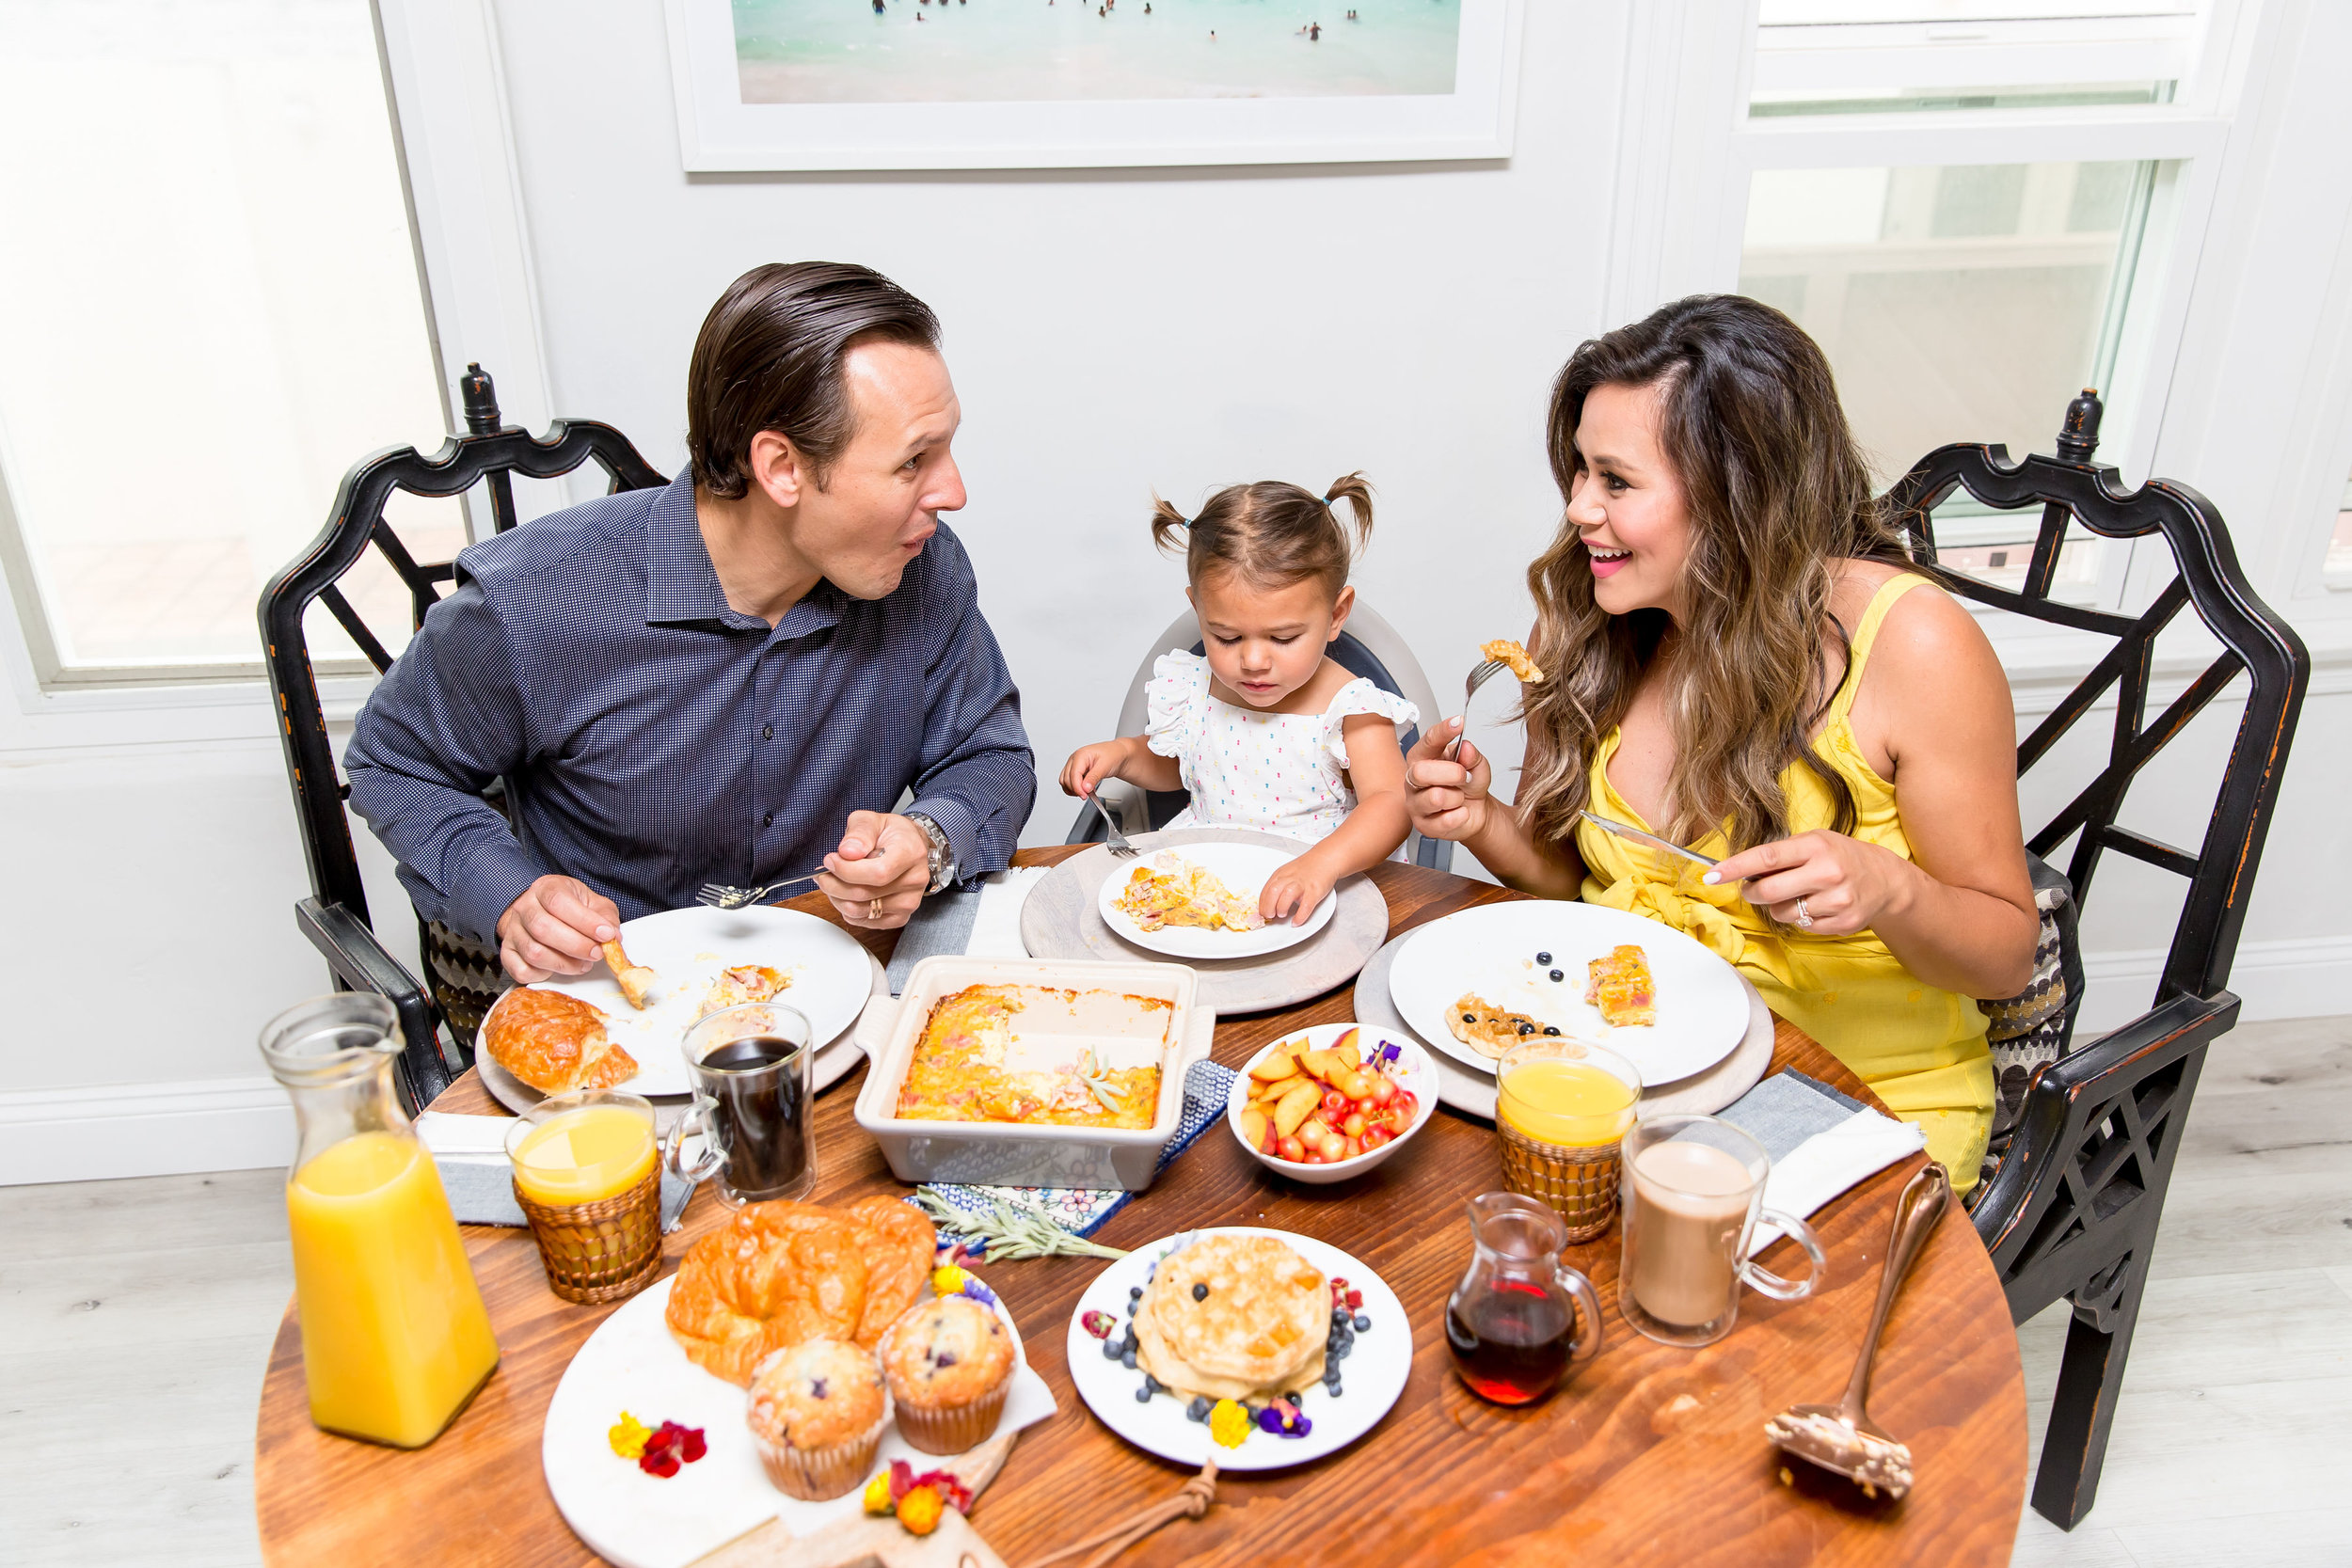
If there’s anything you need to know about me (and if you follow me on Instagram you absolutely know this), I am crazy about eating breakfast together with my family. That’s why I’m so excited to team up with Hilton and its five brands that offer free, hot breakfast, on a mission to transform breakfast from an often overlooked meal to an opportunity to connect. 

6D4A8260.jpg

For us, eating together in the morning is pretty much a non-negotiable. Maybe its because when I was growing up my family always sat down together for breakfast or it could just be because Mr. A and I can’t start our day without a nice hot meal in the morning. I mean I neeeed my breakfast sandwich, you feel me? It’s also about connecting and spending quality time together.  Honestly- I still don’t understand how people go to work and function without having eaten breakfast. 

6D4A8237.jpg

A new nationwide survey reveals that despite their love for breakfast, Americans are sacrificing the morning meal due to their hectic schedules. And many wish they weren’t so busy so that they could enjoy breakfast with others. Here’s what really blew my mind: 80 percent of parents are willing to give something up to have more meaningful conversations with their children at the breakfast table. 

“80 percent of parents are willing to give something up to have more meaningful conversations with their children at the breakfast table.”

Here’s the thing: I get it. Between work, being a full-time mom and just the hustle and bustle of the day, it’s easy for the mornings to feel rushed. But for us, eating breakfast together each morning is the most powerful time to connect (as opposed to the end of the day when work might get in the way or extra-curricular activities). 

6D4A8251.jpg

For me, starting each morning with breakfast is really a mind, body and soul thing. When my mind is refreshed, body is fueled and my soul is filled by the emotional connection with my family is really when I can start my day!

This summer and everyday after that (for that matter) I’m joining Hilton to celebrate their mission to encourage everyone to take the pledge to Eat Breakfast Together and make breakfast the most connected meal of the day. 

6D4A8271.jpg

Here are some of my best tips for making time in the mornings to eat breakfast together:

WAKE UP BEFORE YOUR CHILDREN

Mr. A and I always wake up early, at least an hour or more before our daughter. This allows us to spend time together, get ready for work and not feel rushed before Milly, our toddler daughter needs us. We also allow her to play for about 30 minutes in her crib after she wakes up just so she has time to herself before we all sit down together for breakfast. 

6D4A8291.jpg

TAKE TURNS MAKING BREAKFAST

My husband and I take turns each morning making breakfast. He makes a killer scramble and breakfast sandwich and I love his Belgian waffles. I usually make eggs over medium and avocado toast.

6D4A8209.jpg

MAKE EVERYDAY A SPECIAL OCCASION

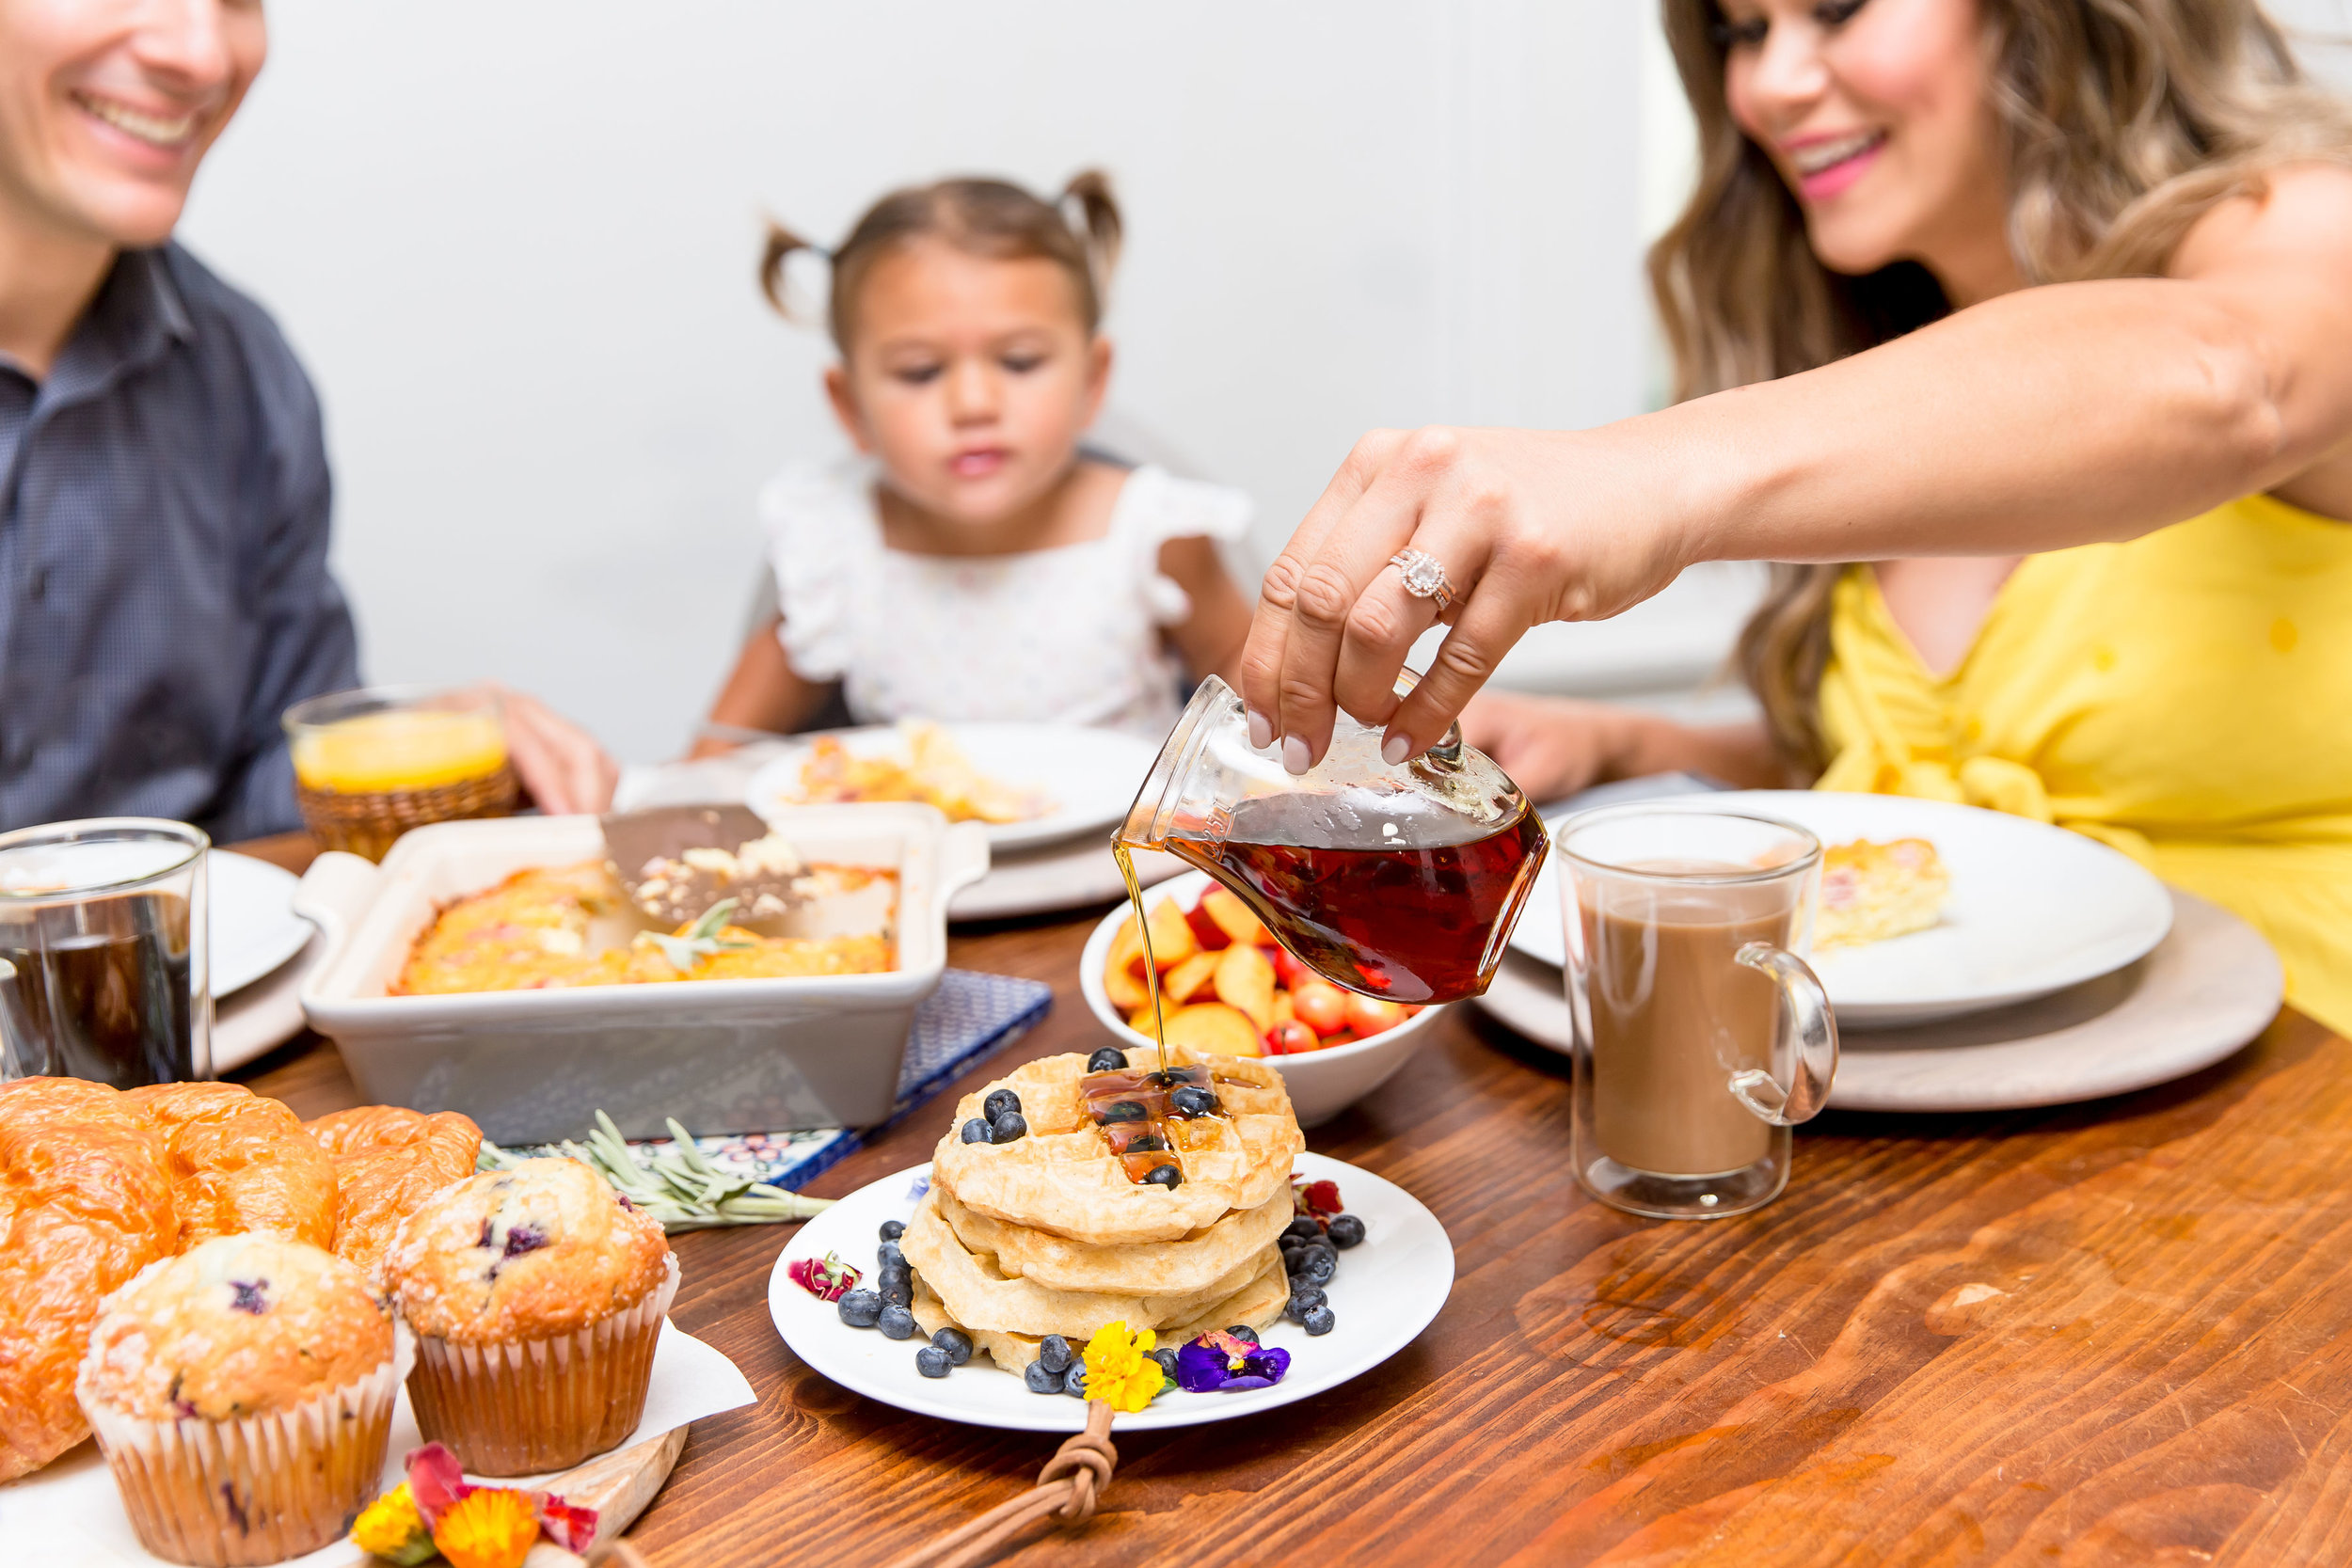
We always keep our favorite breakfast staples on hand but we will switch things up depending on what we have going on in our day! For example, we'll do Tuesday Breakfast Tacos or Waffle Wednesday (reminds me of staying at Hampton by Hilton)! 

6D4A8225.jpg

PLAN AHEAD

On the mornings we don't have time to make breakfast, we plan ahead. Sometimes I'll make a double batch of frittatas muffins or a quiche and keep them in the freezer for those busy mornings. We also love overnight oats that keep in the fridge for a couple days and my hashbrown casserole is pretty killer and SO easy to make! That way we aren’t spending our mornings cooking and instead-connecting!

6D4A8212.jpg

INVOLVE YOUR FAMILY 

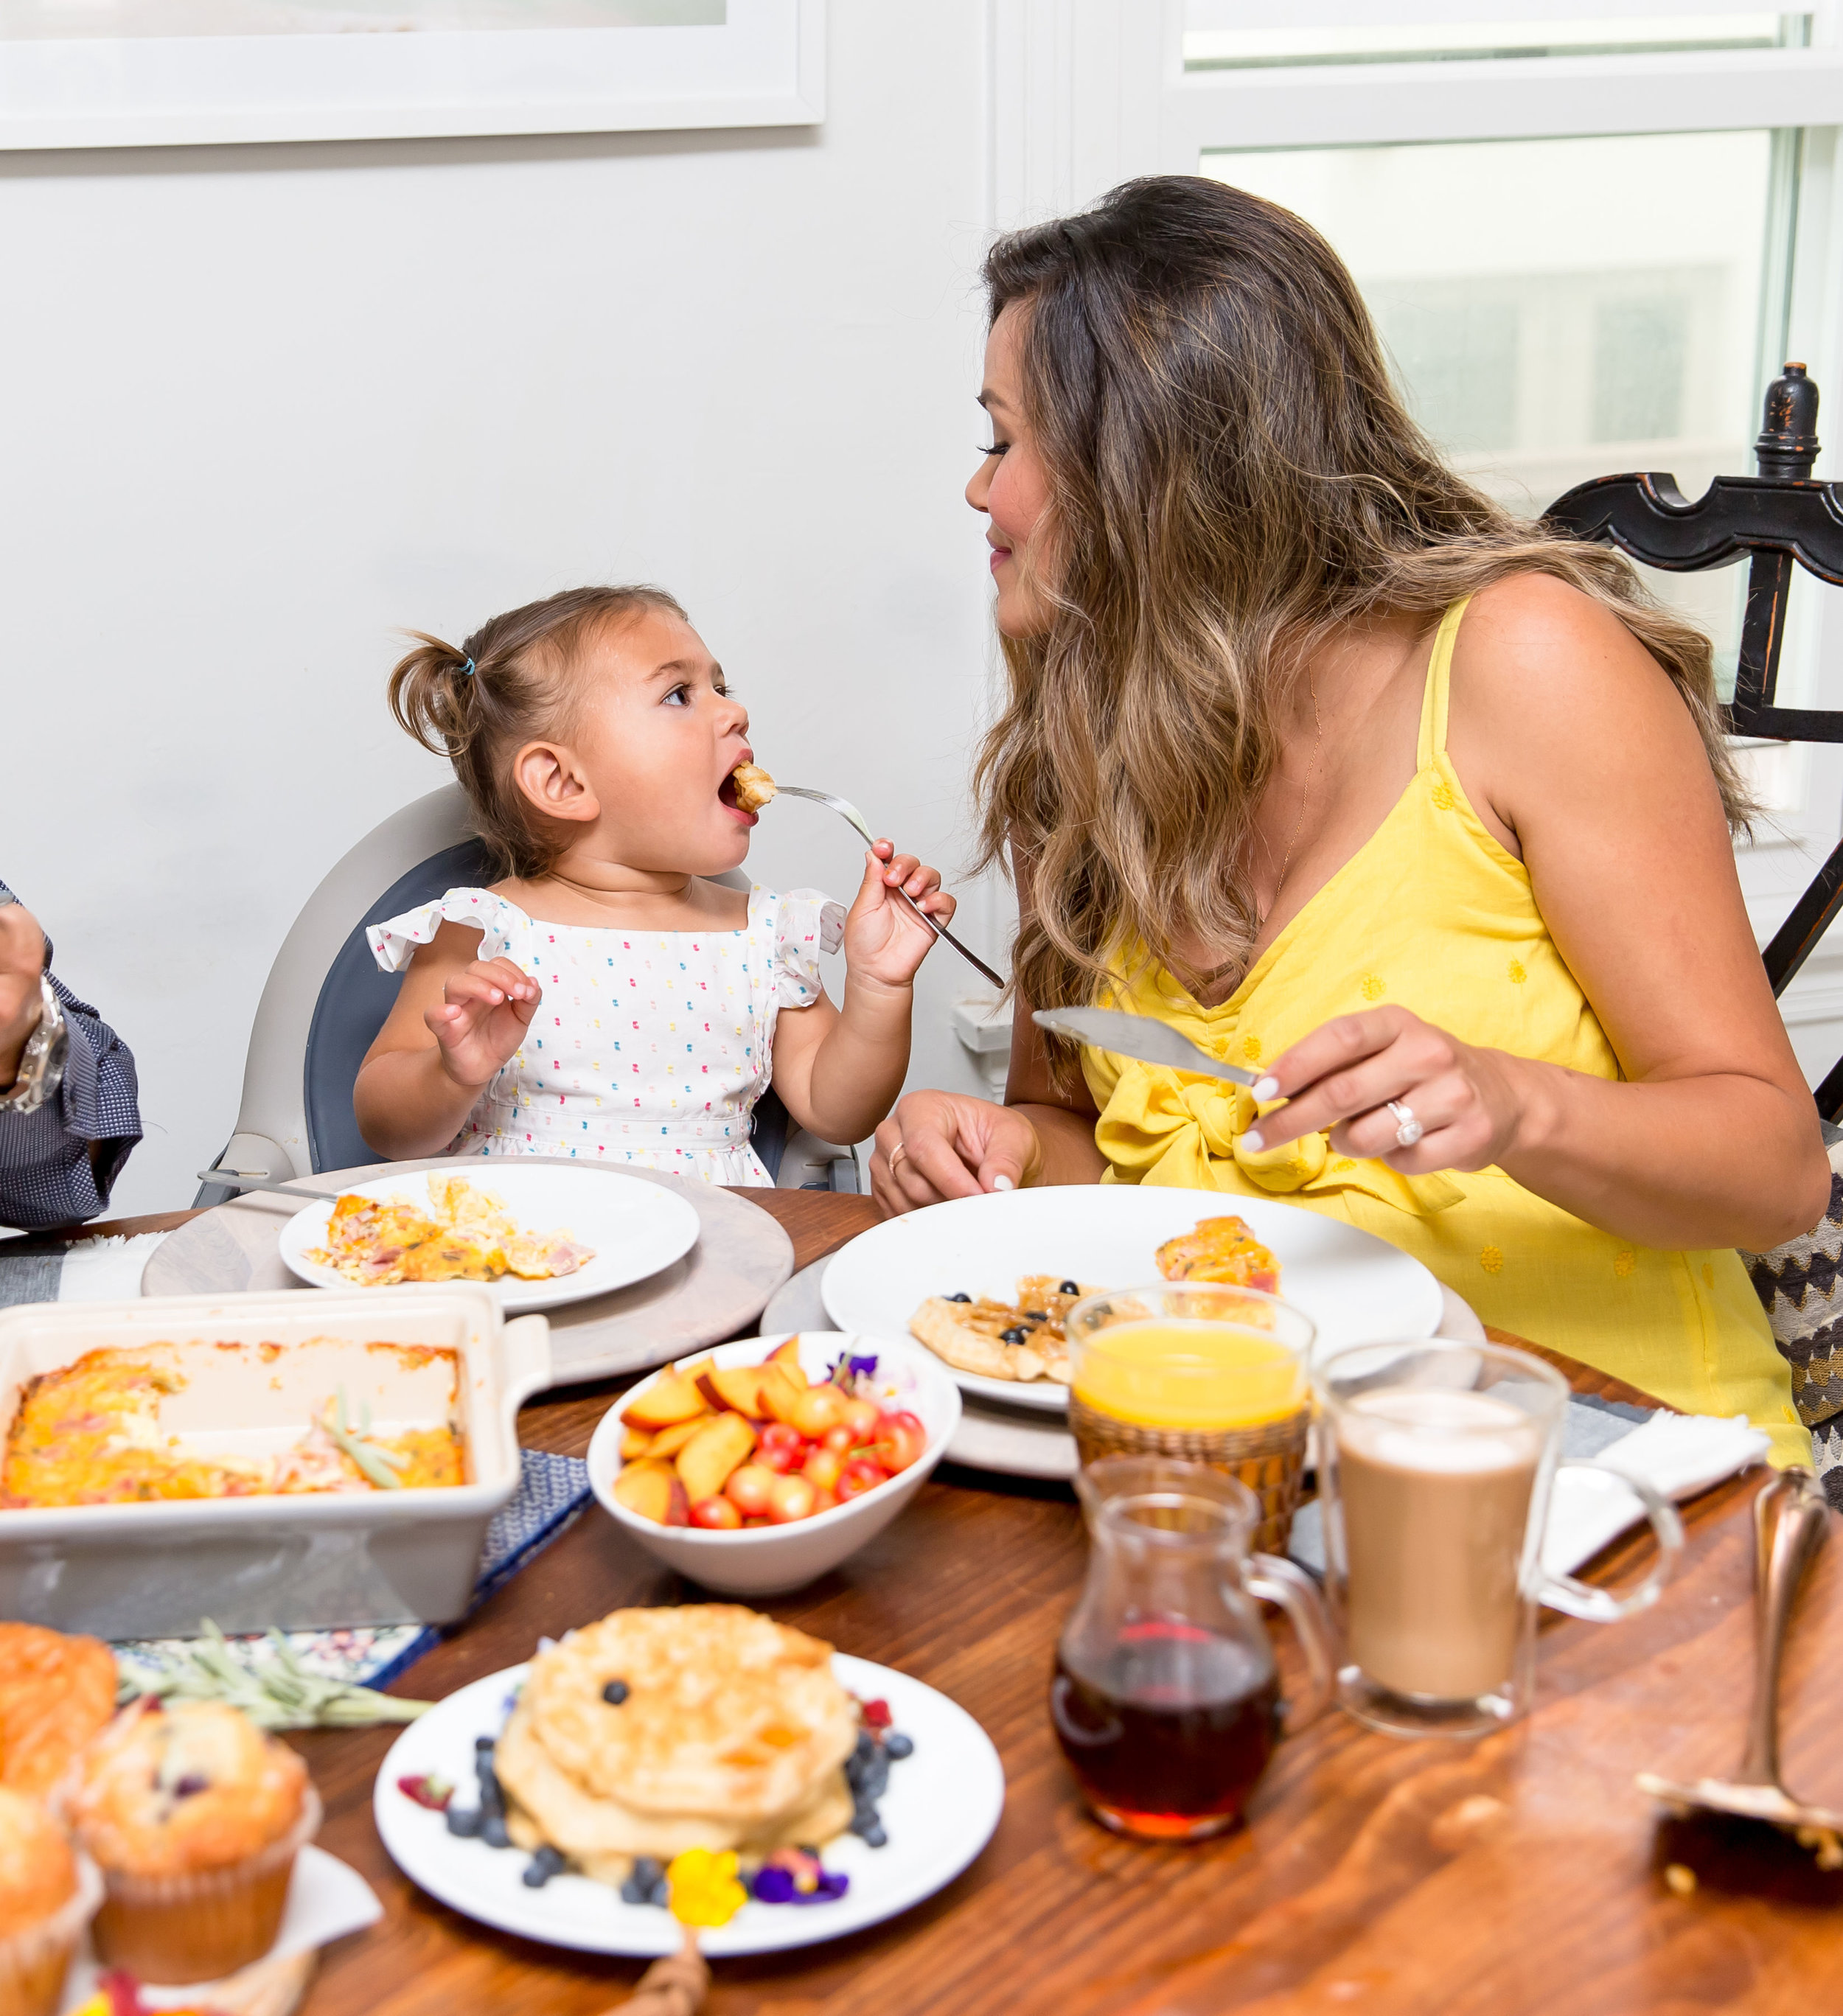
Making breakfast is the first meal our daughter Milly learned how to make. Involving our child in this important meal has proved so powerful. She can crack eggs, scramble them and makes a fierce fruit oatmeal! Even when she was little, she would help by rinsing blueberries and putting them in the bowl.  When she is involved in the cooking process, she's more excited to sit down and enjoy breakfast together at the table.

6D4A8308.jpg

SLOW DOWN, SIT DOWN AND RESET

Sometimes we just need to slow down, sit down and reset. When we travel, we always prefer to stay somewhere that offers free, hot breakfast so that we can easily keep our morning ritual.  Our favorites are Embassy Suites by Hilton, Hampton by Hilton, Tru by Hilton, Homewood Suites and Home2 Suites Anytime I feel rushed in the mornings or overwhelmed by my to-do list for the day, I will take a moment to "reset." In our family, this could mean turning on the music and having a quick dance party together or going outside to our patio and just doing a few deep breathing exercises-focusing on the sounds and sensations of the morning (the chirping birds, the cool beach air and the warm sun).  I’ve found that also laying out our clothes for the next morning the night before is helpful too. I try to pack our lunches and snack bags at night as well. That way everything is ready to go and we aren't spending precious time together looking for last minute items. All it takes are small steps and a little intention to make time for your family. After all, the most precious gift of all is time.

I would love for you to join me in taking this pledge to eat breakfast together. Be sure to visit HiltonStateofBreakfast.com and share your tips and photos on social media using the hashtag #HiltonBreakfast.

6D4A8321.jpg
Mum's Amazing Hashbrown Casserole
6D4A8322.jpg

This is hands down the easiest way to serve my family breakfast! Prep everything the night before and then pop into the oven to bake in the morning. The comforting taste of cheesy hashbrowns, ham and sage is absolutely delicious! When we have family in town I’ll make a double batch and it’s one of those dishes everyone gets seconds of! This is really one of my favorite morning meals. Scroll down for the full recipe!

6D4A8215.jpg
6D4A8220.jpg
6D4A8225.jpg

Mum's Amazing Hashbrown Casserole Recipe

by Brandi Milloy

Ingredients

  • 2 cups shredded hashbrowns, thawed

  • 6 oz. ham, diced

  • 2 cups sharp cheddar cheese, shredded

  • 8 large eggs

  • 2 tbsp. half and half

  • Pinch seasoning salt

  • Pinch pepper

  • 1 tbsp. fresh sage, chopped

Directions

Tip: I usually assemble this the night before in the refrigerator so it’s ready to bake first thing in the morning. This dish serves 4 so if you need to serve more, double the batch and bake in a 9x13 dish.

  1. Preheat oven to 350F and spray 8 x 8 casserole dish with nonstick cooking spray.

  2. Place hashbrowns in dish and spread to make even. Sprinkle ham and cheese on top.

  3. Into a bowl, whisk together eggs, half and half, salt and pepper. Add sage. Pour egg mixture over hashbrowns and cover.

  4. Bake for 45 minutes or until golden and bubbly. Remove cover the last 5-10 minutes for a crispier cheesy top if desired. Enjoy!

Organizing Your Fridge with These 5 Easy Tips
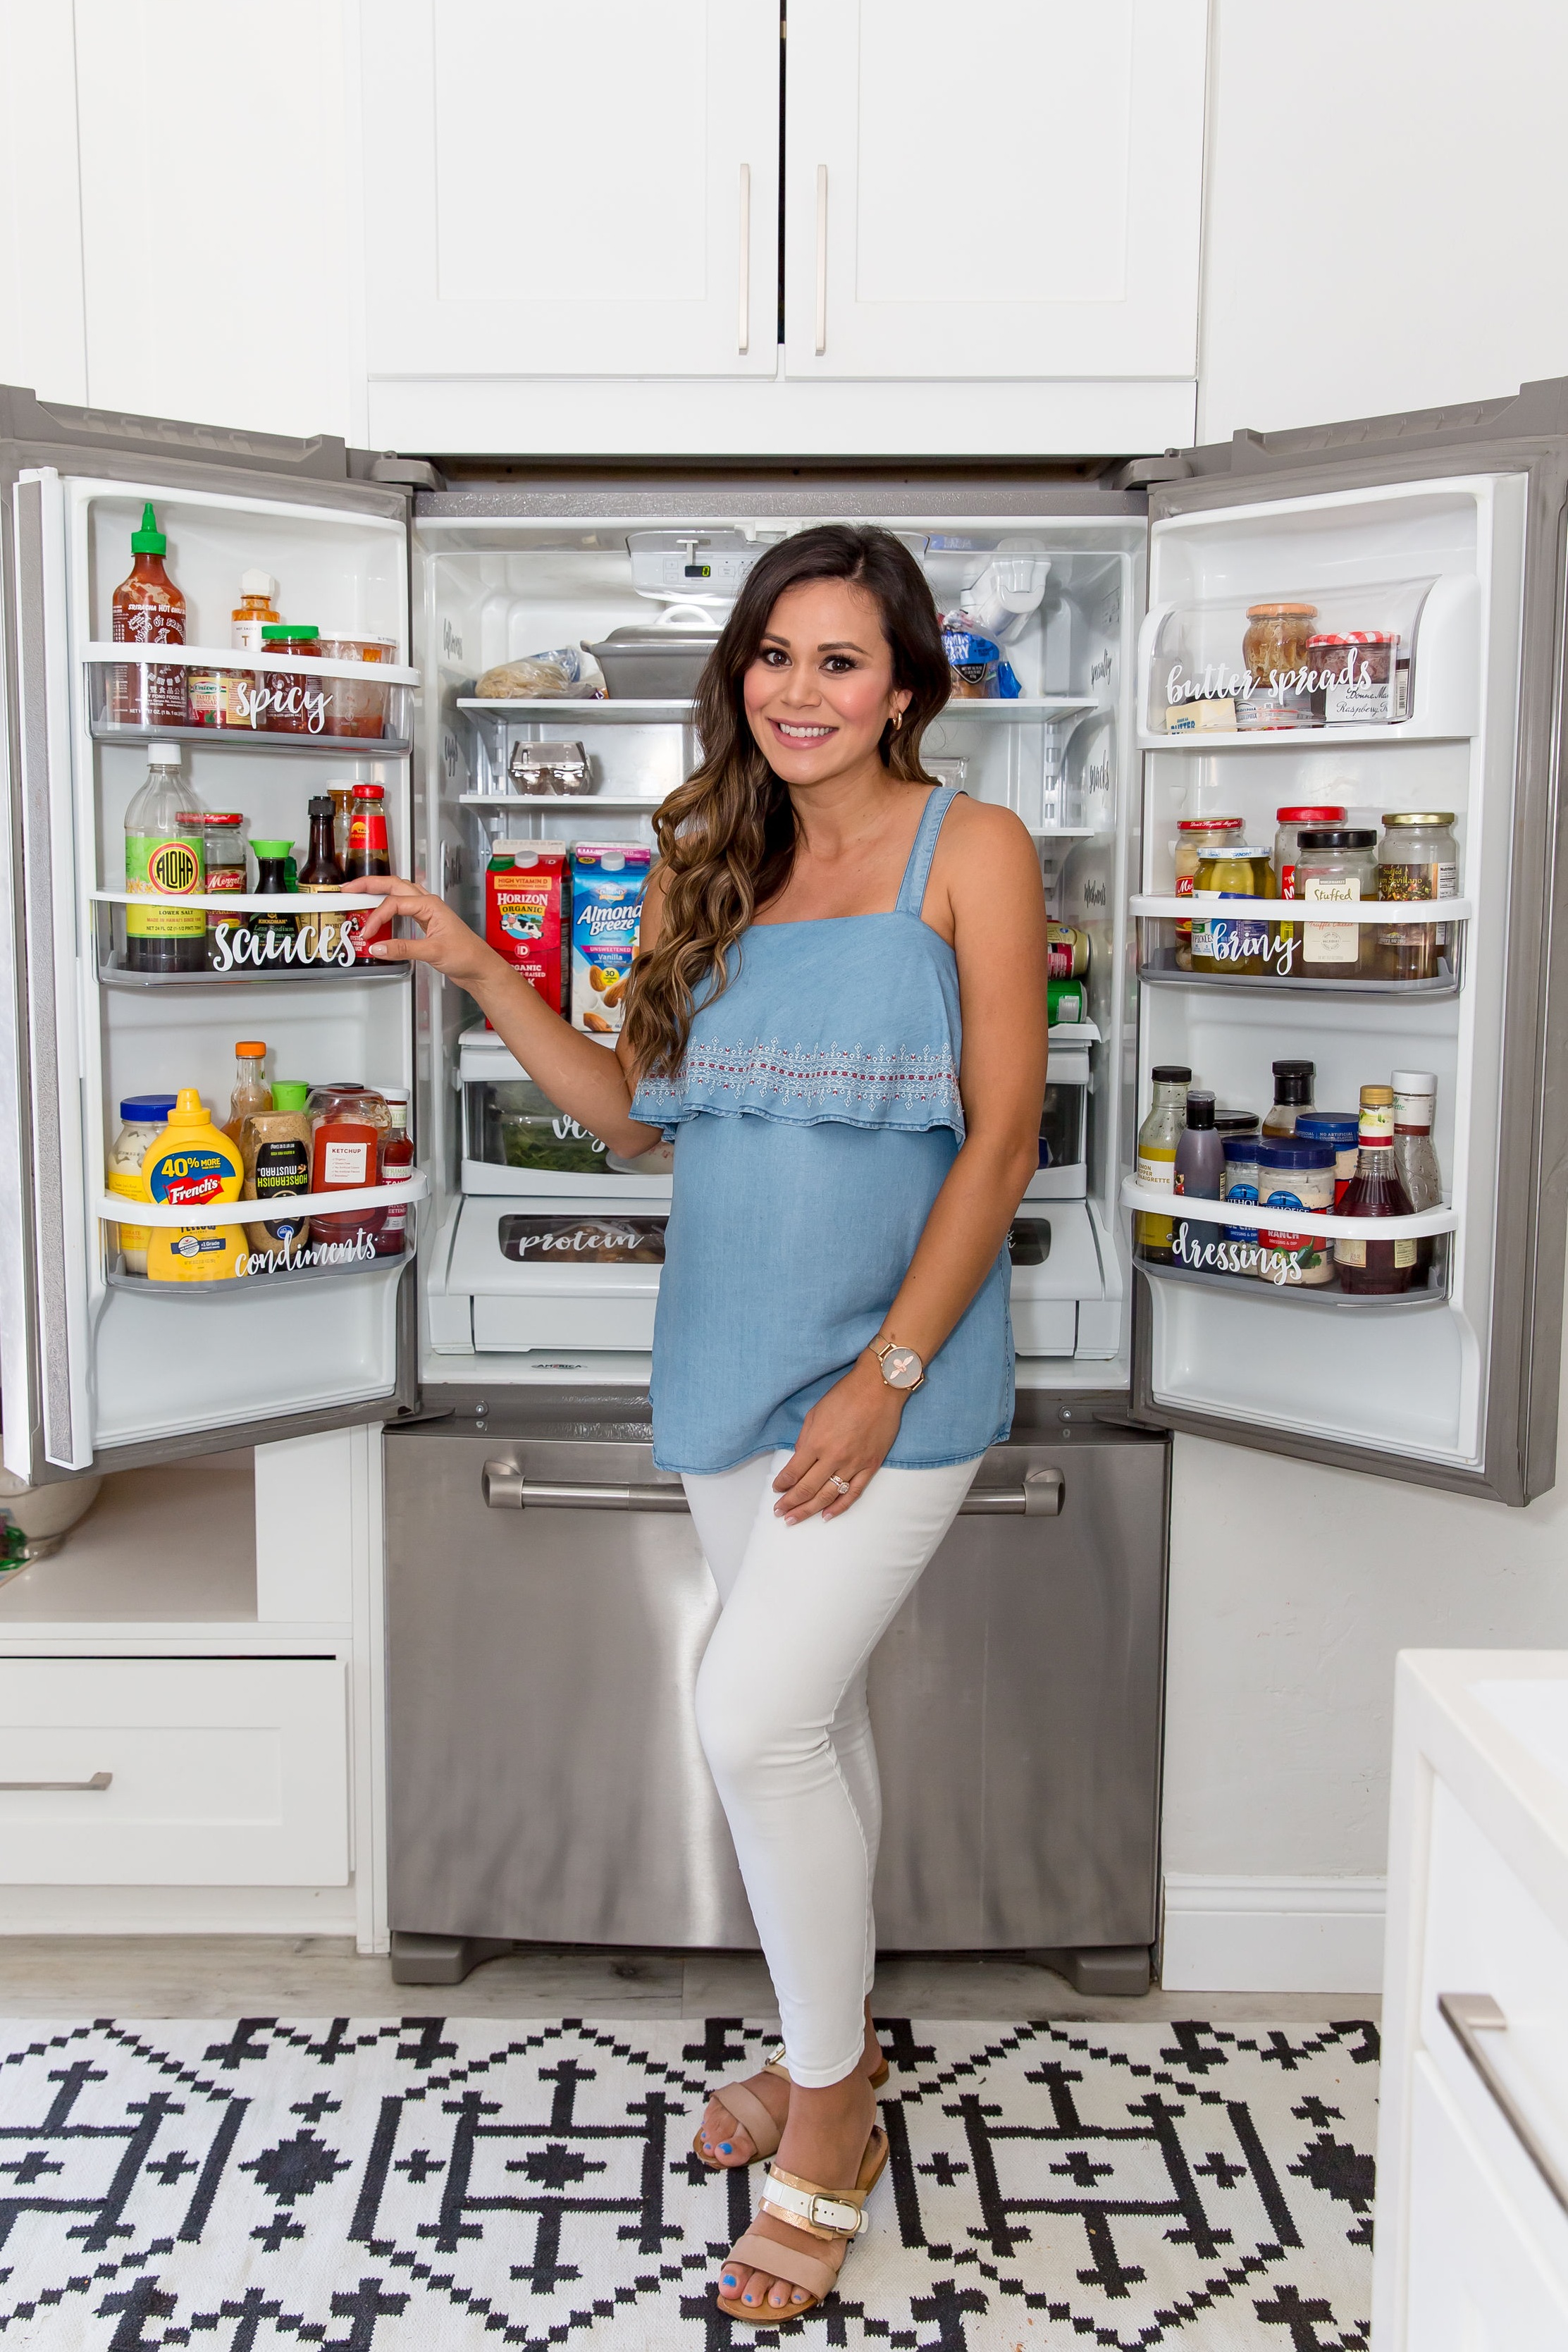
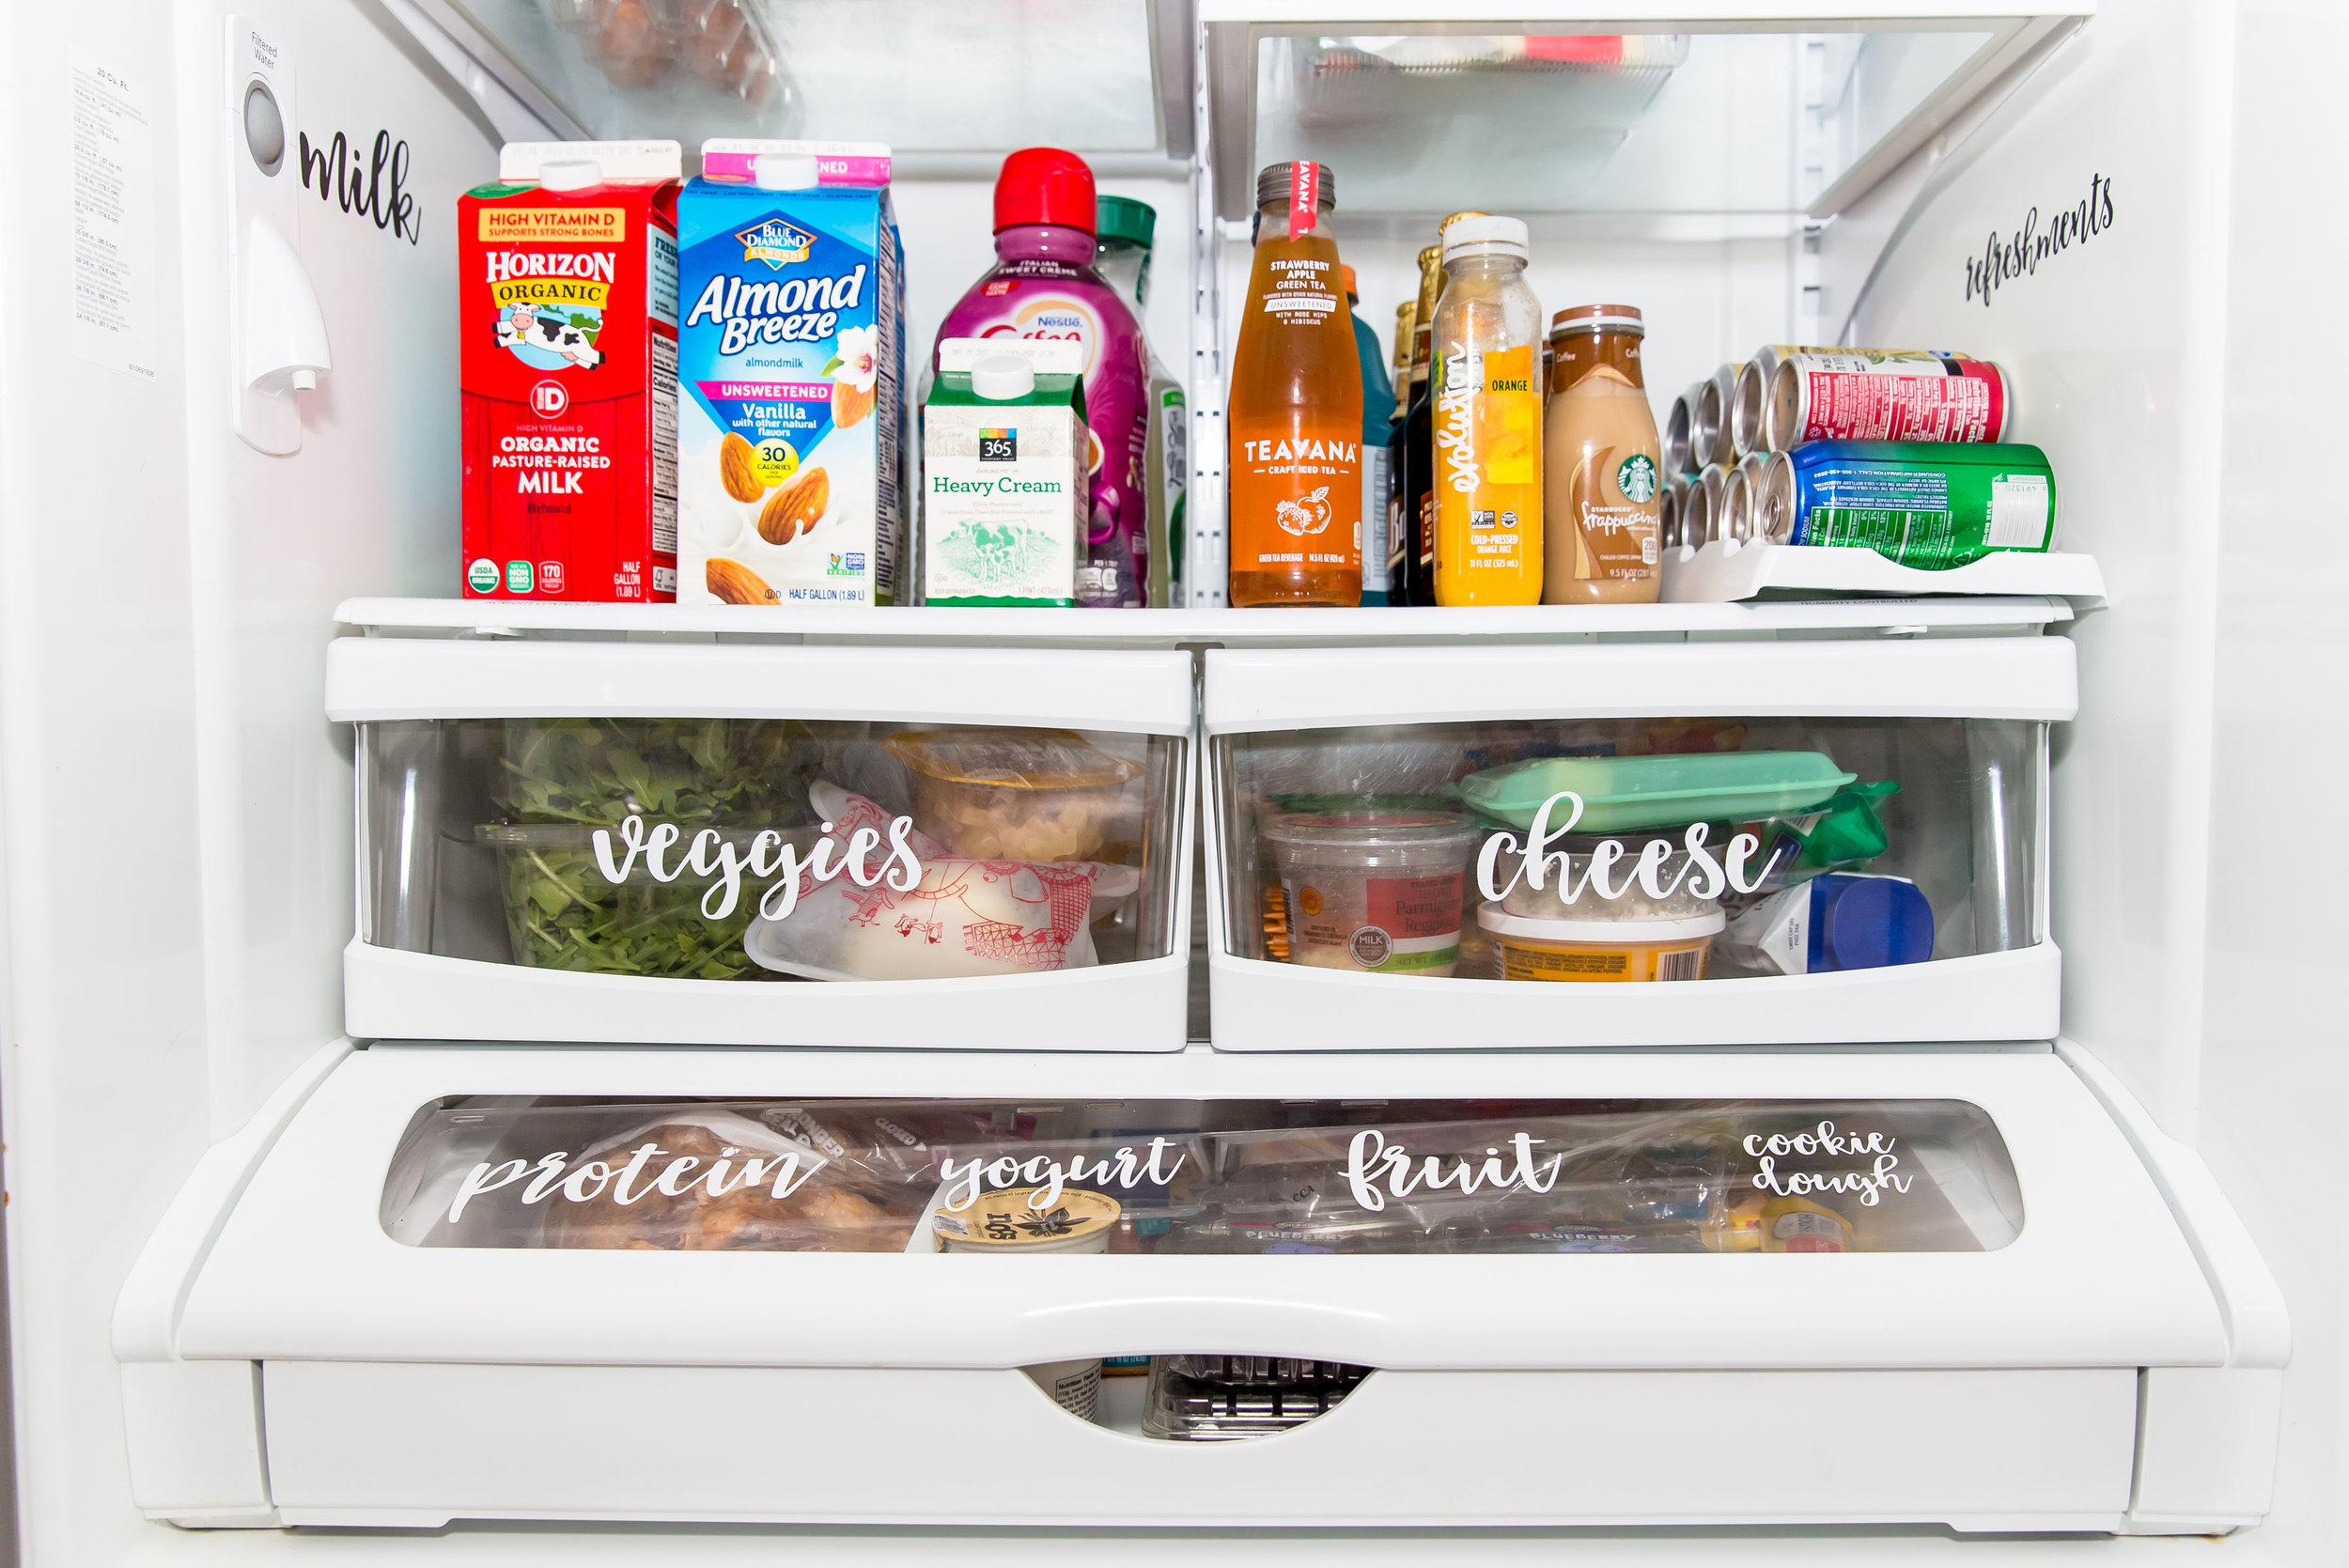
6D4A5856.jpg

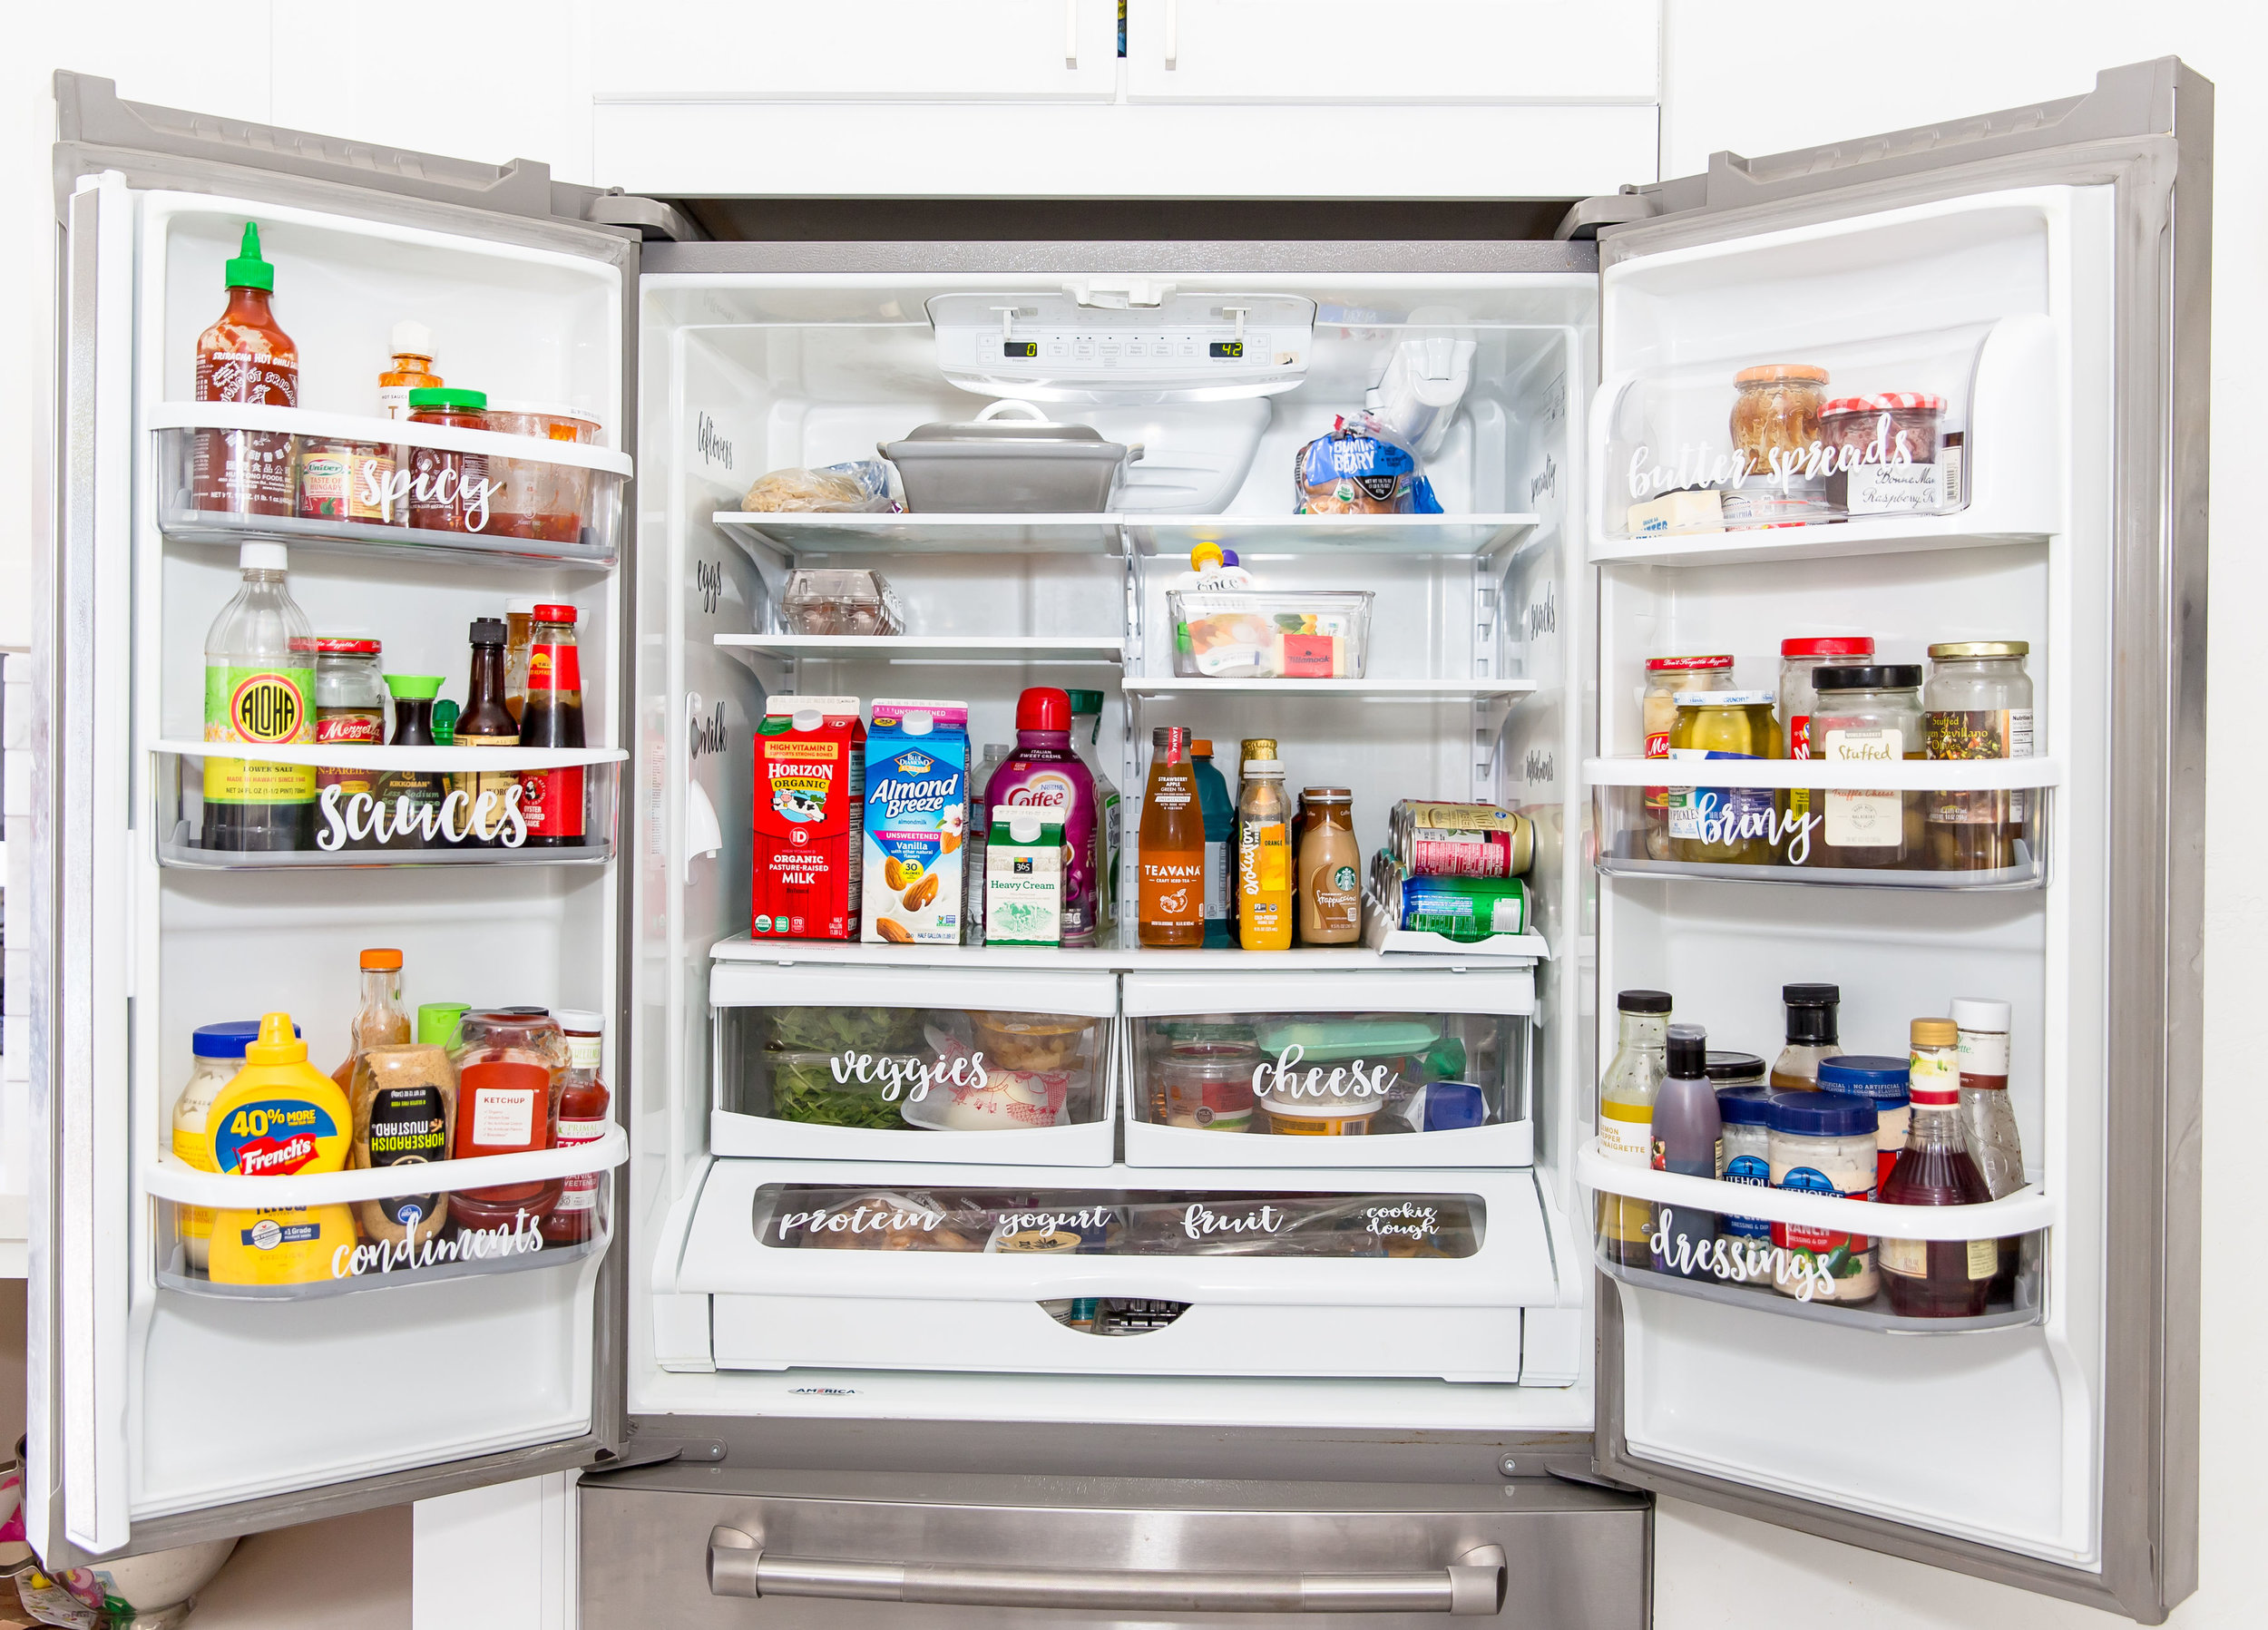
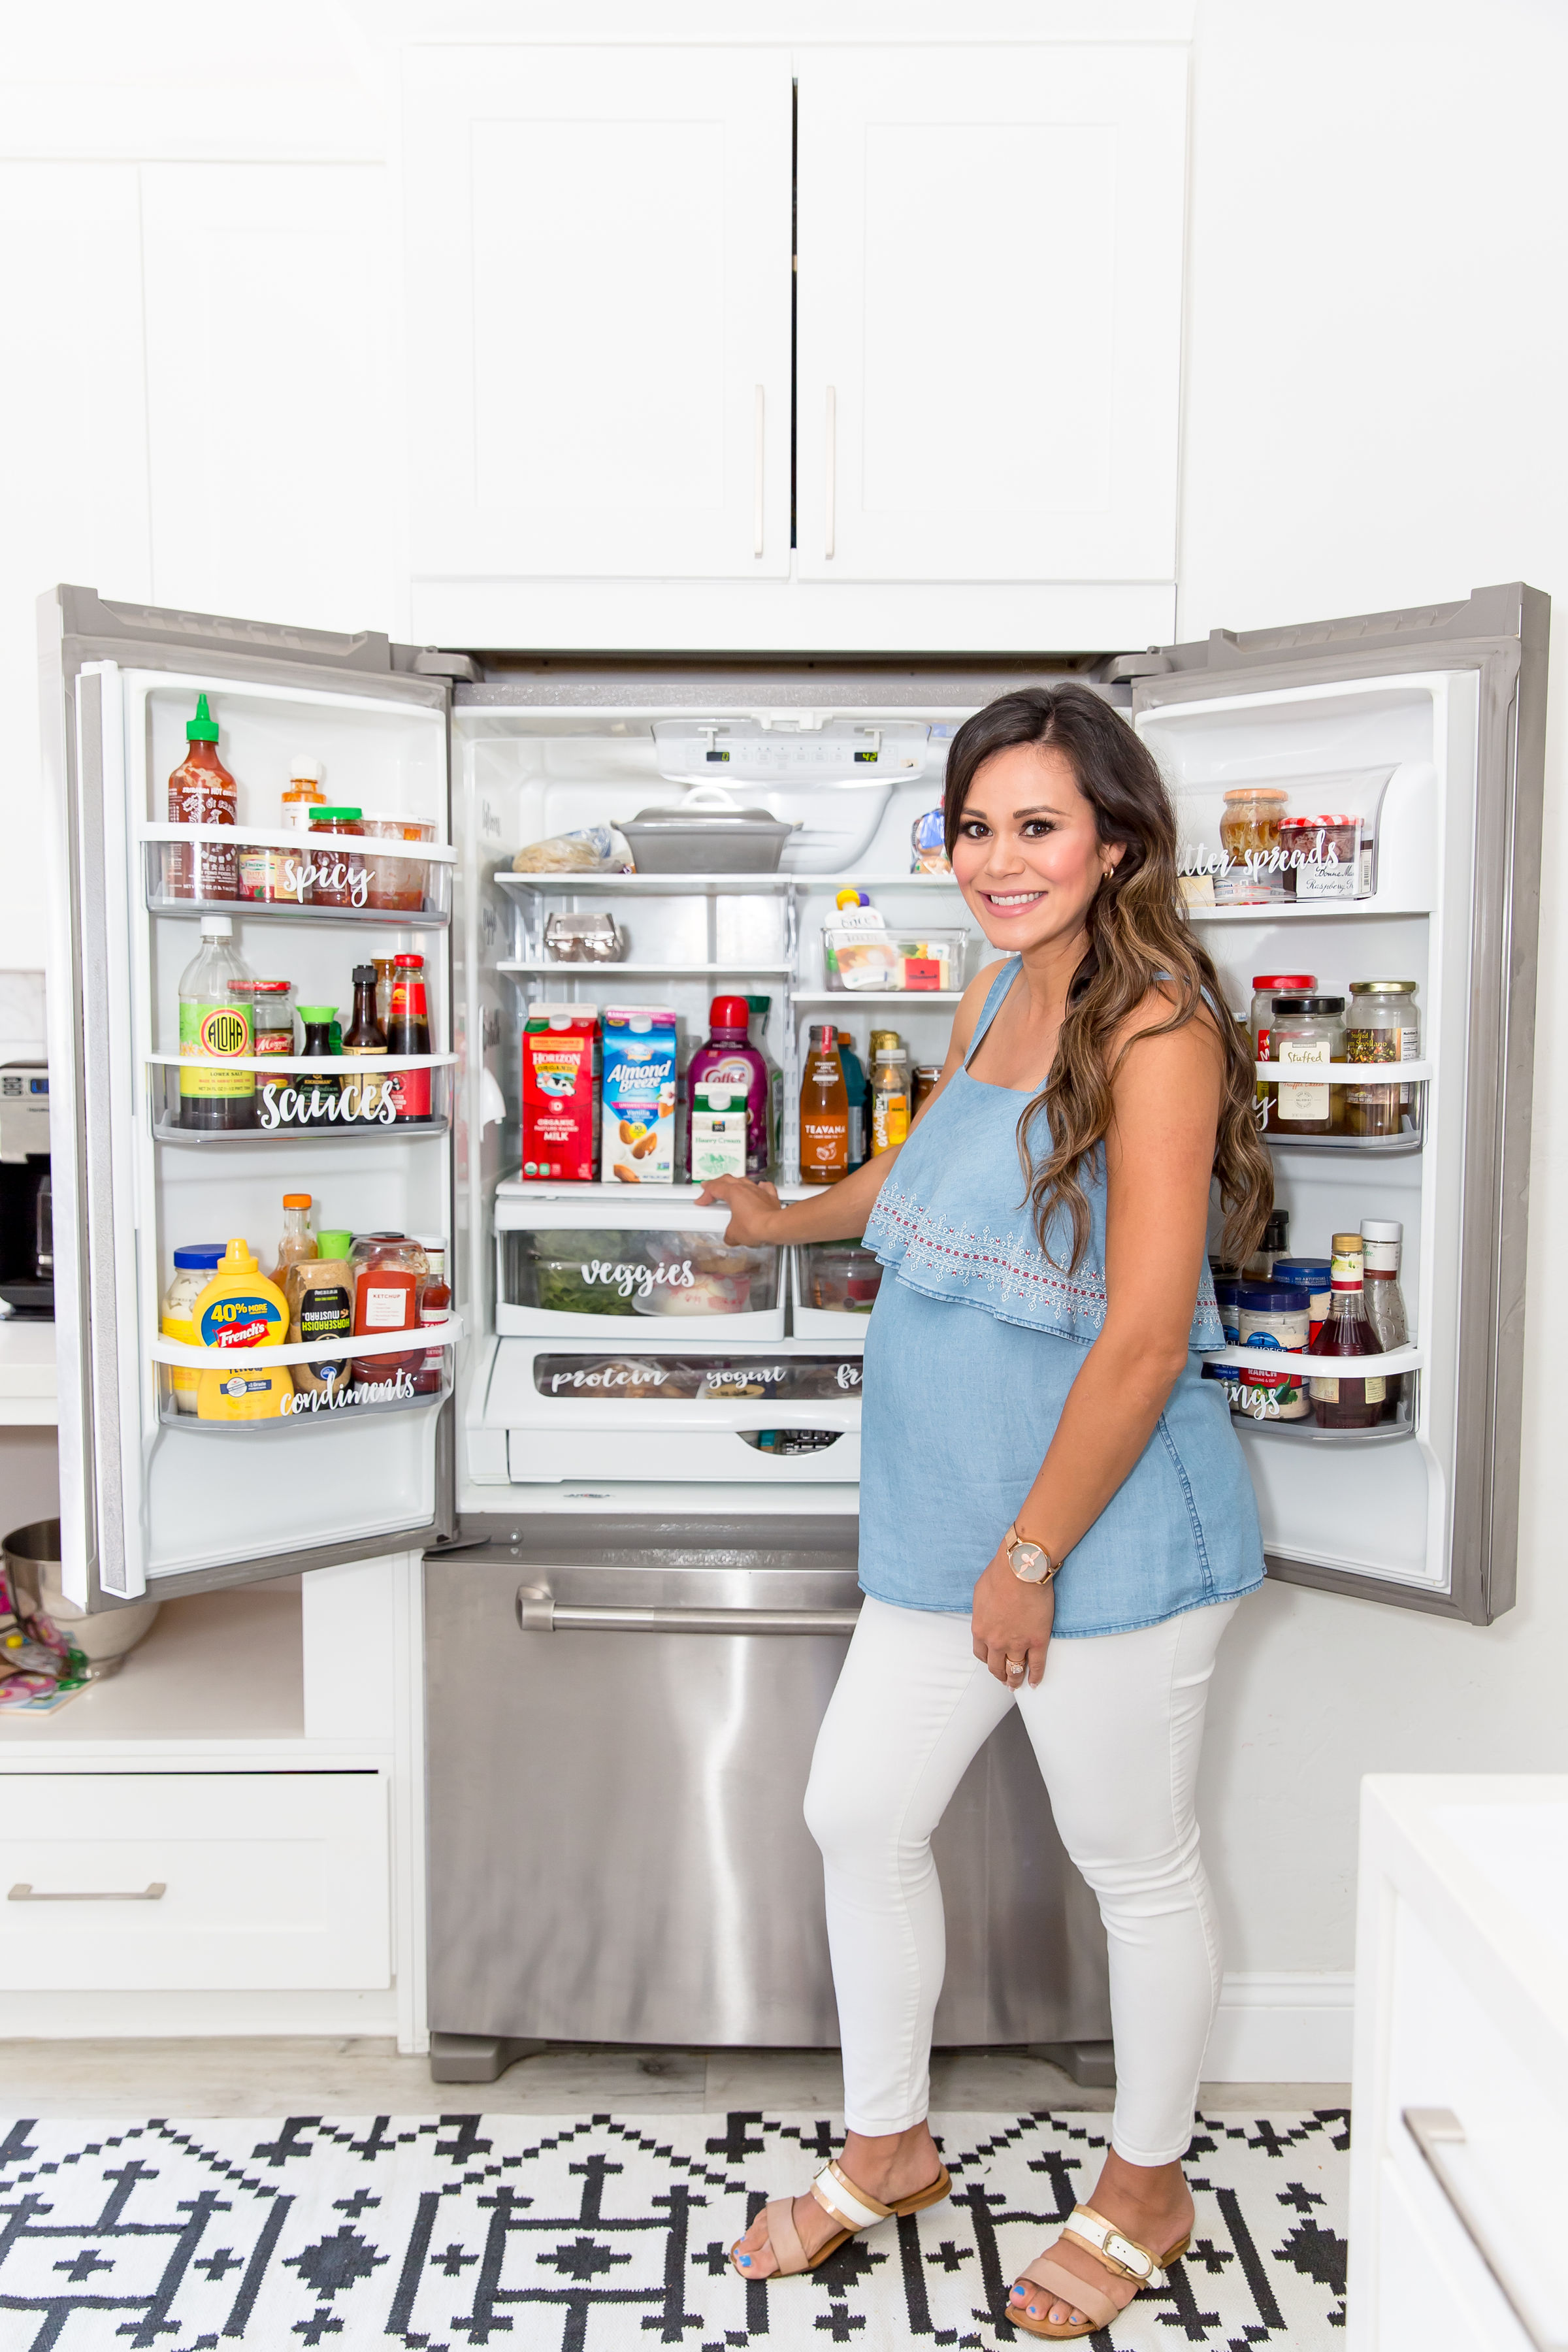
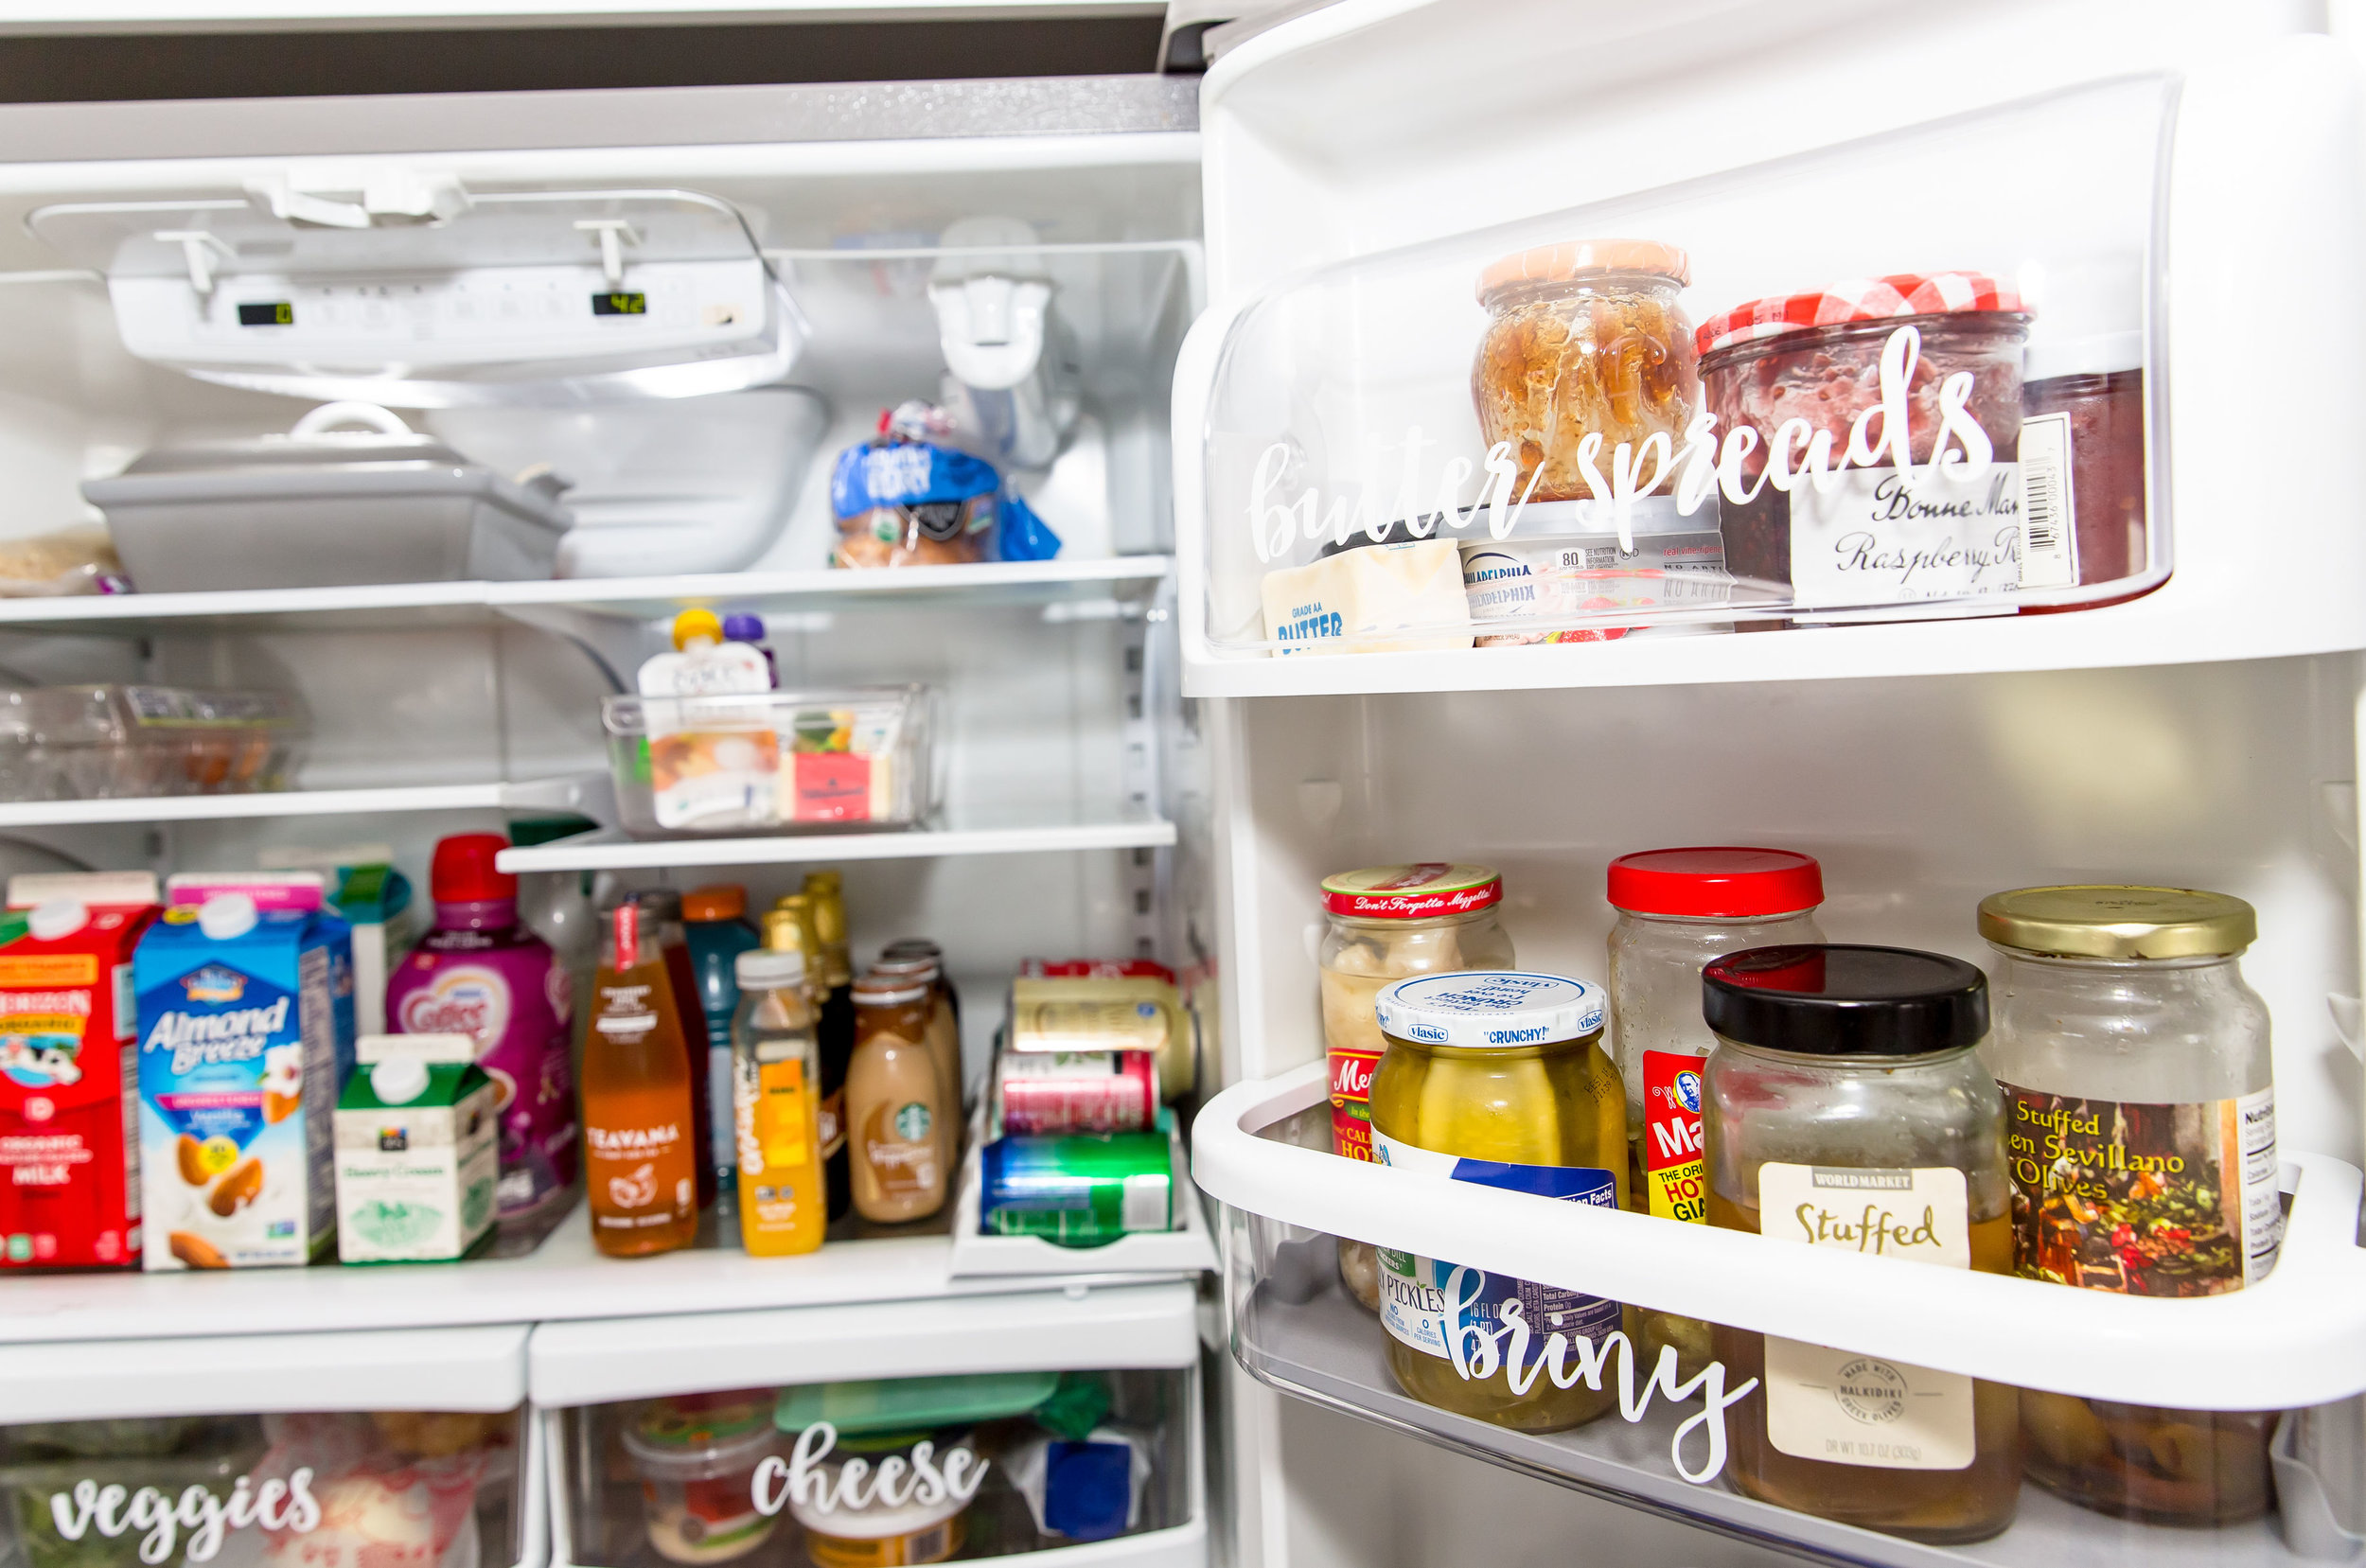
Organizing my fridge and labeling everything has been on my list of things to do for a while now so as soon as I put these labels on I couldn’t wait to snap some pics. I actually needed to do a fair amount of grocery shopping when I took these photos so this is not a post about my fridge must haves because that is something I’m thrilled to share with you. We were out of a lot of food we keep on hand (Dr. Pepper to name one!) so stay tuned for that post and IGTV episode. In the meantime I’m excited to share how I organize our food in the fridge.

6D4A5864.jpg

PURGE AND CLEAN

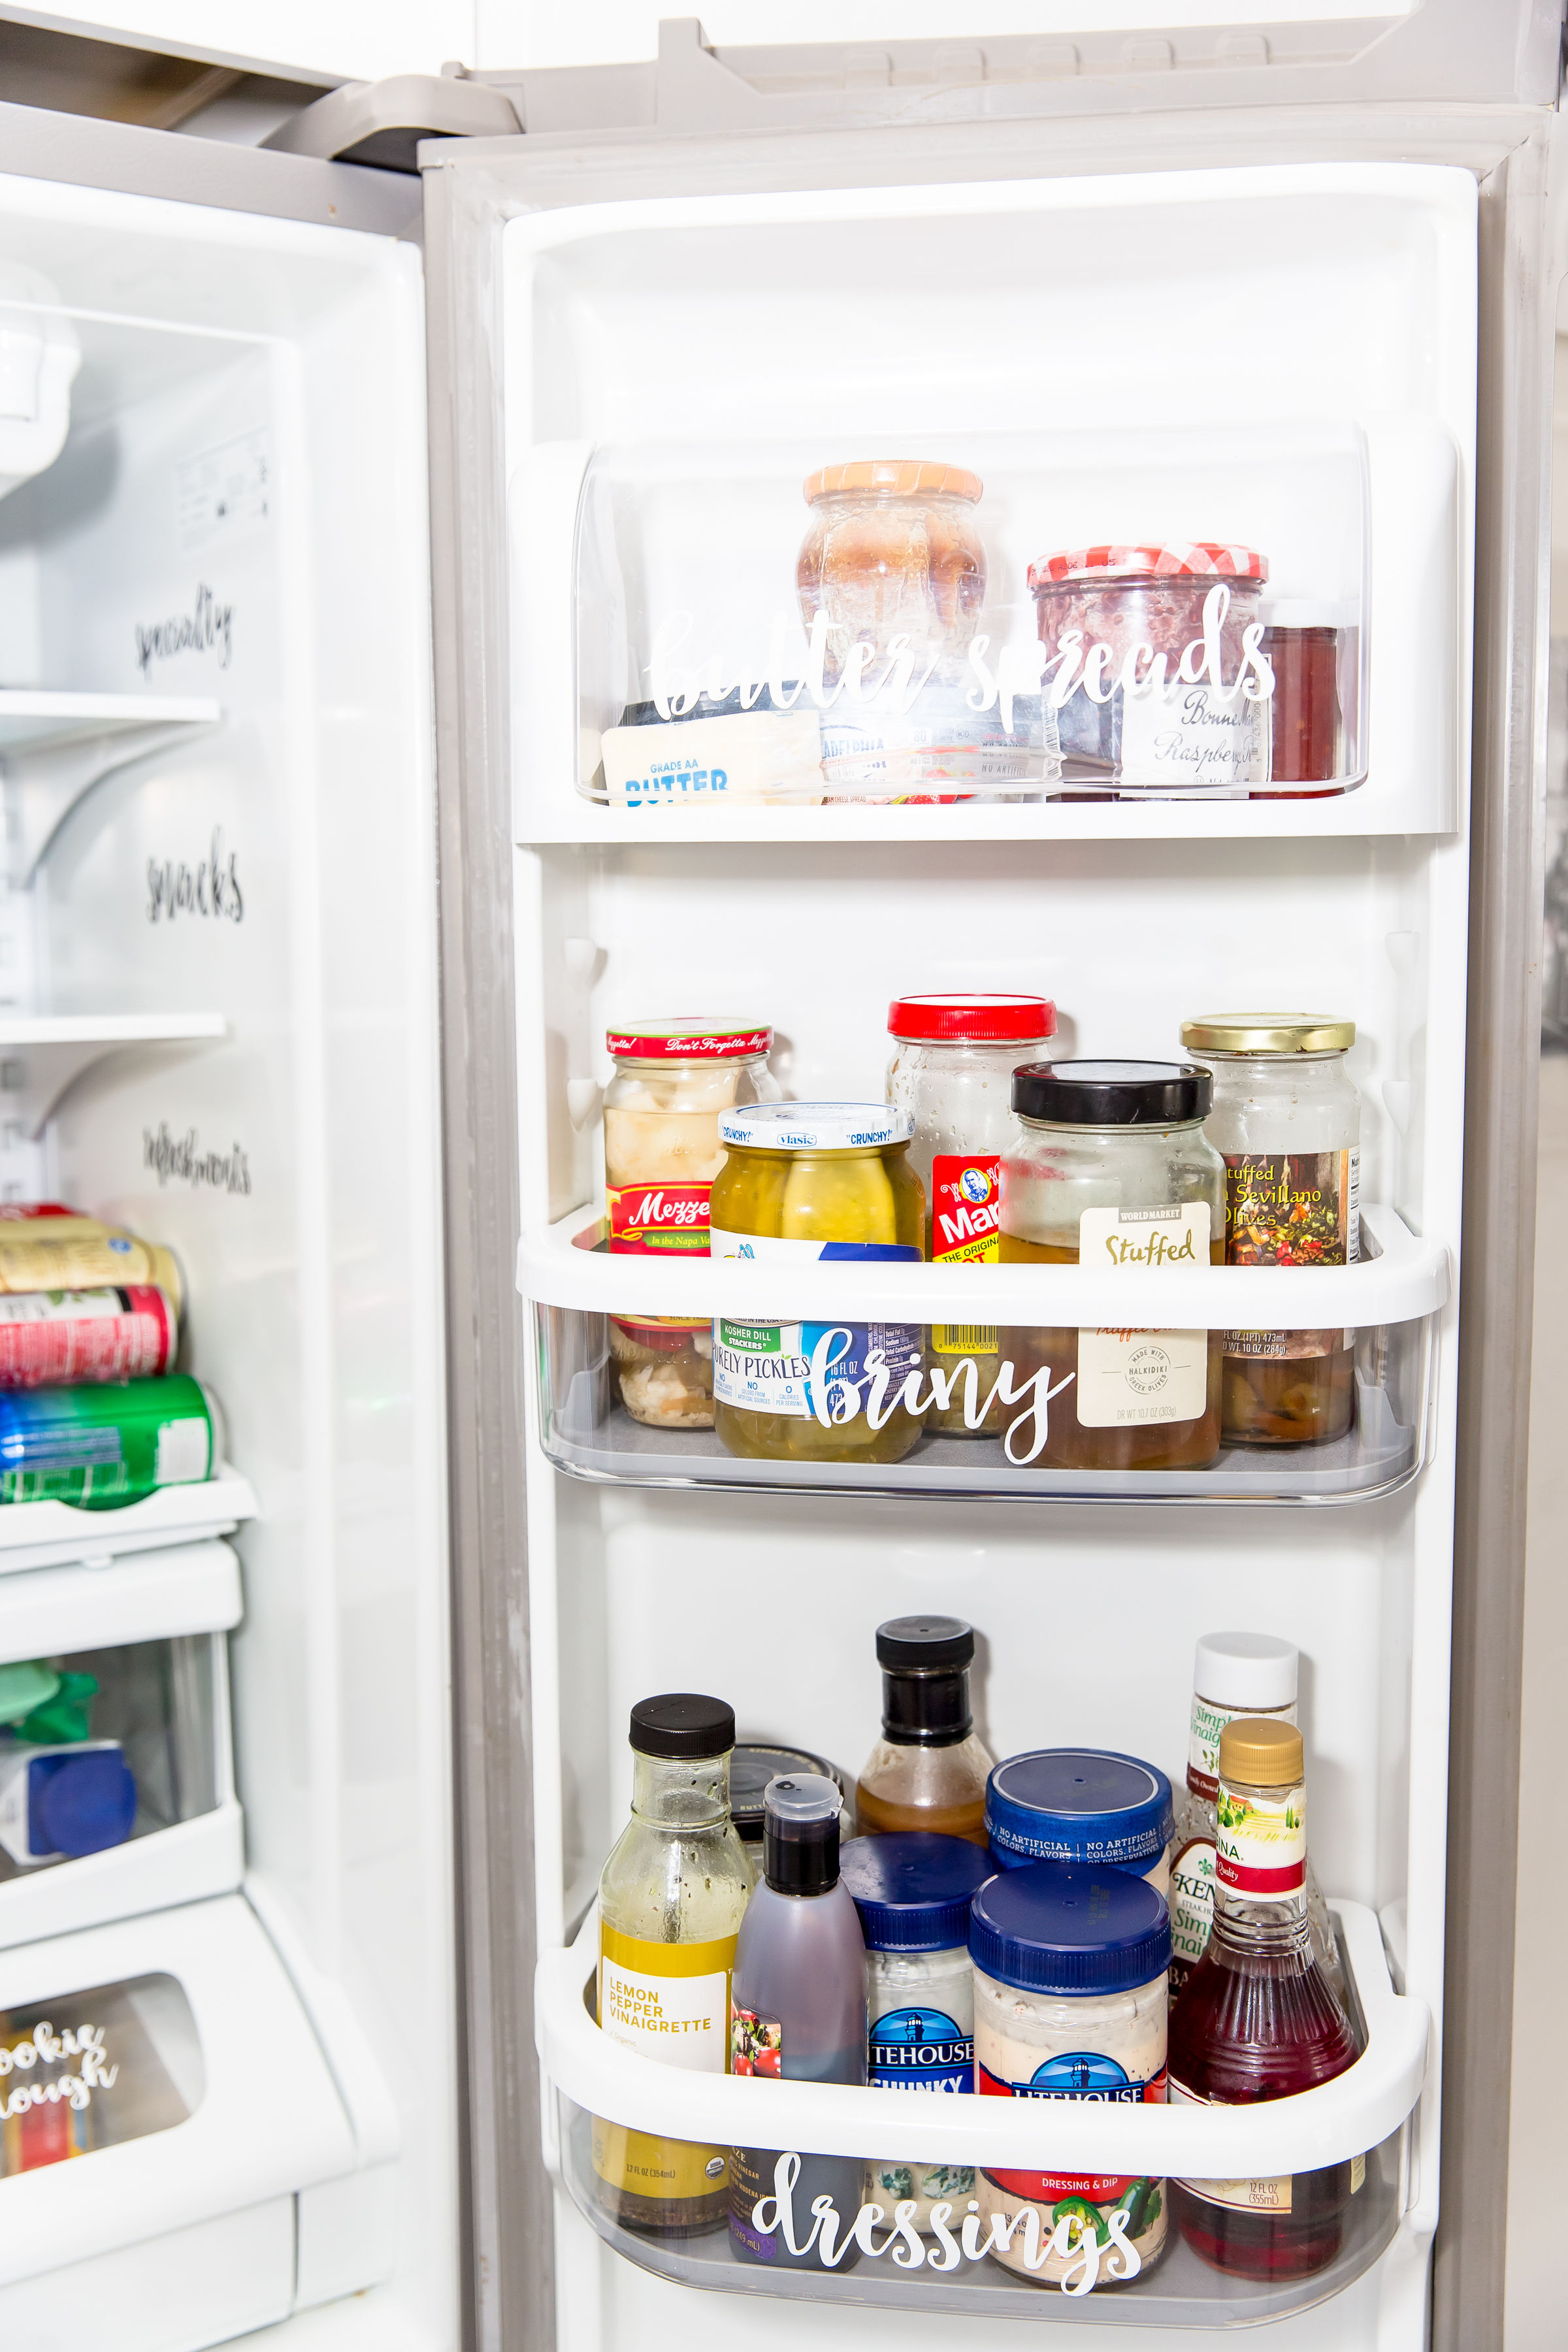
I mean, this is self-explanatory really but get rid of any old food (check expiration dates), condiments you never use and random things you’ve been keeping in there. For example, small jars of jam you got at a hotel that you thought were super cute so you took but you’ve never used? Tip: these are really cute but maybe put them in the pantry (as long as they’re unopened) and bring out the next time you put together a charcuterie board! Take out each drawer, shelf and bin and wash in hot soapy water and dry before returning to your fridge.

CHECK INVENTORY

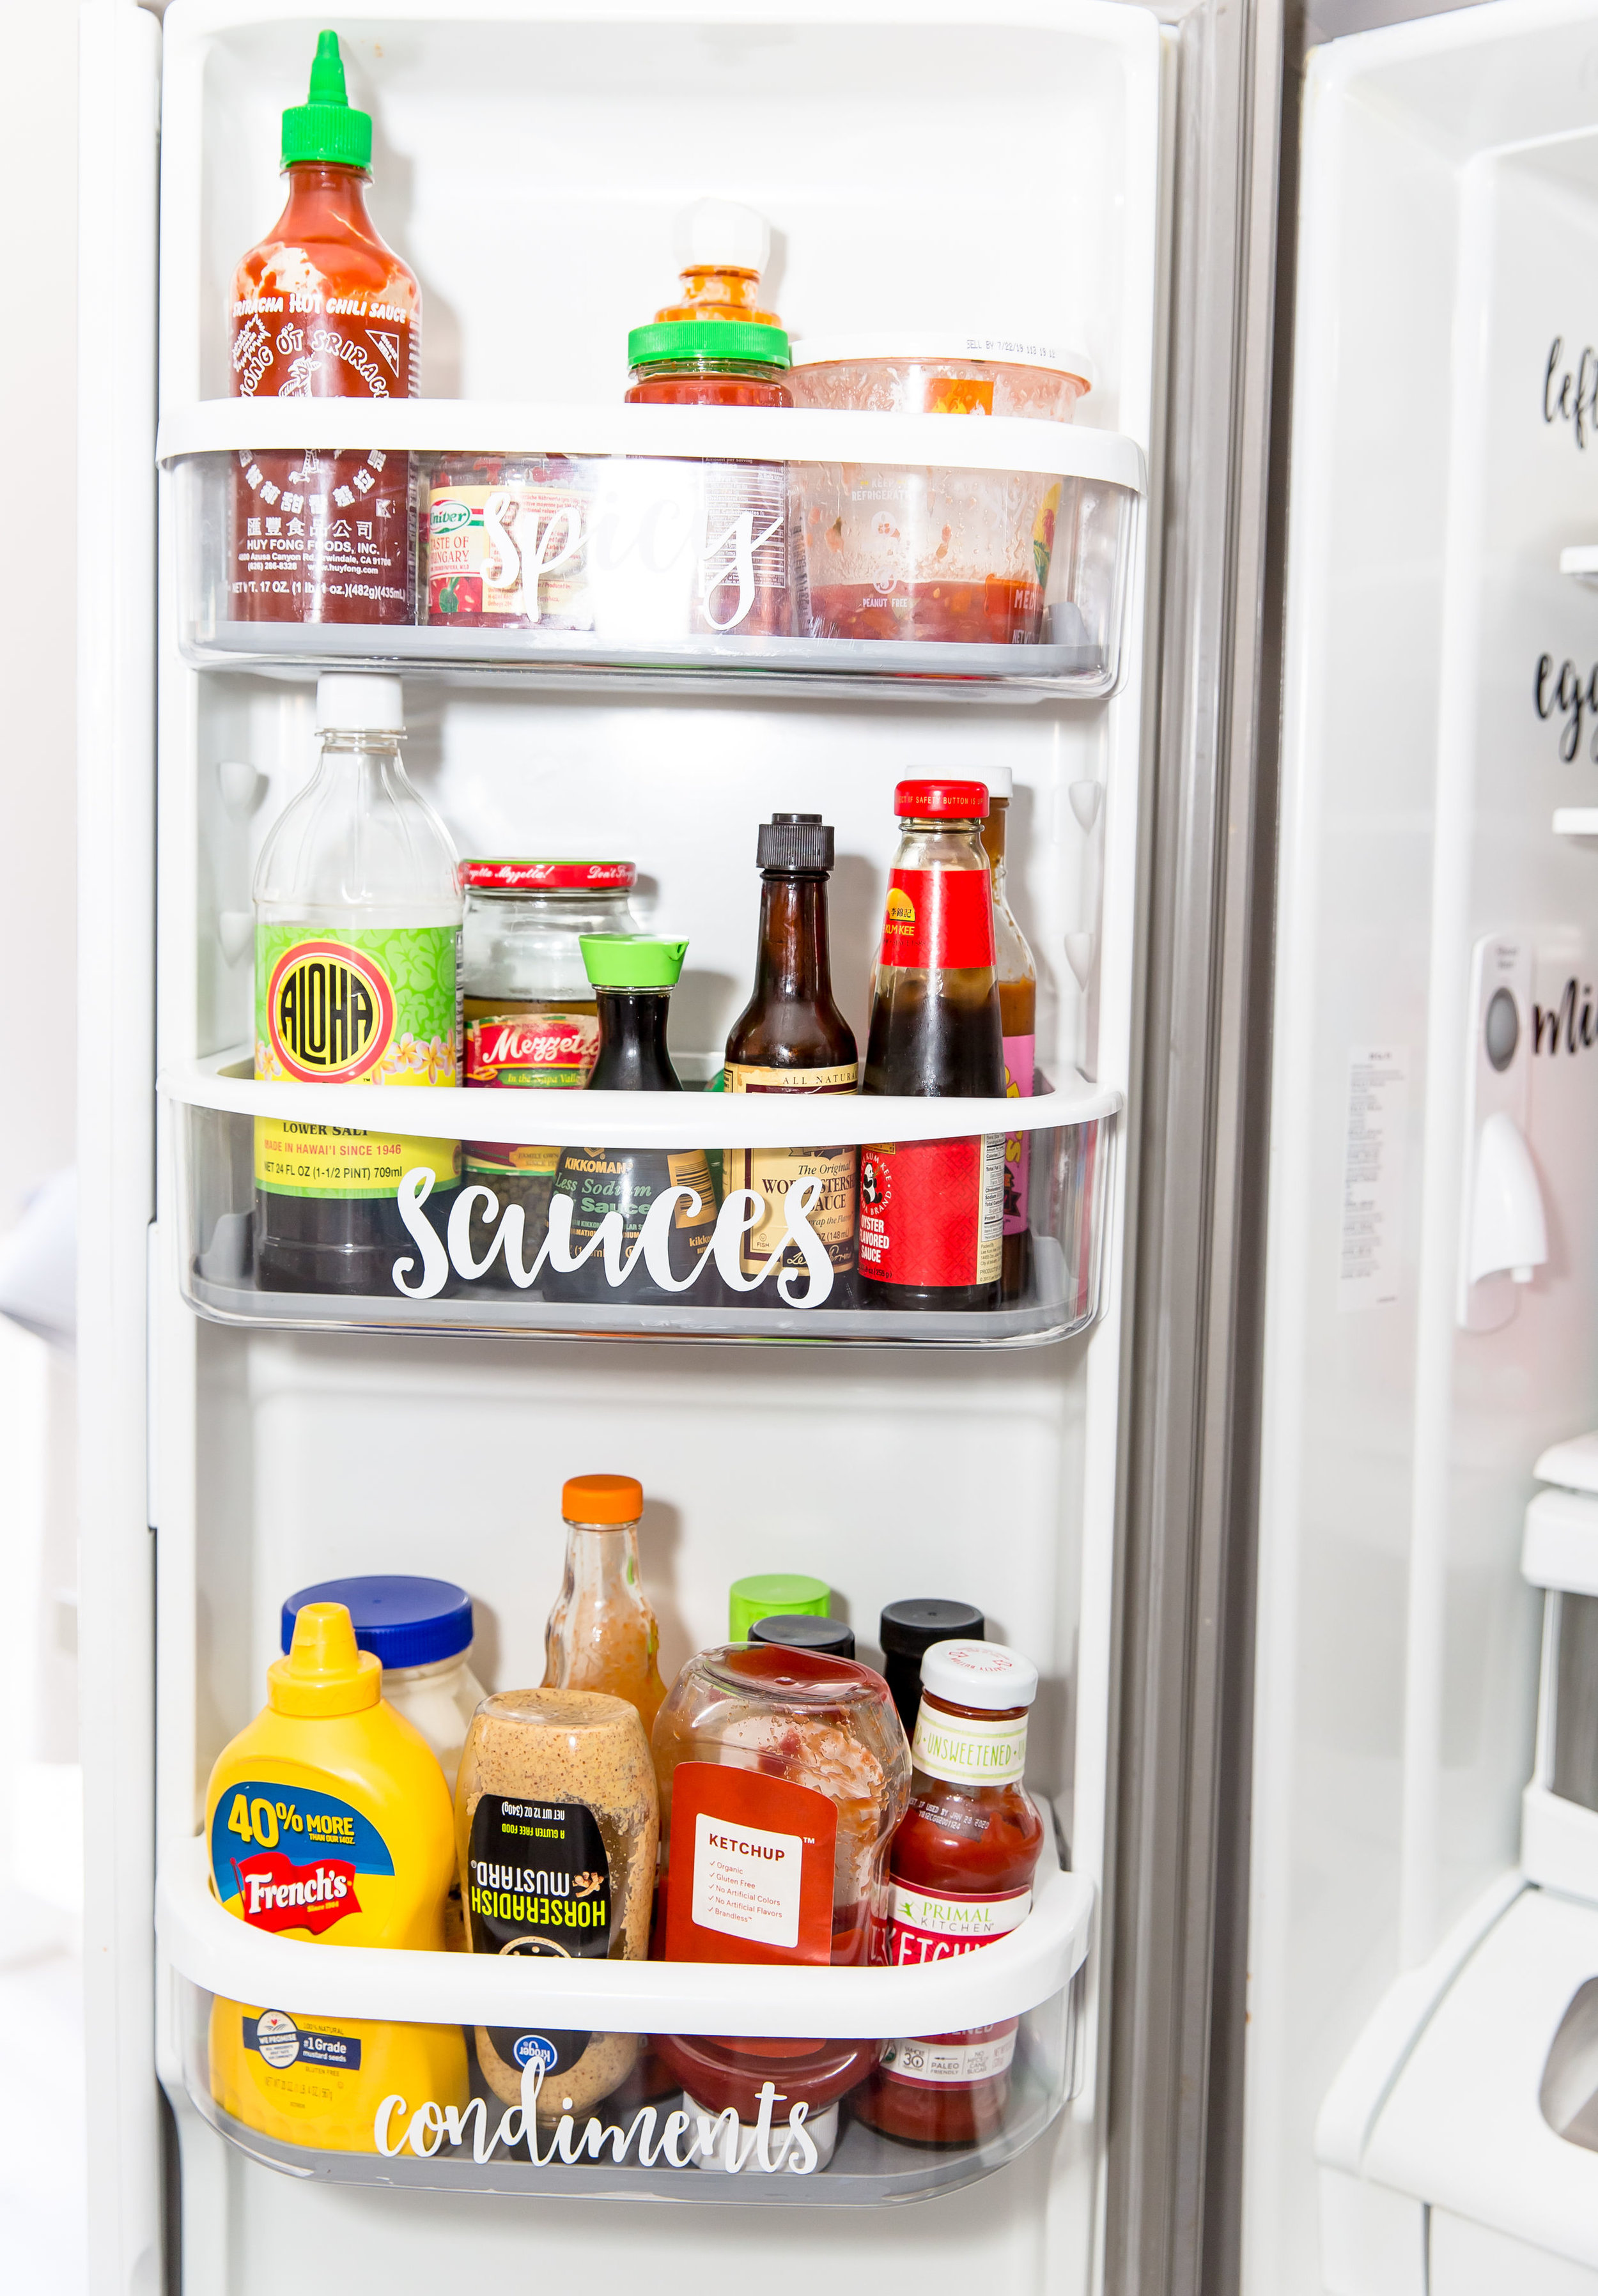
As I was putting each food item back, I started taking inventory of anything I needed or what I realized I had a lot of. For example, we love hot sauce so I made a mental mark that we’d probably want to designate an area for all of our spicy sauces!
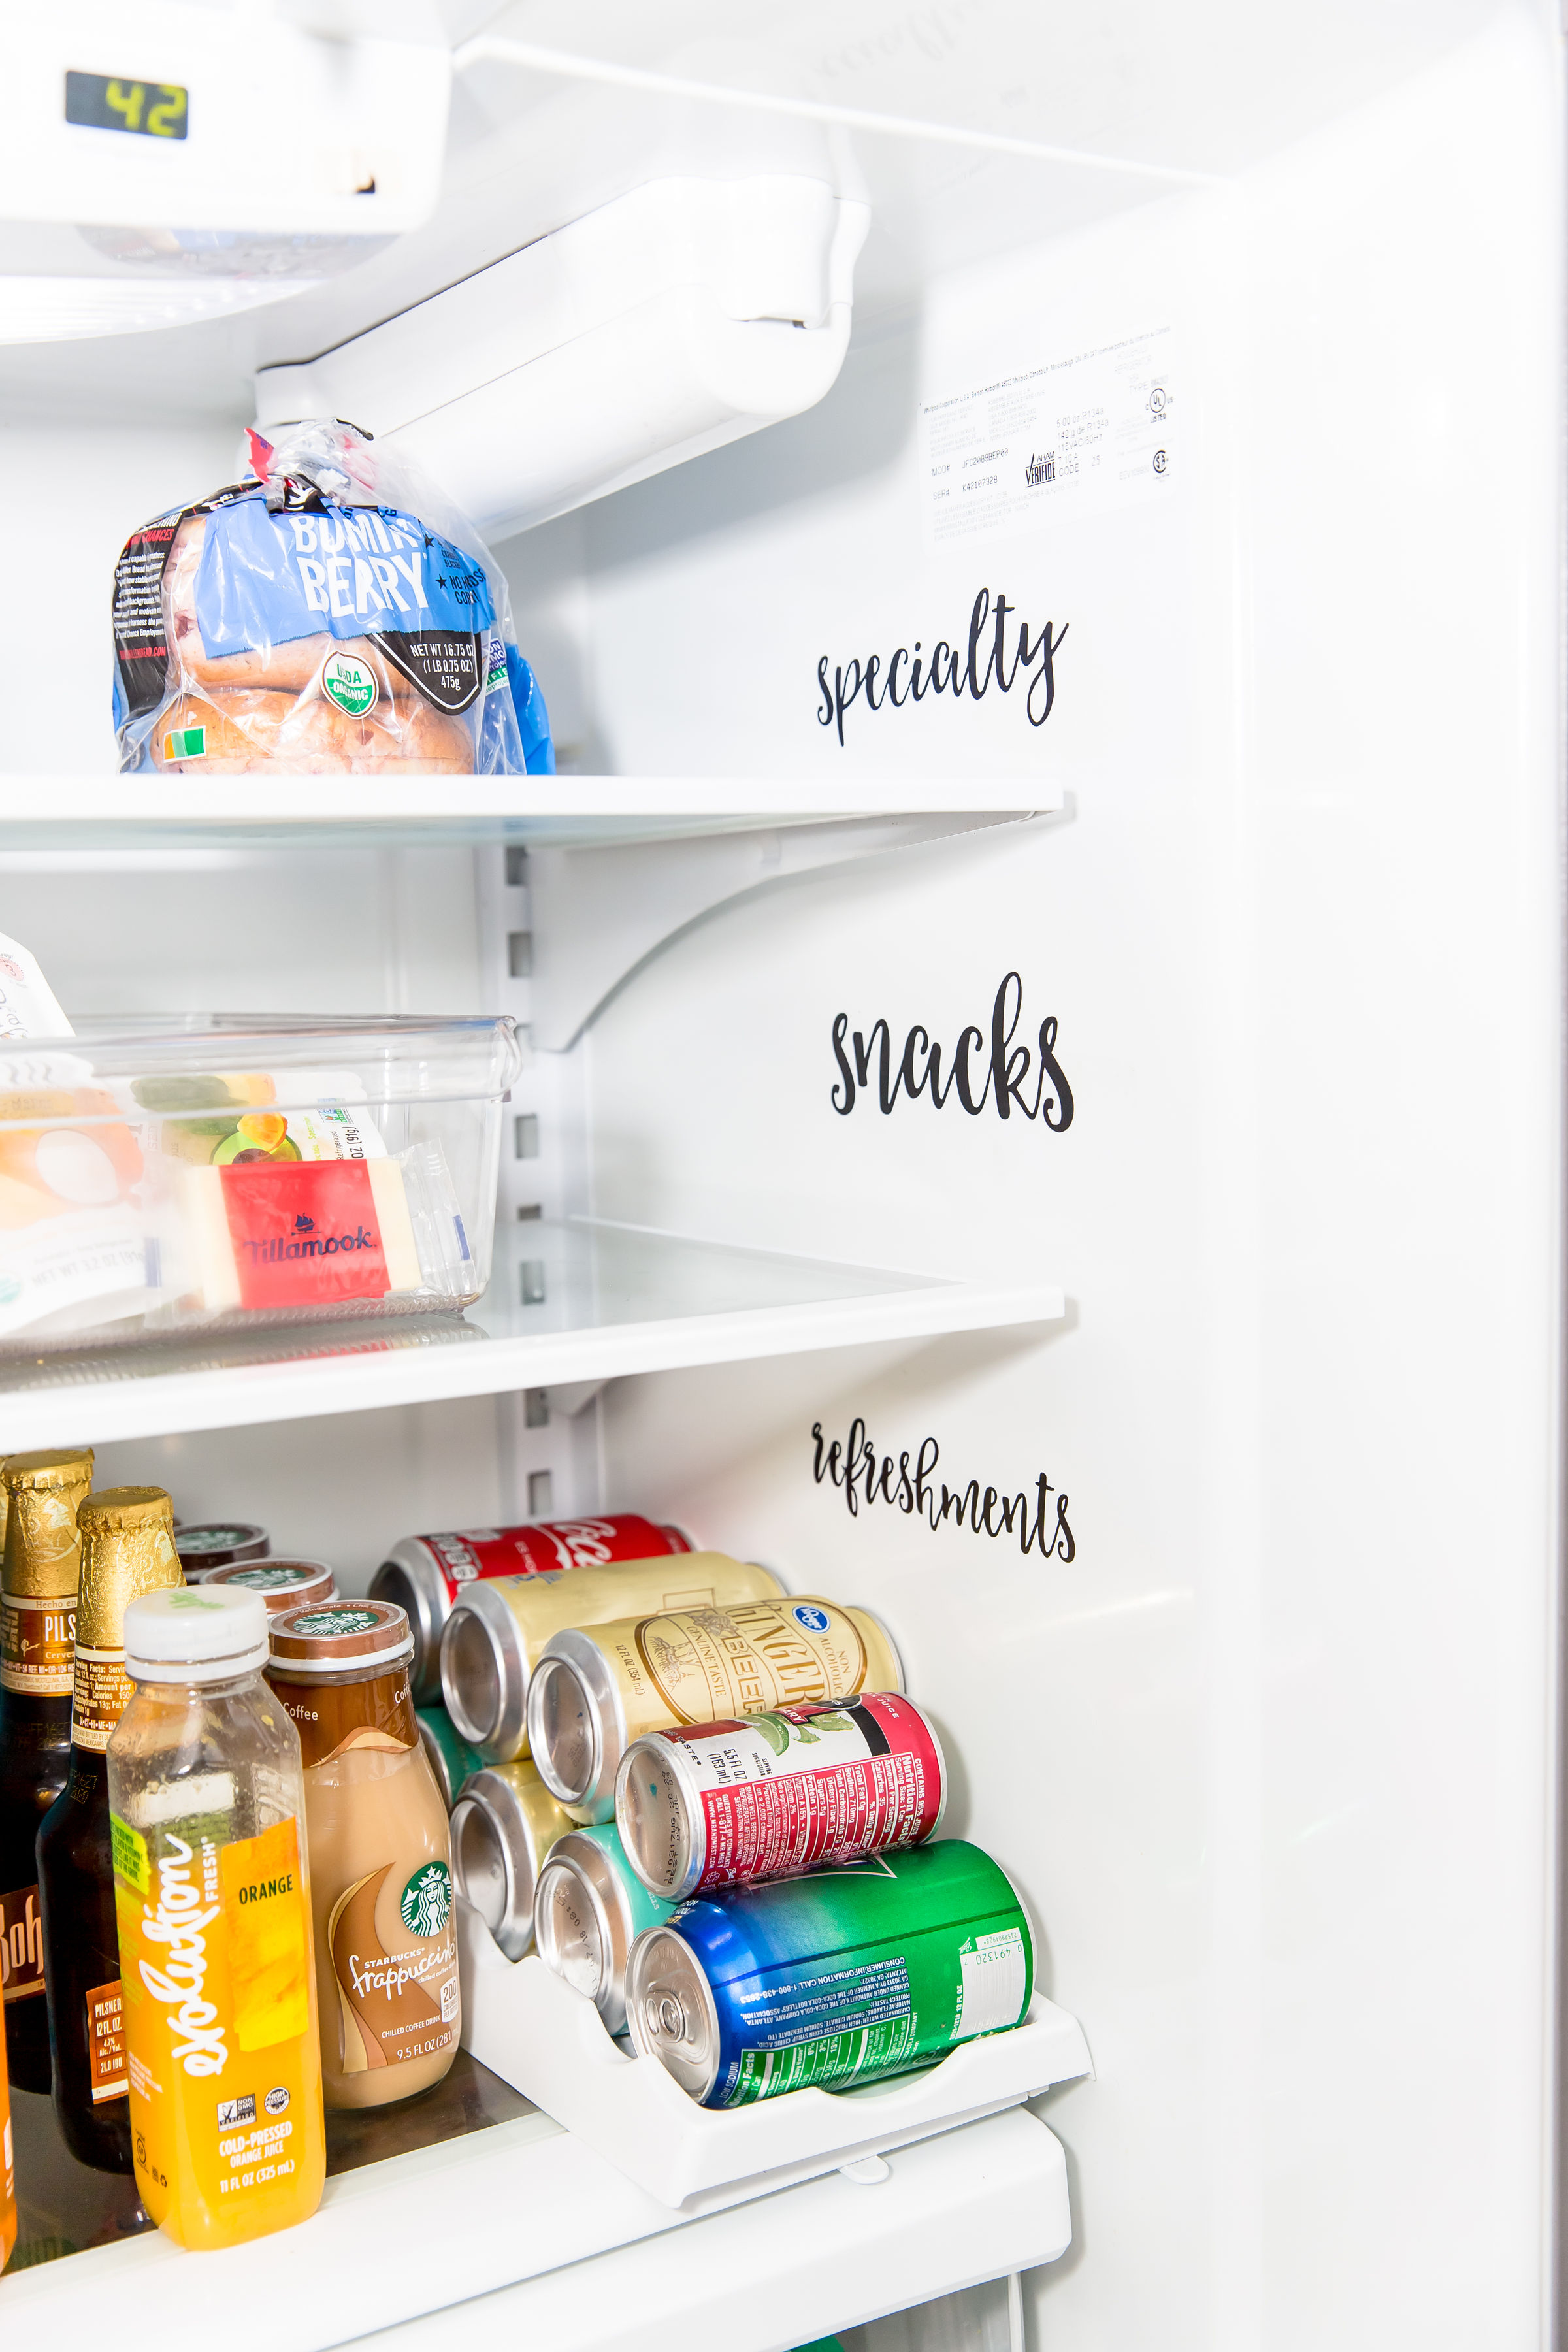
DECIDE WHERE YOU WANT EVERYTHING TO GO

Everyone has different needs and eats different foods so once you’ve emptied your fridge and cleaned it out then you can really access what kinds of foods you keep on hand. This helped me see what space made the most sense for each category and helped me choose the place where I wanted everything to go. Traditionally you see refrigerator drawers filled with vegetables and fruit but for us, we keep a lot of fruit on our counters so having a drawer just for fruit would be a waste of space for us. I decided our love of cheese would go in a drawer instead.
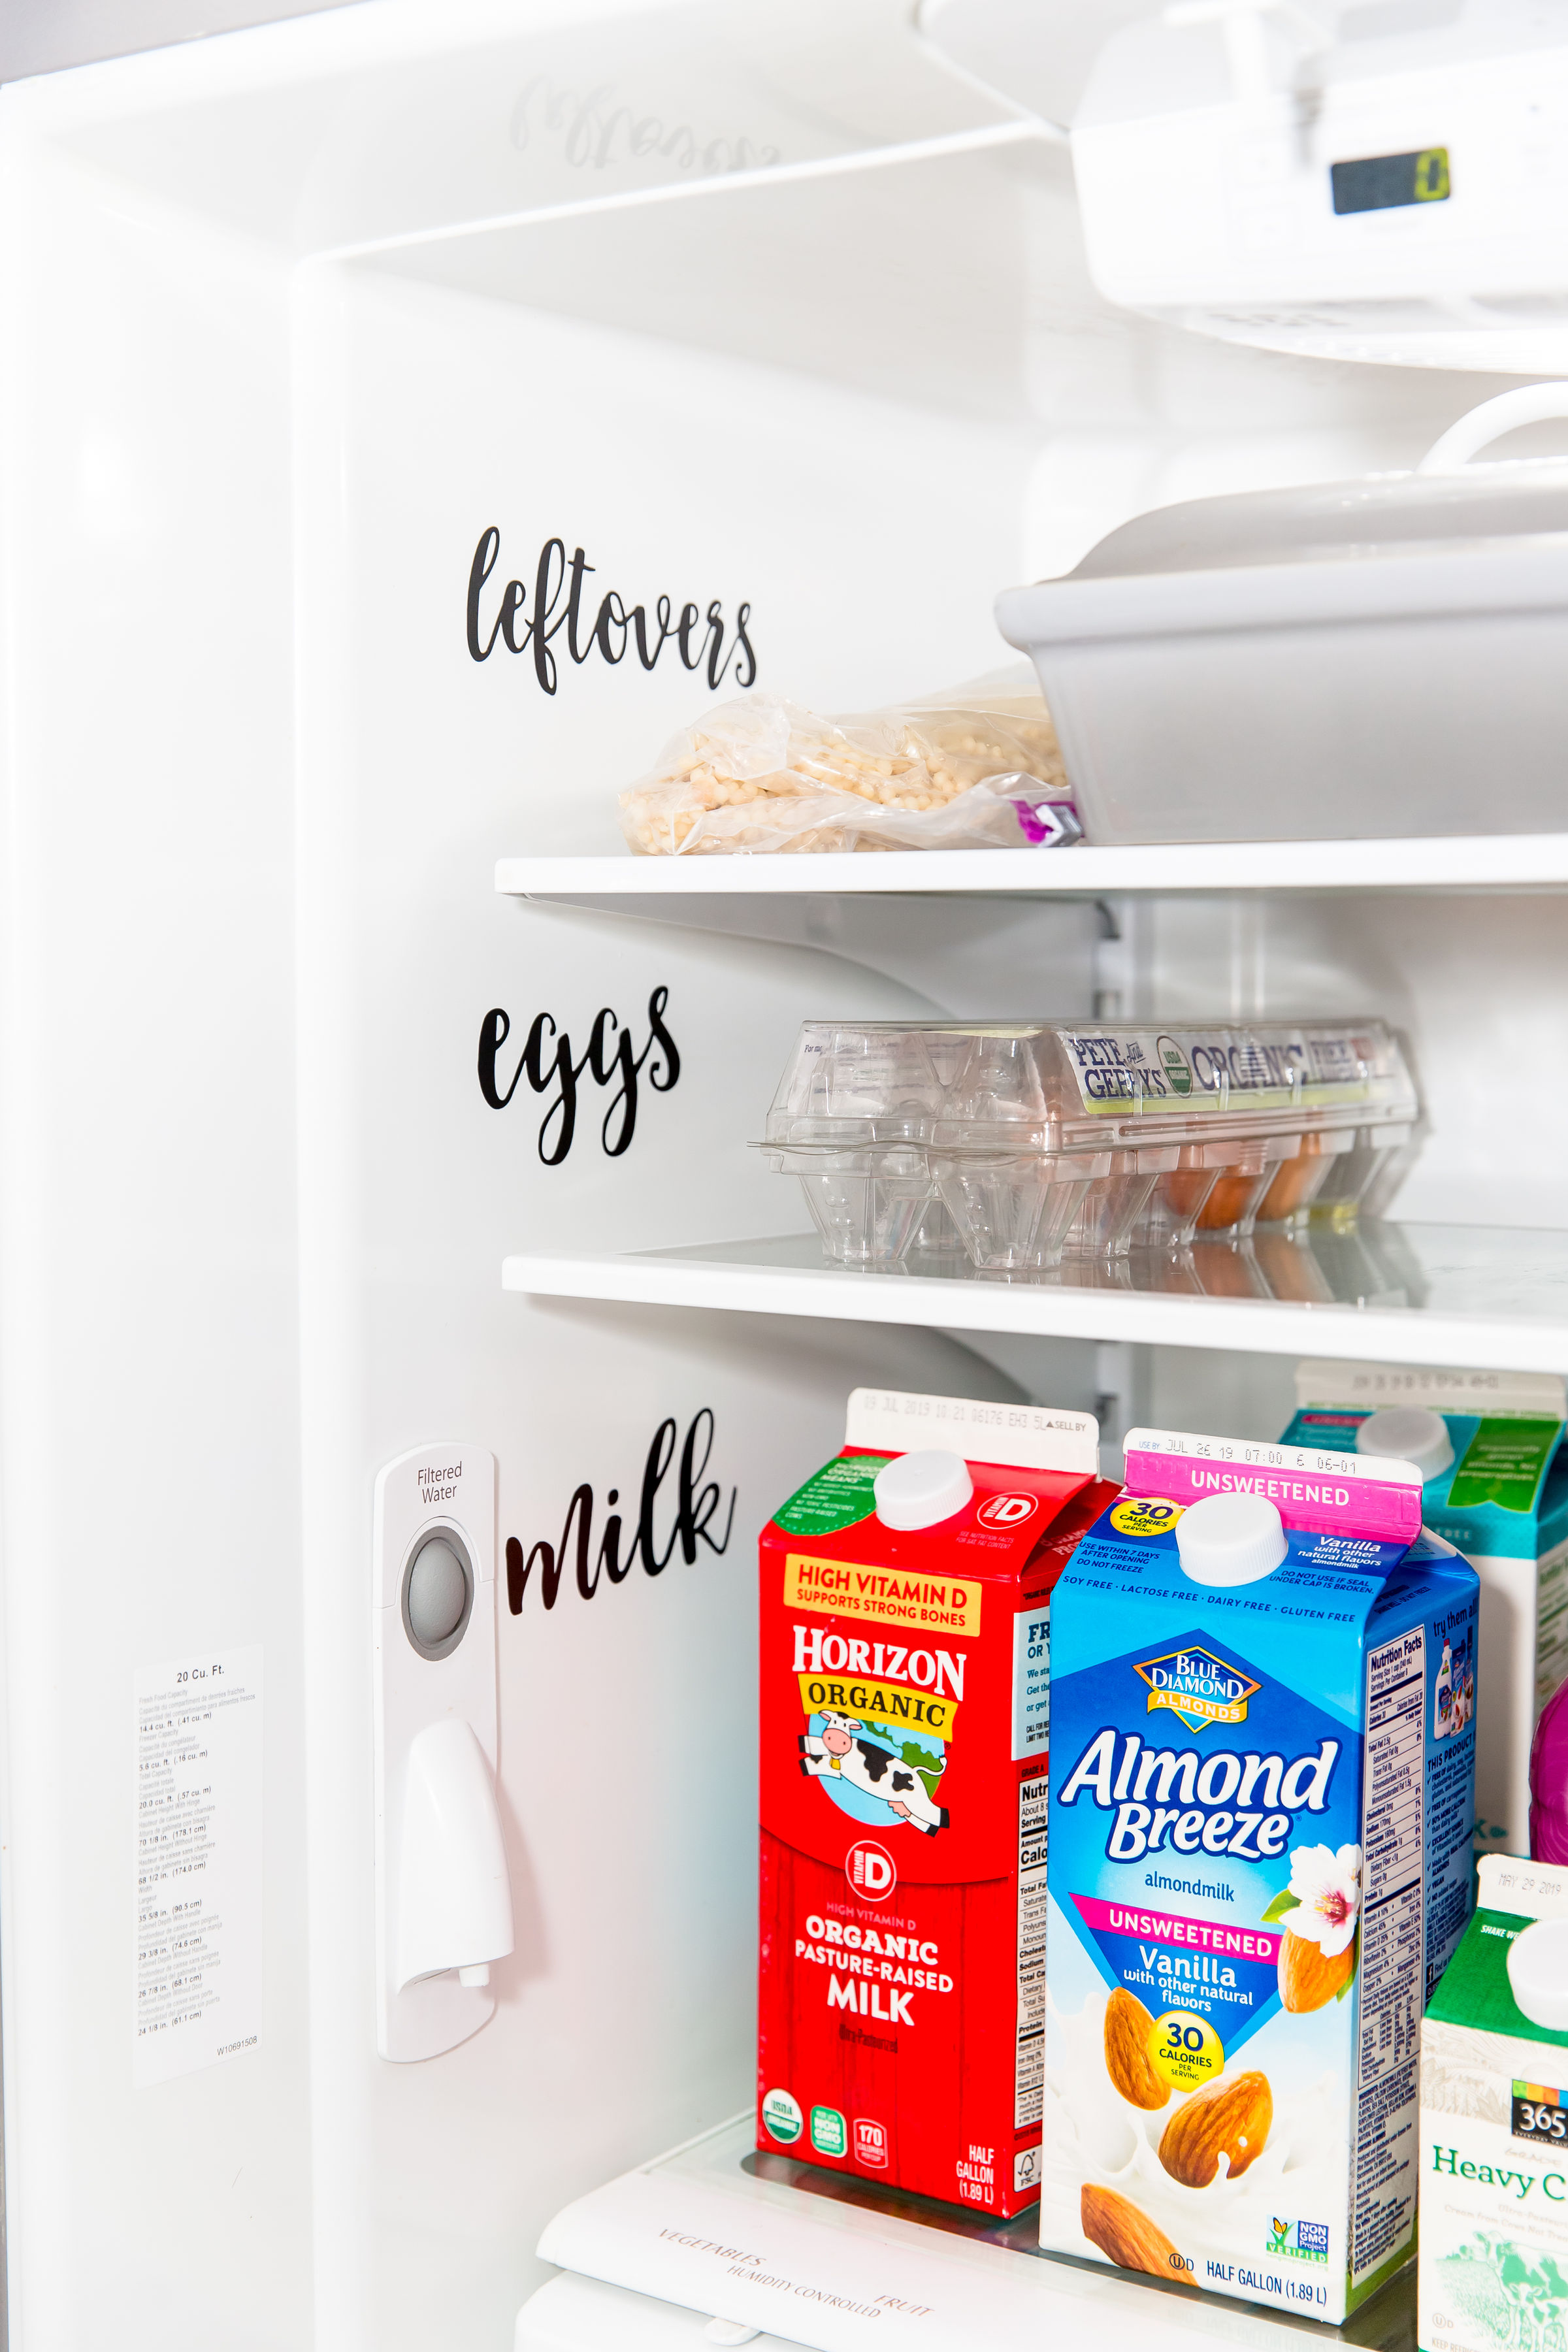
LABEL IT

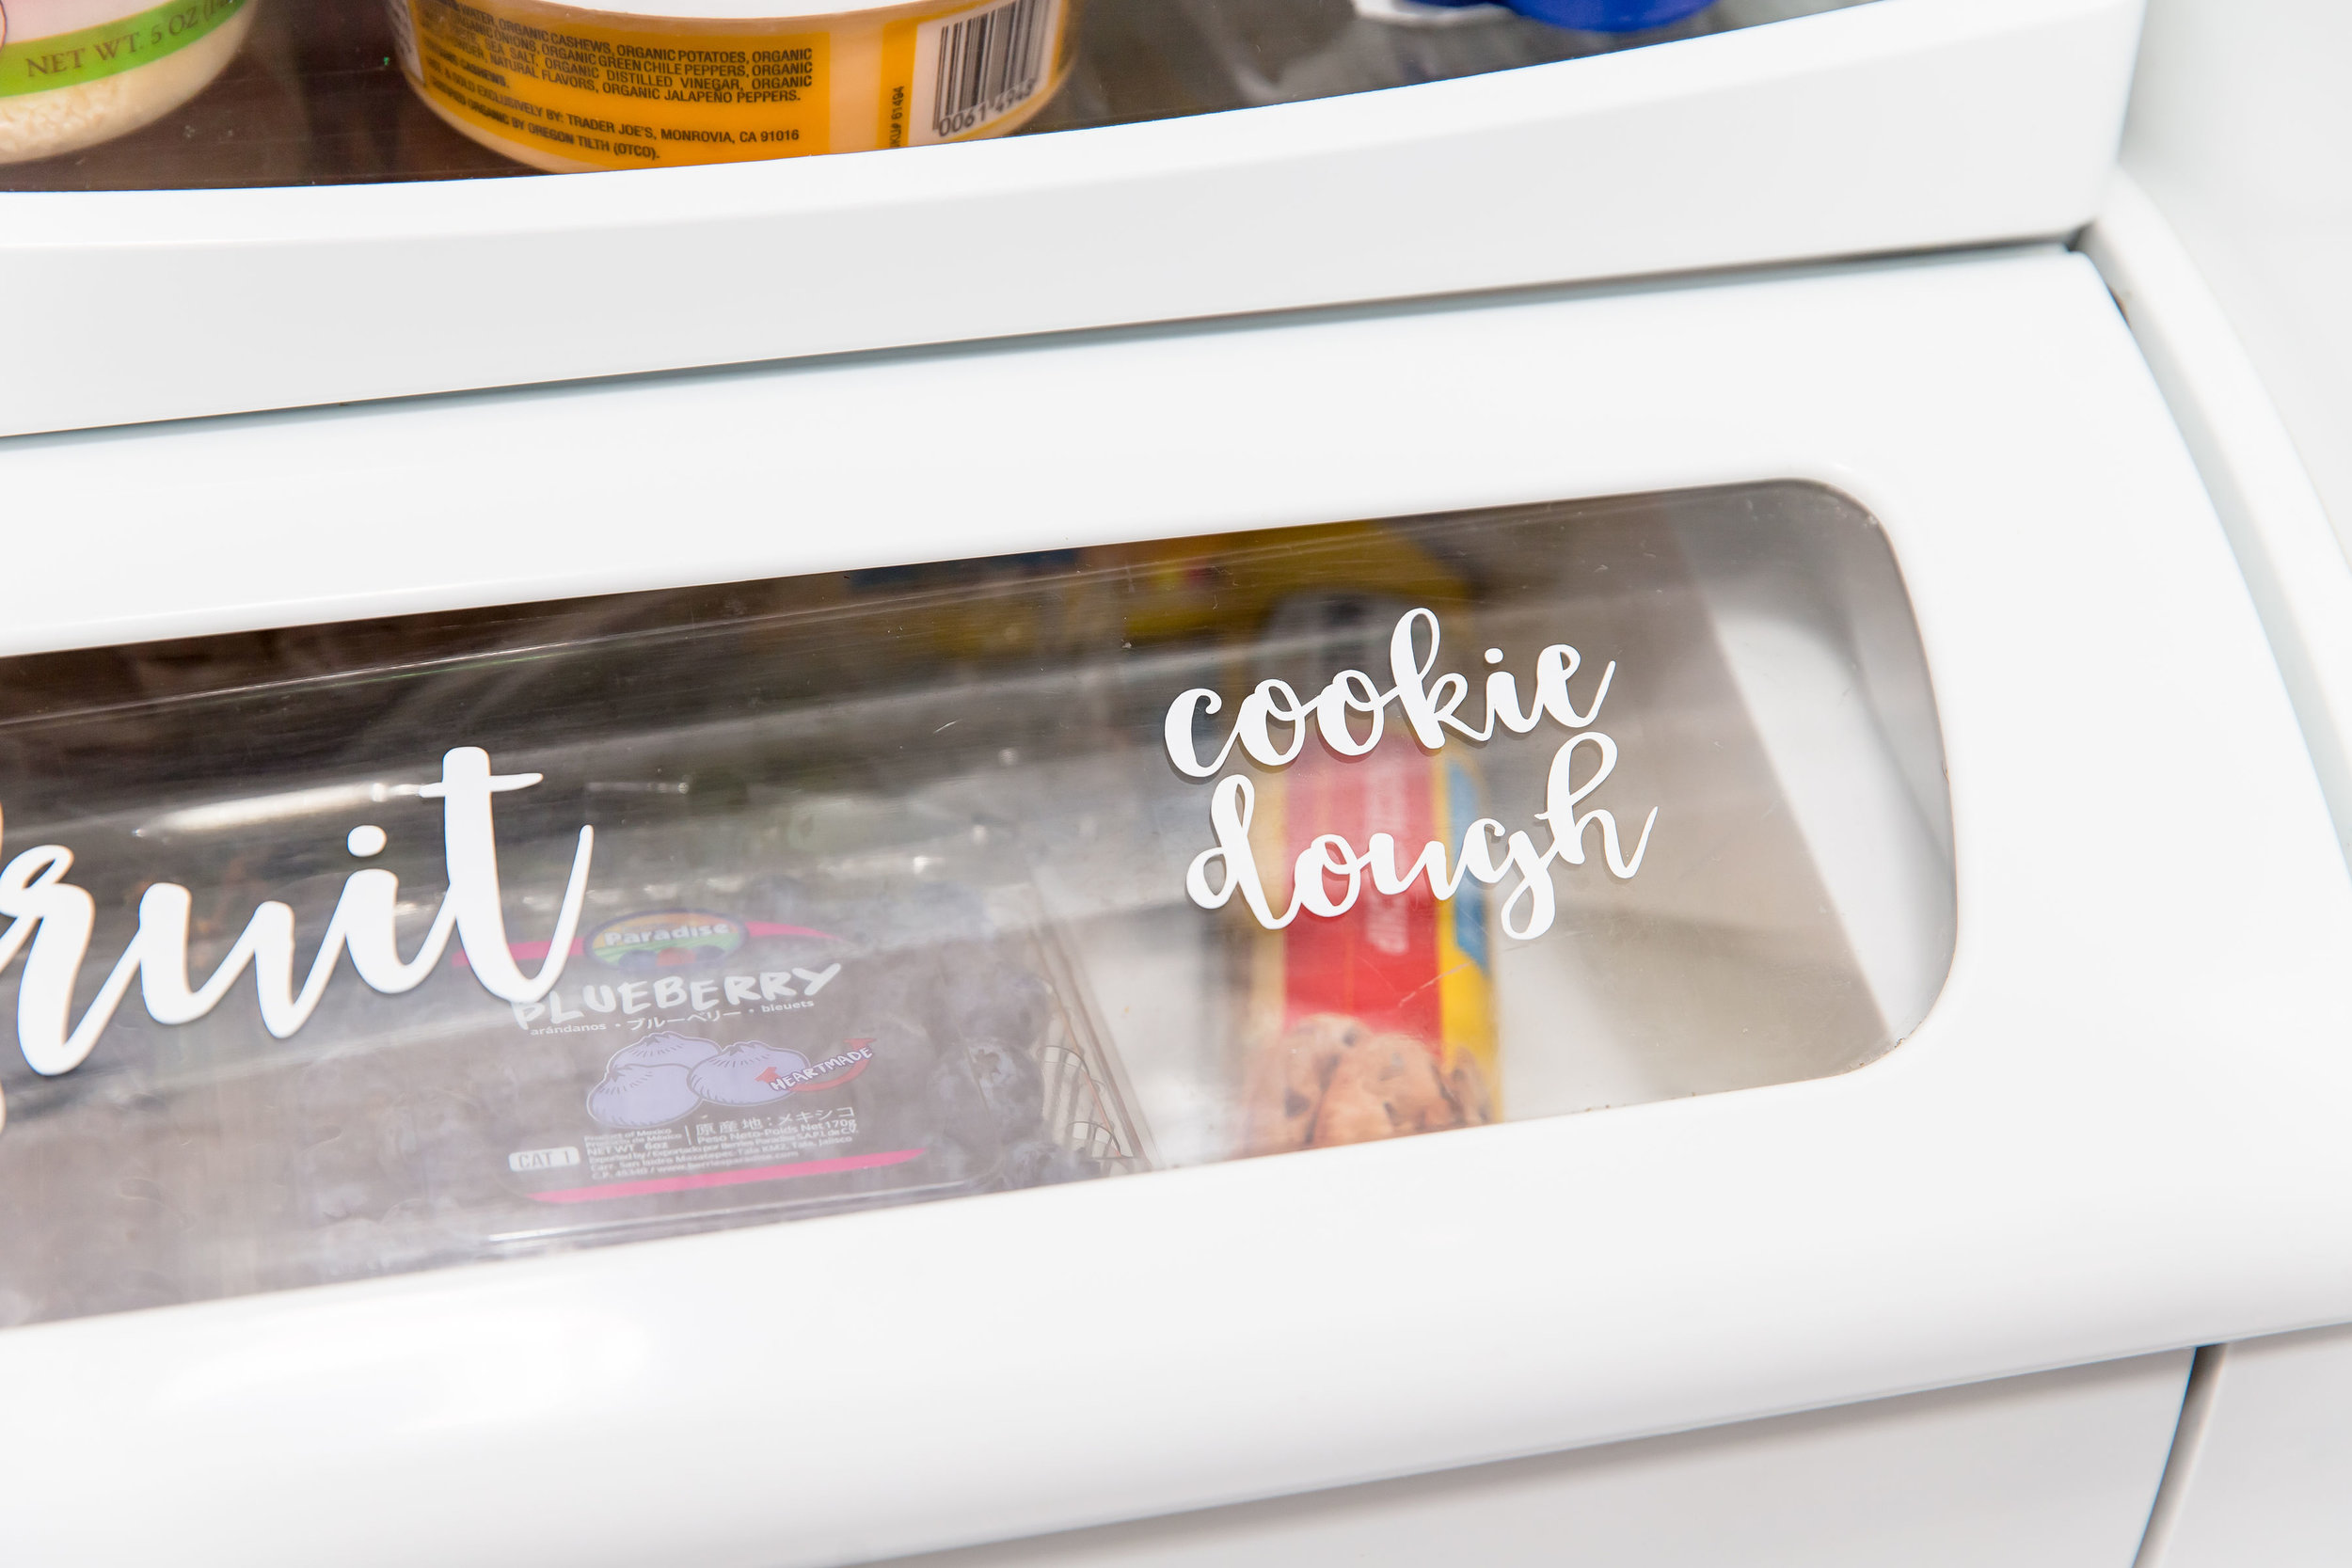
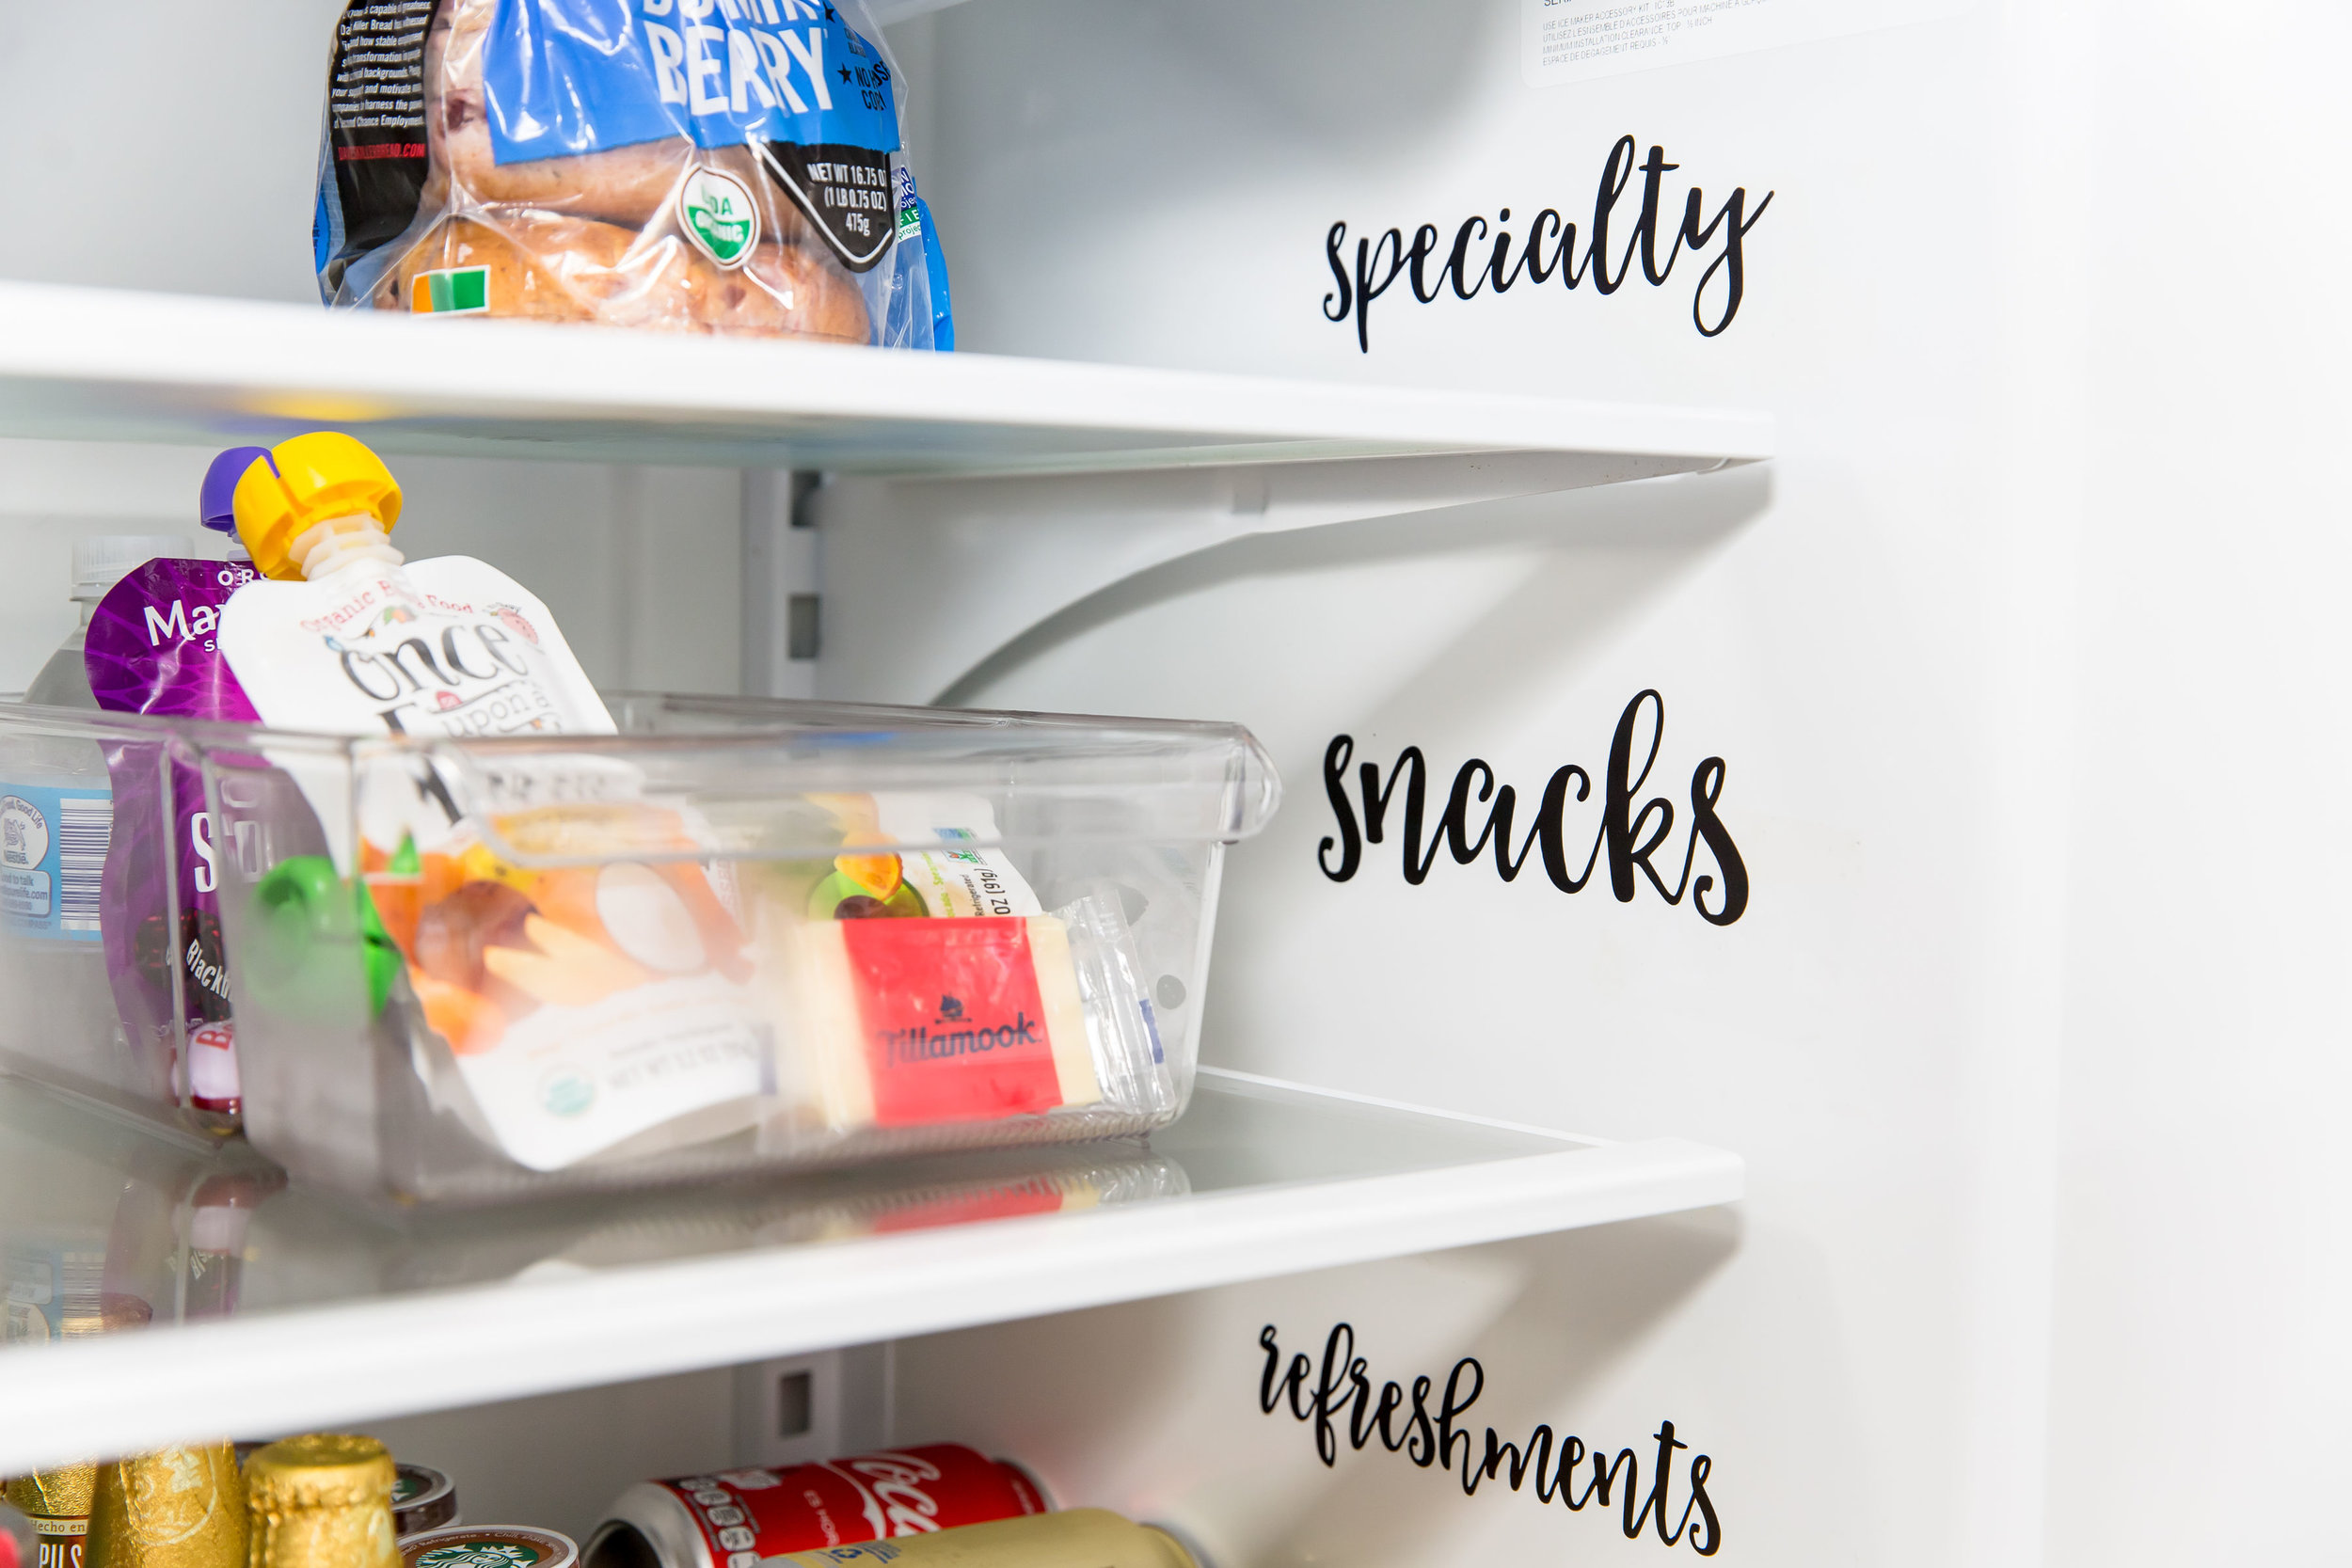
When I came across these custom labels on etsy by Vinyl Goods Co I knew I wanted to use them in our fridge (and pantry…blog post part 2 coming soon)! The farmhouse calligraphy script font was just perfect for our style and I loved that I could custom design exactly the categories that made sense for us. I mean, have you ever seen a label for a fridge that says “cookie dough”? Probably not. But in our house, we always have it on hand! Once I decided each category I wanted and the color and size I needed, I emailed Tiffany at Vinyl Goods Co and shared my list with her. For all of the clear bins, I choose white and then black for the labels on each shelf to make them easy to read. Here’s what I ended up with:

  • Leftovers

  • Refreshments

  • Milk

  • Snacks

  • Eggs

  • Specialty

  • Sauces

  • Veggies 

  • Fruit 

  • Cheese

  • Protein

  • Condiments

  • Dressings

  • Butter 

  • Spreads

  • Yogurt

  • Briny

  • Spicy

  • Cookie Dough

The labels were really easy to transfer onto each surface and they included instructions for how to do so. With each label I got more and more excited to finish!

6D4A5872.jpg
6D4A5864.jpg
6D4A5876.jpg
6D4A5858.jpg

MAINTENANCE

The only way for your fridge to stay organized is by weekly check ins. Every time I take something off a shelf, I give a quick glance at what else is over there. I wipe down bbq sauces and make sure things are staying in place. I find that every time I grocery shop I end up doing a bit of maintenance to keep things nice and organized. This has been especially helpful when we have someone care for Milly. I love that they can easily find her snacks and since we added a bin just for Milly she can choose her snacks and the nanny can find her lunch easily because it is all contained.

6D4A5874.jpg

What I love about an organized fridge is the more organized you keep it, the less chance of food going to waste! It also discourages you from buying things you don’t need. I hope this helps inspire you to organize your fridge. I’d love to see your photos and hear about any other ideas you come up with as you organize. Post your photos on instagram and tag me! xoxo, B

Mini Blueberry Hand Pies

This post is sponsored by the U.S. Highbush Blueberry Council

6D4A8694.jpg

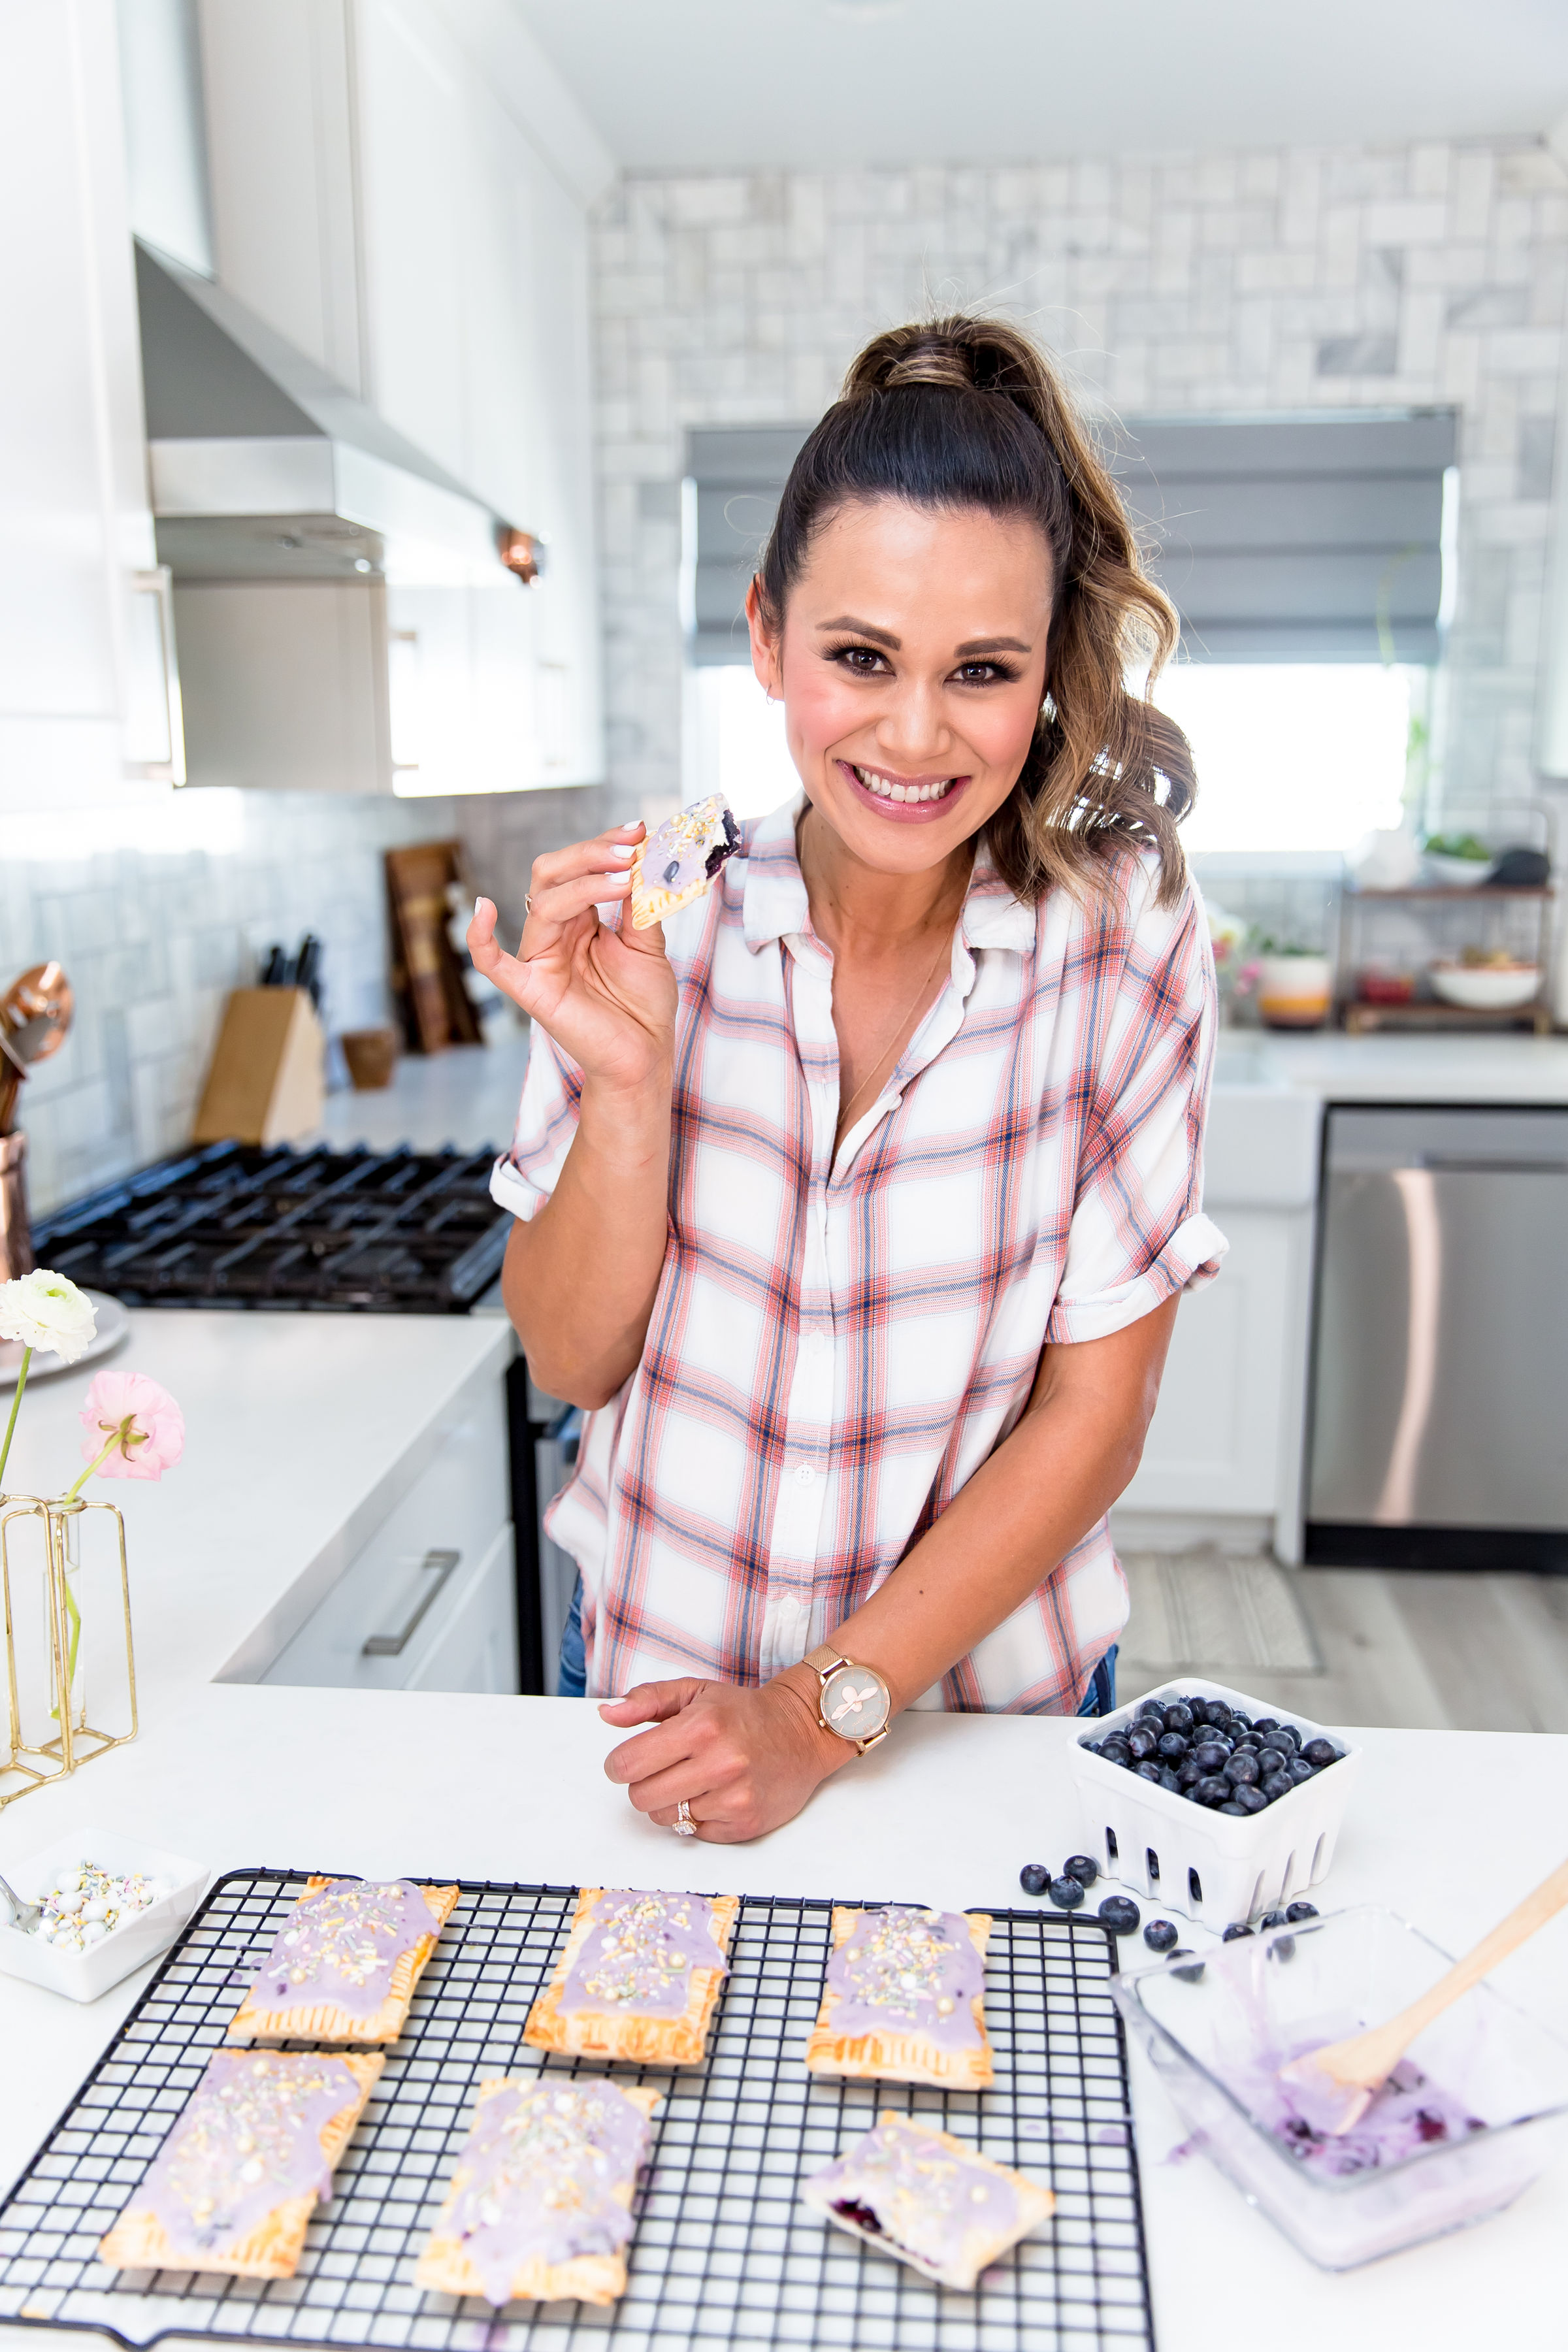
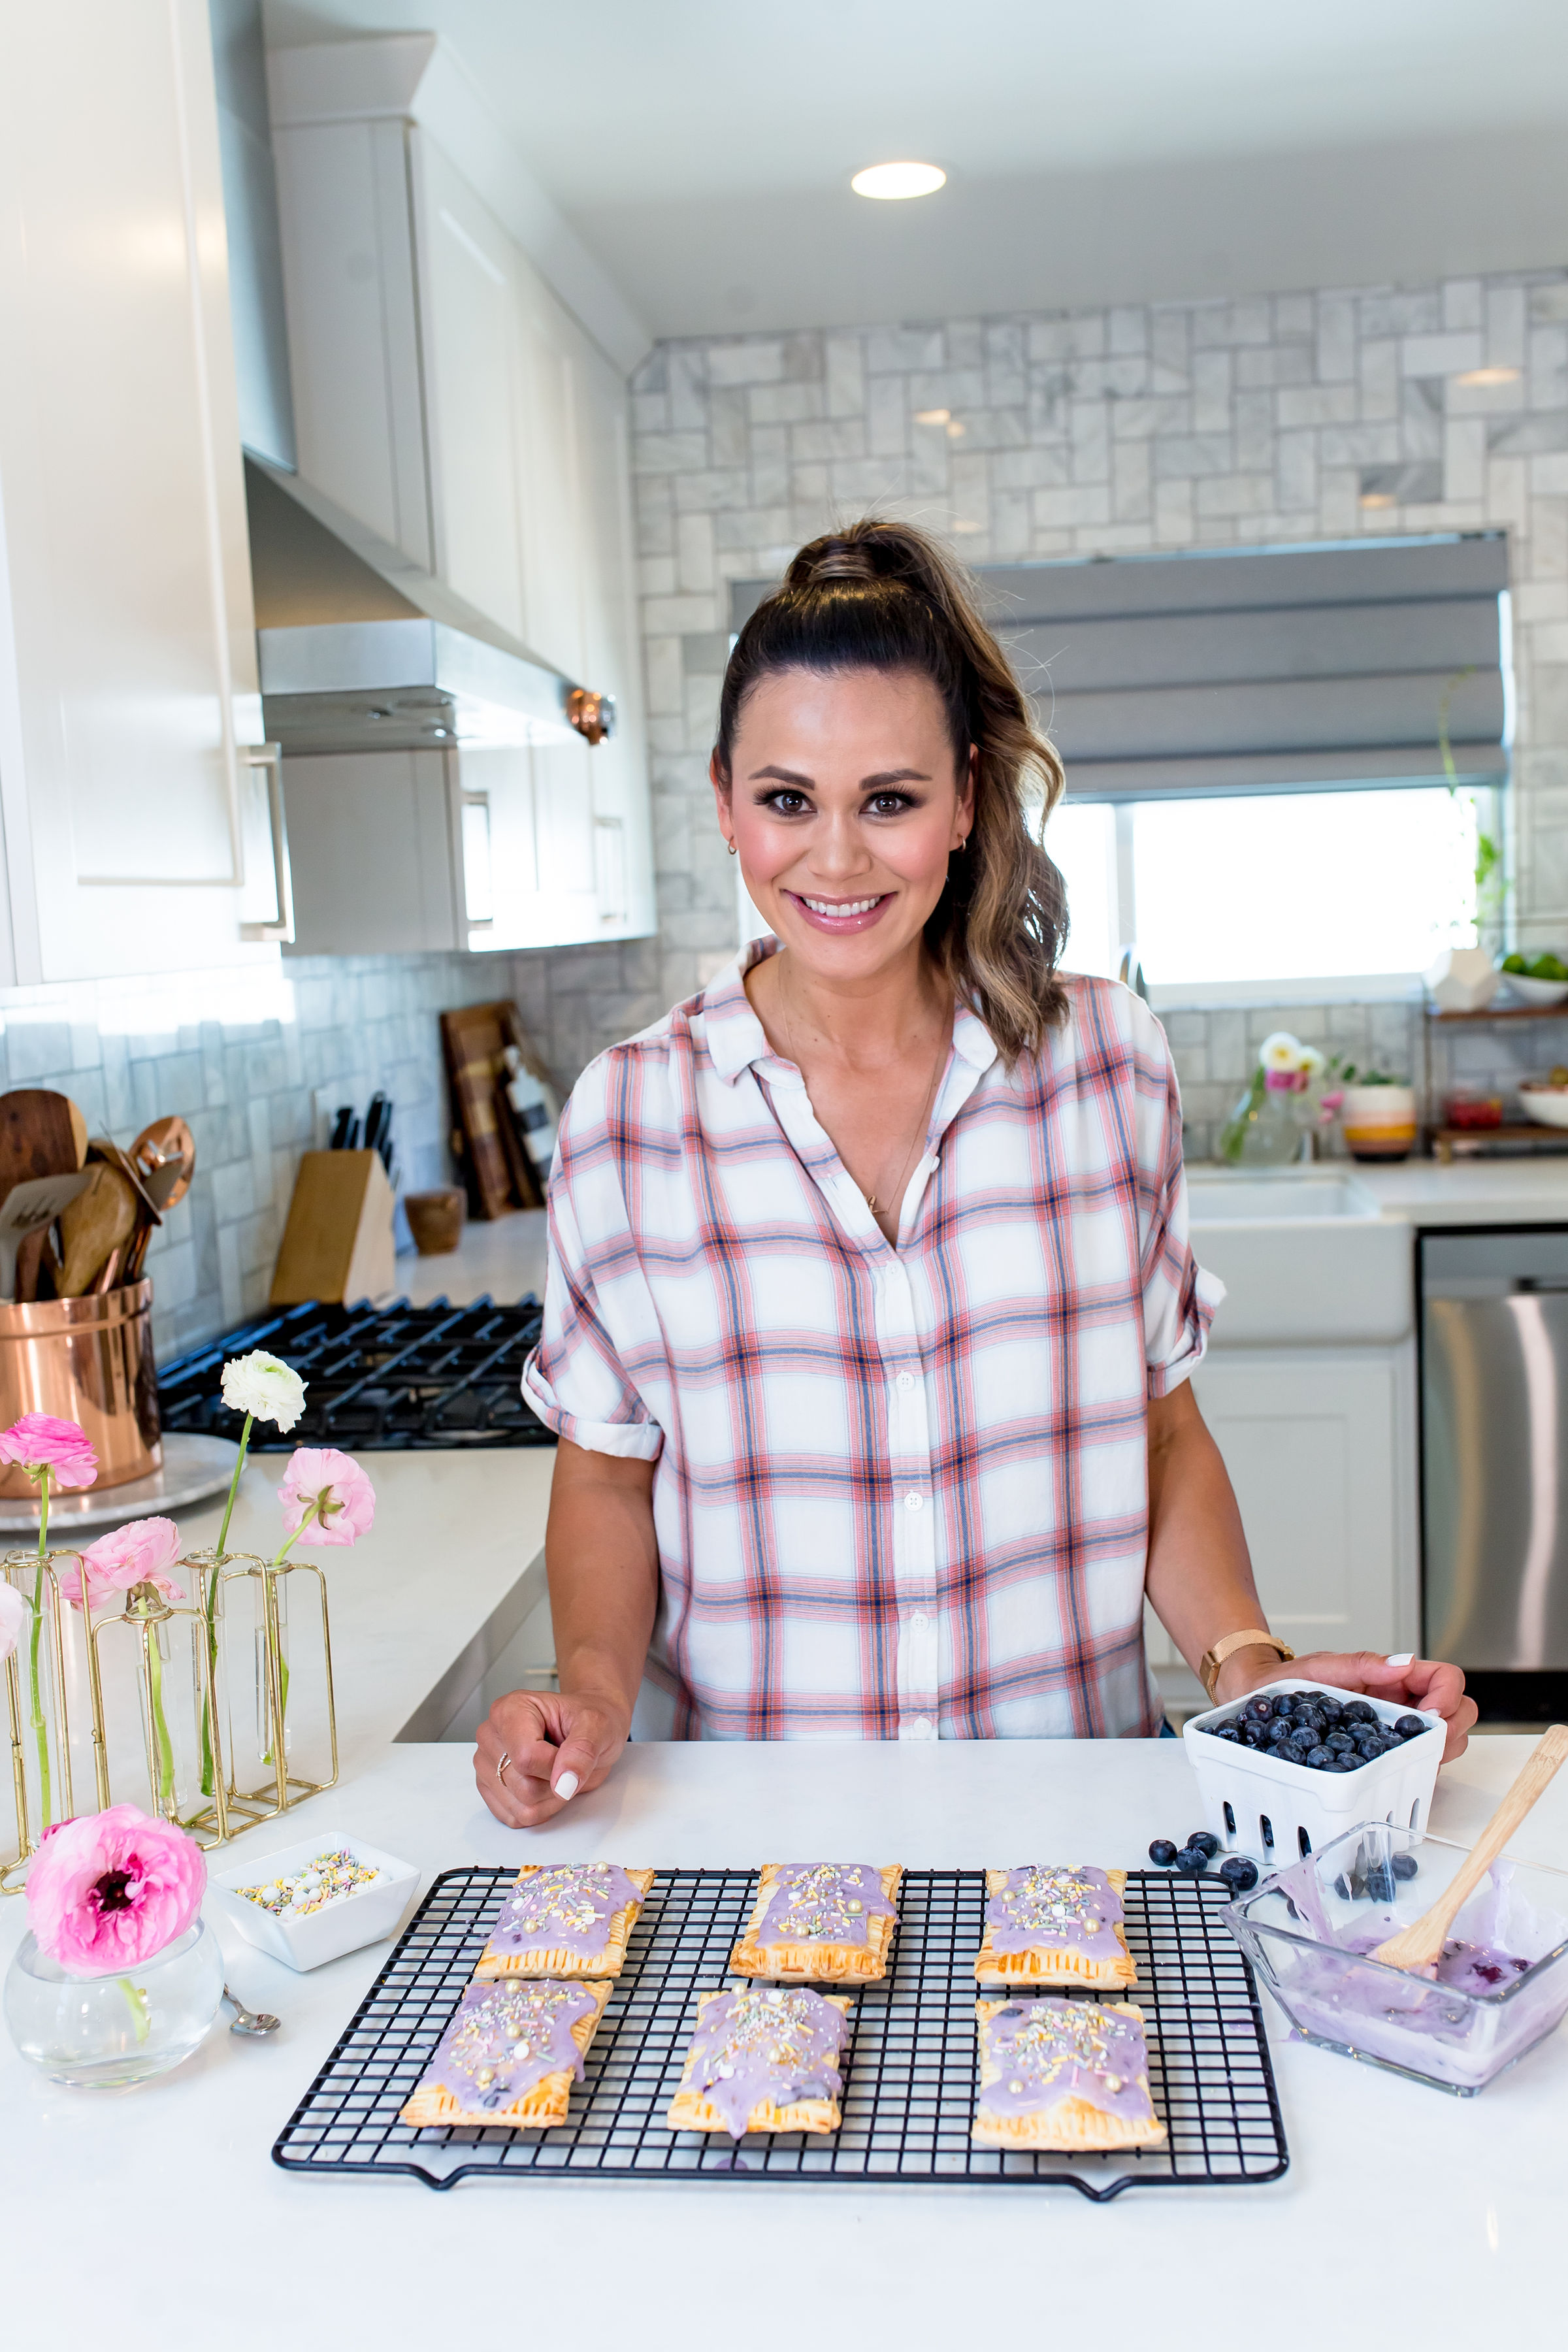
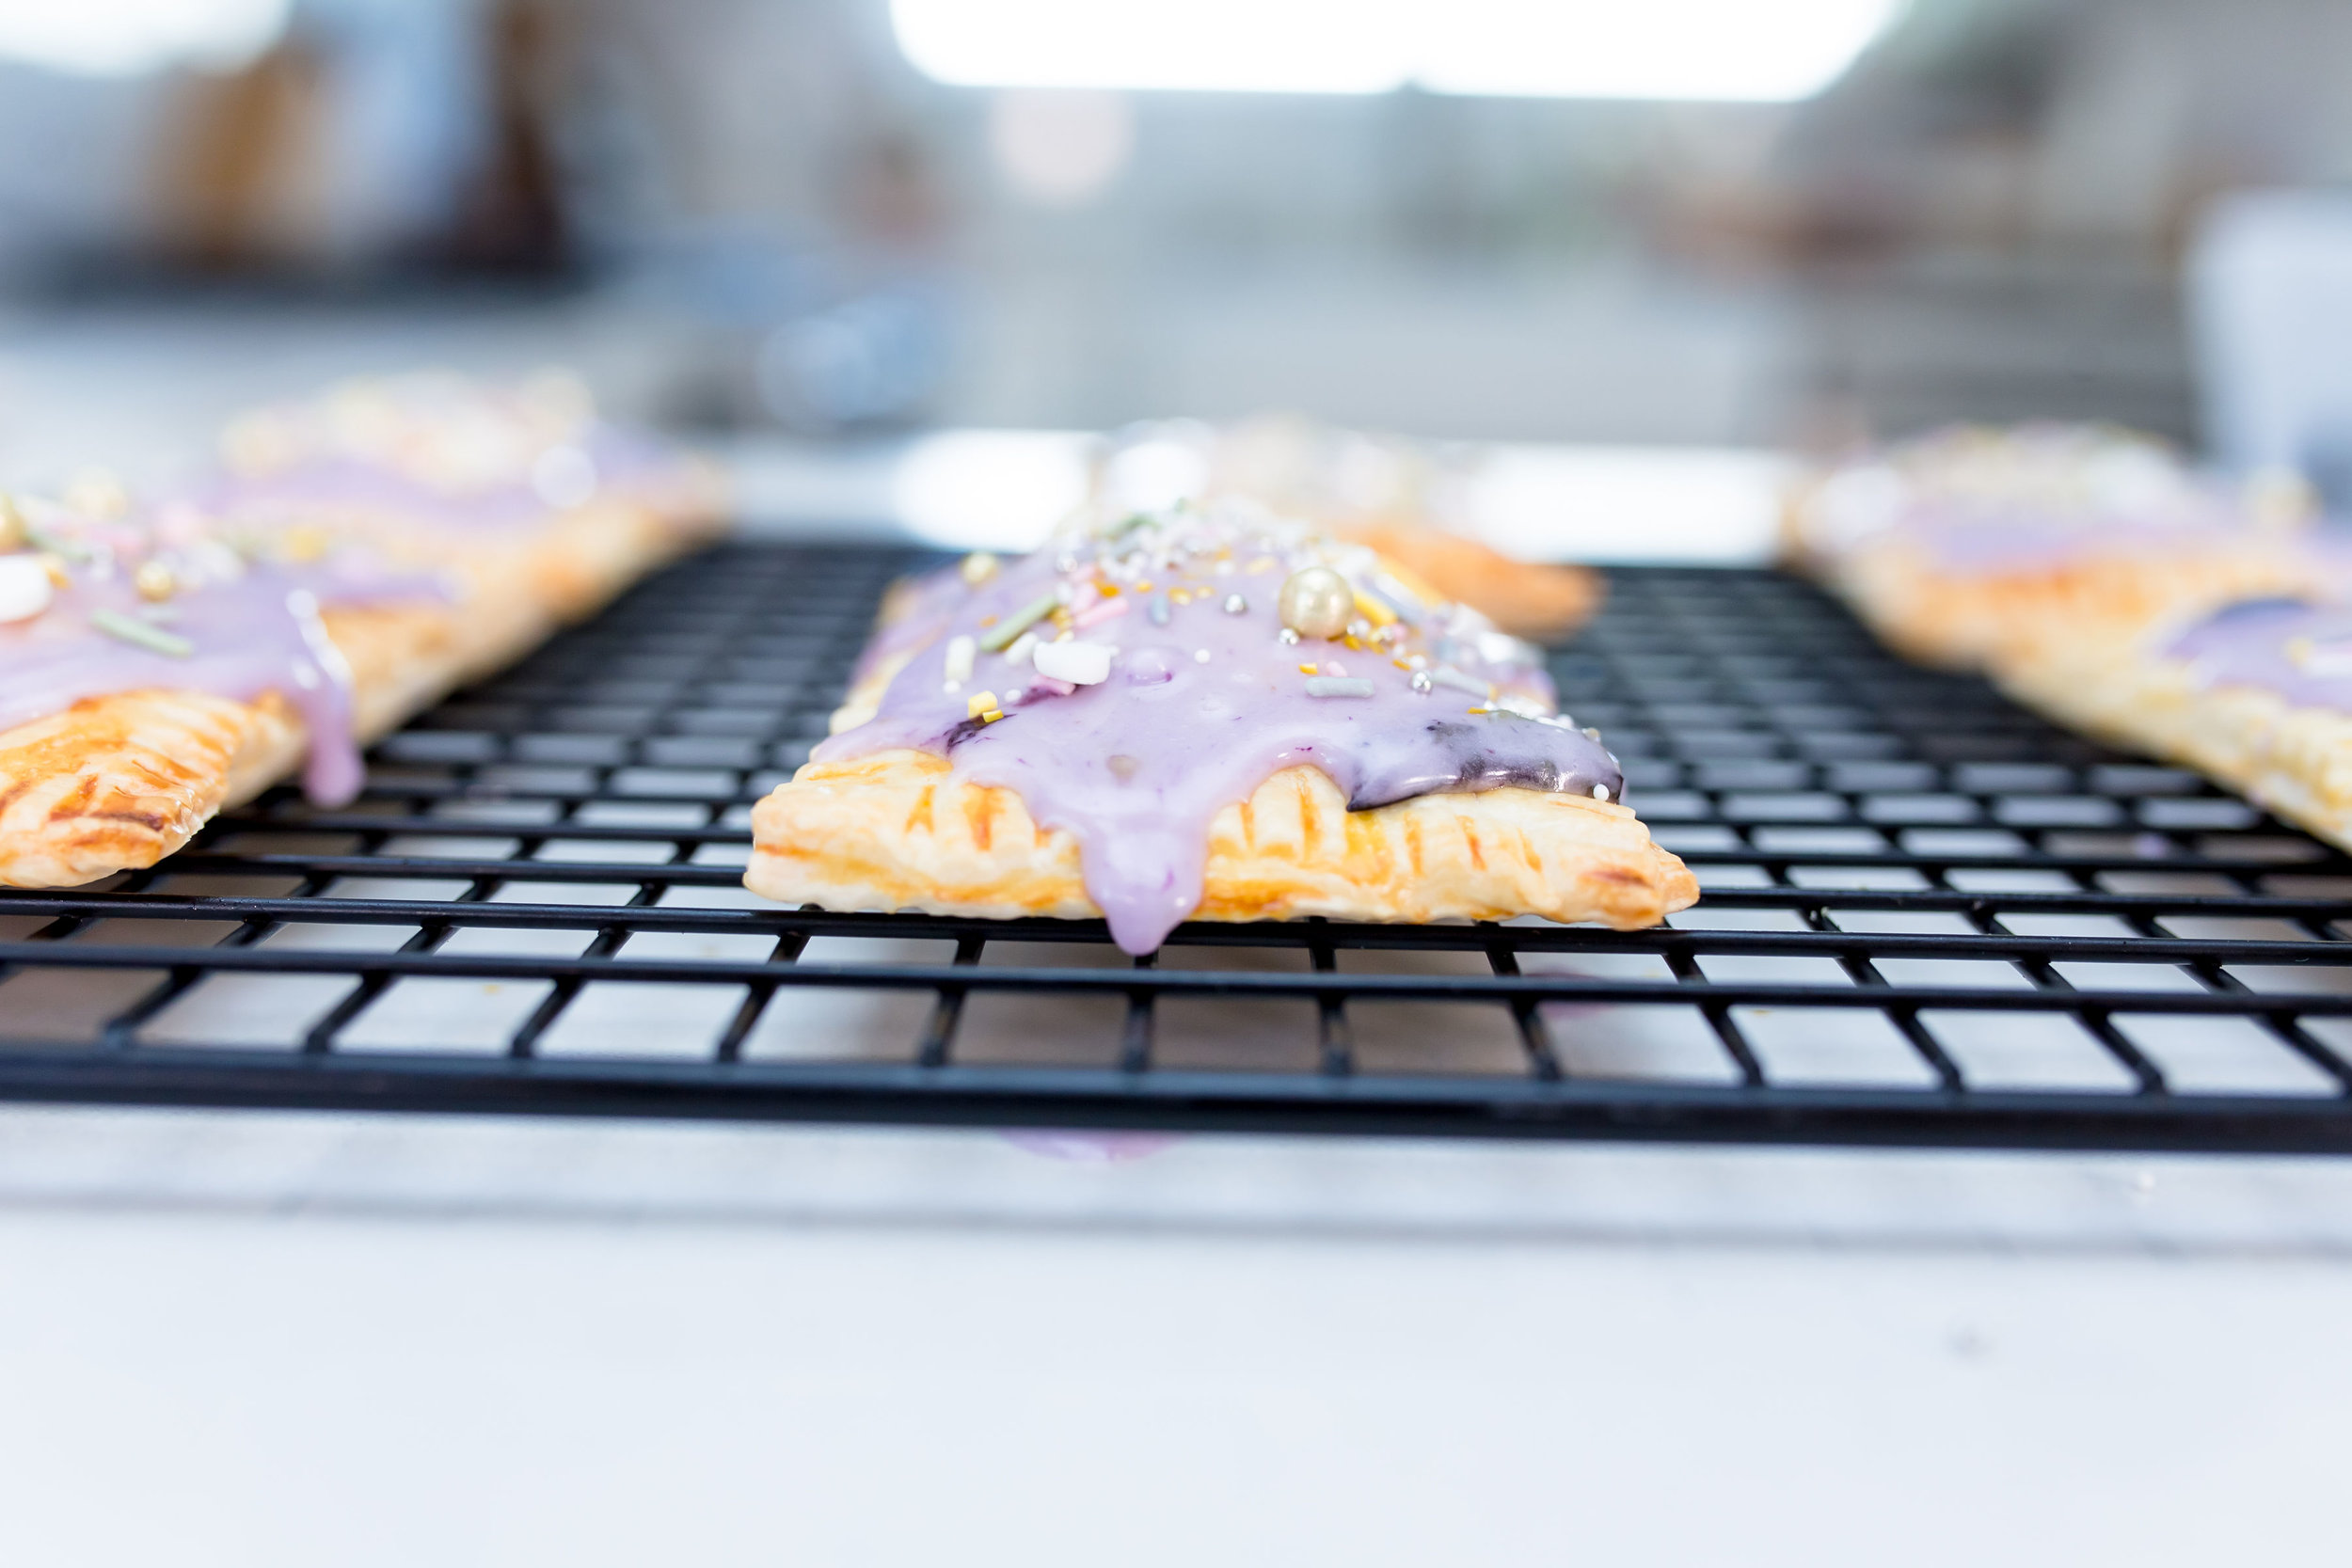
These are one of my favorite anytime treats and are way better than the toaster pastry in the box that you ate when you were 10. Bursting with bluetiful blueberry flavor, these are straight up sublime!

6D4A8630.jpg

Super simple to make and made with three ingredients (store bought pie crust, homemade blueberry jam and glaze), I find myself whipping these up during the week for a sweet treat.

6D4A8588.jpg

Filled with delicious blueberry jam and topped with sweet glaze and sprinkles, they are almost too pretty to eat! Check out my latest episode on IGTV where i show you how to make these and then scroll down for the full recipe!

6D4A8627.jpg
6D4A8654.jpg
6D4A8675.jpg
6D4A8696.jpg

BLUEBERRY HAND PIE RECIPE

by BRANDI MILLOY

INGREDIENTS

  • BLUEBERRY JAM

    • 4 heaping cups organic blueberries, rinsed

    • 1 cup sugar

  • HAND PIES

    • 1/2 cup blueberry jam (recipe above)

    • 1 large egg

    • 2 refrigerated pie crusts

  • ICING

    • 1½ cup powdered sugar

    • 1 tablespoon heavy cream or milk

    • 1 tablespoon blueberry jam (recipe above)

    • 1 teaspoon almond extract, optional

  • Sprinkles, for garnish

DIRECTIONS

  1. For the blueberry jam:

    Place berries in a stainless steel pot and bring to a full boil, mashing the berries with a spoon. Boil for 1 minute on high heat, stirring constantly.

    Using a potato masher, break and smash blueberries. Add sugar and continue to gently boil for 3-5 minutes. Keep cooking and stirring for about 10 minutes or until thickened.

    For the hand pies:

    1. Preheat oven to 400°F. Line a baking sheet with parchment paper and set aside.

    2. Crack egg into small bowl with a teaspoon of water, whisk and set aside.

    4. Unroll pie crusts and using a pizza cutter, cut the edges off (about 1 inch off all sides to create two 9-inch squares). Then cut each square into three 3-inch wide strips. You should have 6 total.

    5. Place 1½ tablespoons of jam on the bottom end of each strip. Brush exposed piecrust with egg to glue the sides. Gently fold top part of piecrust over the jam end. Using a fork, crimp the edges together on all sides. Repeat the process with the remaining piecrust.

    6. Place hand pies on prepared baking sheet and bake for 15-18 minutes.

    For the icing:

    In a bowl, whisk together powdered sugar, heavy cream, 1 tablespoon of jam and almond extract until smooth.

    To serve:

    Drizzle icing on top of each pastry tart and garnish with sprinkles.


Grapefruit Creamsicle Popsicles

This post is sponsored by Sunkist

All photography by @Ographr

All photography by @Ographr

These popsicles are creamy, tart, sweet and so refreshing! Made with fresh squeezed Sunkist California Star Ruby Grapefruit juice and vanilla bean ice cream, they are like the older, more sophisticated sister of the orange dreamsicle. You know, the one that traveled after college and lived in Europe for a year so she could immerse herself in another culture!

6D4A9764.jpg

This grapefruit creamsicle popsicle is luxurious but also super easy to make and the best treat to serve after an evening of al fresco dining. I keep at least half a dozen on hand in the freezer for those hot summer days too. Great for grown ups and children, it’s my go to sweet for summer. I hope you enjoy this recipe as much as I do. Be sure to scroll down for the full recipe!

6D4A9278.jpg

GRAPEFRUIT CREAMSICLE POPSICLE

Makes 10 popsicles

Ingredients

  • About 2.5 cups of fresh squeezed Sunkist California Star Ruby Grapefruit juice (2-3 grapefruits)

  • 2-3 tablespoons of agave (optional)

  • About 2.5 cups of vanilla bean ice cream, softened

  • Supplies: Frozen Popsicle Molds with Sticks

Directions

  1. If you’d like your grapefruit juice sweeter, sweeten juice to taste, adding 1 tablespoon of agave at a time.

  2. Fill each popsicle vessel with about 1/4 cup of juice. Top with about 1/4 cup of ice cream.

  3. Add popsicle sticks and freeze for 4 hours or overnight.

  4. Enjoy!

6D4A9980.jpg
Milly's Zucchini Carrot Banana Muffins

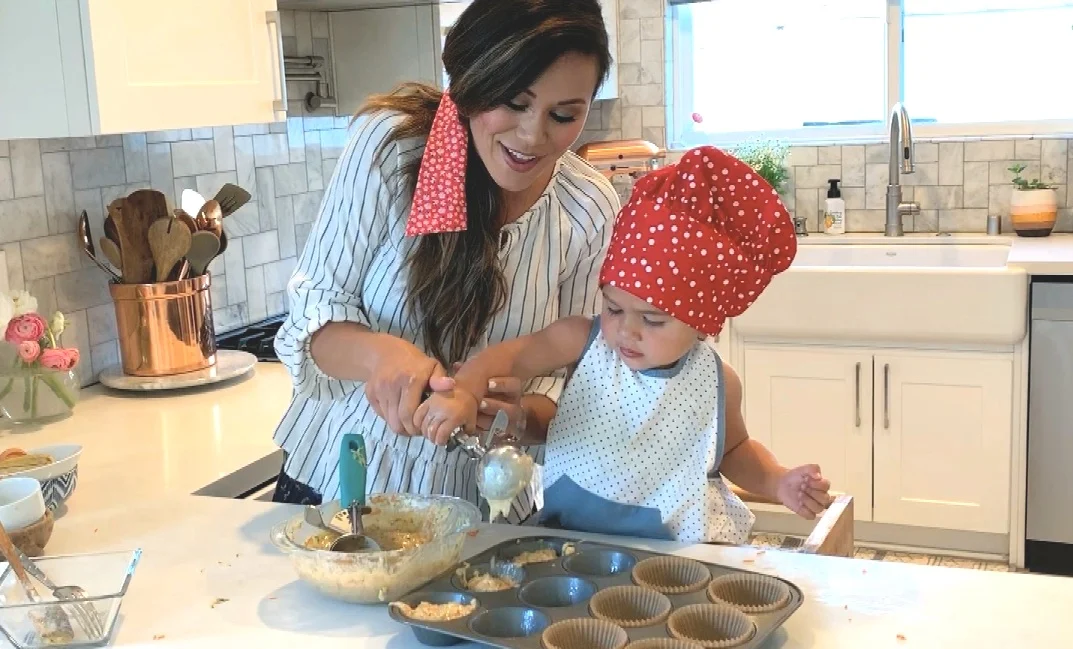
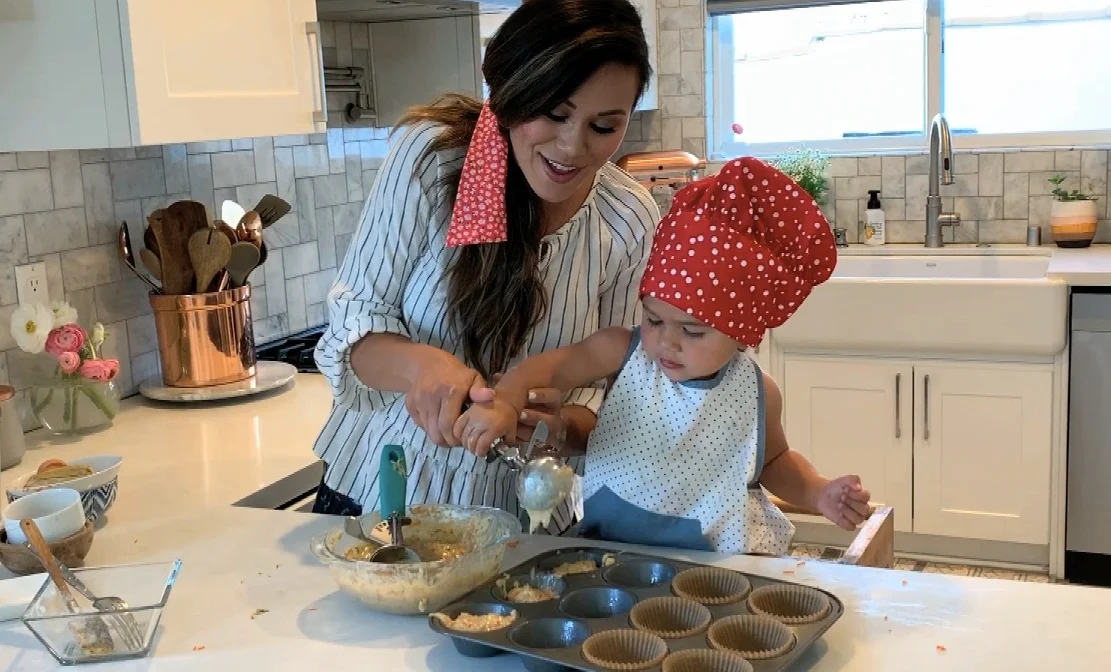
Anytime I post these muffins on IG, I get dozens of comments asking for the recipe. I finally wrote it up and even shot a video with Milly making them!!! Still need to take pics but it’s on my list of things to do!

These are my go to homemade snacks for Milly. She loves them and as I’ve said before, I never give Milly food I don’t love too. These muffins are slightly sweet, packed with veggies, whole wheat and I did a few healthier swaps too (no refined sugar). One batch makes 12 standard muffins or 24 mini muffins. I usually double the batch and freeze half for those weeks when I open the fridge or pantry and feel like there’s nothing to eat between meals. They are great for on the go. Anytime we travel, you can find these in our bag! If you like zucchini/banana bread and carrot cake you’ll love them too!

Screen Shot 2019-05-14 at 11.14.20 PM.png

Last fall I swapped out carrots for pumpkin puree because I had some leftover in a can already. So instead of adding 1/2 cup of carrots, just add 1/2 cup of pumpkin. I know there are many of you reading this right now thinking “Blasphemy! You can’t have pumpkin if it’s not fall!” and I actually agree with you LOL but from what I know about all you PSL Basic B’s out there, you’re already imagining it so I’m giving you permission. Do it! This photo is from last year when I did just that! Scroll down for the full recipe and then tag me on IG when you make these!

6D4A0924.jpg

Zucchini Carrot Banana Muffins

By Brandi Milloy

Ingredients

  • 1 large egg

  • 2 tablespoons butter, unsalted and at room temperature

  • 1 cup zucchini, finely grated and patted dry (about 2 small zucchini)

  • 1/2 cup carrots, finely grated

  • 1 ripe banana, mashed

  • 1/2 cup applesauce

  • 1/2 cup pure maple syrup (you can also use honey or agave)

  • 1 cup whole wheat flour (we use white whole wheat flour) or all purpose flour is fine!

  • 1/2 teaspoon cinnamon

  • 1/2 teaspoon nutmeg

  • 1 teaspoon baking soda

  • 1/4 teaspoon salt

Directions

  1. Preheat oven to 350F. Place cupcake liners in muffin tin.

  2. Into a bowl, mix your wet ingredients (egg, butter, zucchini, carrots, banana, applesauce, syrup). Into another bowl, mix your dry ingredients (flour, cinnamon, nutmeg, baking soda, salt).

  3. Combine wet and dry ingredients and mix.

  4. Using an ice cream scoop, fill each tin about 3/4 full.

  5. Bake for 18-20 minutes or until muffins rise and bounce to the touch.

Screen+Shot+2019-05-14+at+11.18.36+PM.jpg
Blueberry Layered Cake

This post is sponsored by the U.S. Highbush Blueberry Council

6D4A8319.jpg
6D4A8318.jpg
6D4A8241.jpg
6D4A8325.jpg

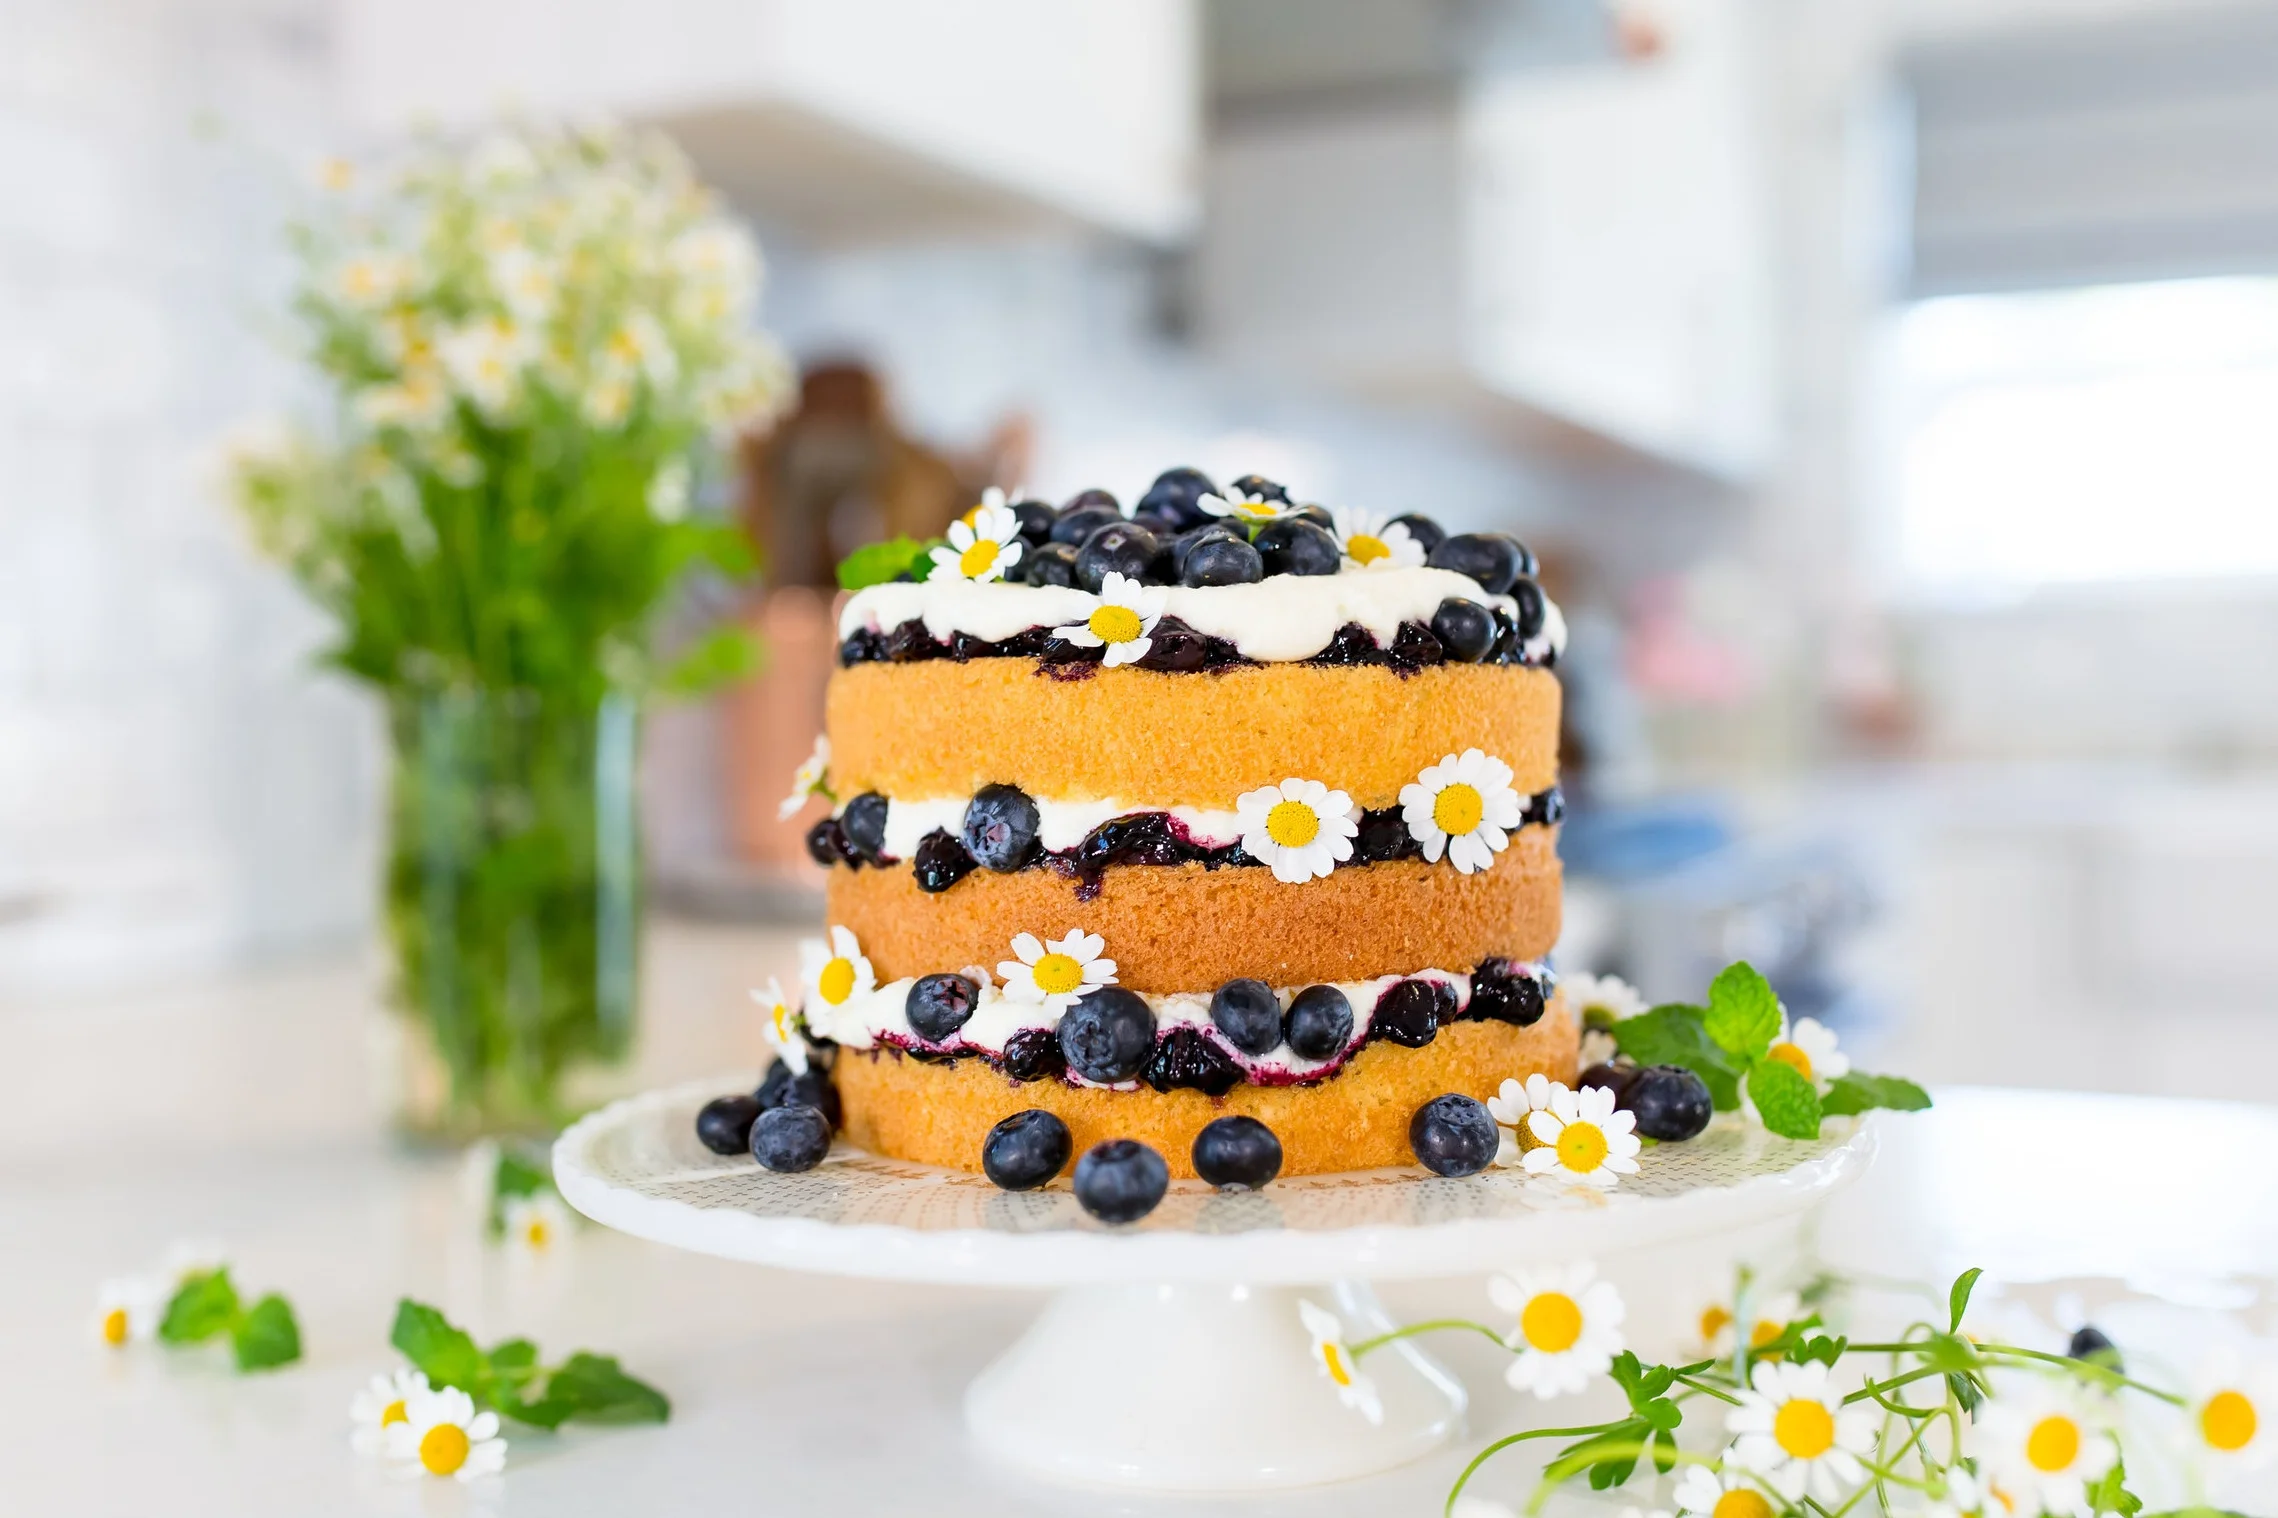
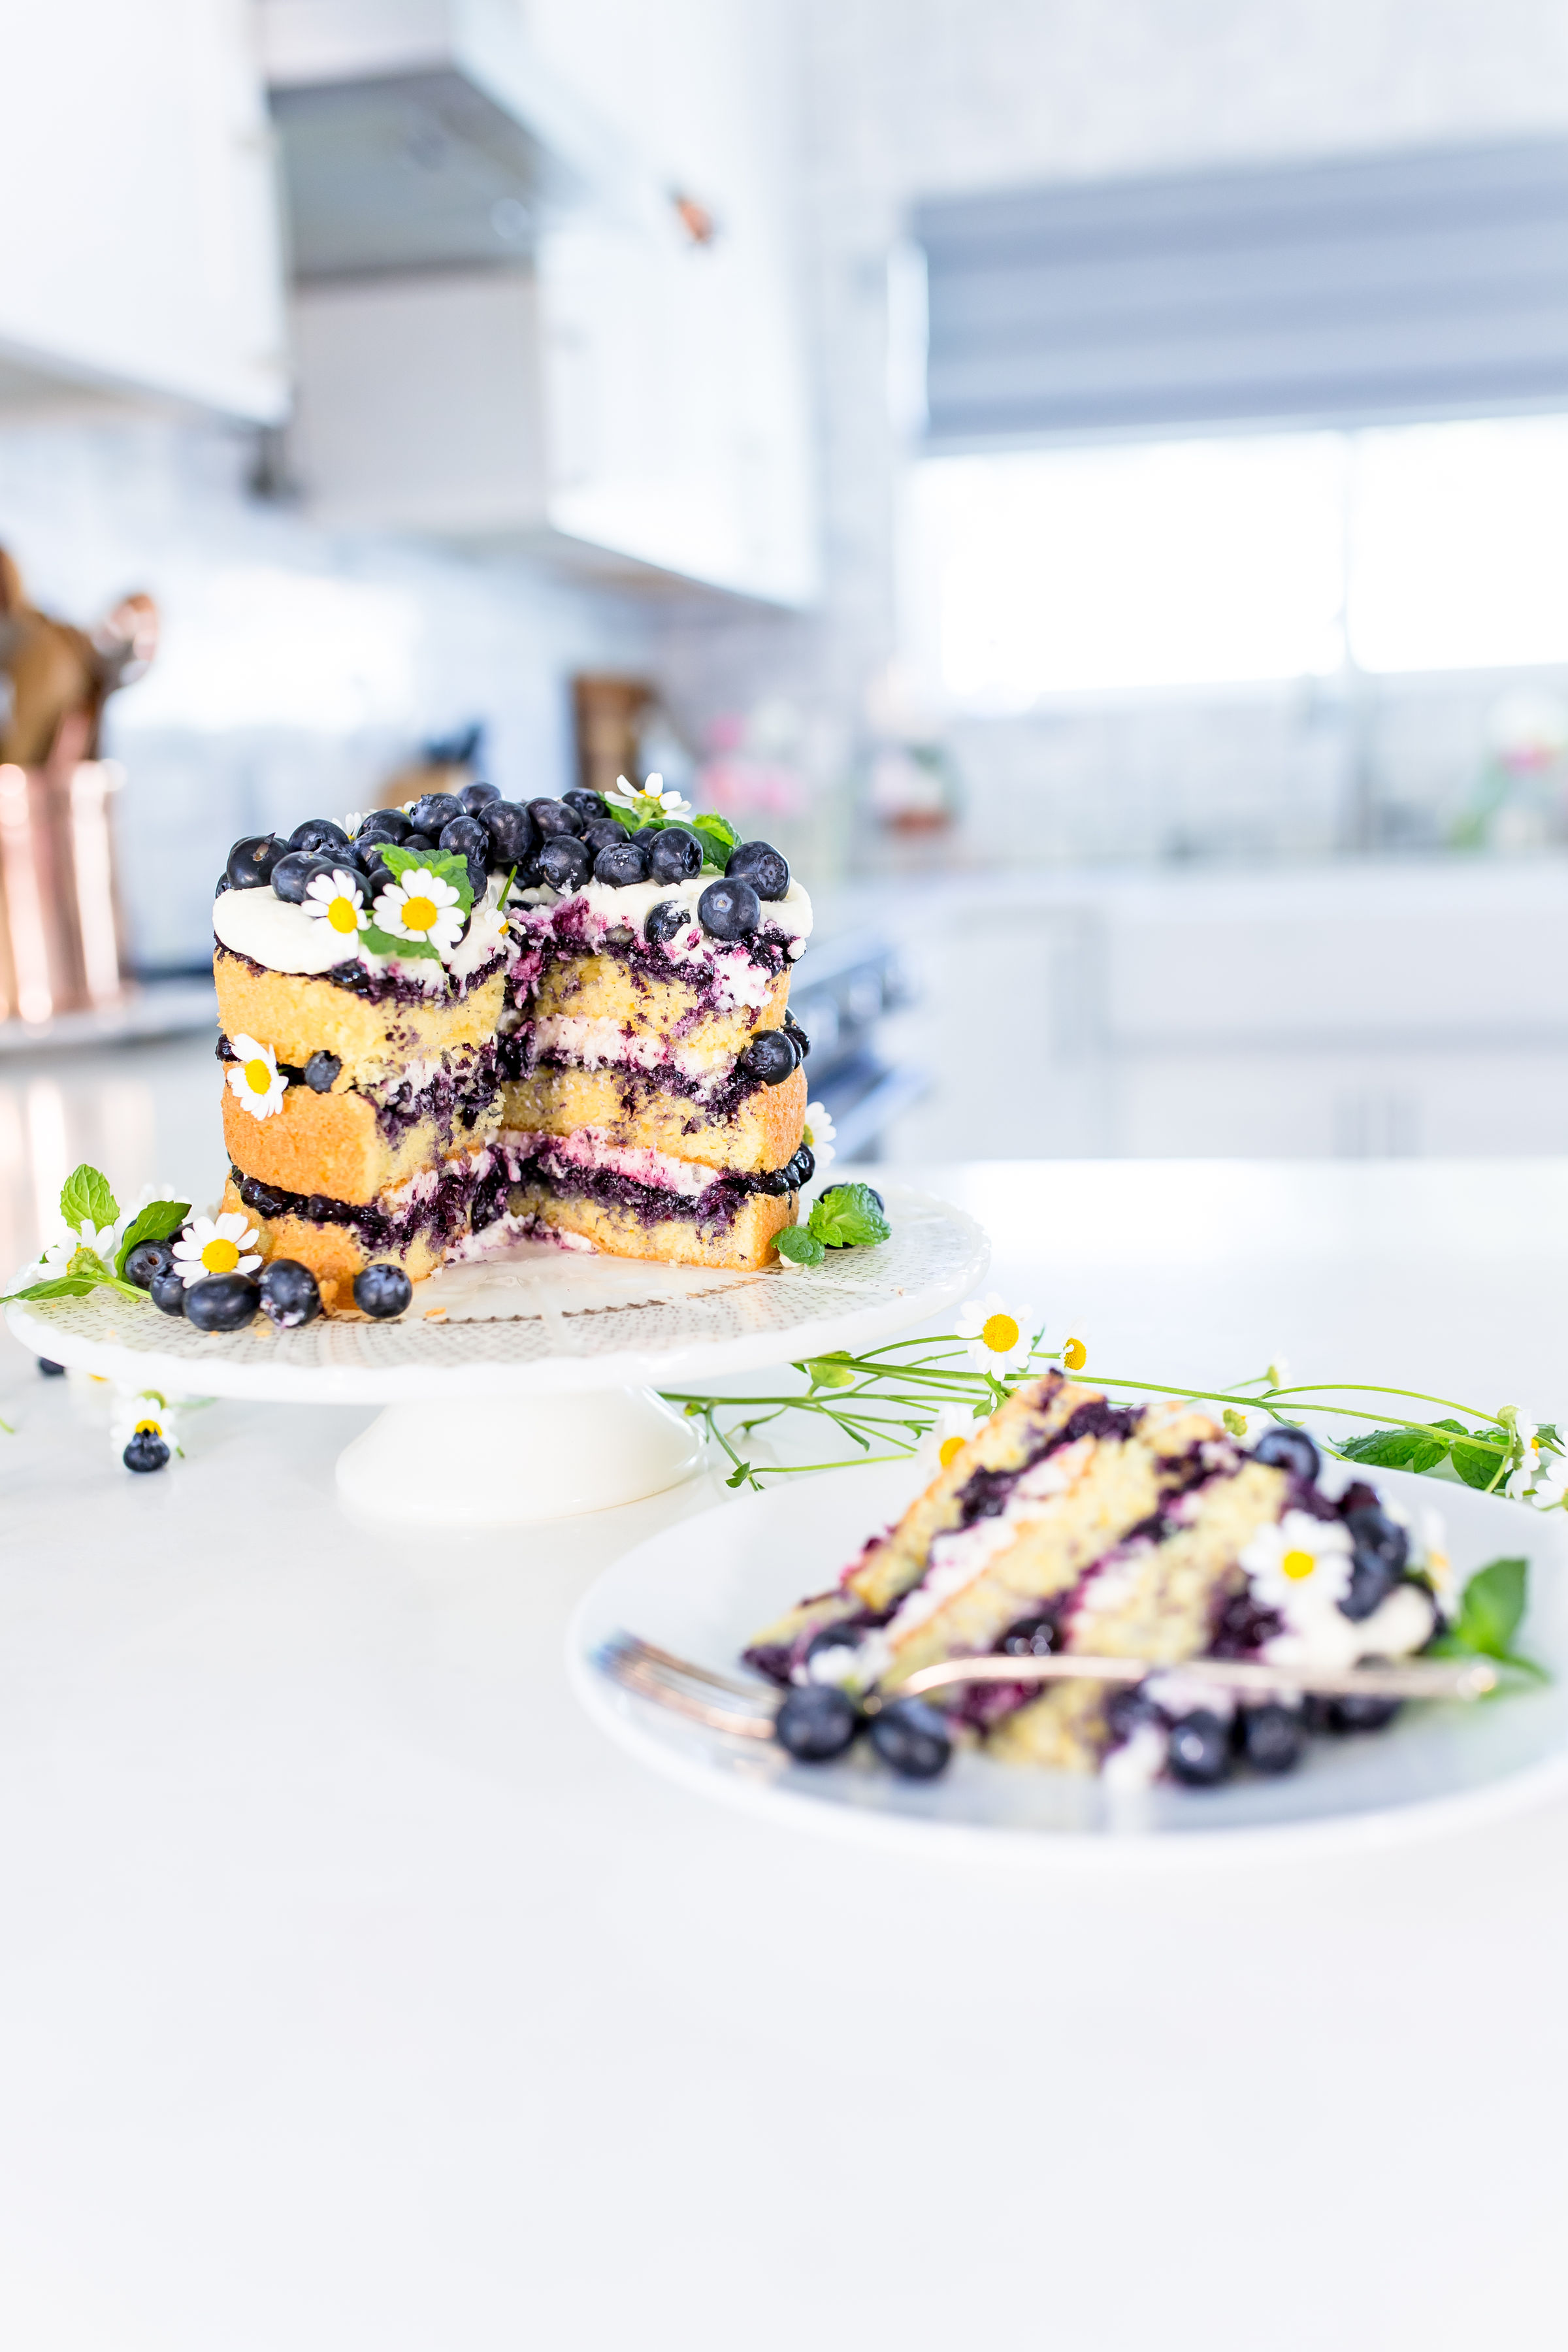
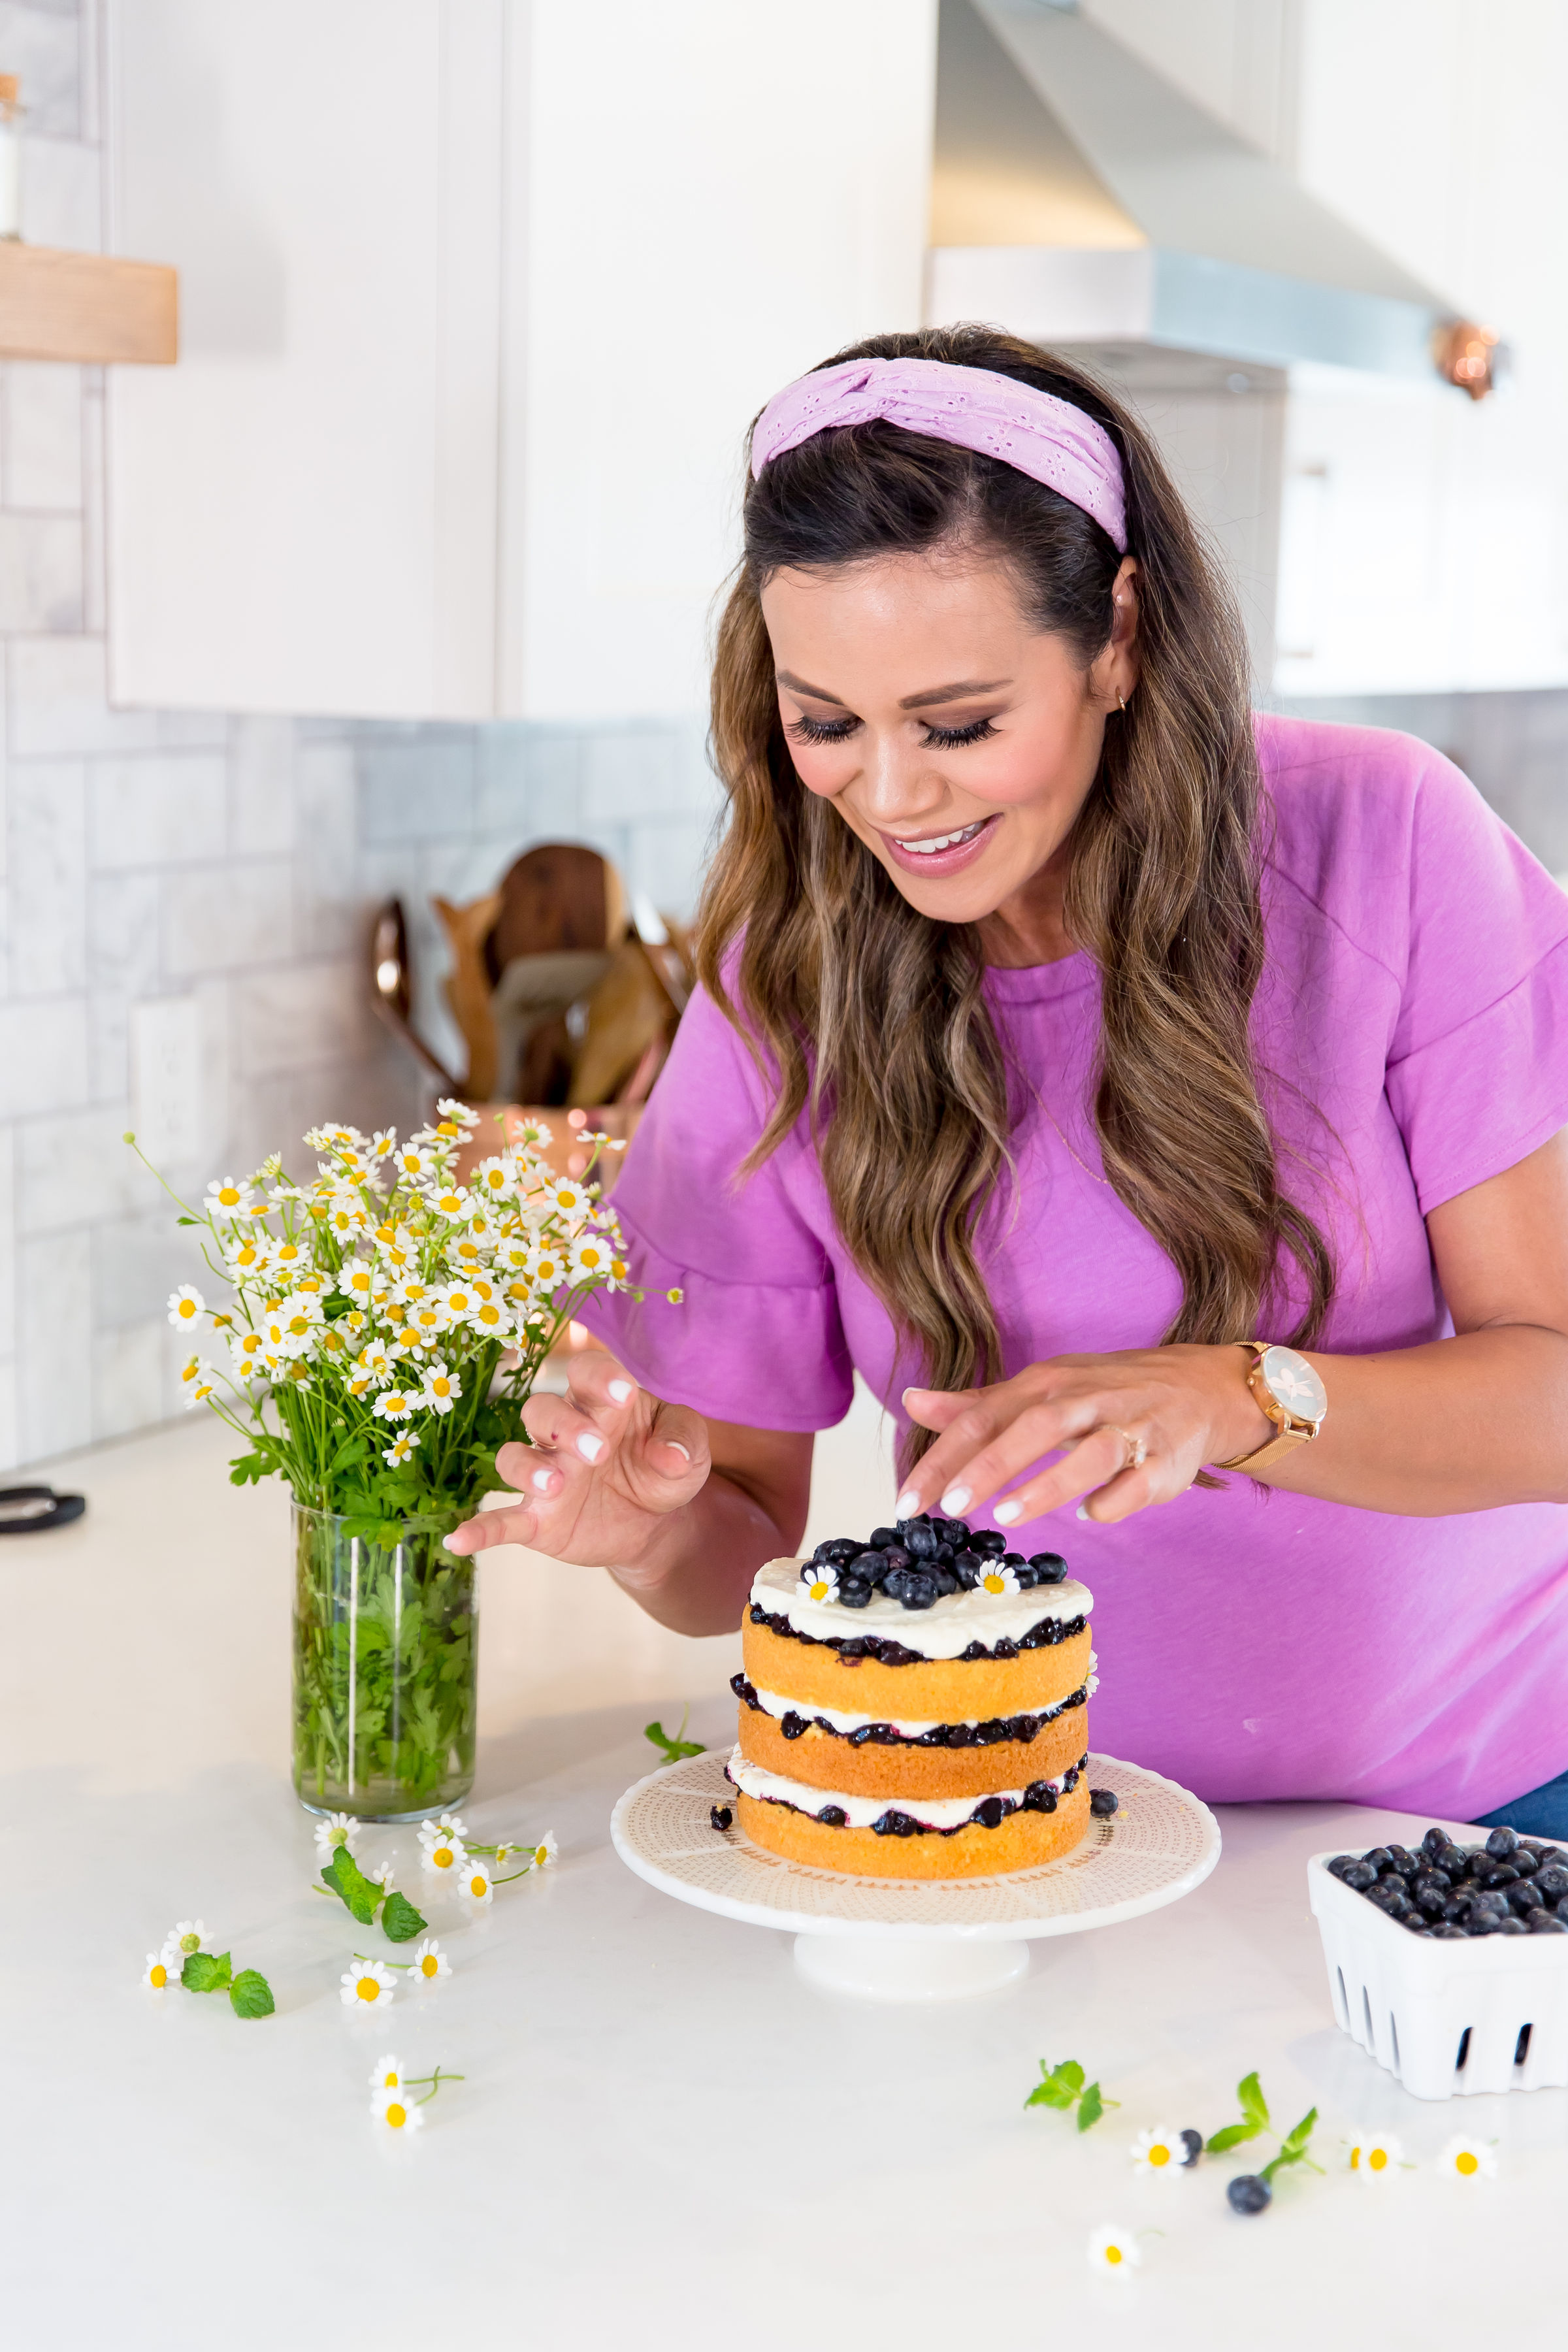
This blueberry layered cake might just be the sweetest most charming dessert I’ve ever made! Layered cakes are one of those impressive desserts that look like a lot of work but I have a few tricks for making them so well you’ll be volunteering to make them for every special occasion!

6D4A8461.jpg

From the fluffy buttery cake to the creamy frosting and the juicy, fresh blueberry filling this is one of those cakes everyone can’t get enough of. It’s perfect for any bunch-your Mom on Mother’s Day, a bridal shower, baby shower or a birthday! Be sure to post your photos on Instagram-I can’t wait to see your creations and tag me @BrandiMilloy. Keep scrolling for the full recipe!

6D4A8312.jpg
6D4A8238.jpg
6D4A8322.jpg
6D4A8306.jpg
6D4A8418.jpg

All photography by @Ographr

BLUEBERRY LAYERED CAKE

BY BRANDI MILLOY

INGREDIENTS

CAKE

1 box butter cake mix (you can also use yellow or white cake)

ingredients for cake mix (eggs, oil, water)

Three 6” round cake pans

Non stick cooking spray

BLUEBERRY FILLING

2 cups frozen blueberries, rinsed and patted dry

2 tbsp. maple syrup

Juice from half a lemon

BUTTERCREAM FROSTING

1 cup unsalted butter (2 sticks, at room temperature)

4 cups powdered sugar, sifted

3-4 tbsp. heavy cream or milk

1 tsp. vanilla extract

Garnish

1 cup fresh blueberries

handful of chamomile flowers or other edible, organic flowers

DIRECTIONS:

  1. Prepare cake mix according to box. Spray cake pans with non-stick cooking spray and then divide batter into three cake tins. Bake at 350F for about 25 minutes or until cake is baked through. Allow cakes to cool. Once cooled, use a serrated knife to level and make each cake even by removing the baked dome part.

  2. For the blueberry filling, add all of the ingredients into a sauce pan and cook on medium heat for about 10 minutes stirring as it cooks and mashing the berries slightly. Mixture will start to thicken. Remove from heat and allow to cool completely

  3. Make buttercream frosting by adding butter, powdered sugar and salt to mixer and mix. Slowly add in heavy cream/milk 1 tablespoon at a time. Add vanilla and keep mixing until fluffy! Put frosting in pastry bag or place in plastic bag and snip corner about 1/2” opening.

  4. To assemble cake: Start by adding a little bit of frosting to center of cake stand/cake plate. Place one cake in center. Top with 1/3 of buttercream and 1/3 of blueberry filling. Repeat this step two more times.

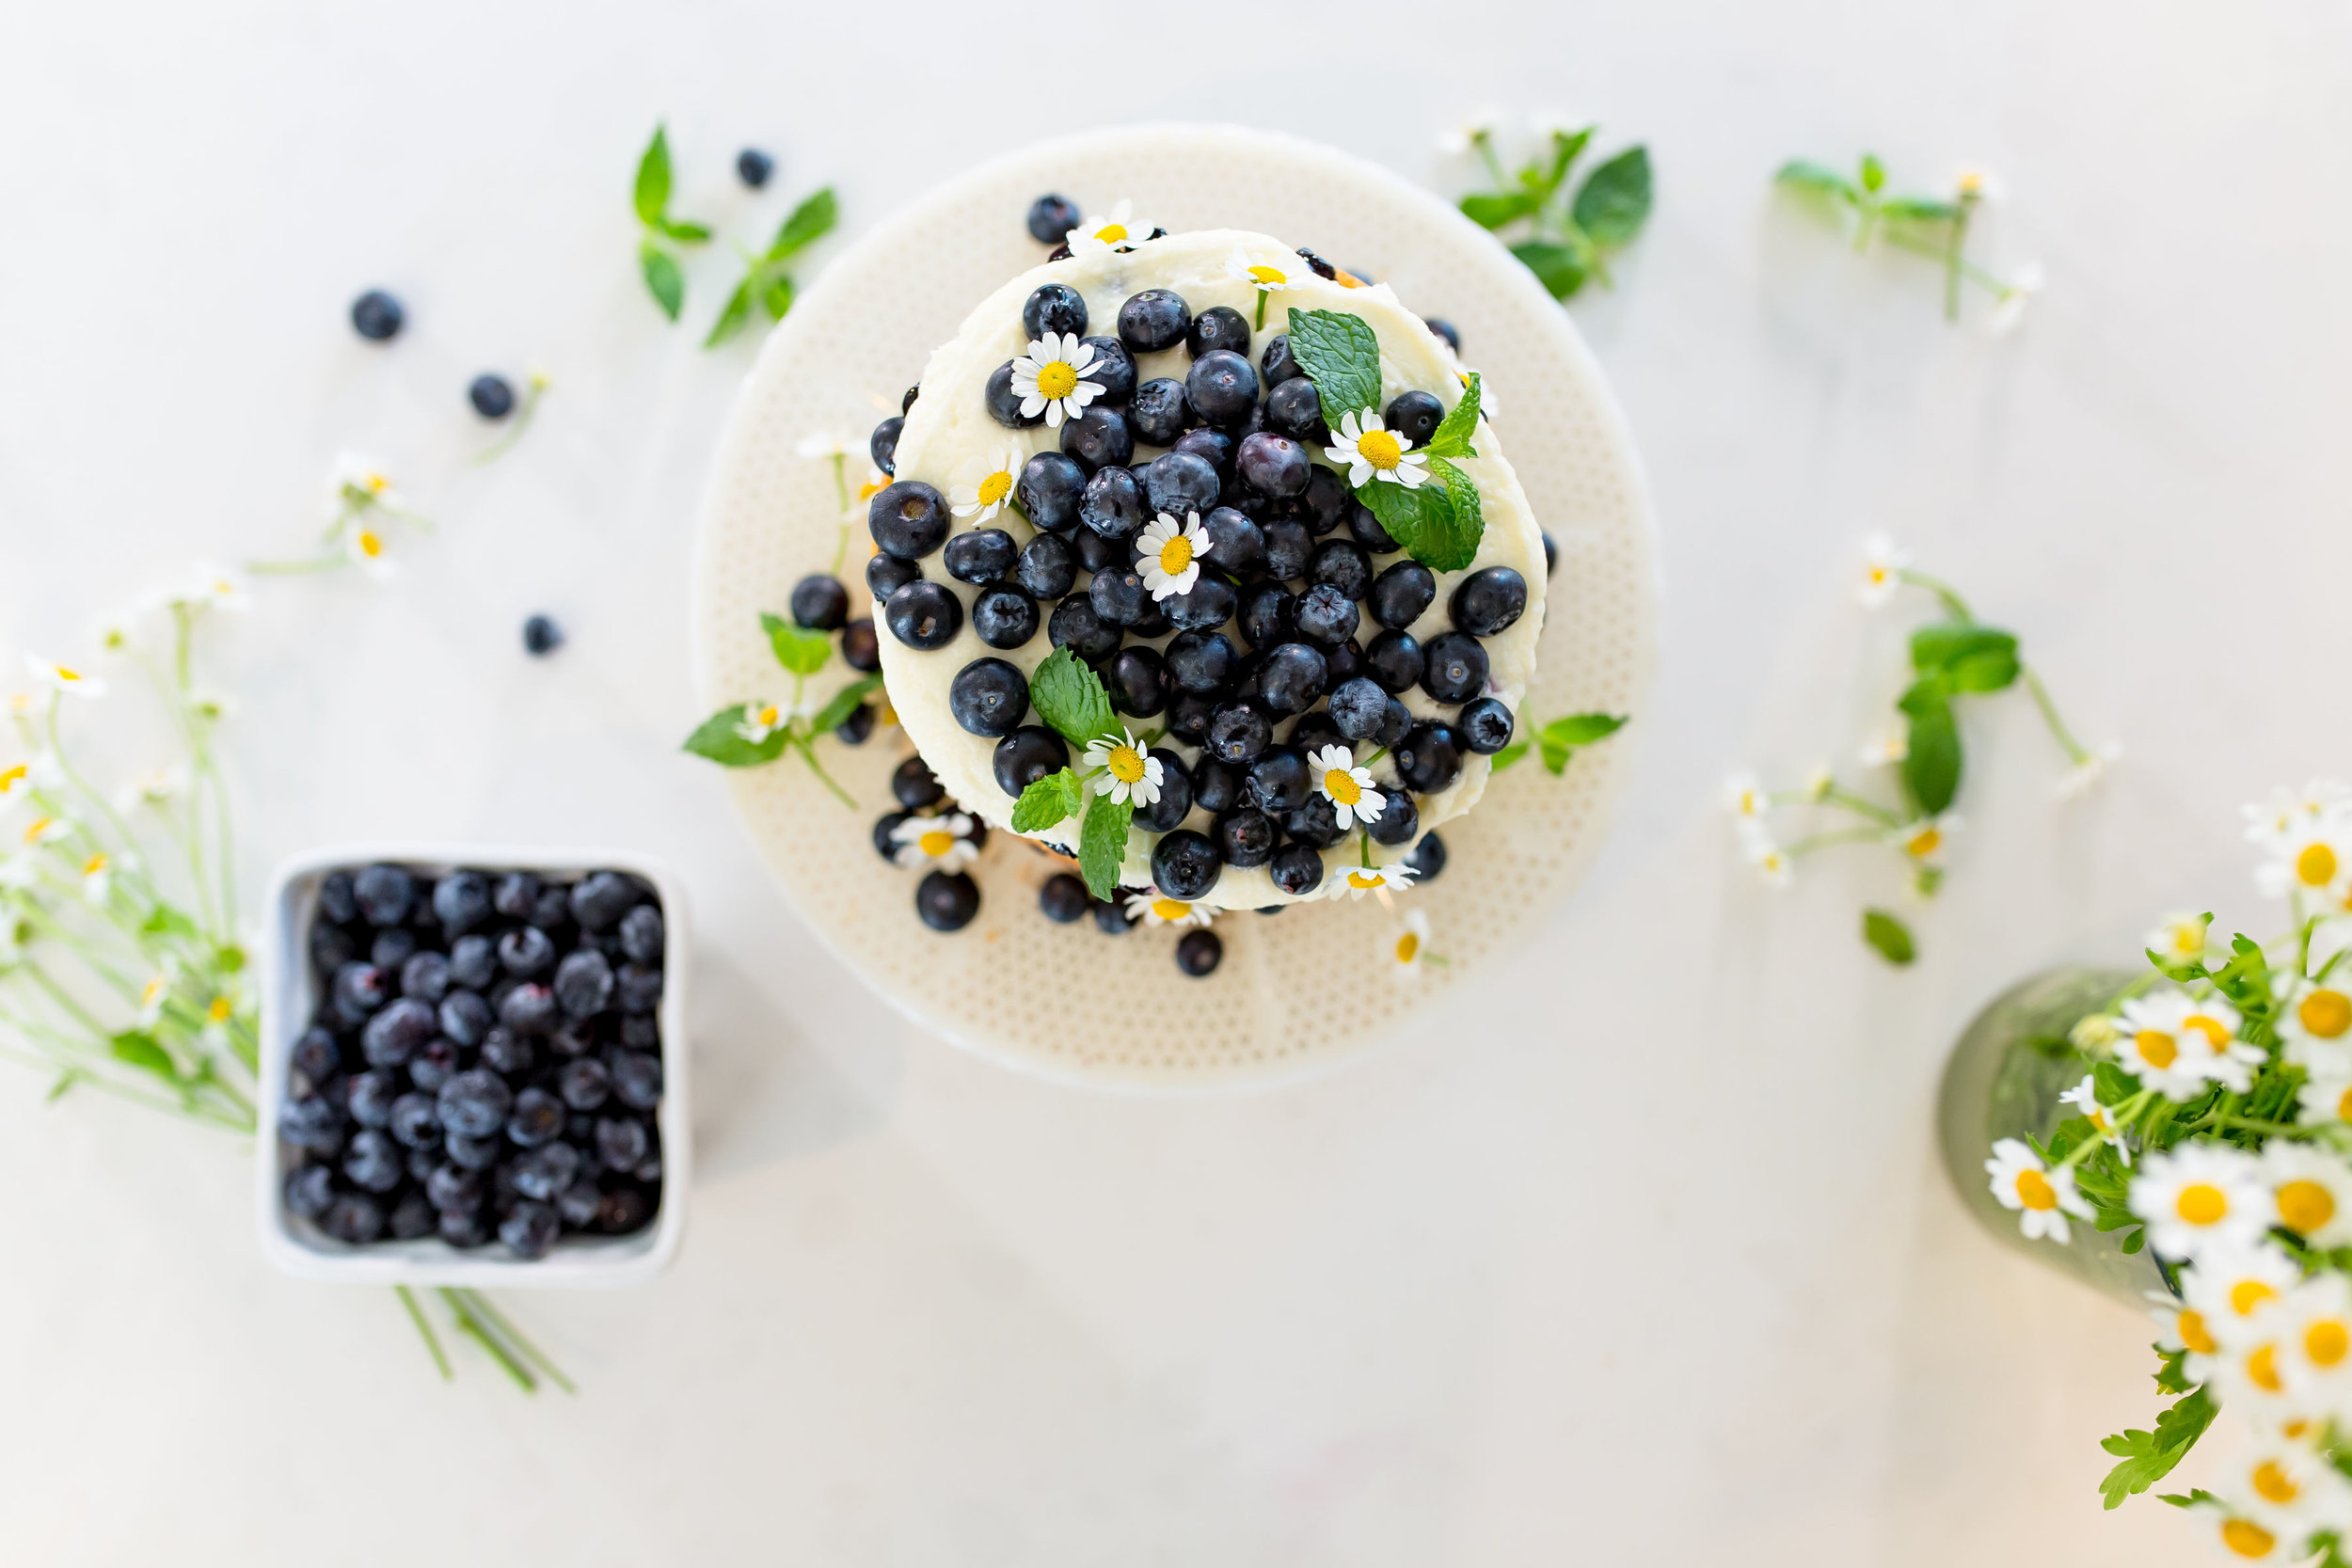
  5. Garnish cake with fresh blueberries and chamomile flowers and serve! Can be kept in refrigerator for up to 3 days but allow to come to room temperature before serving.

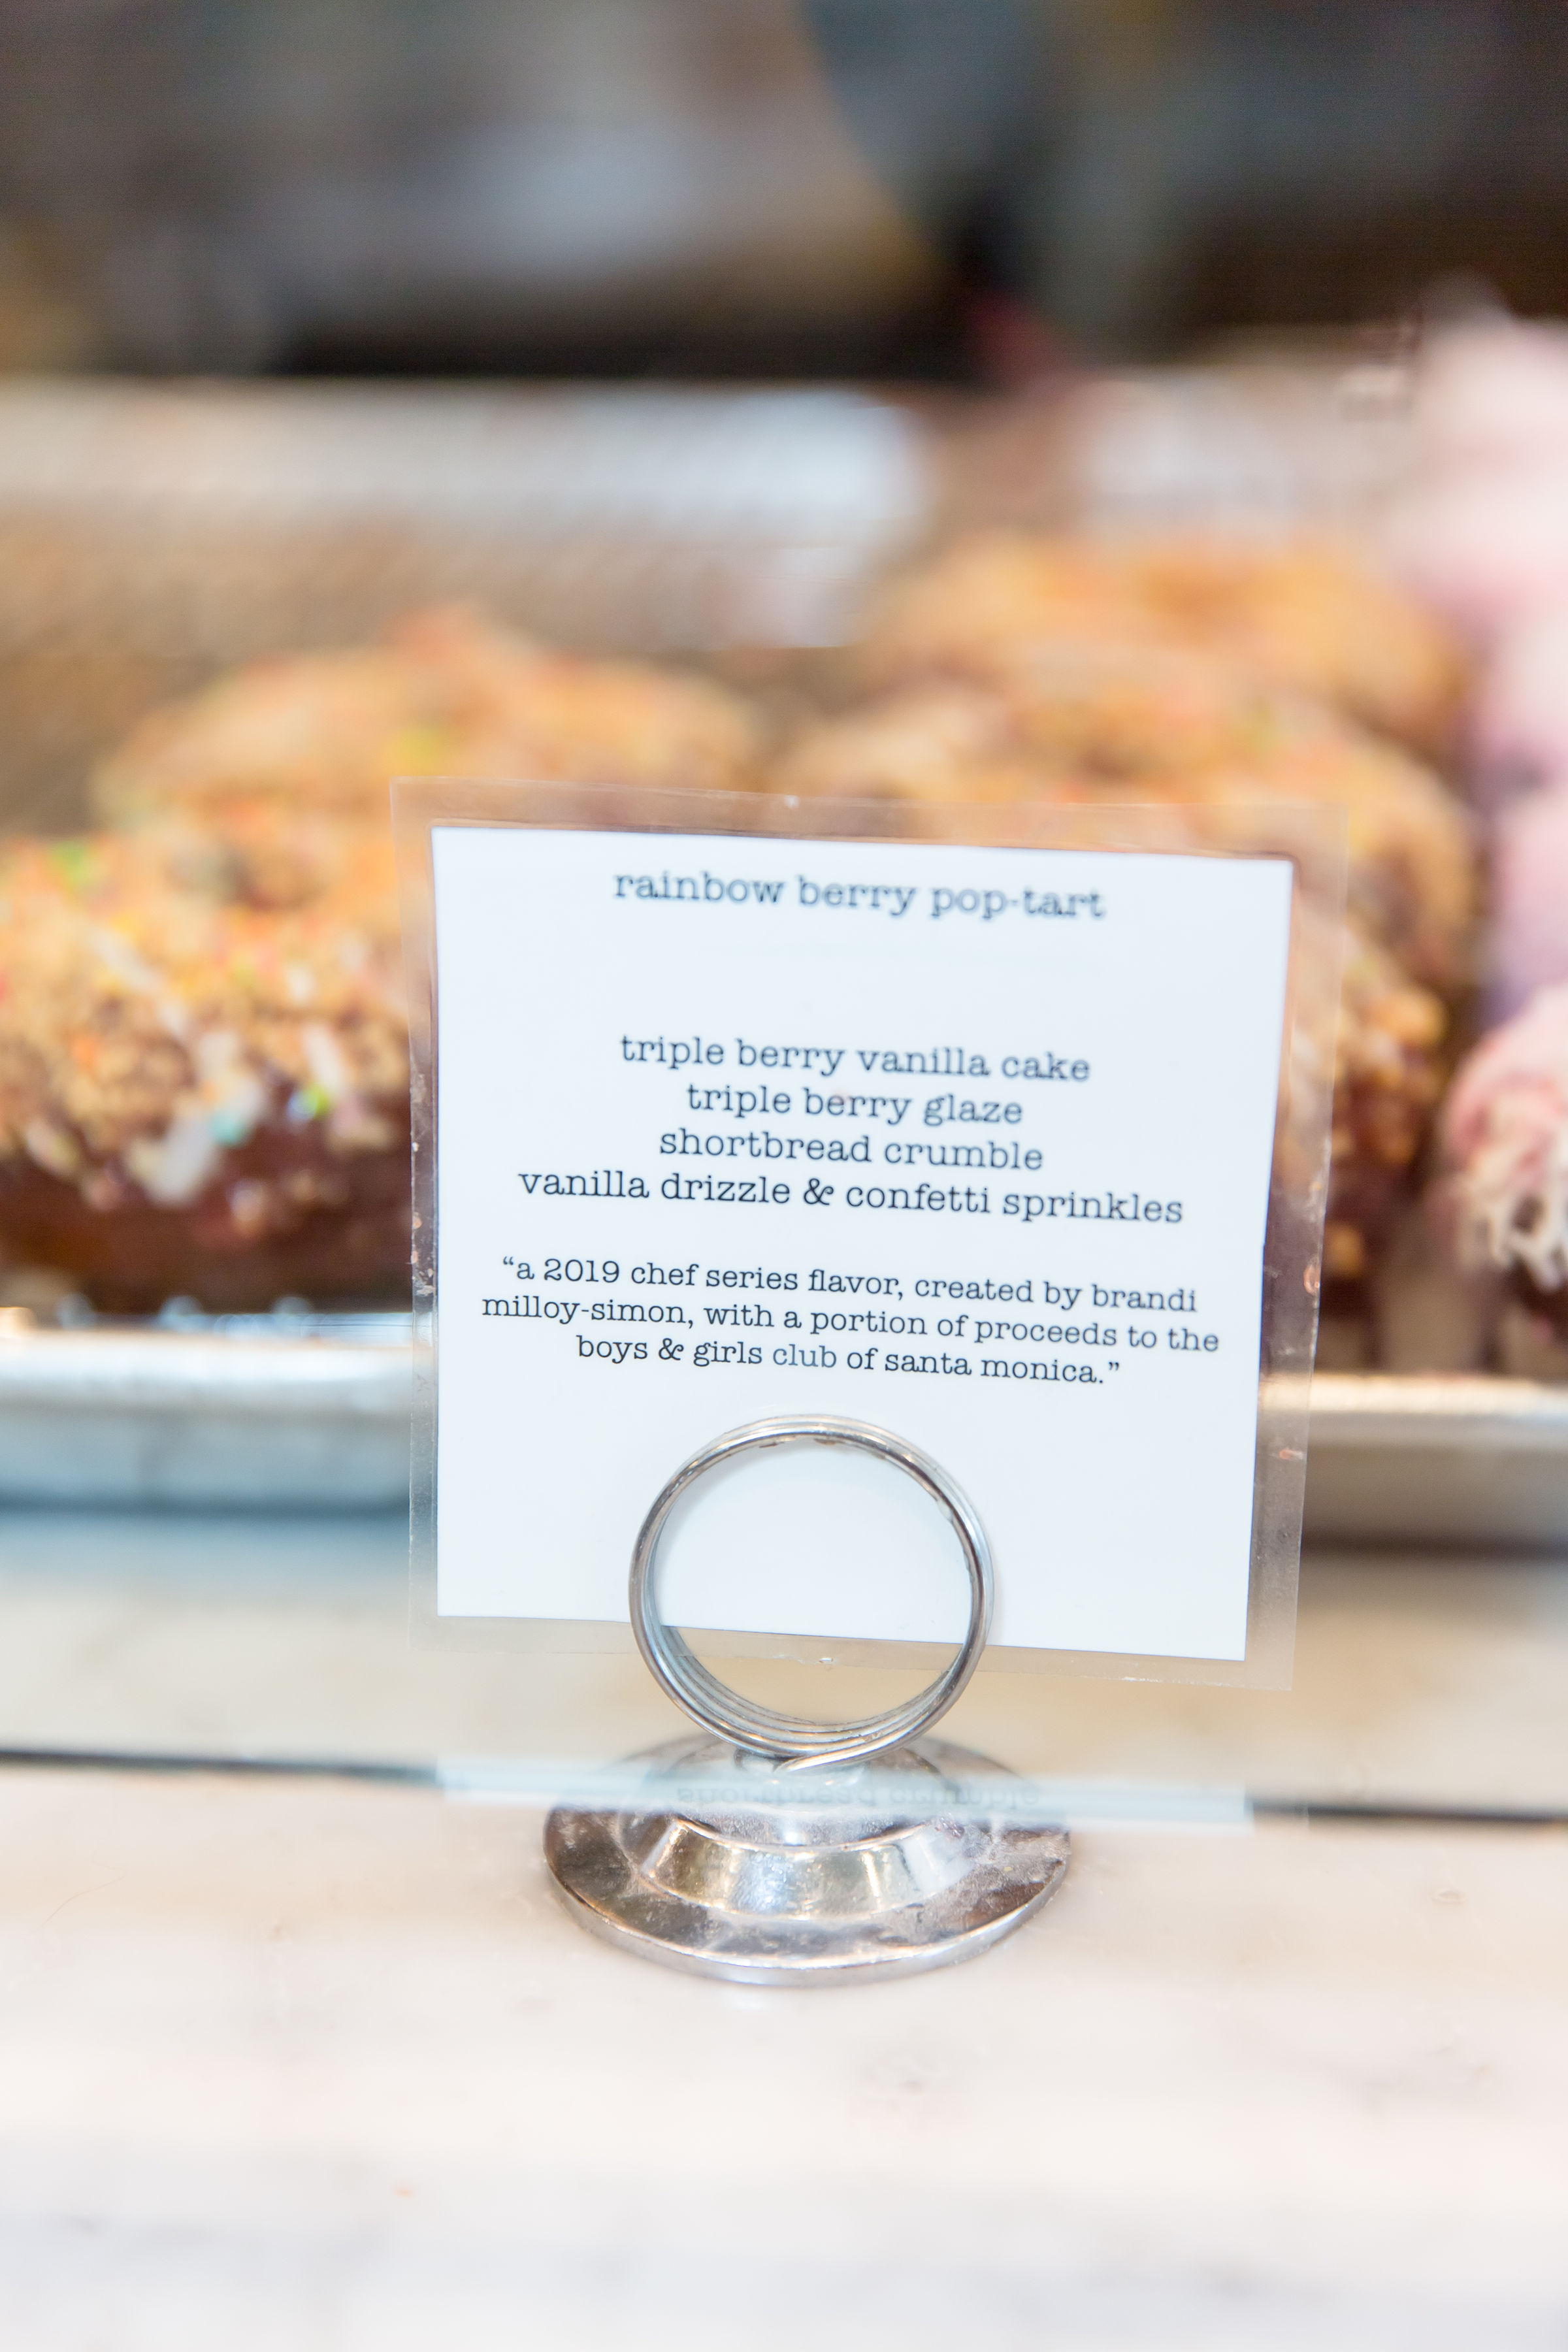
My Rainbow Berry Pop-Tart Doughnut at Sidecar
6D4A9848.jpg

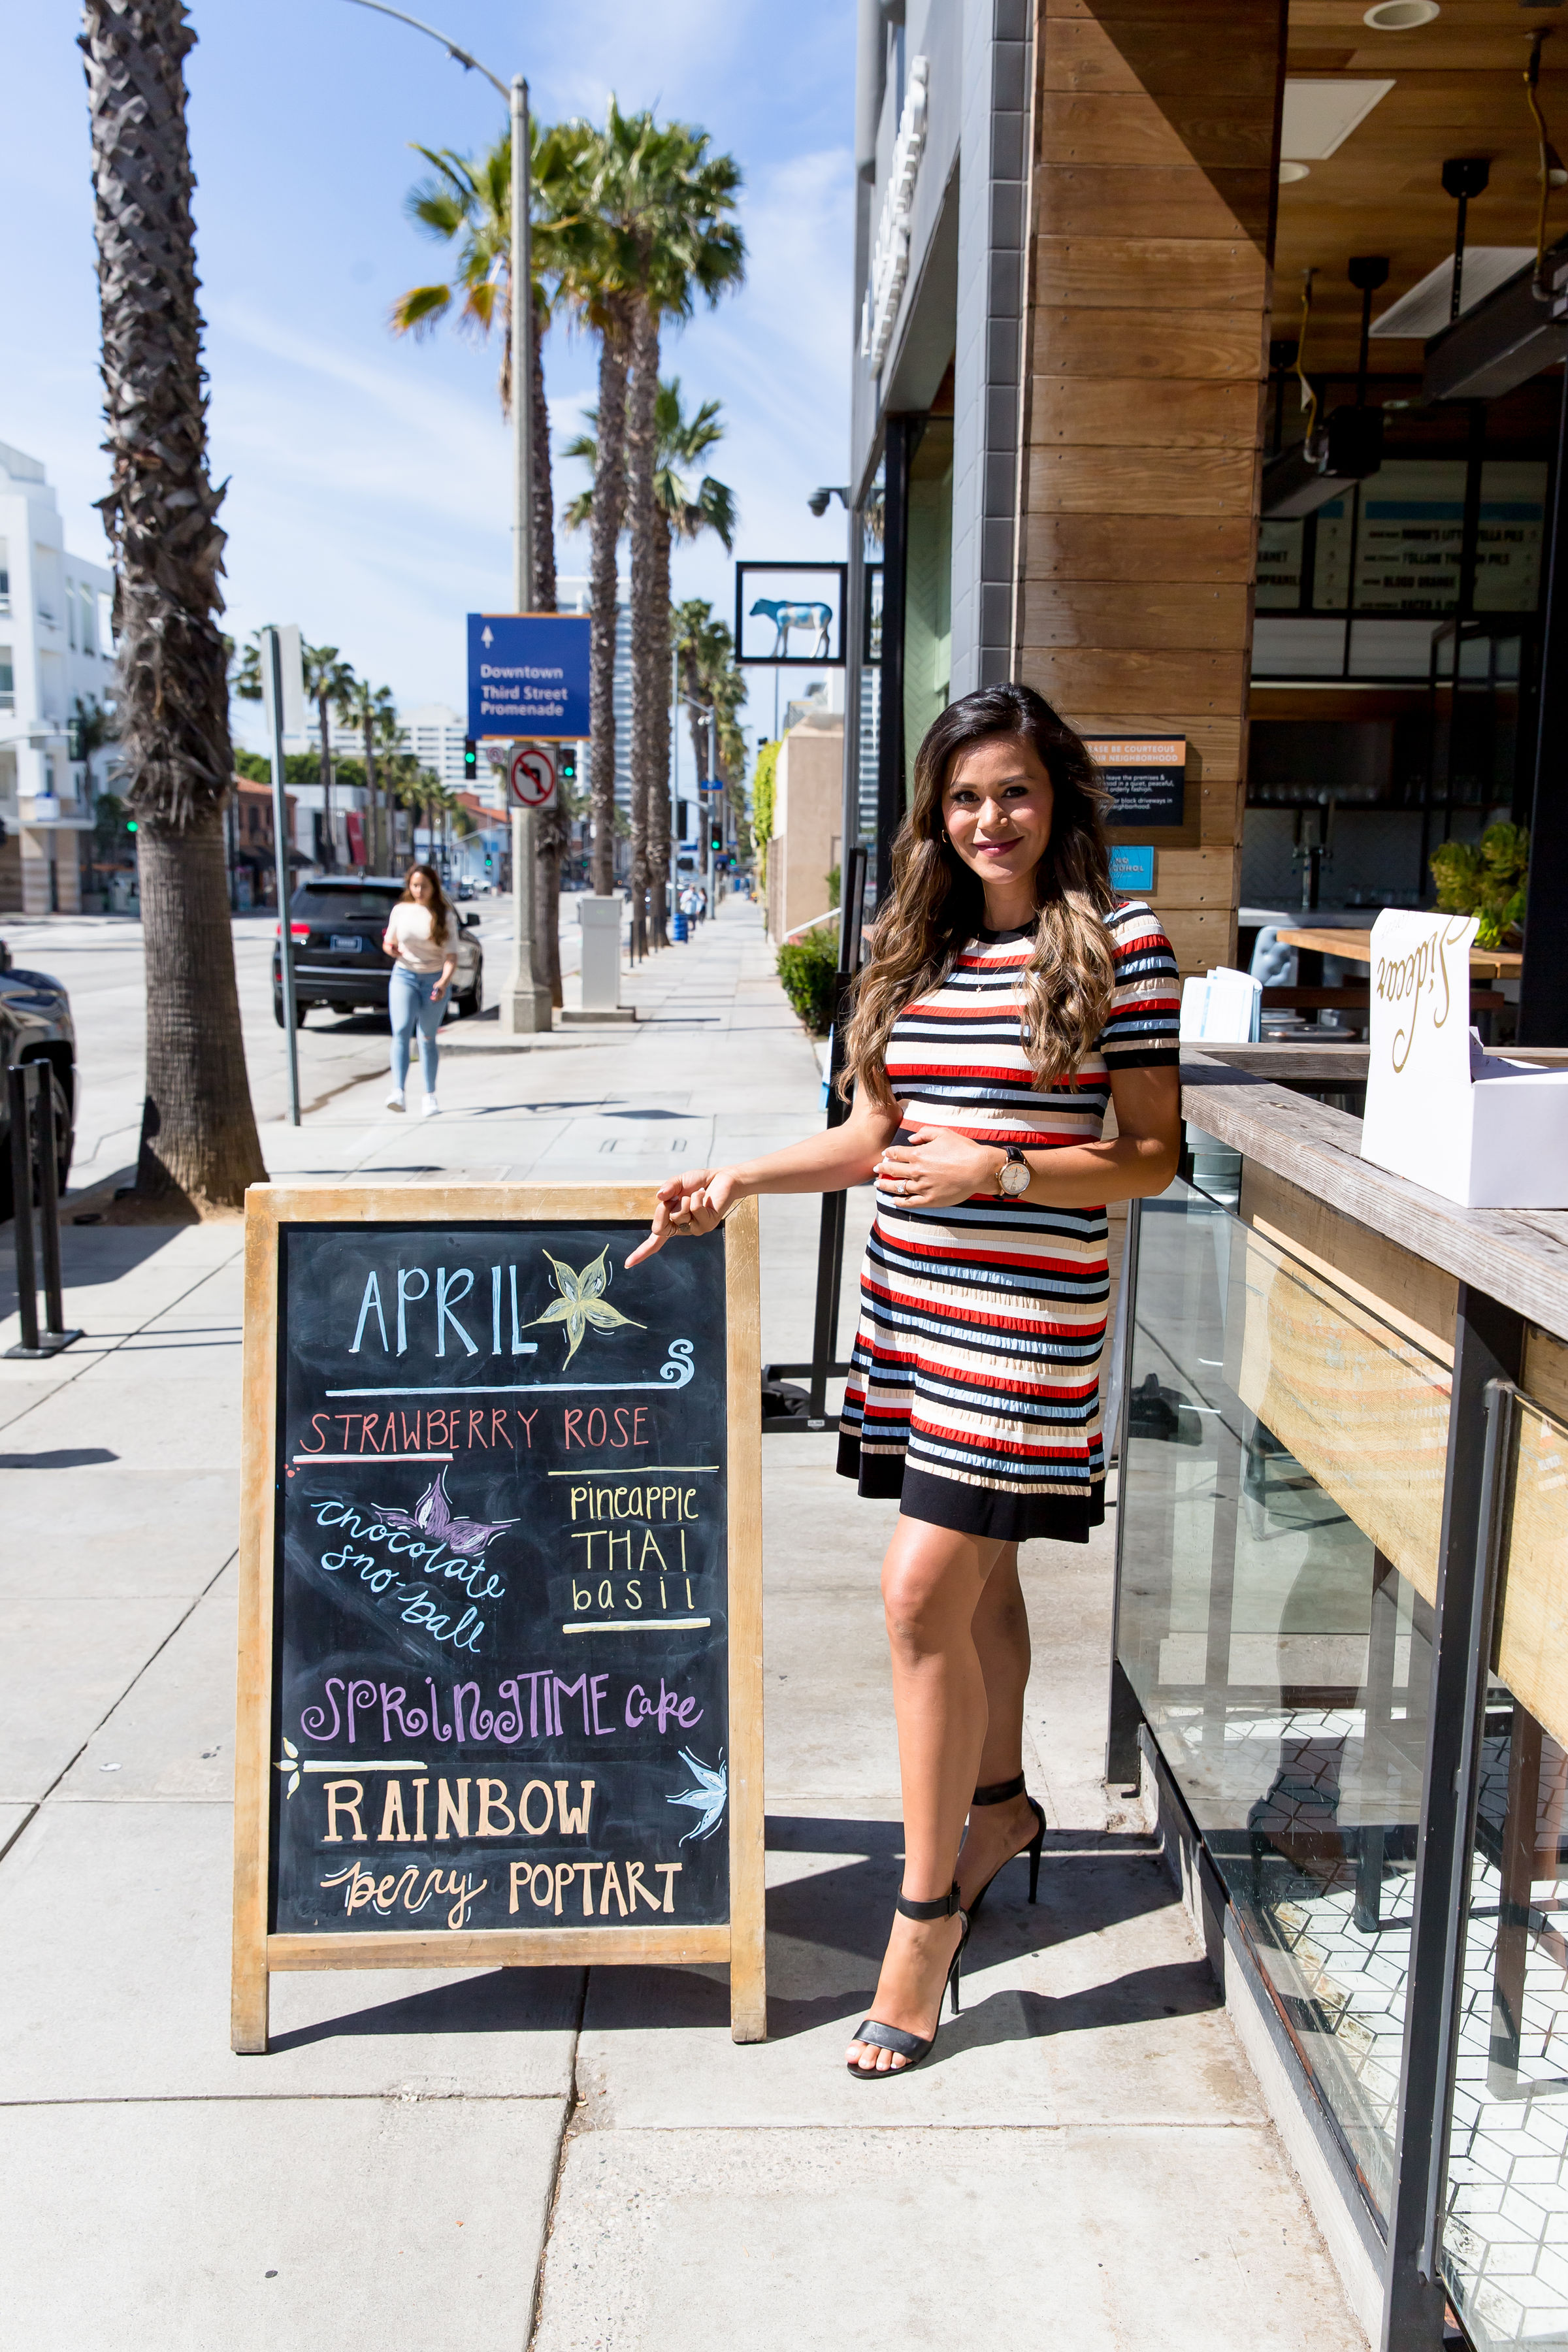
What an honor to be chosen to create a doughnut for Sidecar Doughnut’s Chef Series Collaboration program. Creating this doughnut was so much fun but also tough because I had so many ideas! I mean you probably already know what a few of those are (I mean can you google me without Oreo popping up?) but I kind of don’t want to share them cause they’re SO good. Haha!

6D4A9698.jpg

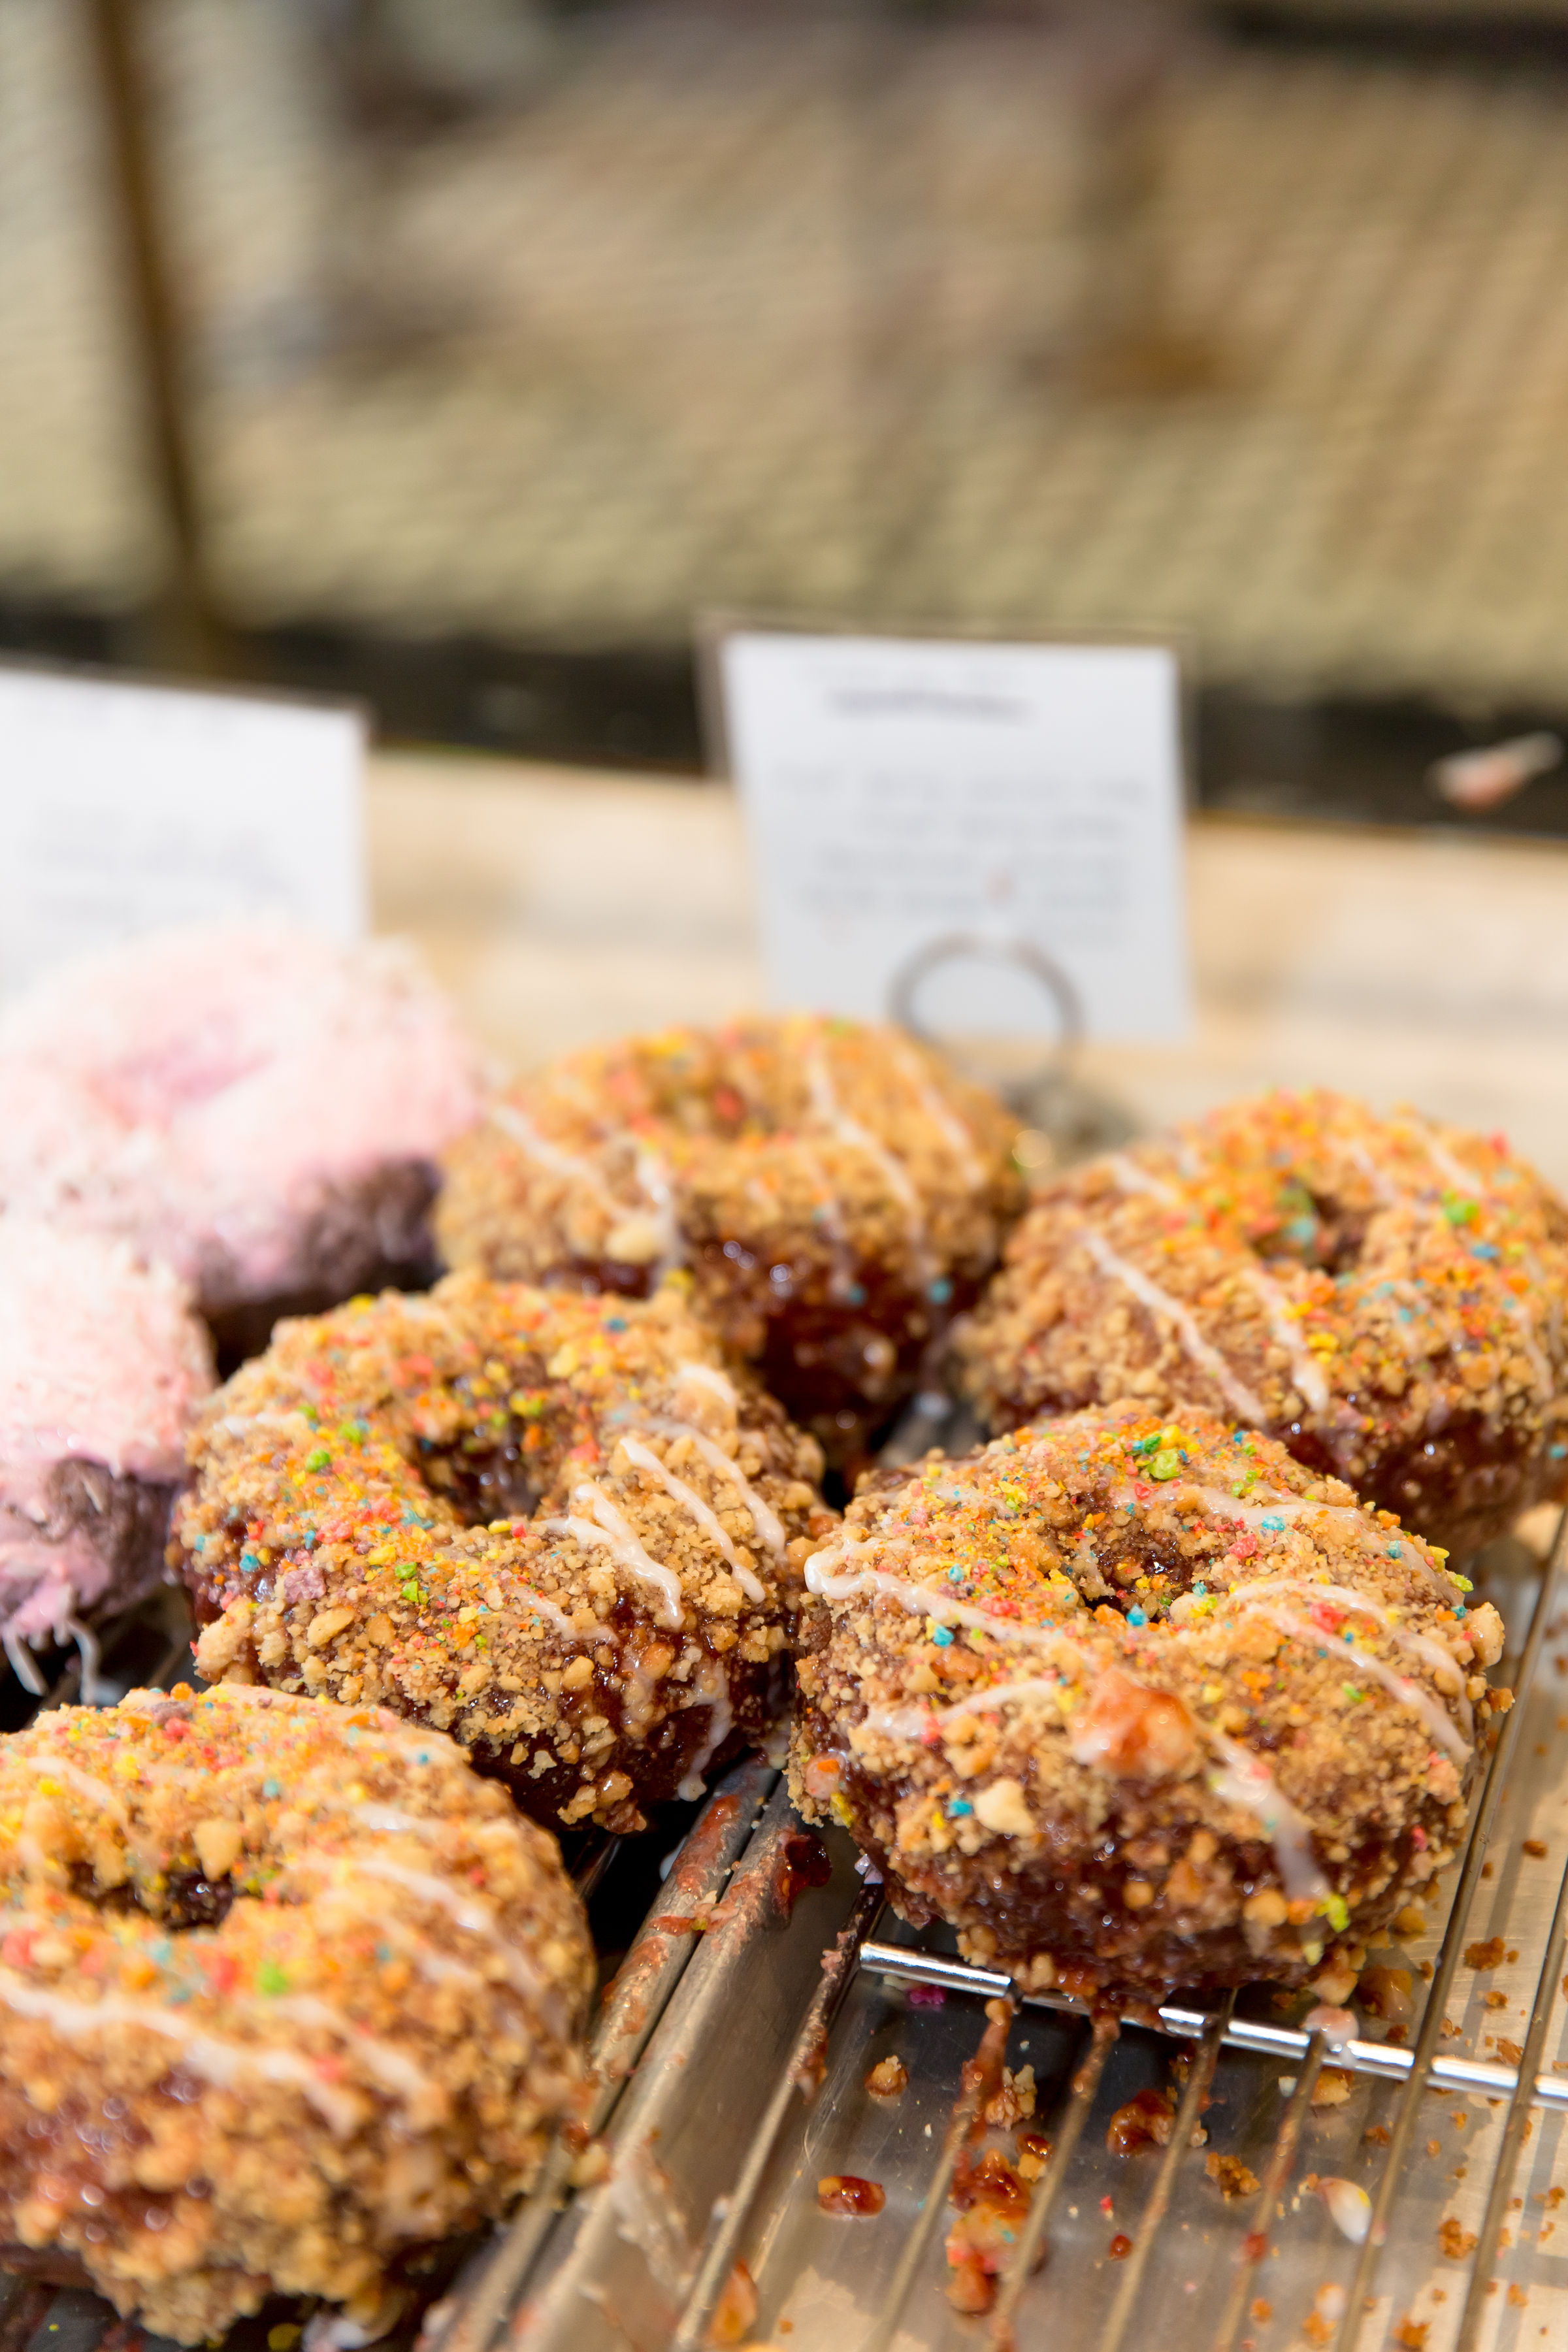
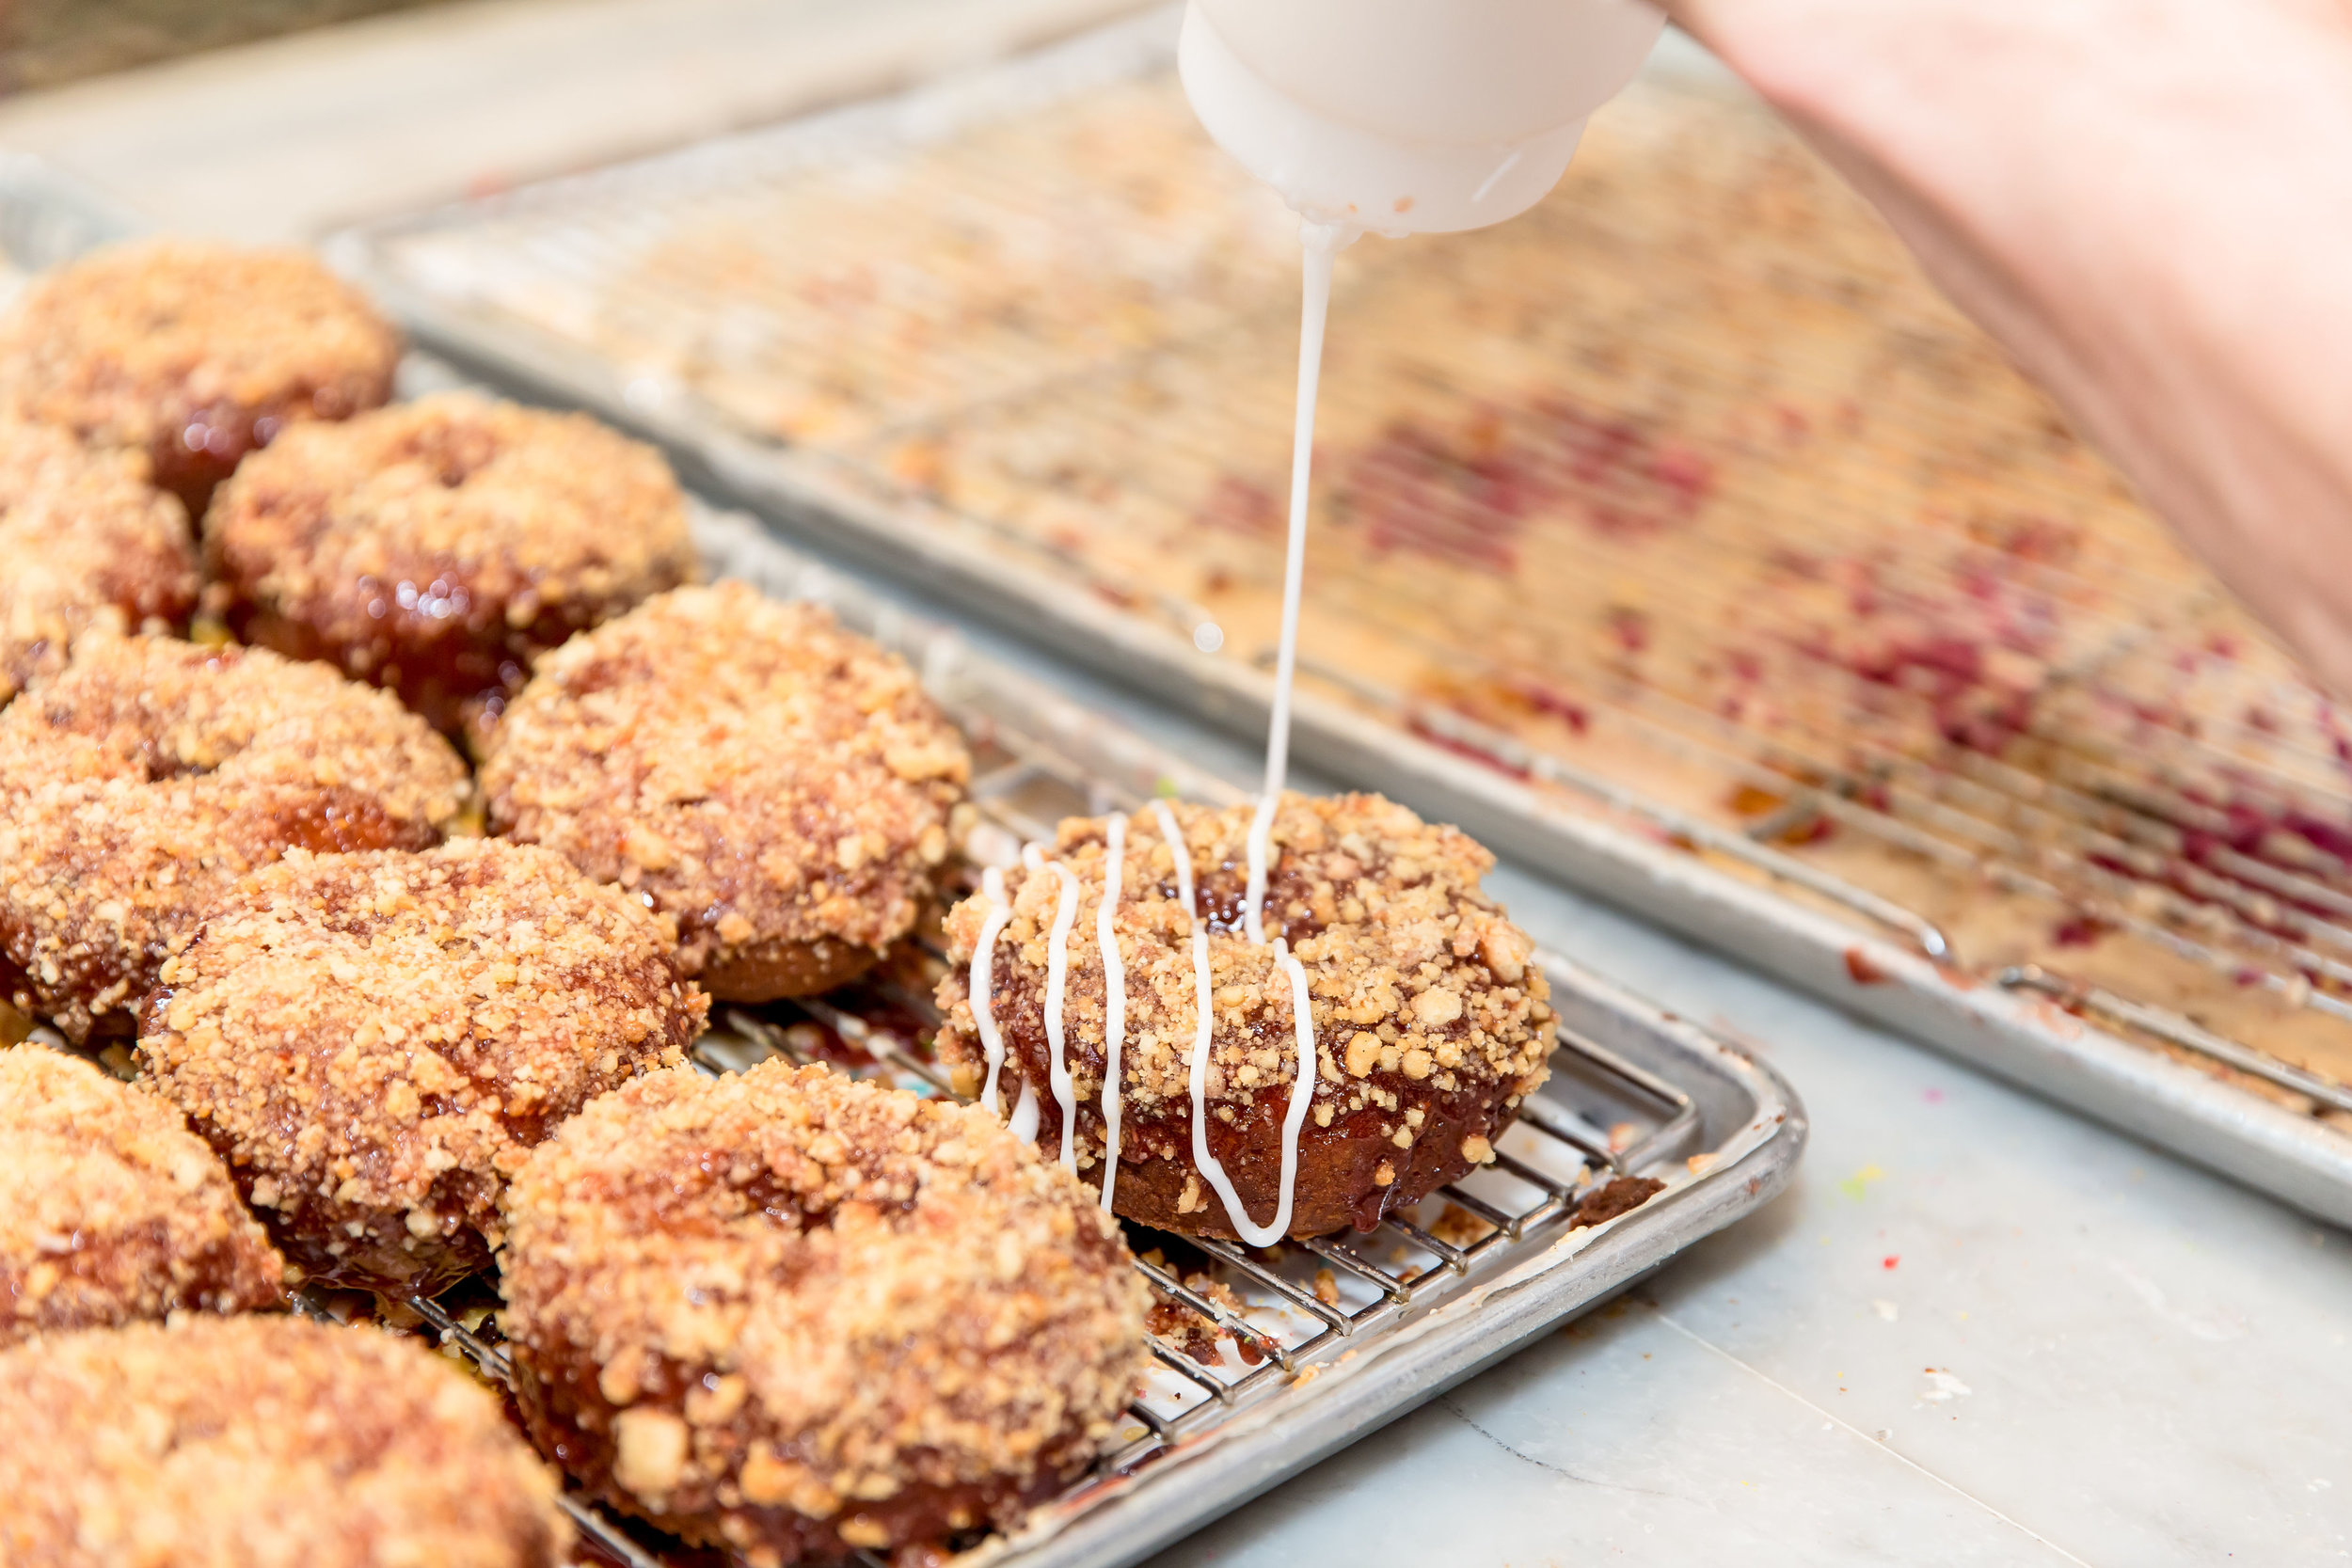
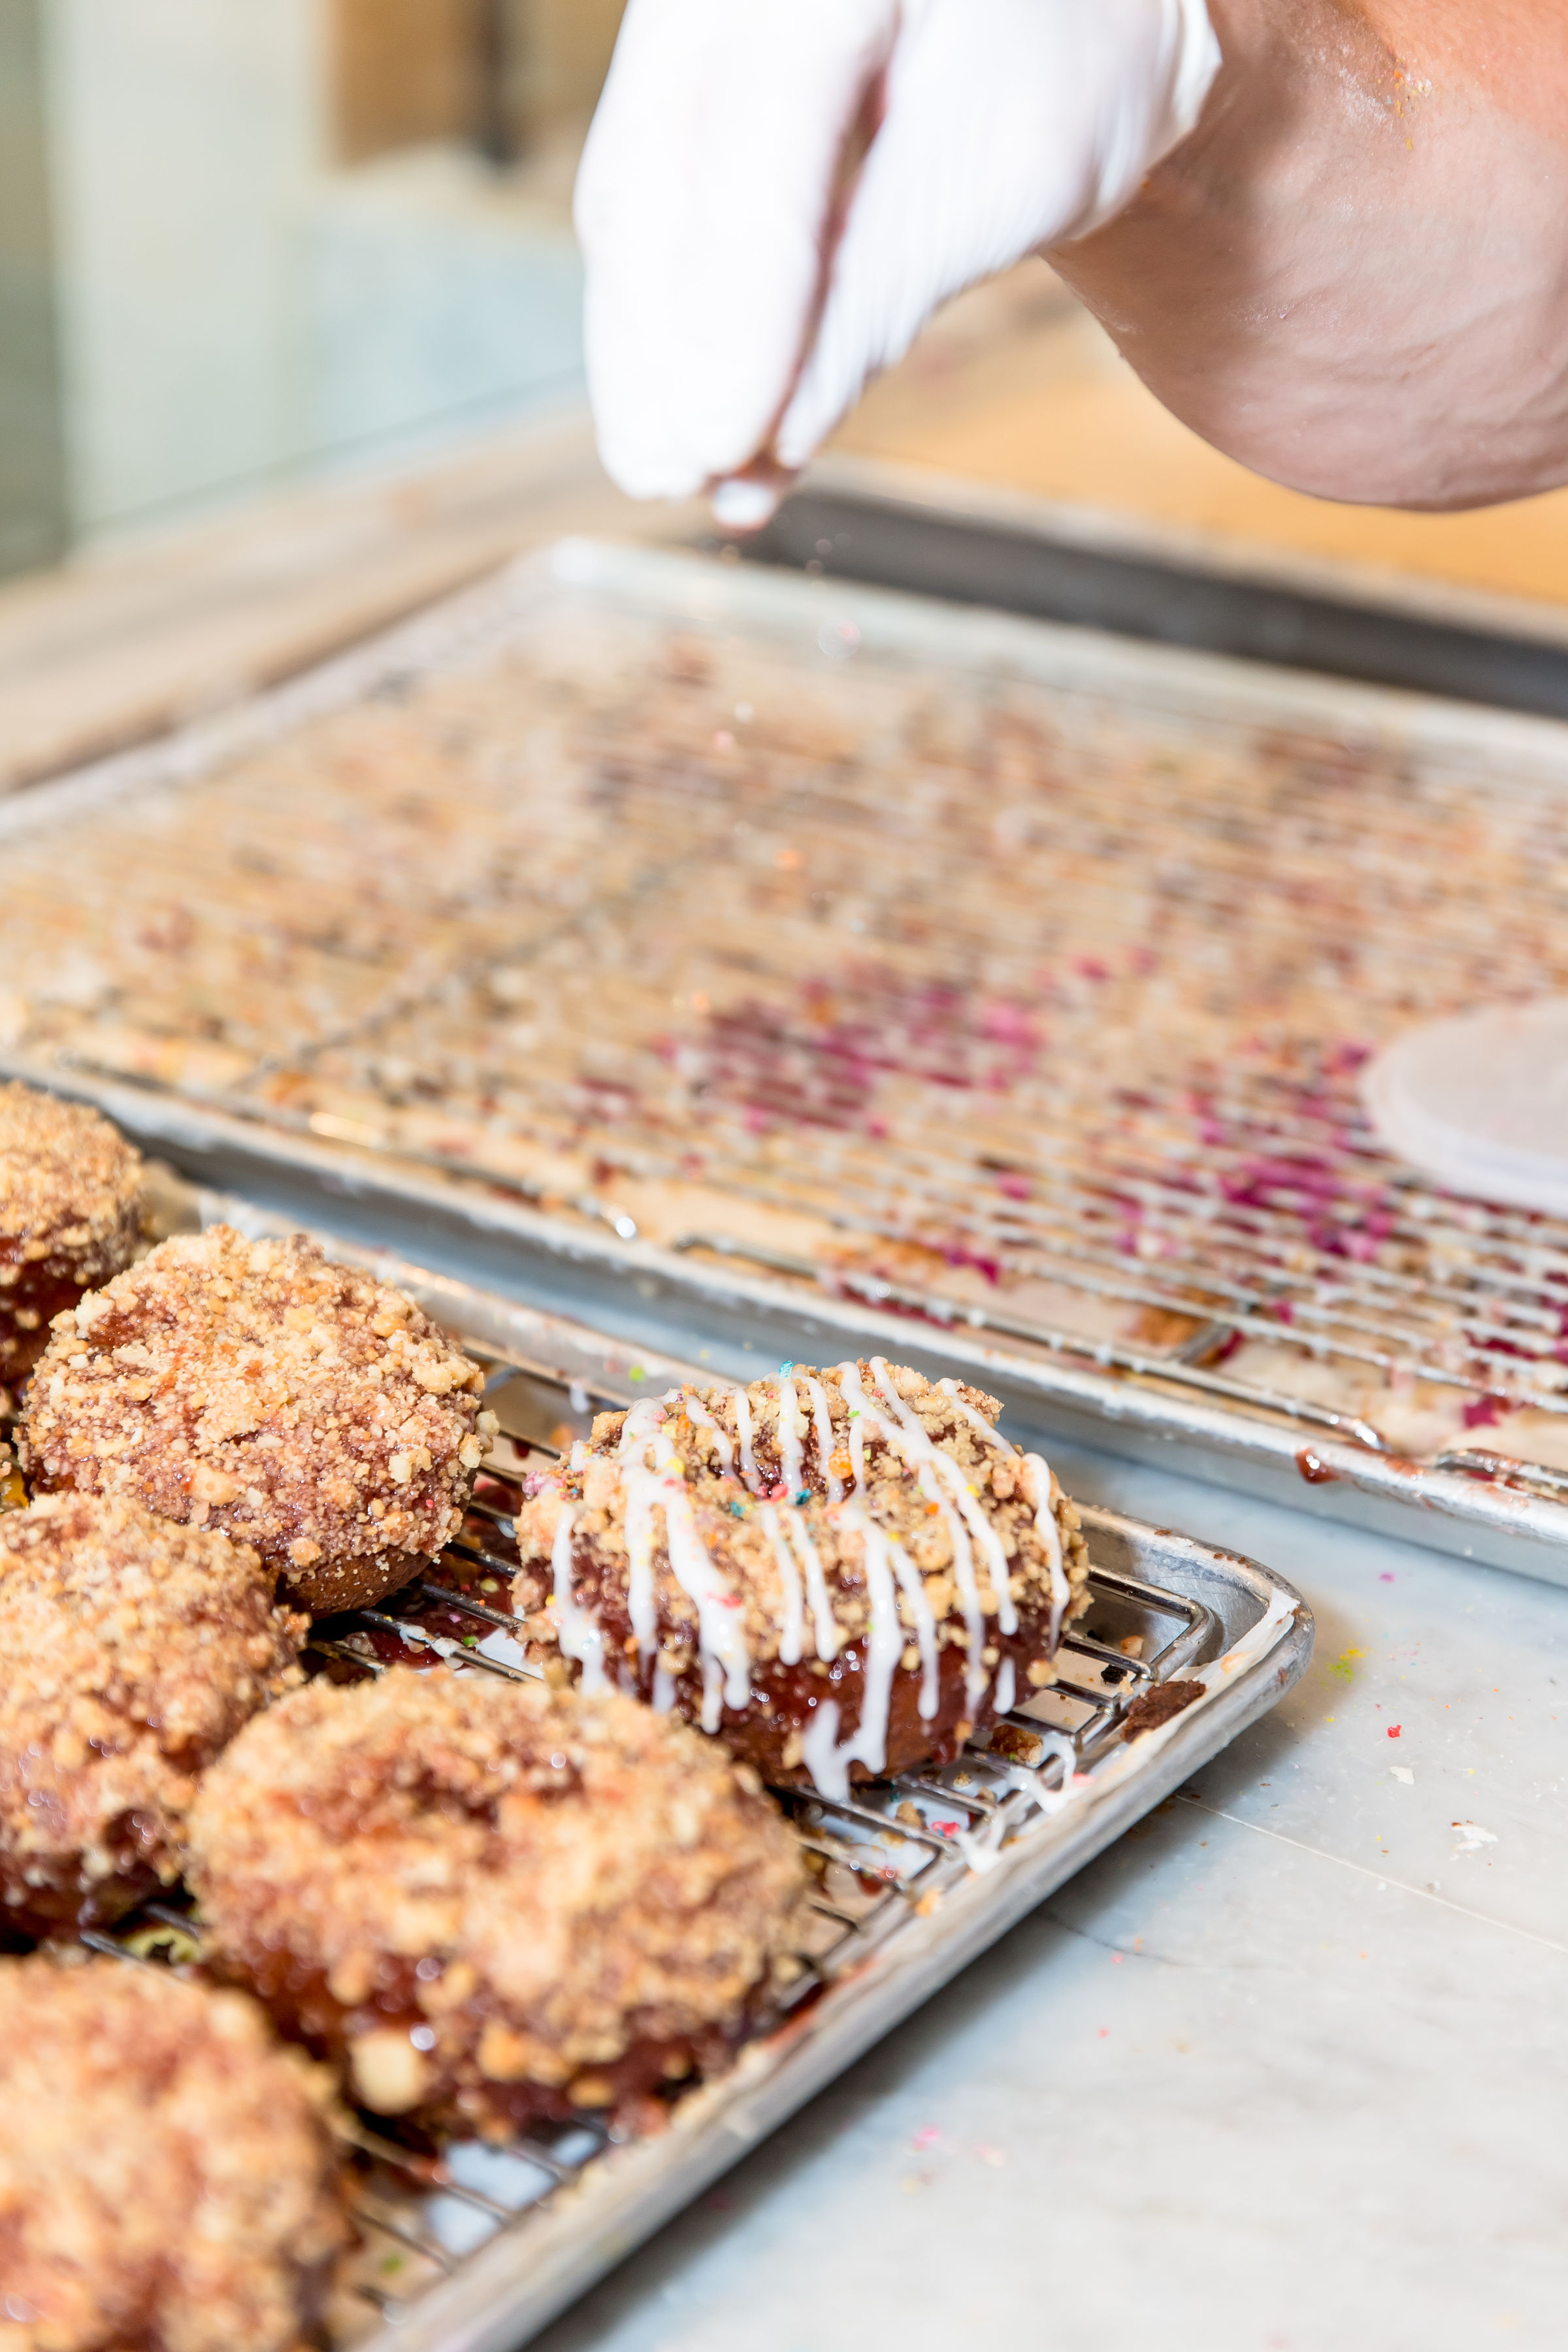
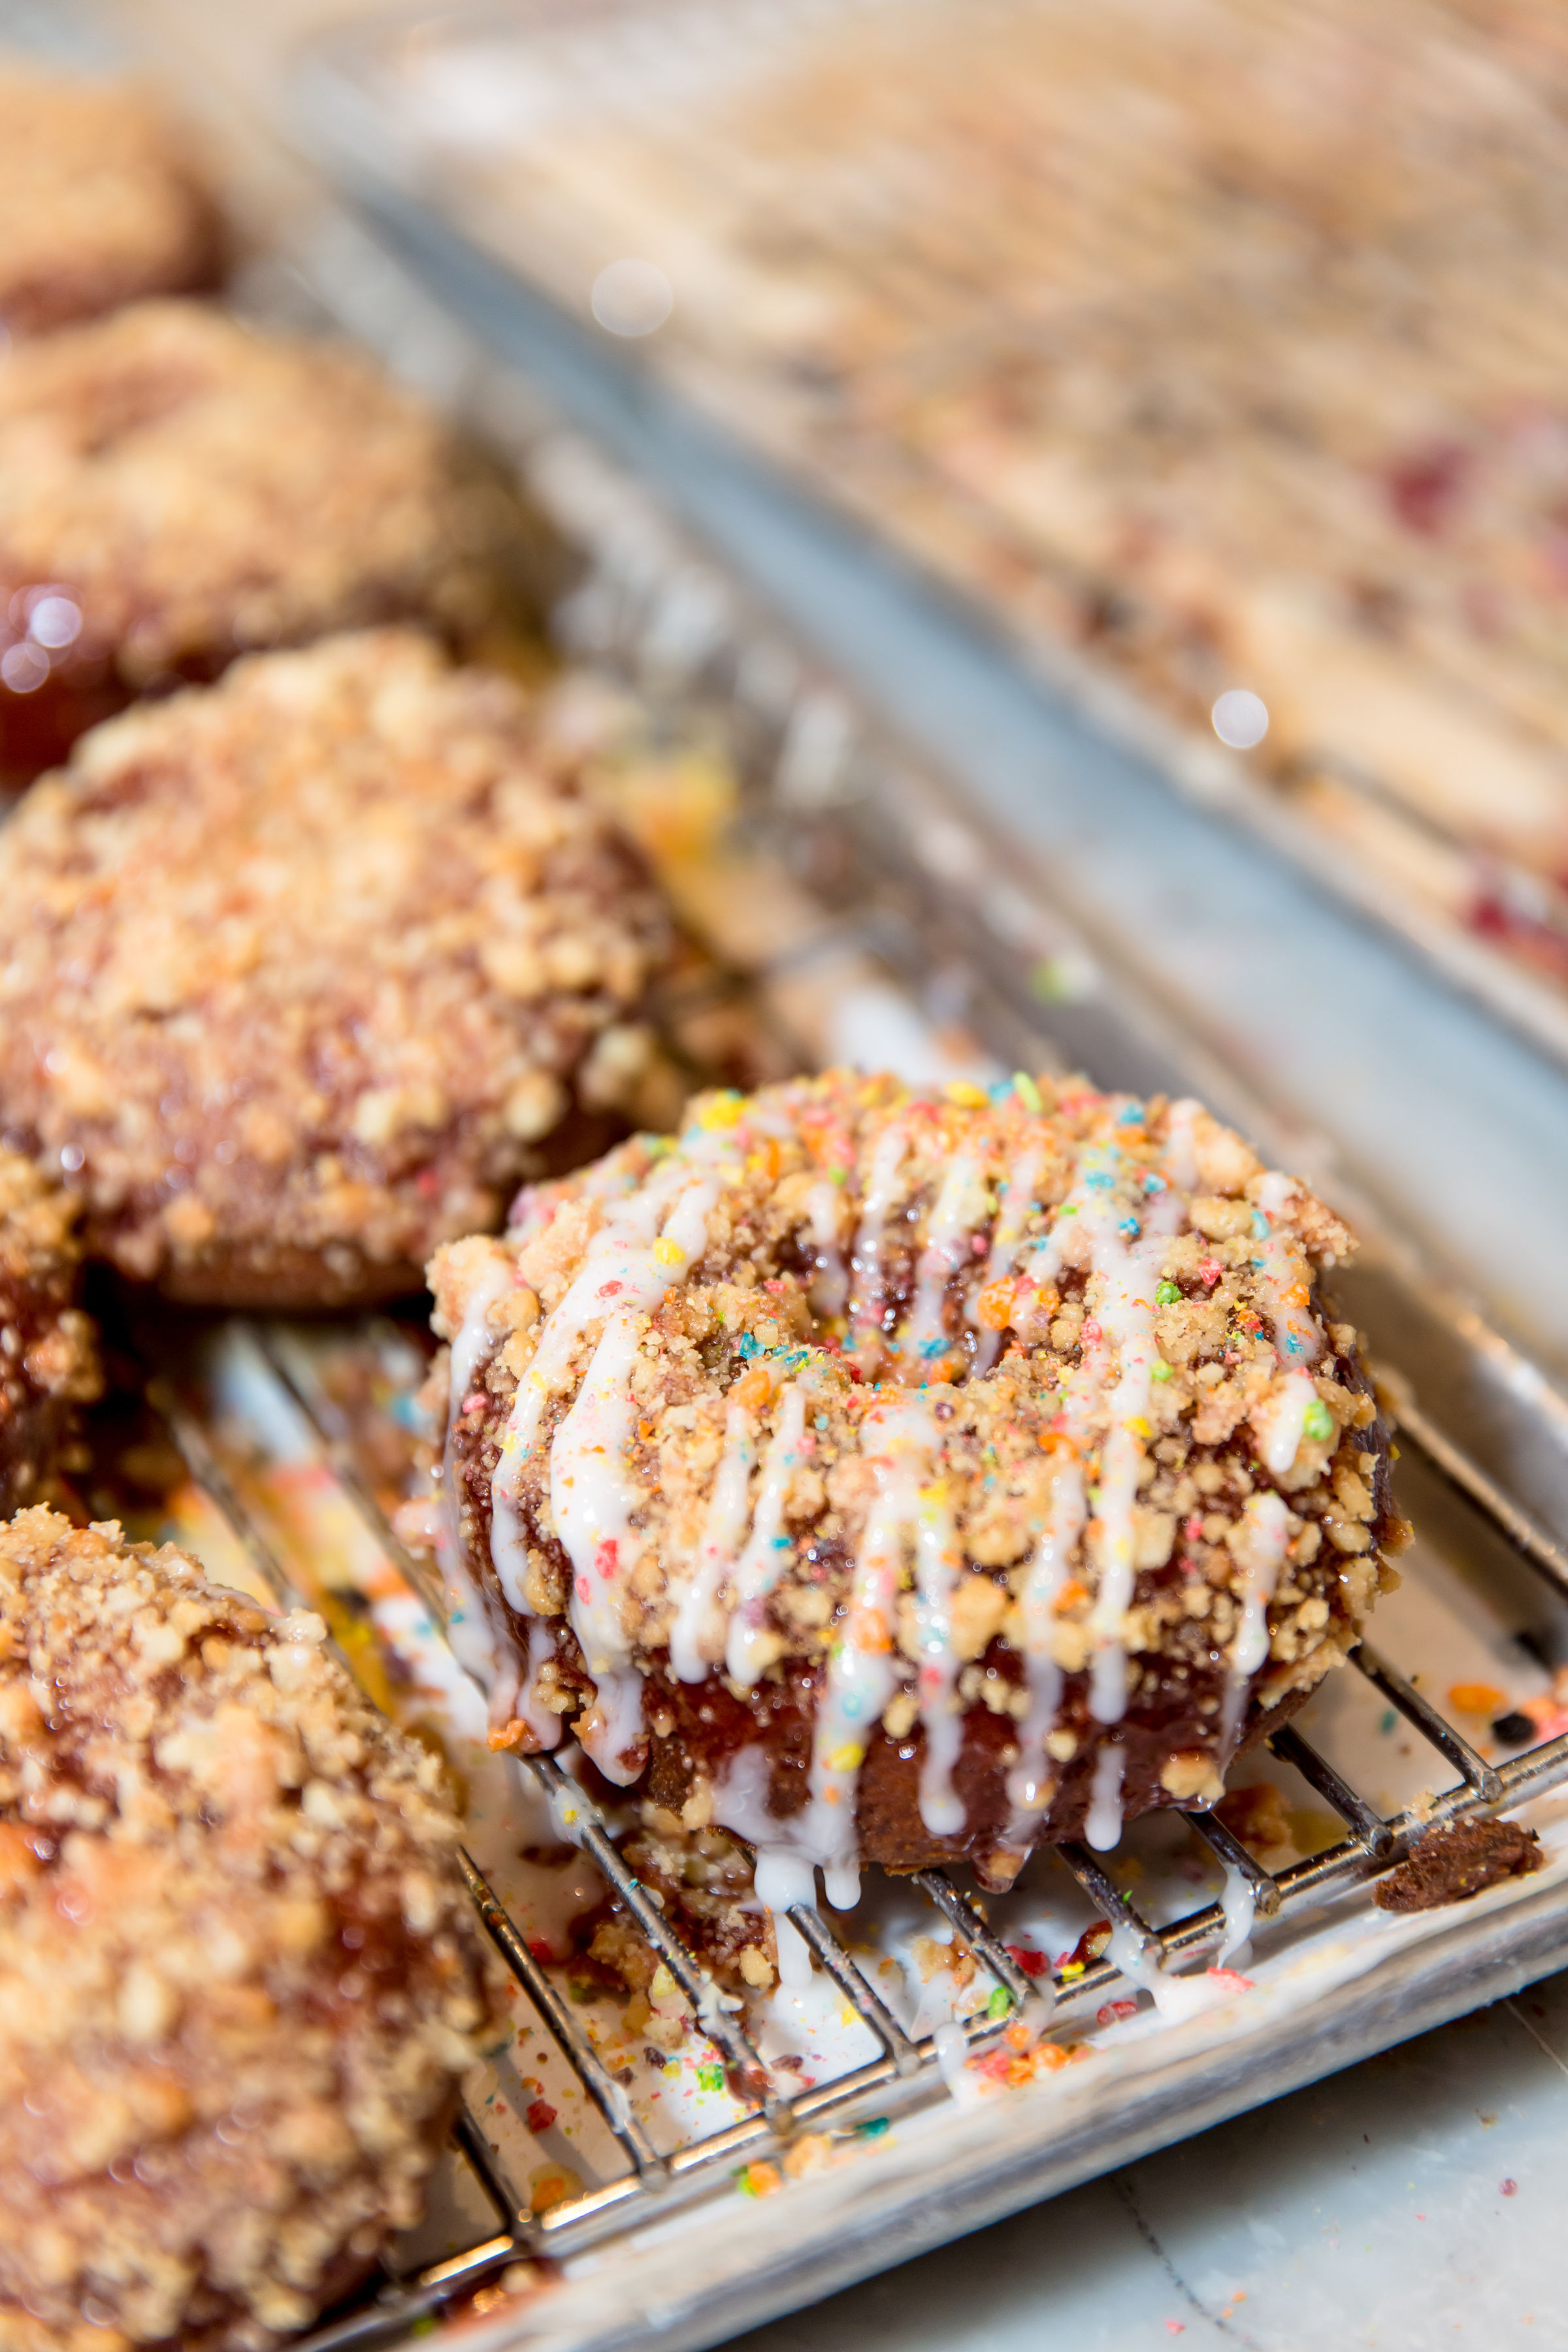
Ultimately we landed on a bit of a 90’s throwback doughnut that reminds me of my favorite anytime treat, the Pop-Tart! Allow me to introduce you to my rainbow berry pop-tart doughnut! Isn’t’ she a star?

6D4A9693.jpg
6D4A9587.jpg

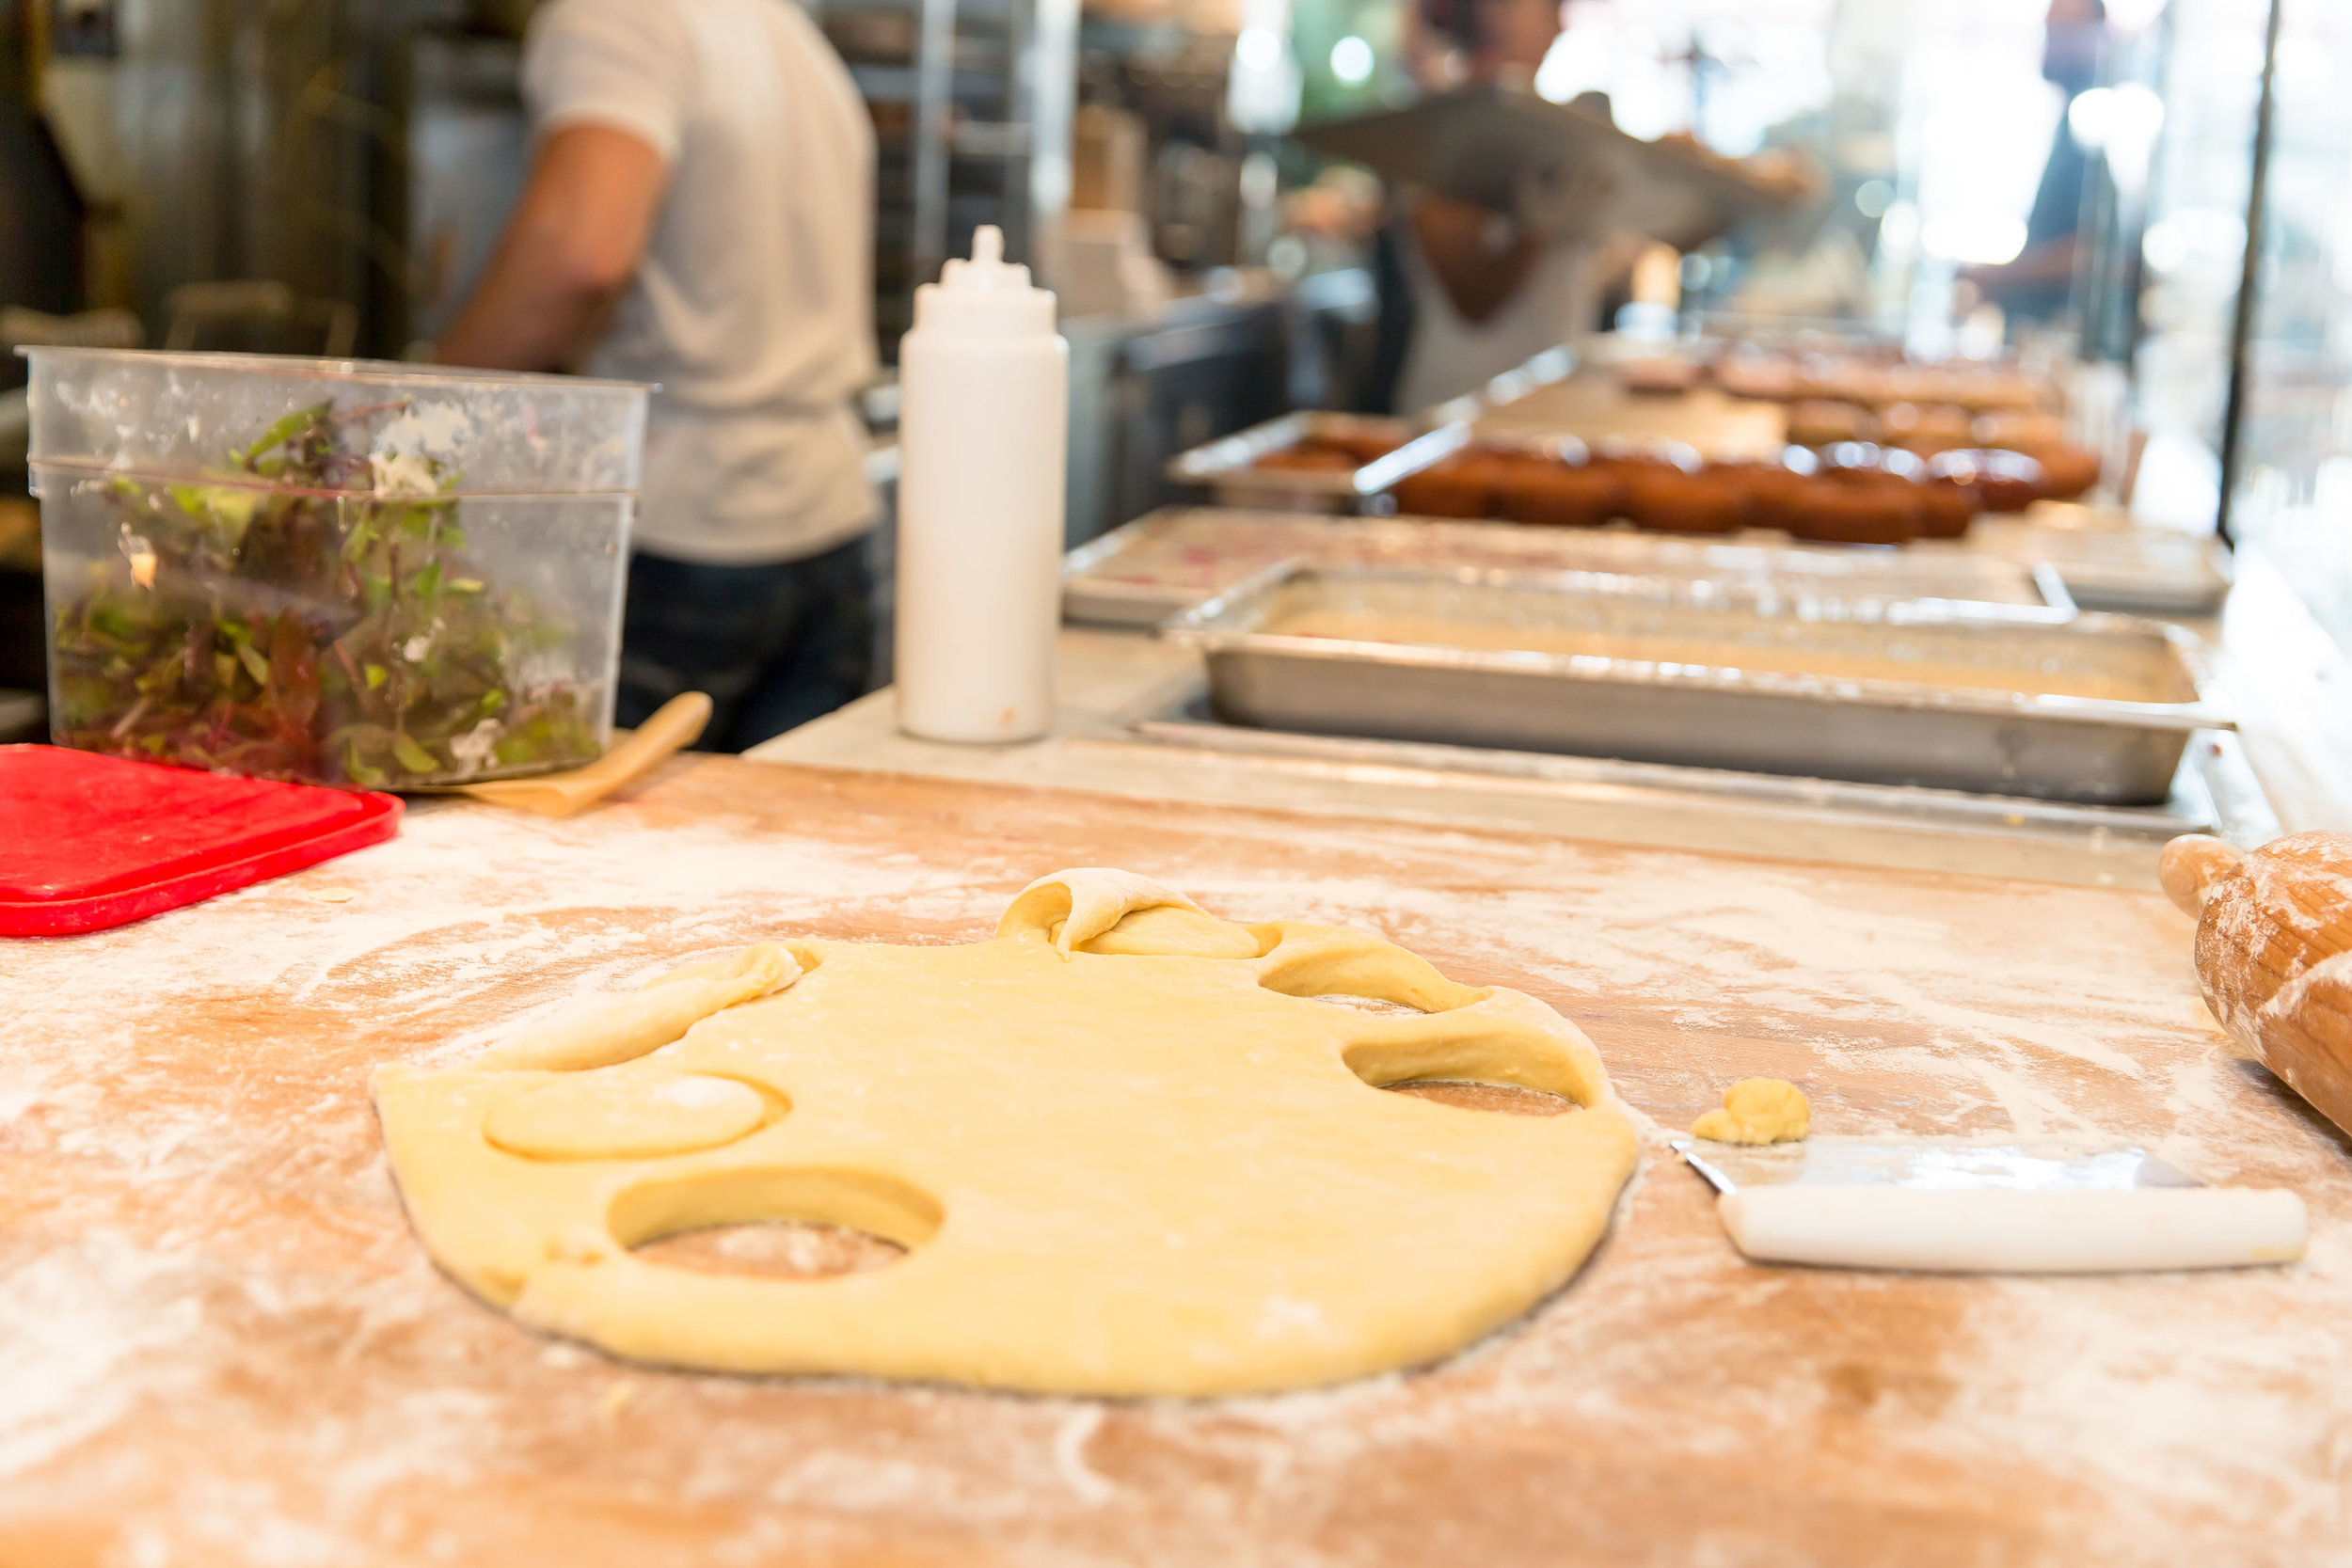
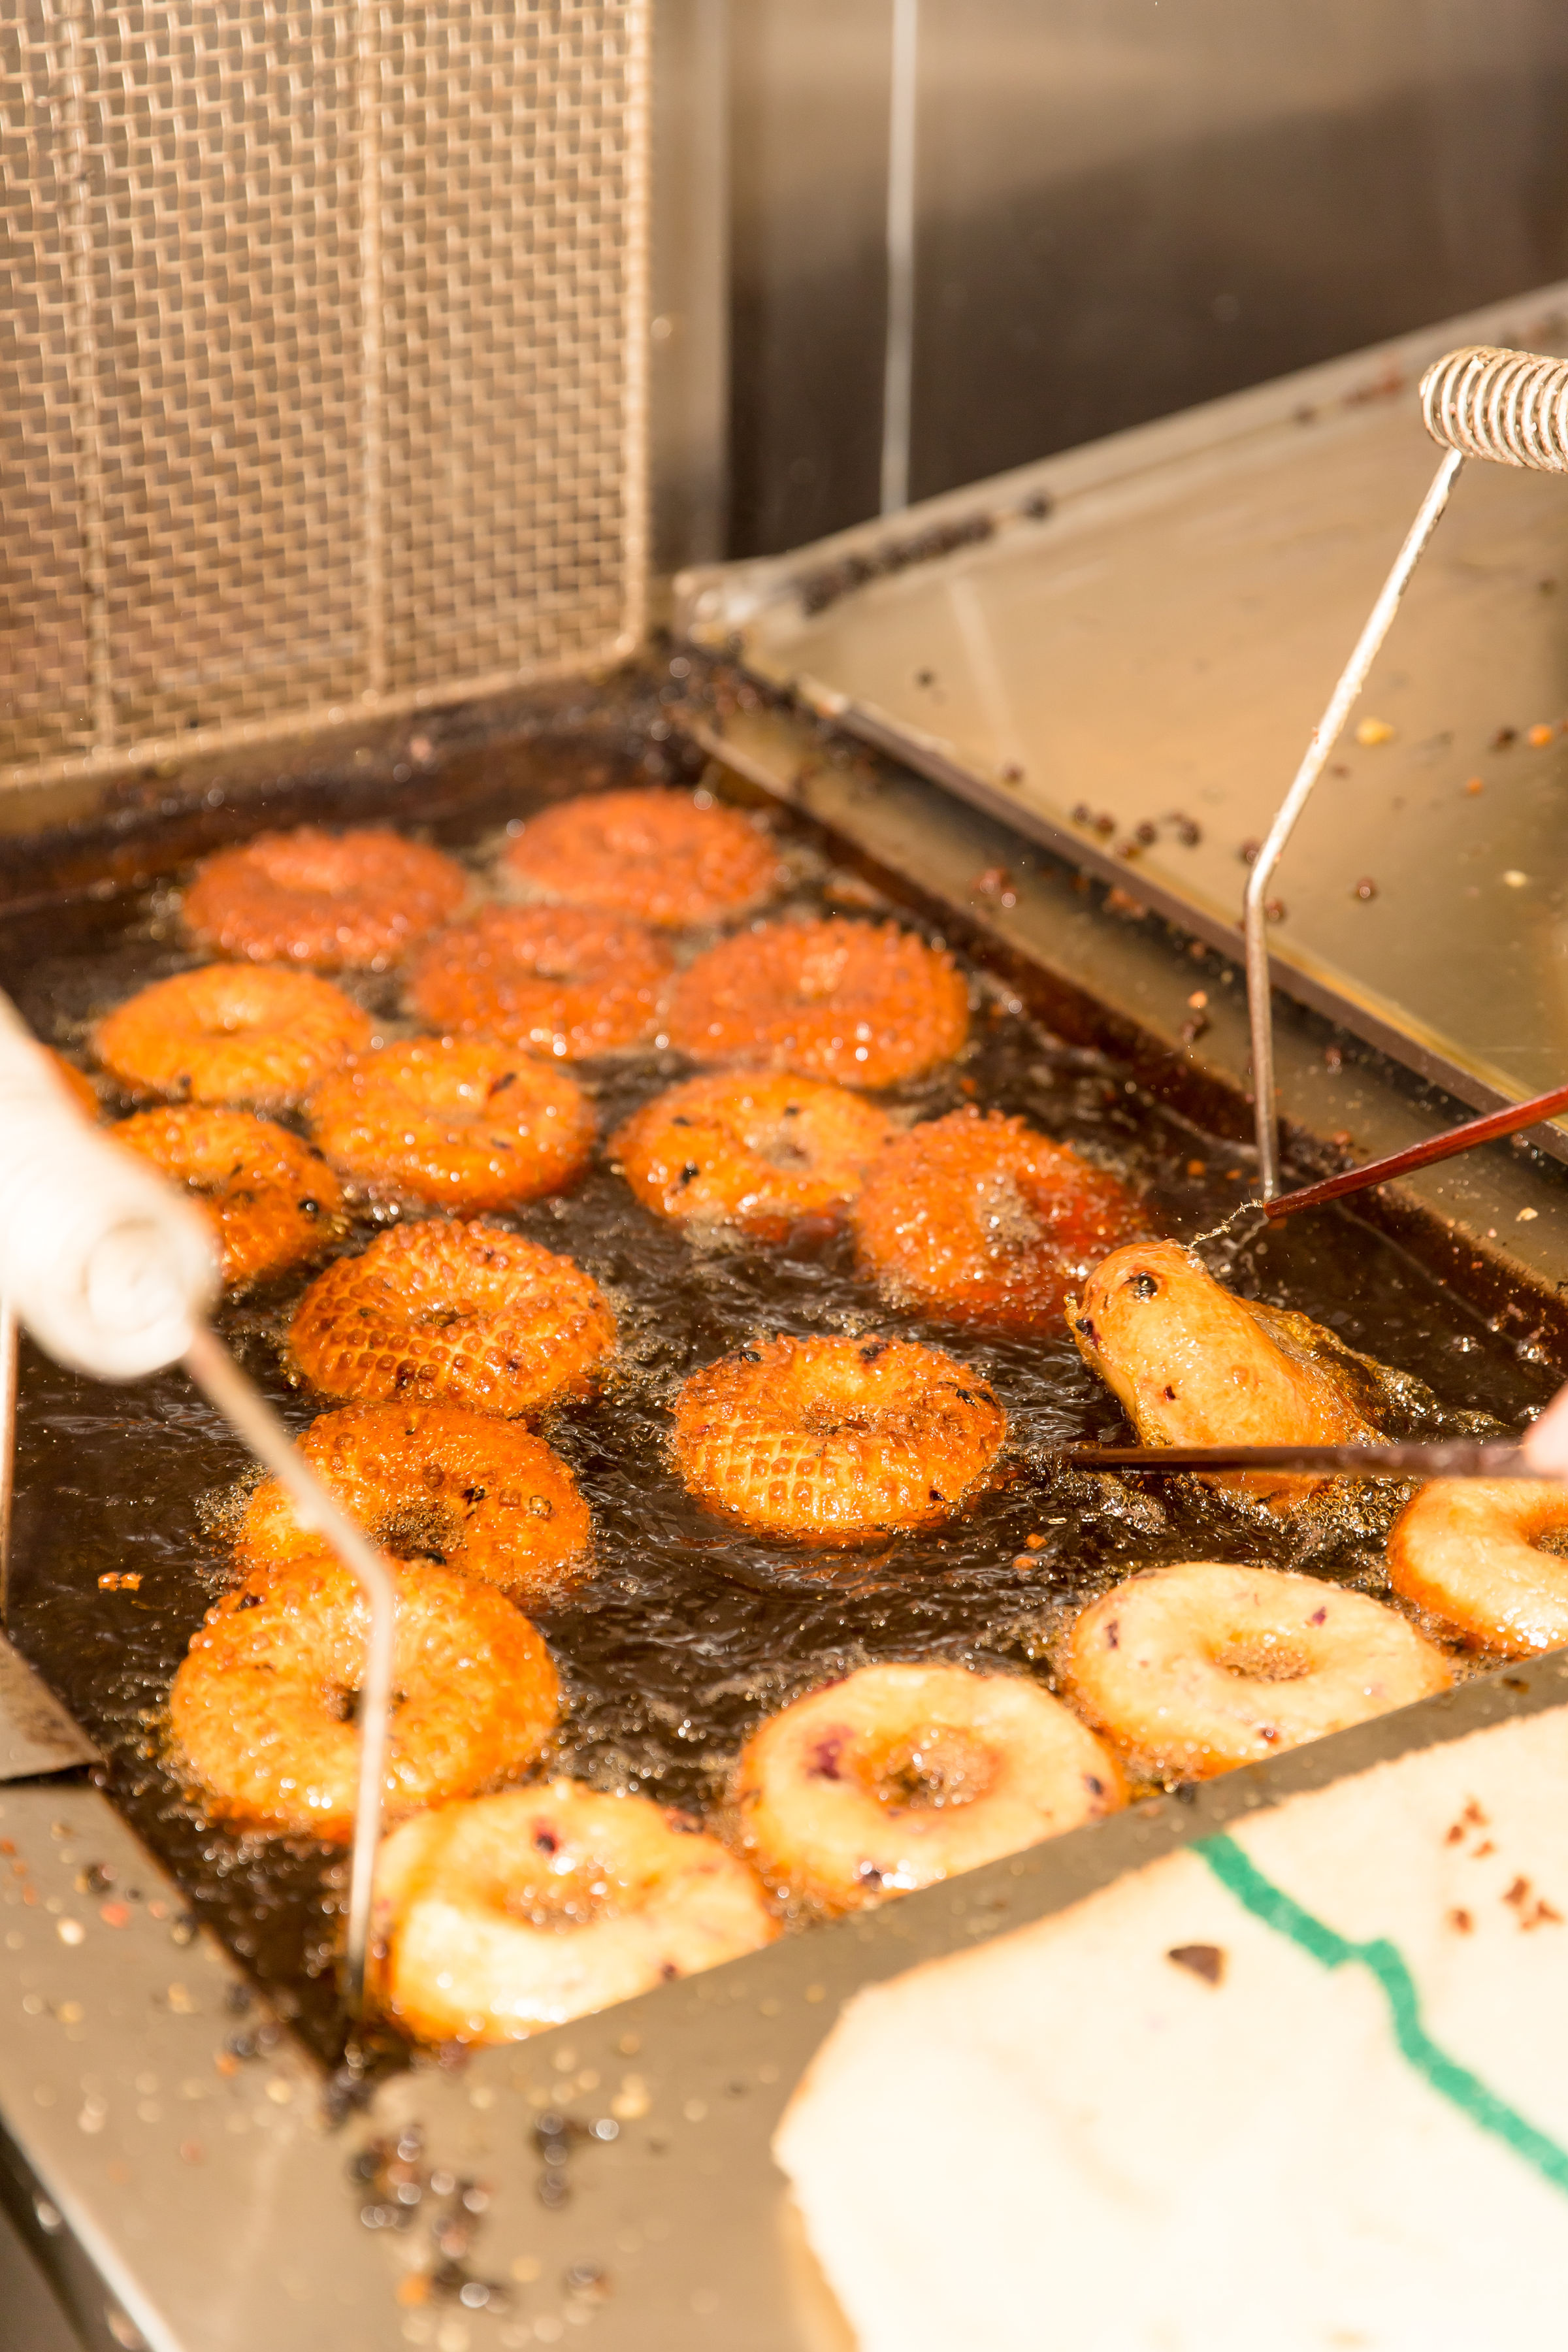
The process was really so hard though. I couldn’t decide between creating it with a raised yeast doughnut or cake doughnut but if you’ve ever been to Sidecar they kill it when it comes to cake doughnuts so I had to choose cake! It’s so doughy and dense and like no other cake doughnut I’ve ever had before!

6D4A9867.jpg

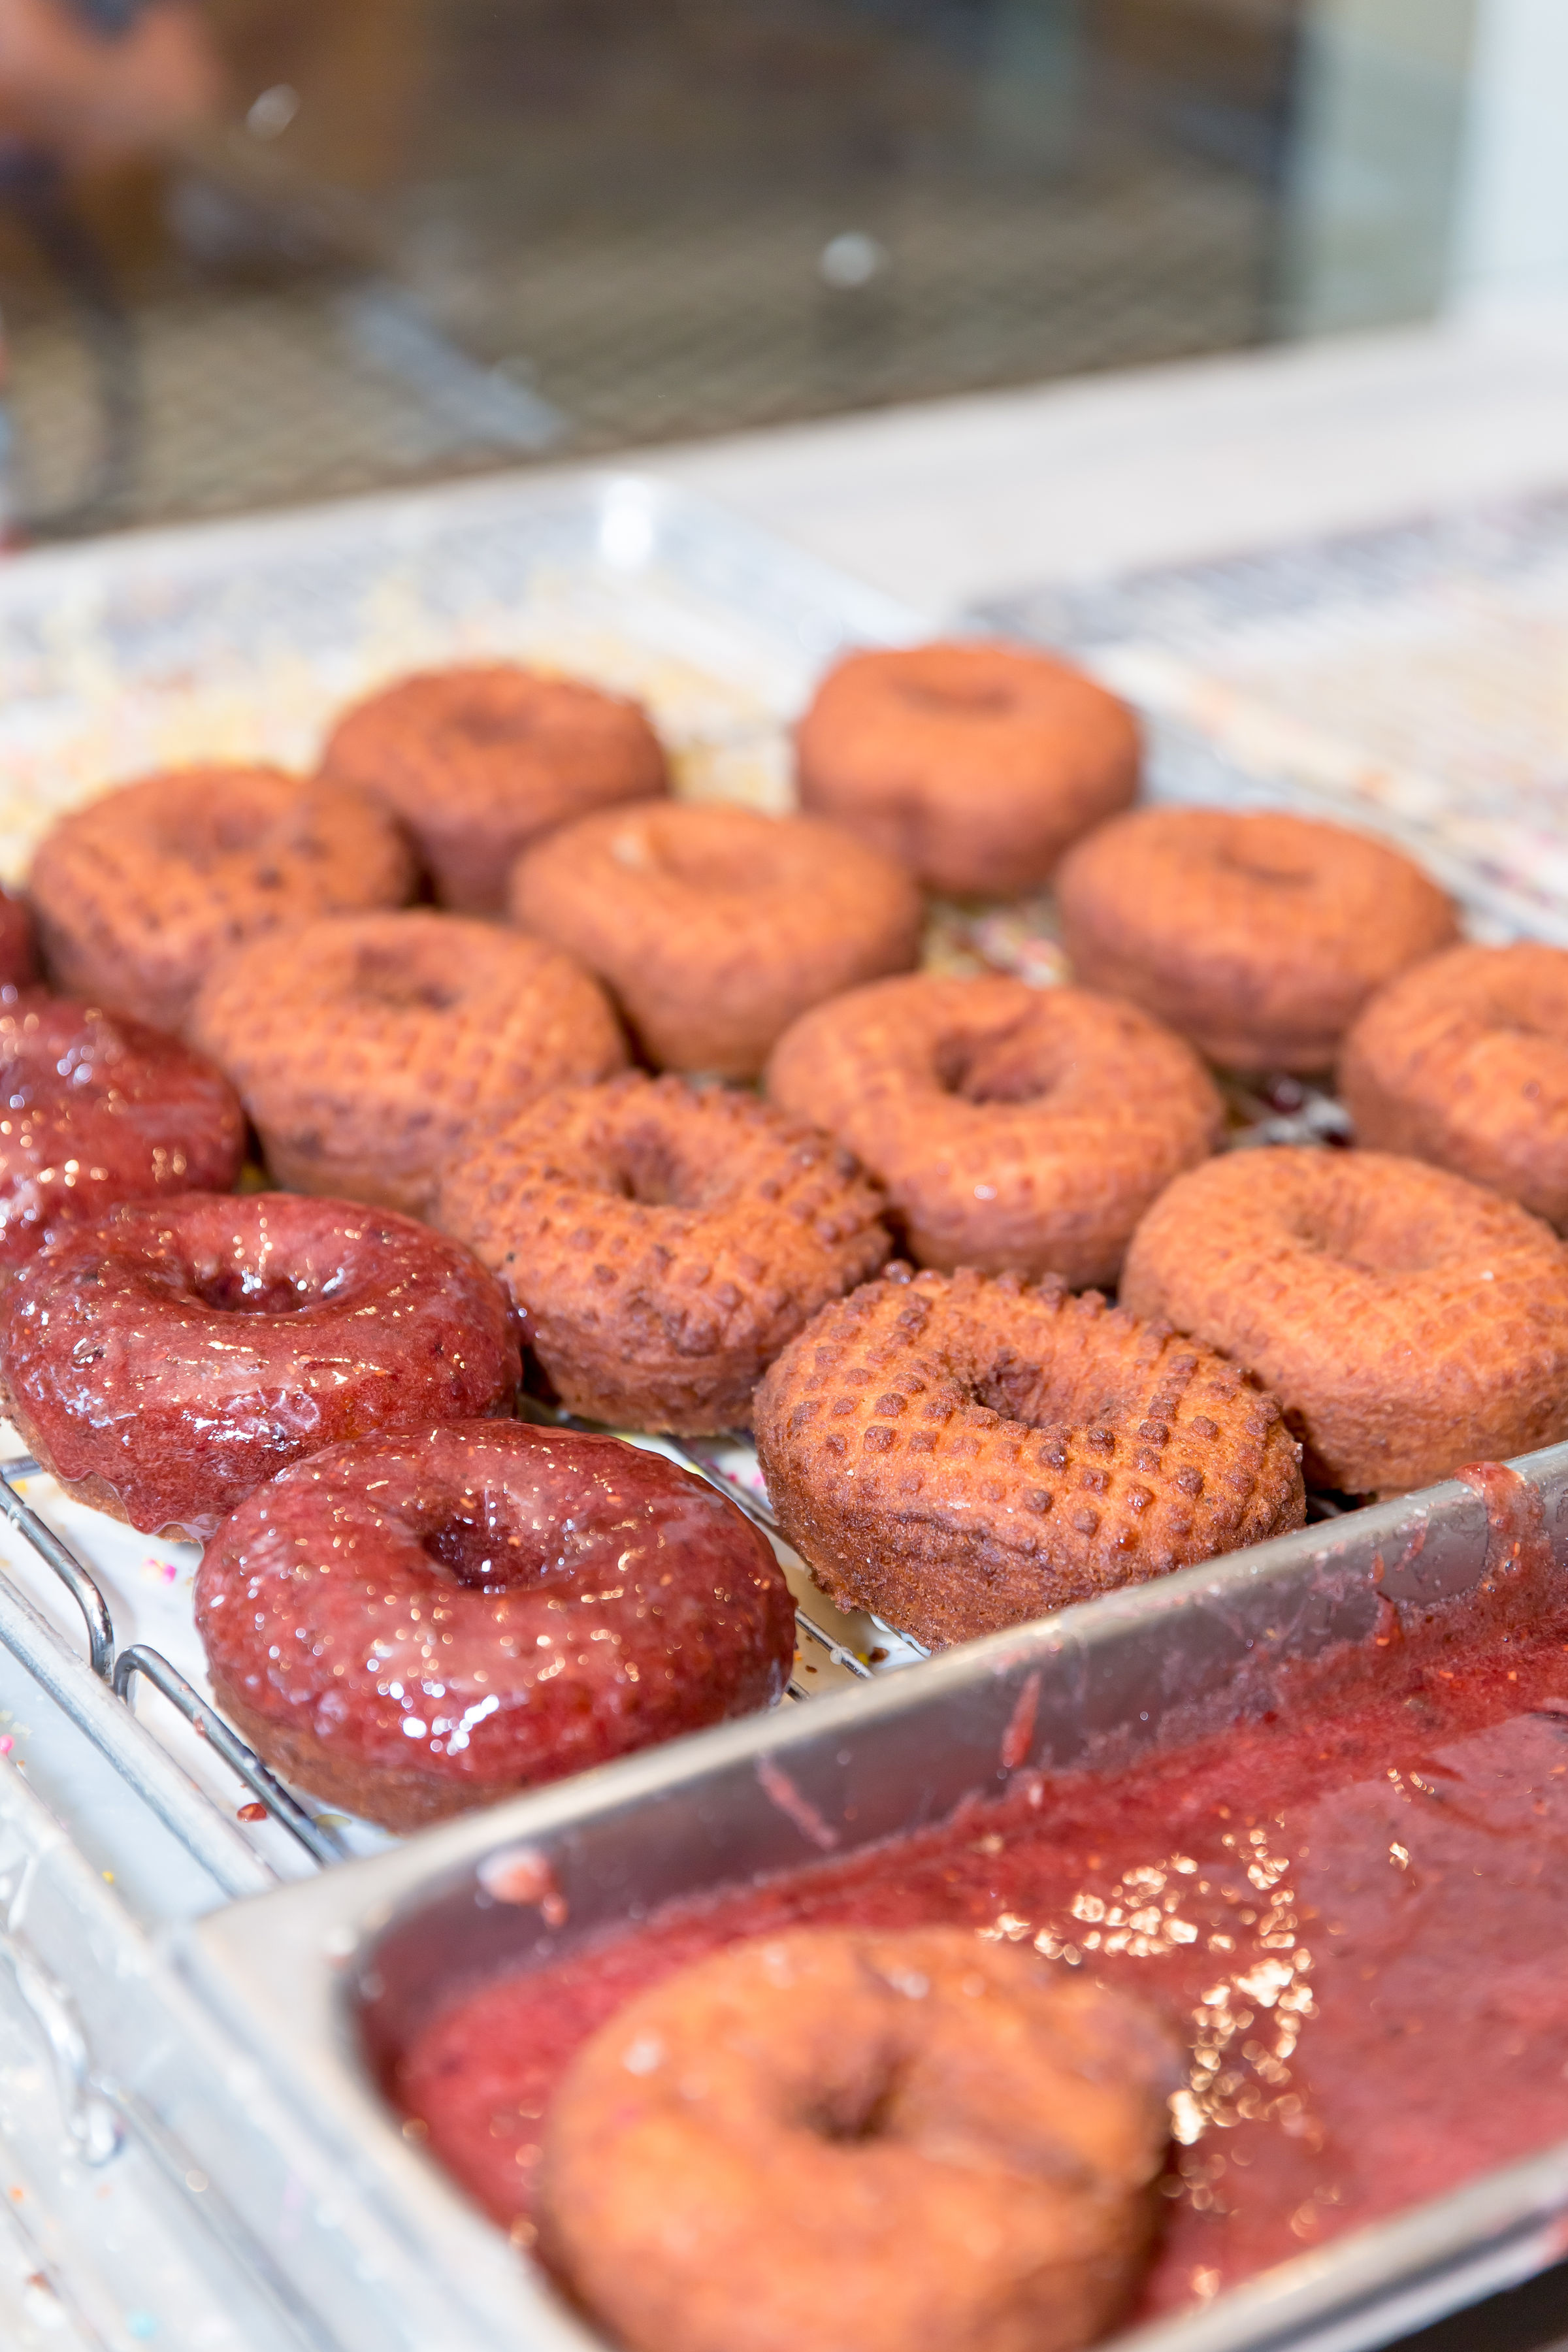
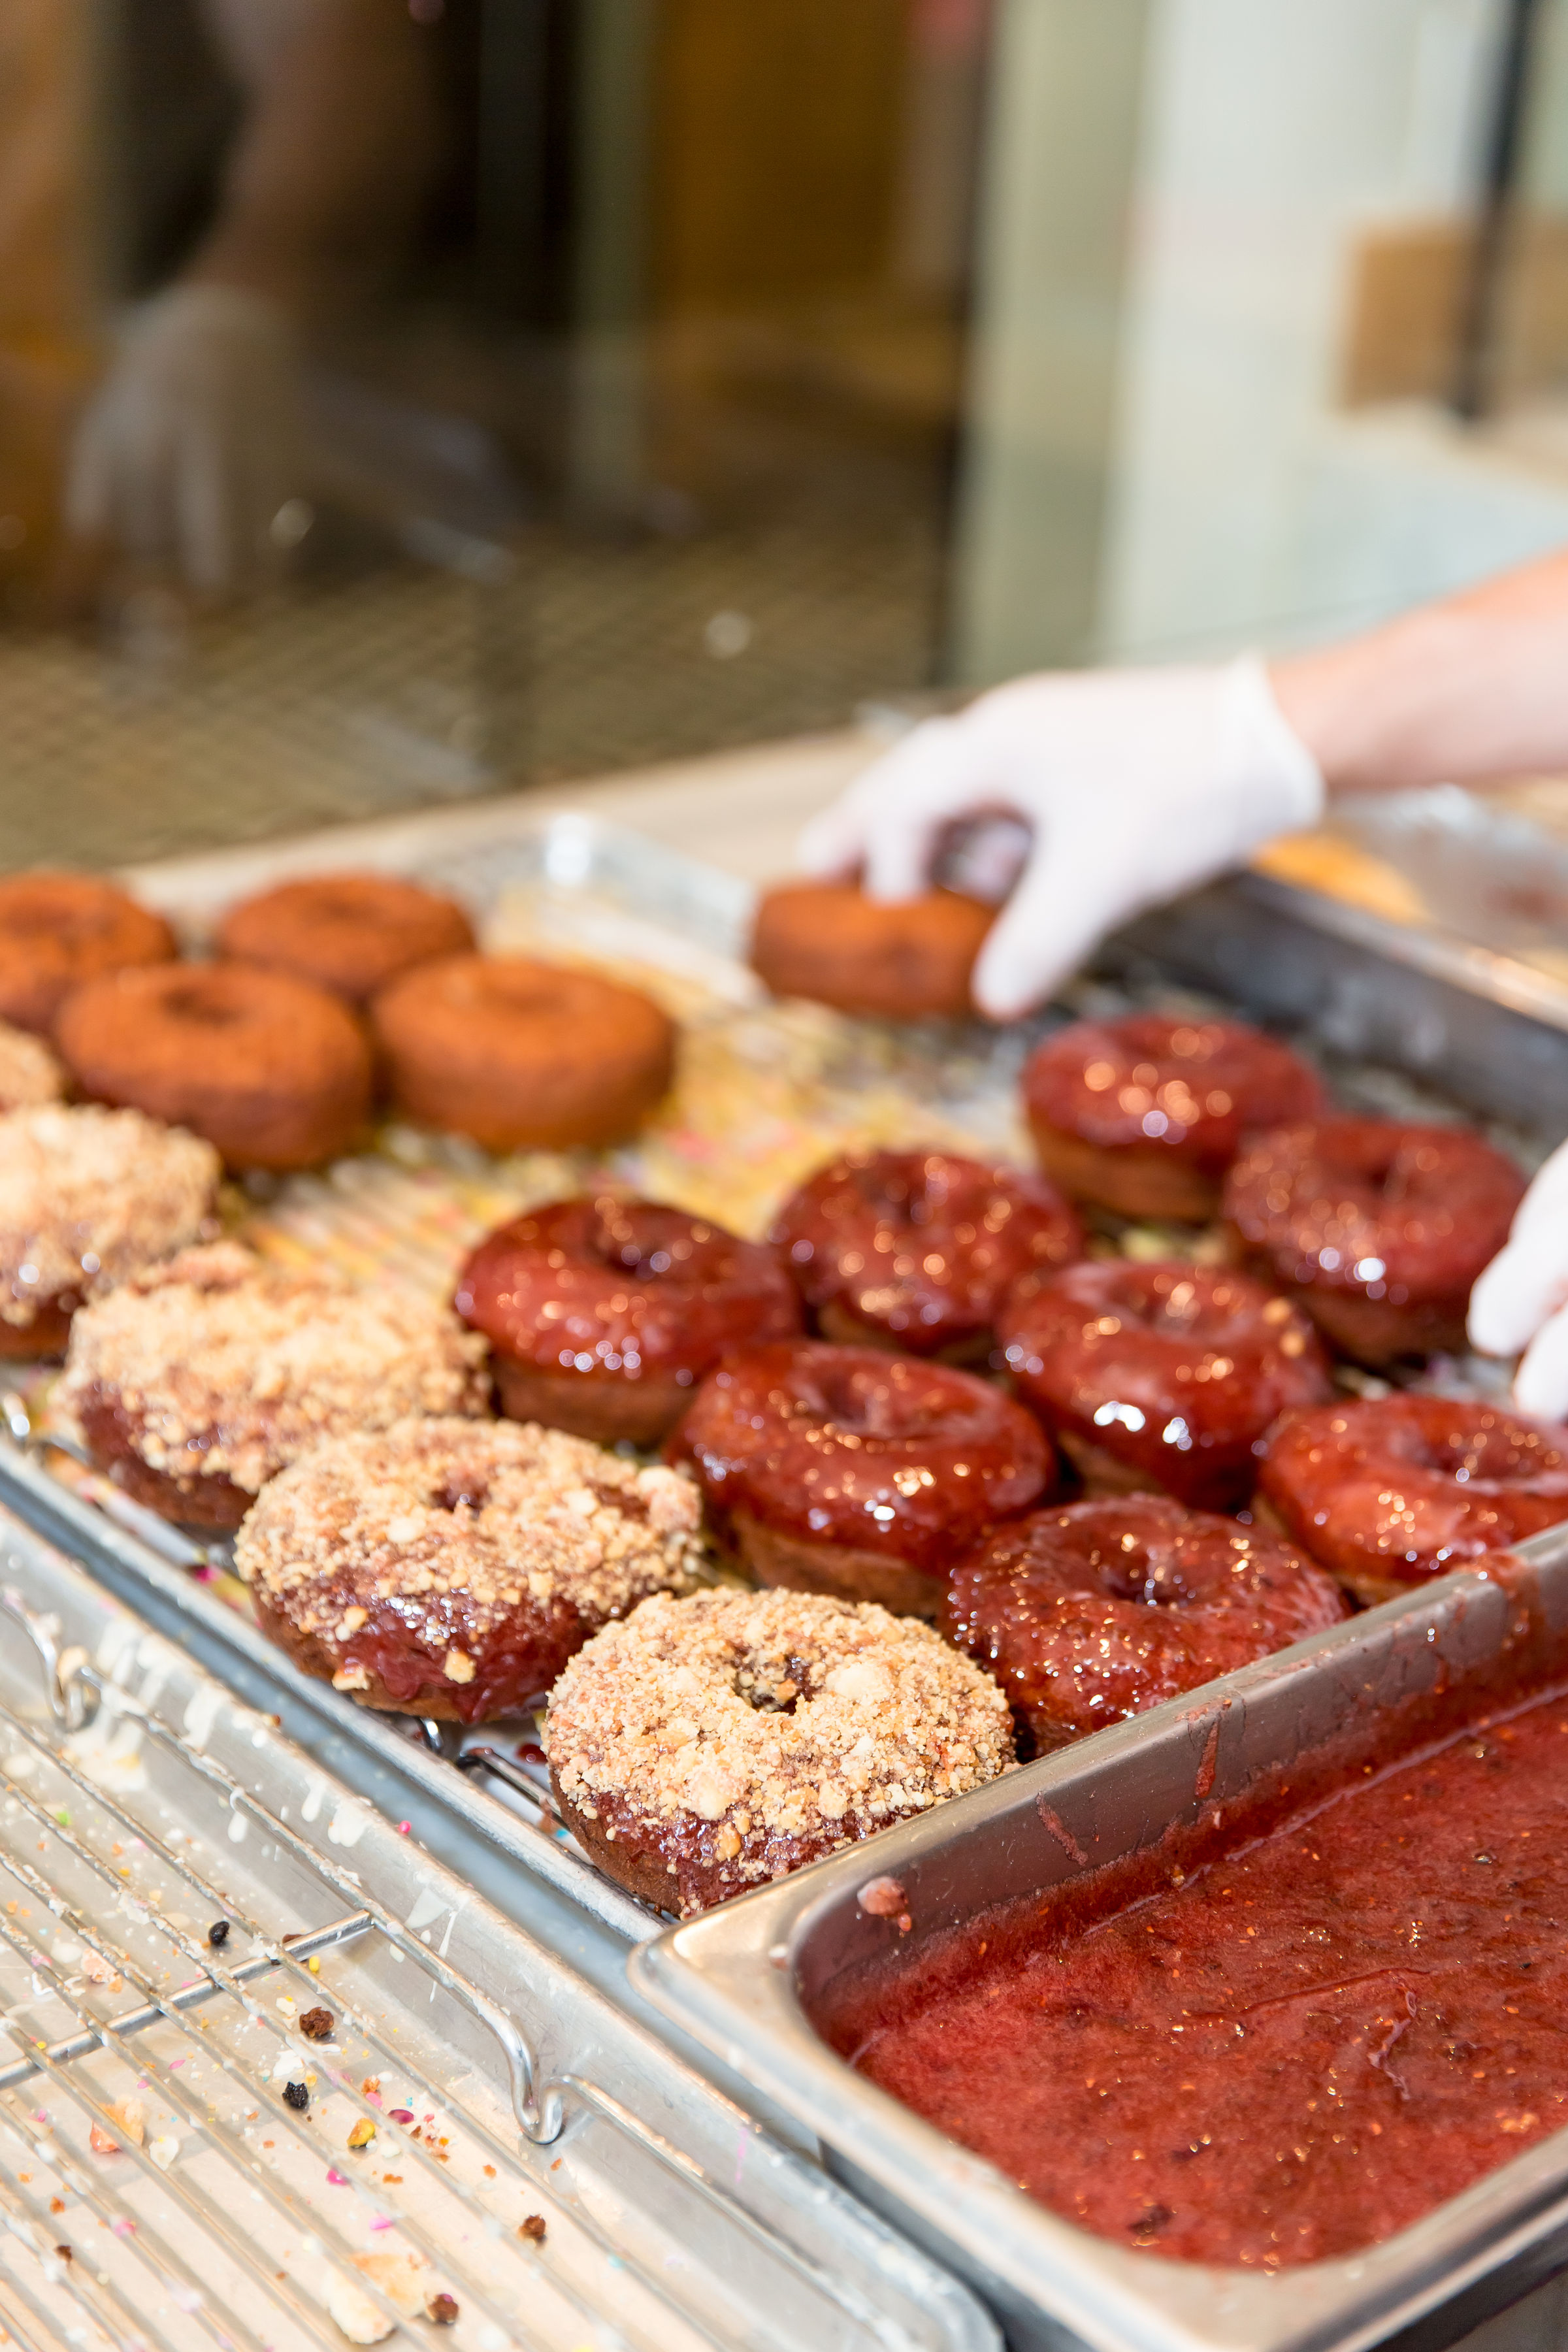
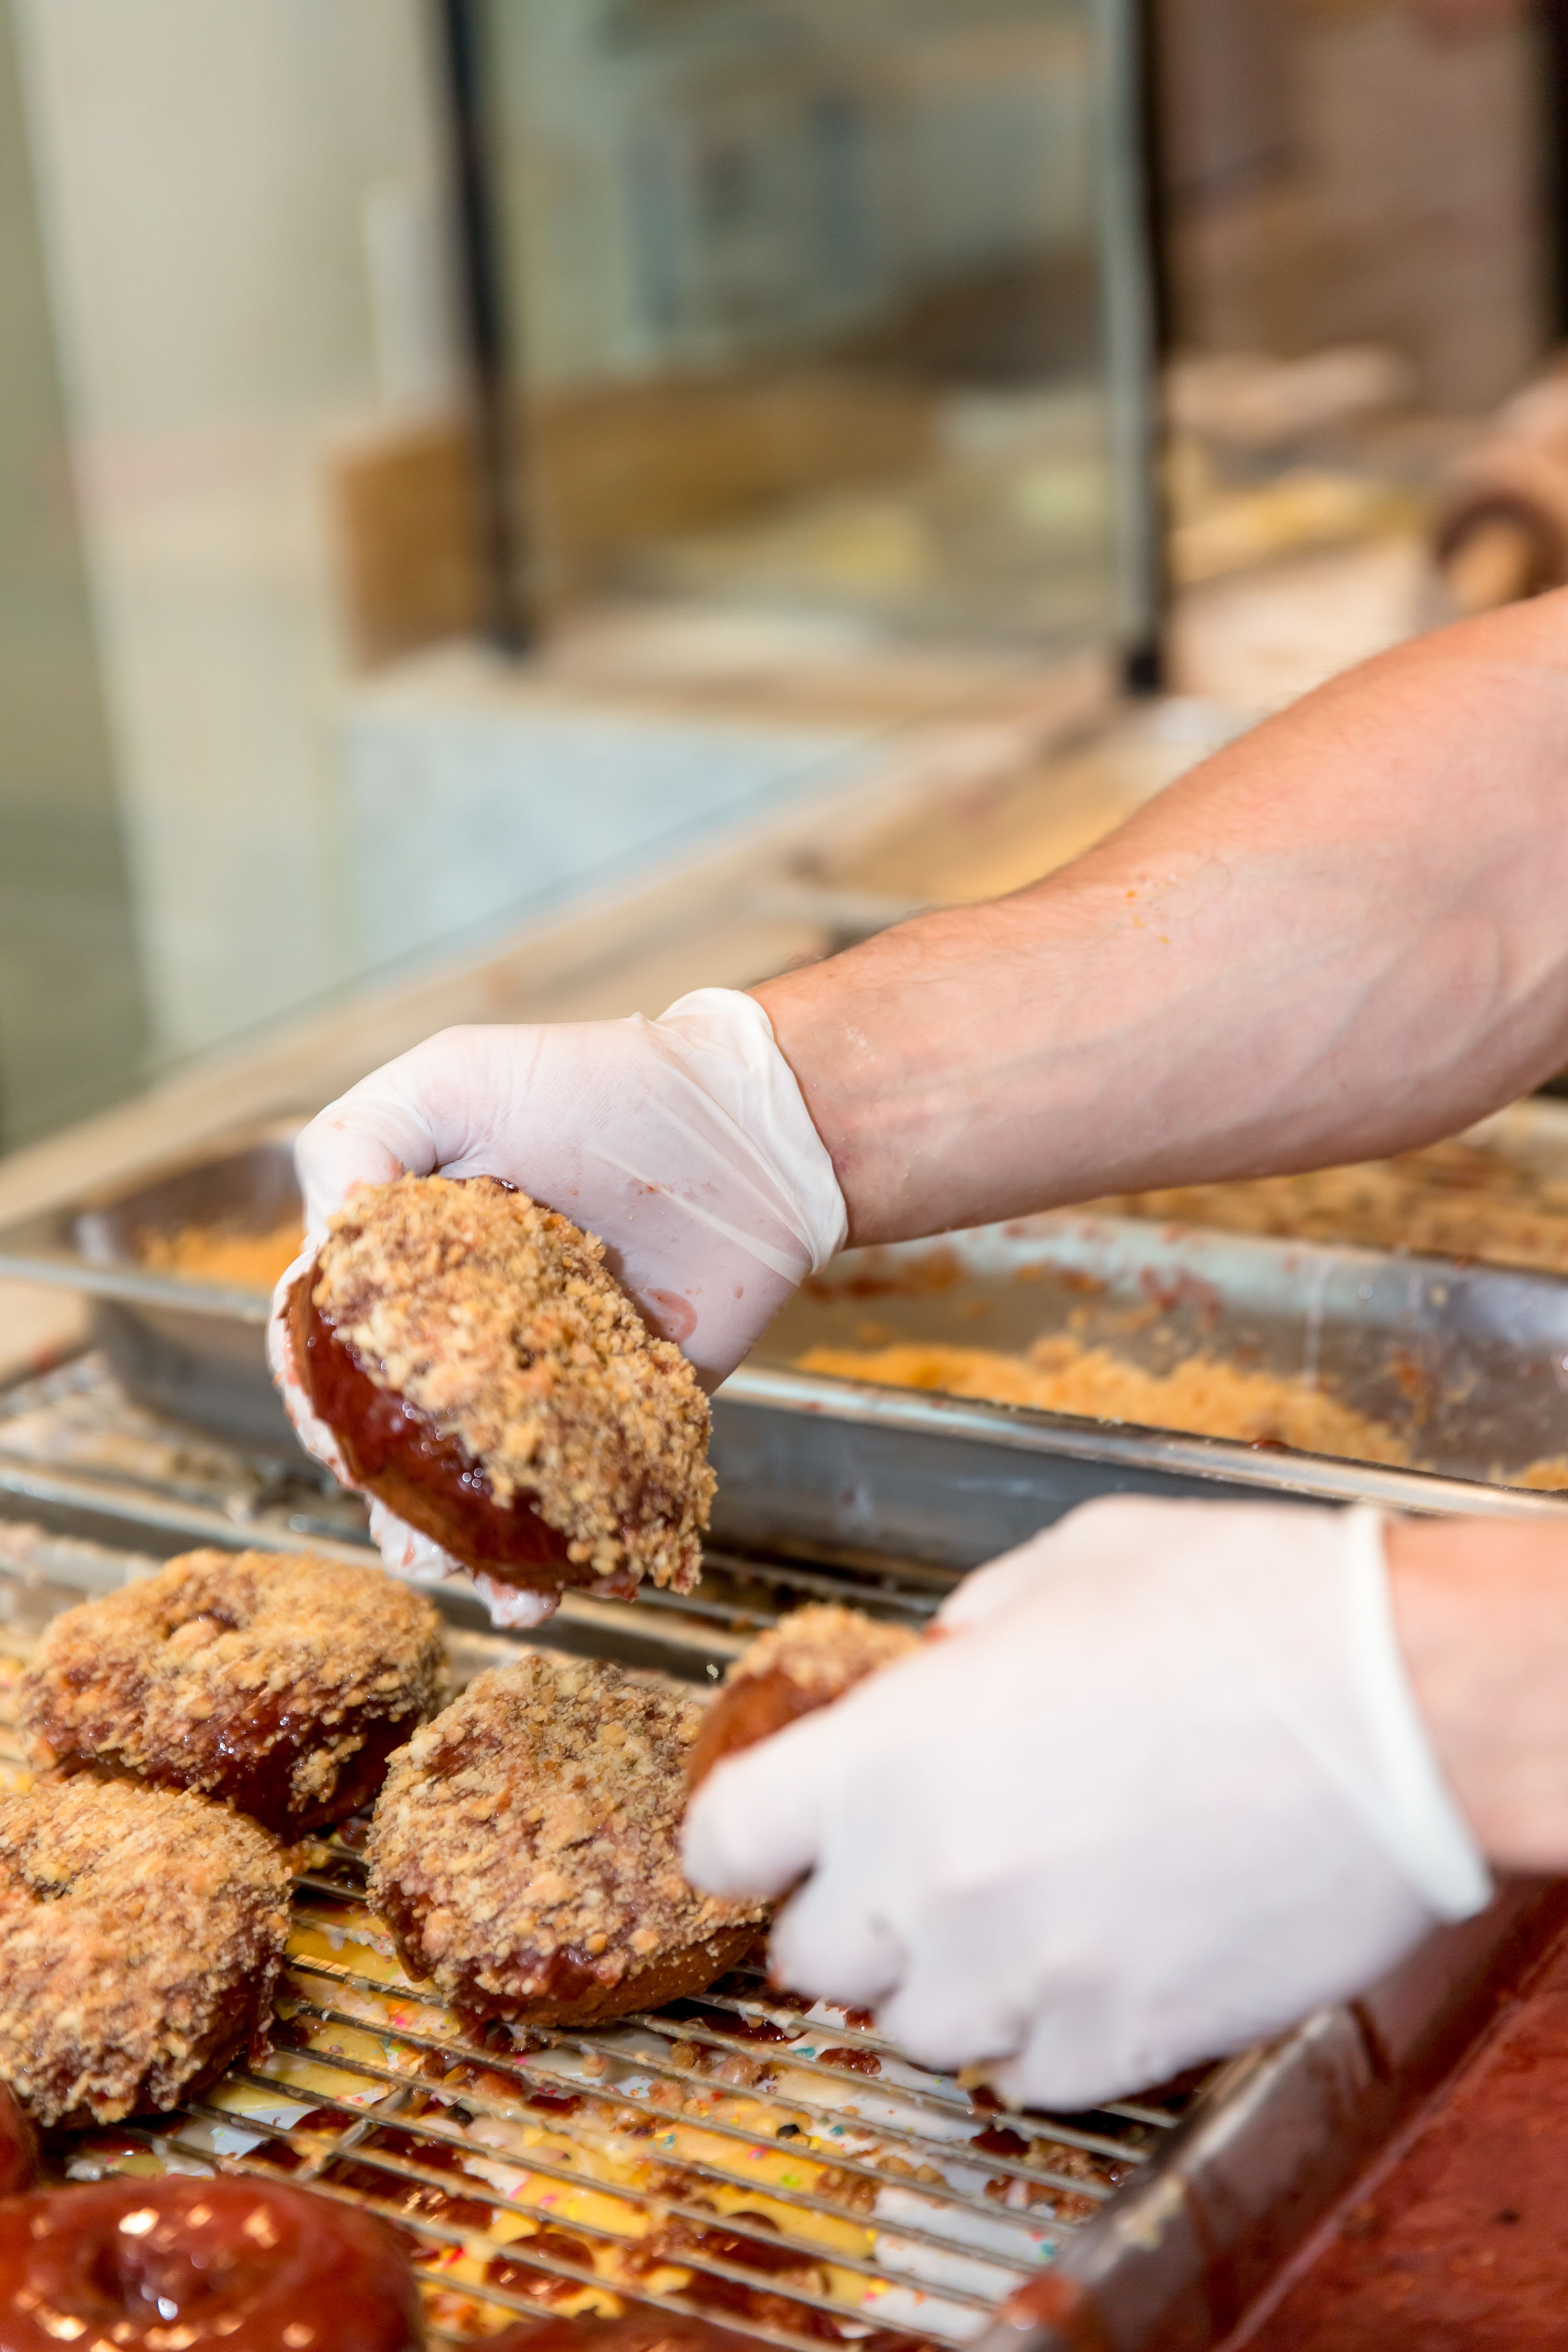
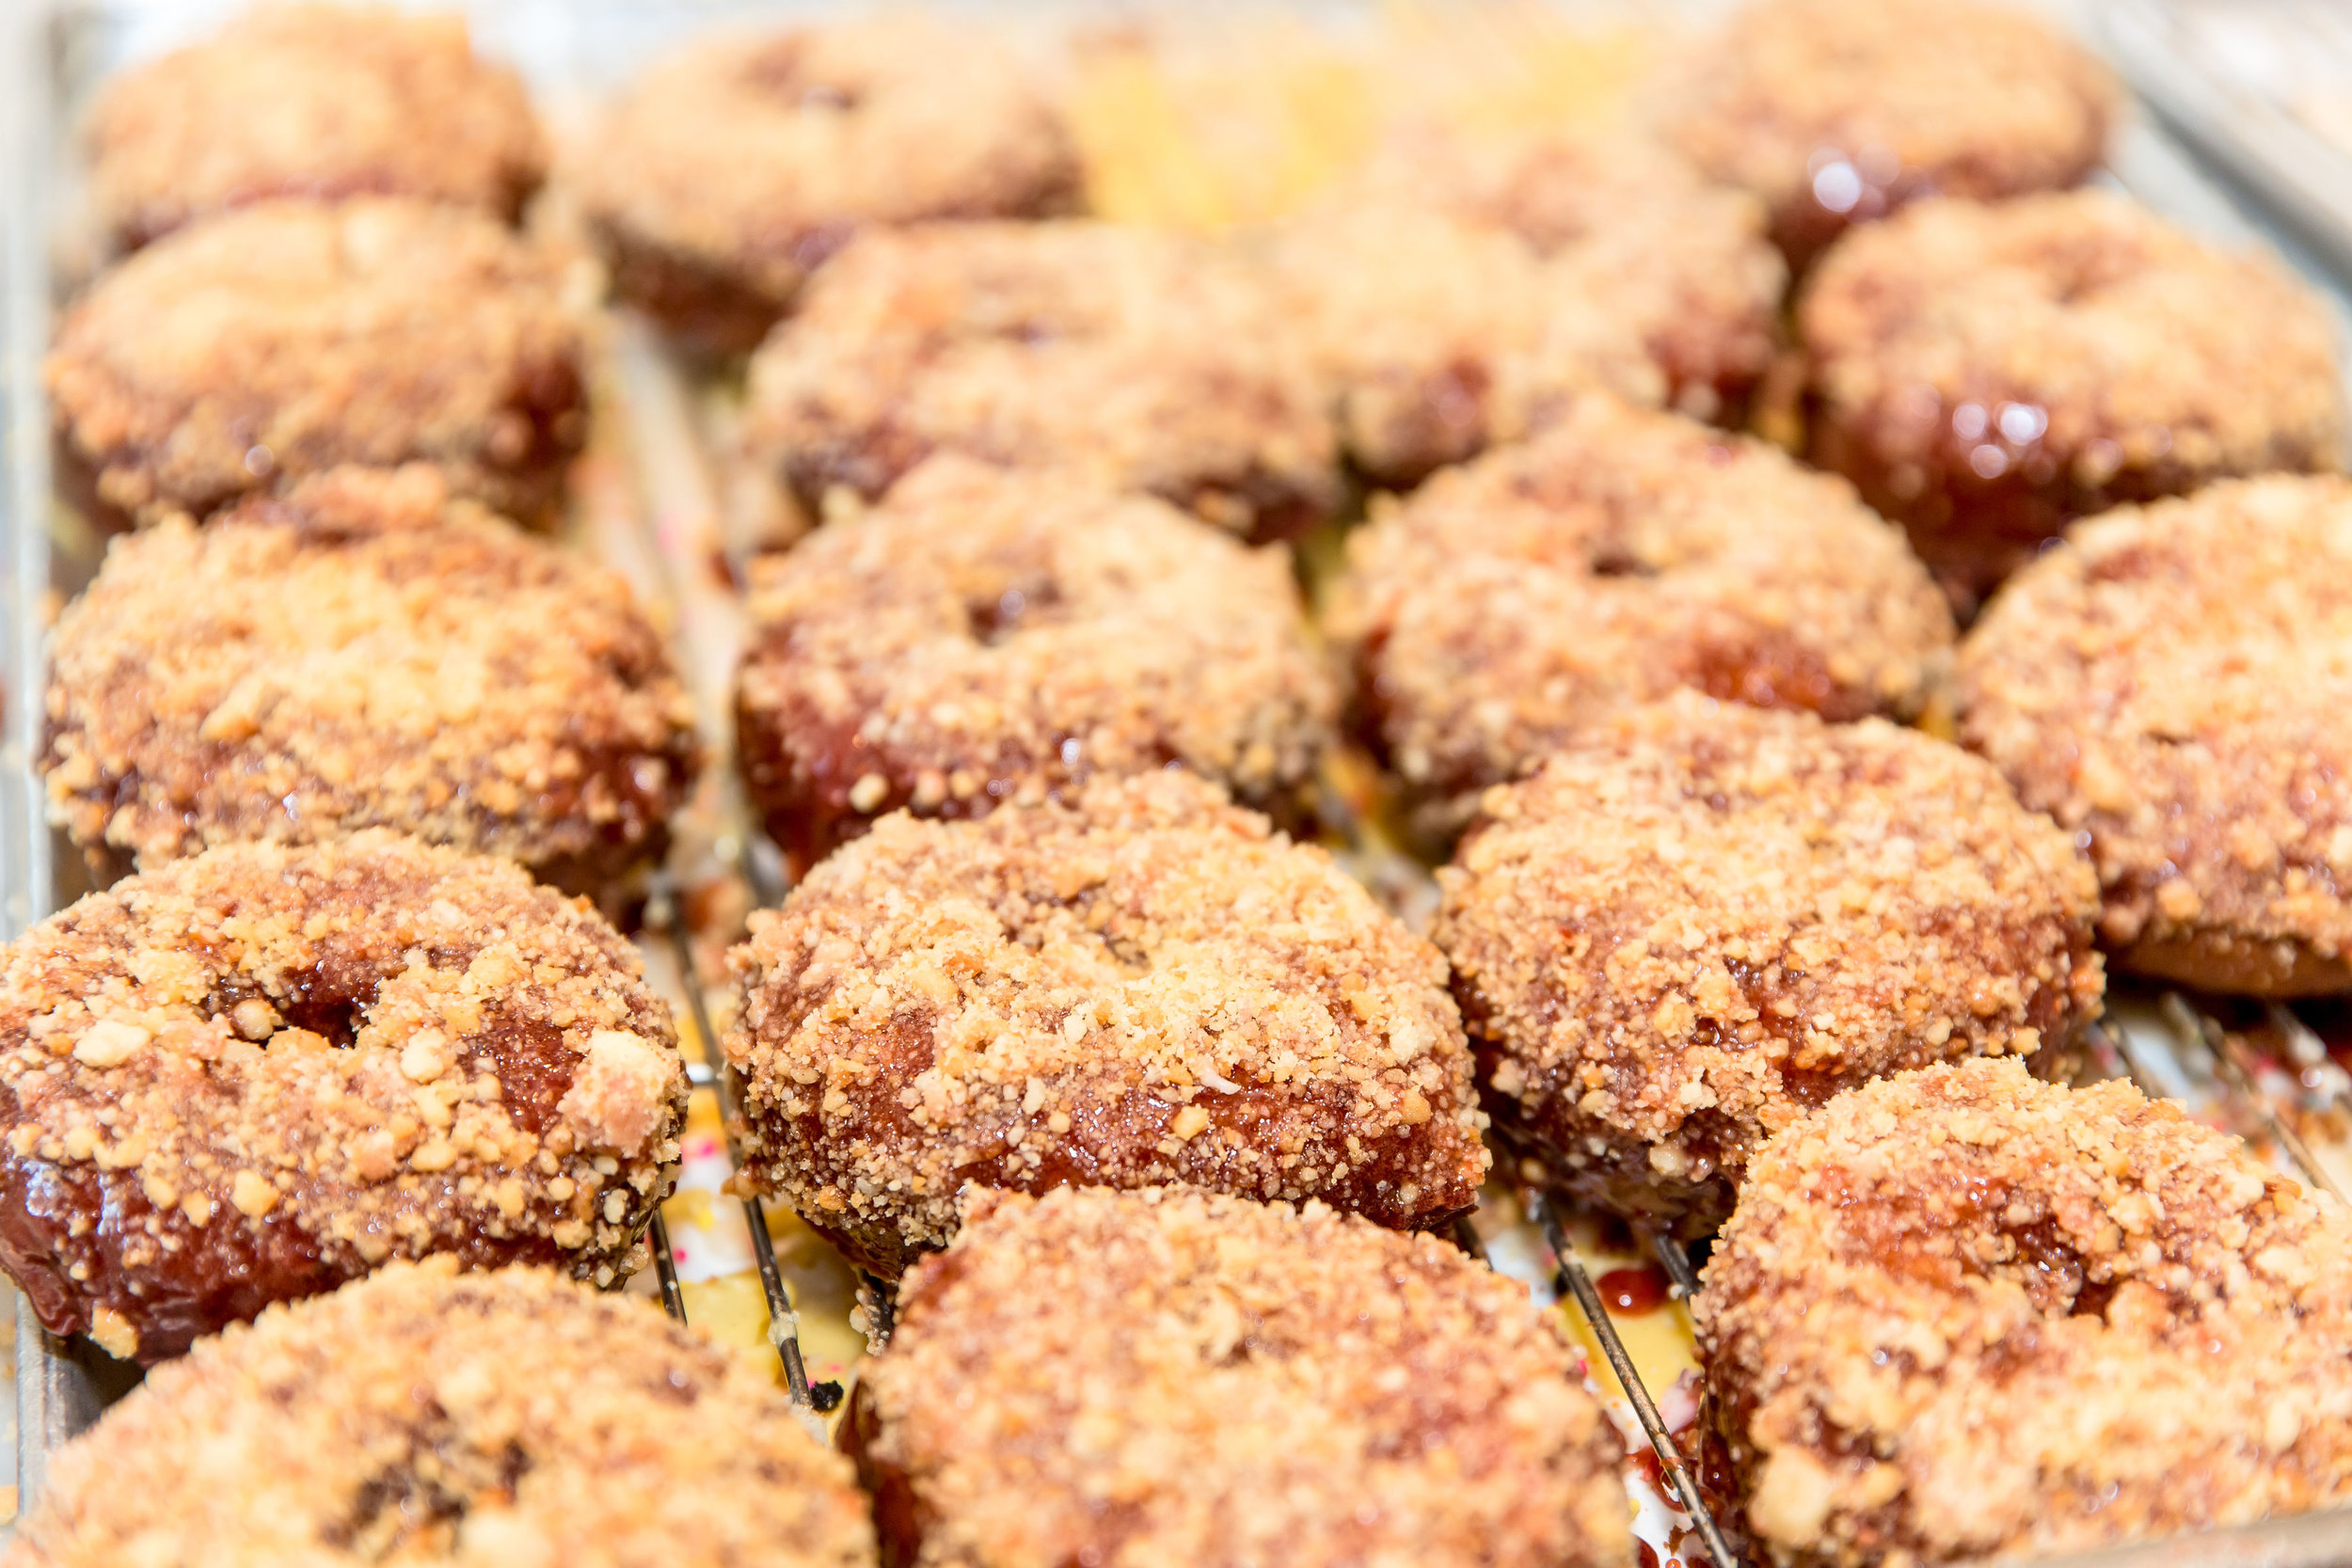
It’s dunked in a triple berry glaze featuring blueberries, strawberries and raspberries and then dipped in a shortbread crumble, drizzled with vanilla cream and topped with rainbow dust aka my favorite fruity cereal! It’s so spot on delicious and I’m so proud I could cry!

6D4A9736.jpg
6D4A9825.jpg

It’s been doing so well and selling out fast but don’t worry, they make them every two hours in small batches so just hang around at the beach until they’re ready. It’s so worth it!

6D4A9732.jpg

Also, my doughnut is only available the entire month of April so head over to Sidecar before May AND I’m beyond thrilled to share that a portion of all proceeds will go to the Boys & Girls Clubs of Santa Monica! This is a cause that is near and dear to my heart and a place I worked and volunteered at for several years when I first moved to LA while I was auditioning to be a TV Host. I love supporting their efforts to develop young people, especially those who need us the most. It also made sense since the club is just a few blocks away from the Sidecar Santa Monica location!

6D4A9679.jpg

I’ve been so grateful to see all of people enjoying my doughnut. I love getting tagged on instagram or even text messages from friends saying they are at the shop grabbing the doughnut. It really means so much to me. I can’t wait because in a few days I invited a few kids from the Boys & Girls Club to try the doughnut and I hope they enjoy it! Thank you to everyone who has been just as excited as me at this opportunity. It’s one for the books! xo, Brandi

6D4A9884.jpg
Homemade Fruit Stand Snack
fresh+fruit+stand.jpg

I love everything about summer- especially when it really starts to get warm and on every corner in LA you’ll see a rainbow umbrella perched atop a fruit cart stand. Ripe watermelon, bright mango, juicy pineapple, melon, cucumber and jicama sliced large and wrapped in bags ready for the next customer drive by. If you want it served the traditional way, they’ll squeeze fresh lime juice and sprinkle chili lime seasoning on top. One summer I practically lived on these bags of fruit. I’d get off work late, pull up and buy a bag of Mexican fruit and sit in traffic long enough to miss dinner and be so exhausted by the time I got home that the only thing sustaining me after 3pm was the fruit. This is one of those snacks that takes little effort but most are too lazy to do. I mean you do need to wash and slice fruit so I get it. We are people of convenience. If I’m just making this for myself and only have a few ingredients on hand, I’ll try to do at least two sweet options and one vegetable. The recipe is so easy I’ll spare you on actually writing something out but basically you slice your fruit , sprinkle with a little fresh lime juice and top with chili lime seasoning or Tajin (these little to go packets are perfect). This is a great snack for on the go! Being a Mom forces you to always pack snacks and this is when I pack one for myself too. Wait to squeeze the lime and seasoning on top until you’re ready to enjoy. Would love to know what fruit combos you put together and if there are any other toppings you like, let me know! I’m always down to try something new.

Sunkist Cara Cara Navel Orange Yogurt Donuts

This post is sponsored by Sunkist

Photography Credit: @Ographr

Photography Credit: @Ographr

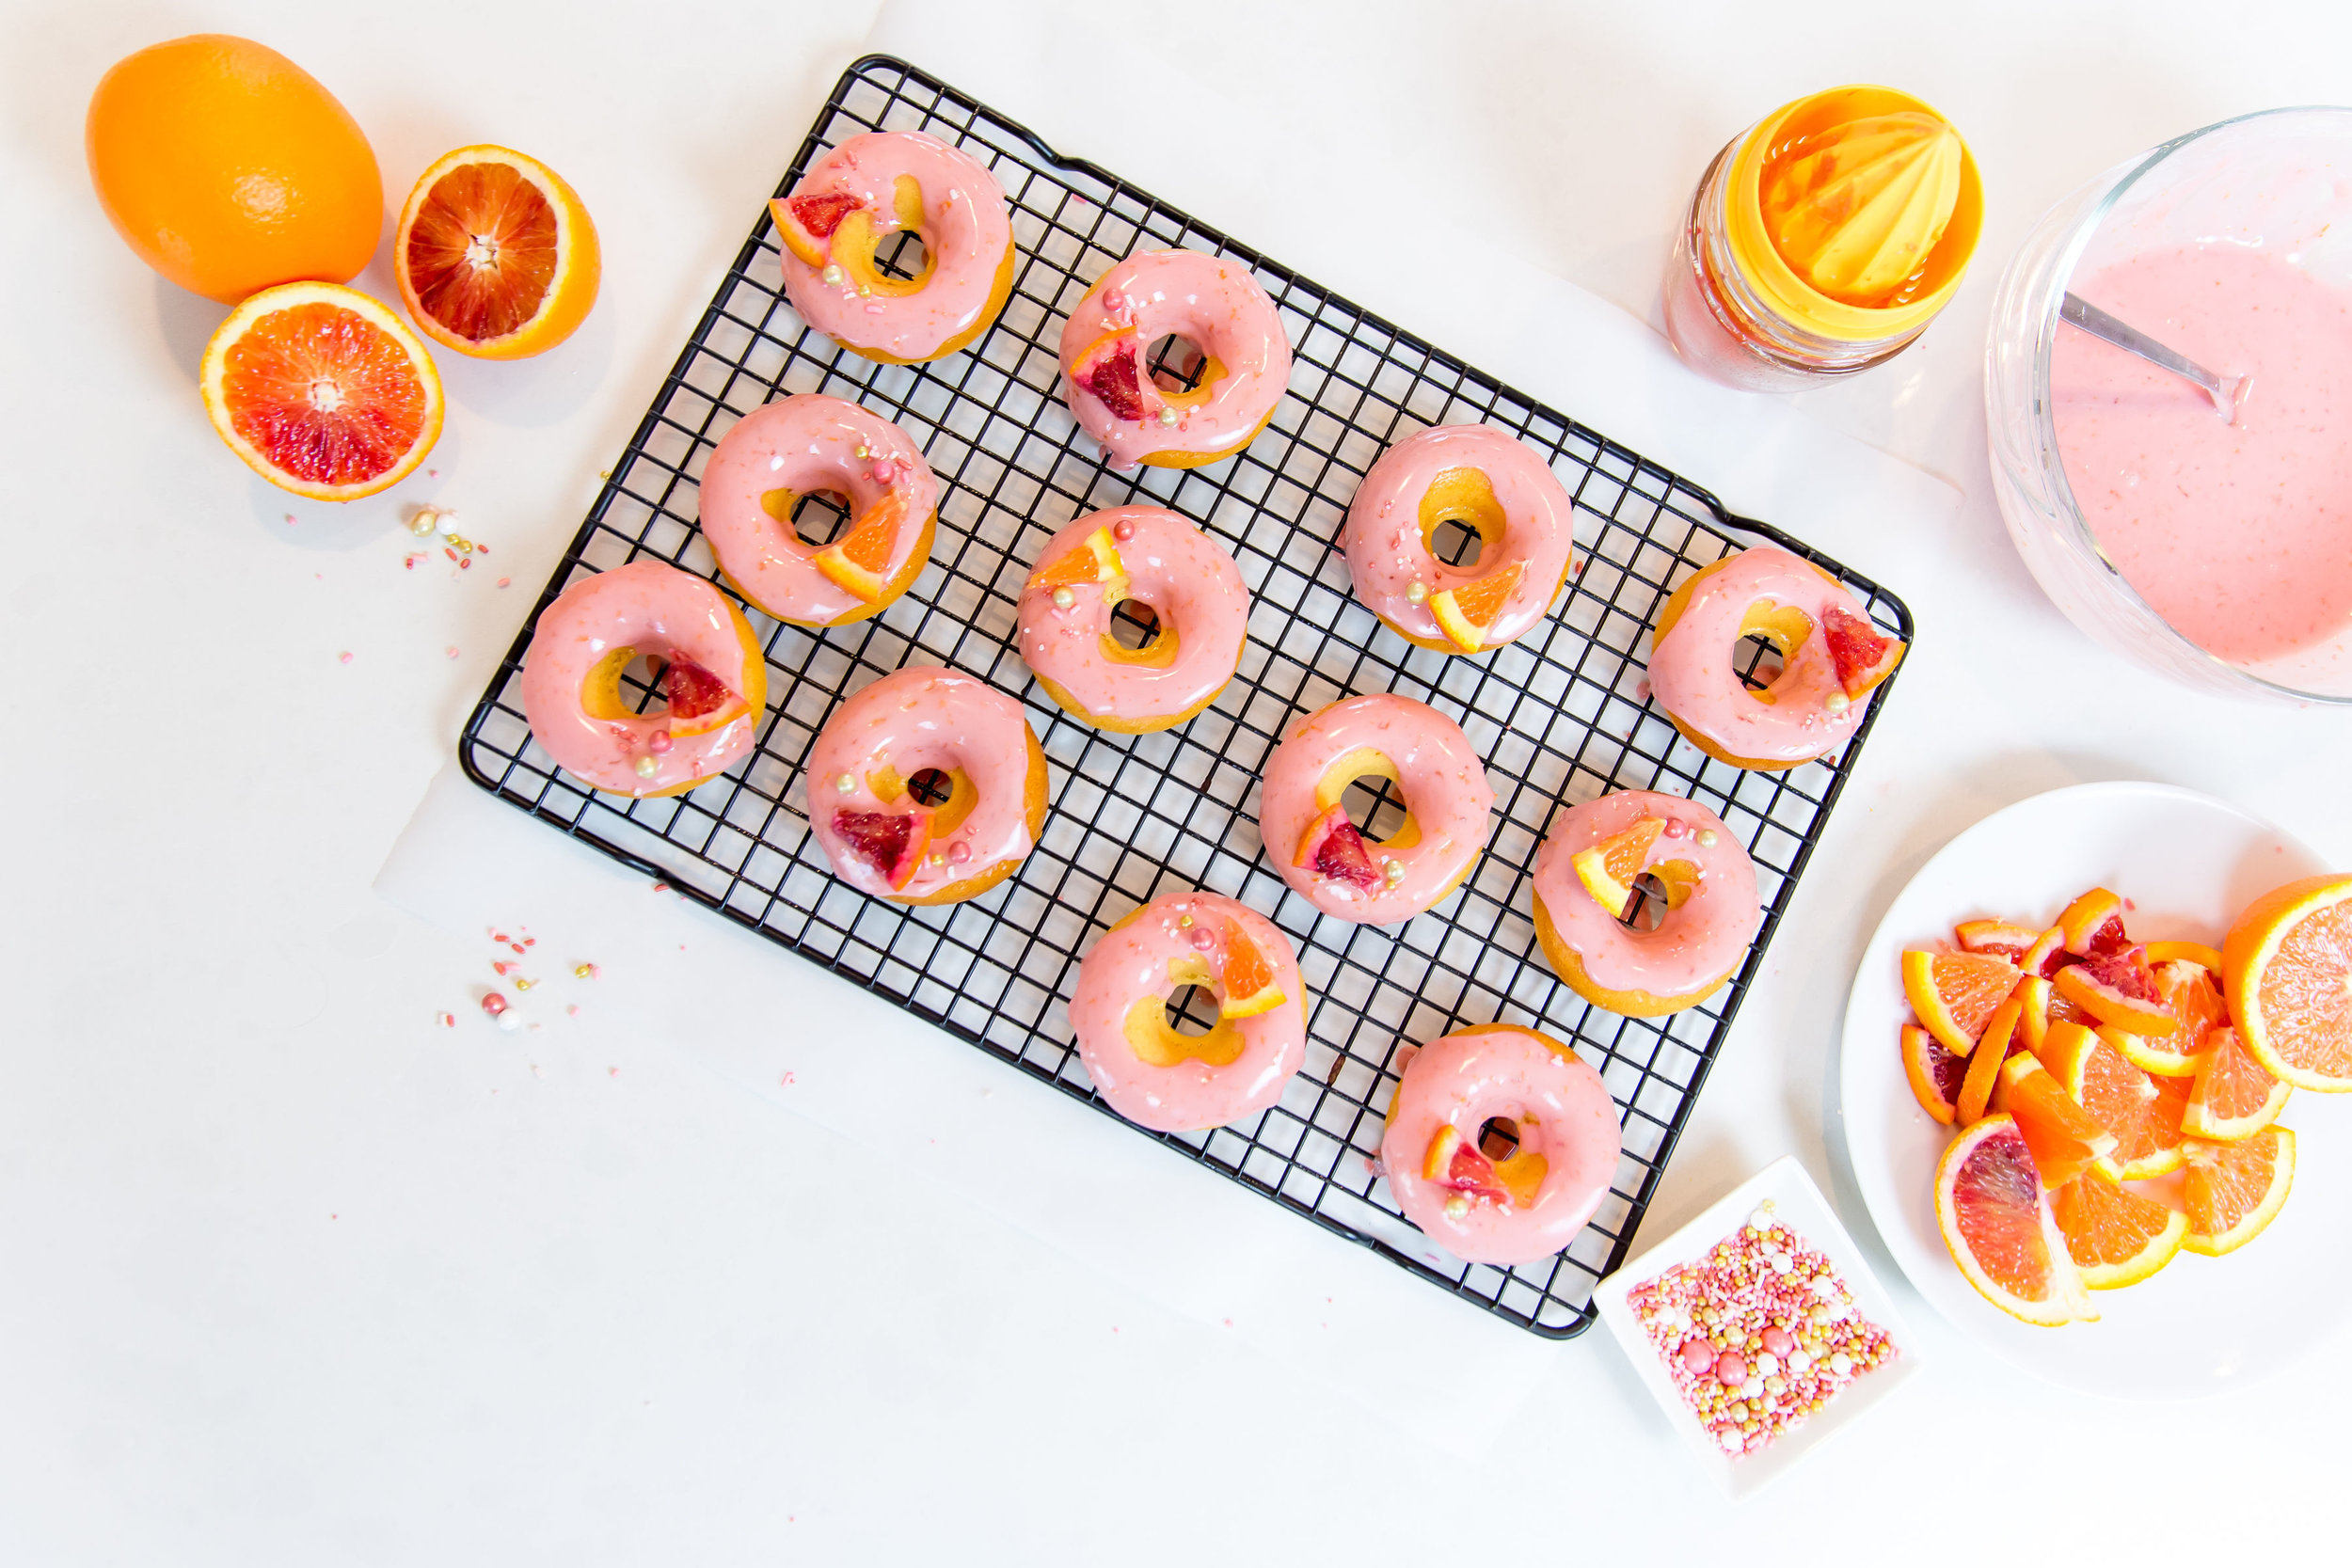
These donuts are the sweet secret weapon you are going to want to add to your recipe arsenal.  Using only 5 ingredients you probably already have on hand, it’s the perfect treat to whip up any time of the day. And if you're as obsessed with Pantone's Color of the Year: Living Coral as I am, you'll love my trick to getting the perfect shade of glaze. I mean, even if you just want to make these for the insta-likes, you might as well, but the flavor of these donuts are bursting with bright citrus from the Sunkist Cara Cara Navel oranges. And because they’re baked instead of fried like traditional donuts, they are super light and fluffy but every bit delicious so let’s get started!

6D4A8883.jpg

Here’s what you need: pancake mix, sugar, freshly squeezed Sunkist Cara Cara Navel orange juice, yogurt, and eggs.

6D4A8791.jpg

(Your eggs don’t need to be blue or brown but I couldn’t help it because they’re so pretty!)

Preheat your oven to 355°F and then into a bowl, mix all of the ingredients until the batter is nice and smooth.

6D4A8916.jpg
6D4A8912.jpg

That’s it. Really. You toss 5 ingredients into one dish, give it a mix, and now we’re ready to pour the batter into our donut pan.

6D4A8927.jpg

A quick tip to getting the filling in the donut pan easily is to create a homemade piping bag. Just place a gallon size plastic bag in a jar and pour the batter into the bag, snip one of the corners and fill each well evenly.

6D4A8937.jpg

Tap the bottom of the pan to release any air bubbles and then bake for 15-18 minutes or until golden brown and baked through.

6D4A8949.jpg

Once the donuts are baked, place them on a wire rack to cool and then make your glaze. It’s just powdered sugar and some freshly squeezed Sunkist blood orange juice. Depending on how bold the color is of your blood orange will determine the color of your glaze. I love how mine ended up having this muted maroon shade! So pretty!

6D4A8986.jpg

To frost the donuts, you can drizzle the glaze on top or spread some glaze around the top of the donut and let the excess fall. I love this “Homer Simpson” style look! If you’d like to add a garnish, do so while the glaze is still wet. I added a few sprinkles and a small segment of citrus on top of each!

6D4A9070.jpg
6D4A9051.jpg
6D4A9079.jpg

I mean, if you haven’t already paused scrolling to check your pantry to make sure you have everything to make these….

Oh and by the way I should mention that Sunkist Cara Cara Navel oranges are available December through May so you can make these all season long! I’d love to see your photos of these donuts and how you gave them your own special touch so post your photos on Instagram and tag me @BrandiMilloy! Also, to watch the full video of me making these just go to my IGTV Channel! Then scroll down for the full recipe, I donut mind at all! :) And for more delicious recipes visit Sunkist.com/recipes

6D4A9111.jpg
6D4A9140.jpg
6D4A9146.jpg

Sunkist Cara Cara Navel Orange Yogurt Donuts

PREPARATION: 10 minutes

COOKING: 15 minutes

INGREDIENTS

  • 1 1/4 cups pancake mix

  • 1/3 cup granulated sugar

  • 1/8 cup Sunkist Cara Cara Navel orange juice, freshly squeezed

  • 1/2 cup plain yogurt

  • 2 eggs, large

  • 2 cups powdered sugar

  • Zest from 2 Sunkist blood oranges

  • 1/4 cup freshly squeezed Sunkist Blood orange juice

  • Sprinkles, optional (these are the vintage rose gold sprinkles I used)

DIRECTIONS

  1. Preheat oven to 355°F.

  2. In a large bowl, combine the pancake mix and sugar. Add in the orange juice, yogurt and eggs.

  3. Stir well to combine. Batter should be smooth, but do not over-mix. Divide the batter evenly among the donut ring molds (a few tablespoons, depending on the size of the ring mold).

  4. Bake in preheated oven for 15-18 minutes. (Cooking times will vary depending on your oven. Start checking at the 12 minute mark.) Donuts should be golden brown and dry to the touch.

  5. Remove from the oven, and allow donuts to cool completely in the ring molds. 

  6. Meanwhile, make glaze by mixing powdered sugar, zest and juice. If glaze is too thick, add 1/2 tablespoon of juice at a time until desired consistency. Frost donuts and garnish with sprinkles if desired.

    Note:
    • A donut pan is required for this recipe.
    • Before removing from the oven, test donuts with toothpick to ensure they are cooked through.


Grilled Strawberries & Brie
IMG_7384.JPG

This is one of those dishes where no one knows what to expect and then they give it a try and they are totally coming back for more. I made this recipe on my show, Let’s Eat! on Food Network and my co-hosts were totally surprised too. Maybe you’ve seen raspberry jam paired with brie but strawberries? They aren’t even the star of the show, really. I think the fresh thyme is really what pulls this dish together and grabs you. But who am I to tell you who the star is. Make it for yourself and then let me know what you think. I’d love it if you even posted your photo on instagram and tagged me @BrandiMilloy with the hashtag #BrandisBites

xo,

B

Grilled Strawberries & Brie

by Brandi Milloy

Ingredients

  • One 8.8-ounce wheel Brie

  • 2 tablespoons peanut oil

  • 8 ounces strawberries, hulled and sliced in half lengthwise

  • 1/4 cup packed light brown sugar

  • 3 sprigs fresh thyme

  • Pinch fleur de sel

  • Pinch red pepper flakes

  • Crackers, for serving

    Directions

  1. Preheat a grill or grill pan to medium-high heat. Brush the Brie with some of the oil. Grill until softened and grill marks appear, 3 to 4 minutes per side. Carefully transfer to a serving platter or board.

  2. Toss the strawberries in the brown sugar in a bowl until coated. Brush the grill with the remaining oil and add the strawberries cut-side down. Grill until the sugar is caramelized and the strawberries are tender, 1 to 2 minutes per side.

  3. Arrange the strawberries around and on top of the Brie. Garnish with the thyme and sprinkle with the fleur de sel and red pepper flakes. Serve warm with crackers.

Optional: Try a drizzle of balsamic glaze for a decadent touch.

Let's Celebrate National Cookie Day

Over the years I’ve made SO many cookies, especially while I was the host of POPSUGAR’s Eat The Trend and Get the Dish with Brandi Milloy. To celebrate National Cookie Day, I decided to pull together a round up of a few of my favorites. Hope you enjoy and if you make any of them, be sure to post on social and use the hashtag #BrandisBites


Baked Brie & Blueberry Wreath

This post was made possible by the U.S. Highbush Blueberry Council. Thank you for your support!

6D4A9813.jpg

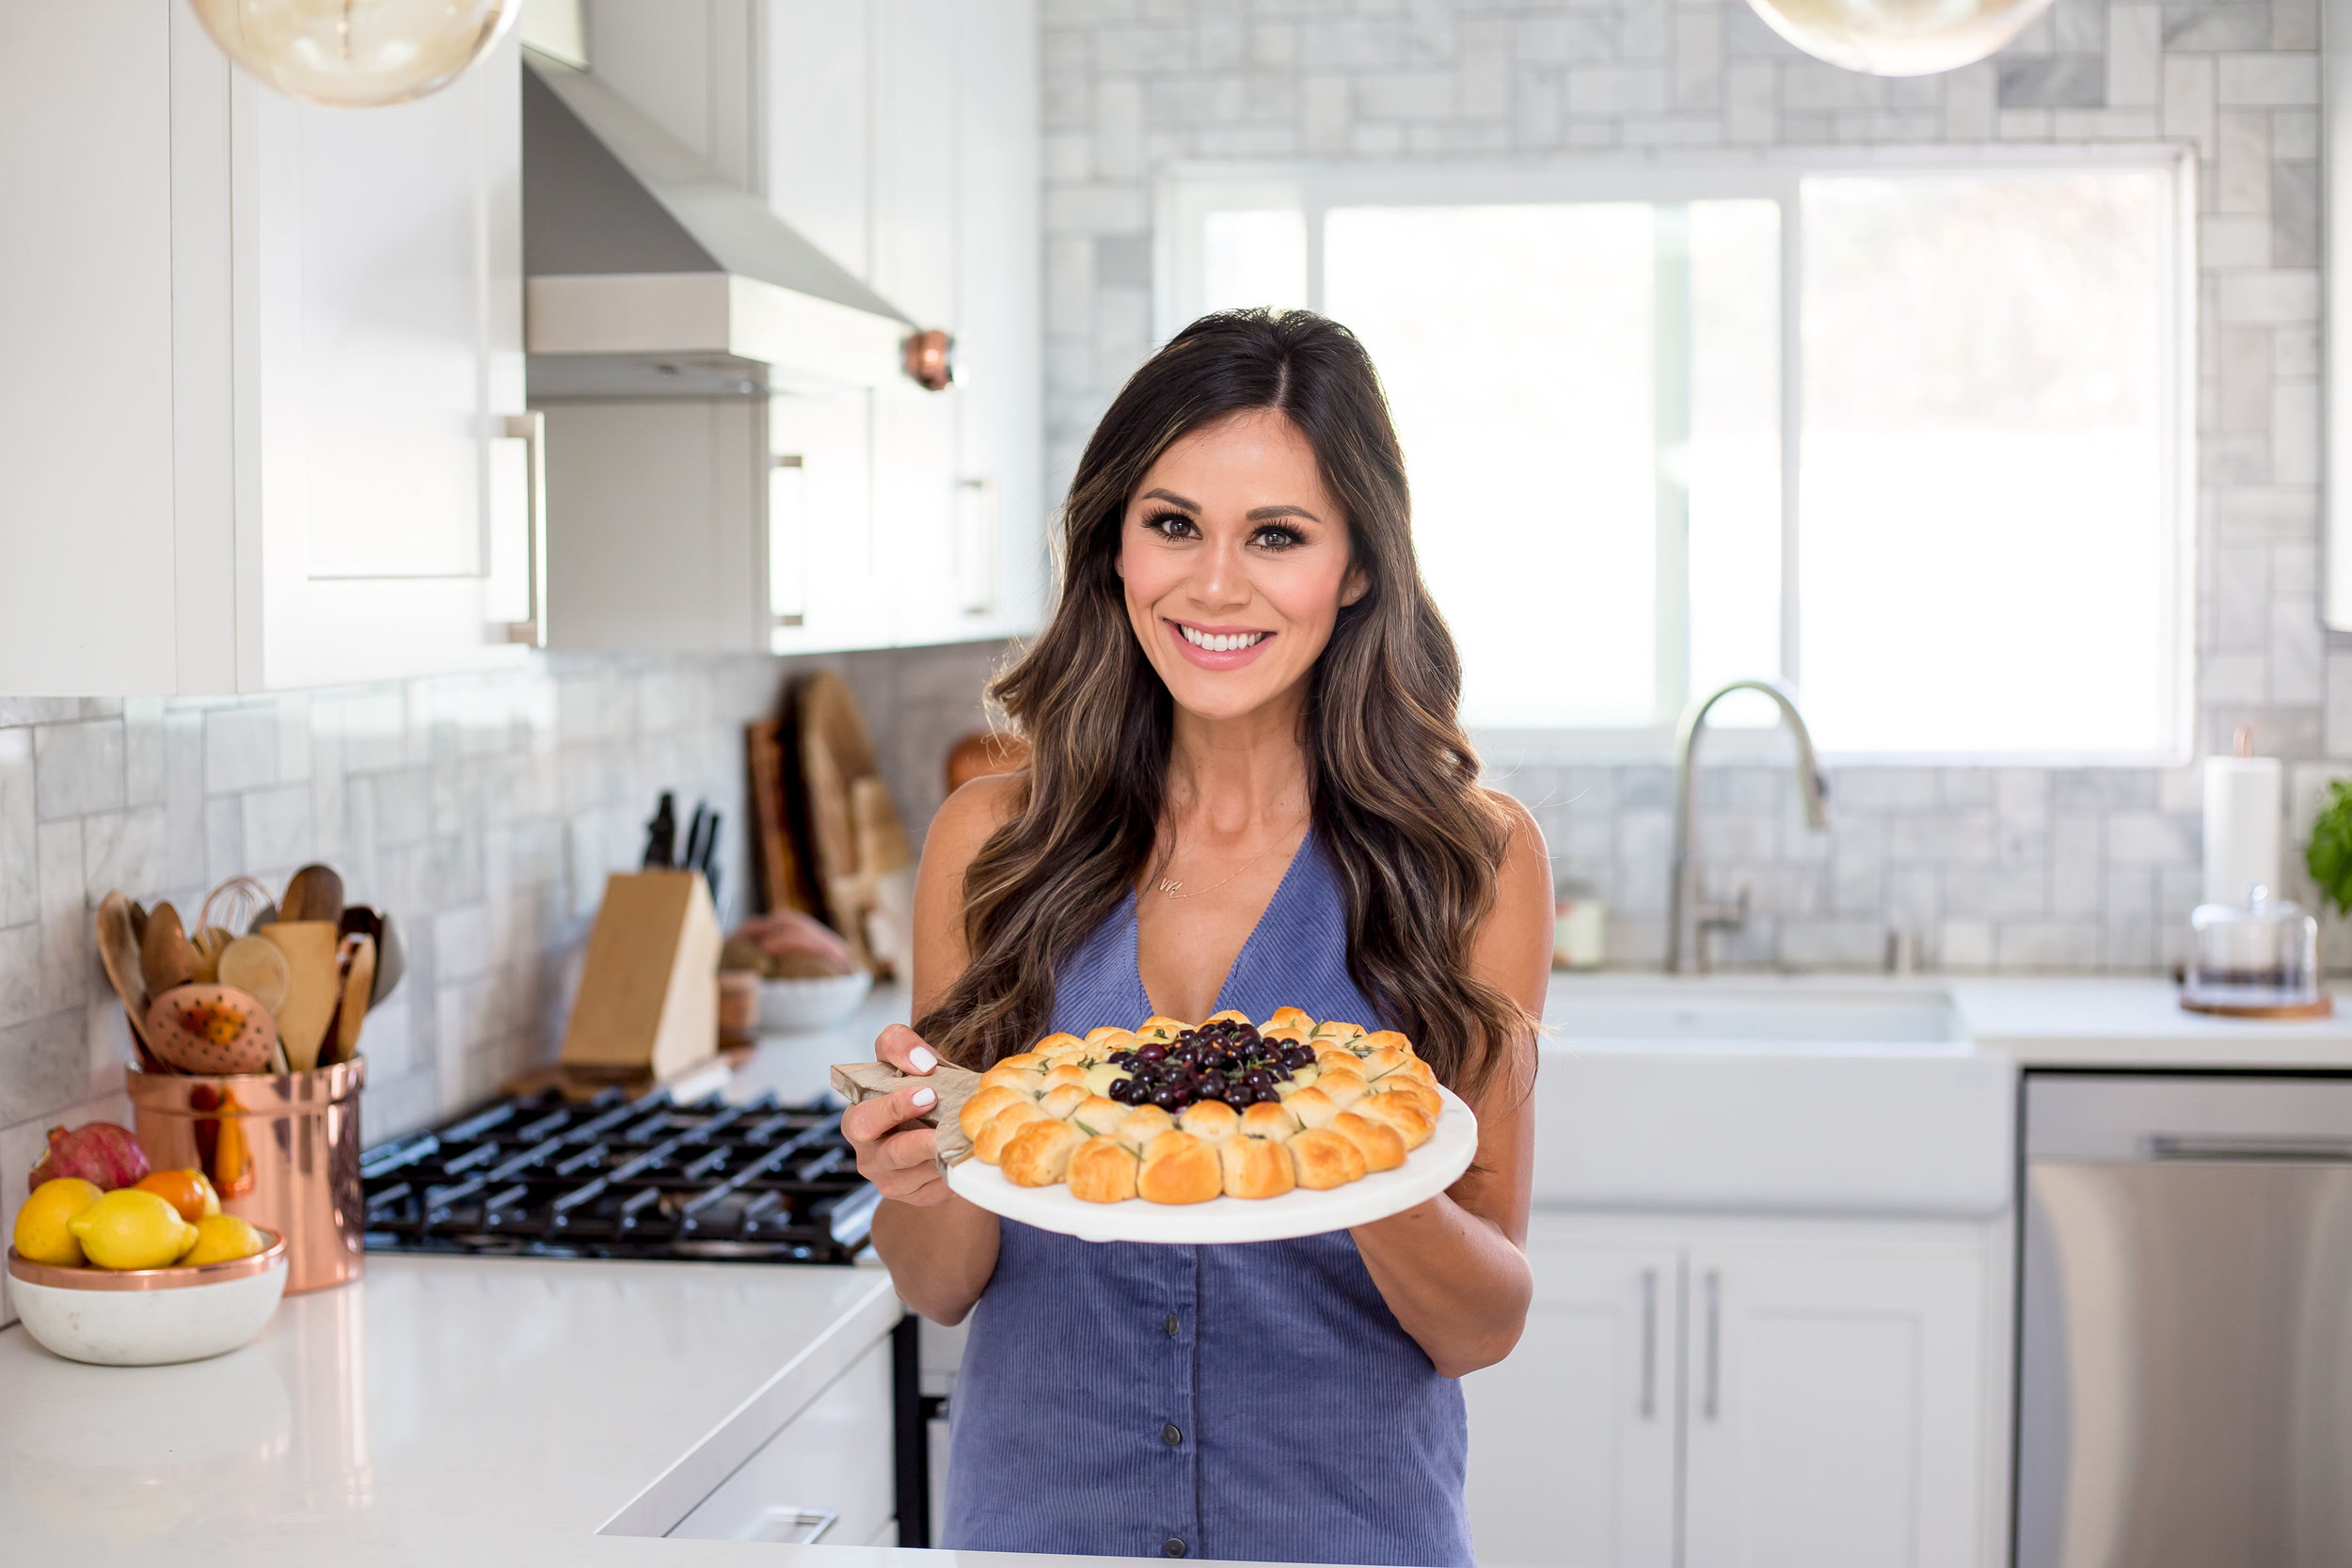
This is one of my go to appetizers anytime of the year but especially around the holidays. Who doesn’t love gooey cheese and warm bread? Topped with blueberries bursting with flavor and seasoned with thyme, rosemary and a little red pepper flakes, it’s the perfect balance of fruit to cheese to bread.

6D4A9843.jpg

I’m telling you right now you should pick up double ingredients and make two of them. They go quick. And if you’re like me you probably have most of the ingredients on hand. I keep blueberries by the boxful around here and always have a can or two of refrigerated biscuit dough.

6D4A9831.jpg

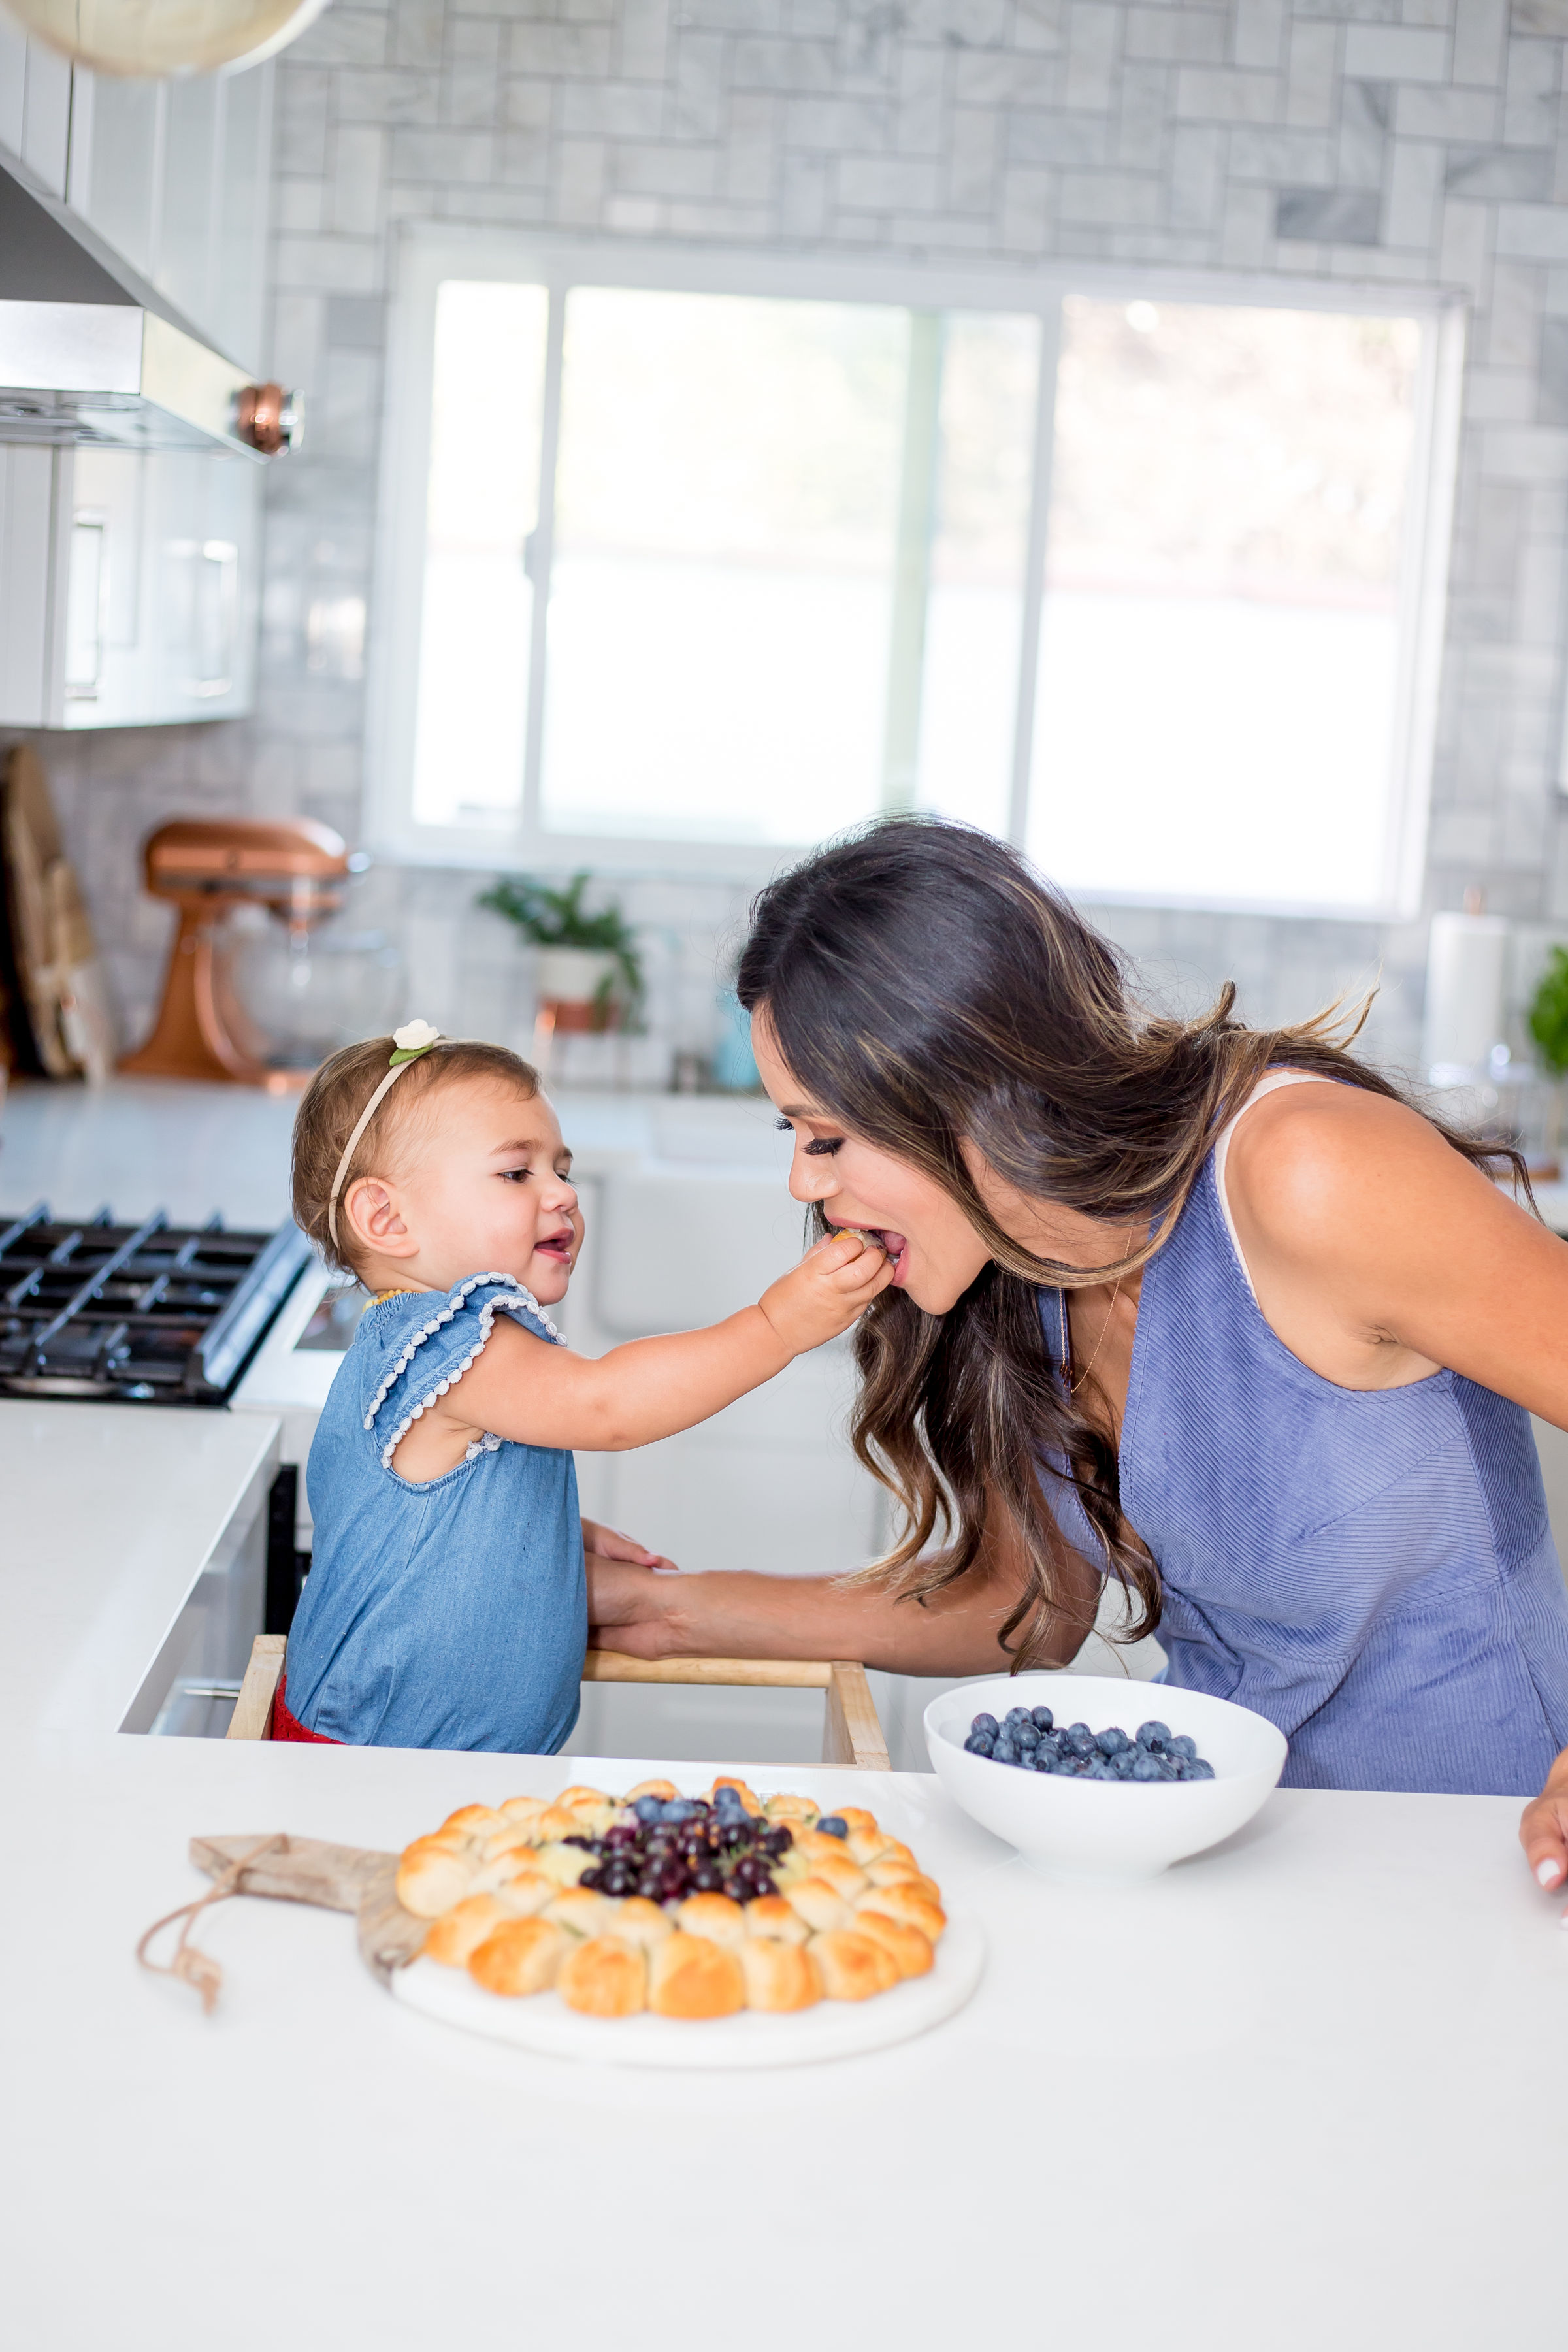
I usually have a bundle of fresh herbs in the fridge (it goes a long way!) or I’ll sometimes forage them around my hood. Ha! This is actually my third attempt at an herb garden but technically it’s not my fault they all died because I was over watering them cause I didn’t know Mr. A was also watering them and then this one time my basil just fried in the sun. It was sad. I don’t know what happened but that’s neither here nor there. And……. I should stop right now because you’re probably not even reading this anymore which is totally fine. Make this right now. You won’t regret it! And if it changes your life like I know it will, send me a shoutout on the gram! I love when you remake my recipes. Means the world. Hope you enjoy! Oh yeah and one more thing. Scroll down for the recipe and pics of Milly helping me with the final touches! She’s the yummiest!

6D4A0023.jpg

Baked Brie & Blueberry Wreath

by Brandi Milloy

  • 1 (8-ounce) round Brie or Camembert cheese

  • 1 (16.3-ounce) tube of biscuit dough like Pillsbury Grands!

  • 3/4 cup frozen blueberries or 1 (6-ounce) basket of blueberries

  • 1/4 teaspoon red chili flakes

  • 1/4 teaspoon rosemary, minced

  • 1/4 teaspoon thyme leaves

  • 1/2 teaspoon flaked sea salt like Fleur de Sel

Directions

  1. Preheat oven to 350°F and cover preferably a pizza stone (because it cooks evenly and provides a crispy bottom) or a baking sheet with parchment paper.

  2. Remove top of cheese round by carefully slicing the top of the rind off. Place cheese round in center of baking sheet with cut side up. Open biscuits and cut into quarters. Roll each piece of dough into a ball and place around cheese round until you have two rows of dough balls around the cheese. Bake for 25-30 minutes or until bread is cook through and golden brown. .

  3. Meanwhile, into a saucepan, add blueberries, red chili flakes, rosemary and thyme. Cook on medium low for 2-3 minutes or until blueberries start to darken and burst. Remove from heat and pour blueberry mixture on top of cheese. Garnish with fluer de sel and herbs as desired!

6D4A0042.jpg
6D4A0037.jpg
6D4A0039.jpg
6D4A0043.jpg
6D4A0048.jpg
Three Ingredient Protein Balls for Little Ones

First of all, the photo above has nothing to do with this recipe except it’s a pic of Milly holding our favorite Momofuku Milk Bar birthday cake truffles from her first birthday. I haven’t had a chance to take pics of these protein balls so there you go! Hope I didn’t trick you.

If you tuned in to my IG LIVE yesterday with Dini Klein of Prep and Rally, you saw we made up a recipe based on our favorite no bake balls. These are super simple snacks we make for our babes (Dini’s daughters are 5 and 3, Milly just turned 16 months). All you need is dates, nuts and fruit (dried or freeze dried fruit). I like to keep these cold in the fridge and then take them out for a snack throughout the day. You can really have fun with what you put in them. Here’s my favorite combo but the sky is the limit. You can swap out the almond butter for peanut butter. I also love adding rolled outs. You can also use different nuts depending on your preference! The key is mixing it in the food processor until it starts to come together. The below is a guide more than a recipe because it just depends on how sticky your fruit is or how many dates you add. I’d love to know what you end up creating and if you make these, take a pic with your little one enjoying them and tag me on instagram @BrandiMilloy

Enjoy!

Protein Balls

By Brandi Milloy

  • 1 cup roasted, unsalted almonds

  • 3/4 cup madjool dates

  • 1/4 cup almond butter

  • 1/3 cup freeze dried strawberries

  • 1/3 cup freeze dried blueberries

Directions

  1. Into a food processor, add nuts, dates and almond butter and process. Add fruit and process some more until mixture comes together enough to form ball. If mixture is too “wet” add more fruit and nuts by the tablespoon. If mixture is too dry, add a tablespoon of almond butter or a few dates until desired consistency.

  2. Roll into balls and place in fridge to firm up and enjoy within 10 days!