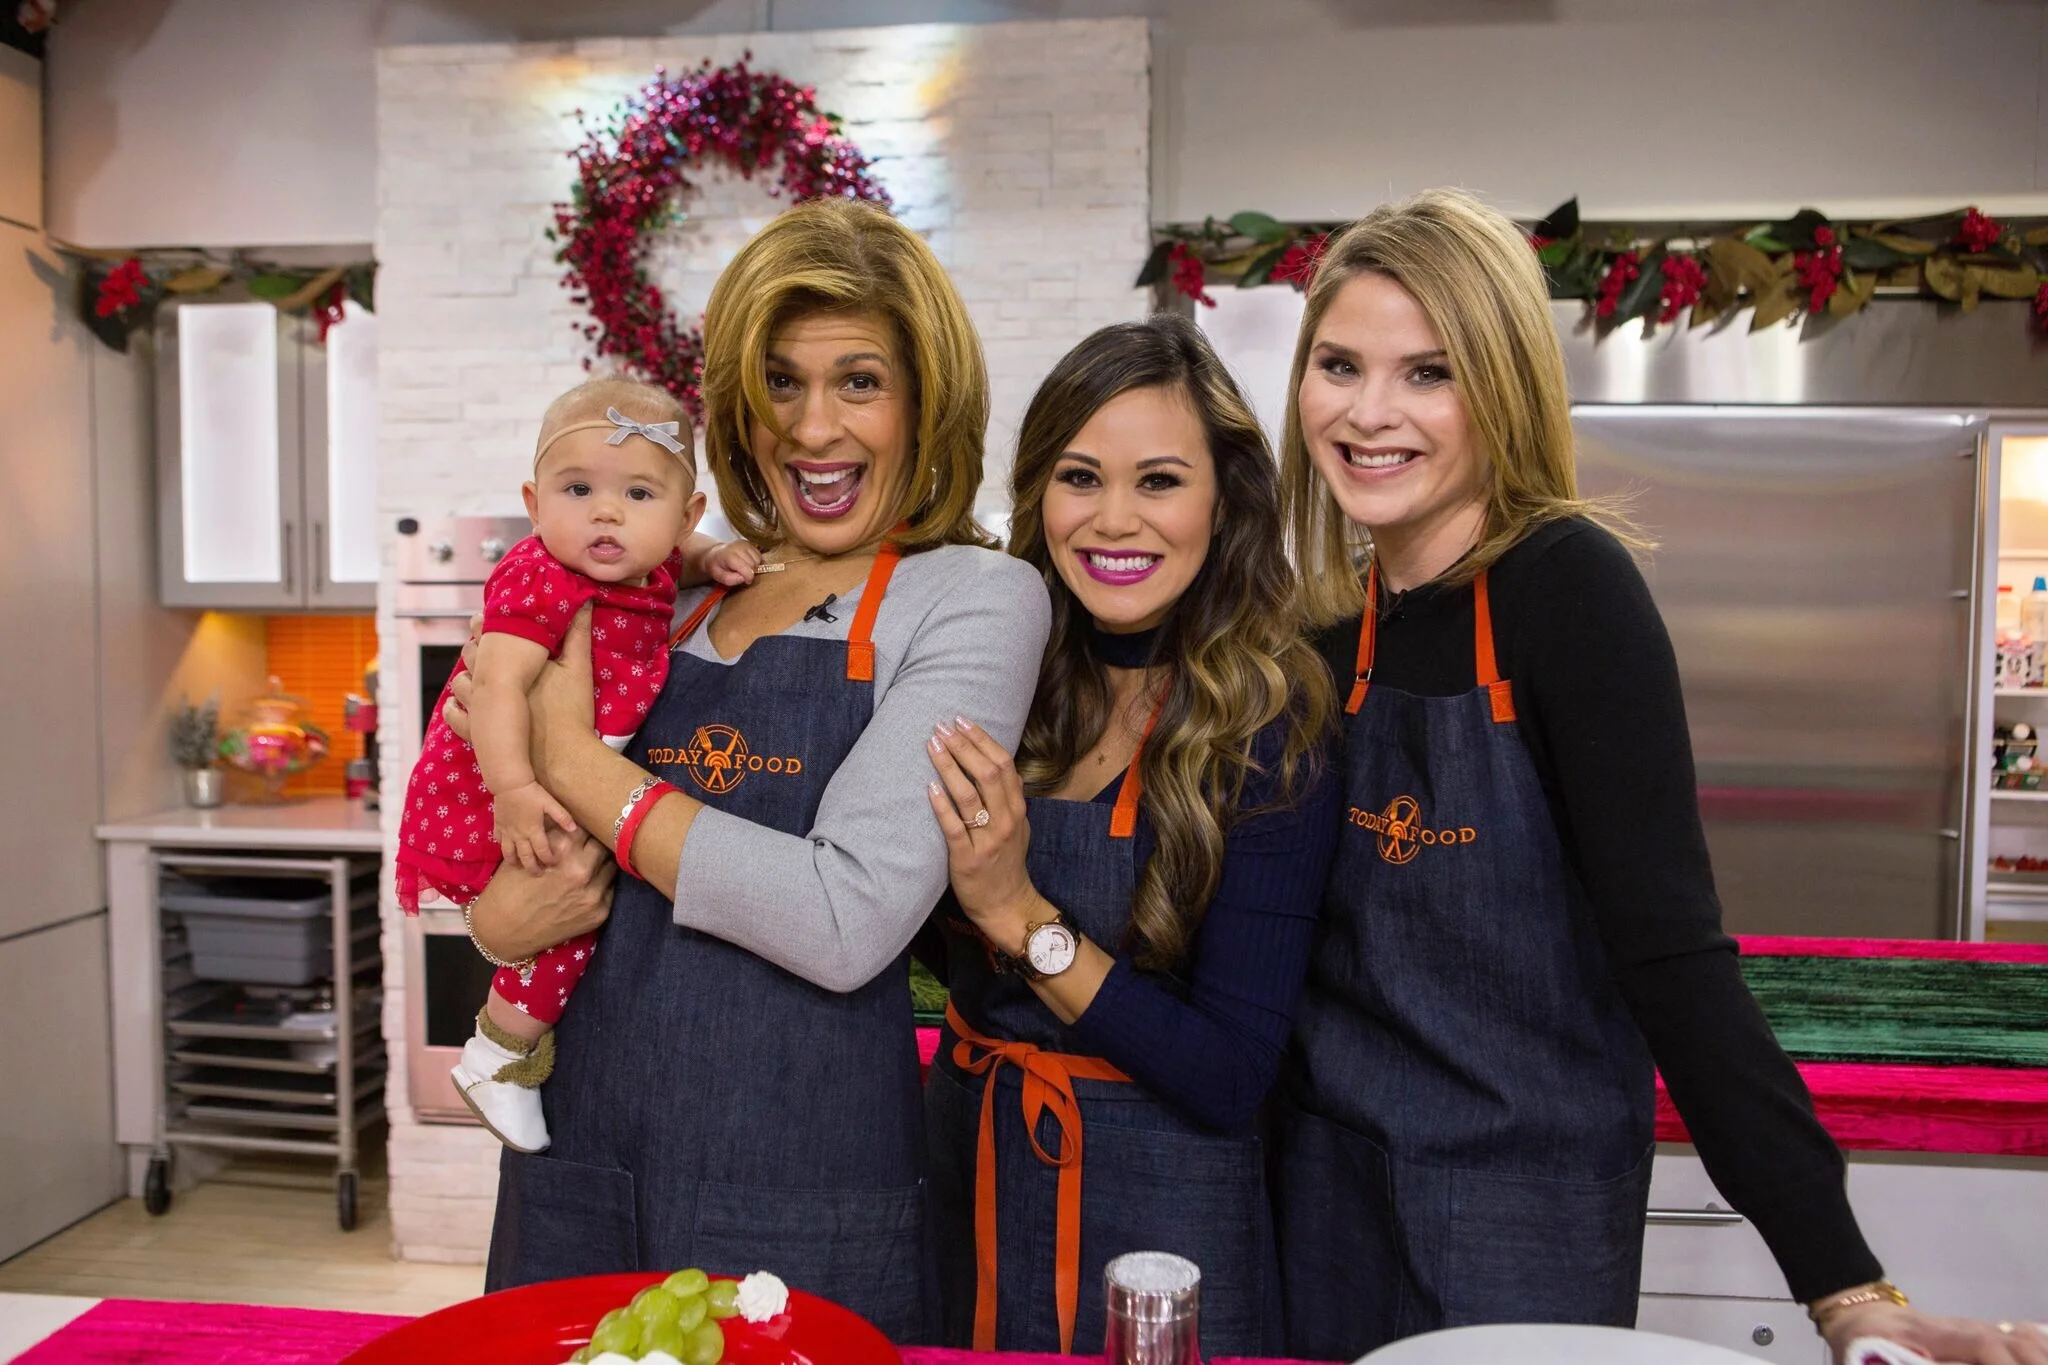
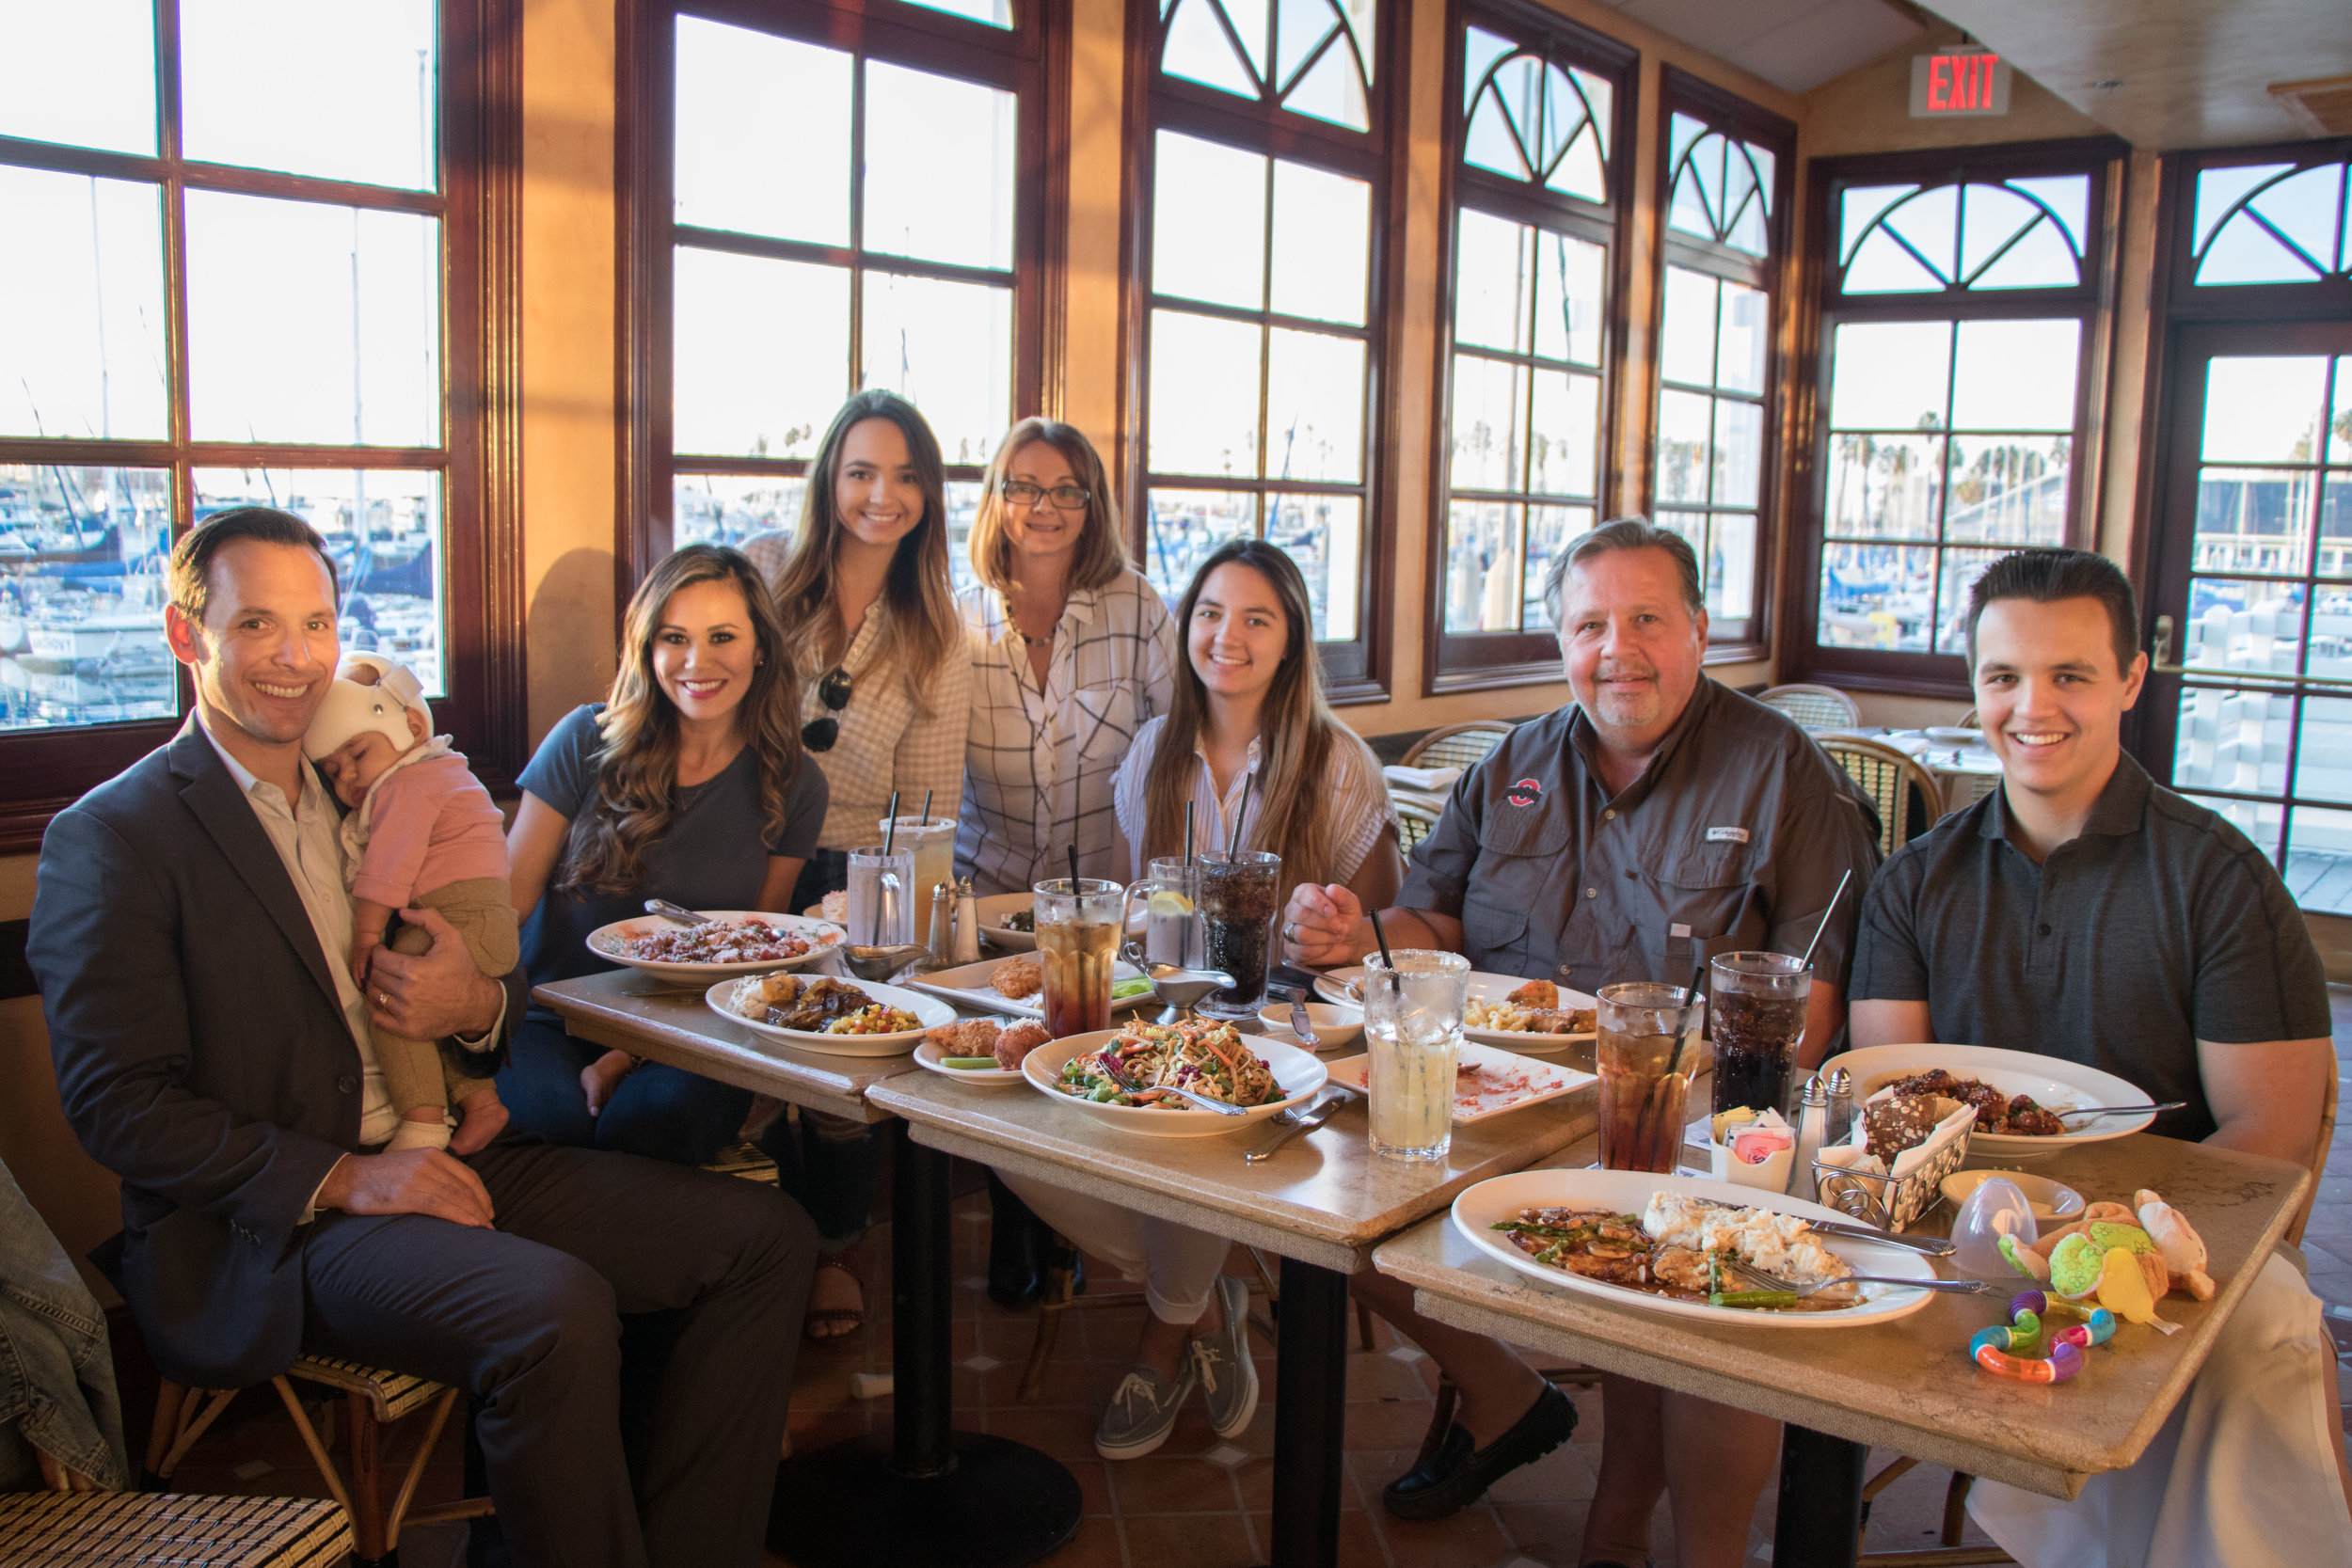
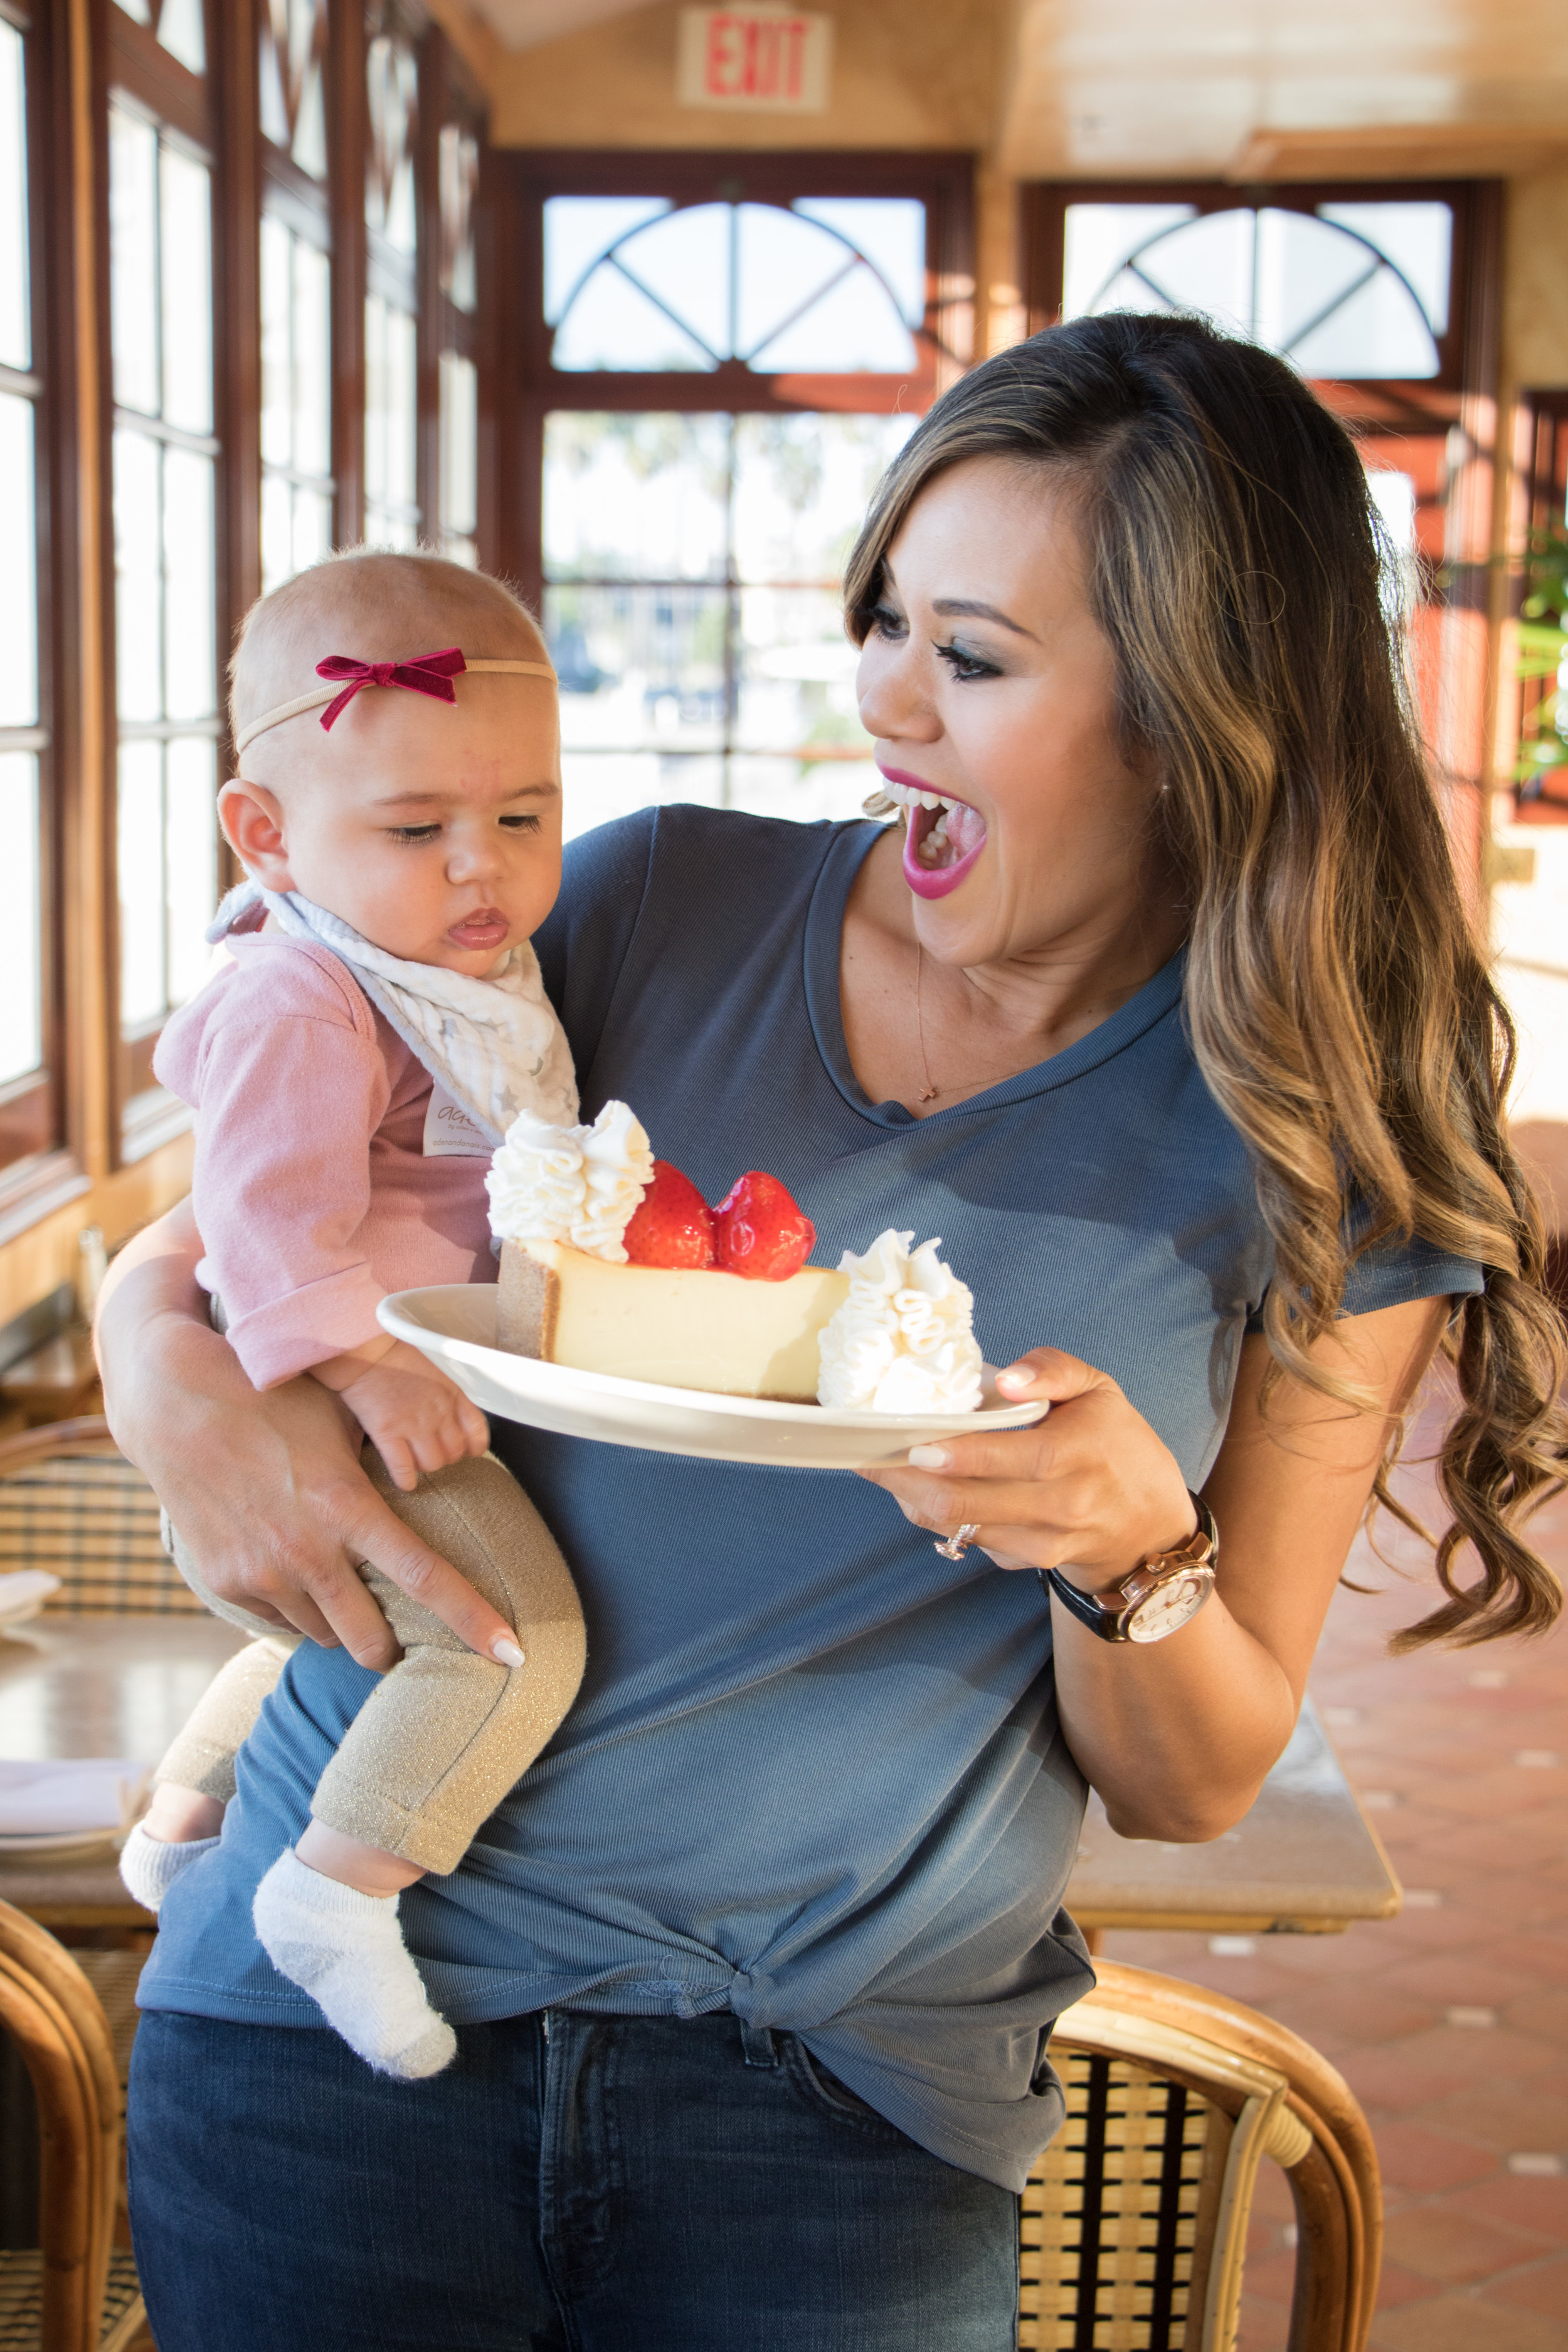
Being able to introduce our daughter, Milly to the TODAY Show family and the rest of the world during our segment on the TODAY show is a memory I will cherish forever. It's funny because when I was invited to be on the show I knew I needed to find someone to help with Milly. Our good friend, Maureen aka GMo traveled from Philly to NYC to help us out only for Aunt Hoda to hold Milly while I worked! Baby girl was so excited to be on set and comfy cozy in Hoda's arms. Check out the entire segment and the recipes here and then scroll down for more photos.
This is a sponsored post written by me on behalf of The Cheesecake Factory. The opinions and text are mine.
I love this time of year-the decorations, the smell of fresh Christmas trees and tons of family time but one of my least favorite things about the holiday season is shopping. Don’t get me wrong-I love giving gifts especially when I know someone wants something and I remembered exactly what they want and when they open their gift the excited look on their face fills my heart with so much joy. But then there are those people that you procrastinate to shop for because it’s like they have everything. Do you have friends or family like that? And you don’t want to just get them something random, right? One of my absolute favorite gifts to give are gift cards to their favorite restaurant.
One of my family’s favorite place to eat is The Cheesecake Factory. They make everything from scratch -even their dressings. And right now they are doing a sweet promo. For Every $25 dollars in gift cards you buy at The Cheesecake Factory, you’ll receive a “Slice of Joy” card redeemable for a complimentary slice of their legendary cheesecake from January 1st through March 31st, 2018. The ‘Slice of Joy’ gift card offer is available exclusively at The Cheesecake Factory restaurants or online at TheCheesecakeFactory.com
The Slice of Joy card is redeemable for any slice of their cheesecake. Personally, depending on my mood my go to is Adam’s Peanut Butter Cup Fudge Ripple Cheesecake but I also love their Peppermint Bark Cheesecake, especially because it's only available around the holidays.
It's a white chocolate cheesecake swirled with chunks of chocolate peppermint bark, topped with white chocolate mousse and finished with chopped peppermint. It's just the right amount of peppermint and chocolate and it's everything you love about the holidays on a plate. Plus for every slice they sell through the end of the year, The Cheesecake Factory will donate 25 cents to the local Feeding America food bank. So when you order the Peppermint Bark Cheesecake it's a purchase with a purpose. Now if you love chocolate, another go to of mine is the Hershey’s Chocolate Bar Cheesecake. It's delicious! It's Hershey's cheesecake between moist chocolate cake with creamy chocolate frosting and chocolate chips.
Oh my goodness I’m salivating just thinking about this.
And let’s be honest-who doesn’t want a gift card to The Cheesecake Factory? There’s something for everyone. I could eat their Buffalo Blasts every day. Oh and when I gave up meat for Lent one year I must have went there every other week for their Asian Lettuce Wrap Tacos (no chicken cause obviously no meat for Lent). That sauce is to die for. A gift card to The Cheesecake Factory is a great gift for everyone on your list and it’s ok if you’re doing it just to get the free slice of cheesecake. I won’t tell.
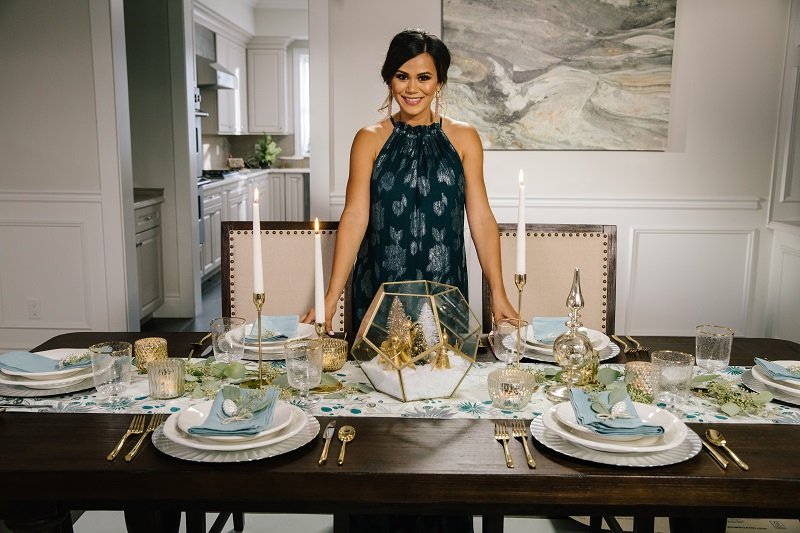
I love, love, love decorating the house this time of year but the hardest part is always figuring out what theme I want to go with. From traditional to elegant and my latest favorite-whimsy and playful, you can create the most beautiful tables for the holiday. You'll notice I love mixing colors and textures and repurposing other decor I already have. I just can't deny my love for terrariums!!! Check out my post on the World Market blog for all my decorating tips and then watch my video below featuring three amazing tablescapes!
This is a sponsored post written by me on behalf of Crisco®. The opinions and text are mine.
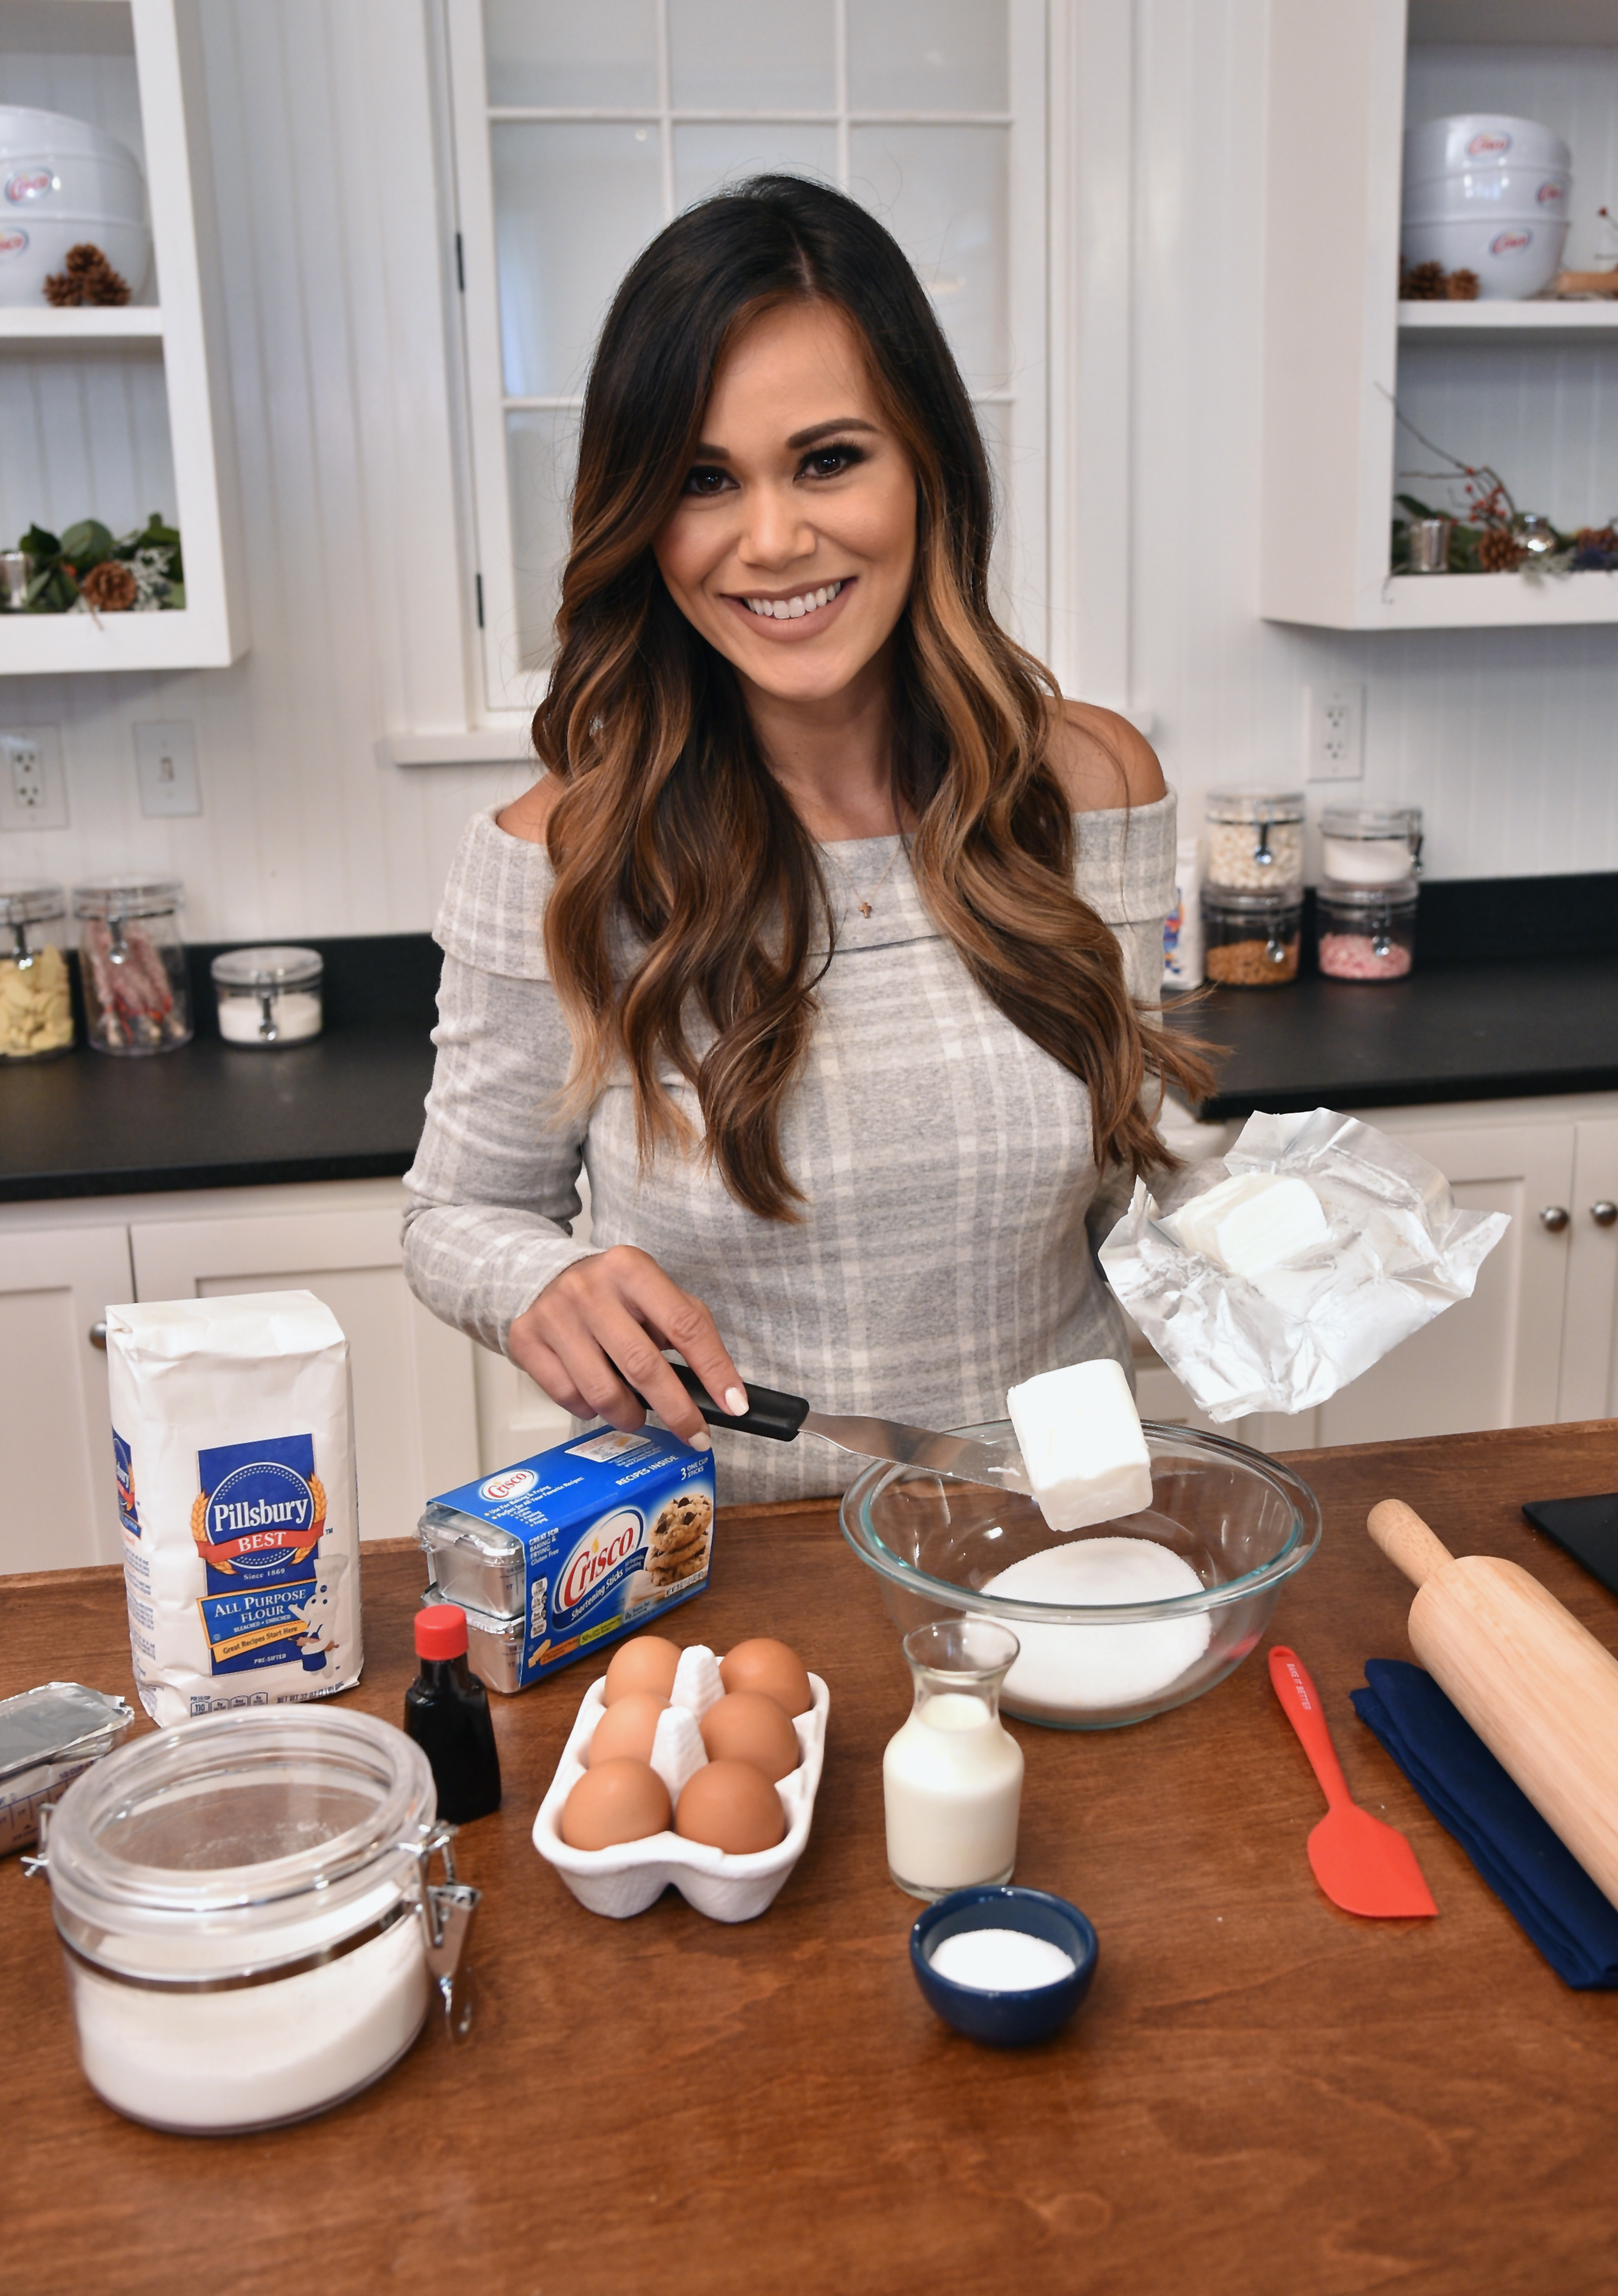
I love the holiday season! From the smell of the Christmas tree to wrapping presents while singing Christmas carols and spending time with family-it is such a joyous time of year! But for my family, it’s also the busiest time. We love having people over and hosting parties. From being a new mom and keeping up with work, I’m always looking for ways to save time, especially when it comes to entertaining. One of my time saving tips is to always keep Crisco® All-Vegetable Shortening on hand. You don’t have to let the shortening get to room temperature before using it and since it has a higher melting point than butter, you don’t have to “chill” the dough before baking! I love to make a large batch of sugar cookie dough the morning before I plan to have people over. Shortly before they arrive I start to bake batches of cookies one at a time. There’s nothing better than the smell of cookies baking in the oven. It takes very little effort and instantly makes folks feel welcome. Here are some baking tips for making the dough your own. Plus, scroll down for my Sugar Cookie Birthday Cake Sandwich Cookie recipe.
TIP #1 Get thicker, airy and light-texture sugar cookies by replacing butter with Crisco® All-Vegetable shortening.
TIP #2 Make a sugar cookie cake/pizza by pressing sugar cookie dough into a cake or pizza pan and baking.
TIP #3 Before baking, press wooden sticks into center of sugar cookie dough to make cookie pops. Great for holiday party favors or even for milk dunking!
TIP #4 For quick and easy decorating, add Crisco® All-Vegetable Shortening when melting chocolate. This creates a smoother consistency perfect for dipping sugar cookies, fruit and pretzels (add ½ teaspoon Crisco® All-Vegetable Shortening per 1oz of chocolate).
TIP #5 Create your own flavor combinations by adding dried fruits, nuts and/or candies to your favorite sugar cookie dough recipe.
Sugar Cookie Birthday Cake Sandwich Cookies
By Brandi Milloy
Yields 2-3 dozen
Ingredients
3 cups Pillsbury™ BEST™ All Purpose Flour
2 teaspoons baking powder
½ teaspoon salt
1 cup Crisco® All-Vegetable Shortening
1 cup sugar
1 large egg
2 tablespoons milk
2 teaspoons vanilla extract
1 cup rainbow sprinkles
1 batch Crisco® Creamy Homestyle Vanilla Frosting
Directions
STEP ONE
HEAT oven to 350°F. Whisk flour, baking powder and salt in medium bowl until blended.
STEP TWO
BEAT shortening and sugar in large bowl with mixer on high speed until light and fluffy, about 5 minutes.
STEP THREE
BLEND in egg, milk and vanilla. Gradually blend in flour mixture. Fold in ½ cup sprinkles.
STEP FOUR
DIVIDE dough in half. Roll out each half on lightly floured surface to 1/4-inch thickness. Cut with 2 ½ inch round fluted edge cookie cutter. Place 2 inches apart on baking sheet.
STEP FIVE
Bake 8 to 10 minutes or until bottom edges are very light brown. Cool 2 minutes on baking sheet. Remove to wire rack to cool completely.
STEP SIX
To assemble sandwich cookie: Frost the bottom of one cookie and press another cookie on top. Garnish edge of cookies with sprinkles.
My husband and I love to travel so we decided early on we weren’t going to stop going on trips just because we added a little member to our family! Thank goodness Milly is a natural born adventurer who loves to be on the go. She’s four months old and already she’s been on a handful of flights, across country twice and more weekend getaways than I can count. I’ve learned plenty of tips and tricks along the way and you can read about those here.
When I began the overwhelming task of packing for Milly, it was daunting. I already joke that babies are little hoarders so how do you choose what to bring when they need so much stuff? I decided to prioritize as many products that do double duty as possible. I thought about what things would make her comfortable and being away from home easier and finally, what things I use the most at home. Here are my 14 favorite products for traveling with a baby. Consider this your packing checklist!
Fold’n Go™ Travel Bassinet
While many hotels provide a crib you can borrow during your stay, I prefer to bring my own. Weighing in at under 3 lbs and super compact, it’s ideal for travel. Most bassinets are so bulky and big they take up an entire piece of luggage meaning that’s one more bag you have to pay for. I also like that the mattress is removable and the sheet is machine washable. This one folds up easily and is for approximately the first 3 months. The breathable mesh panels give such a peace of mind with an infant. We took this on several trips and it allowed us to go to bed knowing Milly was safe and comfortable. It should be noted that this bassinet should not be used when the infant begins to push up on hands and knees or has reached 15 lbs. (6.8 kg.), whichever comes first.
Teether Babies®
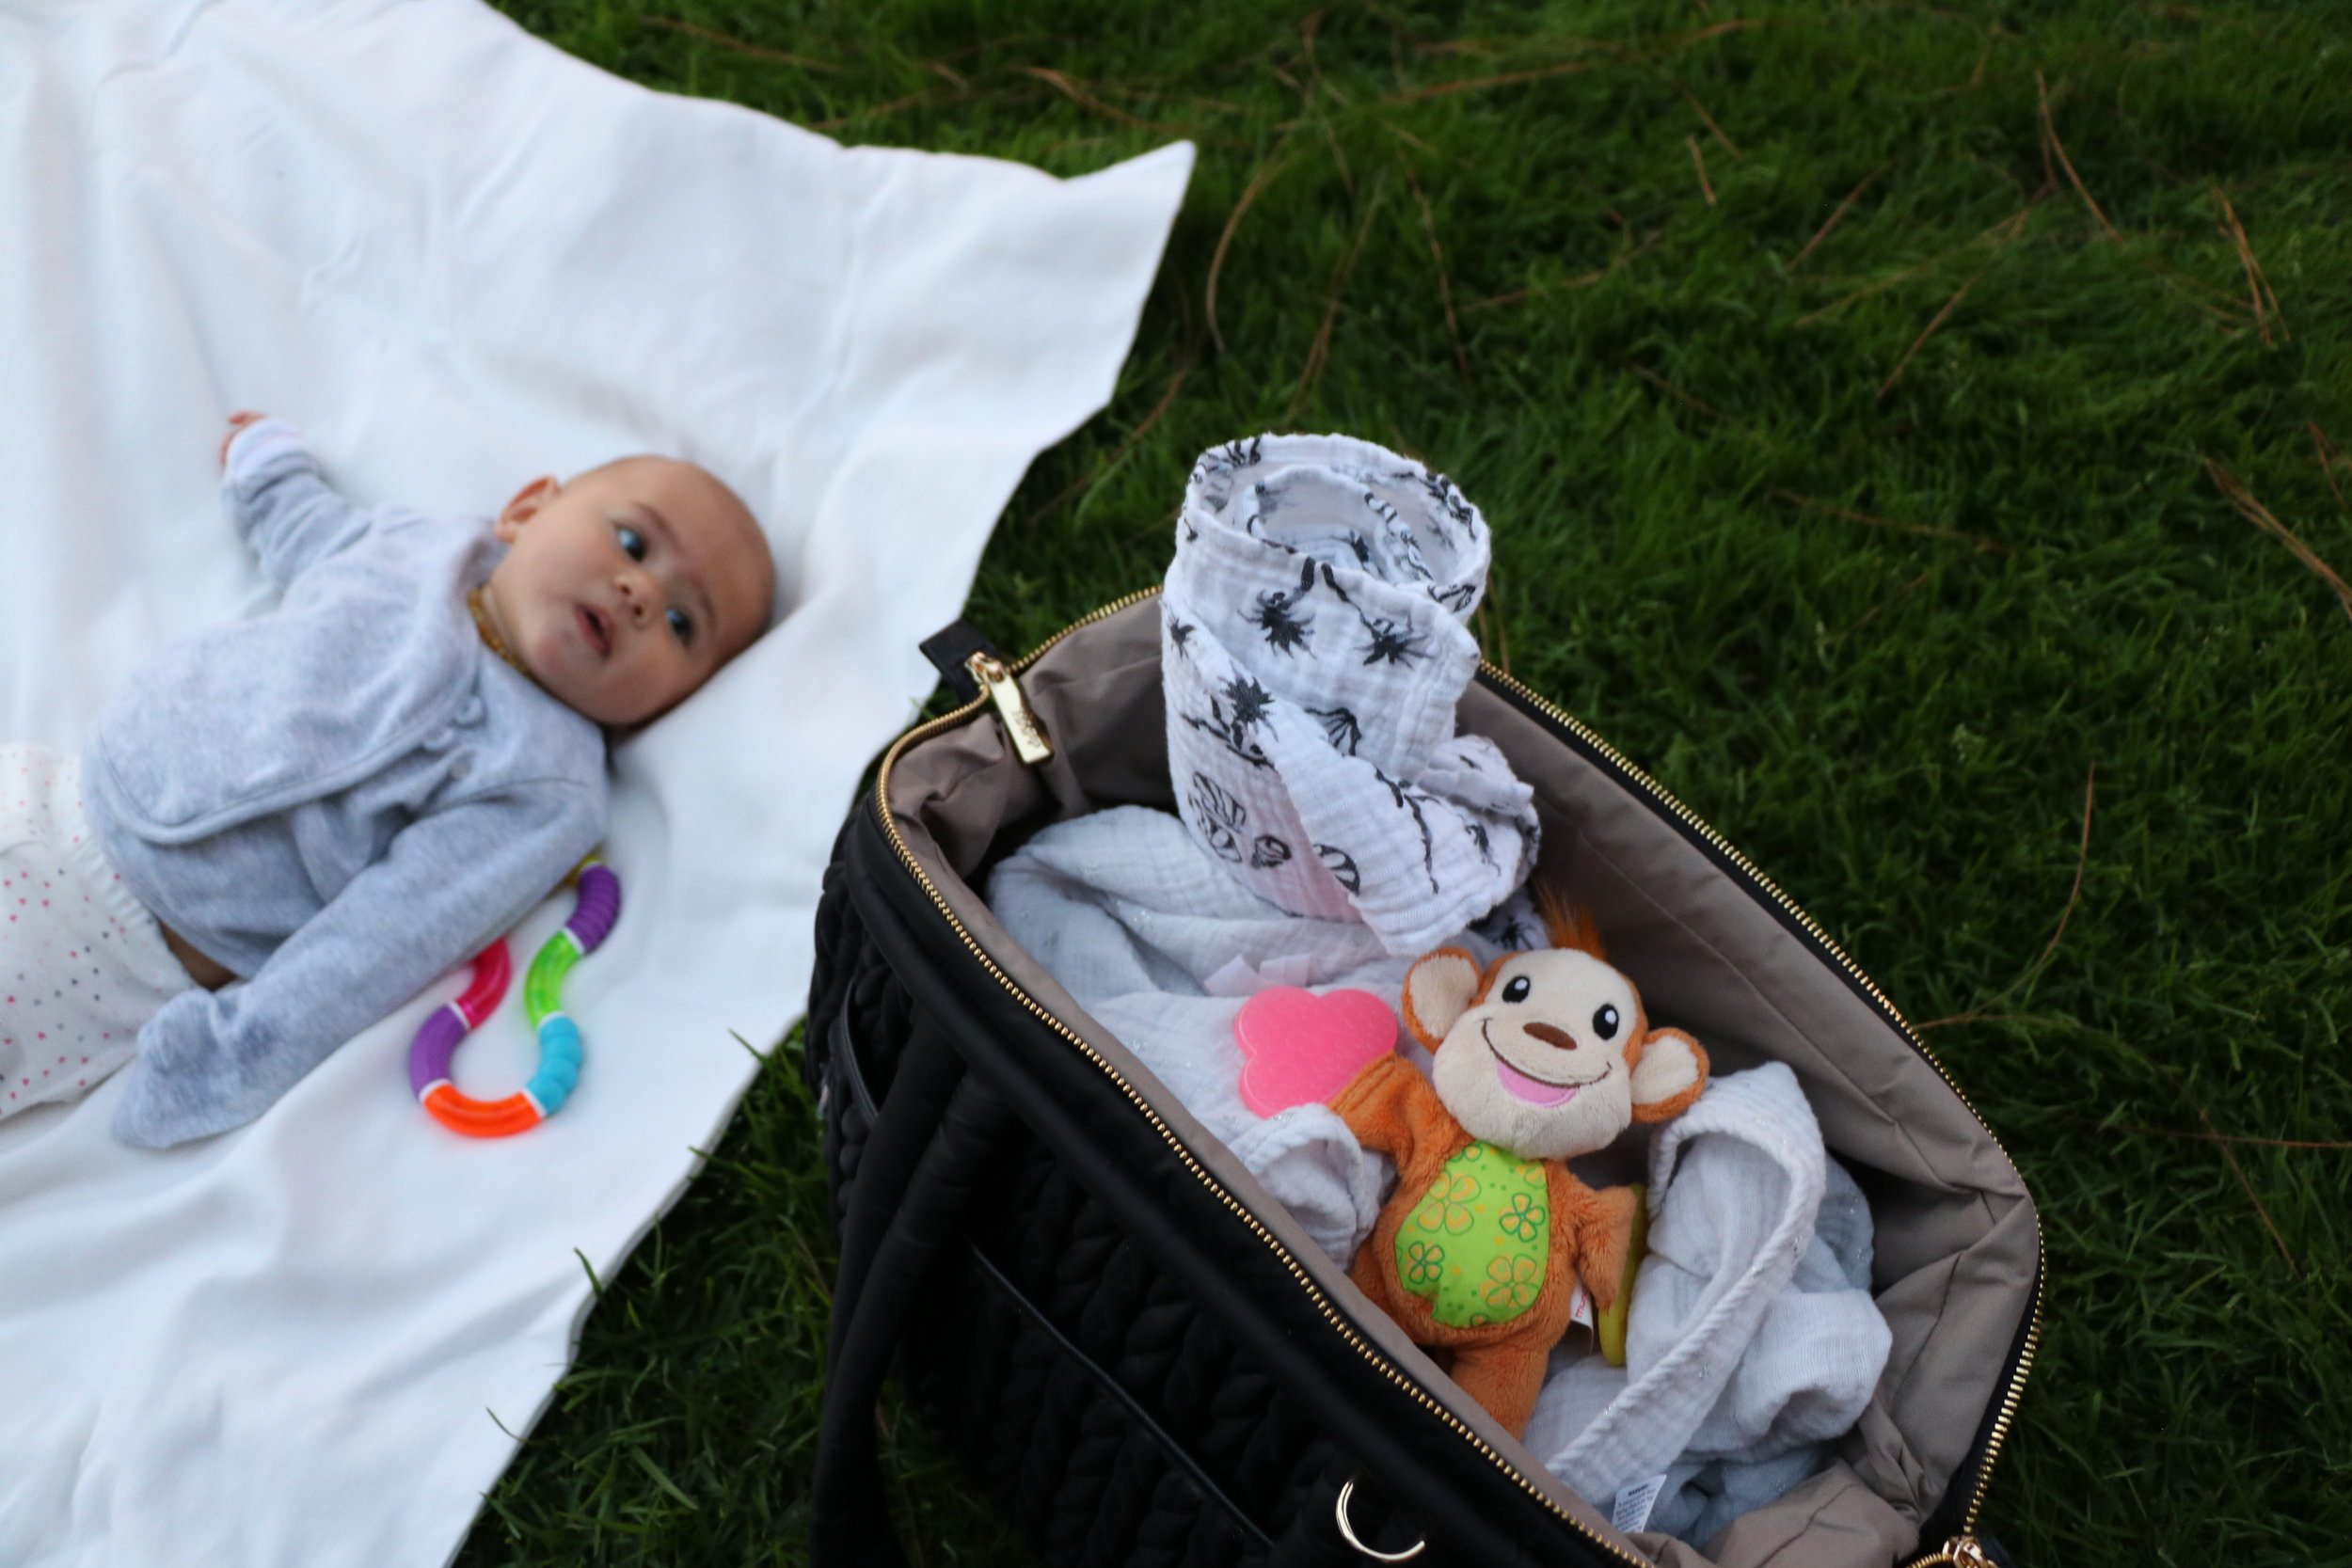
“Munchkin the Monkey” as we call him is Milly’s best friend. He’s been on every trip with us so thank goodness he can go in the wash! I understand parents want to bring their child’s lovey with them on trips plus the blanket, teethers and more toys but that leaves room for losing items! And that’s a whole lot of stuff to pack! This is a packing checklist on the essentials-what you really NEED to bring. I learned early on from my mommy friends that it’s best to have a travel lovey that only goes on trips with you….and to buy two ;) just in case. I love how this monkey pulls triple duty. The textured paws massage Milly’s sore gums. The crinkly paper is great for keeping her attention on road trips and it even rattles. Plus the clip at the top means you can attach it to almost anything.
Travel™ Bottle Warmer
Having a travel bottle warmer is a must have for our family. The last two trips we took were for my work so my husband was doing about half of the feedings using my frozen breast milk. This makes it convenient for him to feed our daughter when Mommy is working or on the go. The flexible heating band conforms to the bottle so it warms evenly and quickly. We even plugged the warmer into our Uber on the way to the hotel!
LATCH™ 4oz Bottle
This has been Milly’s favorite bottle since birth. Luckily we didn’t have to try a dozen bottles before finding the perfect one for her because a friend had suggested we try LATCH™. For a breastfeeding mama I love the slow flow and ultra flexible nipple that flexes as she eats. It mimics the movement of a real breast. And the anti-colic valve helps ensure bubbles don’t travel through the breast milk meaning Milly goes to sleep just as easy as when she breastfeeds. I don’t know what we would do if my husband couldn’t feed Milly with such ease. And bottles aren’t just for when Milly’s away from me. There have been so many instances where we were glad we had a bottle ready for her (waiting in line to rent a car, in the taxi on the way home, during dinner at a restaurant, and many more.) Even if you are a breastfeeding Mama, make sure you pack at least two bottles including a little cleaning brush and soap when you travel. You’ll be so glad you did.
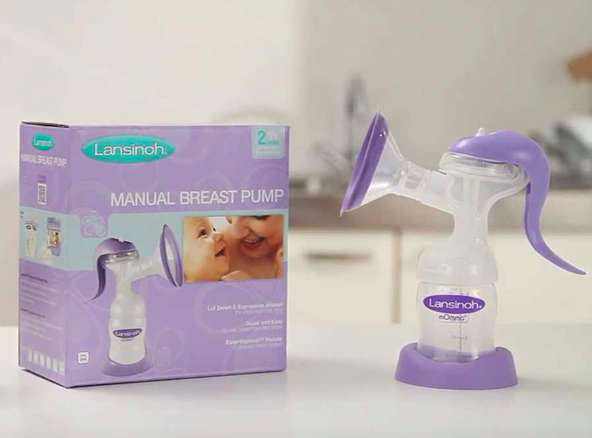
Manual Breast Pump
For the same reasons mentioned above, never go on a trip without a manual breast pump. You never know when you can’t breastfeed but need to relieve yourself and/or feed your baby. This is the best $30 I’ve ever spent. It’s small, easy to use, discreet and quiet. On long road trips I've used it to pump in the car (while my husband drives). I actually prefer my manual breast pump over my electric. It just feels more efficient and I don't need to be teethered to an electrical outlet to use it!
California Baby Bubble Bath
When you’re traveling with a baby sleep is so important. We sometimes give Milly two baths a day when we are on the road. One is for playtime that we make into an activity. This is great because it’s a nice way for her to play and let out some energy! The other bath is to calm and relax her before bedtime. Ironically, our favorite California Baby bubble bath is “Party!” and “Calming”! Organic, pure and safe it’s the only skincare I use on her.
Shhh…™ Portable Sound Machine
When you’re on the go and your baby’s schedule is all out of wack, you want all the help you can get when it comes to getting them to sleep. This sound machine is as small as a baby bottle and battery operated so it’s super convenient for on the go. It’s instantly calming and since we use one at home too, Milly is easily taken to dream city as soon as I turn it on. Read more about why I swear by this when I travel here.
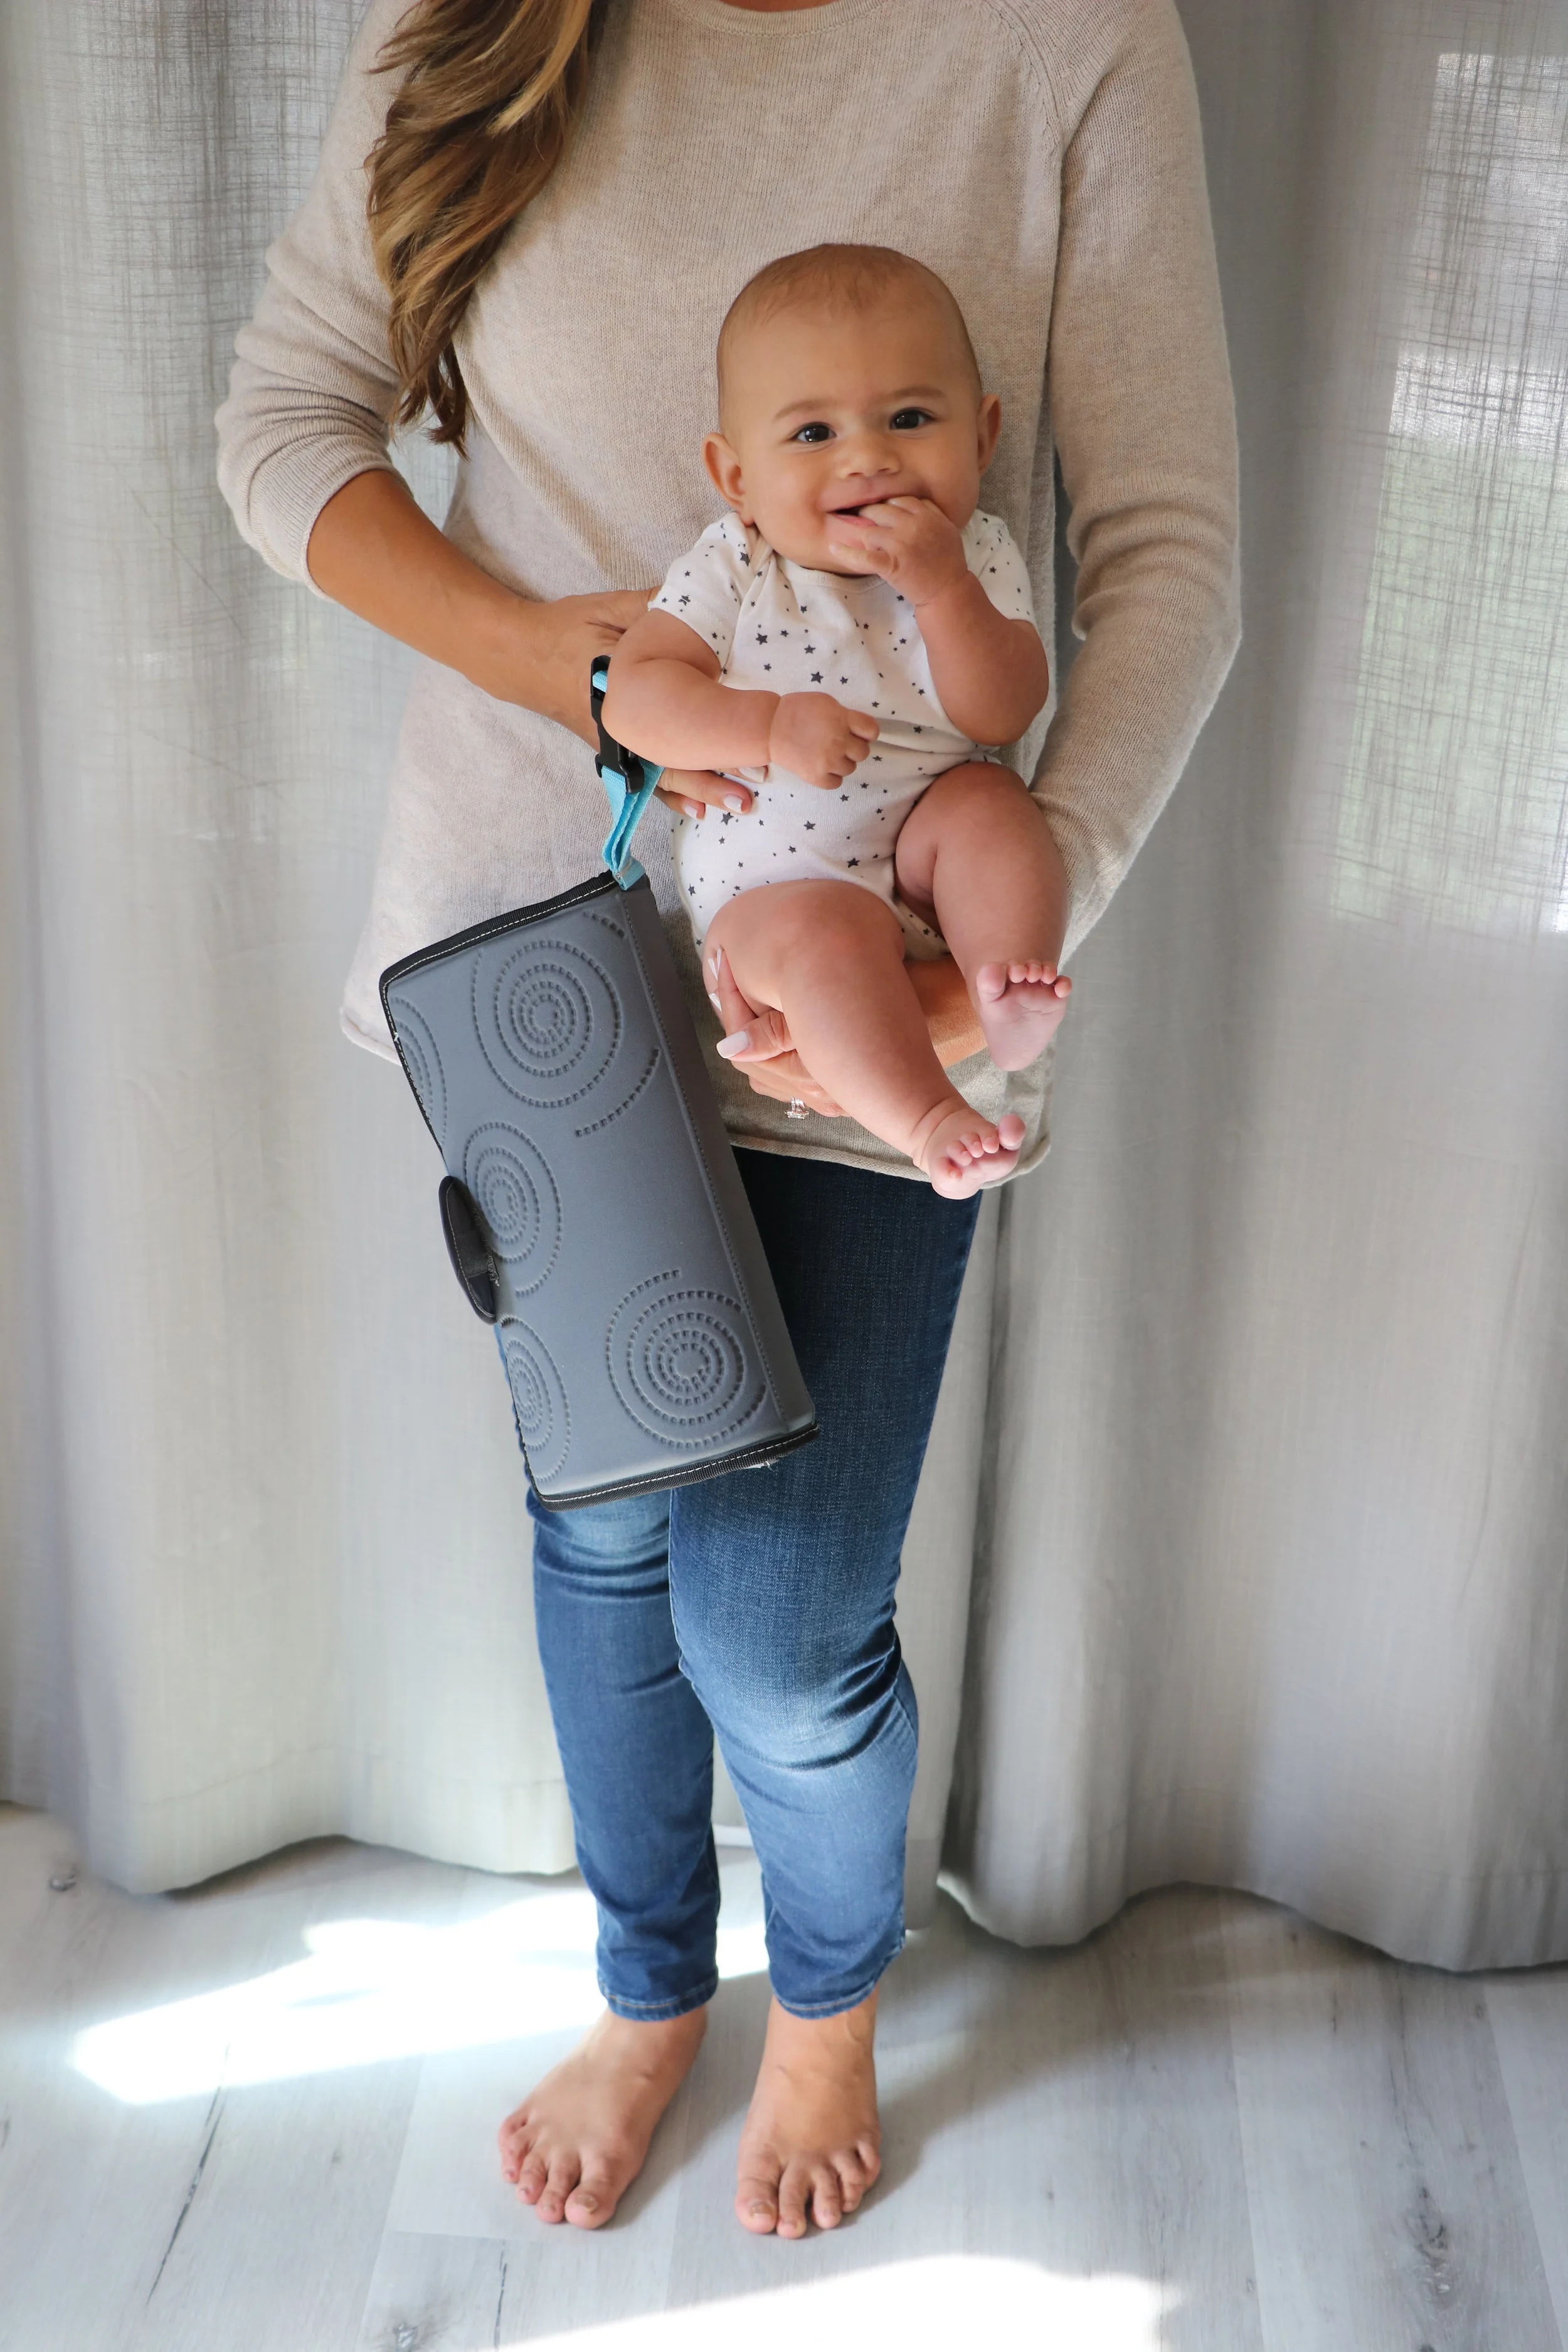
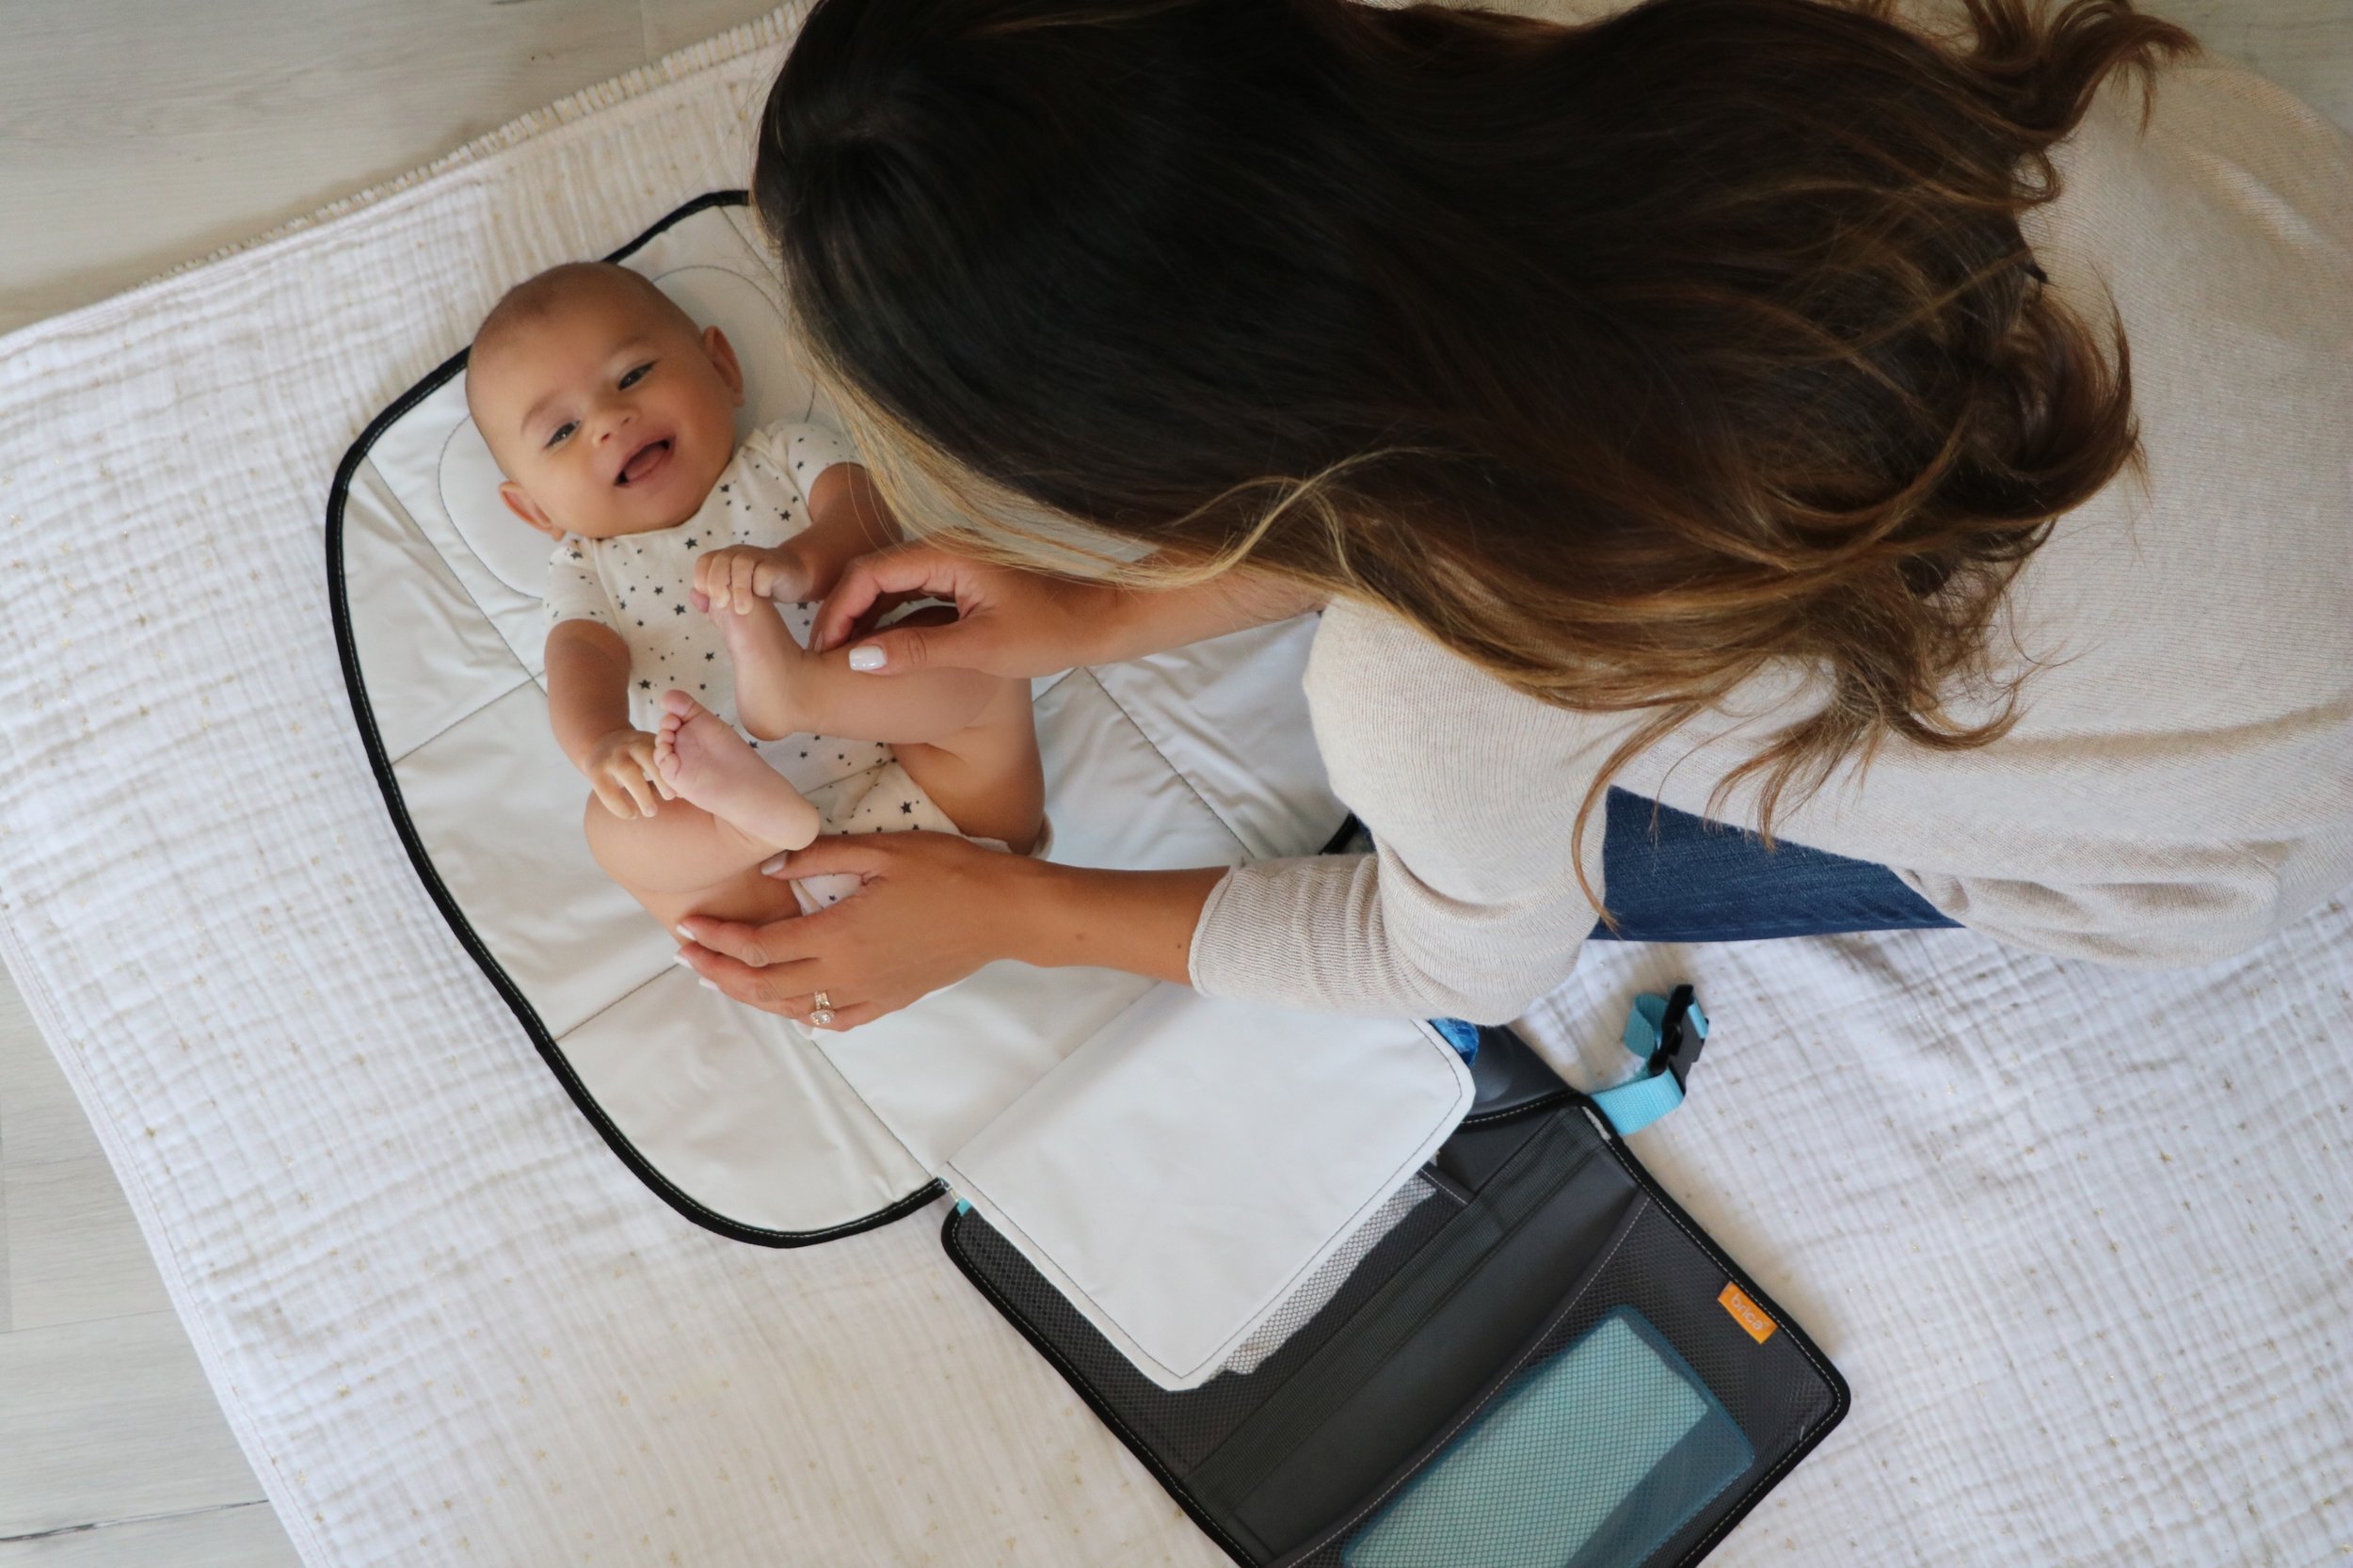
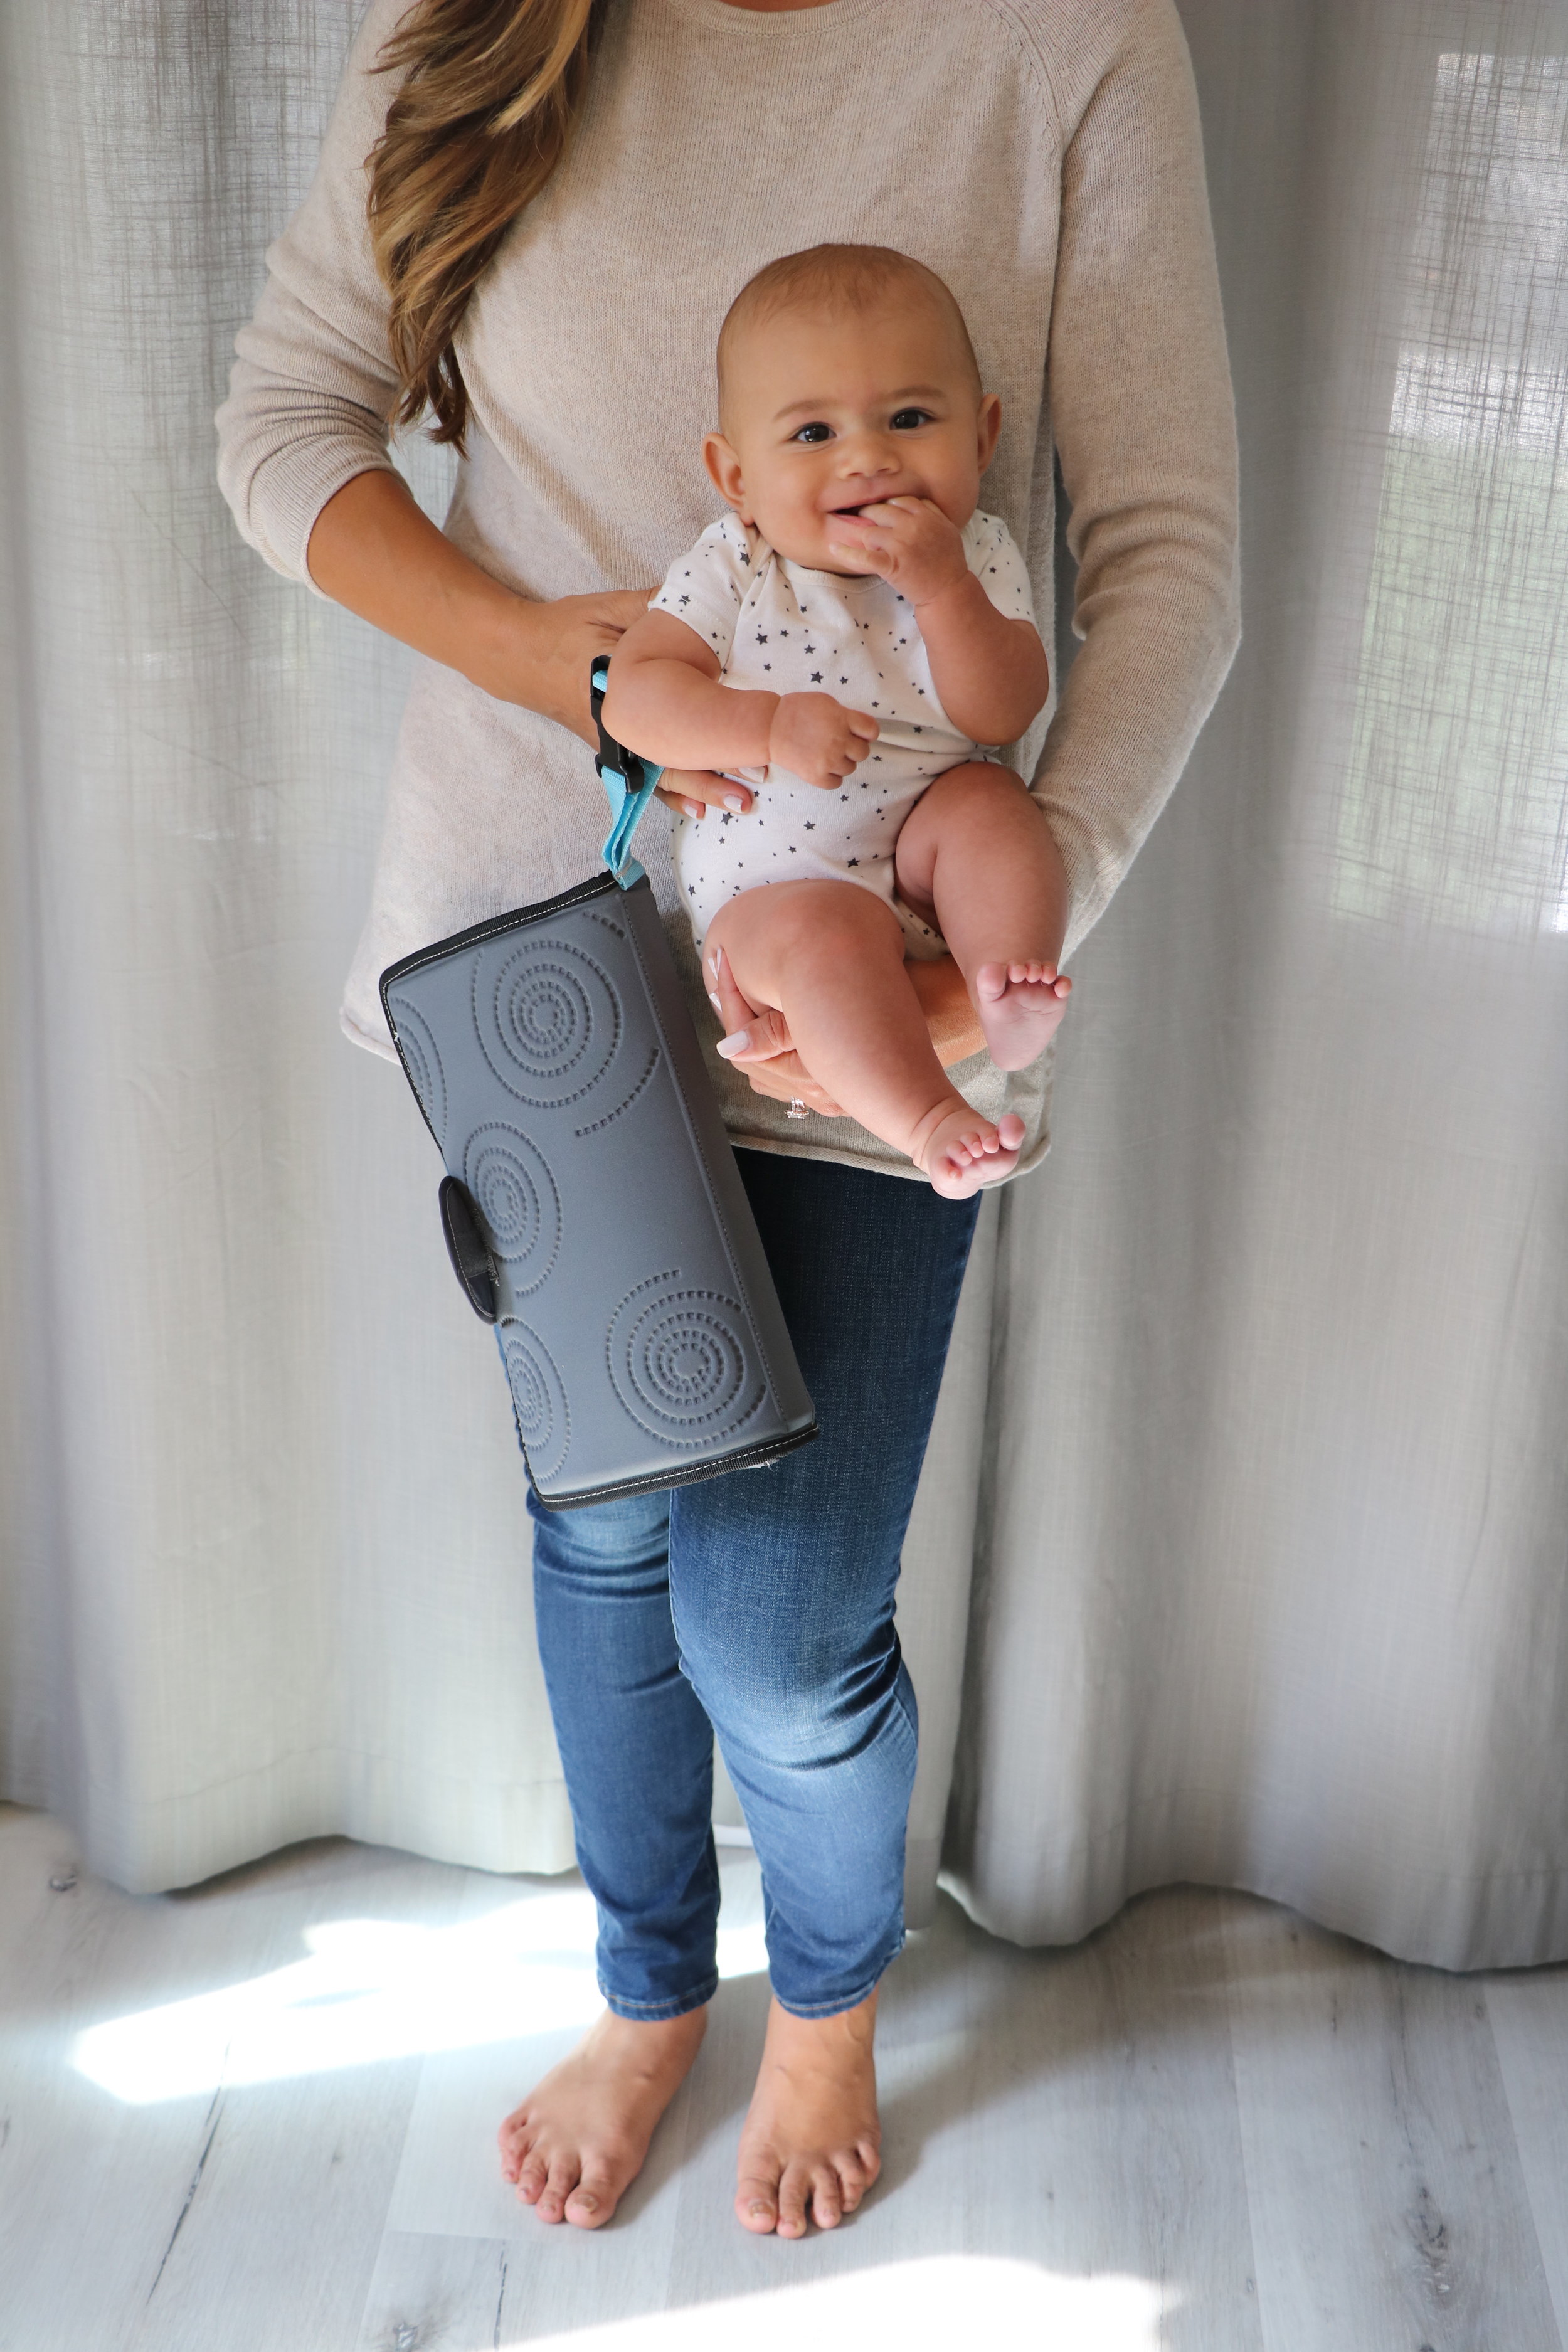
goPad™ Diaper Changer
This will by far be your travel must have accessory. I keep this in my diaper bag so I can just grab this clutch instead of bringing the whole bag. It has everything you need to change your baby on the go. I love it so much I wrote a whole post about this here.
aden & anais Swaddles
These super soft muslin blankets are so versatile. Use them as a swaddle, tummy time blanket, burp cloth, blanket, stroller cover, breastfeeding cover and more. I make sure my diaper bag, car and stroller always have them!
Baby Bjorn Carrier
Baby wearing is truly key when traveling. I know us Moms are used to holding our baby and doing everything with one arm but save yourself the sore biceps by investing in a baby carrier. Until Milly is bigger, I’m using a hand-me-down one my sister gave me that she used with my nephews over 10 years ago!
Doona
While I won’t consider this a must have, if you travel a lot, it is worth the investment. This car seat and stroller in one is compact and easy for travel. It made getting in and out of cabs when we traveled to NYC a breeze. With one click it goes from stroller to car seat and vice versa. So narrow and small, it fit in the teeniest of areas. Having this on a trip eliminated the need to pack a separate car seat and stroller.
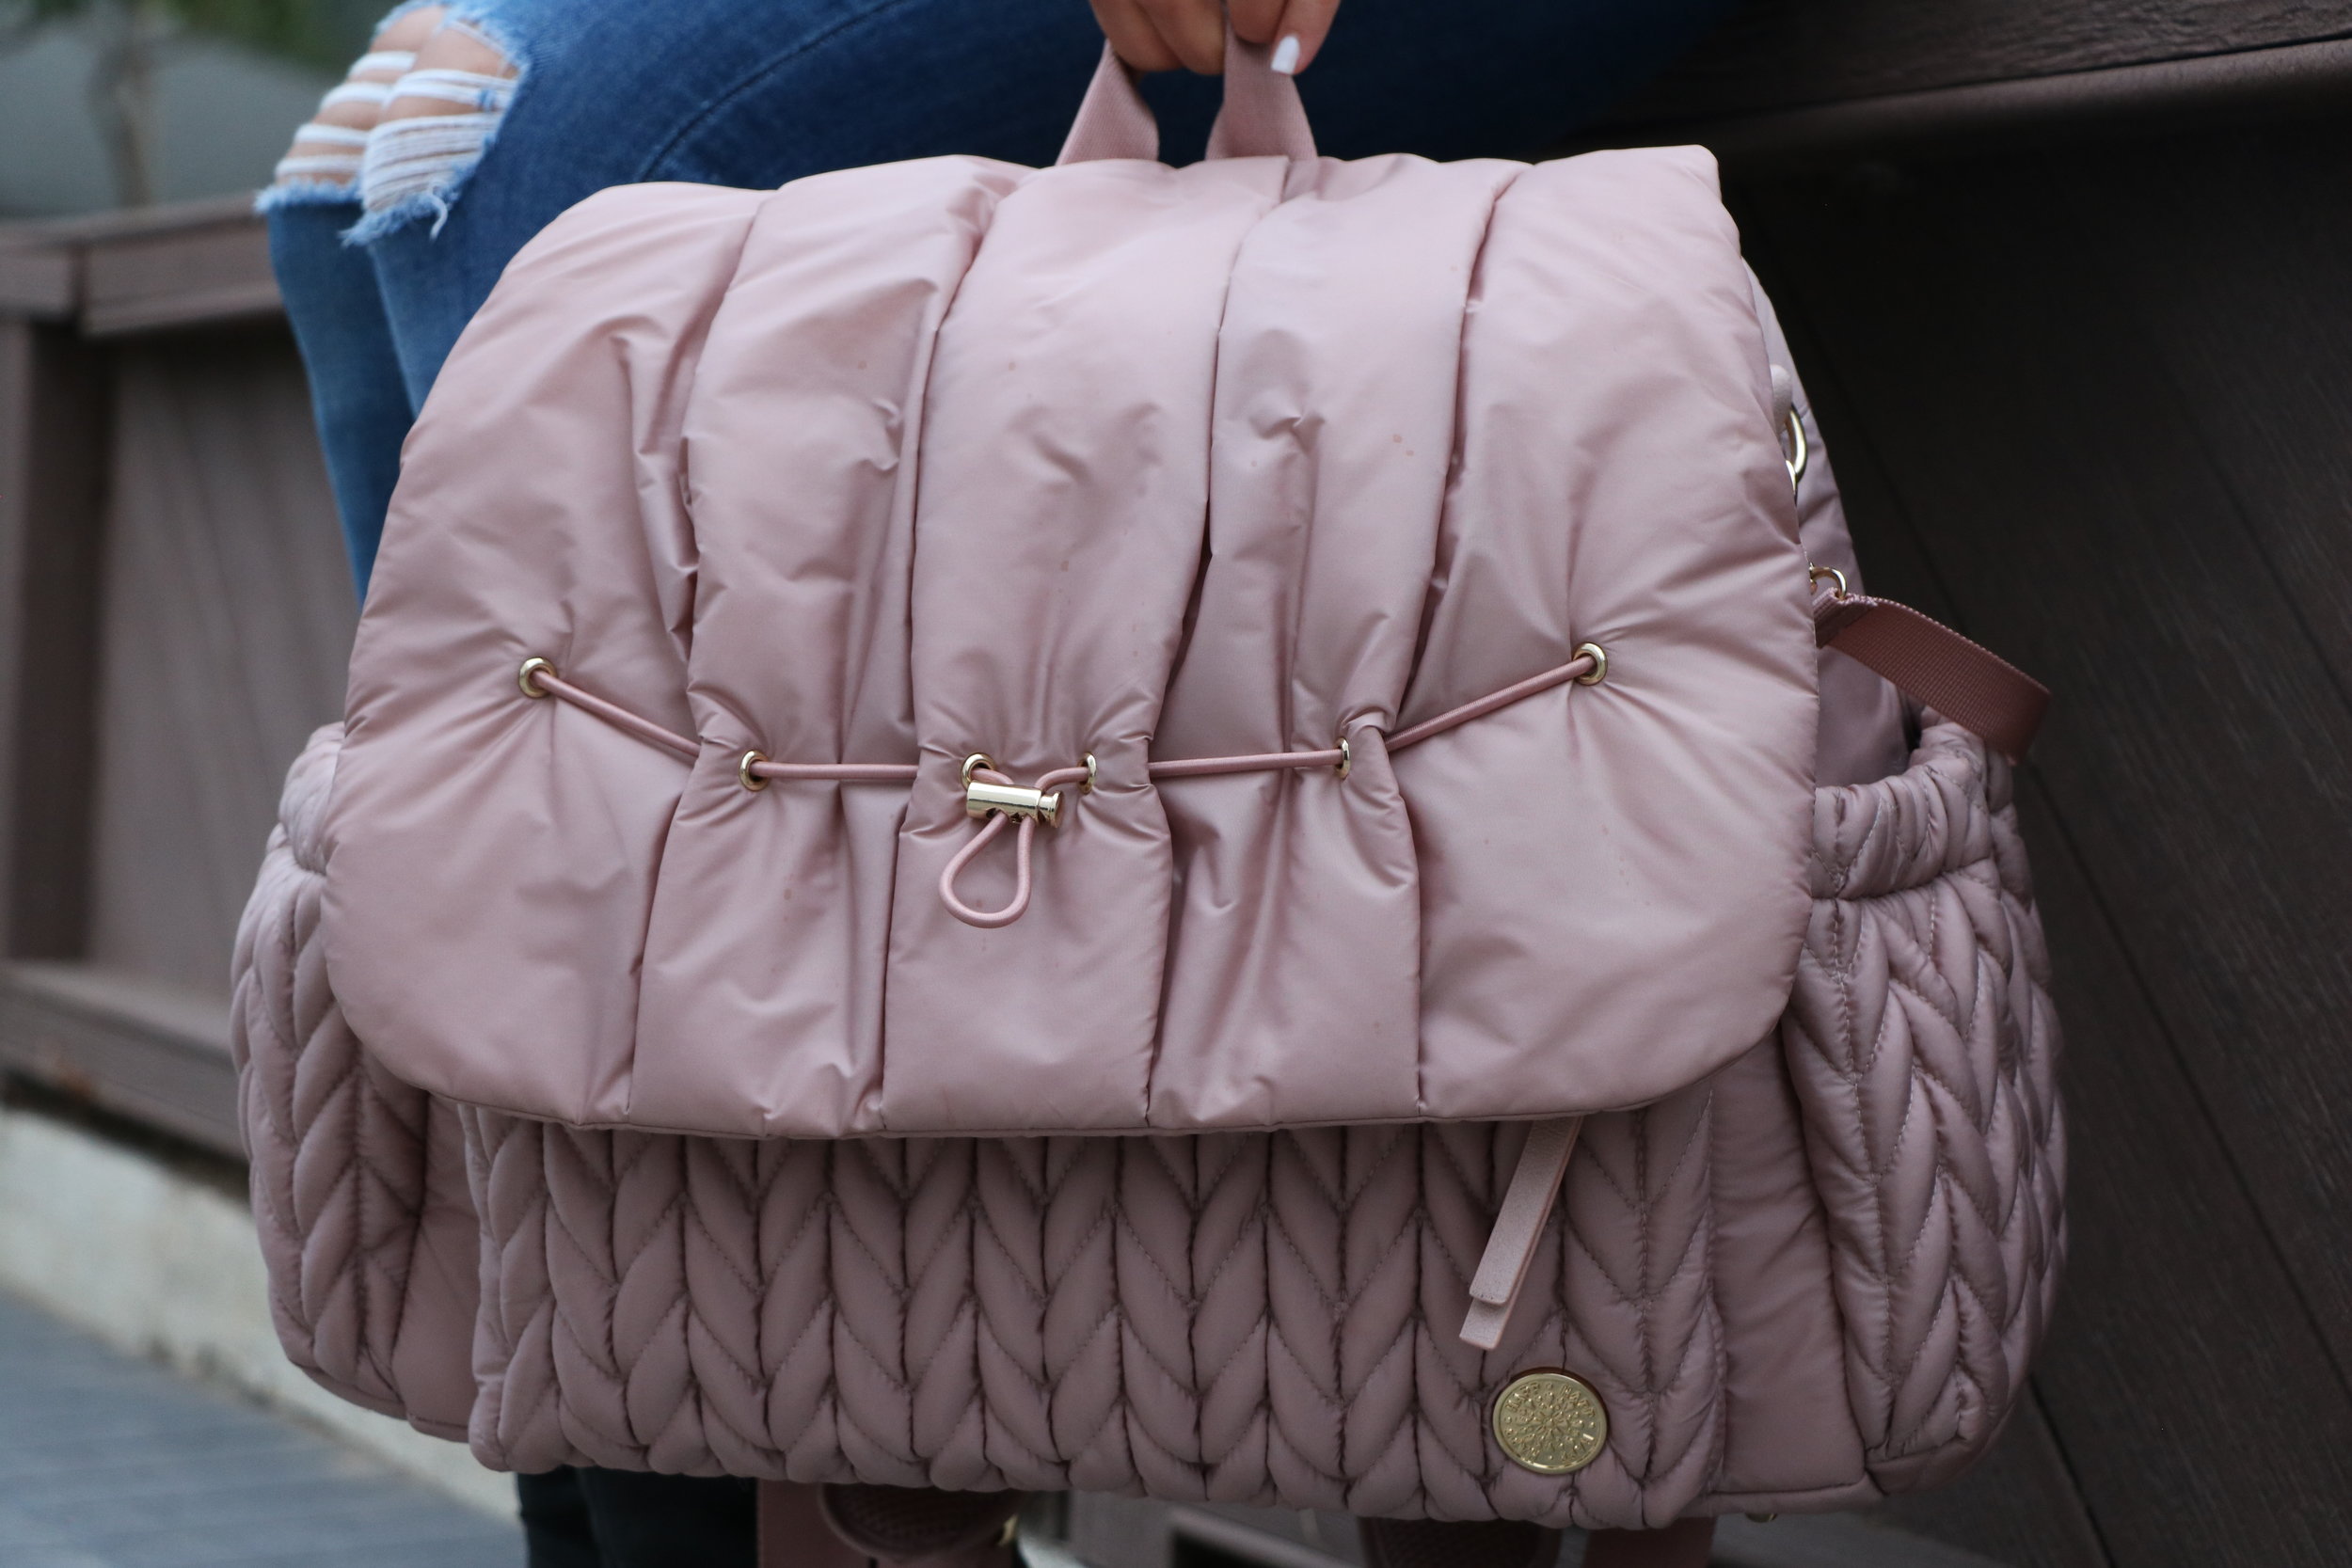
Happ Diaper Bag
A diaper bag that doesn't look like a “diaper bag” was important to me when looking for something I could take on vacations, especially since I would also be using it as my handbag. Obviously I needed it to be functional too. The fact that this bag is a backpack-allowing me to carry one less thing –and it’s sophisticated and modern-I decided to get two. There are so many smart cubbies, and the zippered flap opens wide so you can easily grab all of your baby essentials.
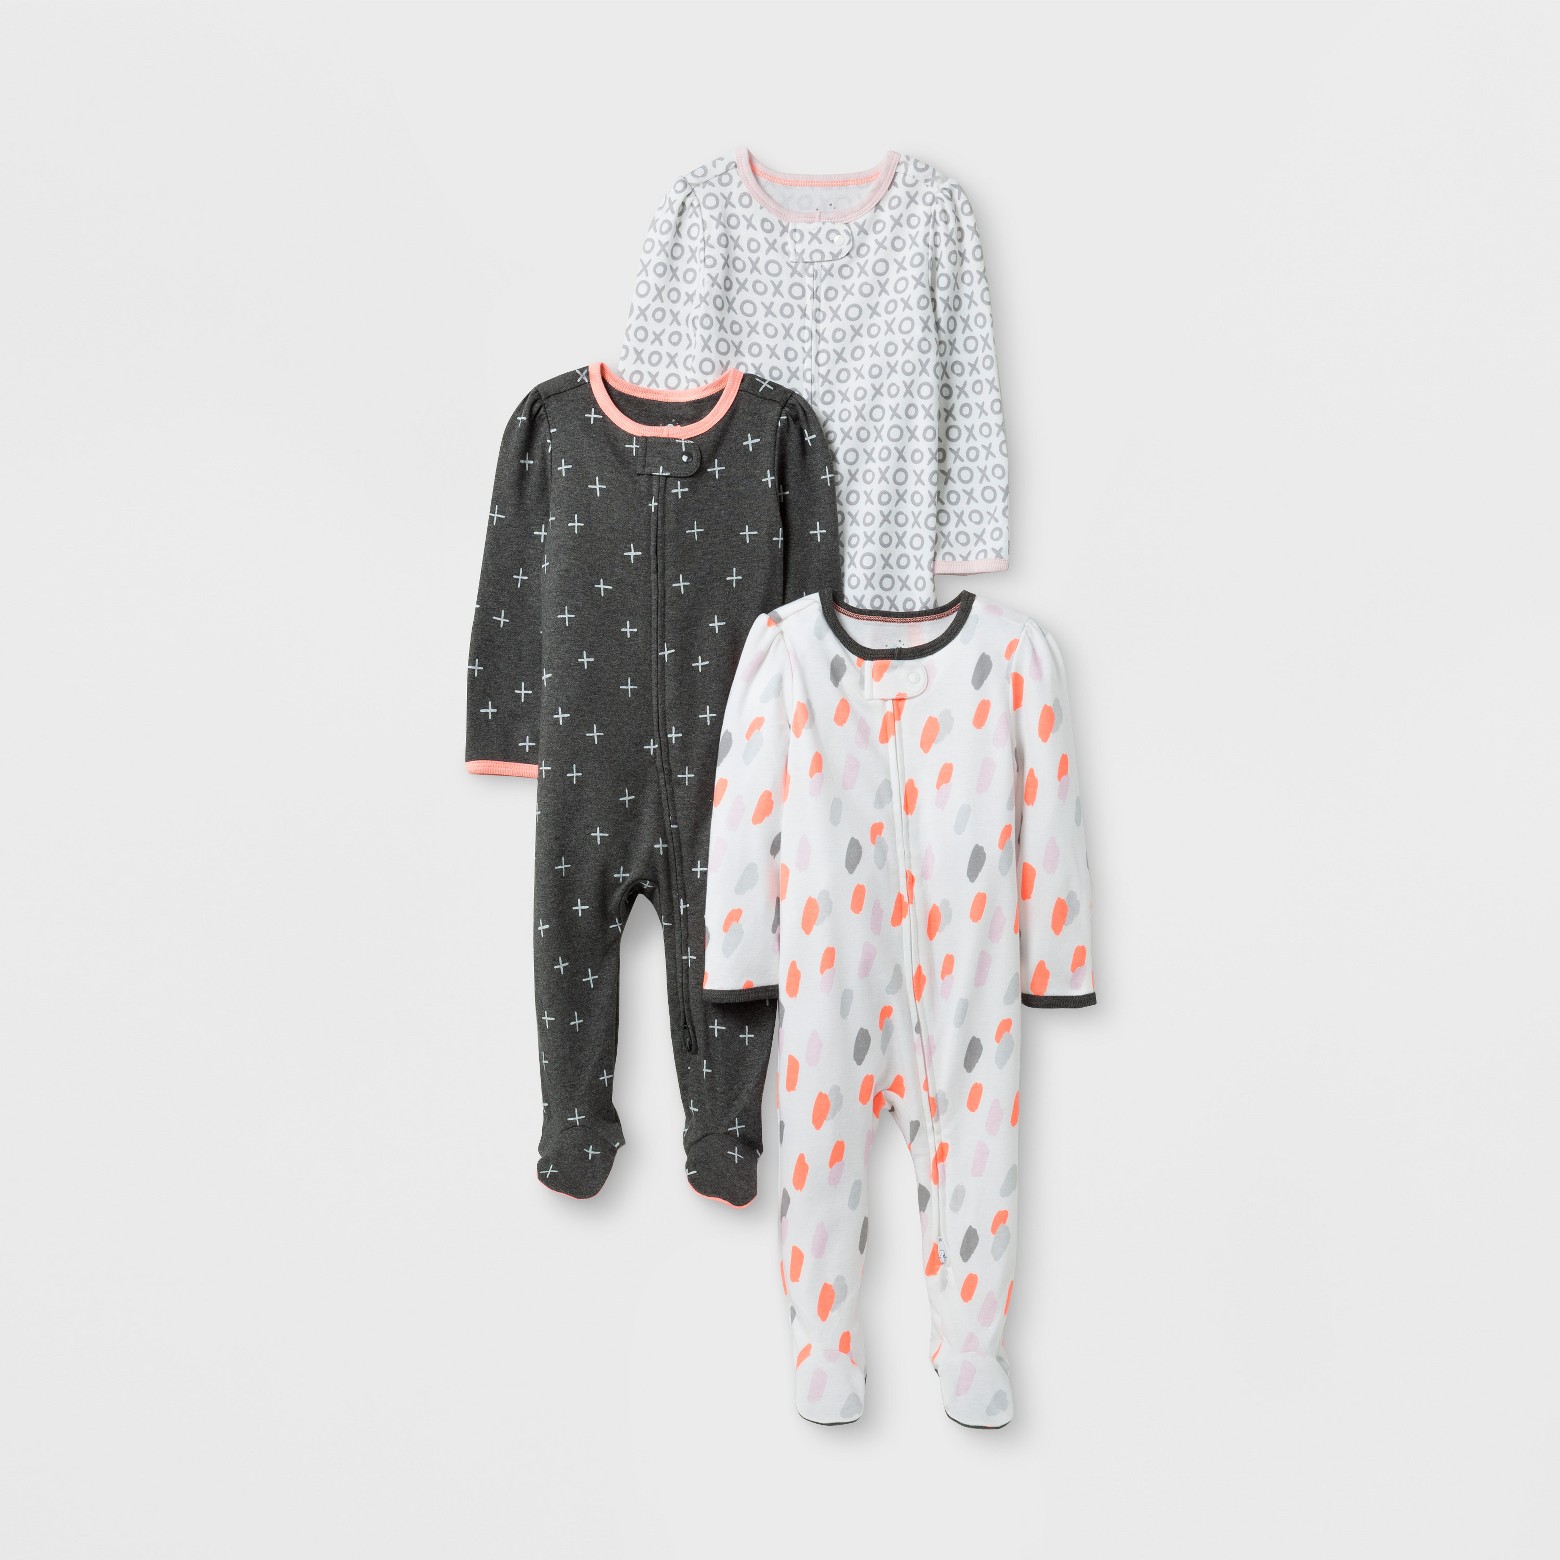
Zip Up Sleeper Onsies
Whether you’re traveling by plane, train or automobile you want your little one to be comfortable. Dress them in zip up sleepers so they stay warm and cozy. Changing their diaper is also much easier when you aren’t fiddling with snaps and buttons! These are also really great to wear in cold weather climates underneath their jackets and blankets so you can transition from inside to outside a lot easier.
Brica Cover Guard™ Car Seat Travel Tote
This bag made bringing Milly’s car seat when we flew with her really easy. Rolled as a suitcase or worn as a book bag, we maneuvered through the airport with very little effort. The extra large zipper made it easy to fit our Doona in the bag even when we had limited space at the gate. What’s nice about waiting to check the car seat at the gate is if the flight isn’t full many airlines will give a vacant seat to your baby allowing you to use the car seat on the plane. Plus, if you do check your car seat this cover will keep it protected and safe!
Traditionally, ice box cakes are made with chocolate wafer cookies but I've given one of my favorite desserts a festive twist. Made with six layers of gingerbread, homemade whipped cream, and buttered toffee pretzels this cake is sweet, salty and perfect for the holidays.
Get the recipe and watch my video on how to make it below plus head to the World Market blog for more of my favorite desserts this season.
This is a sponsored post written by me on behalf of Munchkin®. The opinions and text are mine. #munchkinpartner
Traveling can be stressful, add in a baby and it can feel like too much to even bother but I’m telling you right now, this is THE TIME to travel! Milly is four months old and she’s been on a handful of flights including across country twice. We took her with us on two business trips to New York City, conquered public transportation, the TSA and plenty of not-so-baby-friendly places. Plus, she’s been with us on weekend getaways to Temecula, Big Bear, San Diego and Palm Springs…and we’re just getting started.
Milly loves to be out and about. In fact, she thrives from it! Our babe is definitely not a homebody but we also started traveling with her early on and it became a part of her lifestyle. I remember friends with children telling us they didn’t go on trips until their baby was six years old and I never wanted that to be the excuse why I stopped doing things I enjoy.
Traveling with a newborn is actually amazing because they are so predictable. They eat, sleep and potty. They’re small. They aren’t mobile…yet. They don’t have opinions or tantrums and did I say they aren’t mobile? And they fly for free, people!
I’m here to tell you, you can do it. Whether you have a road trip coming up or a flight ahead-here are my tips and top travel must haves for not only surviving but enjoying a trip with baby.
Give Yourself Plenty of Time
Prevent yourself from feeling rushed or stressed by giving yourself plenty of time to do everything you need to do. If it took you an hour before baby, add at least another half hour with baby. Whether that’s allowing extra time to go through security at the airport or allotting enough stops on a road trip for diaper changes-if you build that extra time into your schedule, you won’t want to pull your hair out when you need to change your baby’s soiled outfit for a second time…which leads me to my next tip.
Pack Smart
Preplan your baby’s outfits (including bibs & blankets) and pack them in zippered bags. This makes getting your baby ready super easy and then at the end of the day you can place the dirty clothes in the bag. I take pride in Milly’s diaper bag. Everything is organized and easy to find and that doesn’t mean I fill every pocket with something different. I find that you never remember where you put something and unless the bag is completely clear you spend more time searching for something when you need it. I love my goPad™ Diaper Changer. Every diaper bag should have one. This is a lifesaver! I can’t imagine traveling without it.
Instead of lugging the diaper bag to the lavatory on the plane or through a restaurant/store/etc. you just take this instead. It’s a diaper bag clutch. You can even hook it to the stroller. I keep it fully stocked with Milly’s diapers, wipes, cream and hand sanitizer so I can just grab it and go. The extra large cushioned pad makes sure she’s comfortable even when the sometimes make-shift-changing-table isn’t and it has an expandable bonus panel to use as she grows. The diaper pad zips off and the vinyl surface makes it easy to clean. There’s even a disposable bag dispenser that comes with 25 bags.
Know Before You Go
If you plan on flying with your child, know the policies before you go. If you have a child under 2, they fly free on most airlines...but some will give you a seat for your child as long as the flight is not sold out (so wait to check your stroller until you get to the gate and always check airline policies on extra bags, strollers, etc). Also, sometimes it's worth purchasing a seat for them even if they fly free. Consider this option for long flights. You will be more comfortable, your baby will be too and if you book it far enough in advance, it's really worth it. We recently flew across country and paid extra for "even more space seats." However, by the time we did that round trip, it was almost $400 for the upgrades. We decided it would have been better just to pay for a seat for our child to have our own row! Also, try to book direct flights so you don't have to deal with extra travel time due to layovers and stops!
Wear Your Baby
When you’re a mama, you’re used to doing everything with one hand but sometimes you need both of your hands, especially when you travel and that’s why a baby carrier is key! I actually use a hand-me-down baby carrier from 10 years ago that my sister used with my nephews. It makes traveling so easy, especially when I’m by myself. You don’t have to worry about where you’re going to put your baby when you need to do something or if the stroller is going to fit somewhere because your baby is comfortable and safe right on your chest. Eliminating having to push a stroller gives you so much freedom! We’ve gone through museums, spent hours exploring and site seeing and even went hiking with Milly in the carrier. Plus, she loves being in her carrier. She really enjoys looking around and seeing everything. And most of the time she falls asleep in the there!
A Rested Baby is a Happy Baby
Traveling can be tiring, especially for babies and it can be tough (even for me) to get quality sleep when on a trip. My secret weapon for getting Milly her much needed rest is her sleep soother. This Shhh…™ Portable Sound Machine is as small as a baby bottle and battery operated so it’s super convenient for on the go. It features three different sounds: shushing, heartbeat and white noise and has a timer. It also acts as a night light (that can glow solid or pulse) which I love since it does double duty when we’re away from home. We used this when we stayed with family and friends. I’ll use it to help drown out noise when she’s napping in her stroller. It was really useful when we traveled to the Big Apple because the portable sound soother helped to drown out any noise from the bustling big city below.
I hope this gives you the confidence you need to travel with baby! And remember that no matter what, everything you are is enough for baby! You got this!!! Stay tuned for a full round up of all my favorite products for traveling with baby! What are your travel must haves? Let me know in the comment box below and be sure to subscribe on here and YouTube and follow me on Facebook, Instagram and Twitter so you never miss a thing.
I love supporting small businesses. I find the best gifts come from those small shops who are really putting their blood, sweat, tears and love into every single thing they make. They have a story and typically it includes a whole lot of sacrifice. They're the people with a dream that turned it into a side hustle and then a full on business. I'm a small business. I've owned other small businesses. There was Brandi Lea Boutique where I sold hand beaded jewelry and other handmade things like denim purses. Then there was Sweet Party STIX, a dessert business my friend, Miranda and I started as the answer to the mini dessert frenzy. We catered parties and events where we created dessert tables and candy buffets. We drove all over SoCal and worked nights and weekends together. I've actually had that entrepreneur spirit since I was 11. Back in the day when you couldn't find "fun" nail polish colors I would mix my own and sold them door to door. I love making things and love supporting those that do the same even more. Take a look at some of my favorite small businesses to support and #ShopSmall!
Cheese boards are the MOST EASY things to make. Whether you have an unexpected guest or you're hosting a party, they become the place where everyone gathers. I always have a couple key items on hand so that no matter what-I can host a group of people over in a pinch. Check out my video for inspo to create your own and then take a look at some of my hostess must haves.
This is a sponsored post written by me on behalf of Crisco®. The opinions and text are mine.
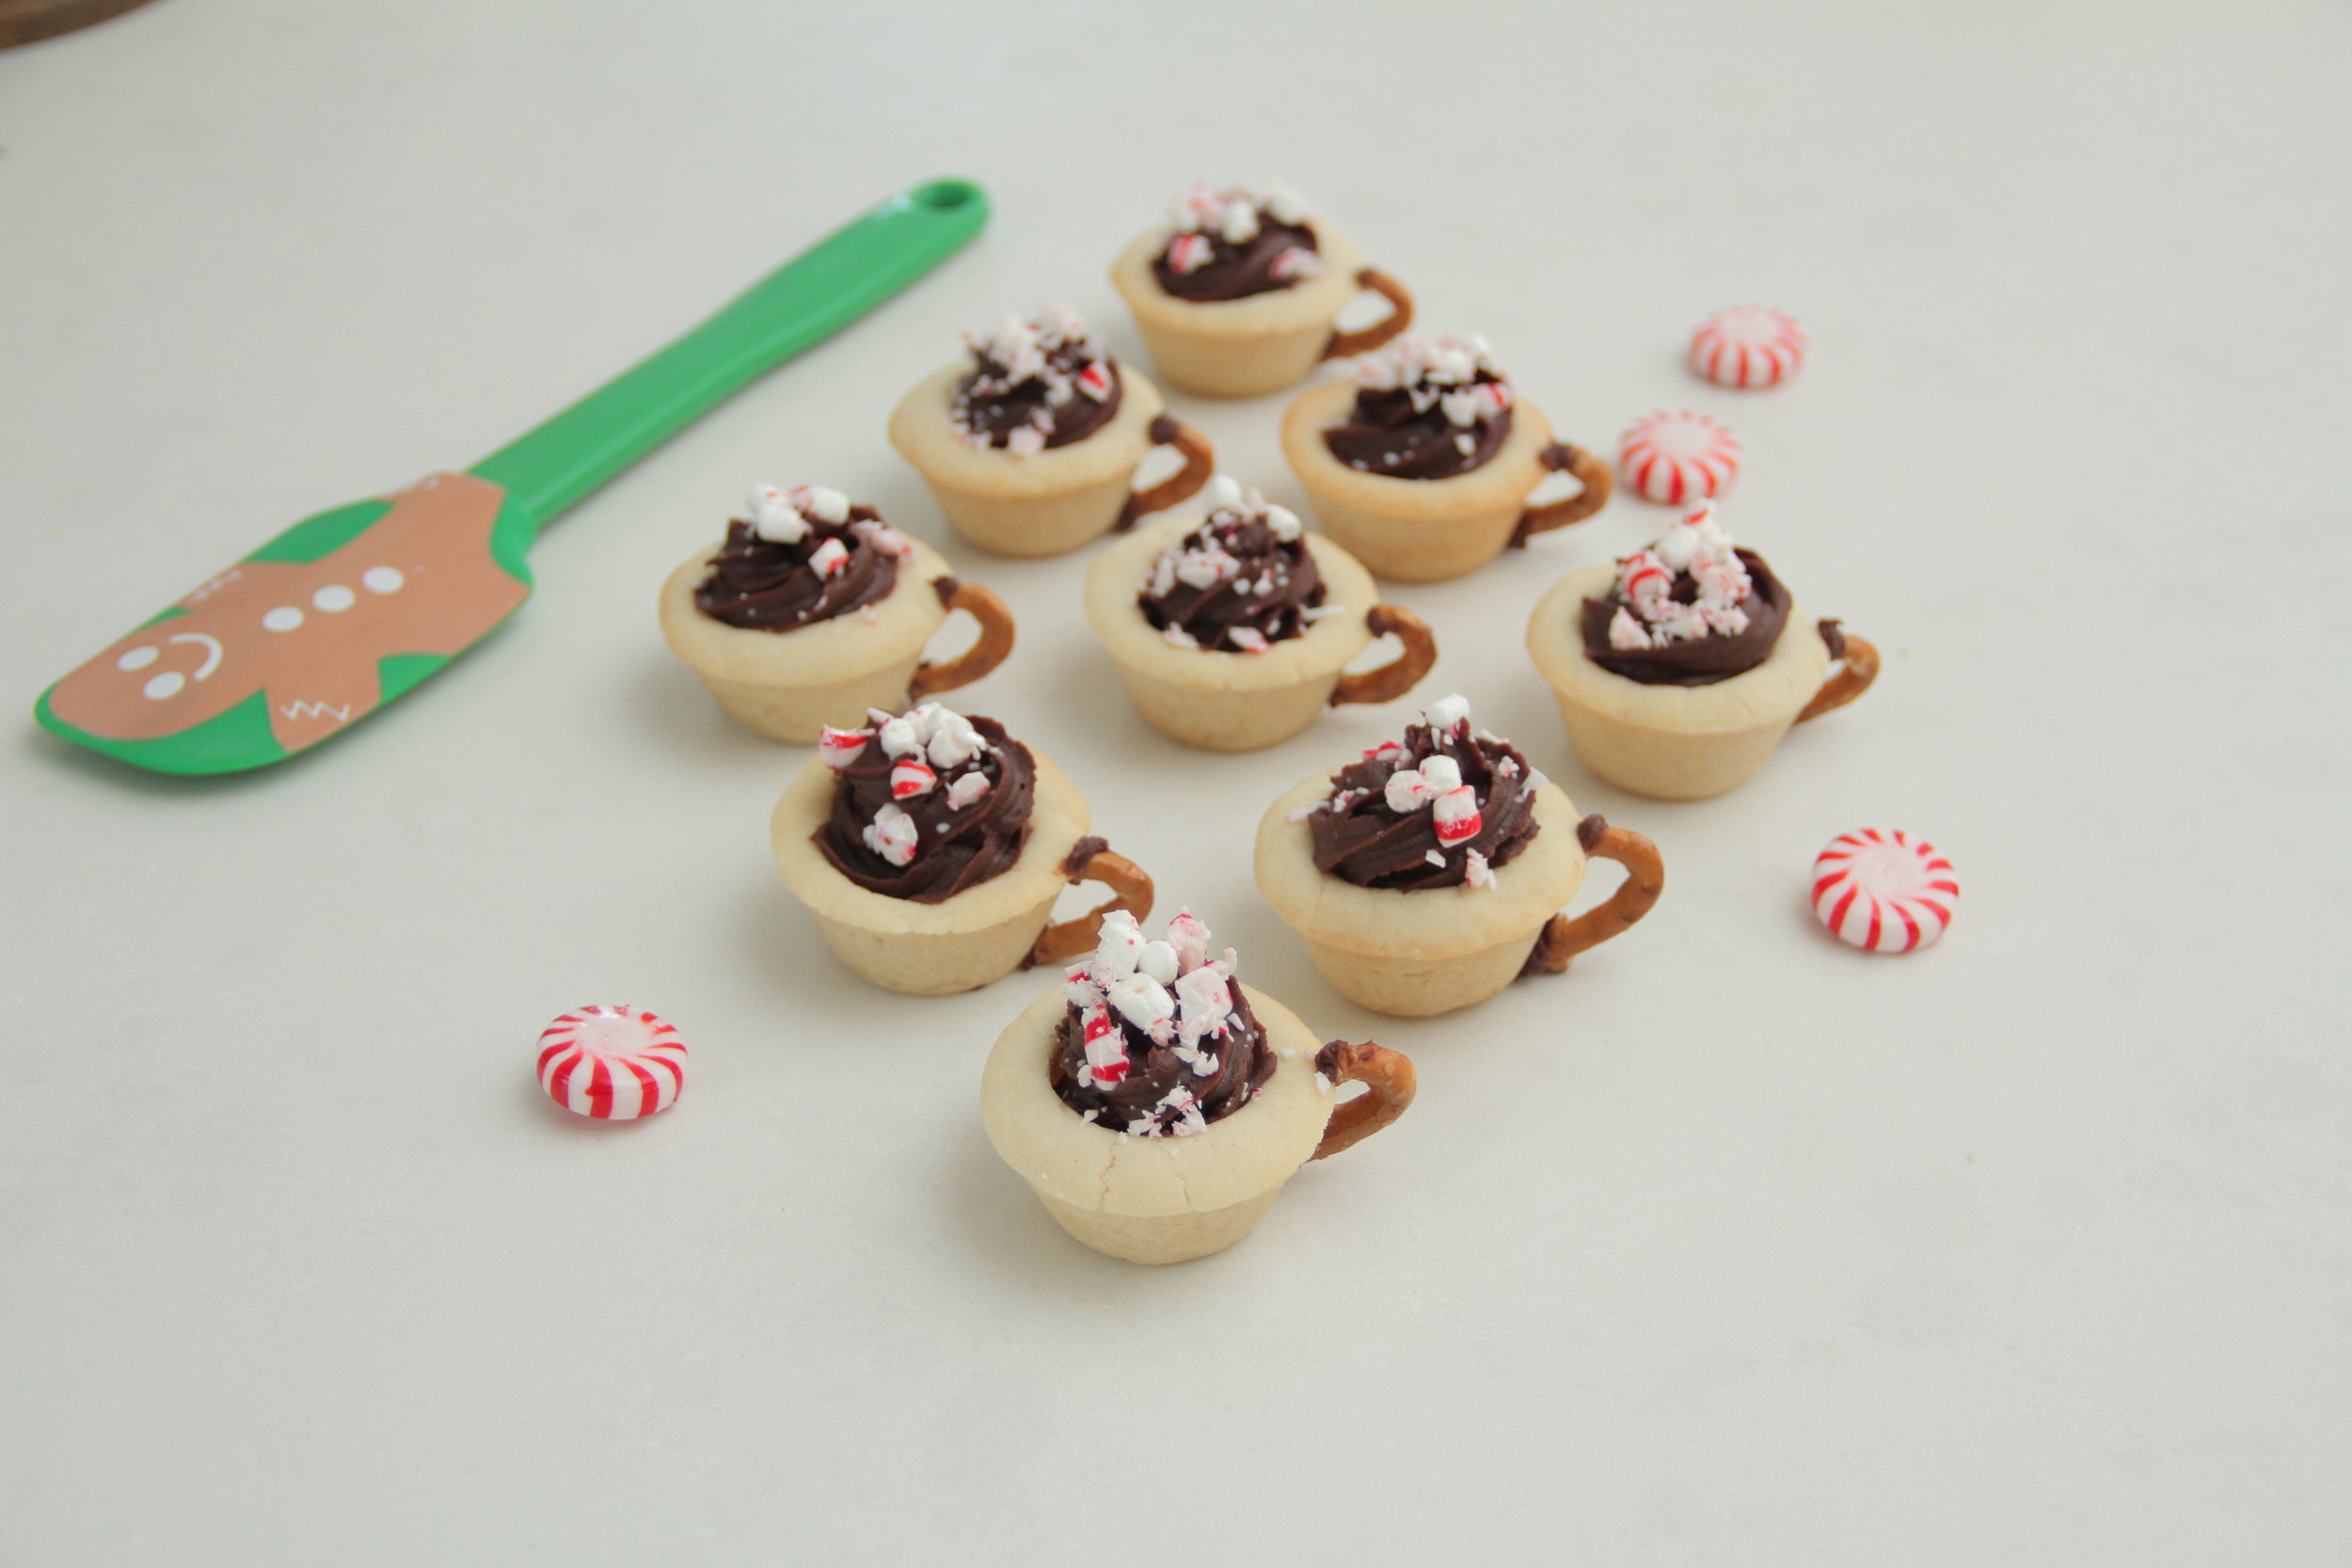
What’s better than warm sugar cookies? How about hot chocolate cookie cups filled with fudgy frosting and topped with peppermint and marshmallows? These are perfect for those cold days when you want to curl up with a warm treat. You guys know I LOVE making cookie cups, but these might just be the cutest creations yet! Watch how to make these adorable desserts below and then scroll down for the full recipe!
Peppermint Hot Chocolate Cookie Cups
By Brandi Milloy
Yields 3 dozen
Ingredients
3 cups Pillsbury™ BEST™ All Purpose Flour
2 teaspoons baking powder
1/2 teaspoon salt
1 cup Crisco® All-Vegetable Shortening
1 cup sugar
1 large egg
2 tablespoons milk
2 teaspoons vanilla extract
1 Pillsbury™ Filled Pastry Bag Chocolate Fudge Flavored Frosting
Crushed peppermint candies, for garnish
Micro marshmallows, garnish
Mini pretzels
Directions
STEP ONE
HEAT oven to 350°F. Whisk flour, baking powder and salt in medium bowl until blended.
STEP TWO
BEAT shortening and sugar in large bowl with mixer on high speed until light and fluffy, about 5 minutes.
STEP THREE
BLEND in egg, milk and vanilla. Gradually blend in flour mixture.
STEP FOUR
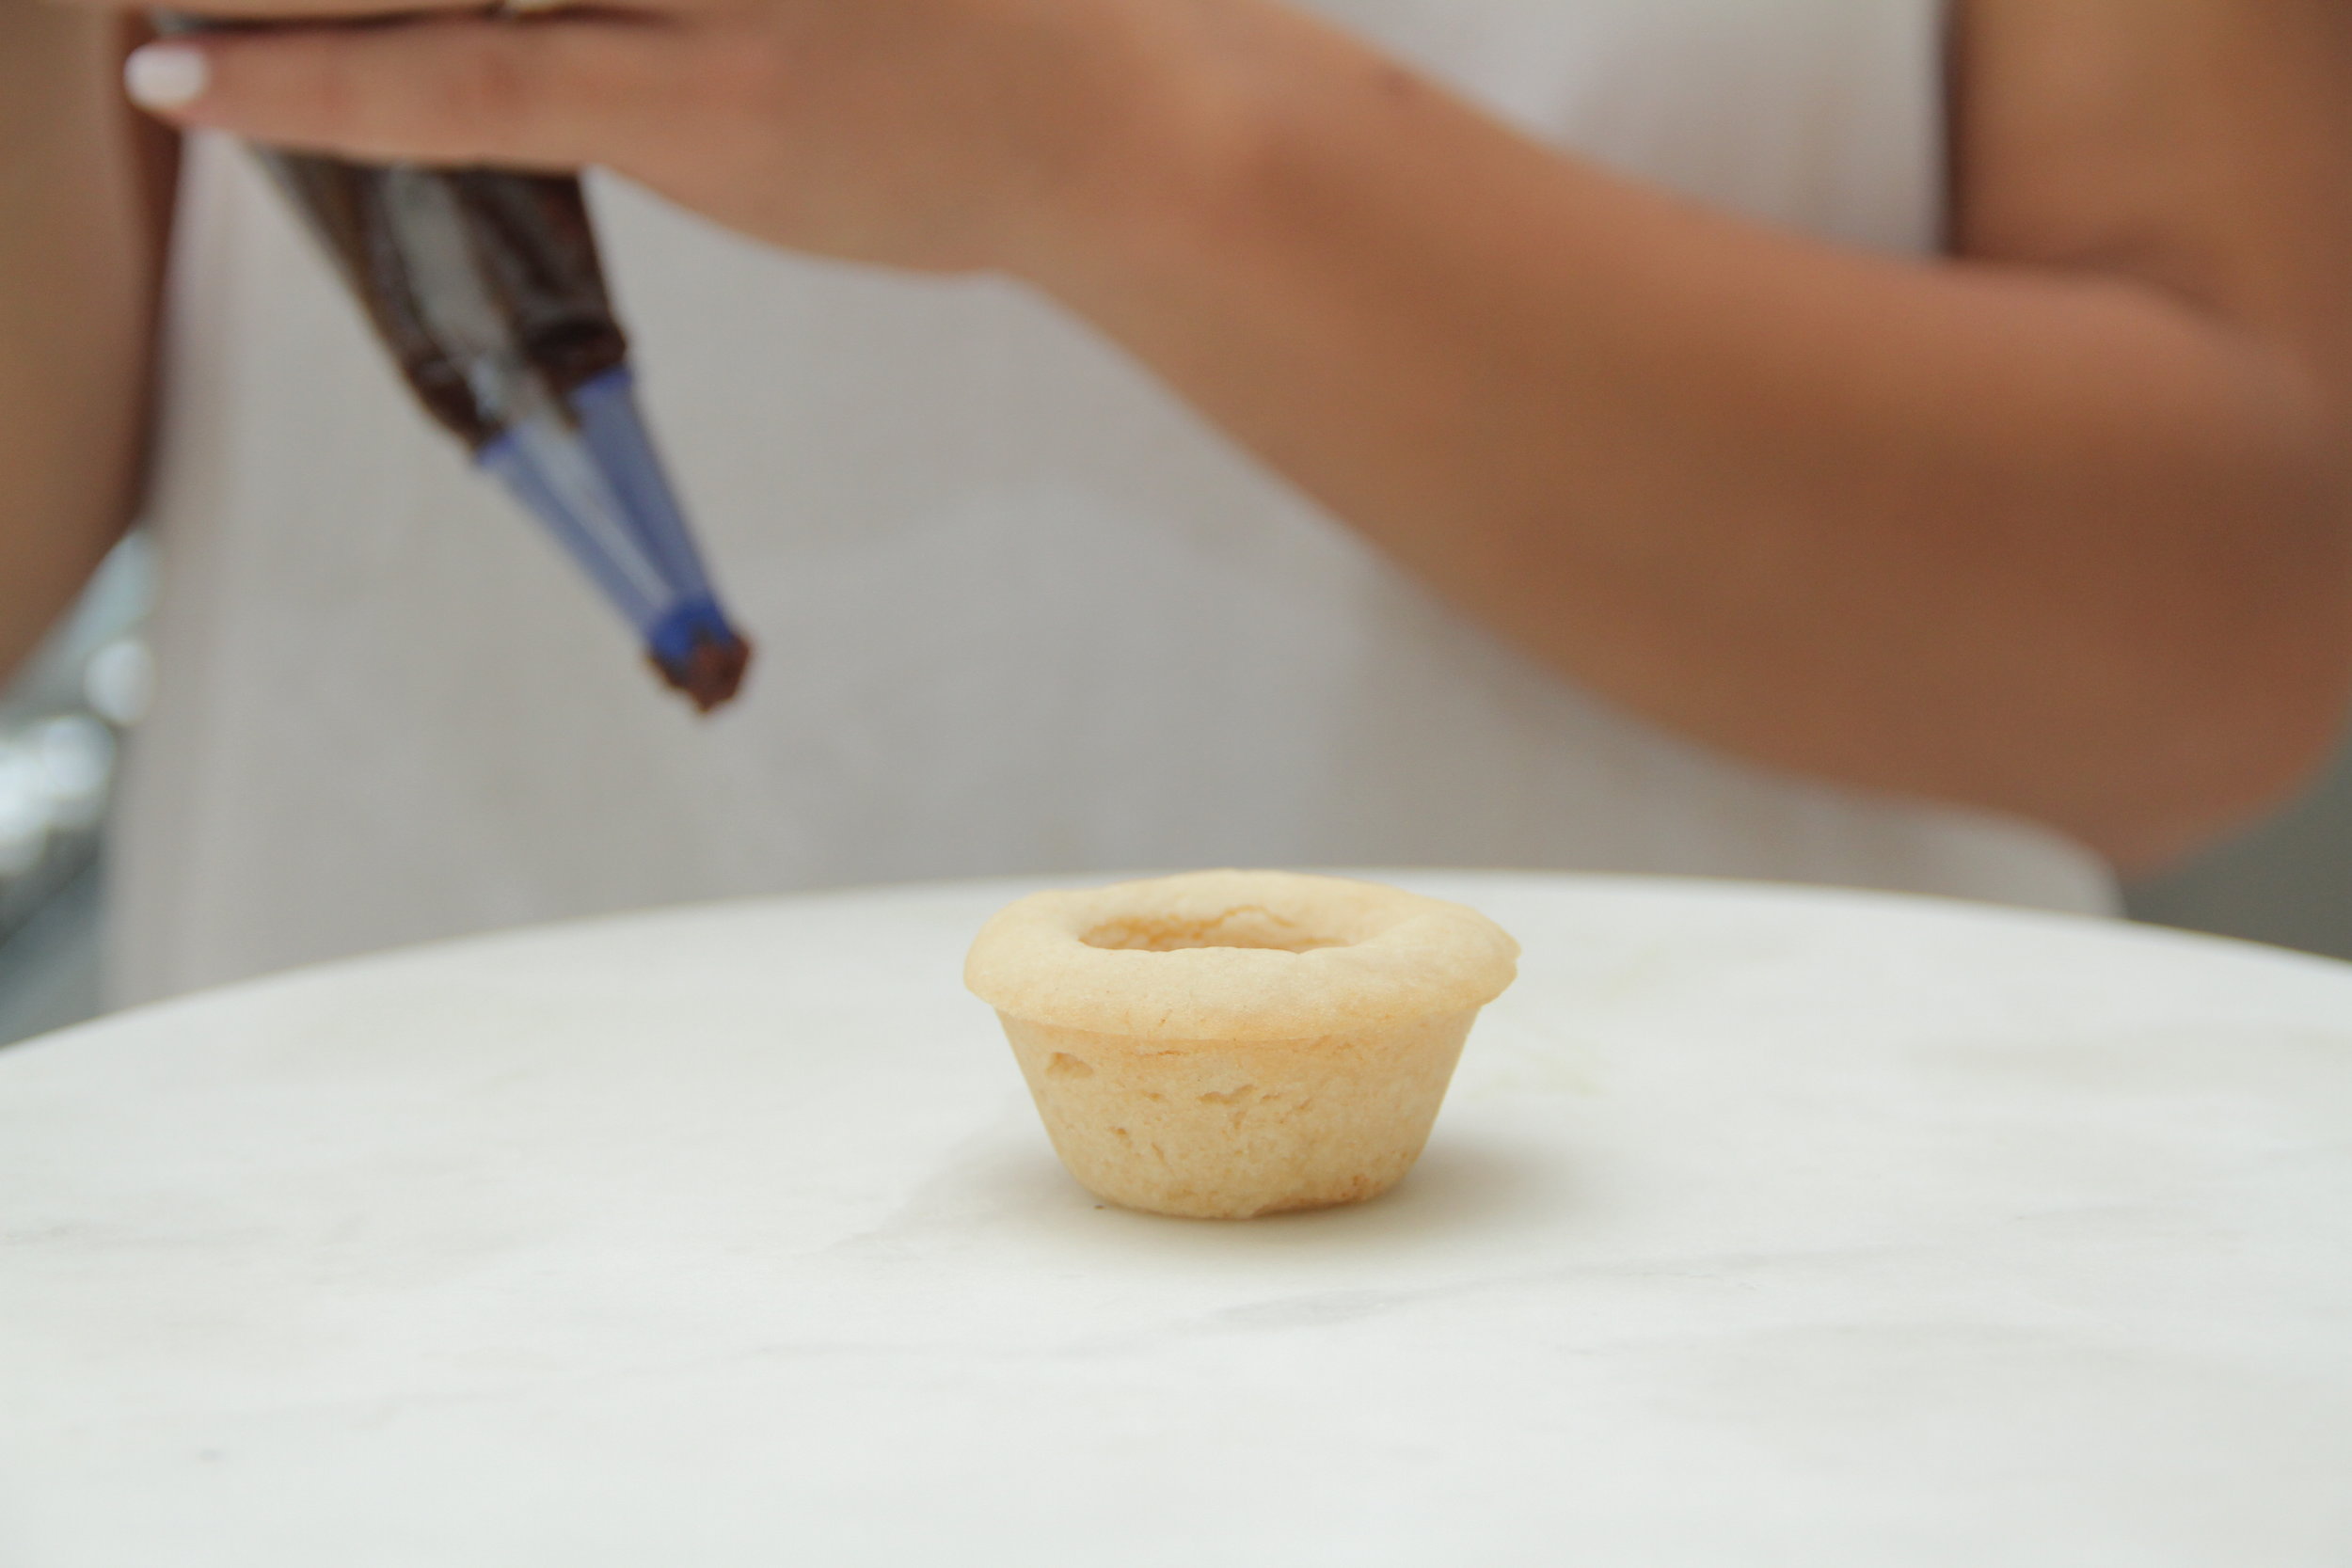
FORM dough into 1 tablespoon size balls and press into mini muffin tin and up the side to create a cup. Repeat this step until you’ve filled each tin.
STEP FIVE
Bake 10-12 minutes or until very light golden brown. Cool completely.
STEP SIX
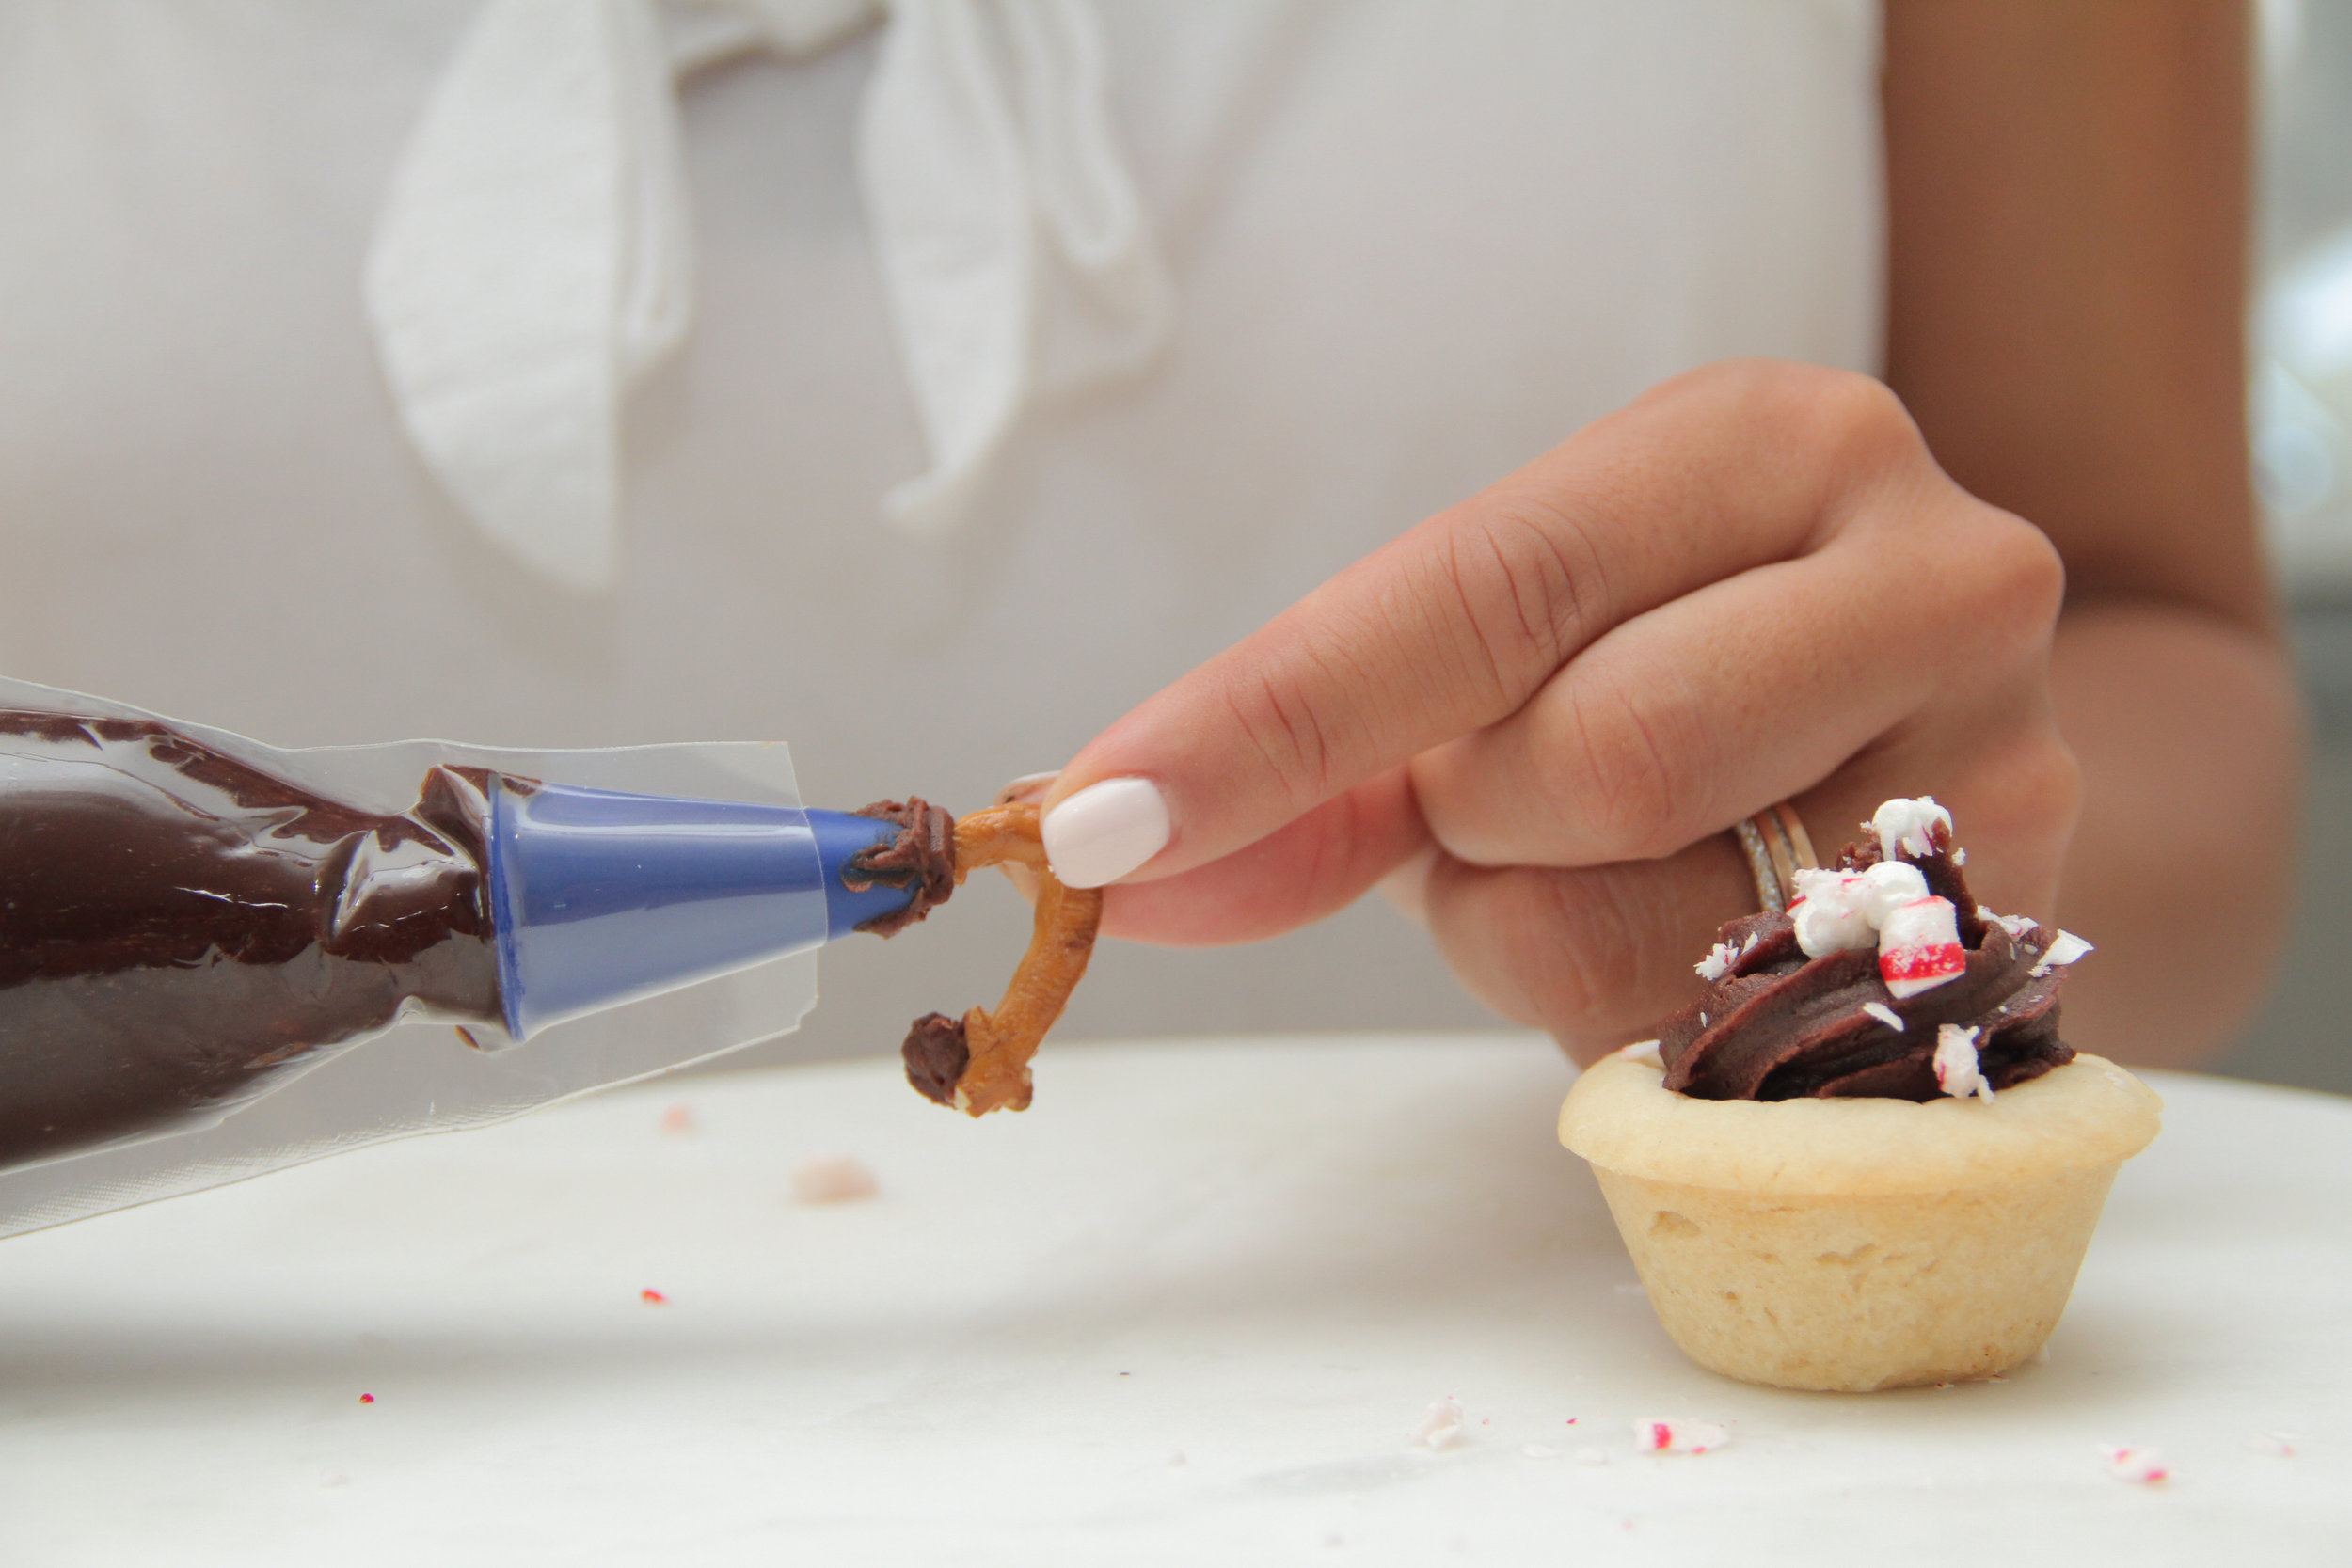
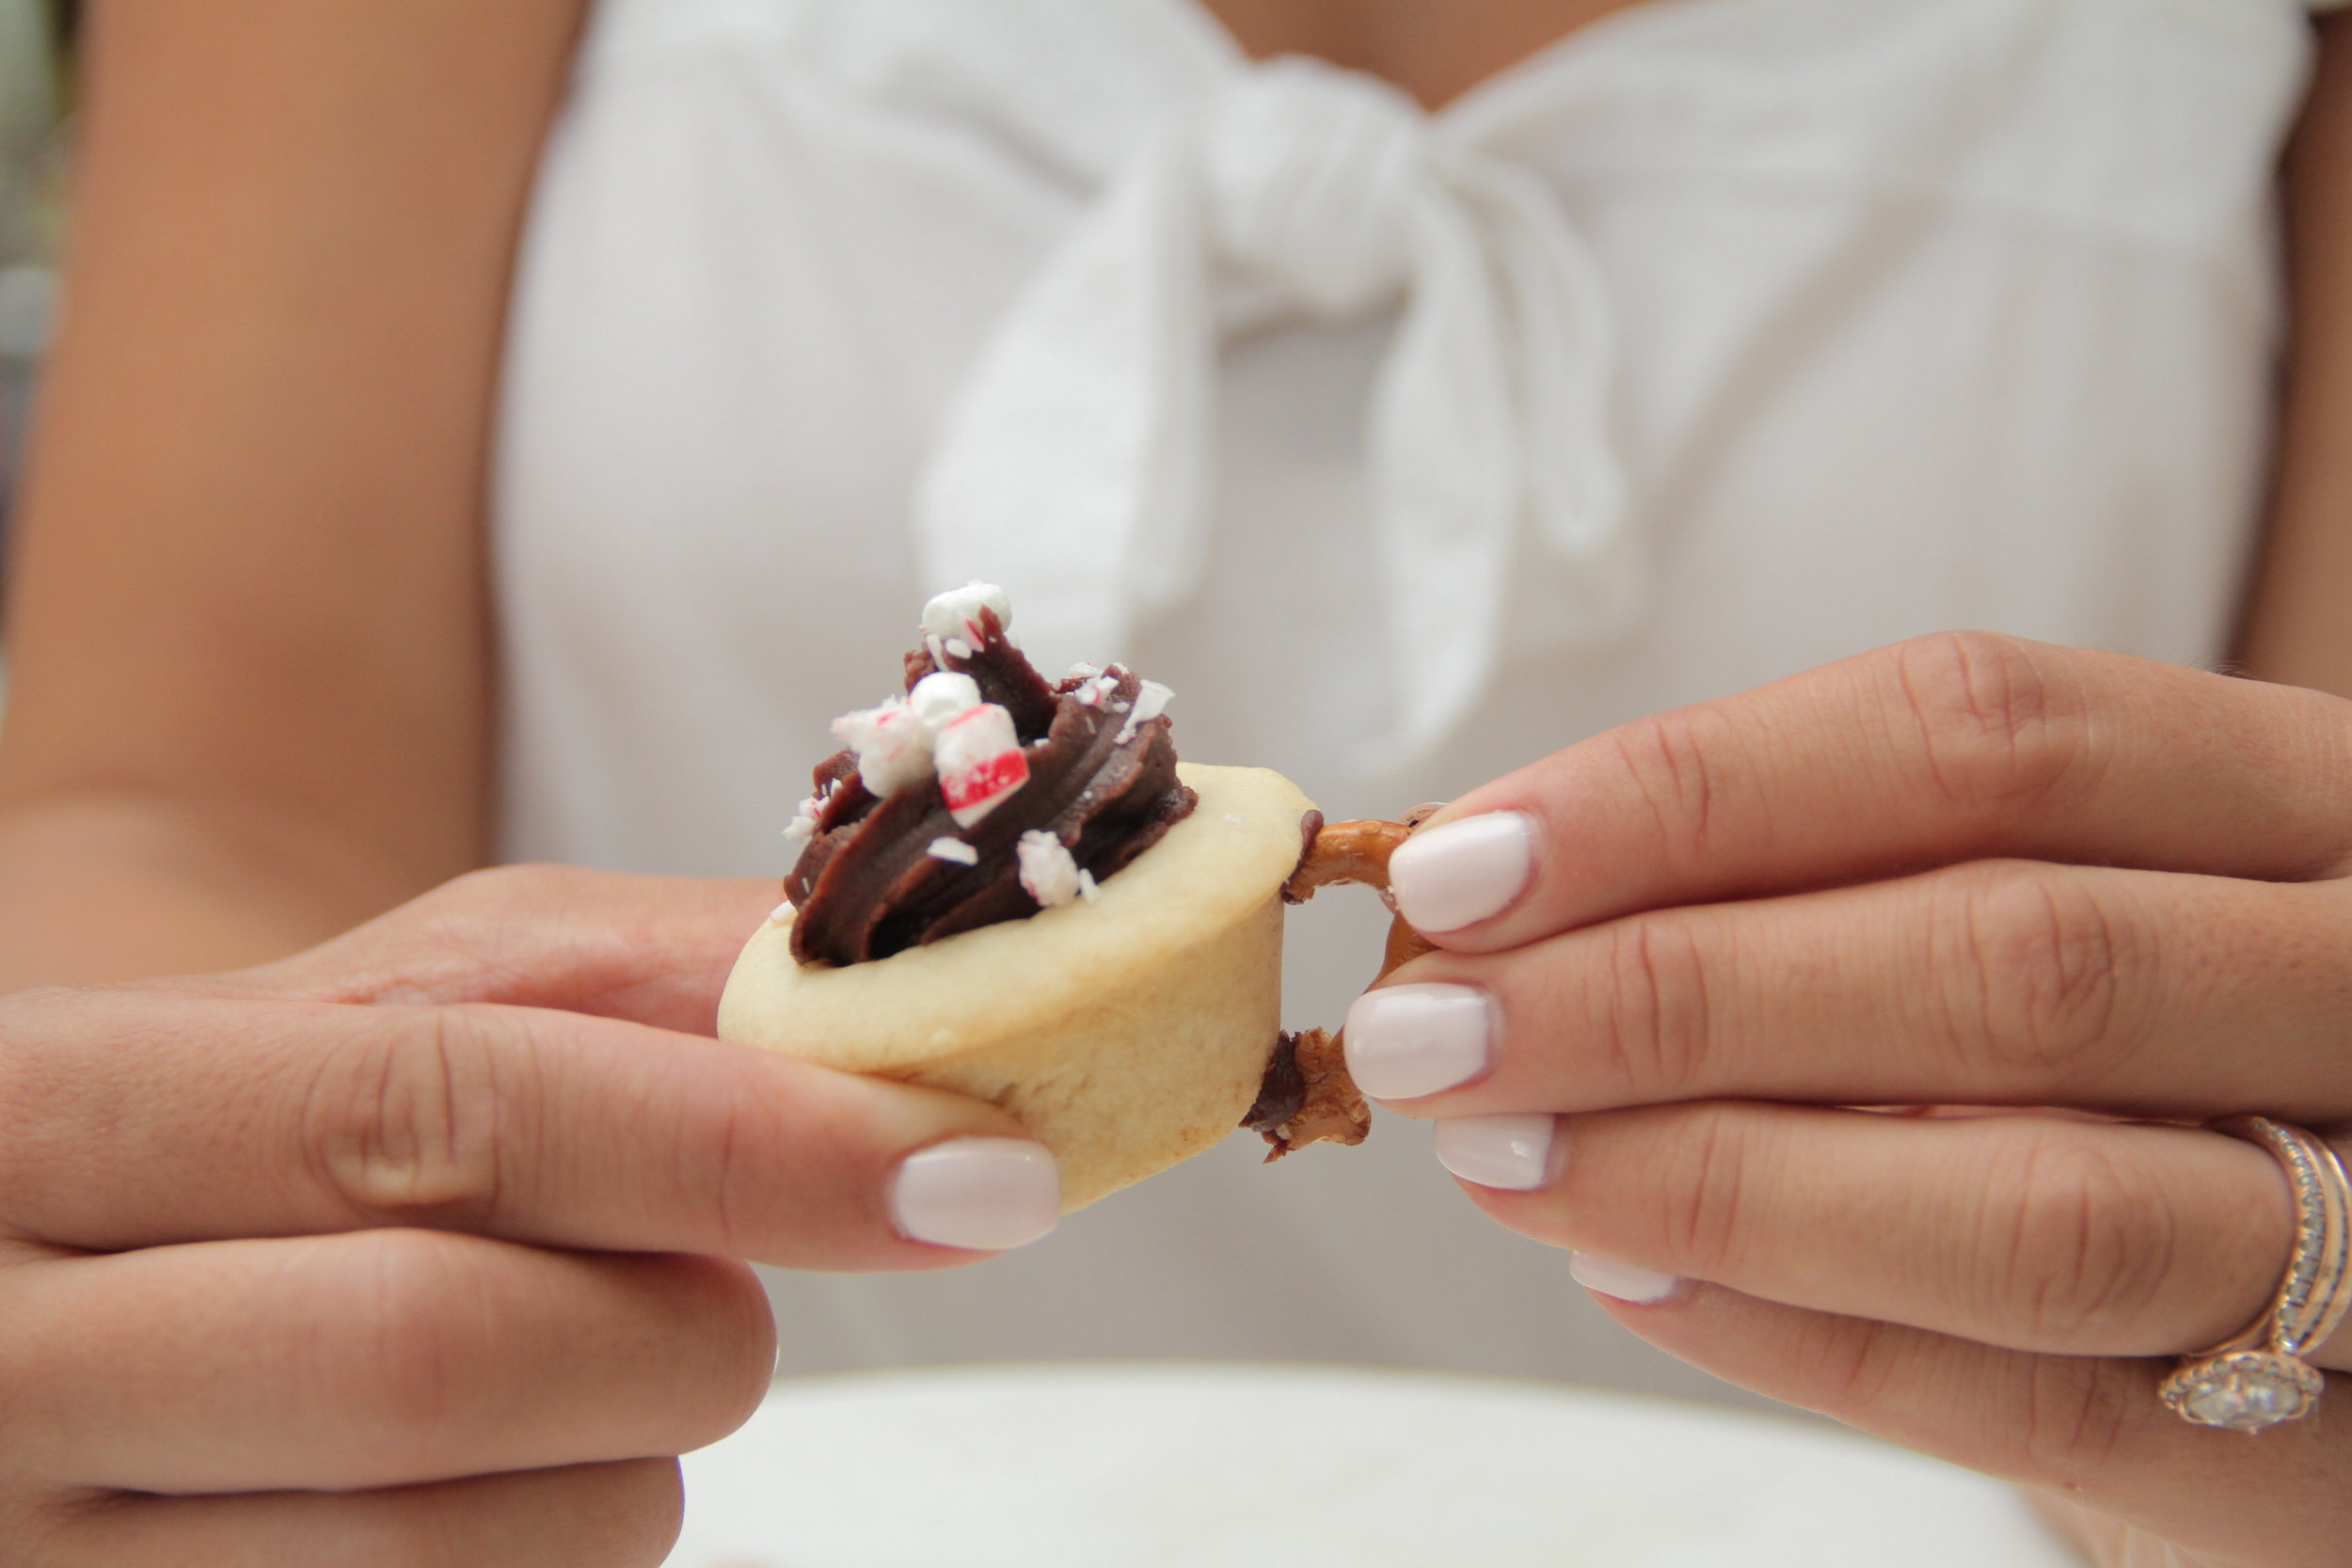
To decorate: Pipe chocolate frosting into cups. Sprinkle with peppermint and marshmallows. To create the handle: break off the loops from pretzels and attach to the sides of the cookie cups using chocolate frosting.
Holiday Lights Sugar Cookies
If you’re planning to make a bunch of different types of holiday cookies this season, give my Holiday Lights Sugar Cookies a try – they’re too cute. These fluffy sugar cookies are made with Crisco®All-Vegetable Shortening, topped with crushed candies and strung together with candy string.
Holiday Lights Sugar Cookies
By Brandi Milloy
Ingredients
3 cups Pillsbury™ BEST™ All Purpose Flour
2 teaspoons baking powder
½ teaspoon salt
1 cup Crisco® All-Vegetable Shortening
1 cup sugar
1 large egg
2 tablespoons milk
2 teaspoons vanilla extract
½ cup Rainbow sprinkles
16 ounces white chocolate morsels, melted
Various hard candies, crushed
Sprinkles
Directions
STEP ONE
HEAT oven to 350°F. Whisk flour, baking powder and salt in medium bowl until blended.
STEP TWO
BEAT shortening and sugar in large bowl with mixer on high speed until light and fluffy, about 5 minutes.
STEP THREE
BLEND in egg, milk and vanilla. Gradually blend in flour mixture.
STEP FOUR
DIVIDE dough in half. Roll out each half on lightly floured surface to 1/4-inch thickness. Cut with light bulb cookie cutter. Place 2 inches apart on baking sheet.
STEP FIVE
Bake 8 to 10 minutes or until bottom edges are very light brown. Cool 2 minutes on baking sheet. Remove to wire rack to cool completely.
STEP SIX
To decorate: frost cookies with white chocolate and sprinkle with candies and sprinkles while wet. Thread candy string through hole to connect.
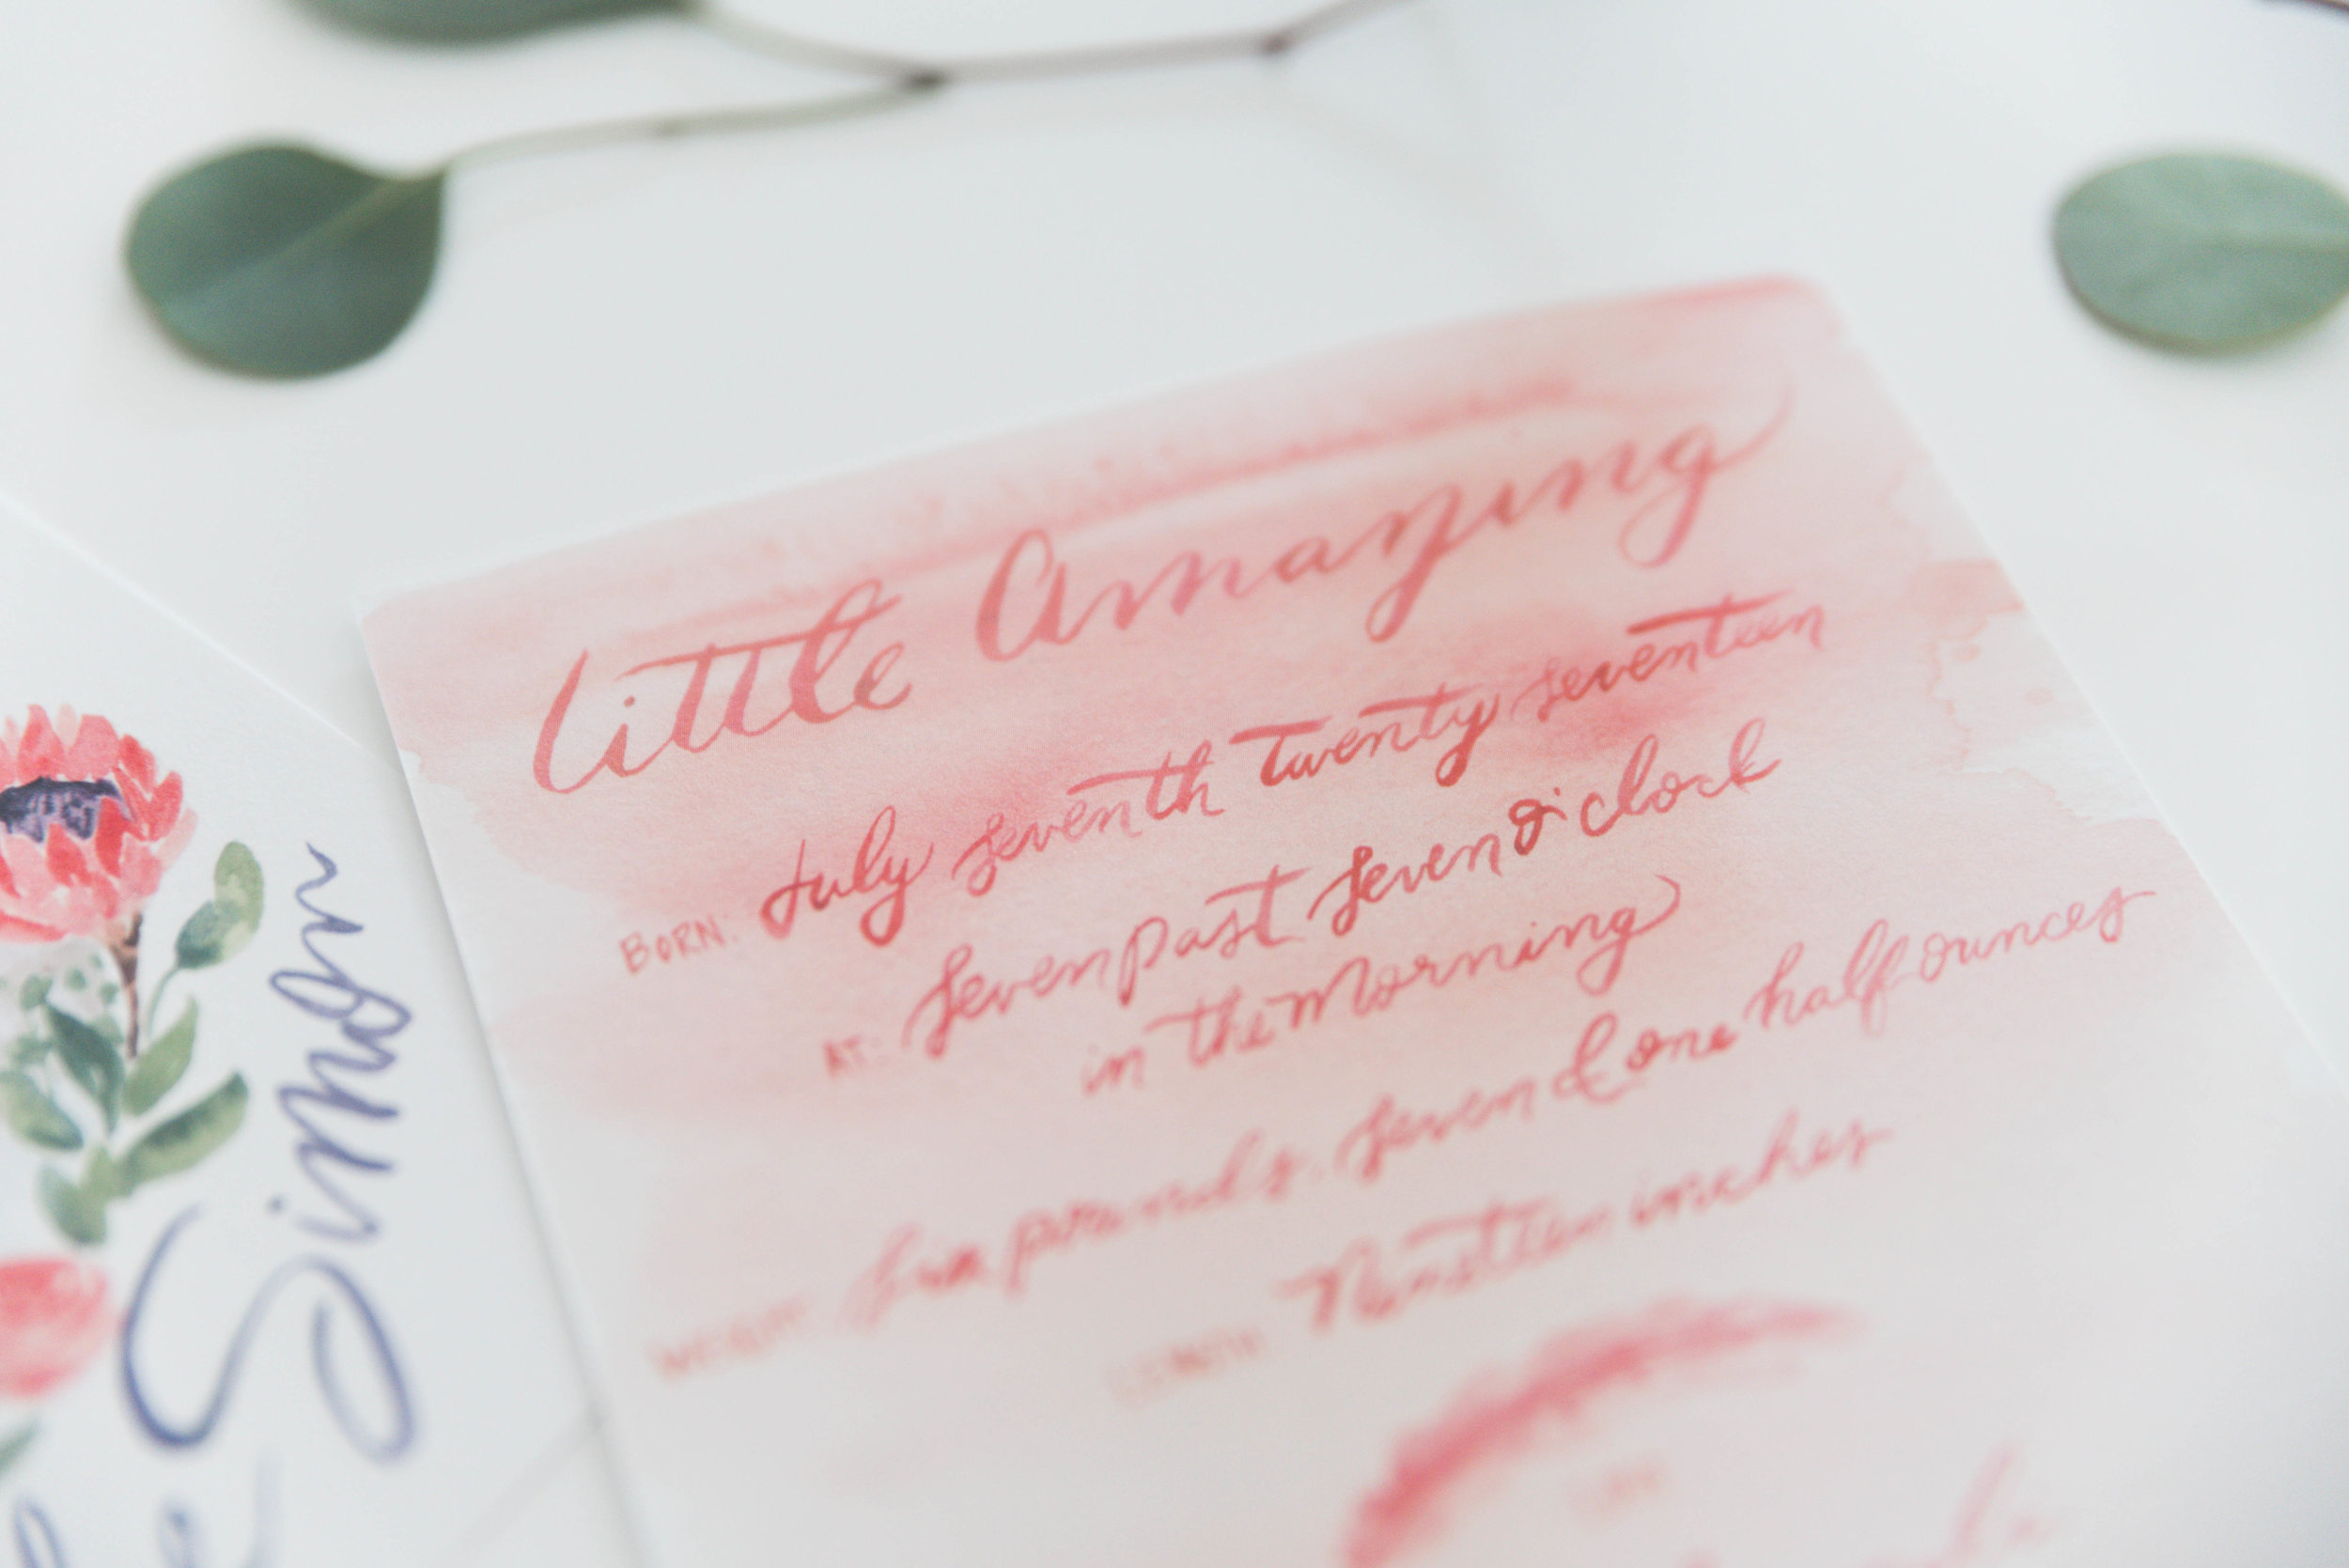
What a blessing to be able to work with Abby Hollar of Consider the Lilies to create Milly's custom birth announcements. I've admired her work for some time now. Not only is she an extremely talented artist, painter and water colorist, but she has such an incredible eye and amazing taste. She's also a blogger, photographer, and the kind of friend you love to brag about! Working with her was so easy especially since I had no idea where to start. She pulled a couple ideas out of me and truly brought my vision to life. I shared with her how I have an affinity for protea flowers and ranunculus and then shared some photos of Milly's nursery for more inspo. I love the soft blue gray she chose for her name and the delicate rose gold color for the back. The floral wreath works perfectly with the newborn photo taken by Jenny Quicksall. We couldn't be more thrilled with how they came out! Thank you Abby!
It's no secret I'm a fan of terrariums. In fact, these hexagon ones were the centerpieces for my beach side wedding reception. These versatile vessels make it super easy to decorate anytime of the year. Check out this retro look I created with a lumberjack, his reindeer and camper in tow! For the full step by step check out my World Market blog post here.
Full disclosure: This is a sponsored post written by me on behalf of Crisco®. The opinions, text and sugar cookie recipe that will change your life are all mine…but it can be yours too. #sharingiscaring
When I was a little girl my fondest memories are of baking in the kitchen with my Mom. I’d stand on the chair pushed against the counter and lean over to help. It feels like I learned how to measure ingredients before I could walk. They were the best cookies and we always used Crisco® All-Vegetable Shortening. They were soft, fluffy and noticeably better than cookies baked with butter.
Every year around the holidays we would host a cookie exchange where friends and family would come over and bring several dozen cookies to share. It was the best because we’d get to try tons of different cookies. And everyone would ask what our secret was to making these beautiful, moist, fluffy cookies and we would tell them it was the Crisco®.
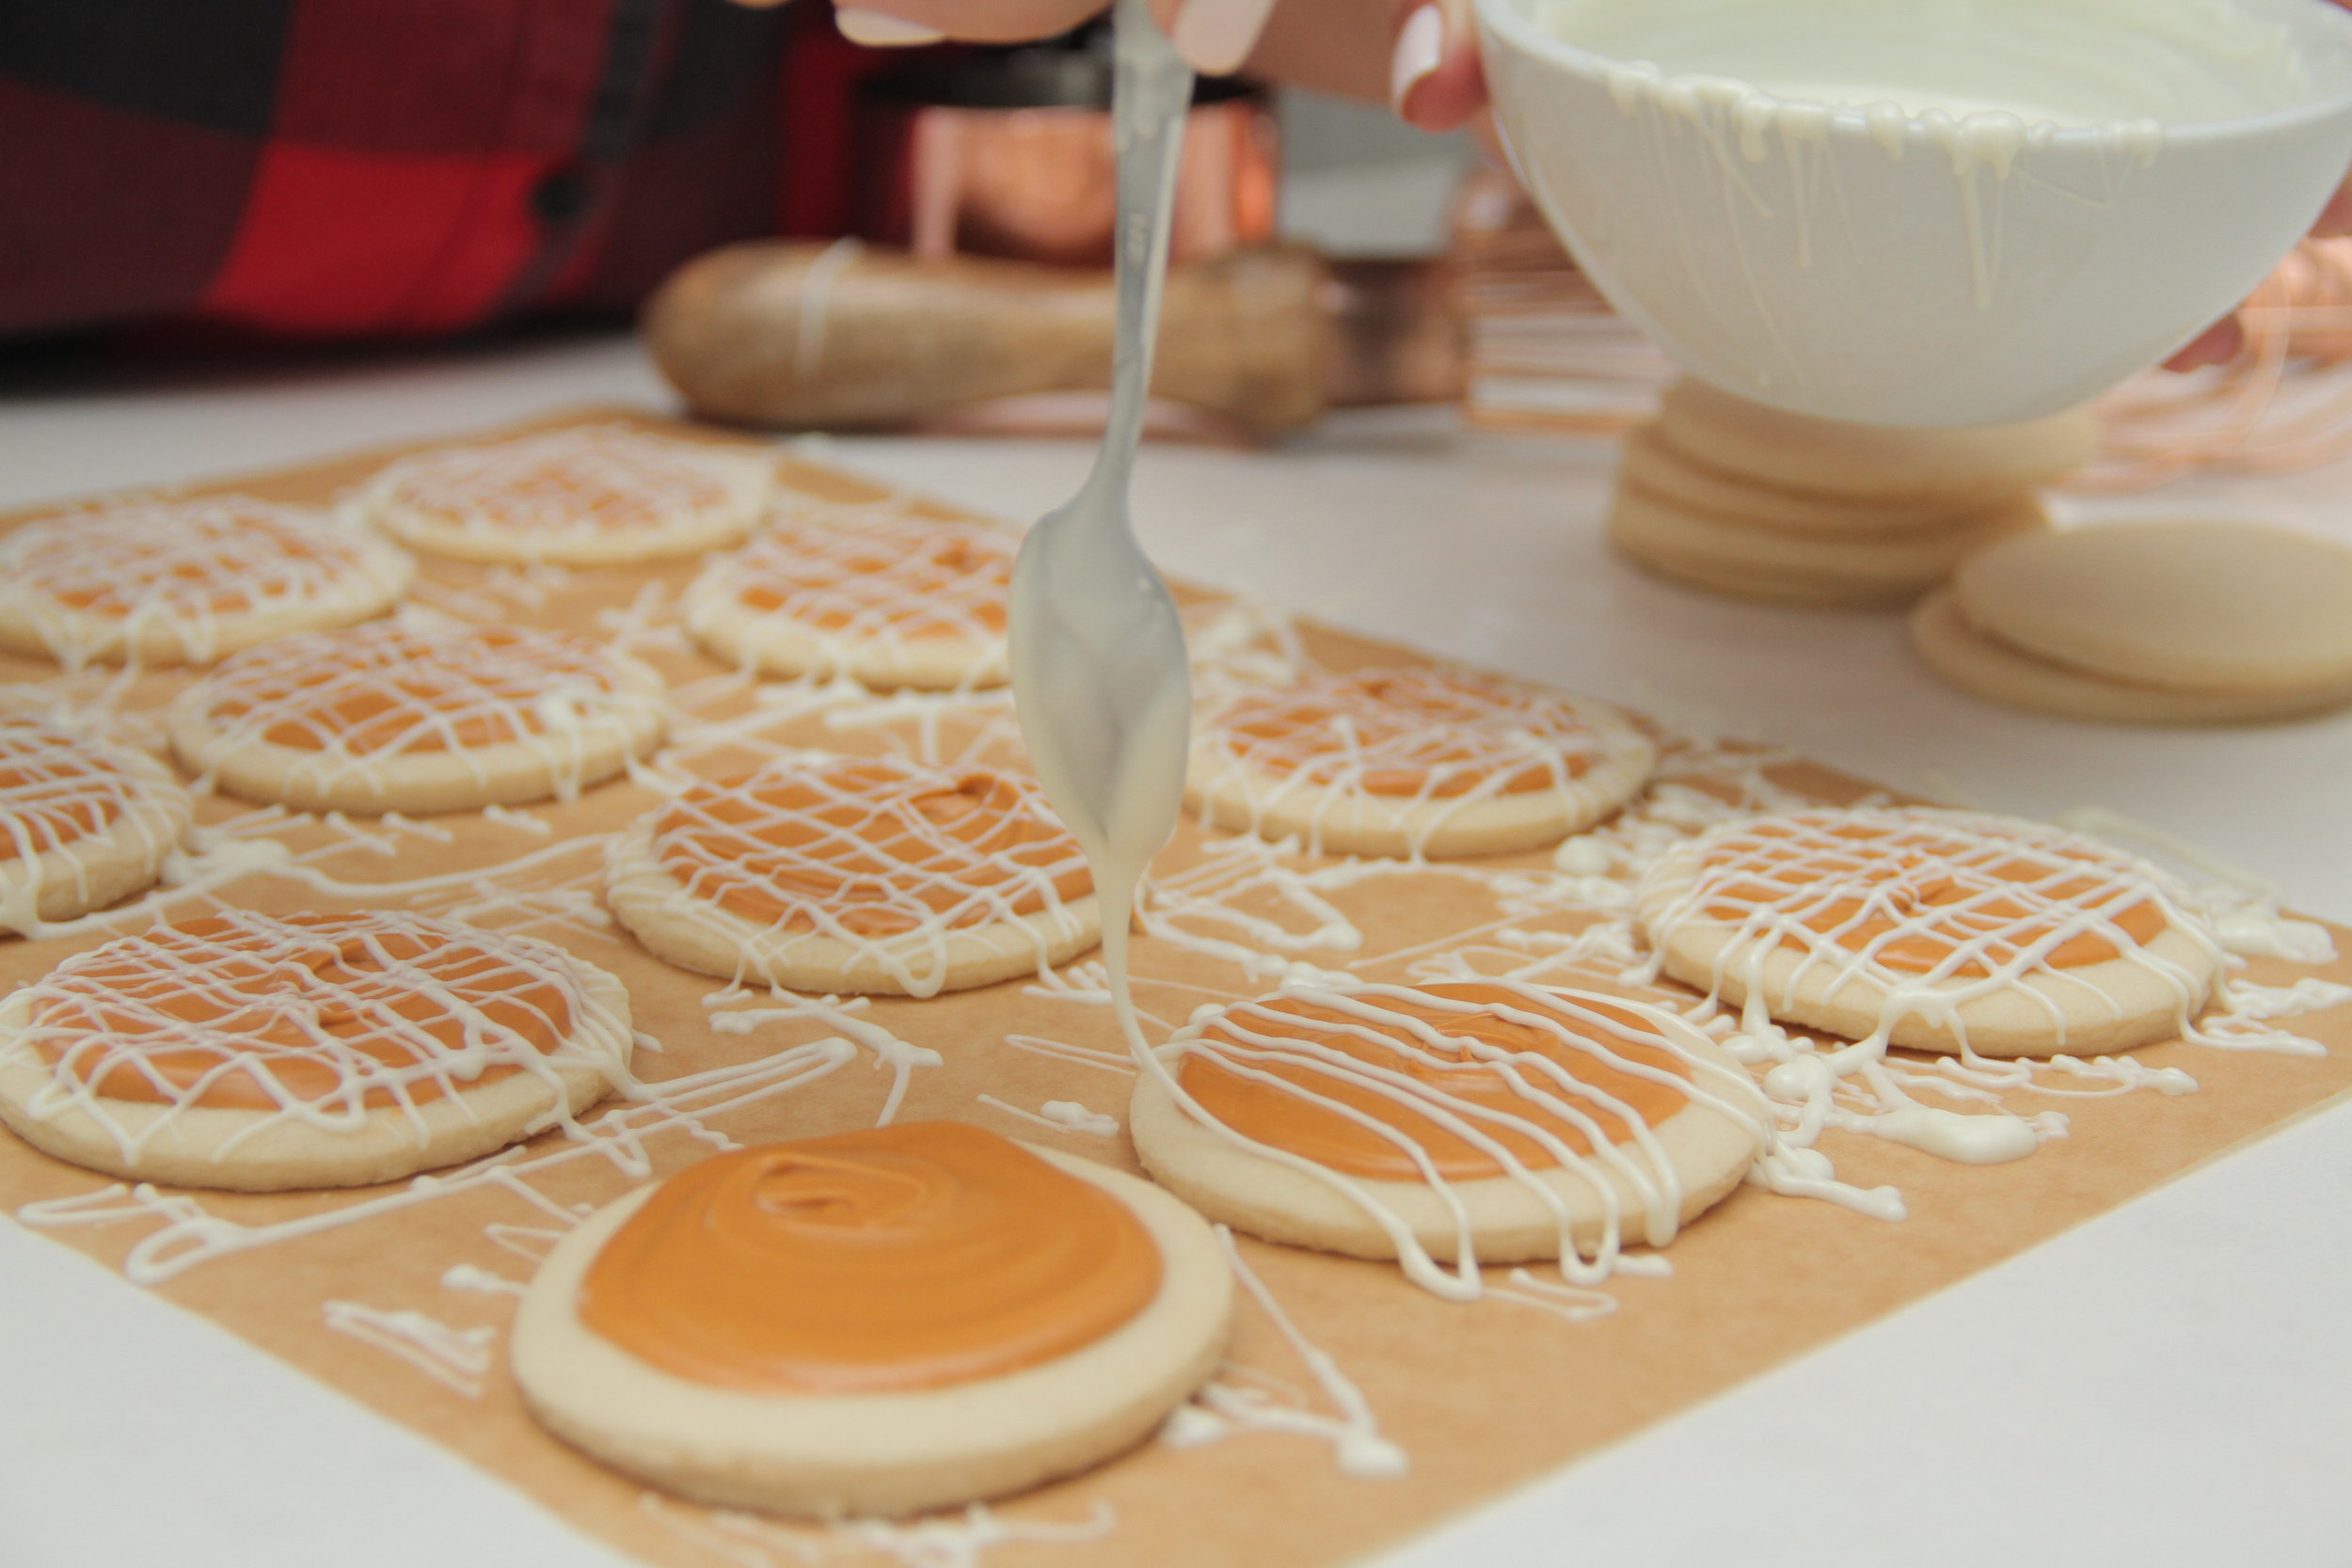
My Mom’s sugar cookie trees were always super popular, followed by her butterscotch bars. I could never choose a favorite because they were equally delicious! This recipe is inspired by both of those cookies. It has that warm familiar flavor of brown sugar and creamy white chocolate with the soft light-texture sugar cookie complimented all by fleur de sel which acts like electricity through the entire cookie. It’s one of those cookies you can never have just one. It’s so good I could cry.
It’s like when you run into an old friend and a flood of good memories come back and you wonder why you ever stopped being friends only to discover you can’t remember why and that feeling makes you sad. If that feeling was a cookie, this would be it. Yes, I’m being serious. It’s not a sad cookie. It’s like a time capsule cookie that brings you so much joy you just want to hold on to it forever because the feeling is so good and you don’t want it to go away again. That is this cookie. This is the only way to describe my Salted Butterscotch Sugar Cookies. You’ll actually want to apologize to it because it’s so good and it did nothing wrong for you to forget it’s amazing qualities, despite never having it before. I’ve never met someone that didn’t love this cookie and try to stuff a couple in their pocket before leaving. Long after the party is over people will find a reason to bring up this cookie just so they can talk about it and reminisce about how good it is. I’ve had people offer up their first born child in exchange for this recipe. Ok-maybe not that far….but you get the picture. This is why this is the only sugar cookie recipe you need. Scroll down to salivating city and then run to your kitchen and bake these immediately. Be sure to tag me on IG @BrandiMilloy with photos of your Salted Butterscotch Sugar Cookies!
Salted Butterscotch Sugar Cookies
By Brandi Milloy
Yields 4-5 dozen
Ingredients
3 cups Pillsbury™ BEST™ All Purpose Flour
2 teaspoons baking powder
1/2 teaspoon salt
1 cup Crisco® All-Vegetable Shortening (I swear by 1 cup baking sticks and keep them on hand in my pantry at all times)
1 cup sugar
1 large egg
2 tablespoons milk
2 teaspoons vanilla extract
16 ounces butterscotch chips, melted
8 ounces white chocolate chips, melted
Fleur de sel, for garnish
Directions
STEP ONE
HEAT oven to 350°F. Whisk flour, baking powder and salt in medium bowl until blended.
STEP TWO
BEAT shortening and sugar in large bowl with mixer on high speed until light and fluffy, about 5 minutes.
STEP THREE
BLEND in egg, milk and vanilla. Gradually blend in flour mixture.
STEP FOUR
DIVIDE dough in half. Roll out each half on lightly floured surface to 1/4-inch thickness. Cut with 2 ½ inch round cookie cutter. Place 2 inches apart on baking sheet.
STEP FIVE
Bake 8 to 10 minutes or until bottom edges are very light brown. Cool 2 minutes on baking sheet. Remove to wire rack to cool completely.
STEP SIX
To decorate: Spread butterscotch on center of cookie. Drizzle white chocolate on top and garnish with a sprinkle of fleur de sel.
Before Mr. A and I moved into our new home, we lived in a teeny tiny 420 square foot bungalow in Manhattan Beach. There wasn't really a kitchen-more like a kitchenette. It was the size of a child's picnic table. Imagine a sink, cutting board and that's it. That was it. Seriously. I still can't believe I recipe tested and made big dinners there when we hosted friends.
So now that we have a home with an actual kitchen, it's been wonderful filling it with all of our favorite kitchen gadgets. These are items I use on a weekly or more basis, but especially for fall....when we find ourselves at home more, hosting friends & family and celebrating all of my favorite holidays!
I would love to know what your favorite kitchen gadgets are-especially any that are lifesavers for new moms that have limited time. Share them in the comment box below. Thank you!
I love, love, love fresh figs and enjoy them all season long but I think it's one of those fruits that can be intimidating to people if they don't know what to do with them. What I love about this dessert is it takes little effort to make but the payoff is huge. The light, creamy mascarpone filling with bits of lemon zest is the perfect balance to the fresh juicy figs.
For this recipe you really only need a handful of ingredients: pie crust (I don't mind store bought pie crust), mascarpone, heavy whipping cream, sugar, vanilla, lemon zest and fresh figs. Hello easy street! Also, this is one of those desserts you wanna take to a dinner party or somewhere you can really show it off. After all, it looks SO fancy!
As always-I am not a food photographer even though I wish I was. Will someone teach me in exchange for pies?
Fresh Fig & Mascarpone Pie by Brandi Milloy
Ingredients
- 1 pie crust baked (homemade or store bought is fine)
- 8 oz. mascarpone cheese
- 1/4 cup powdered sugar
- 1 tsp. vanilla extract
- 1 tsp. grated lemon zest
- 1 1/2 cups heavy whipping cream
- 1 lb. fresh figs, rinsed and sliced in quarters
Directions
- To make the filling: combine the mascarpone, powdered sugar, vanilla and lemon zest in a small bowl and mix until smooth. Set aside.
- Into a bowl, pour the heavy cream and using an electric mixer, mix on medium speed. Mix for 2-4 minutes until billowy and fluffy and stiff peaks form. Carefully fold in the mascarpone mixture and then spread mixture evenly into pie crust. Top with fresh figs.
- Serve pie with fresh figs so each slice gets plenty of fruit and enjoy!
“Speak to your children as if they are the wisest, kindest, most beautiful and magical humans on the earth, for what they believe is what they will become.” –Brooke Hampton
Throughout the day I speak to my daughter as if she understands everything I’m telling her. From when I greet her in the morning to when I’m changing her, bathing her or taking her on a walk-I’m always talking to her. I’ve been telling her these powerful words since before she was born, when she was just a blueberry in my tummy. I fed my mind positive thoughts and let those thoughts fill my heart and belly. And every night since she was born I tell her the below when I lay her down to go to sleep.
· We love you Milly. Mommy loves you. Daddy loves you. Jesus loves you. Everybody loves you. (Sometimes I go down the list of all of our family & friends that love her).
· You are the sweetest little girl in the whole world.
· I love being your Mama.
· You are such a happy baby.
· You are kind and nice and smart. You are so smart, baby girl.
· You are generous and helpful and such a good friend.
· You have already changed the world and one day you will move mountains.
· You are good at everything you put your mind to. You can do anything baby girl.
· You are confident and powerful. You are brave and courageous.
· You are amazing Milly. Your nickname is “@LittleAmazing” because you’re amazing just like Daddy.
· We are so grateful for you. You are the best part of us. We are so glad God chose us to be your parents.
· You are safe, lovey. Mommy is here and Daddy is here. We are right here beside you. We will always be here for you. We love you so much. You are so deeply loved.
· I can’t wait to spend time with you tomorrow. You are my favorite part of the day.
· Good night my Love. Sleep well. Have sweet dreams.
· We love you Milly. Mommy loves you. Daddy loves you. Jesus loves you.
Putting Milly to bed at night is some of my favorite time with her because I know I am teaching my daughter how to empower herself and I’m filling her mind with positive thoughts. If you don’t already, I really encourage you to create your own affirmations for yourself and/or your child. What will you say? What do you want them to be? I’d love to know what you come up with. Let me know in the comment box below.
Happiest two months baby girl! You are so incredible. You have really lived up to your name @LittleAmazing. I knew when you were in my belly you would be like this-calm like the ocean and bright like the sun. You radiate light, my love. I could stare at you forever.
You're 8 weeks old today and it has been the most powerful time in our lives. You've taught me so much patience, a trait I've never really had before. But I'm not talking about patience with you. I mean patience with myself. Expectations I have for myself as your mama, as a working mama trying to balance it all are somehow not so high because all that matters is I'm doing my best. There are so many firsts and so many new things but we are learning together and I couldn't do any of it without Daddy. We are so lucky to have him. When you were born he did all of the night feedings. Do you remember, baby? Daddy let Mama sleep and he took such good care of you. In the mornings he helps take care of you too so I can sleep in. And he feeds us. He makes us breakfast every morning with lots of coffee and he makes dinner for us too. That's why I have so much energy when we're together lovey. He does so much for us. He loves us so much.
I love how you make me slow down and pause. I am soaking up every bit of you. I love spending time with you. I love our conversations. You're such a good listener, so alert and interested. You seem to love the sound of my voice and I love the sound of yours. You started trying to talk to me. We've been communicating since you were in my belly but now you are cooing and singing to me a lot. Your voice is sweet like honeysuckle. And your soft milky breath is like heaven.
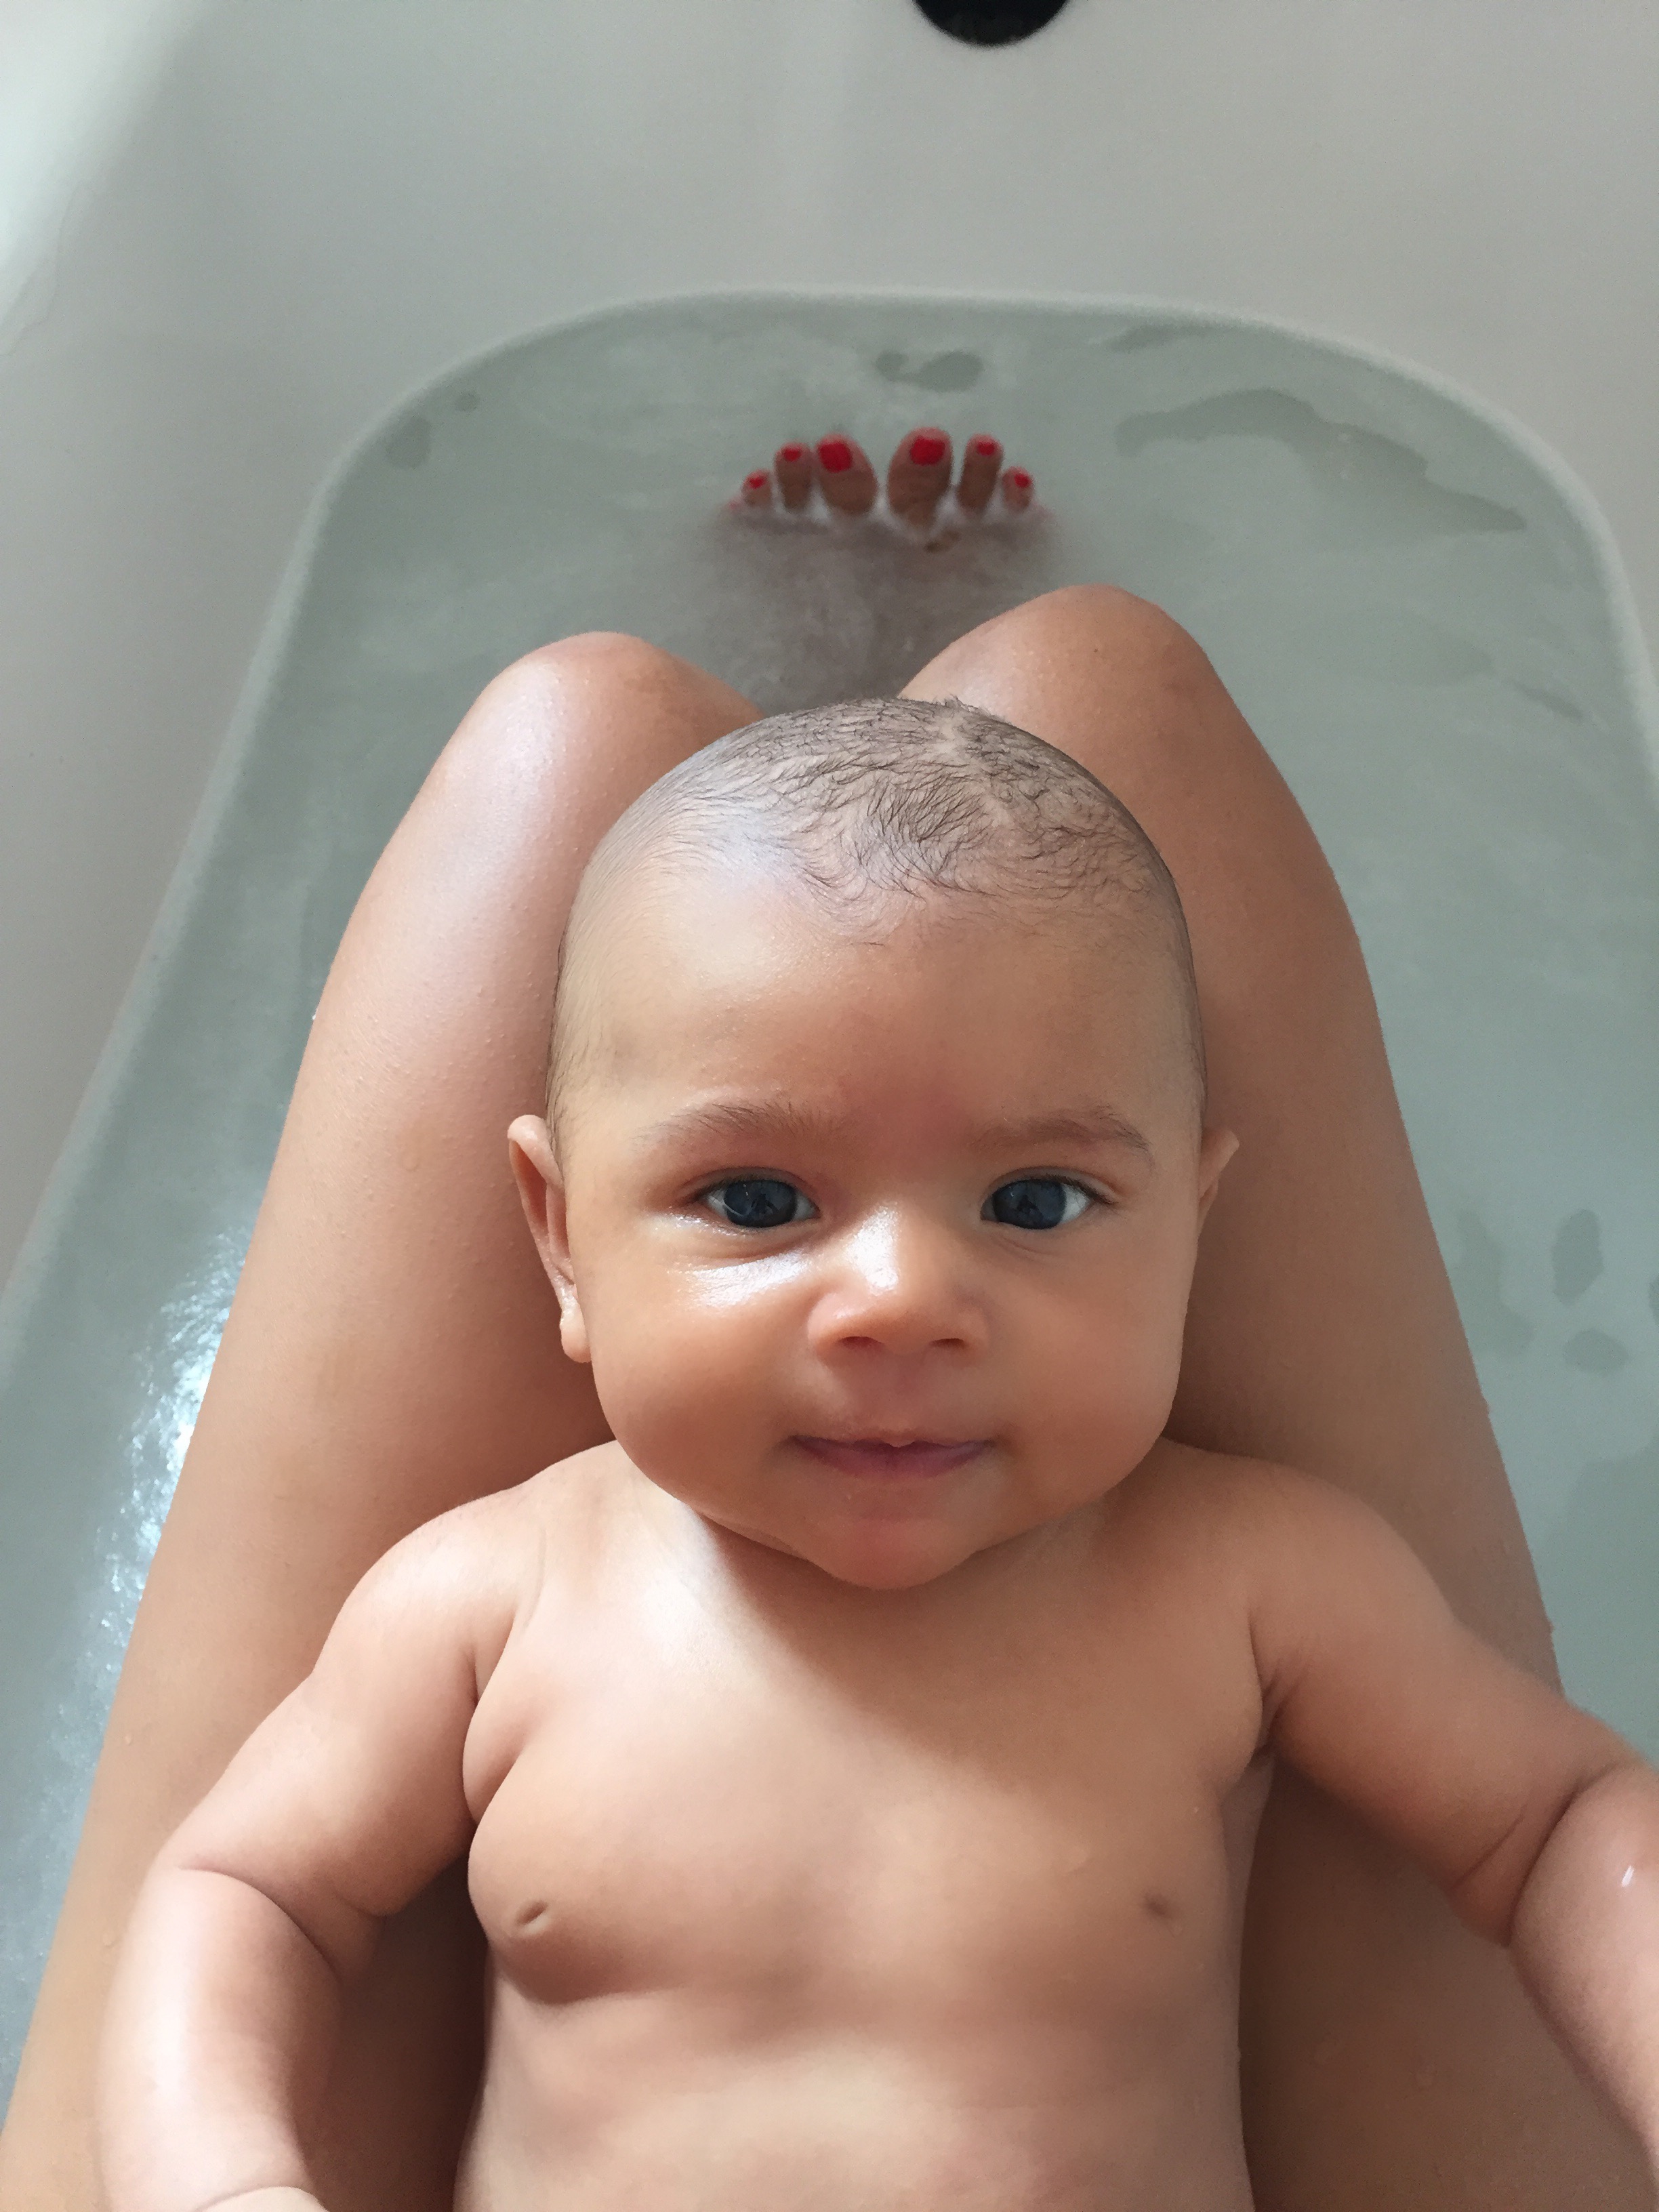
You never cry. You yelp if you're bored and ready to be held and you fuss when you're hungry but you aren't a crier. You have so many expressions. You are so good about telling us exactly what you want. When you were itty bitty you would inch your way up daddy's chest until you were right under his chin and couldn't go any farther and then you would sleep there for hours. We would call you our inch worm. Now we call you our little hungry hippo. You love to be in the water and I started taking baths with you. It's such a peaceful time and it reminds me of when you were born...in the water, my little mermaid. You're an easy baby and we are so grateful.
Before you go to sleep at night is one of my favorite times with you. We talk about our day and how much mommy & daddy loves you. I tell you about Jesus and how much he loves you too. You always look so relaxed and you go to bed happy, baby. You love when I massage you and when I touch the back of my hand on top of your head. I massage the spot between your eyes and you fall fast asleep. But at night I've been missing you. That's because you've been sleeping 6-7.5 hours. I'm still getting up to pump, baby girl but when I look over at you in your bassinet you look so peaceful dreaming deep in your sleep. Sometimes I just stare at you and then have to stop myself from picking you up.
This week we started our Mommy & Me class, baby yoga and infant massage. You really enjoy going to class. You are not a homebody that is for sure. You thrive being outside, in the stroller, in the carrier, in your car seat. You love watching, looking, observing and exploring.
We are so in awe of you, Milly. It has been an absolute gift calling you ours. We love getting to know you and are soaking up every moment.
Just when I thought the kitchen was my favorite room in our house, we created our nursery for Milly and I found myself always wanting to be in there. Despite being a room for our baby girl, something about it seems sophisticated. The vintage persian rug from Zartiques.com is not only warm and super soft (perfect for tummy time) but feels like an extension of our home decor. Our vibe is very boho mid century modern with the charm of our 1930's Spanish bungalow. That was something that was important to Mr. A and I. We didn't want the room to feel like a baby's room.
Some of my favorite elements of the room is the yarn wall hanging by the Dancing Tapestry above her crib. I love the image of the sunset and the rose gold beads that play off some of the other rose gold elements in the room. Another special piece is the mini wicker chair that was mine when I was a little girl! I can't wait for the day Milly is old enough to sit in it while I read to her.
You can see more photos of her nursery by heading to the feature on POPSUGAR.com and shop some of my favorite pieces in the nursery here.