Posts in Mom Life
Ring POPsicles
Photography Credit: Karen DeGrazio

Photography Credit: Karen DeGrazio

So Milly hates milk and I mean who can blame her when Mama’s milk is so good (breastfeeding joke-haha!) I’ve never been a fan of cows milk but give me all the cheese and ice cream. Love diary but not a cow’s milk drinker. We are basic b’s around here and love our organic almond milk, pea milk and always cereal milk. Ha! But when it comes to Milly’s health and how crucial it is for her to get essential vitamins and minerals (Vitamin D and Calcium) plus dietary fats for brain development (80% of your child’s brain development happens before they are 2 years old-whoa!), proteins plus all the other essential nutrients in whole milk- I had to get creative. Easy. Whole milk yogurt popsicles. This isn’t a new idea. My sister has been making these for my nephews for years and the last time we were in AZ visiting them they made Milly her own and she was all over them (her cousins and the popsicles).

Photography Credit: Karen DeGrazio

Photography Credit: Karen DeGrazio

What I like about having these on hand is they act as a “special treat/dessert” even though they aren’t really a dessert at all. I mean… the way I make them they are pretty straight forward. I like to buy a large tub of organic pasture raised plain whole milk yogurt and flavor it myself but you can also buy the flavored ones. I will add fresh or frozen fruit purees, fresh or frozen fruit and some spices if I’m feeling naughty.

Photography Credit: Karen DeGrazio

Photography Credit: Karen DeGrazio

These are one part organic pumpkn puree, two parts whole milk yogurt and a few sprinkles of cinnamon and nutmeg. Very PSL minus the L and 100% basic b again. Milly loves them! They aren’t sweet at all but super flavorful. A quick hack for making them even easier is just alternate squeezing a pouch of yogurt with your favorite fruit pouch and freeze! No excuses for not making your babes something semi-homemade!

Photography Credit: Karen DeGrazio

Photography Credit: Karen DeGrazio

I love these popsicles so much. Some days they are breakfast pops, other days an afternoon snack, her appetizer for dinner. I just love she’s getting another source of calcium in addition to other calcium rich foods she eats like greens, tempeh, almond butter, broccoli, pinto beans. Plus how freaking cute are these ring pop molds. Don’t think I wasn’t going to gush about how stinkin adorable these are!!!

Photography Credit: Karen DeGrazio

Photography Credit: Karen DeGrazio

Super affordable and didn’t need all 18 so we gave a set to our friends. The molds I got for my sis when her boys were small are these and I think I might like them better but you get half the amount of pops so just depends on what you need.

Photography Credit: Karen DeGrazio

Photography Credit: Karen DeGrazio

I love that they’re the perfect size for little hands and so soothing for swollen gums and teething mouths! Milly has fun trying to get to the frozen blueberries hidden inside so in some ways it’s a bit of an activity her.

Photography Credit: Karen DeGrazio

Photography Credit: Karen DeGrazio

I’d love to know what combinations you come up with. Let me know in the comments below and post your ring pop pics on IG and tag me @BrandiMilloy #BrandisBites.


DIY Toddler Learning Tower Stool
6D4A1154.jpg
6D4A1157.jpg
6D4A1160.jpg
7793376560_IMG_7165.JPG

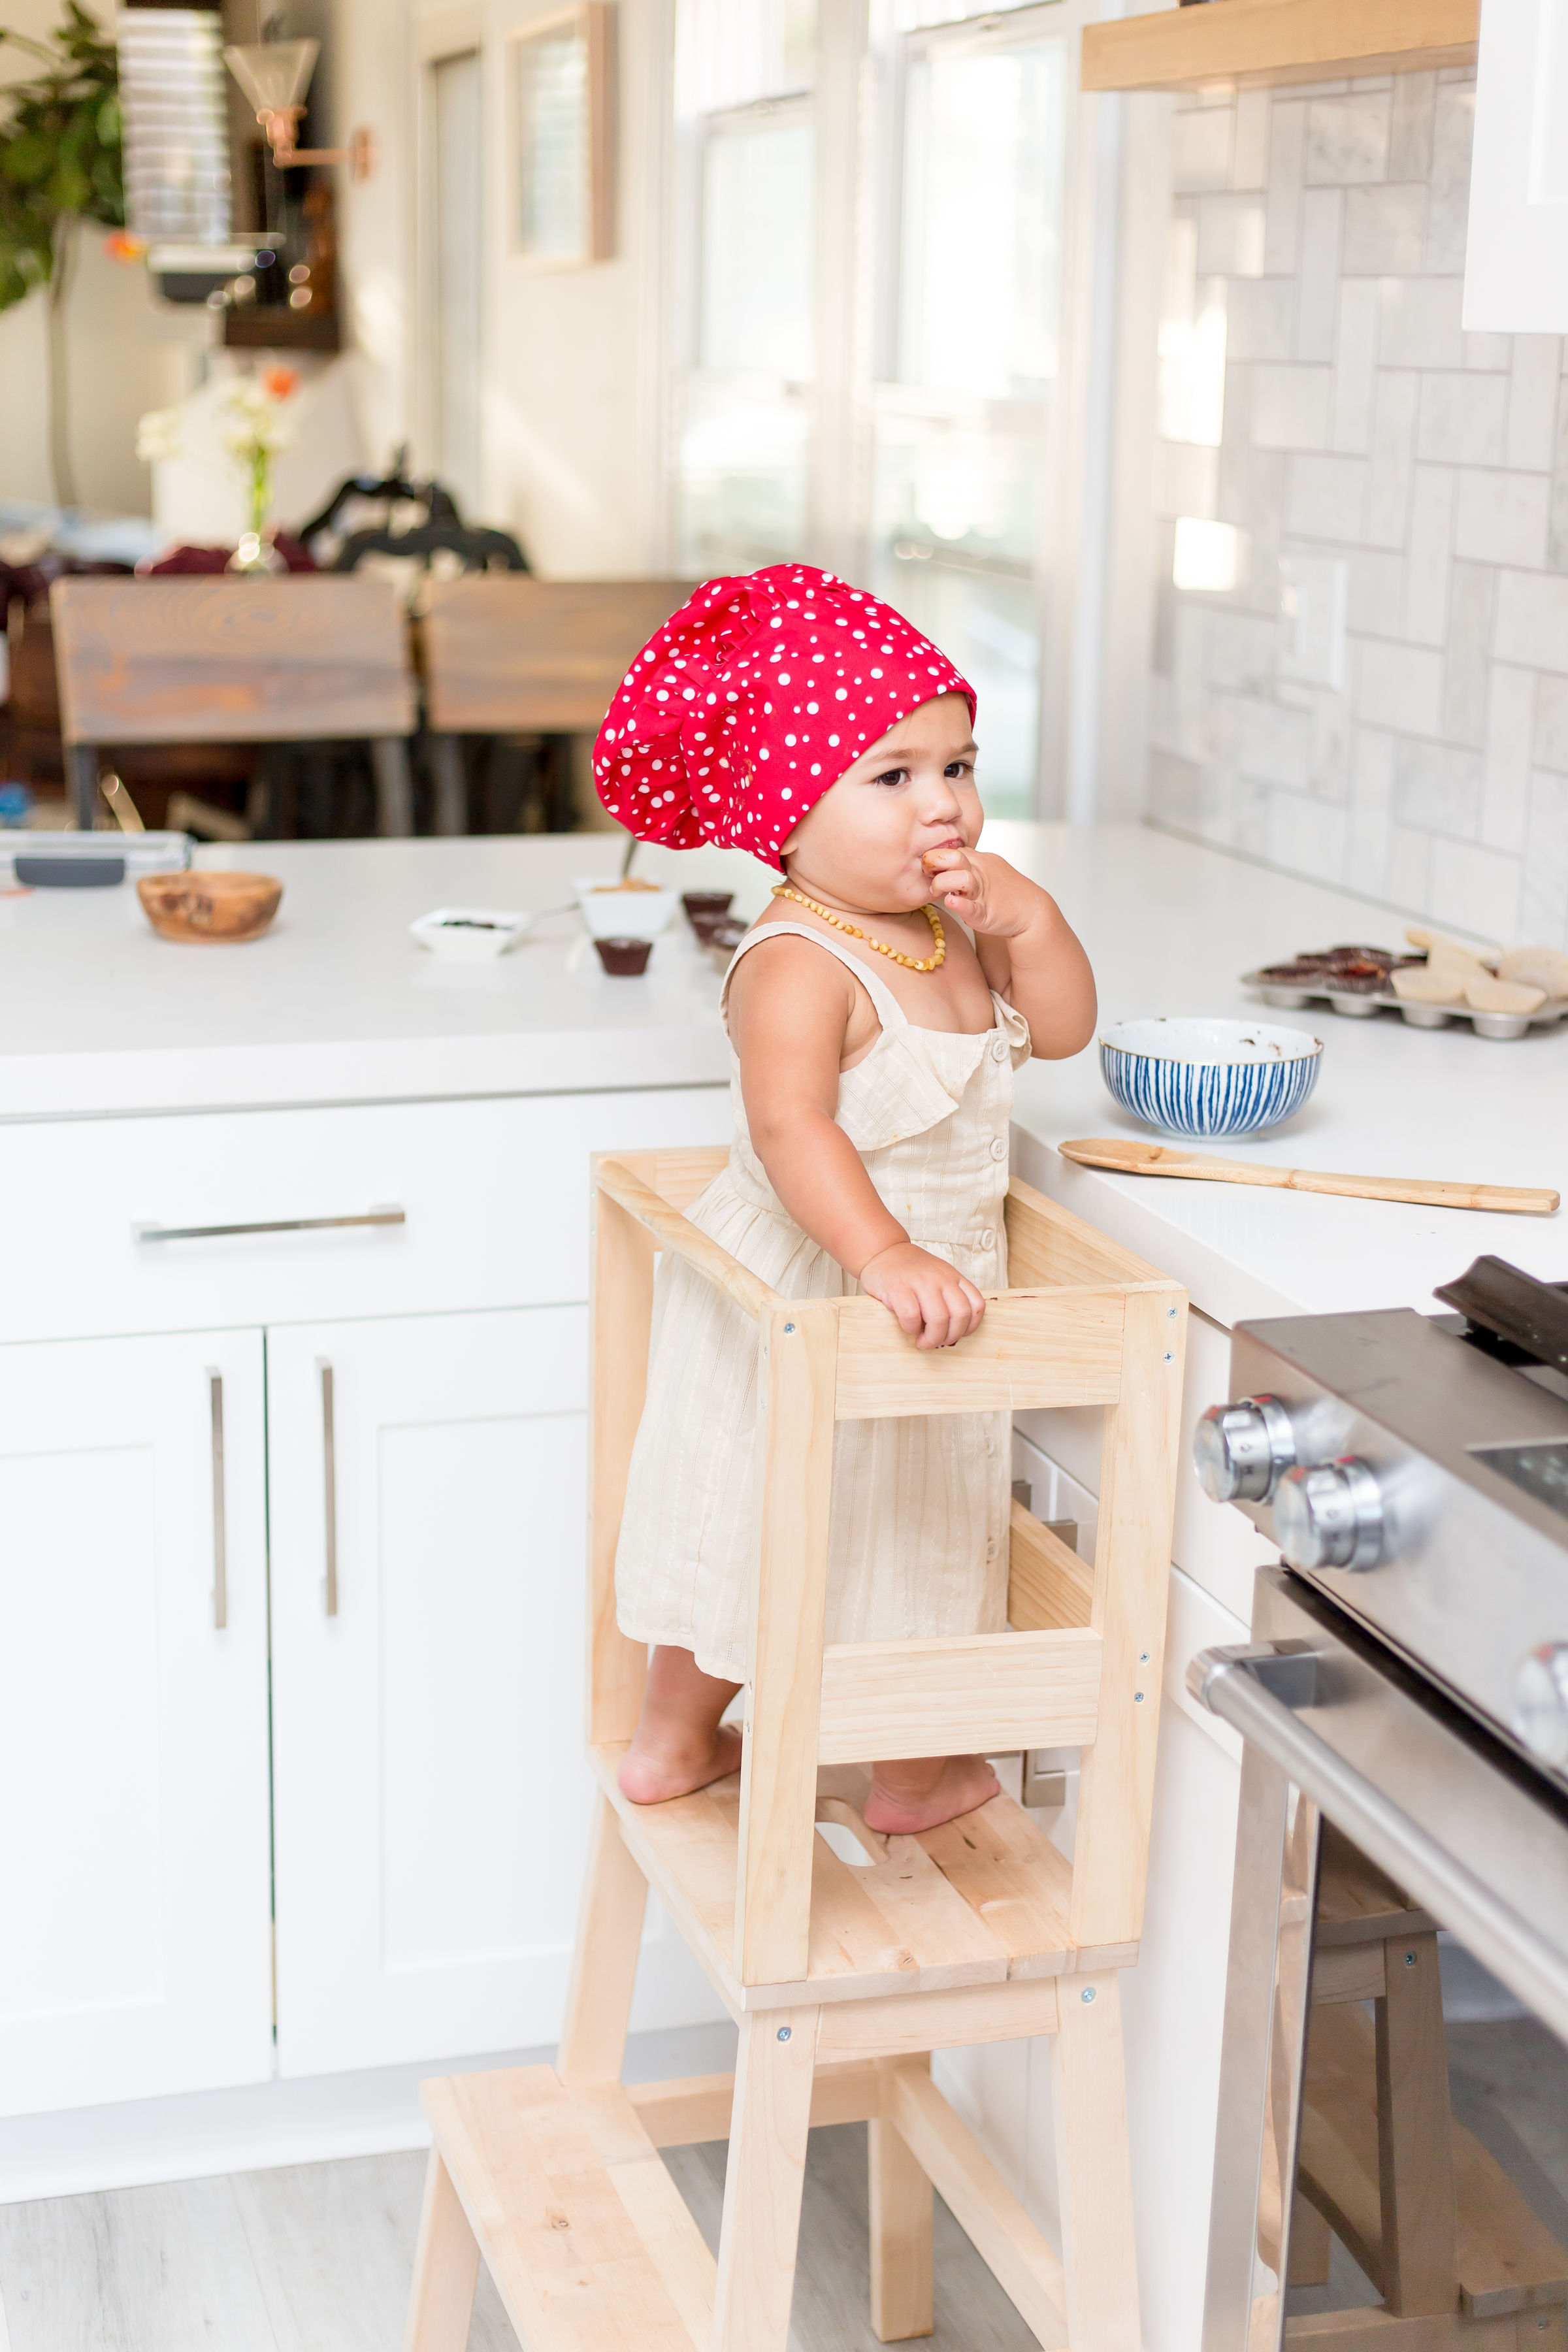
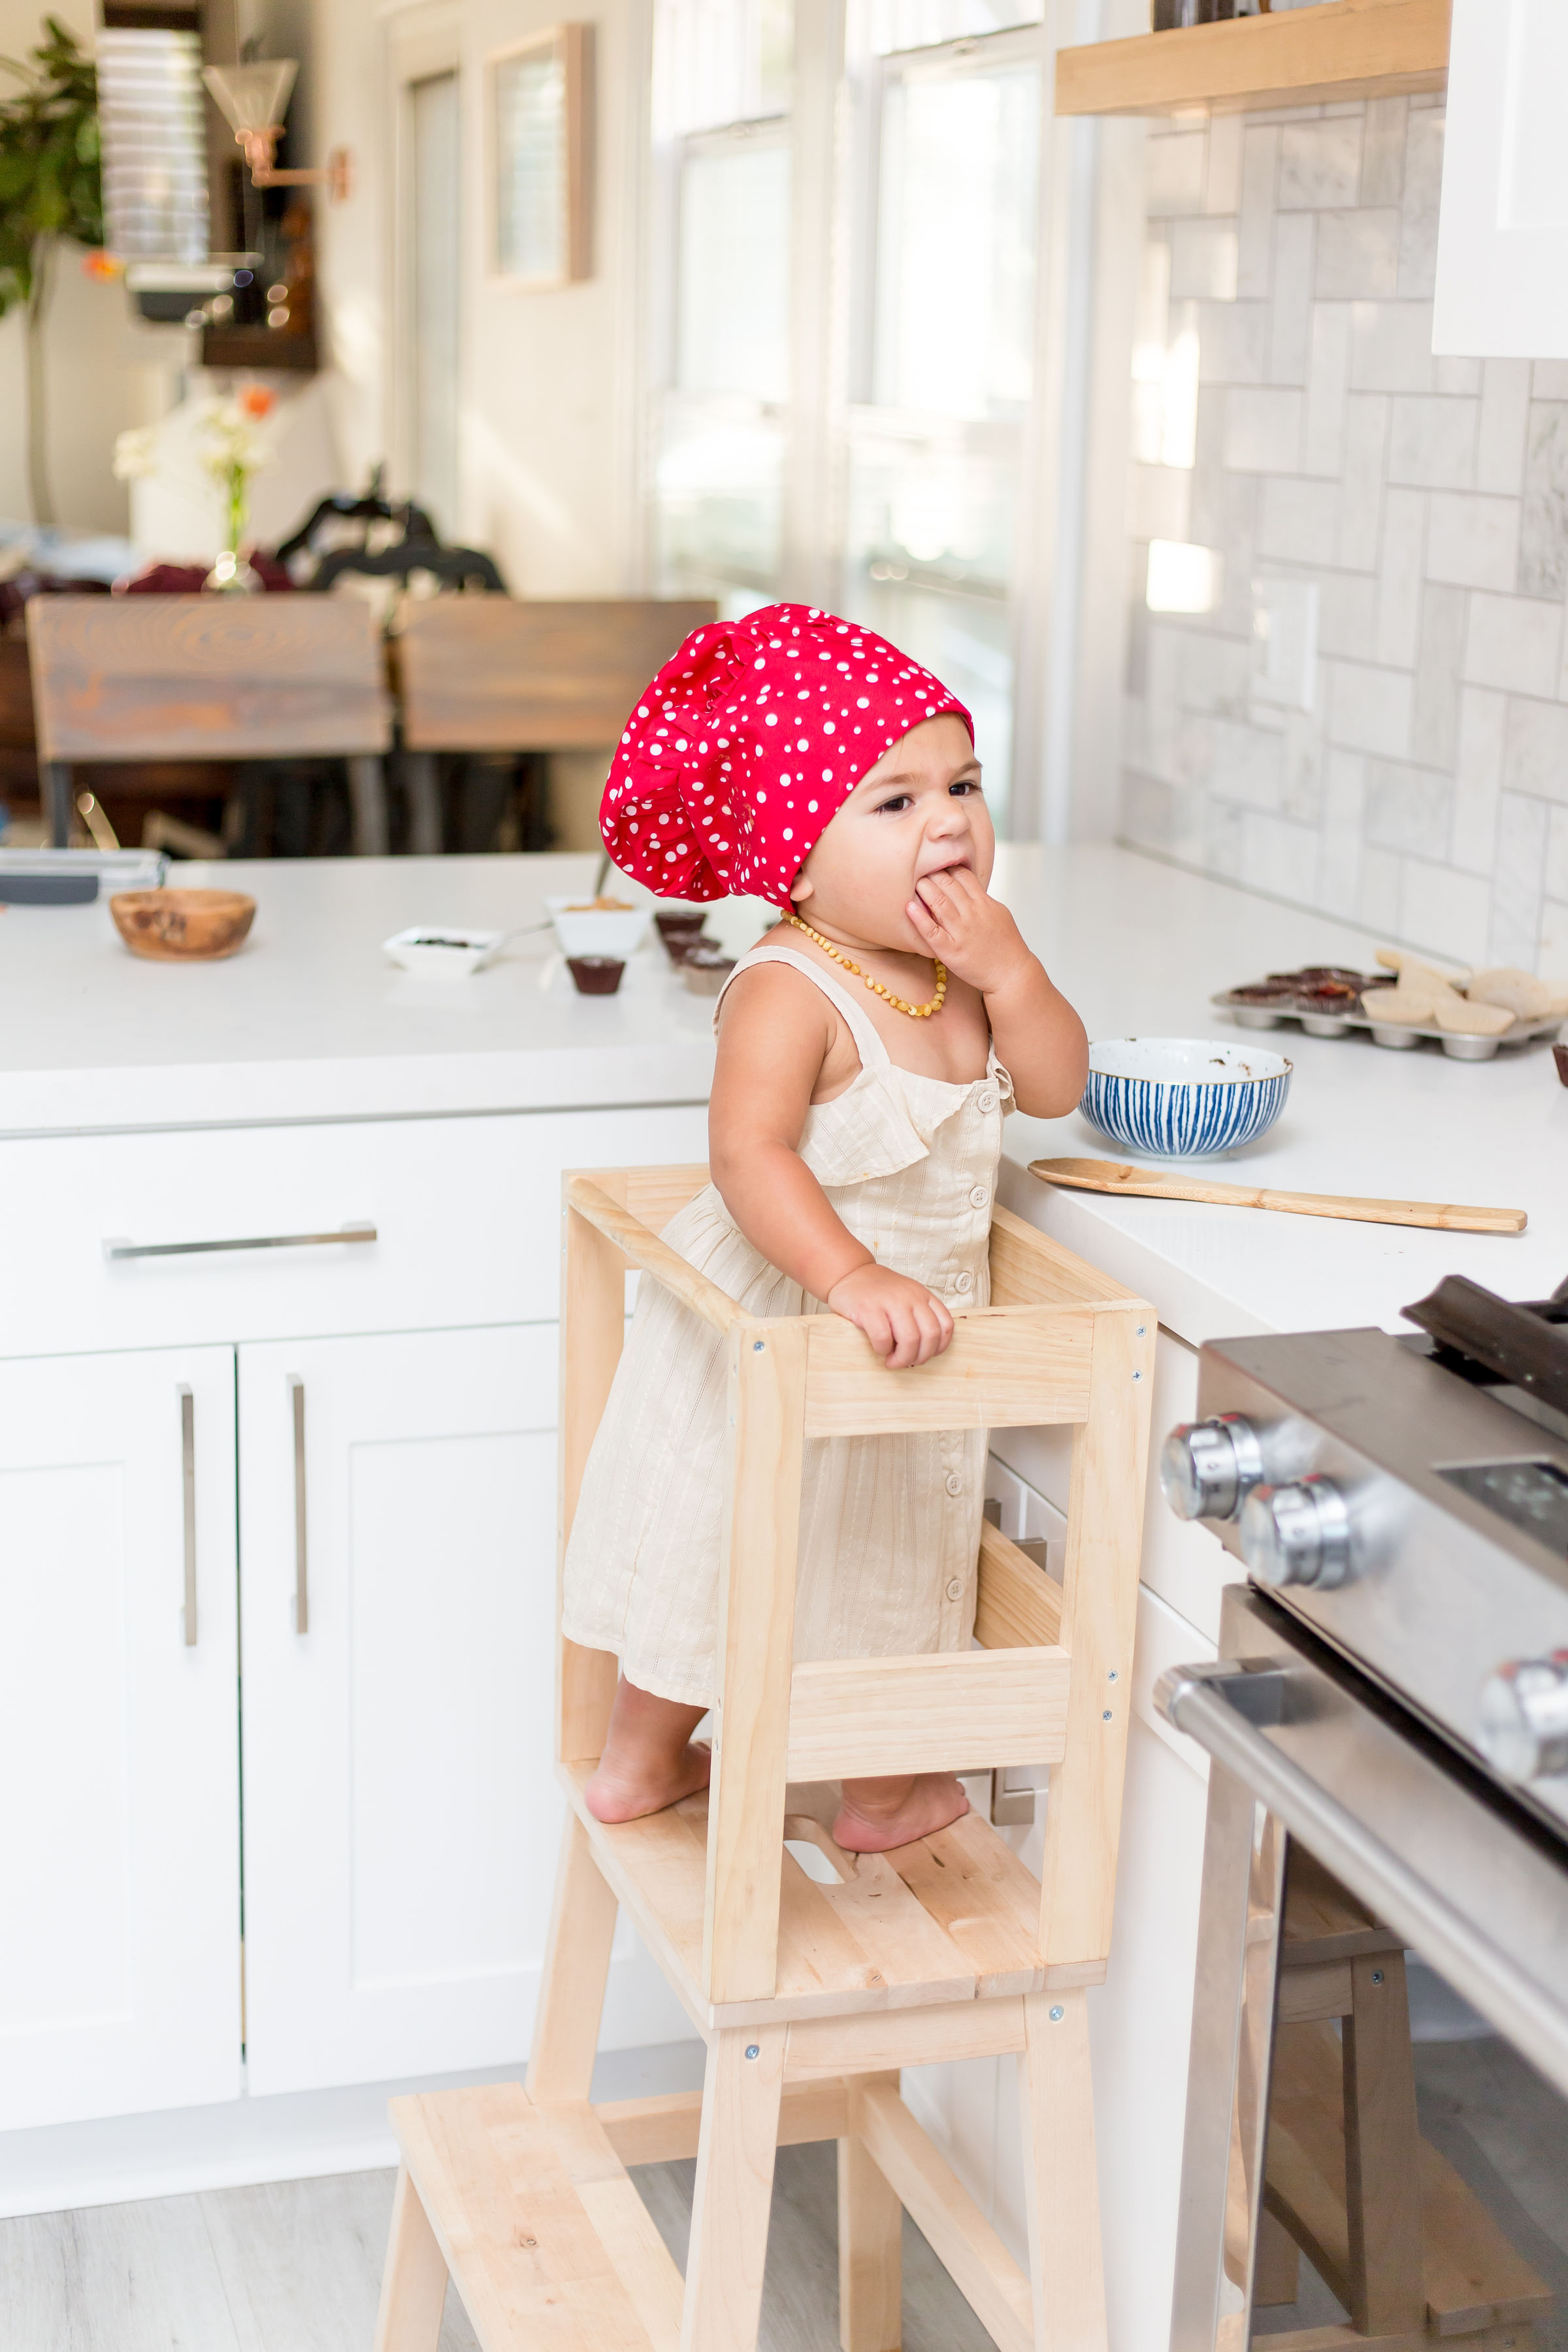
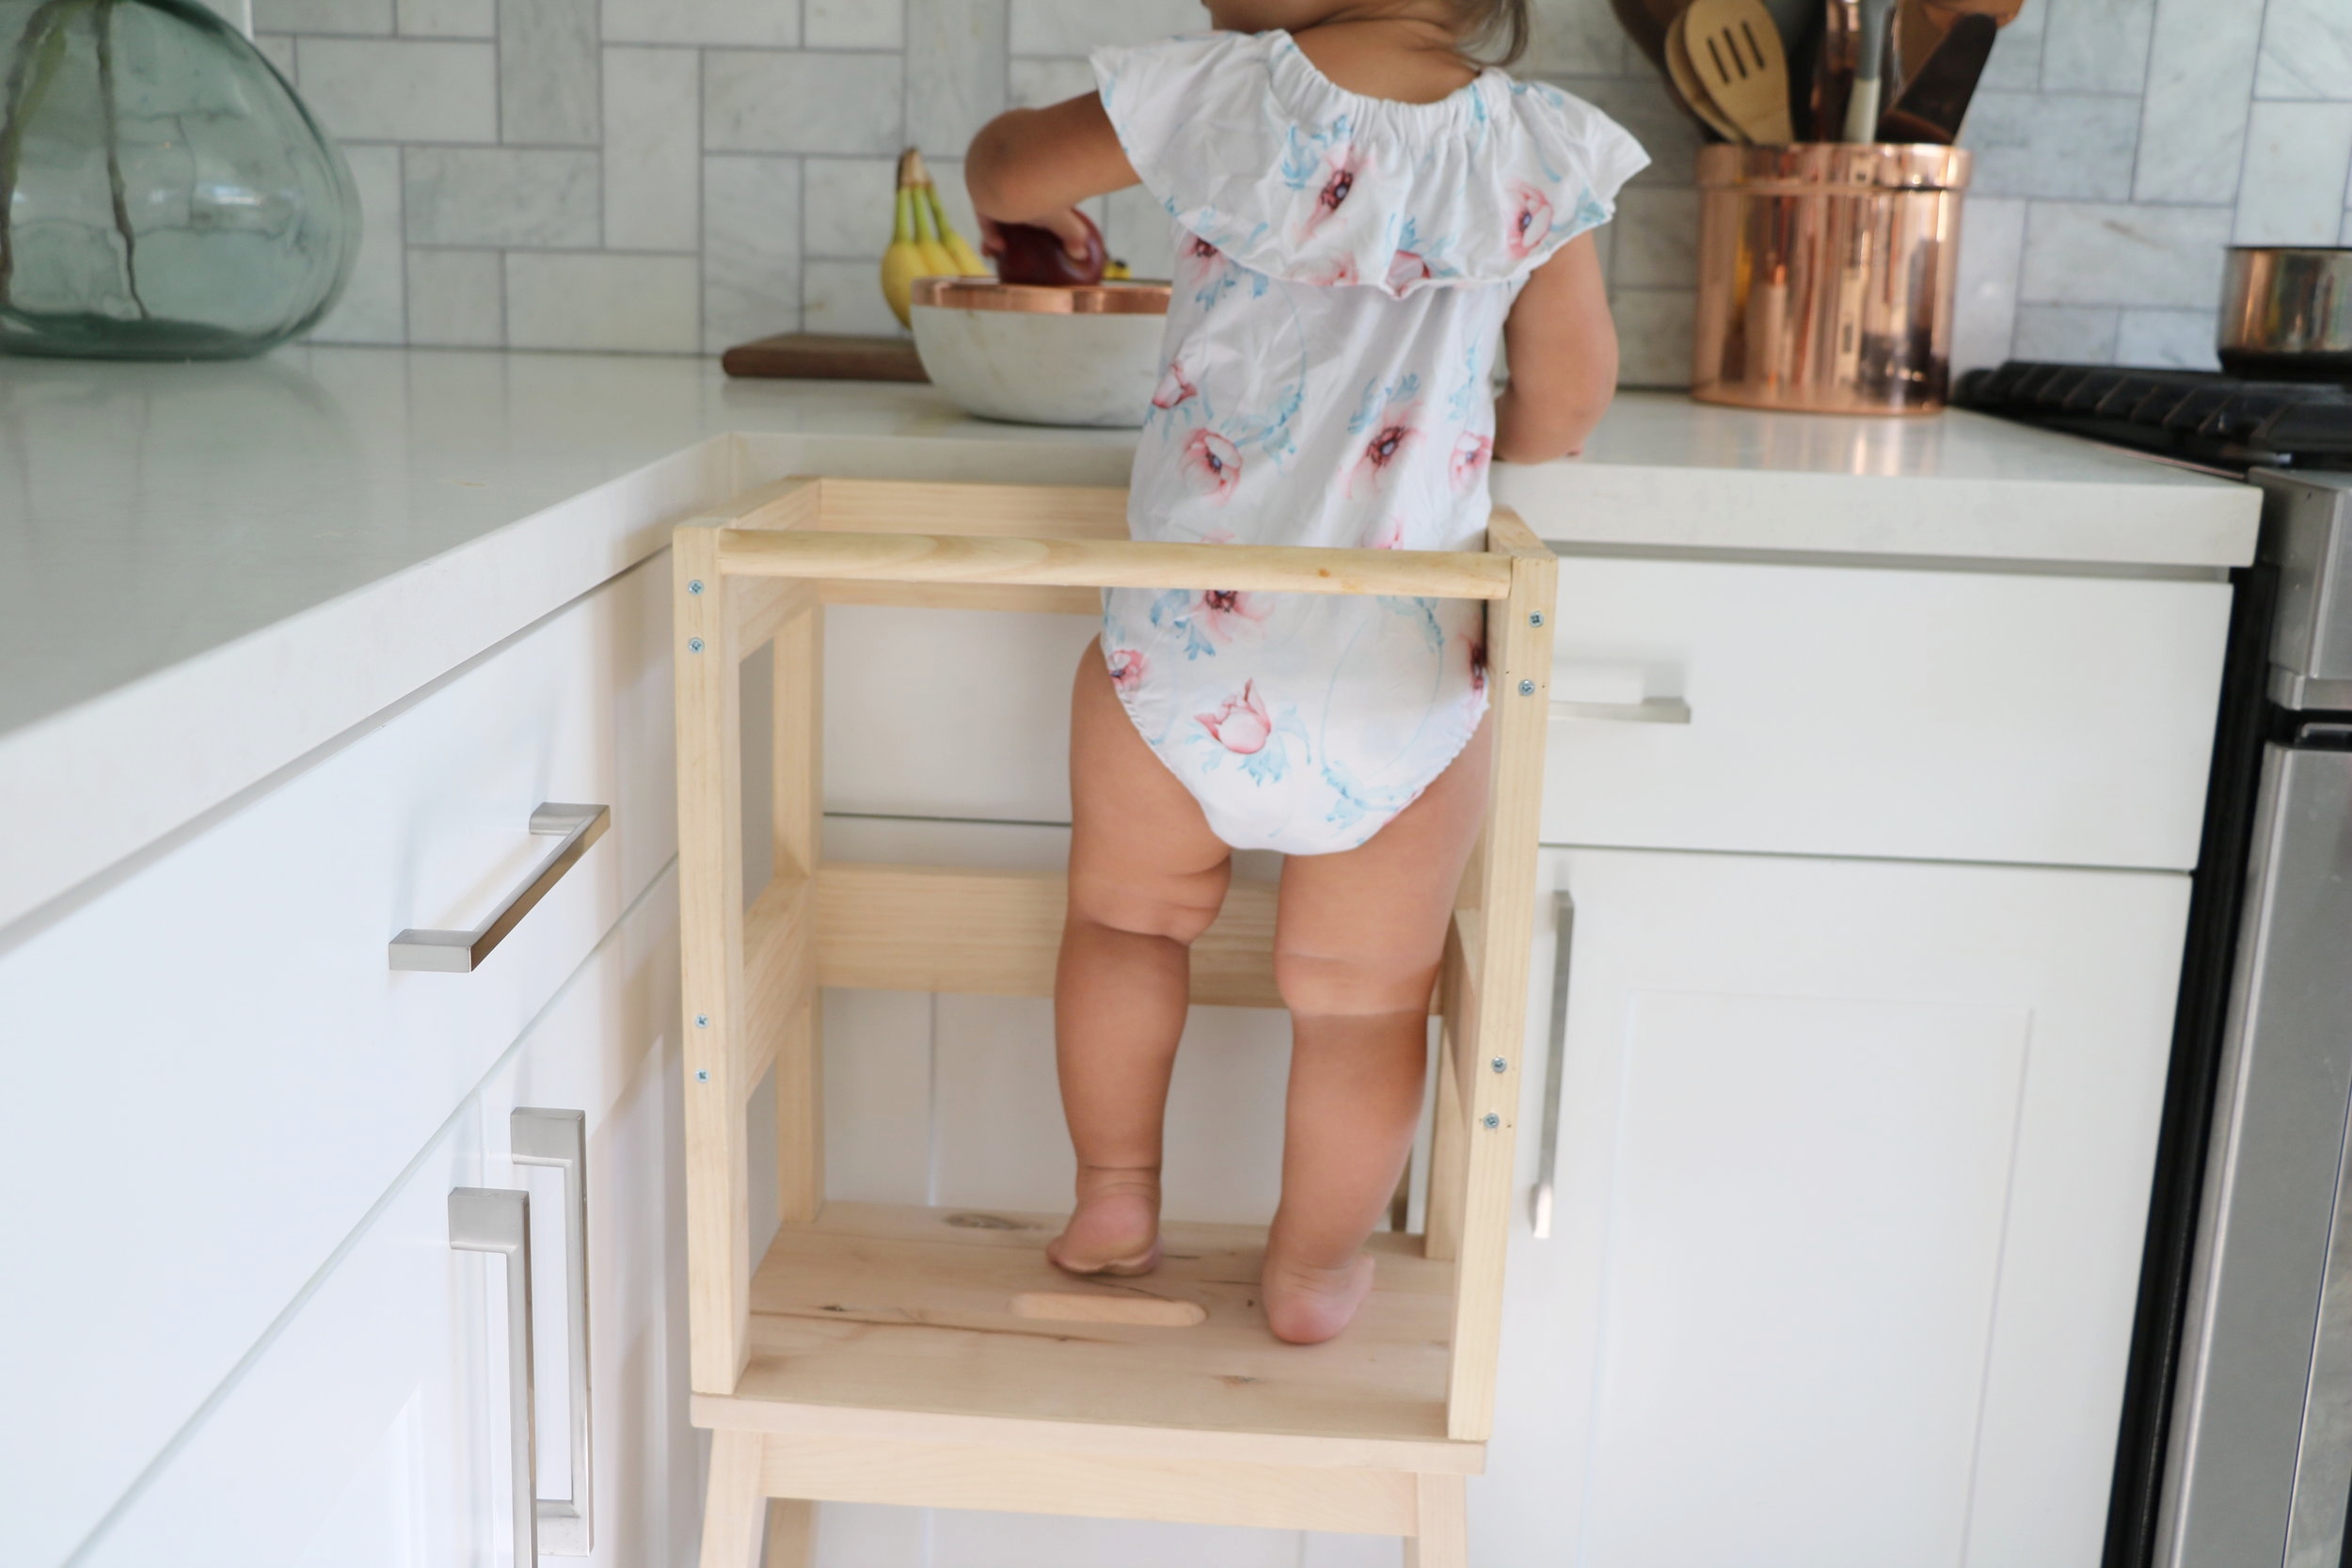
Ever since Milly was an infant she’s been hanging out in the kitchen with us. When she was an itty bitty babe I’d wear her in my wrap or carrier and she’d watch me put dishes away or prepare meals. Many times we would keep her in the dock-a-tot on our island in the kitchen and she’d watch us cook and eat. Once she was sitting up, she’d sit in her chair and watch me from the counter. I’ve always encouraged participation in the kitchen. When she was old enough to grasp things I’d let her stir a dish or press the button on the mixer. I love how interested she is in learning! If there’s anything I’ve taken away from parenting it’s to embrace the messy and give your child the liberty and independence to learn. Every day there is something new to discover! So you would imagine as soon as she was big enough to cruise and then stand, she was always tugging at me trying to see what I was doing and get in on the action. One could think your child is whining or getting fussy because they want a toy or want you to stop what you’re doing but with Milly, as soon as I picked her up and showed her what I was doing she was immediately engaged and excited. Once this clicks, it’s a lifesaver for continuing your day and getting all that household business done. Even just explaining to Milly what I’m doing or why I’m doing it makes her feel like she’s involved. They just want to help and be a part of whatever you’re doing! I couldn’t wait to have Mr. A help me make this learning tower stool IKEA hack I found on Happy Grey Lucky (the link is below!) And by help, I mean I picked up the $19 stool from IKEA. :) He did everything else.

7856249408_IMG_7171.JPG

What I love about this learning tower stool is the design. It’s sleek, modern and I like the raw pine look. We haven’t put the finishing touches on (we plan on covering the screws with wood filler, staining it slightly and then sealing it with poly to make clean up super easy) but I love the way it turned out!

6D4A1153.jpg

There are a lot of similar stools available but they are bulky and large and in our amazing bungalow, space is limited. Plus, they cost anywhere from $200-$250 and this entire hack cost us less than $50! This is something Milly will use for at least 3-4 years and hopefully one day her little brother or sister will enjoy it too. Be sure to follow me on instagram to see the many ways we use it for learning and hands on activities!

7856243792_IMG_7169.JPG

For the full tutorial go to Happy Grey Lucky!

A Mermaid Inspired Dessert Table
JQ2_0643.jpg

I adore a good dessert table. It's perfect for someone like me that can never just commit to one dessert. Anyone else want the cookie AND the ice cream? I remember when I was a little kid and my parents would let us get one treat-I'd always try to find a way to get two! Why have just ice cream when you can get an ice cream sandwich with two chewy cookies hugging that ice cream. Right?! A dessert table at a party is always a good thing...and in some ways it's easier! Making a batch of a few things brings me so much more joy than stressing about making one gigantic perfect cake. And something I've learned in my years of hosting parties and my experience owning a dessert catering company (raise your hand if you knew this-and if you didn't-let me know in the comments below and if you want me to blog about that amazing adventure) is not everyone likes cake (gasp!). So I knew a dessert table was the way to go when it came to our daughter, Milly's first birthday shellebration! 

JQ2_0771.jpg

How cute is this babe holding her birthday cake truffle? For the record Mama took it out of her hand before she could sneak a bite (sorry baby girl!).  If you read Milly's first birthday party post, then you already know I didn't end up making her a homemade smash cake like I wanted to. We actually didn't let her do a smash cake at all and guess what? It was fine! She already got her first taste of buttercream when we gave her a cupcake during her one year photos and that was enough for both Mr. A and I to agree that we don't need to let our babe go ham on some cake. 

JQ2_0654.jpg

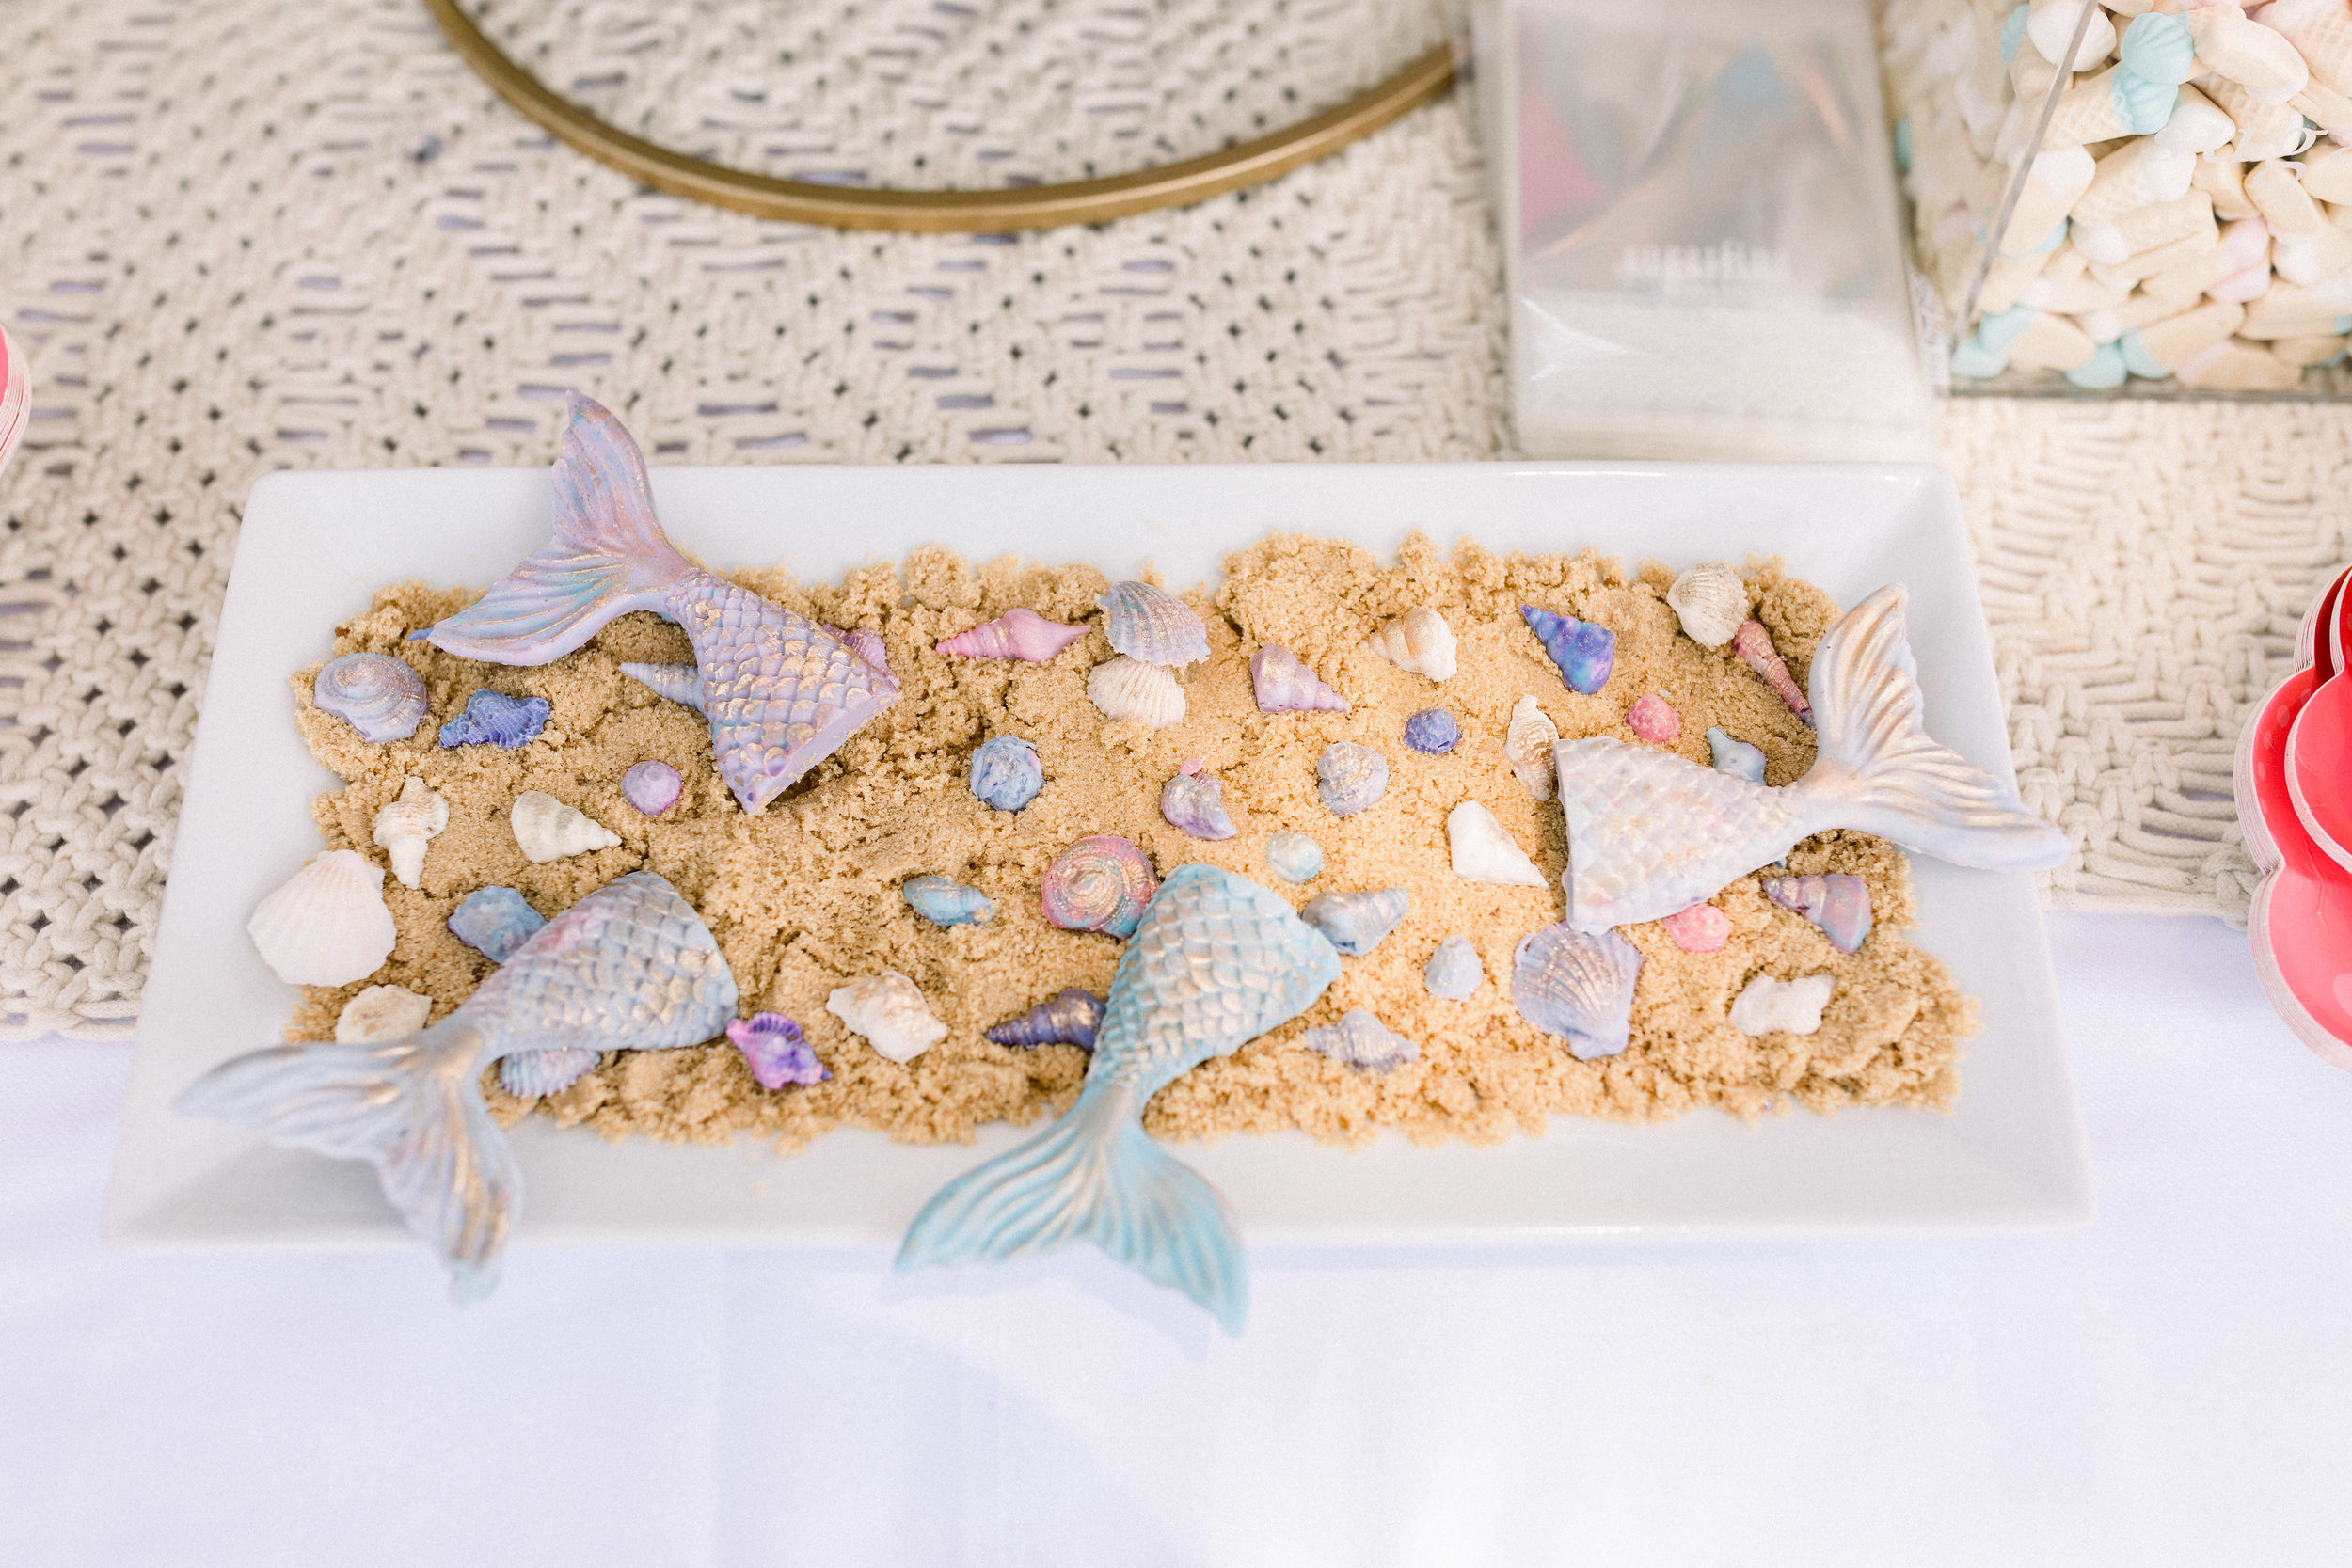
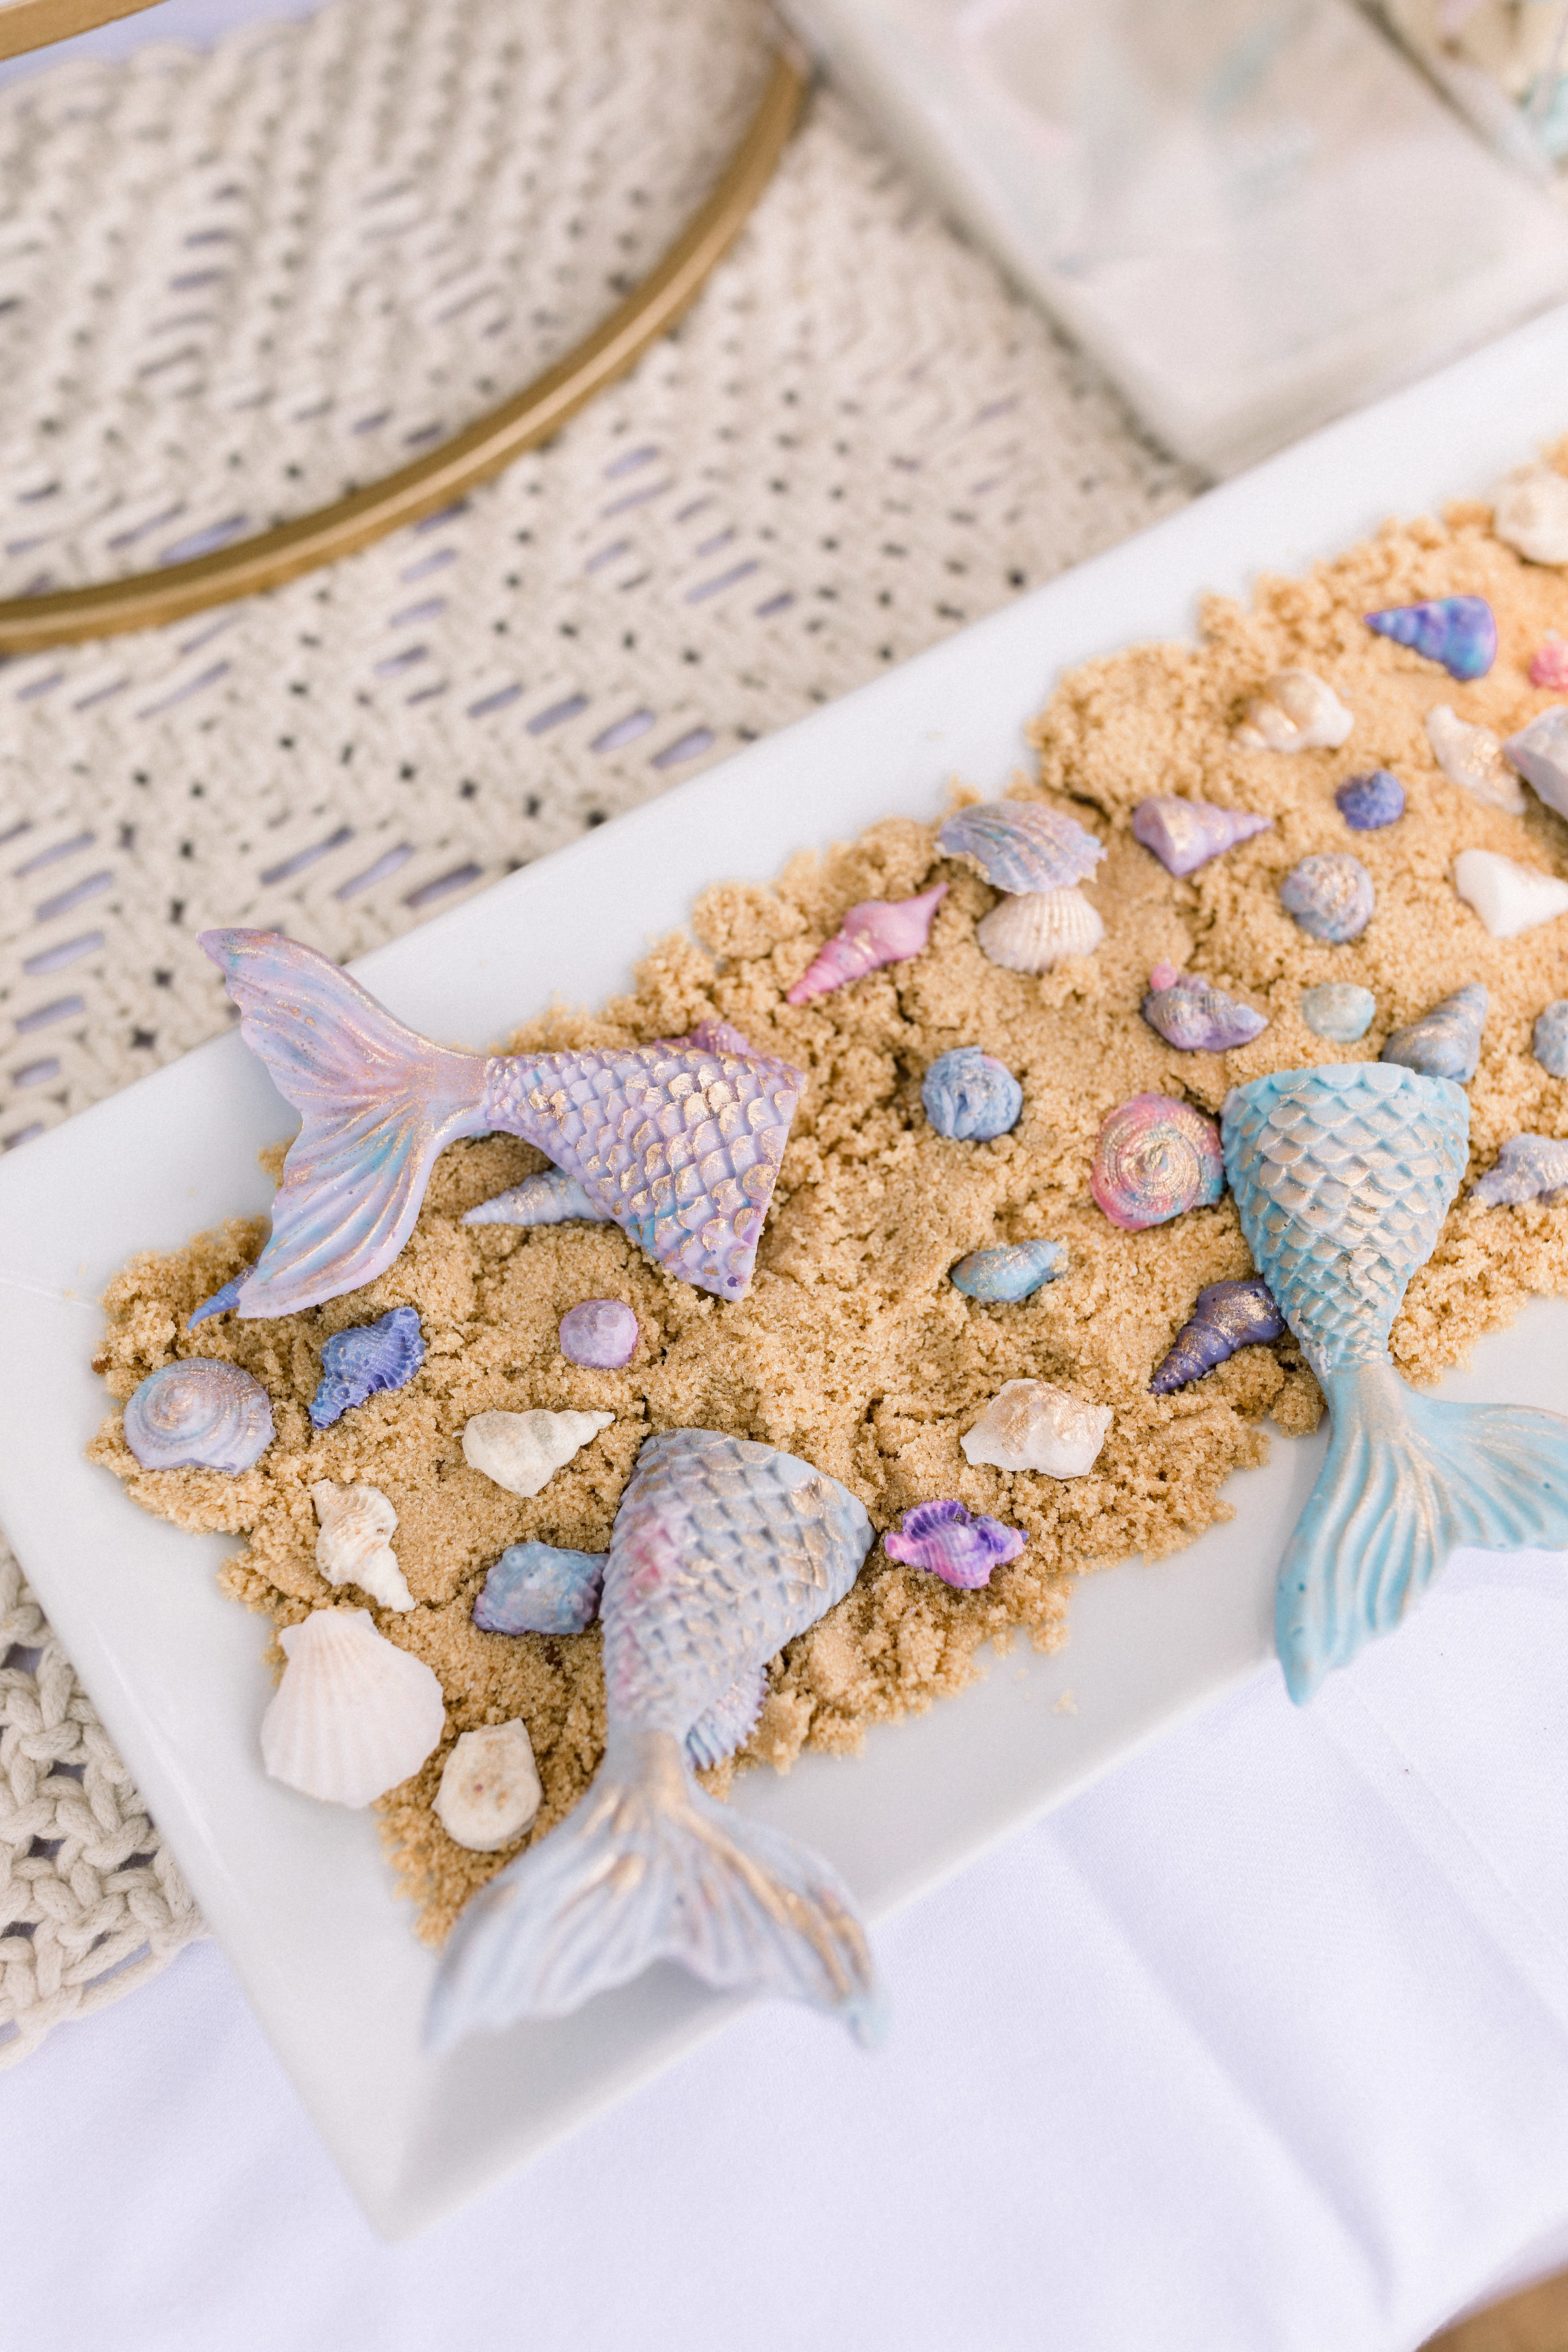
We did however make sure we had cake for our guests! I ordered our favorite birthday cake and truffles from Momofuku Milkbar and made my favorite funfetti cupcakes topped with chocolate seashells and mermaid tails.

JQ2_0658.jpg

These are SO easy to make and you can find the molds for each online. Scroll down for the full recipe/directions on how to make these. 

JQ2_0670.jpg

One of the easiest treats to make ahead of time for a party are marshmallow treats! You can't tell, but these are made with brown butter giving them a salty caramel flavor.  It's my absolute favorite way to elevate any dessert.  Then while they were still warm, I sprinkled my favorite sprinkles from Sweetapolita on top. These were gone in like .2 seconds!

JQ2_0680.jpg

And if that's too much work and you want to keep things simple, host a candy bar! Even if it's just to see adults act like giddy little kids-have a candy bar at your party.  I'm telling you it's amazing! We love Sugarfina because they have all the best candy.

JQ2_0659.jpg

I'm partial to gummies so we chose 5 of our favorites (baby whales, peach bellini, baby butterflies, apple frogs and ice cream cones). Nothing brings me more joy than to watch the look on people’s faces as they load up their candy bag! I also love how this pretty much acts as a party favor meaning one less thing I need to do which by the way-I don’t like party favors and think they’re a total waste of money. :)

JQ2_0661.jpg

The last dessert we made were these cookie dough gems. Mr. A and I actually tag teamed making these because they’re that easy to do! They’re filled with homemade egg less cookie dough using this recipe (or you can also just buy Edoughble). All I did was tint white chocolate using gel food coloring (you can also use candy melts) and then filled each mold with the melted chocolate. Flip it over to allow the excess to drip and then place in freezer for about 5 minutes to set. Then you fill each chocolate coated mold with cookie dough and top with more melted chocolate to seal. Place back in the freezer for at least 15 minutes to harden. To remove gems from the mold, just tap on a kitchen towel covered counter. You can make these up to a week in advance if kept in a cool, dark place. You can also keep them in the refrigerator but they can sometimes sweat. For a finishing touch, I dusted mine with luster dust.

JQ2_0665.jpg

I melted several different colors of white chocolate and then swirled them with a knife to create the marble effect before coating each mold!

JQ2_0672.jpg

I actually used the same chocolate for the gems as I did with the mermaid tails and shells. Keep it simple!

JQ2_0679.jpg

 I just adore how our daughter's party turned out. Let me know what you think! And if you recreate any of these recipes or ideas, tag me on instagram @BrandiMilloy. For the full party blog post including the simple DIY balloon arch Mr. A and I made, be sure to check out Milly’s First Birthday Shellebration. And scroll down for a quick recipe for these show stopping mermaid tails!

JQ2_0681.jpg

CHOCOLATE MERMAID TAILS RECIPE

by Brandi Milloy

Ingredients:

Directions

  1. Slowly melt candy melts using a double boiler method or in the microwave for 30 seconds and then 10 seconds at a time. Once they are melted, use a spoon to carefully fill the mold, tapping it on a hard surface to get rid of any air bubbles. I mixed a few different colors to achieve the pastel watercolor look.

  2. Place mold in the freezer to harden and set for about 10 minutes. You can make these up to a week in advance and they will still taste and look fresh as long as you keep them in a dry cool place. 

Milly's 1st Birthday Shellebration
JQ2_0764.jpg

Thank you to Jenny Quicksall for her amazing photography in capturing this special day for us. Like all parties, it's always a whirlwind trying to say hi to everyone, make sure food is replenished, all your guests have a drink, baby is happy, etc. I can't imagine trying to remember to take pictures on top of all of that much less pictures that include both myself, Mr. A and Milly- so to have our friend, Jenny there taking photos of each moment was an immeasurable relief and a priceless gift we will cherish forever!

JQ2_0749.jpg

Happy Birthday Little Amazing!!! I can't believe our baby girl is already 1 year old. They say the days are long and the years are short and now that I'm a Mama I totally get it.  My little mermaid baby that couldn't wait to meet us, who was almost born in Daddy's car-is here and has given us so much joy in the last year it's hard to remember life before her. She is a dream baby but I don't know if I ever really looked at her like a "baby" because to me she's always been a magical gift from God, this tiny person that I've always known and continue to fall more and more in love with. Every night after we put her to bed Mr. A and I will look at each other and talk about how amazing she is. Sometimes we do this for hours. We love being Milly's Mama & Daddy! And we couldn't wait to shellabrate her with a party fit for the mermaid babe she is and invite all her friends.

JQ2_0871.jpg
JQ2_1022.jpg

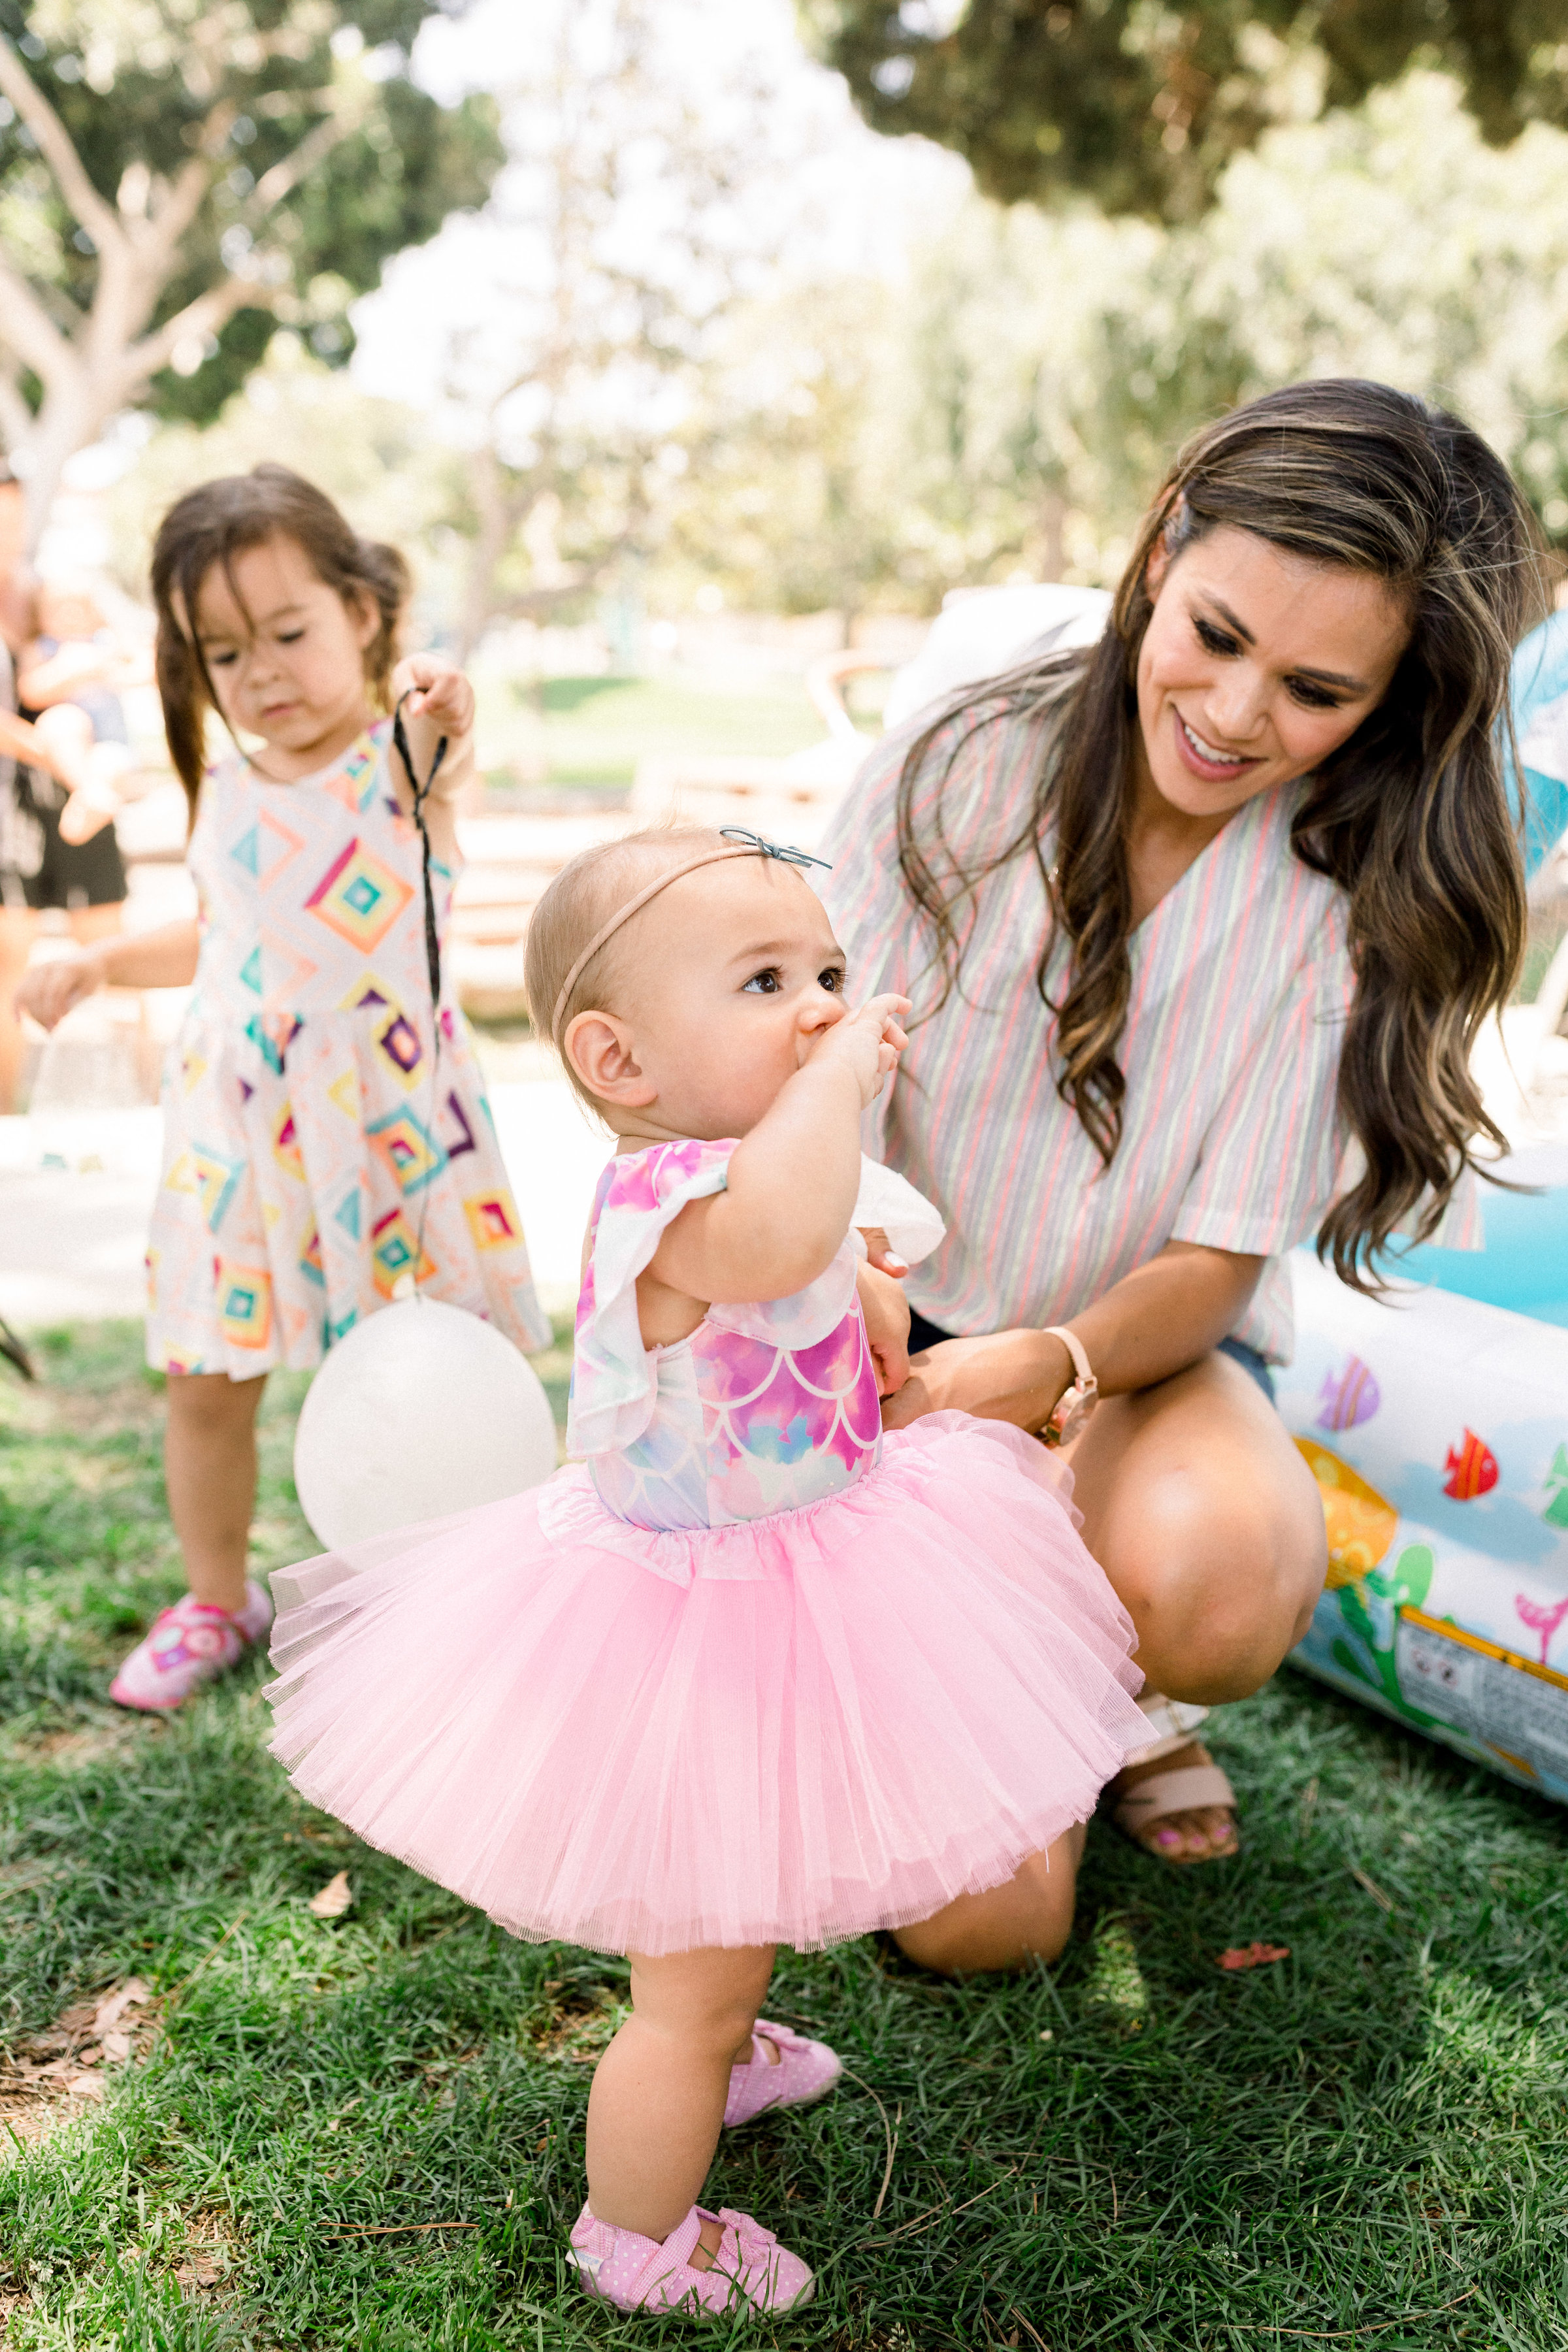
The inspiration for her party began with the sweet ruffled one piece she wore. I bought this on Amazon a few months after she was born because I liked it so much but never really planned on it being her birthday outfit. After months of looking at it hanging in her closet, I couldn't wait for her to wear it for her special day.  I like that it has the mermaid scales and pastel watercolors without being a true mermaid costume/outfit. When I added the pink tutu all of a sudden it was the perfect birthday ensemble. 

JQ2_0634.jpg

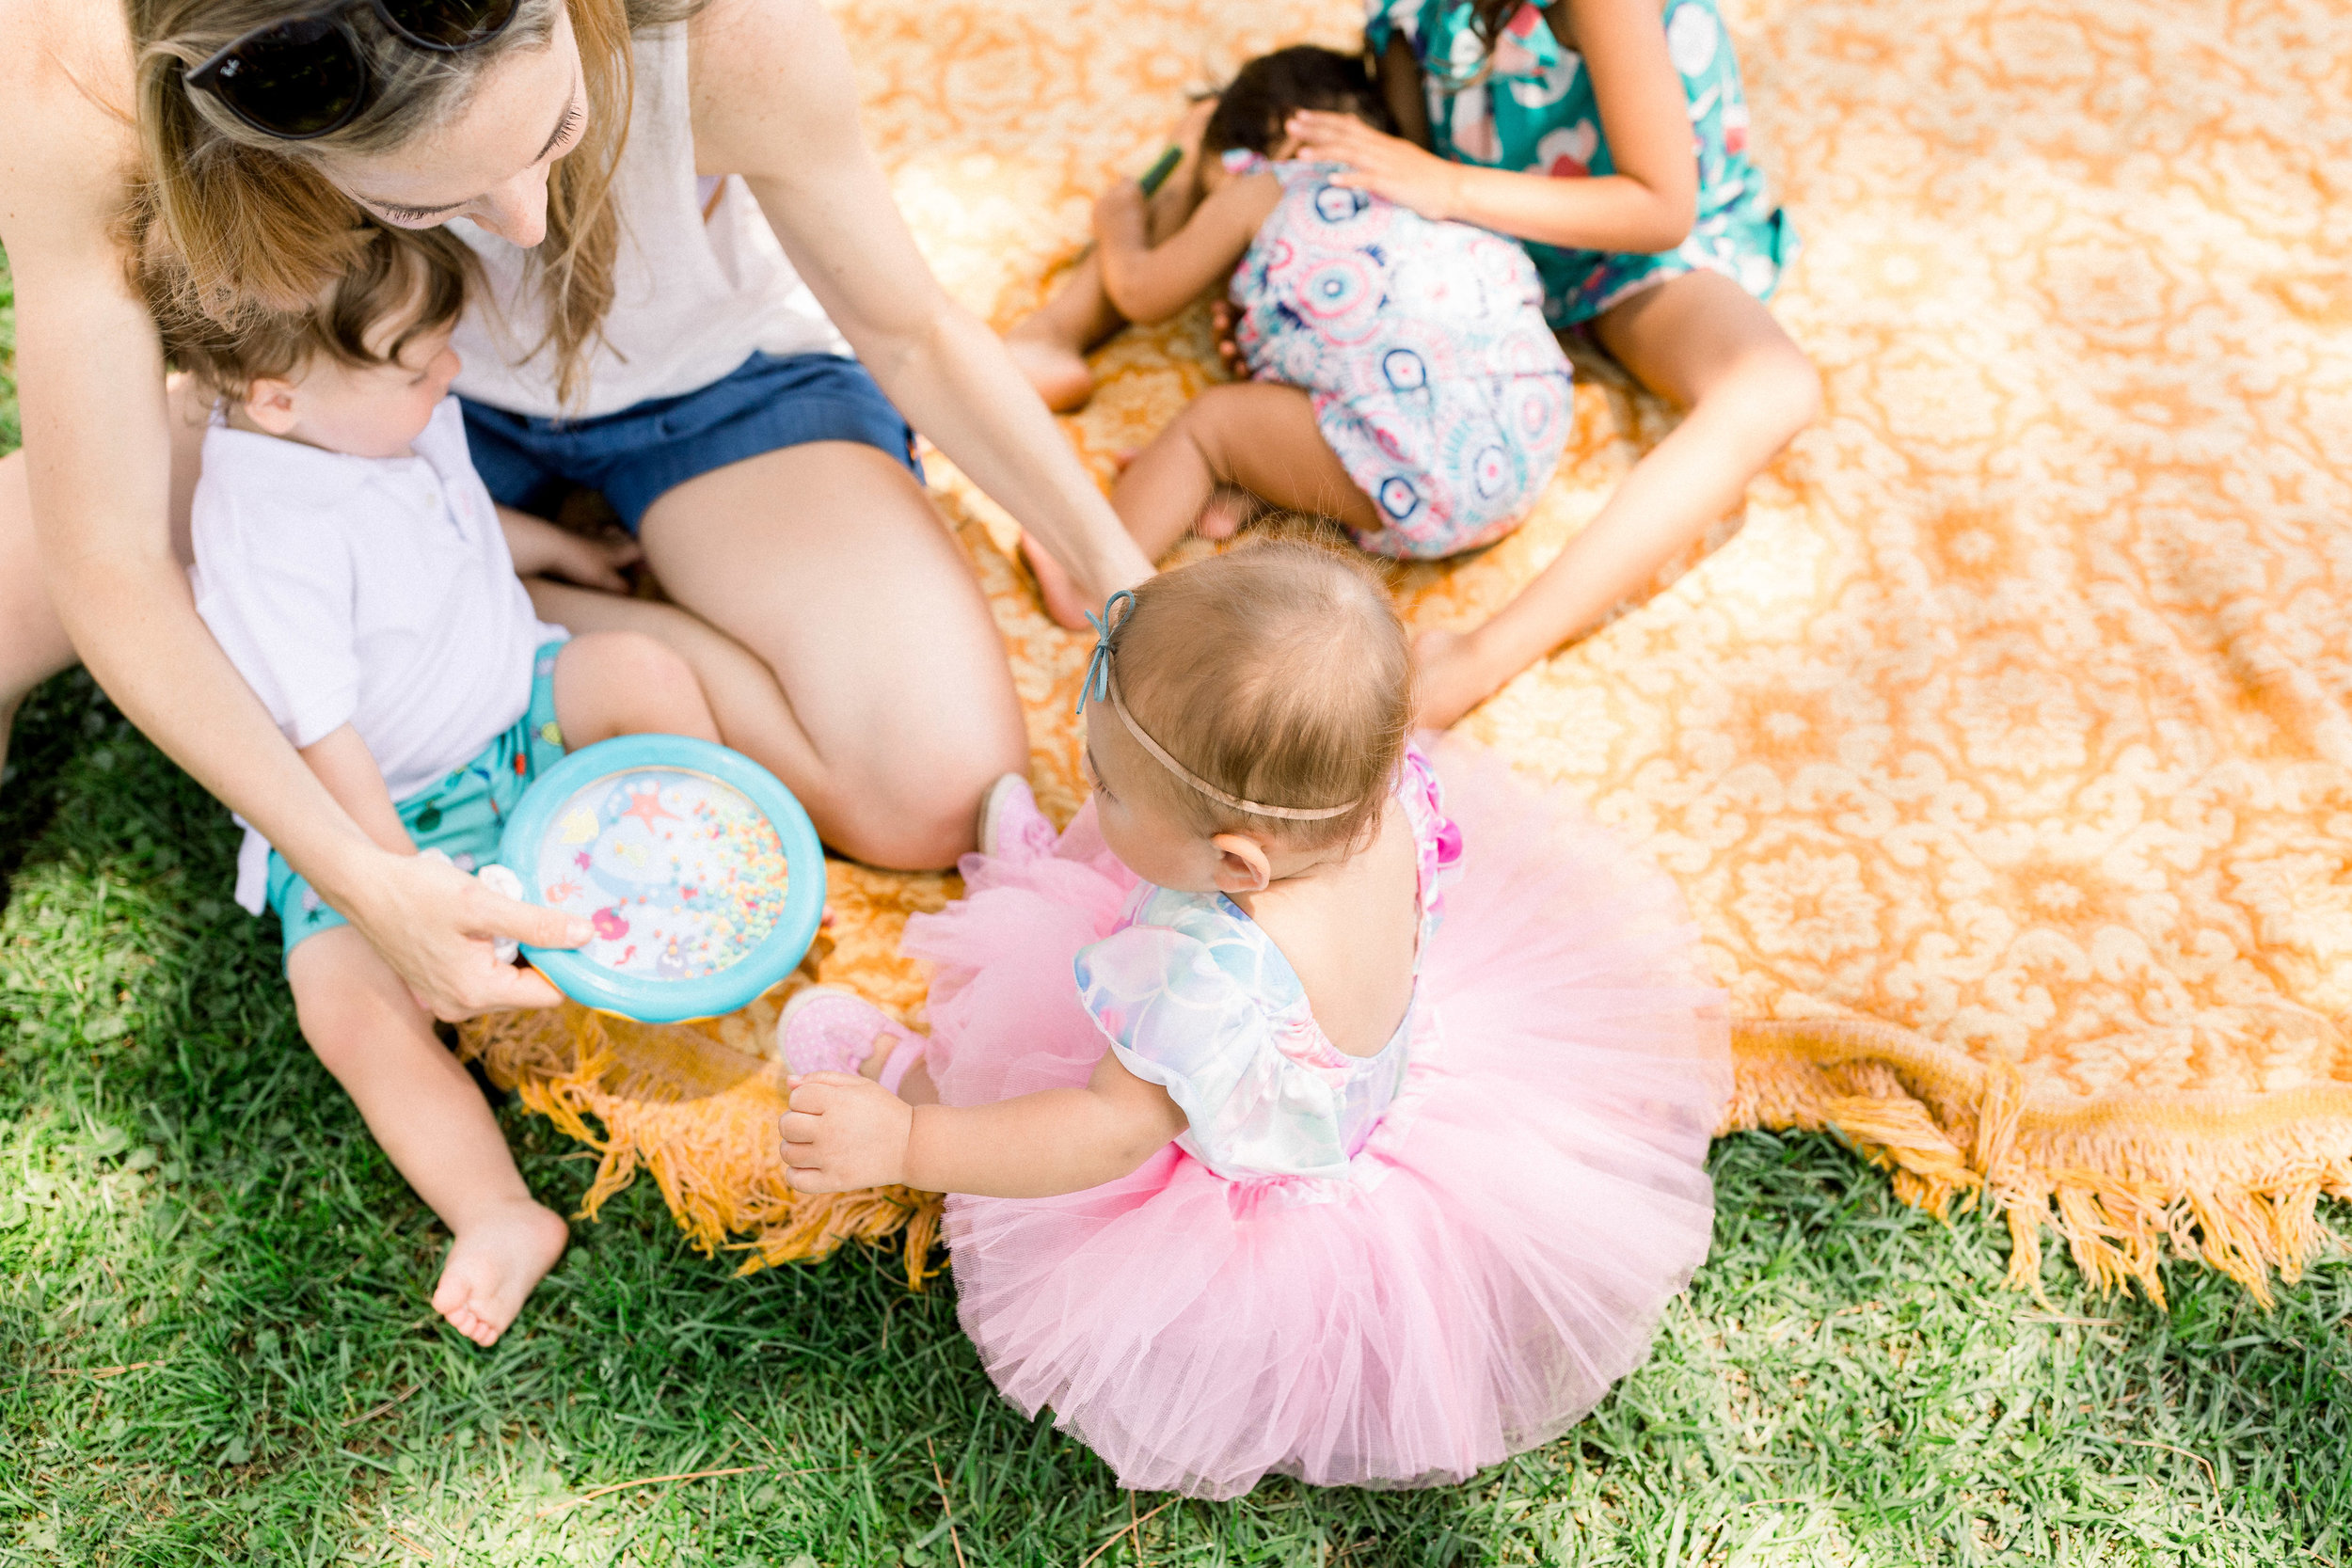
Our favorite park felt like the best spot to celebrate. There's plenty of room for all of her friends and their families and I liked the idea that guests could bring a blanket and we could all party under the trees.  The only predicament with this idea was figuring out where to hang decor and how to make the large space personal for our birthday girl. One night I was wasting hours on Pinterest when I showed Mr. A a balloon arch and backdrop. I explained to him how I didn't know where I was going to hang a simple Happy Birthday banner much less any other decor and he told me he'd make it for me.  Wait. What? He said he'd make a backdrop for the party. Maybe two of them. We had a ton of reclaimed wood on the side of the house his dad had given us from old projects/who-knows-what-else and he'd make them for me.  You guys-I HAD NO IDEA Mr. Amazing was so handy when I married him. I mean-the man is actually beyond handy. He is a home engineer! He fixes things, builds things, did a ton of remodeling on our house and so much more. In two days he had created two wood backdrops.

JQ2_0642.jpg

I'm obsessed with them. Oh but his help with the party didn't stop there. The man pretty much created both of the balloon arches in one evening so there's that too. I totally scored the best husband.  Granted these balloon arches look way more complicated than they actually are. I should have taken tutorial photos to share but it's not even necessary cause anyone can make these. All you need is balloon tape, balloons and a balloon pump (to make your life easier). The balloon tape is a plastic ribbon with holes where you place the tied balloons. Once you've blown up your balloons in various sizes, you just push each balloon tie into the holes on the ribbon (alternating colors and sizes). Once you have the length you want, simply cut the ribbon and fasten the arch. We used a staple gun to attach our balloon arches to the wood backdrops. If at this point you want to fill in any spaces and build out your arch with other balloons to make it fuller, you can tape them on, use glue dots or use a low temperature glue gun to add more. We ended up being pretty satisfied with how it looked the way it was! I think the real key is making sure you use different colored balloons that are still complimentary. I love these affordable variety packs I found and I still had balloons leftover!
JQ2_0824.jpg

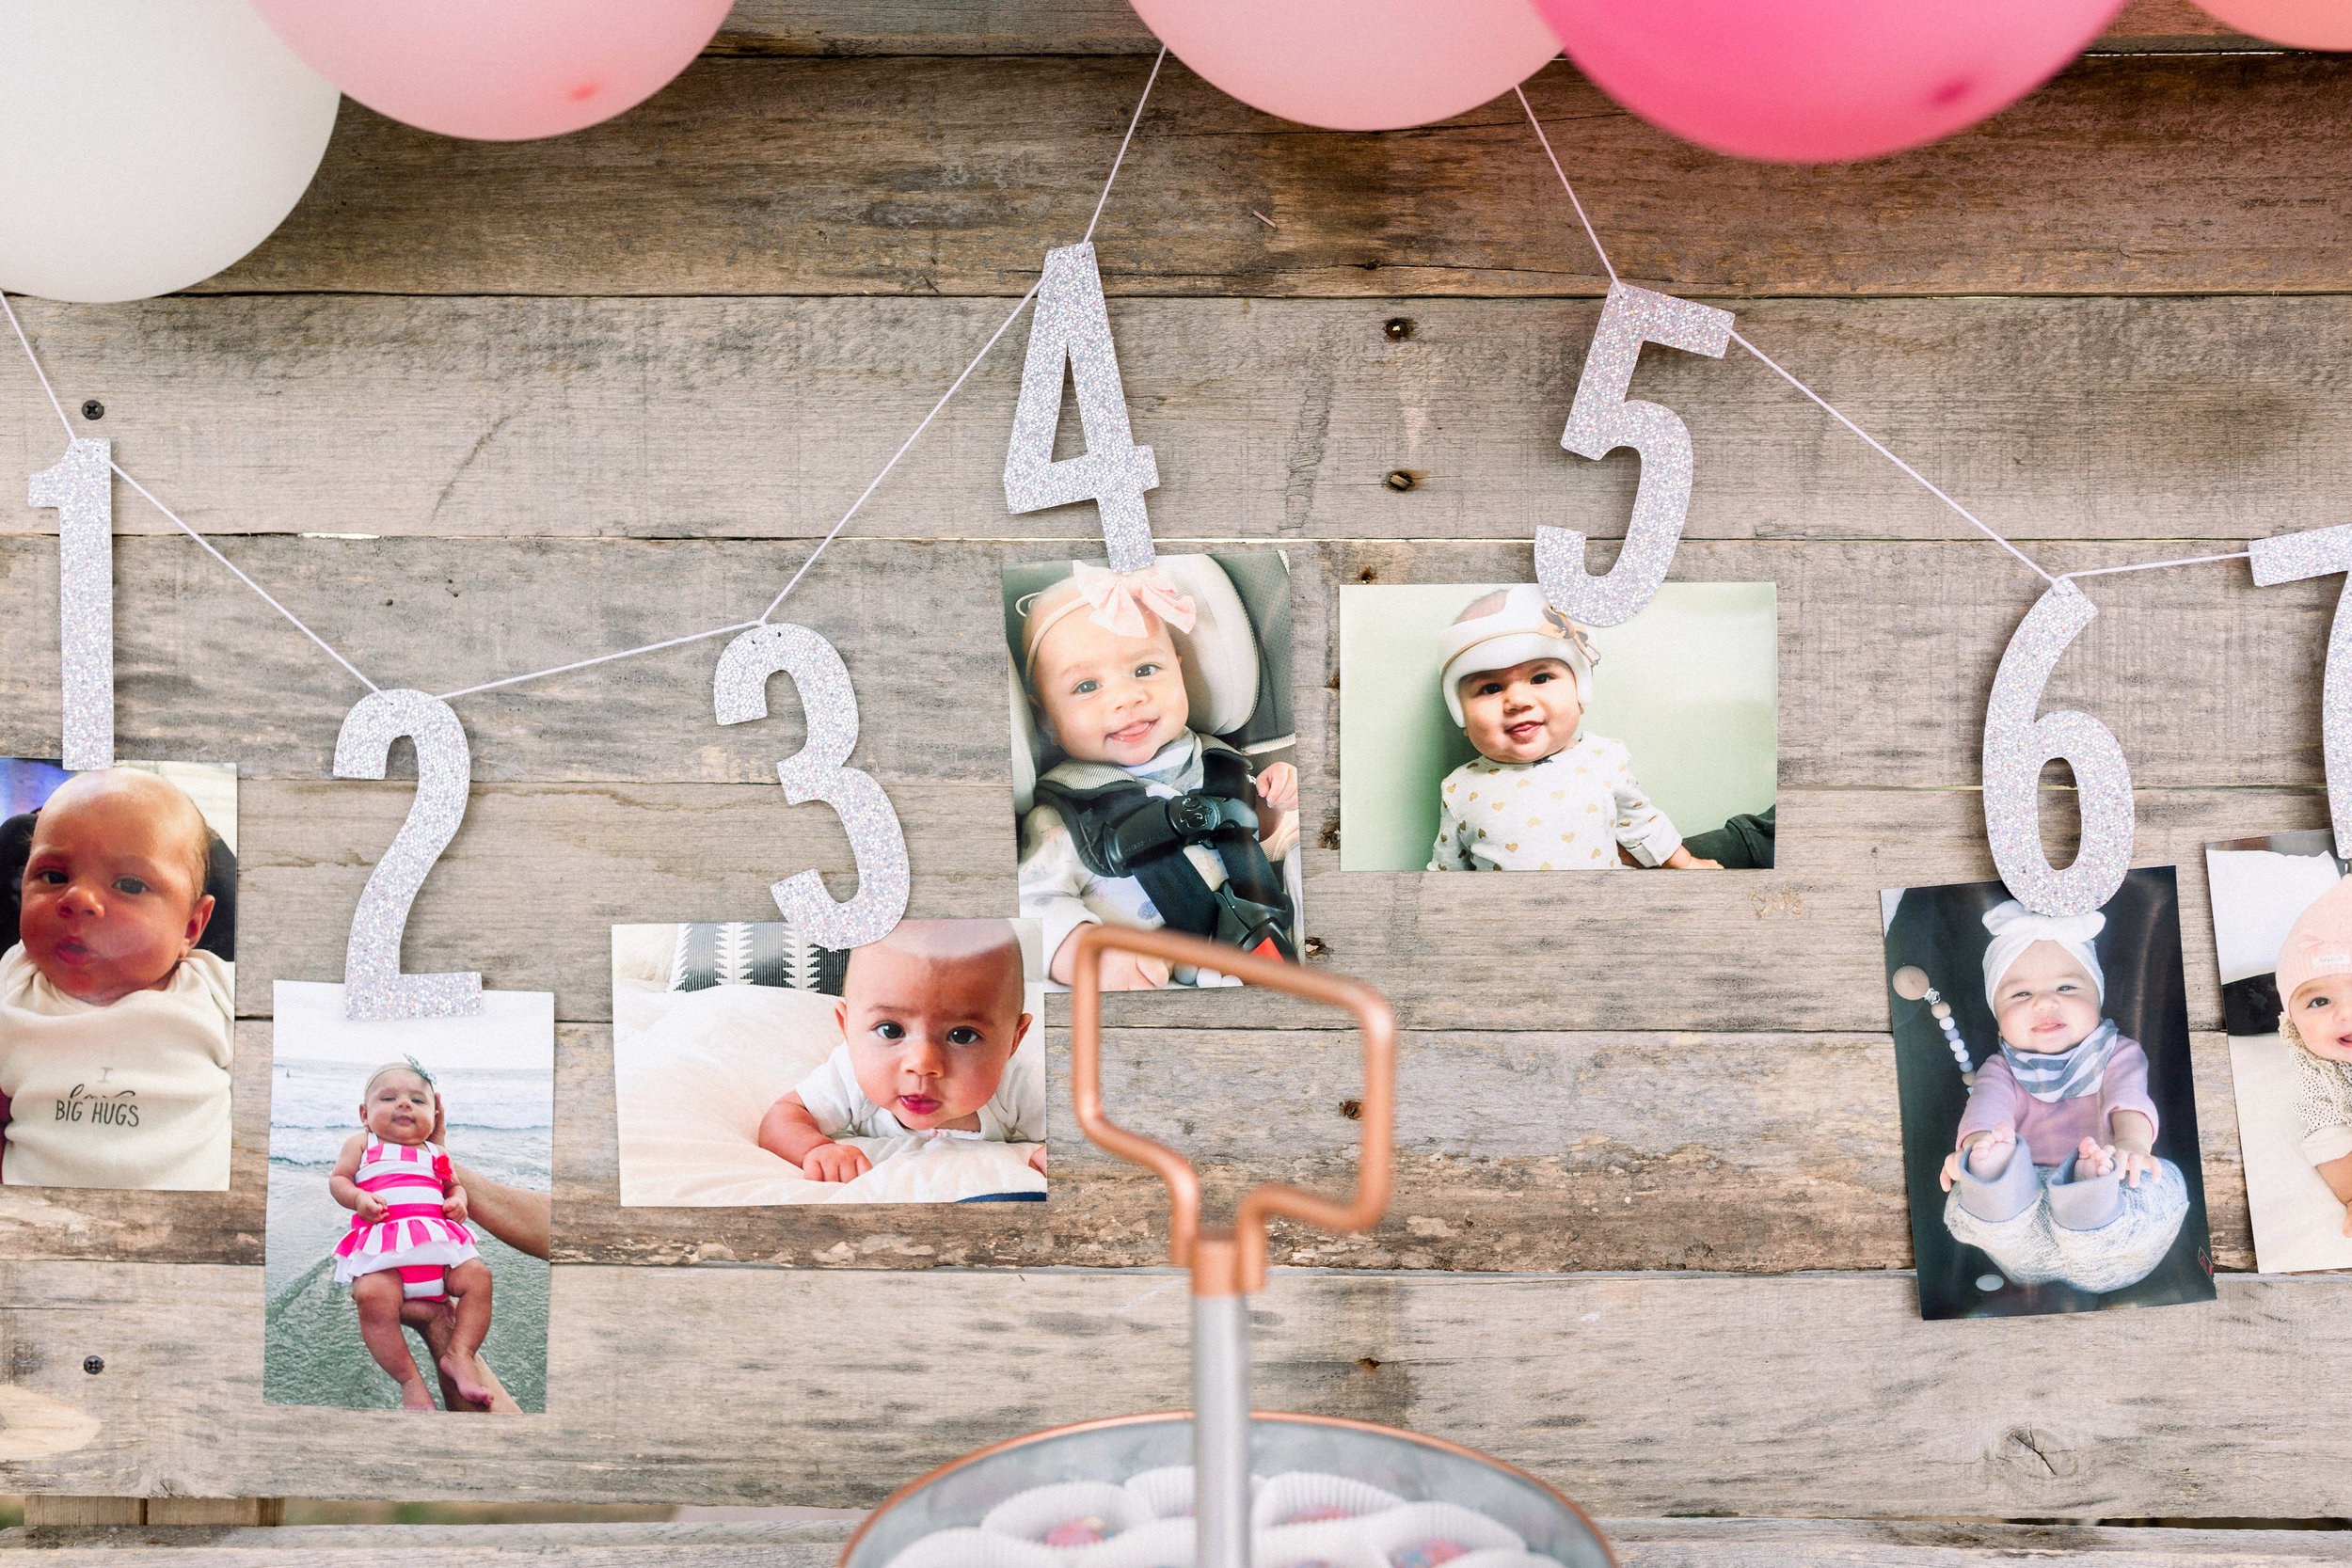
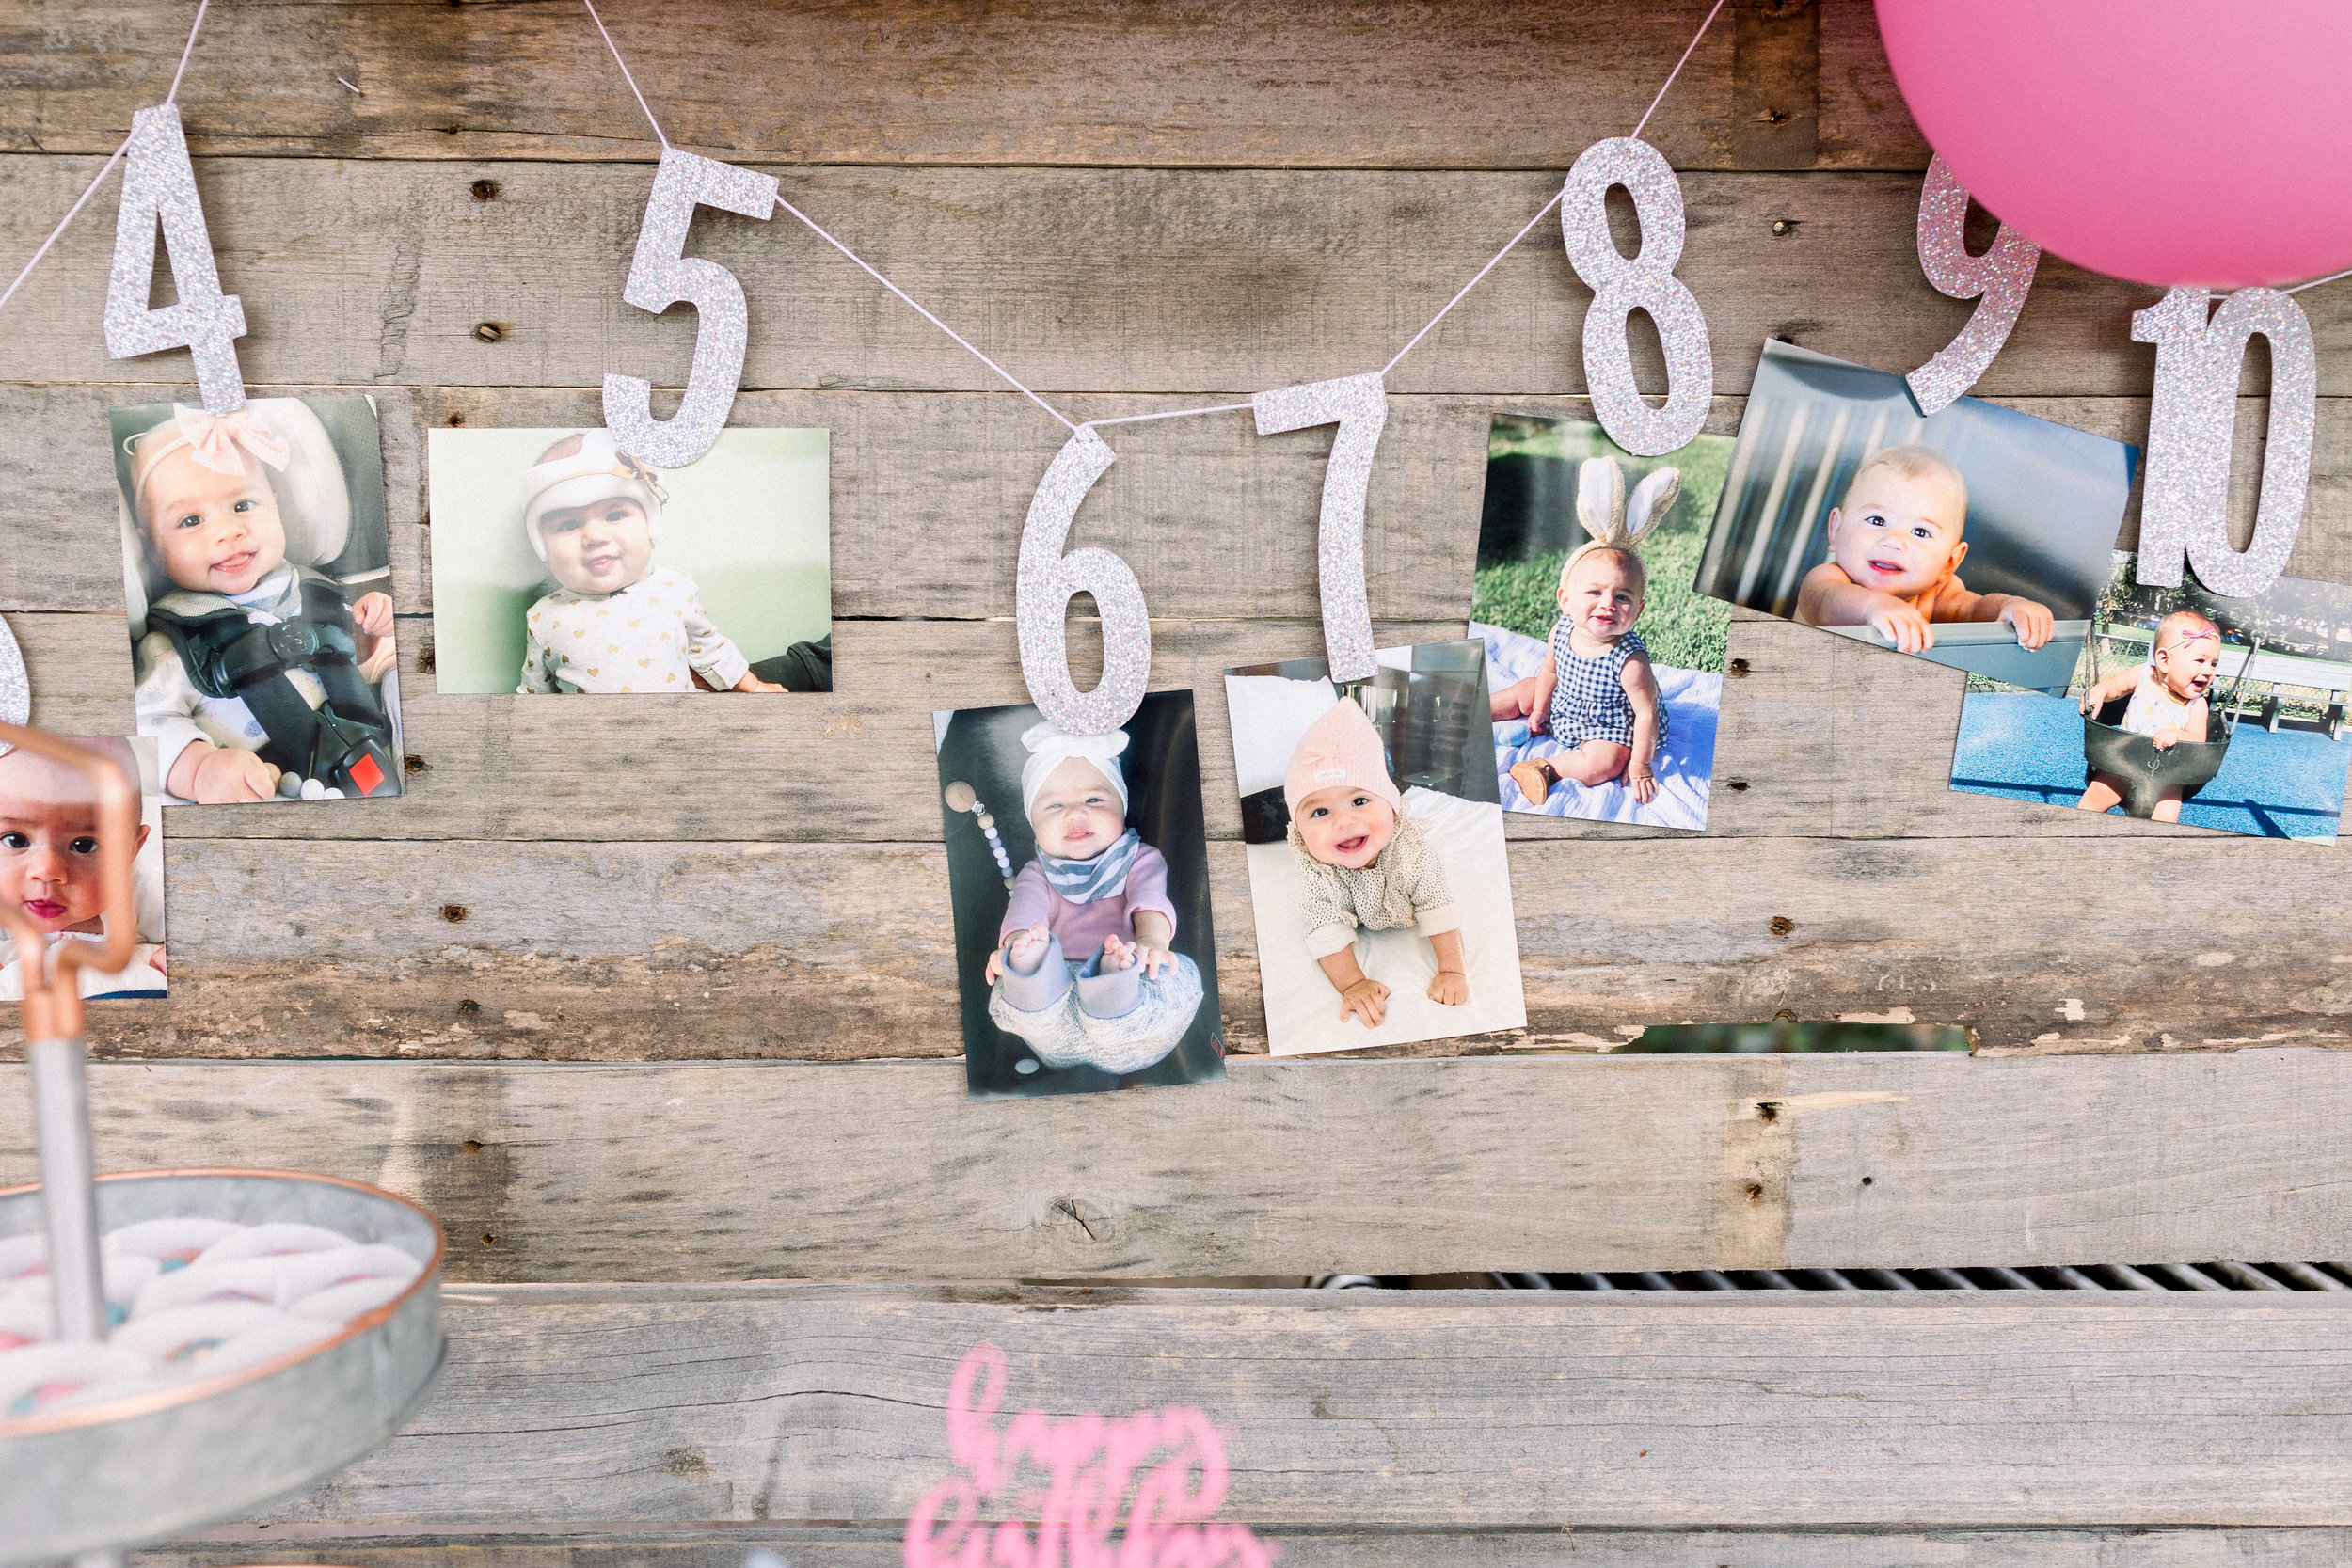
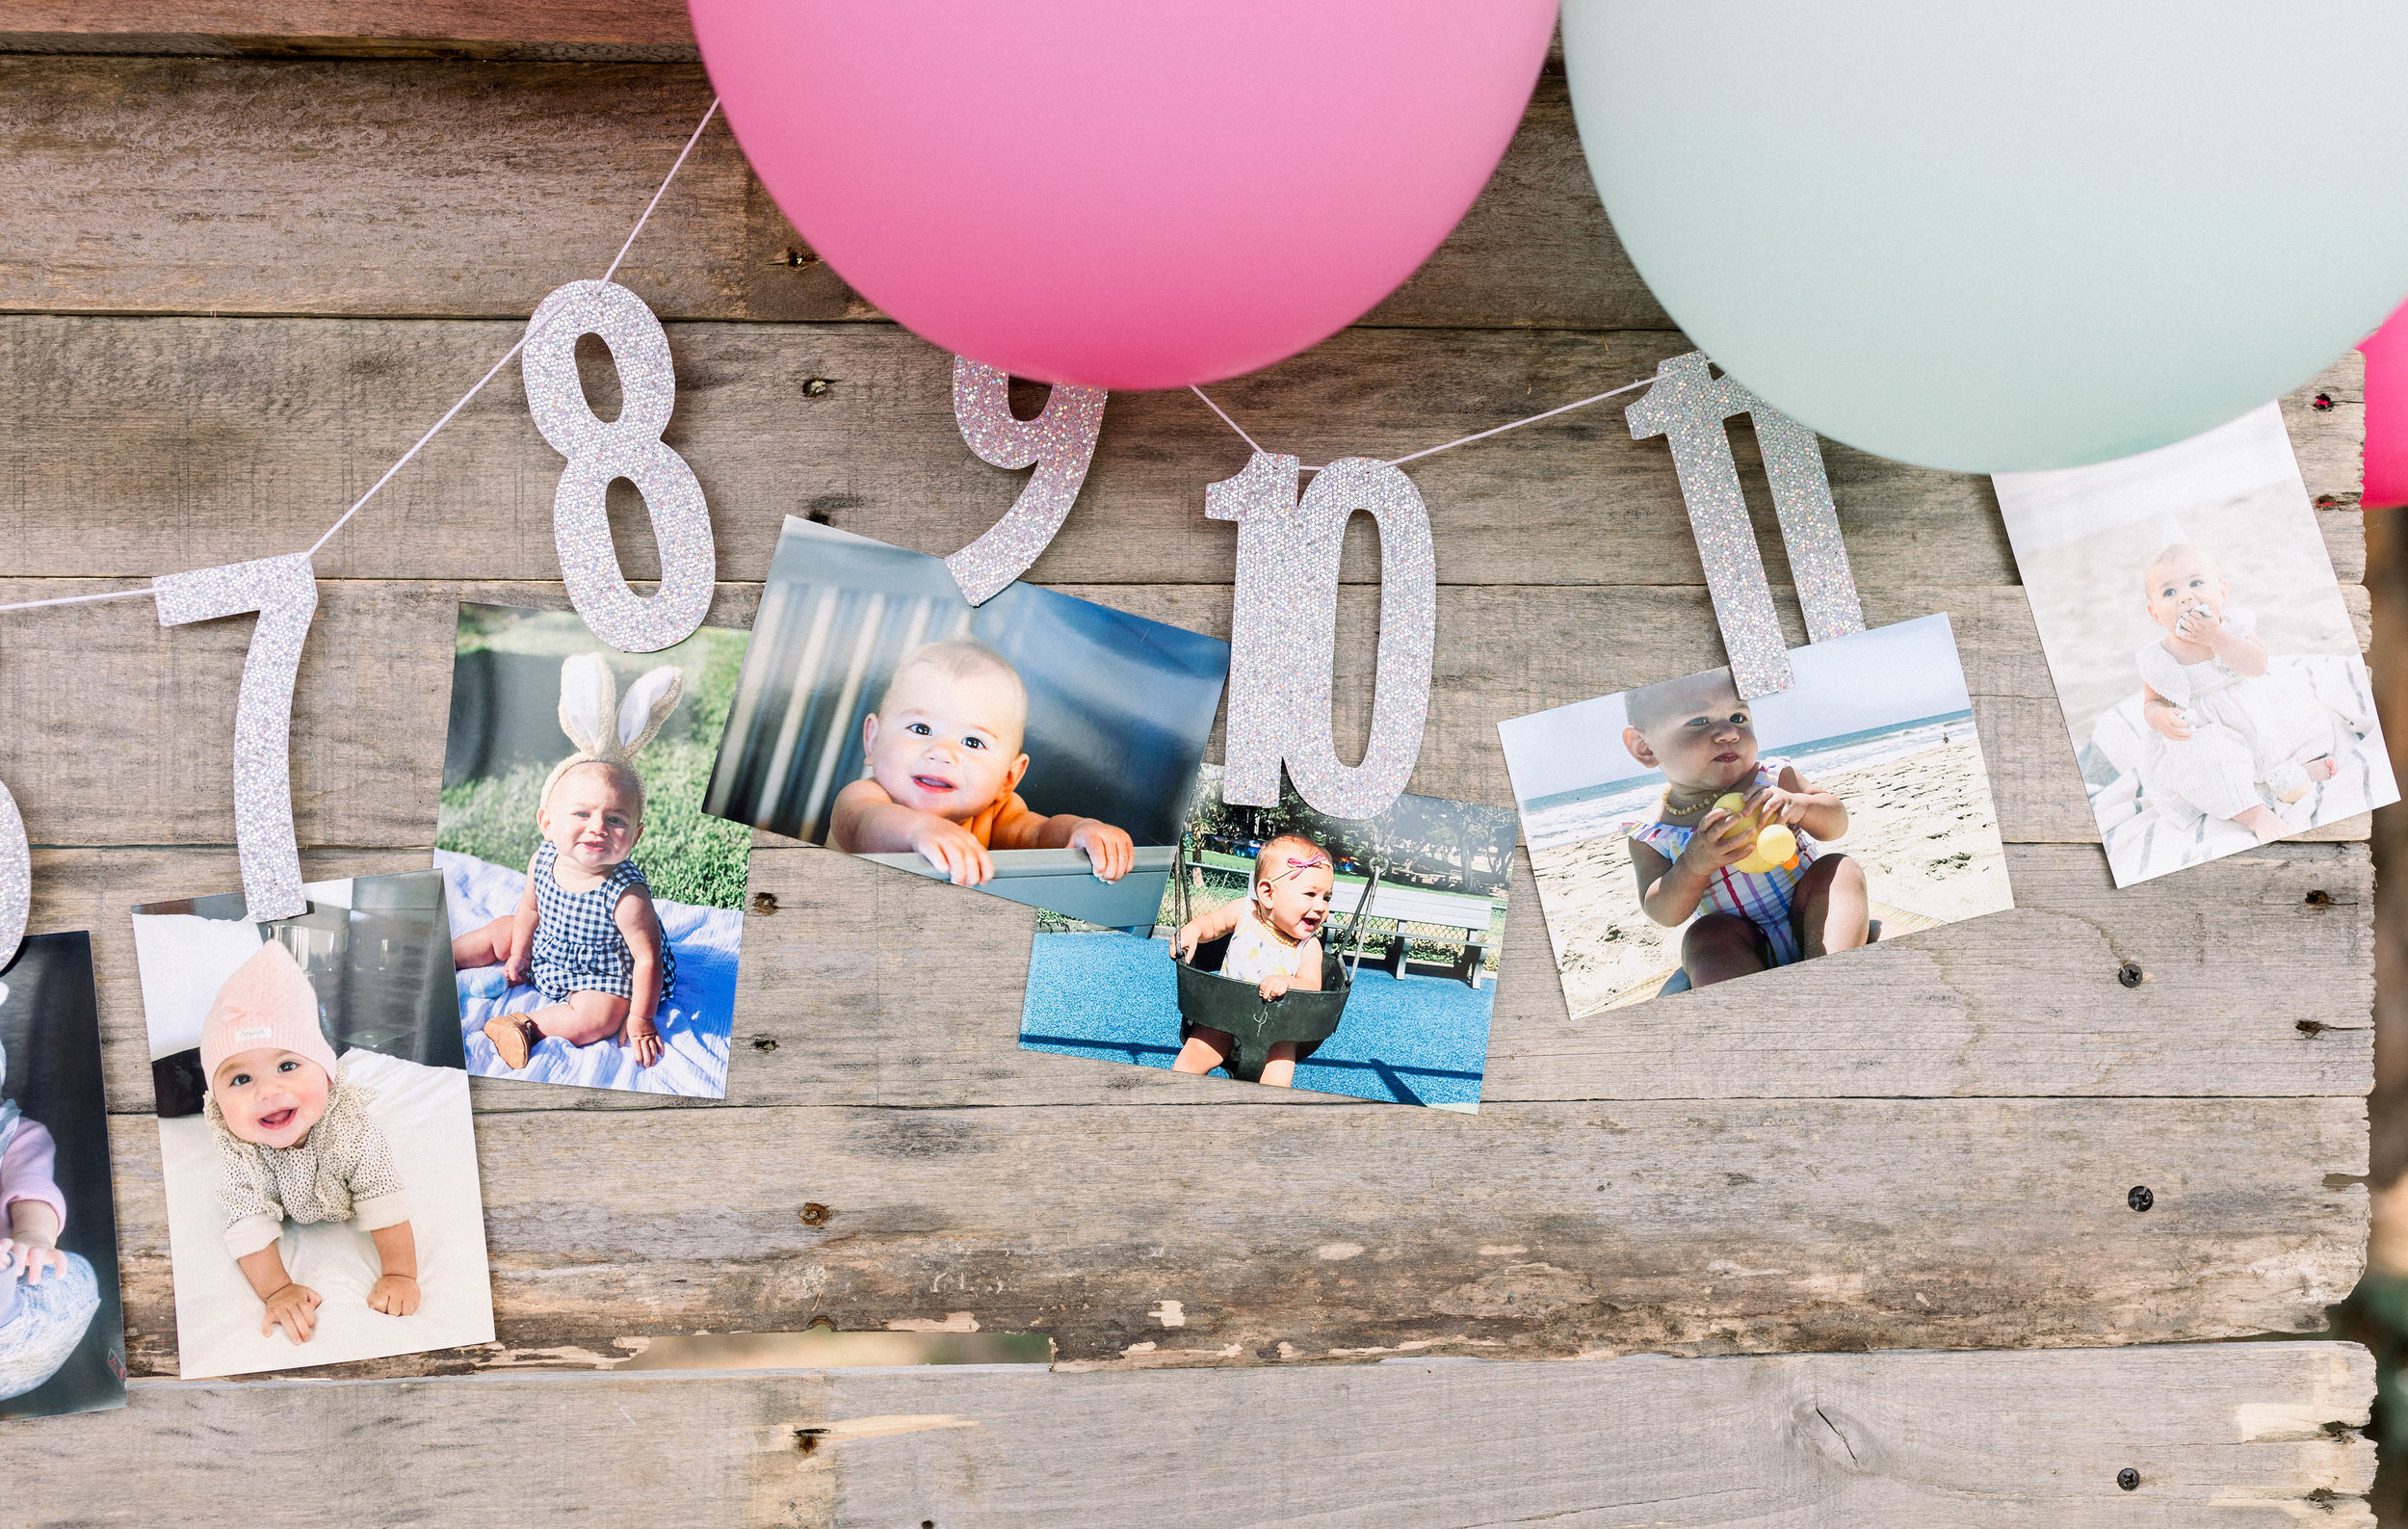
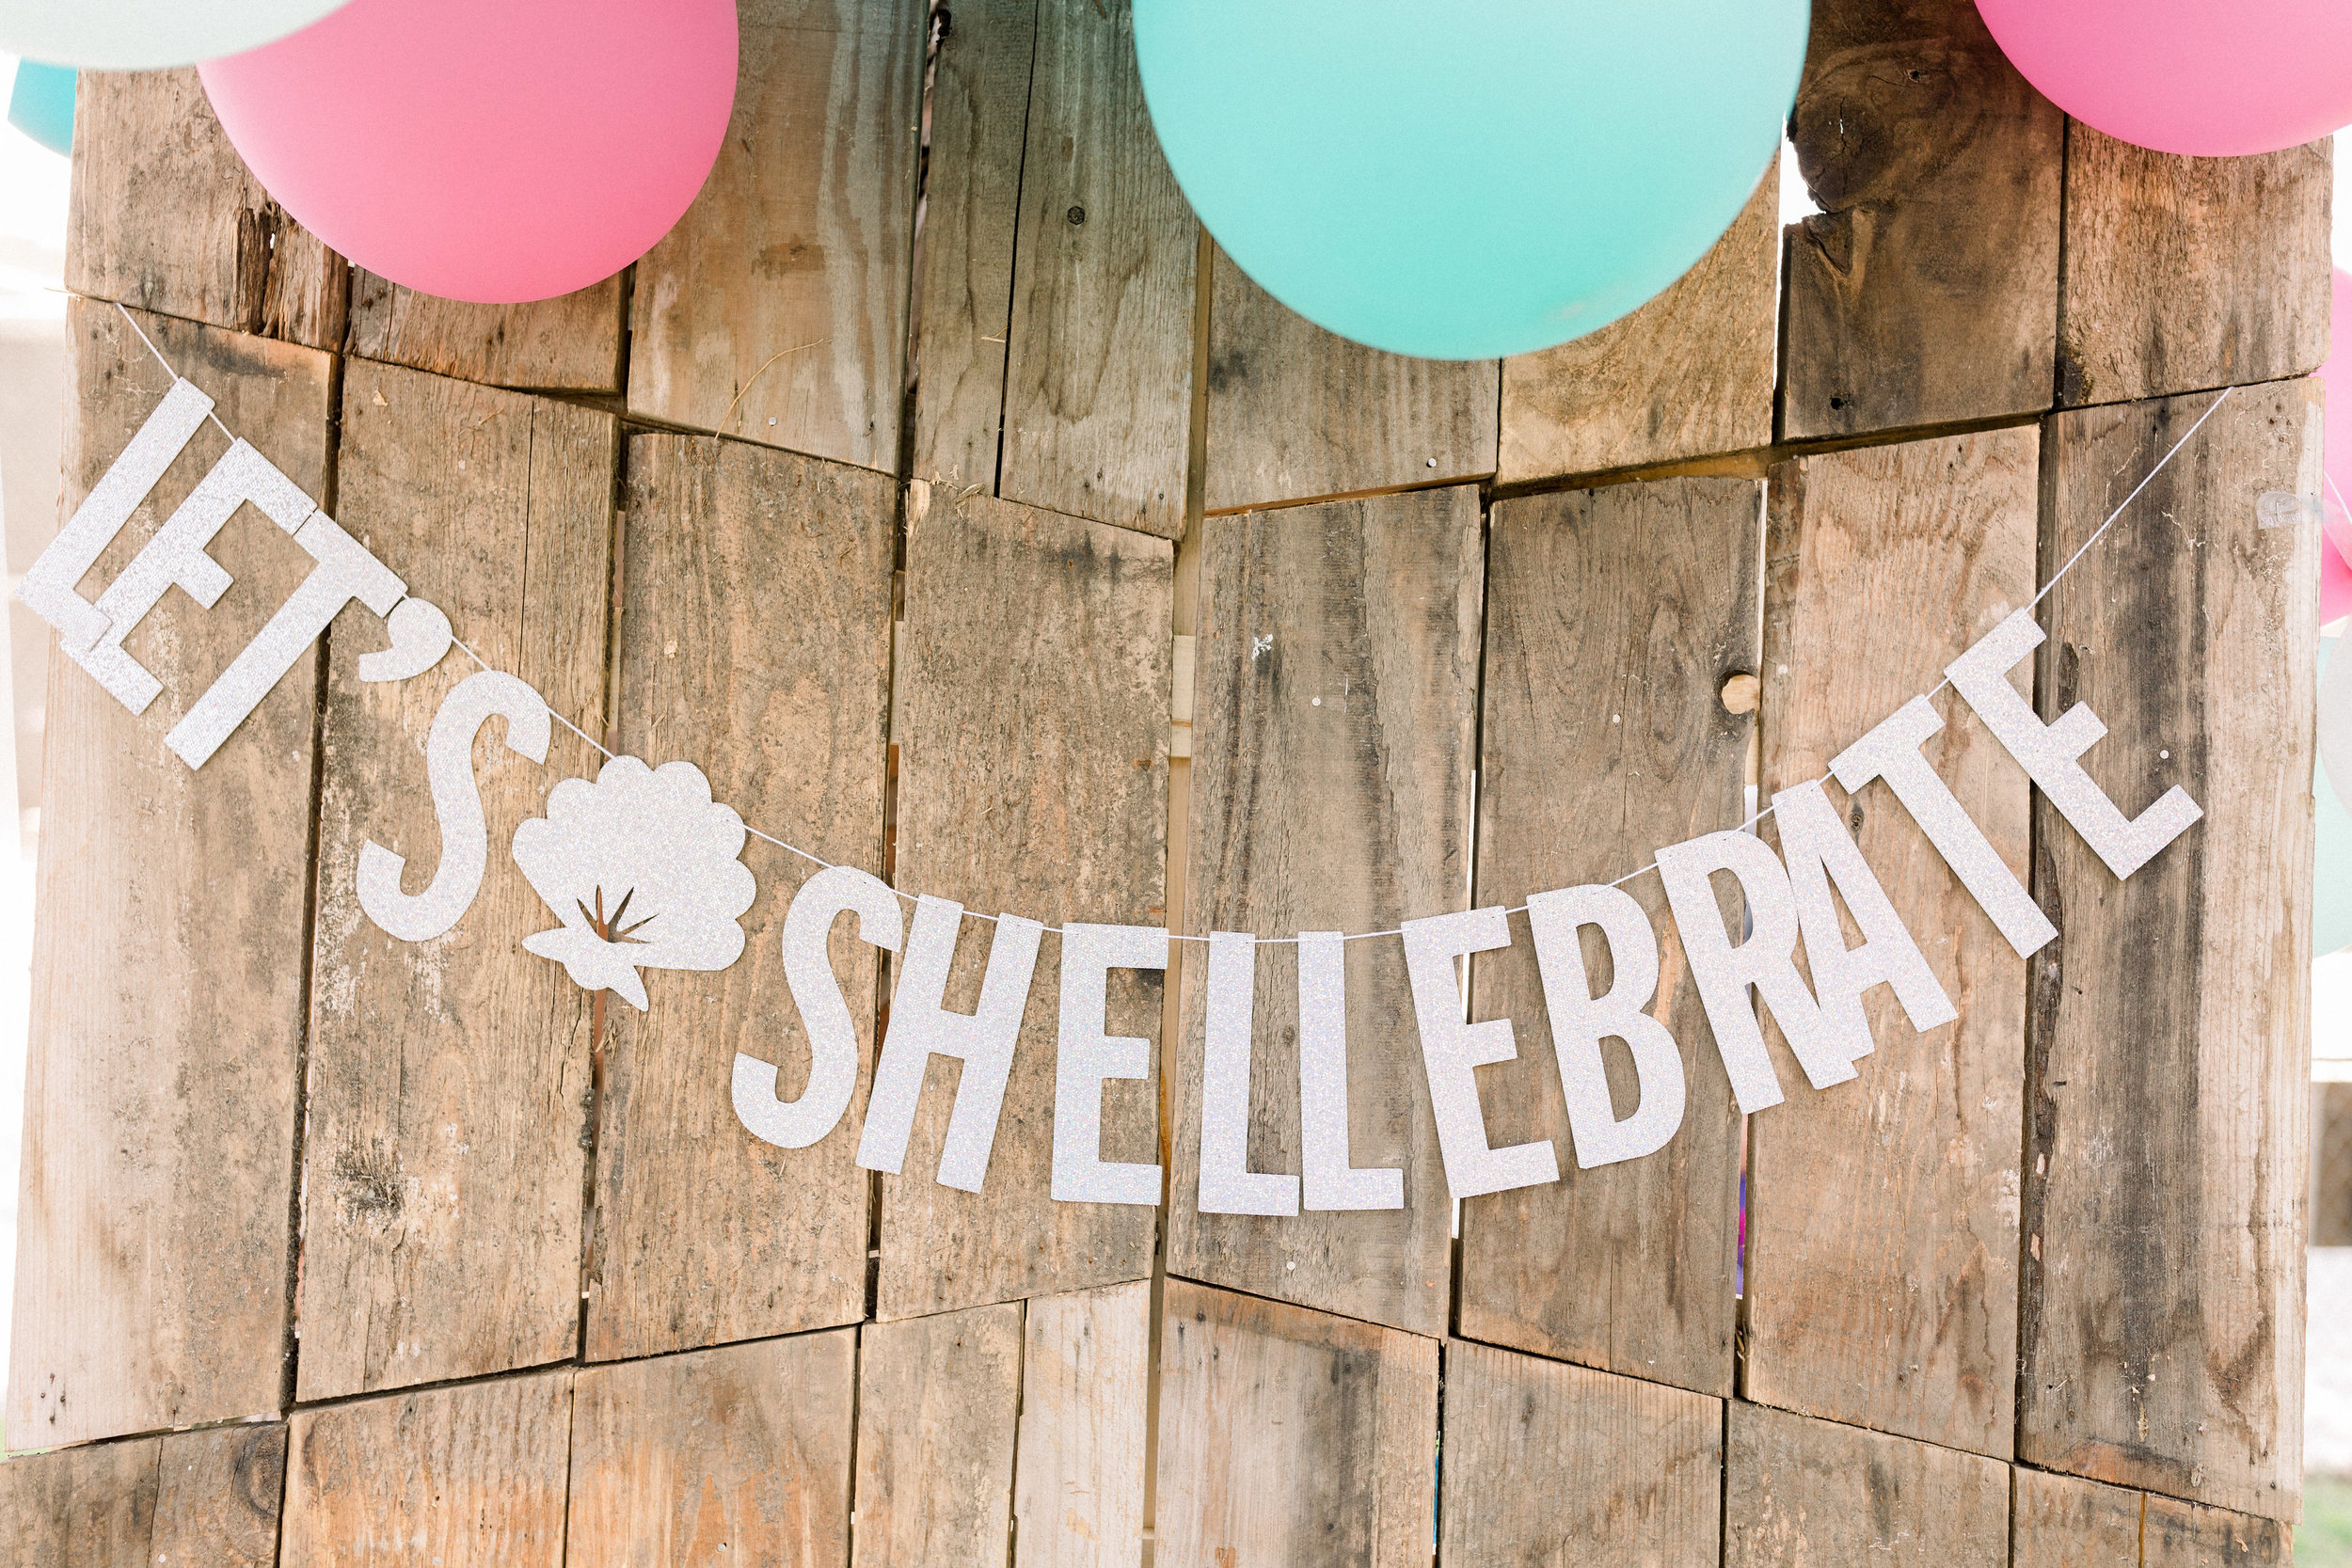
But I think what really made the backdrops were the two banners we got from Glam Banners. It's tough to tell in the photo but both the "Let's Shellebrate" and the monthly photo banner are made with this fun disco glitter card stock so they catch the light and have this fun colorful prism look. I just adore the playfulness of the Let's Shellebrate banner and the monthly photo banner holding Milly's pics from month 1-12 is a must have at any first birthday party! It's so sweet to see the changes month to month!

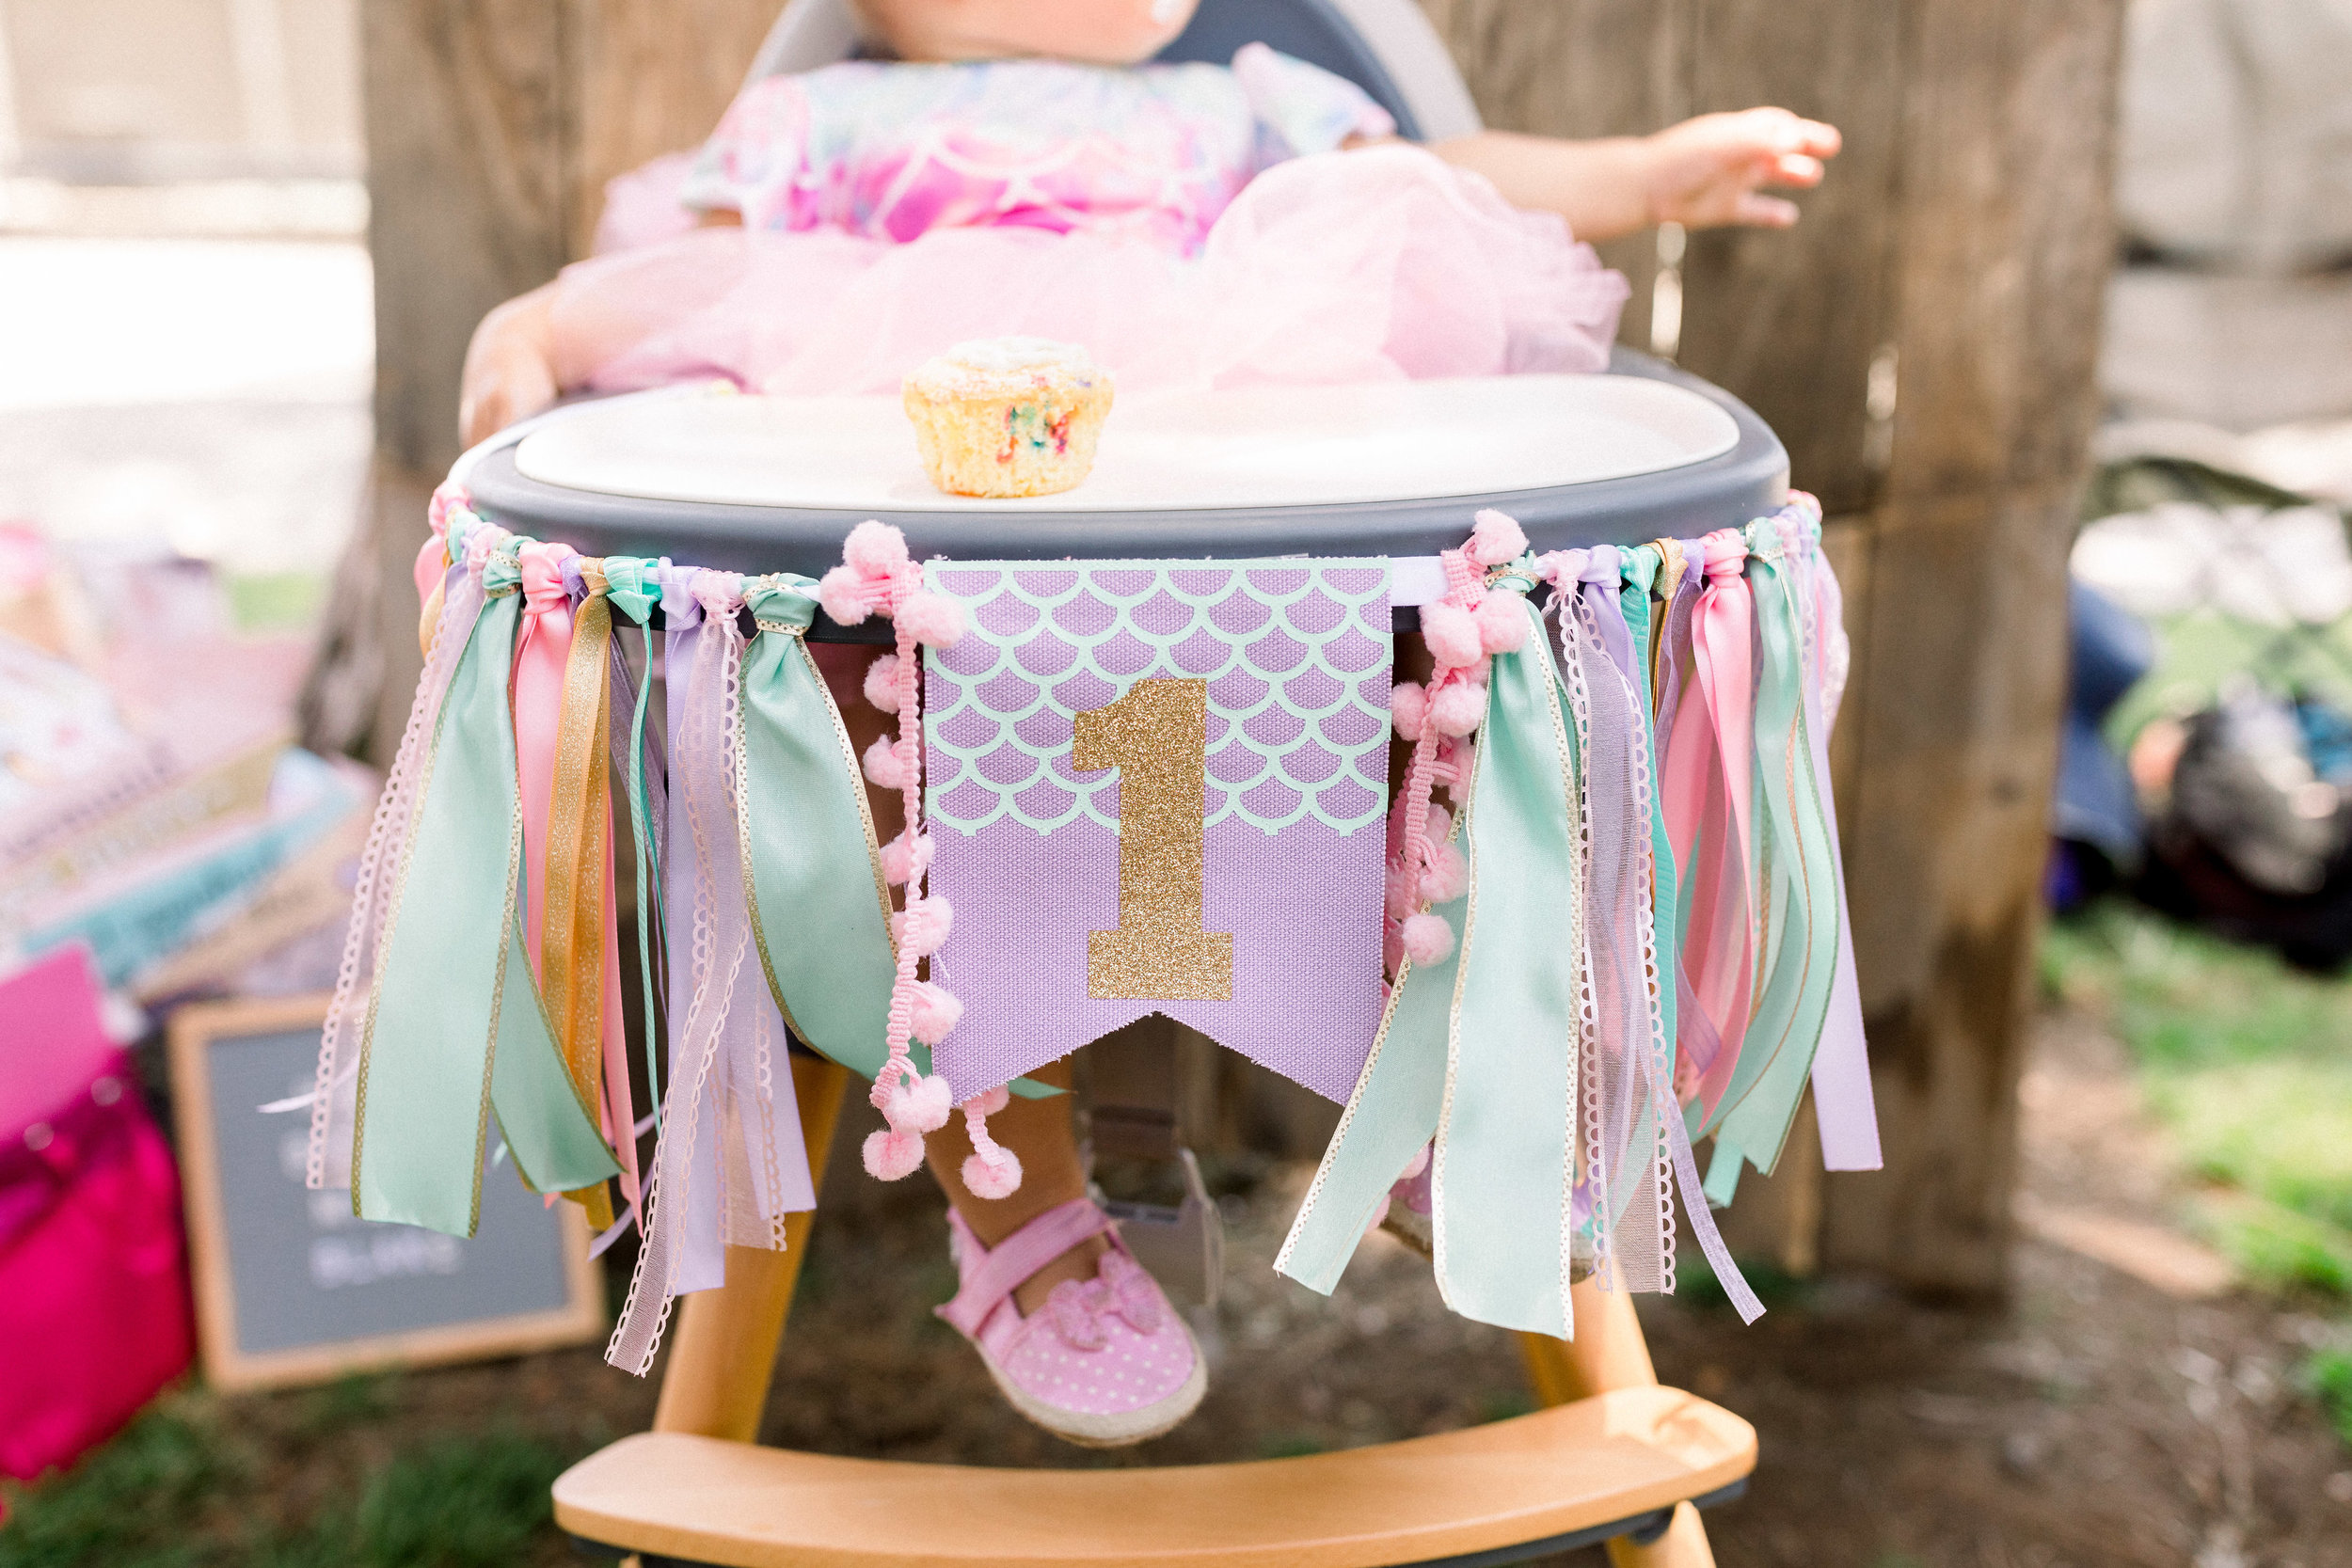
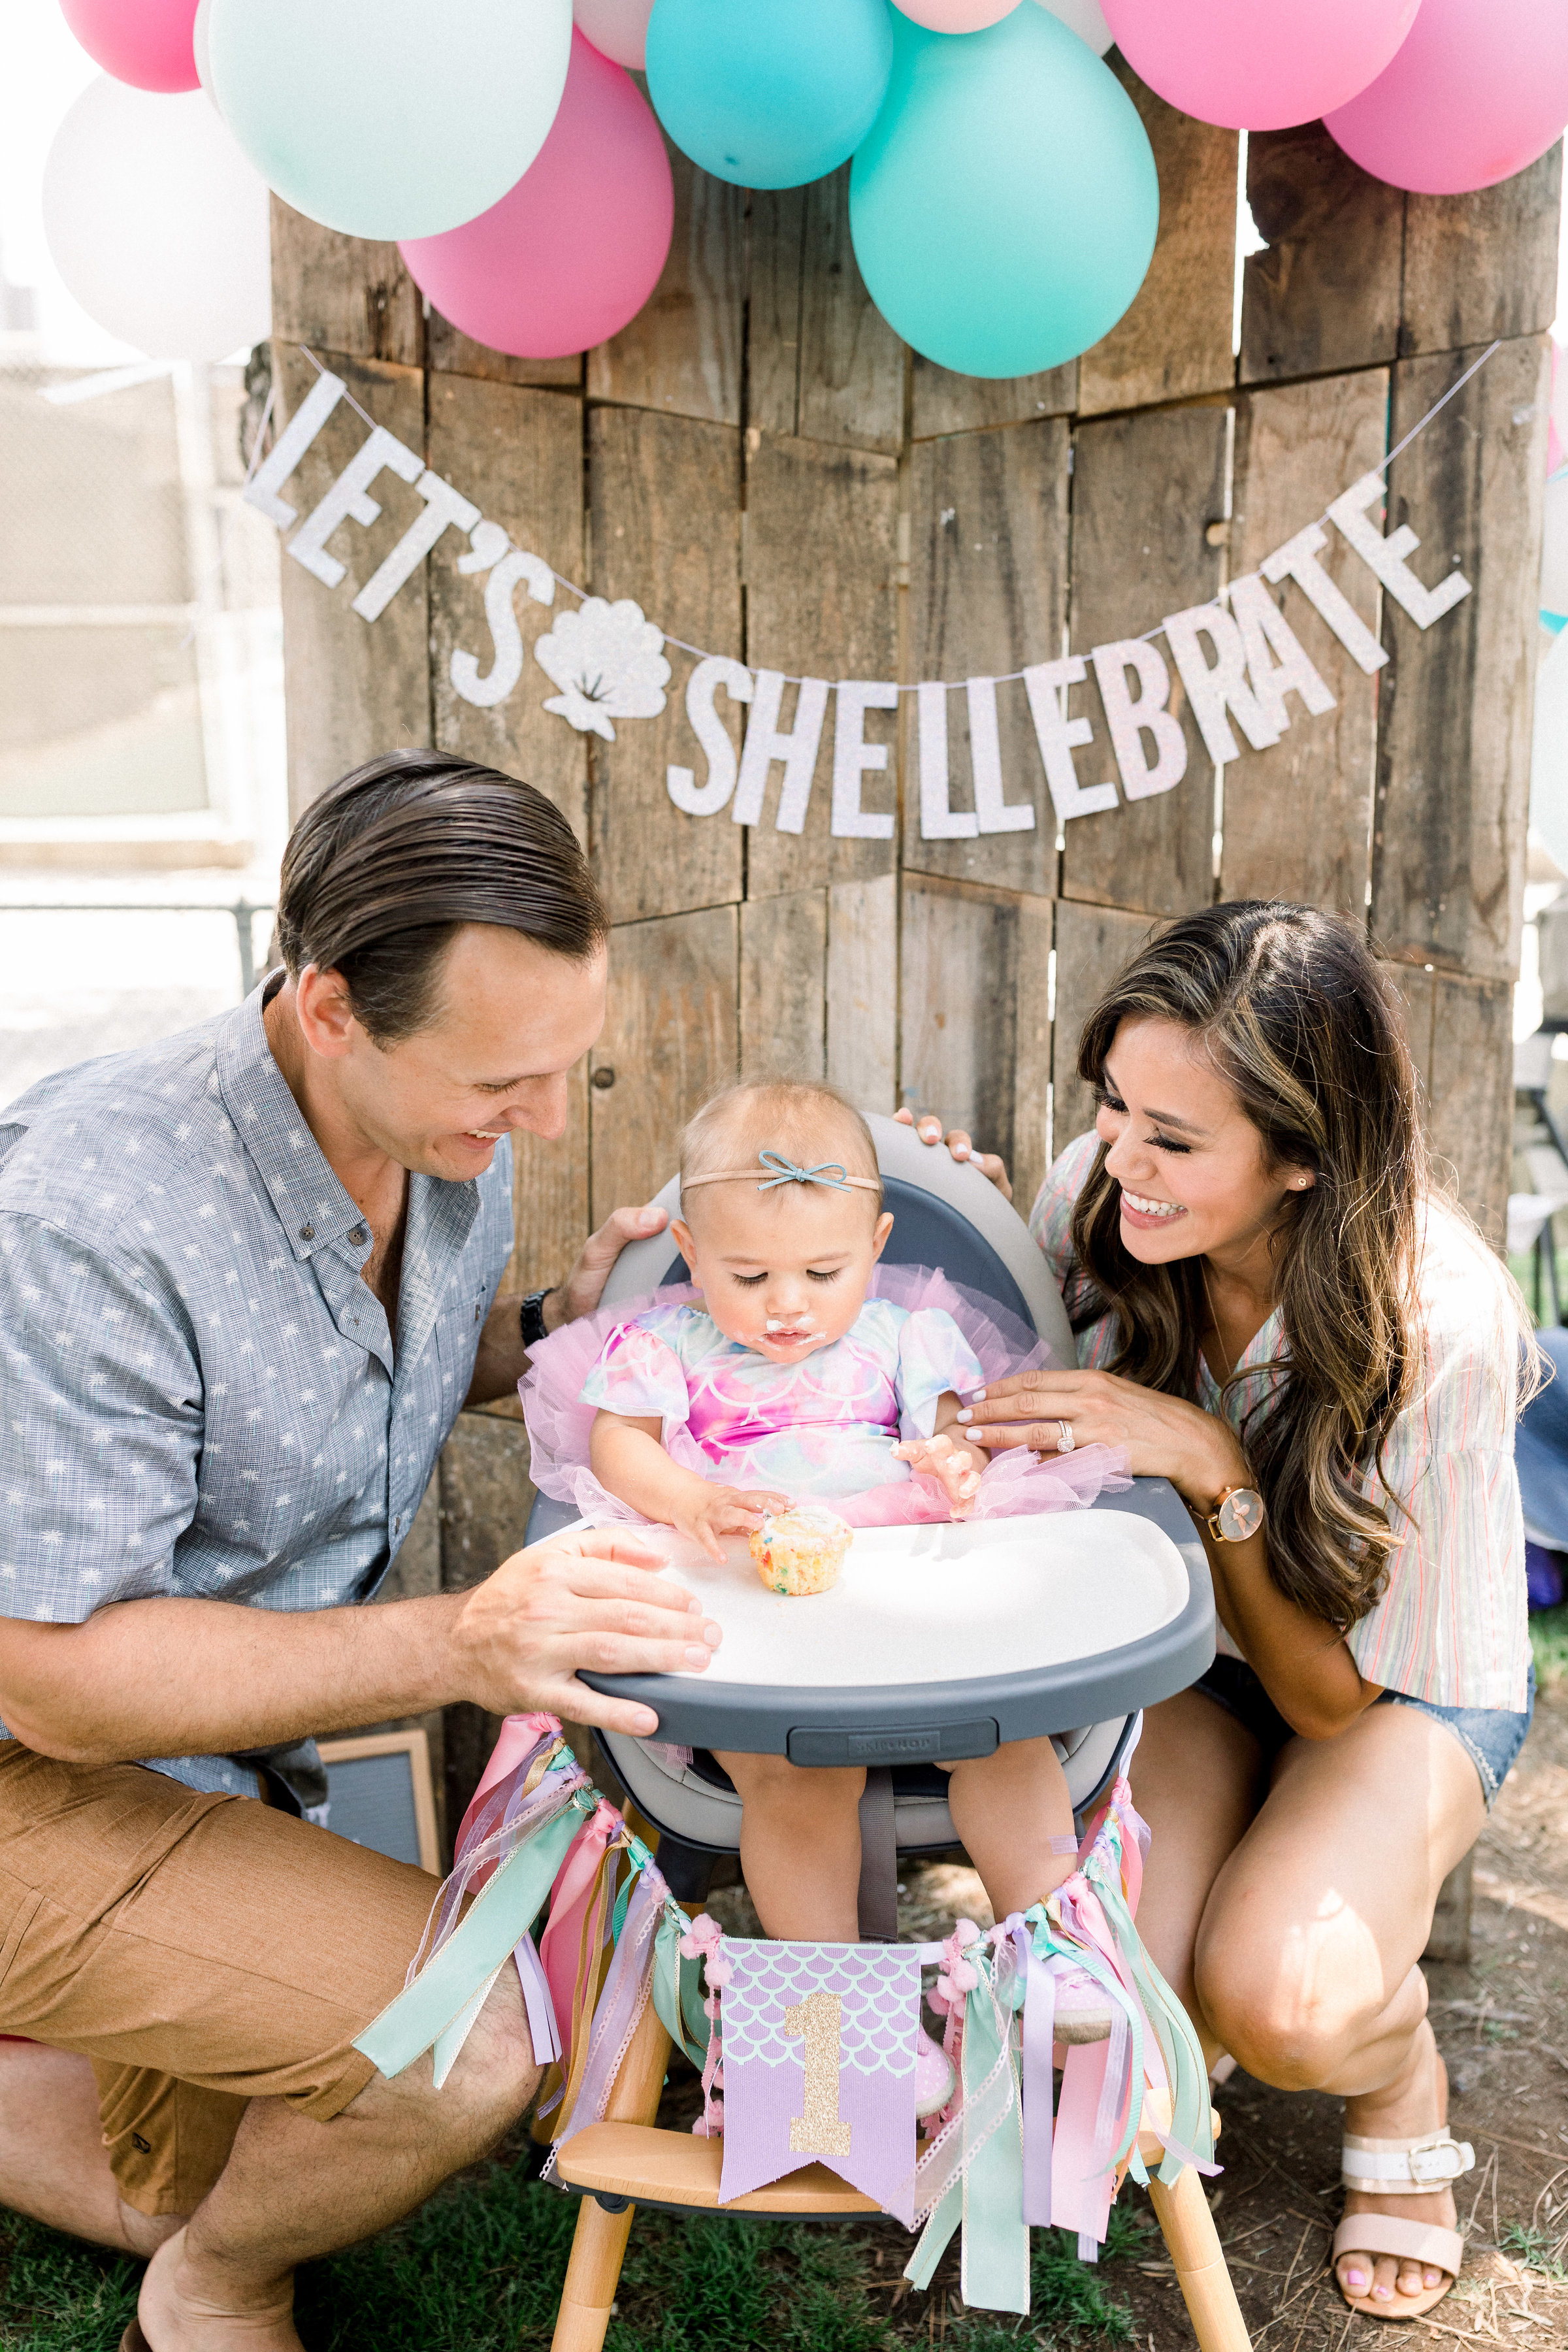
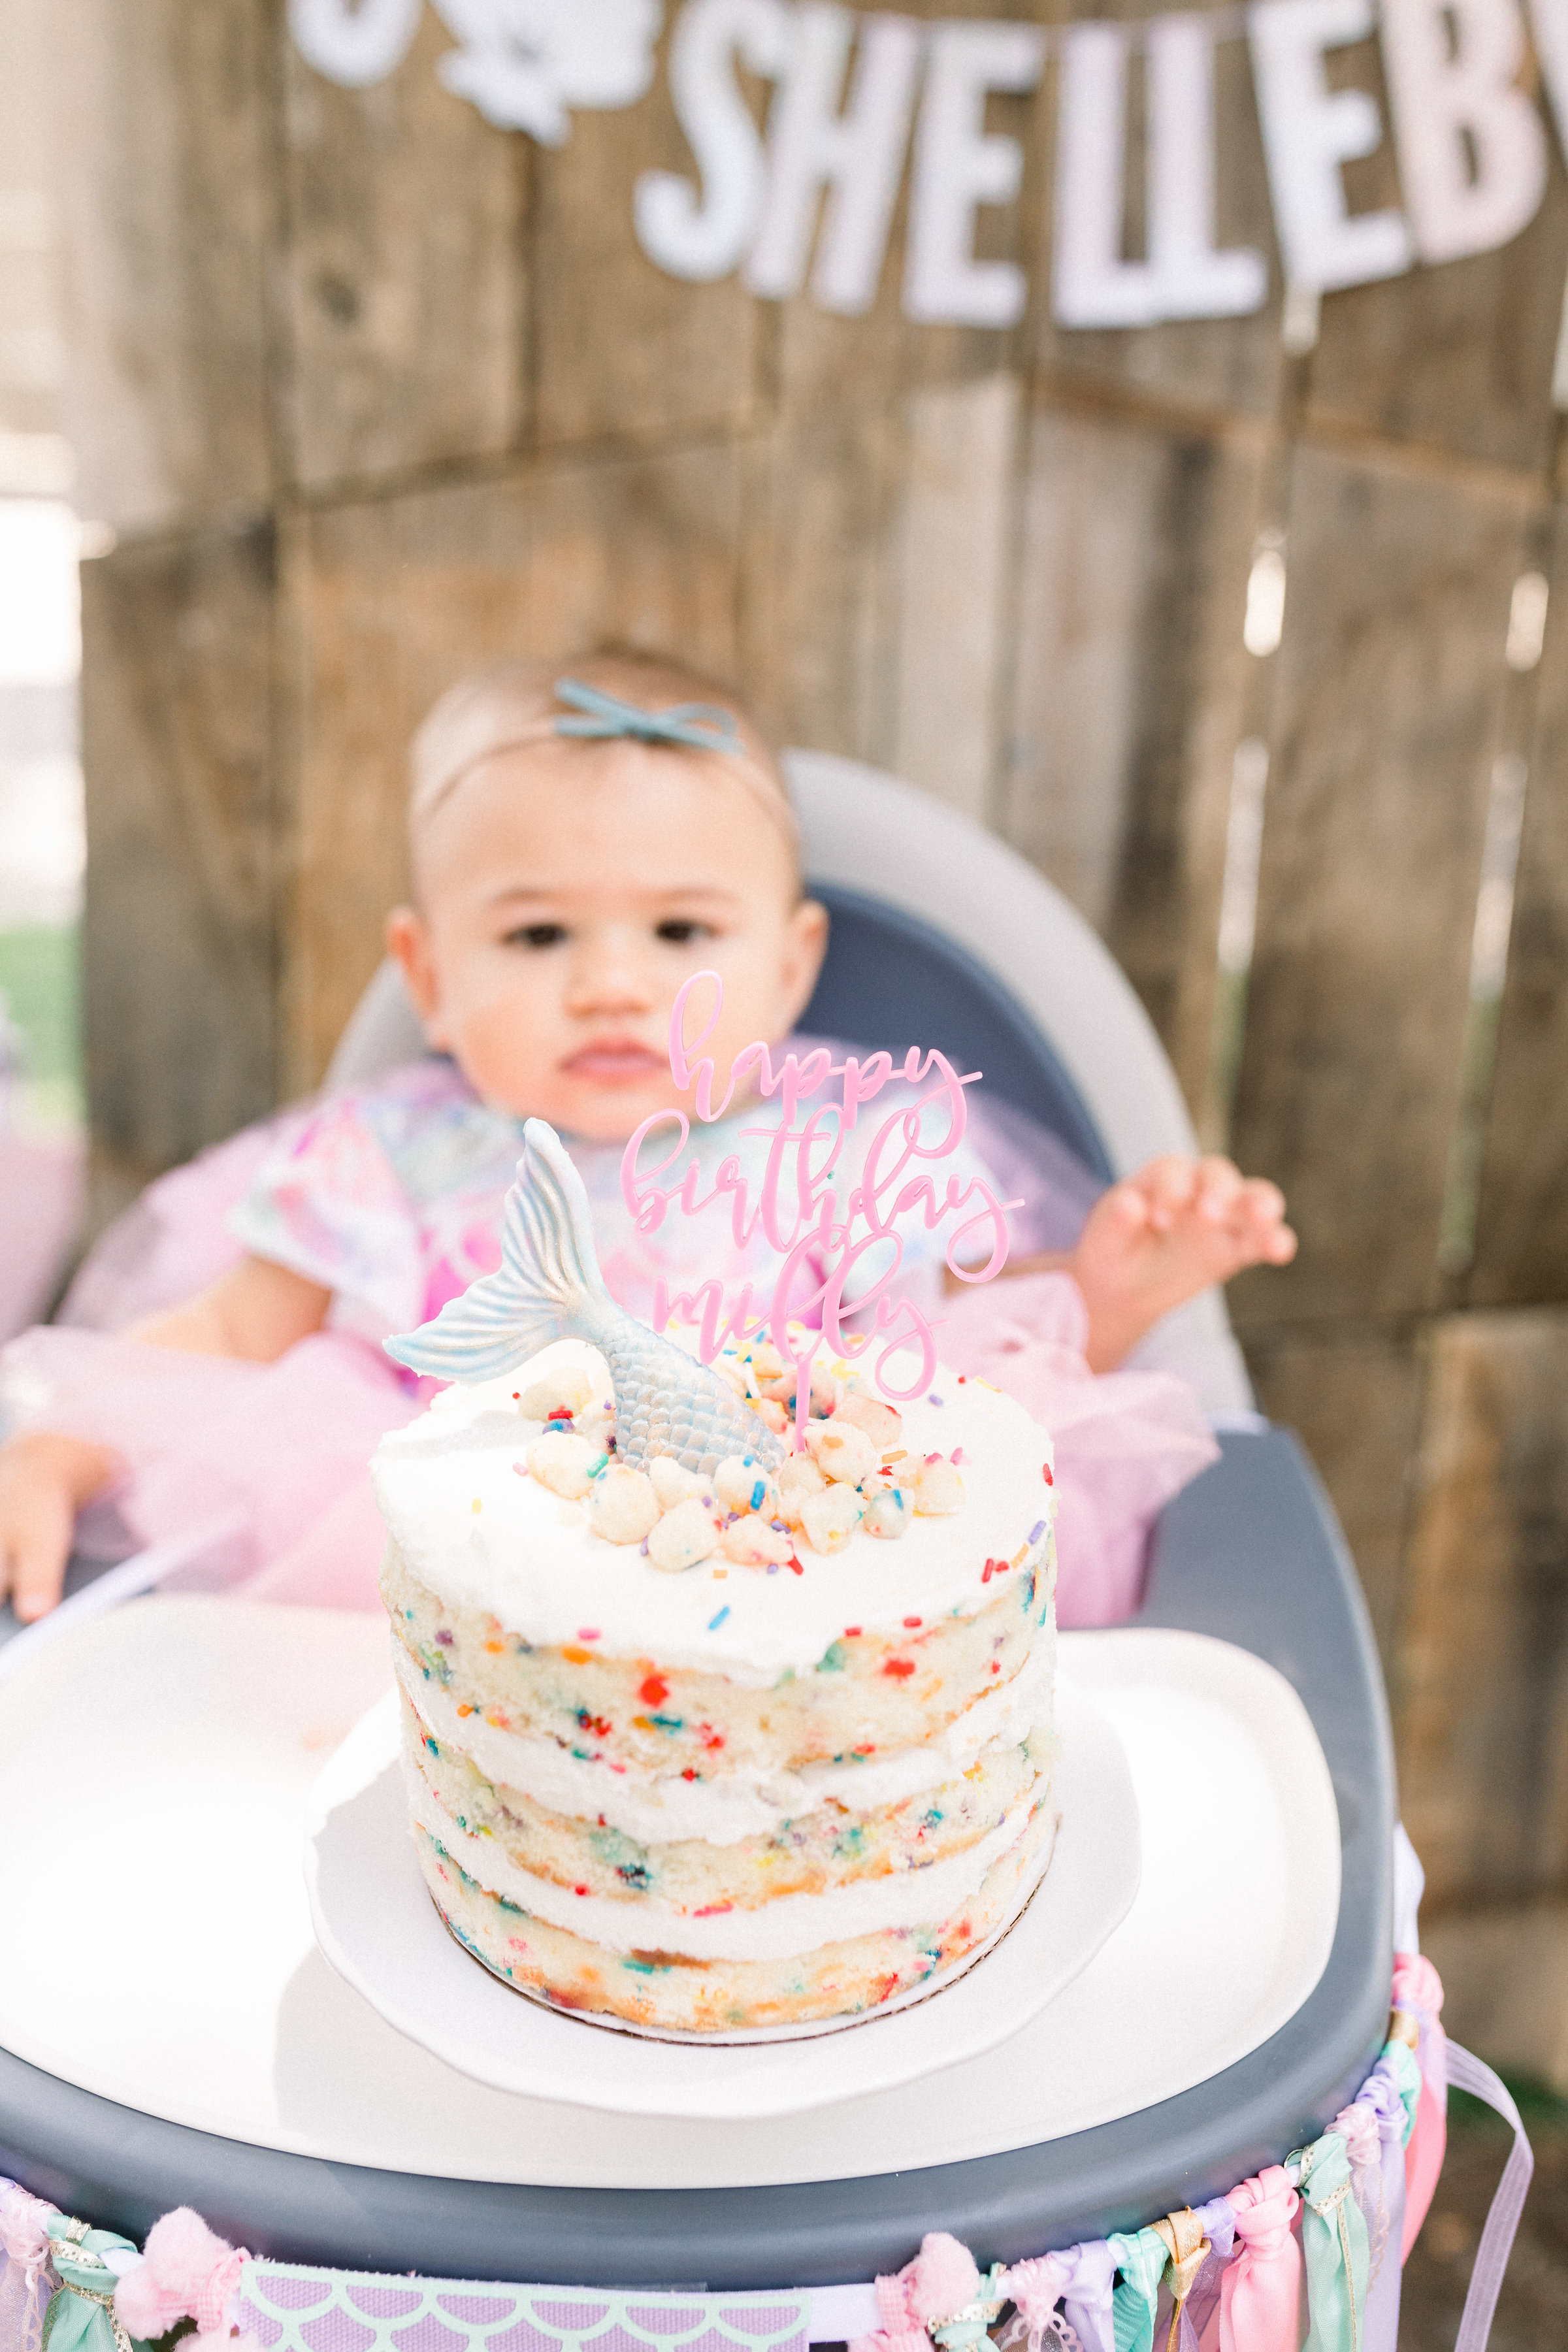
Mr. A and I went back and forth on if we were going to let Milly enjoy a smash cake. I mean we wanted her to enjoy something and I couldn't wait to hang this adorable high chair banner I got on Etsy.  As you know, Milly's been self feeding since 6 months so she is very capable and able to pick up a ton of cake and frosting at a time. She's definitely not one of those kids that will just poke at a cake. If she sees food in front of her, she's devouring all of it. But all of this sugar can't be good for any child, especially a 1 year old so I thought I would make a carrot or zucchini cake with coco whip. Then the night before her party I absolutely bailed on that idea after having a complete melt down (literally-our city got hit with a heat wave that wouldn't let up) and I threw in the towel and went to bed deciding I would just use the Momofuku Milk Bar Birthday Cake we ordered for the dessert table as her cake. Done and done. This is one of those moments where I had to just let go of what I had planned and go with the flow. Everything in our house was melting (no AC for this beach town living family) and I was losing my mind trying to control everything. 

JQ2_0925.jpg

The morning of her party we added a chocolate mermaid tail I had made for the dessert table to the center of the cake, a custom cake topper from DeLovely Details and the cake was done! I figure I have plenty of years ahead to take cake requests from my daughter and joyfully look forward to making all her sugary dreams come true.

And even though I didn't make her cake, I made plenty of other sweet treats for our guests including brown butter rice krispie treats, cookie dough chocolate gems, funfetti cupcakes and so many chocolate mermaid tails and seashells. Sugarfina gummies completed the dessert table and are always the star of the show. I've never seen adults get more excited than when you give them a cello bag to fill with candy from Sugarfina. To read all about the dessert table of our underwater dreams, I'm creating a dedicated blog post just for this with a ton more photos tonight so stay tuned for more!

JQ2_0676.jpg
JQ2_0772.jpg

The dessert table was such a big hit, I think people skipped lunch and ate dessert first or maybe only dessert! We hosted lunch from our favorite, Chick-fil-A (sandwiches and nuggets), sweet tea and lemonade and made pasta salad, sliced fresh fruit and a veggie platter. It was so wonderful to have most of Milly's friends there (a few were out of town!), our friends, some of Mr. A's family and a ton of my extended family that live in SoCal but I hardly ever get to see.  Milly had so much fun playing with her friends, crawling and cruising around, eating everything in sight and waving at everyone passing by! 

JQ2_0902.jpg

We are so grateful to everyone who was there physically and in spirit to celebrate our daughter. And even though we put "no gifts necessary" on the invitation, Milly was spoiled beyond belief and we were spoiled too. The cards with sweet messages telling us we are kicking ass as parents and how much they've enjoyed watching us as parents are cards I will keep forever! Thank you to everyone for being a part of our first year as parents. We couldn't do it without our village. 

JQ2_1016.jpg
Mr. A made this too! This was a total surprise.

Mr. A made this too! This was a total surprise.

JQ2_0980.jpg
JQ2_0751.jpg
Baby Helmet Therapy for Plagiocephaly

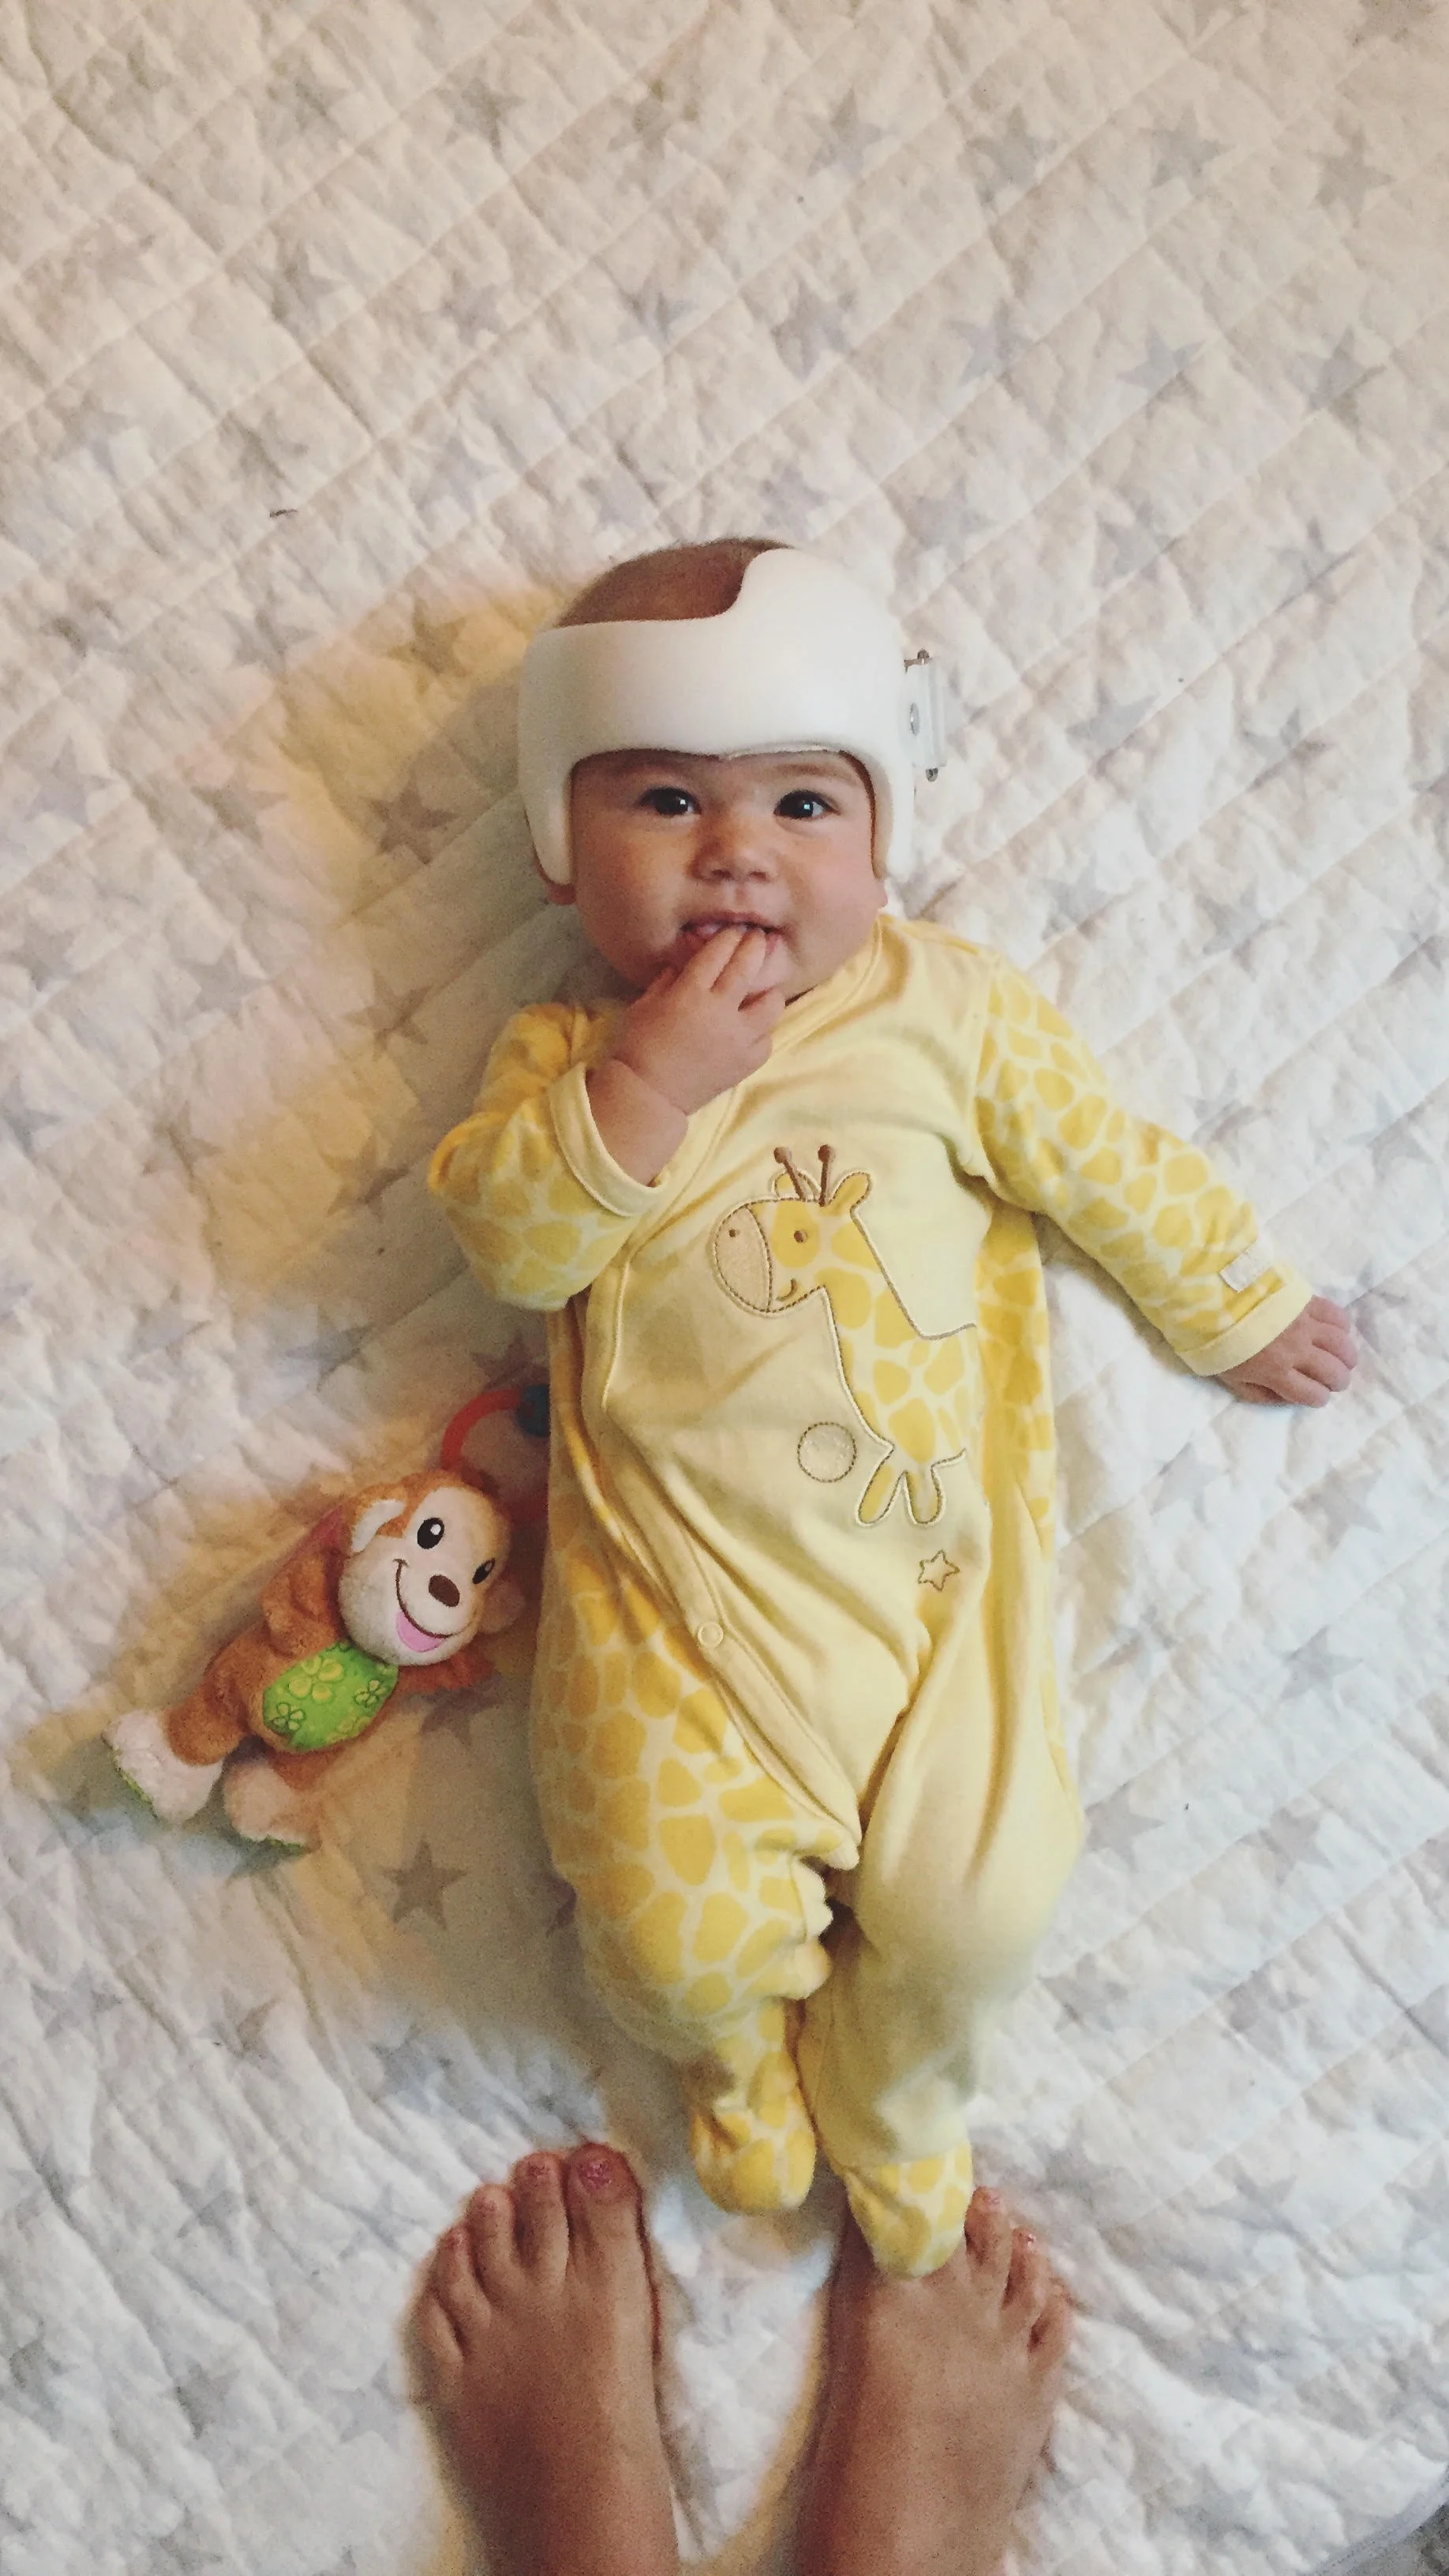
It actually seems like forever ago when we made the tough decision to get Milly fitted for a helmet to help correct the flat spot on her head but looking back I'm so glad we did. Thank  you FAM: For All Moms for allowing me to share Milly's story. You can watch my interview with Susan Yara and Sharzad Kiadeh below and then let me know if you have any questions in the comments below. 

All You Need to Know about Baby Led Weaning

Milly and I loved hanging with Nora of Modamob to give her some tips on baby led weaning. Her darling little babe, six month old Ayah is definitely ready to start feeding herself solid foods so I made sure to share all I know with Nora! It makes me so happy anytime I get to meet with other moms and offer any insights with them about my motherhood journey. I cover everything from how to get started to what to do about allergies and so much more in this video. After you watch, leave a comment below letting me know what you think. Plus I'd love to hear any tips or tricks you might have about baby led weaning including any simple recipes. Also, you might need to watch it a few times since Milly is adorably distracting...especially around 1 minute when I give her a piece of pear but she thinks it's gonna be a lemon? LOL! Love her! 

Yogurt Bark: Tropical & Peanut Butter and Jelly
yogurt bark1.jpg

Looking for a healthier option to ice cream? Yogurt bark is a frozen snack packed with sweet fruit that takes minutes to make and keeps in the freezer. I love having fun in the kitchen and this is definitely one you can get the kiddos involved!  It starts with the same base-any type of yogurt (I make this with coconut milk yogurt for my 10 month old), maple syrup/honey/agave for a little sweetness, vanilla extract and any mix-ins you want! Use what you already have to keep it easy.  I love to use chopped fruit, fruit purees, dried fruit, nuts, spreads like peanut butter or chocolate hazelnut spread. Anything you would put in a smoothie or top a smoothie bowl is fair game.  I tend to over buy produce so this is what I do when I have too many strawberries. I ether make yogurt bark or homemade jam.
yogurt bark2.jpg

So when Home & Family invited me on the show to make a treat, I decided to share two of my favorite flavors. The tropical bark is loaded with mango, kiwi, pineapple and dragonfruit. If you've never seen dragonfruit in your market, ask the produce manager to get you some. Otherwise usually you can find it in speciality grocery stores or in the freezer section in frozen puree packs.

Pitaya-Plus-Smoothie-Packs-600x600.jpg

The pb & j has that classic peanut butter and jelly flavor and is super creamy and addicting. If you prefer almond butter, that works too. I also love to sneak n crushed nuts or even slices of fruit. For this one, I used strawberry jam and added sliced strawberries. 

Let me know what flavor you try to make or if you create your own. Be sure to post your photos on instagram and tag me @BrandiMilloy

yogurt bark3.jpg

Tropical Yogurt Bark

by Brandi Milloy

Ingredients

  • 2 cups nonfat plain or Greek yogurt
  • 3 tbsp. agave, honey or maple syrup
  • 1 tsp. vanilla extract 
  • dragonfruit, pieces (you can also fold in dragonfruit puree found in the freezer section)
  • mango, sliced
  • pineapple, chunks
  • kiwi, pieces
  • shaved coconut
  • mini chocolate chips, optional

Directions:

Onto a baking sheet lined with parchment paper, spread your yogurt mixture about 1/4" thick. Sprinkle toppings evenly. Freeze overnight and then break into pieces and enjoy.

Peanut Butter & Jelly Bark

by Brandi Milloy

Ingredients

  • 2 cups nonfat plain or Greek yogurt
  • 1/4 cup peanut butter, melted
  • 1 tsp. vanilla extract
  • 4 tbsp. strawberry jam
  • fresh strawberries, sliced 
  • chopped peanuts, optional

Directions:

Onto a baking sheet lined with parchment paper, spread your yogurt about 1/4" thick. Top with peanut butter, using a knife to swirl it through. Do the same with the strawberry jam.  Sprinkle toppings evenly. Freeze overnight and then break into pieces and enjoy.


A Letter to Our Daughter on My First Mother's Day

My sweet Milly,

Everyday I fall more and more in love with you. You are pure magic, baby girl. Beyond our wildest dreams you have completely filled our lives with joy and enchanted us with your overwhelming presence.  I marvel over you. You are like the sun, so warm and bright shining light everywhere you go.  It’s been so very special seeing the world through your eyes.  Your big brown hazel eyes and those ultra long lashes. You are curious about everything and I love explaining it all to you.  You love to observe the world around you and I watch you study every little thing the same way I do when I’m trying to learn something new.  You are as calm as chamomile.

I love the way you communicate-and how you tell me exactly how you’re feeling.  I’ve never felt more in tune and connected to someone (besides daddy) before in my life.  Our relationship feels as natural as bees making honey.  I love how it feels like you know what I’m thinking at any given moment. Sometimes we stare at each other and then burst into laughter at the exact same time. It’s so much fun being your mama.

Every night as you rest in my arms, smelling like buttercream, I trace my fingers around your face and look at you in wonder.  And as you slumber, I watch you dream. I hope you are dreaming of goodness and the good you will bring to the world and those around you.  I hope you know you can do anything you dream and don’t let anyone or anything tell you otherwise. 

You are such a delight I can barely stand it. It’s an honor to be your Mama. Thank you for trusting me, Milly. It is truly a gift to call you ours. You are filled with so much love and purity and I’m so grateful God chose me to be your Mama and us to be your parents. I love the person you’ve made me. I’ve never been more proud of who I am than now. Being around you gives me a fullness I’ve never felt before. These are the good ole days.  We are living them.

Milly, you radiate rainbows.  You are a unicorn in a field of horses. You’re a cupcake in a world of muffins. You’re a ranunculus in a garden of roses.  Happiest Mother’s Day to the one who made me a Mama because today is about you too.

Love,

Your Mama

Made with Love, an Embroidered Pennant
Photography Credit: Another Cup Photography
MDCollab-277.jpg
PS-MDCollab-73.jpg

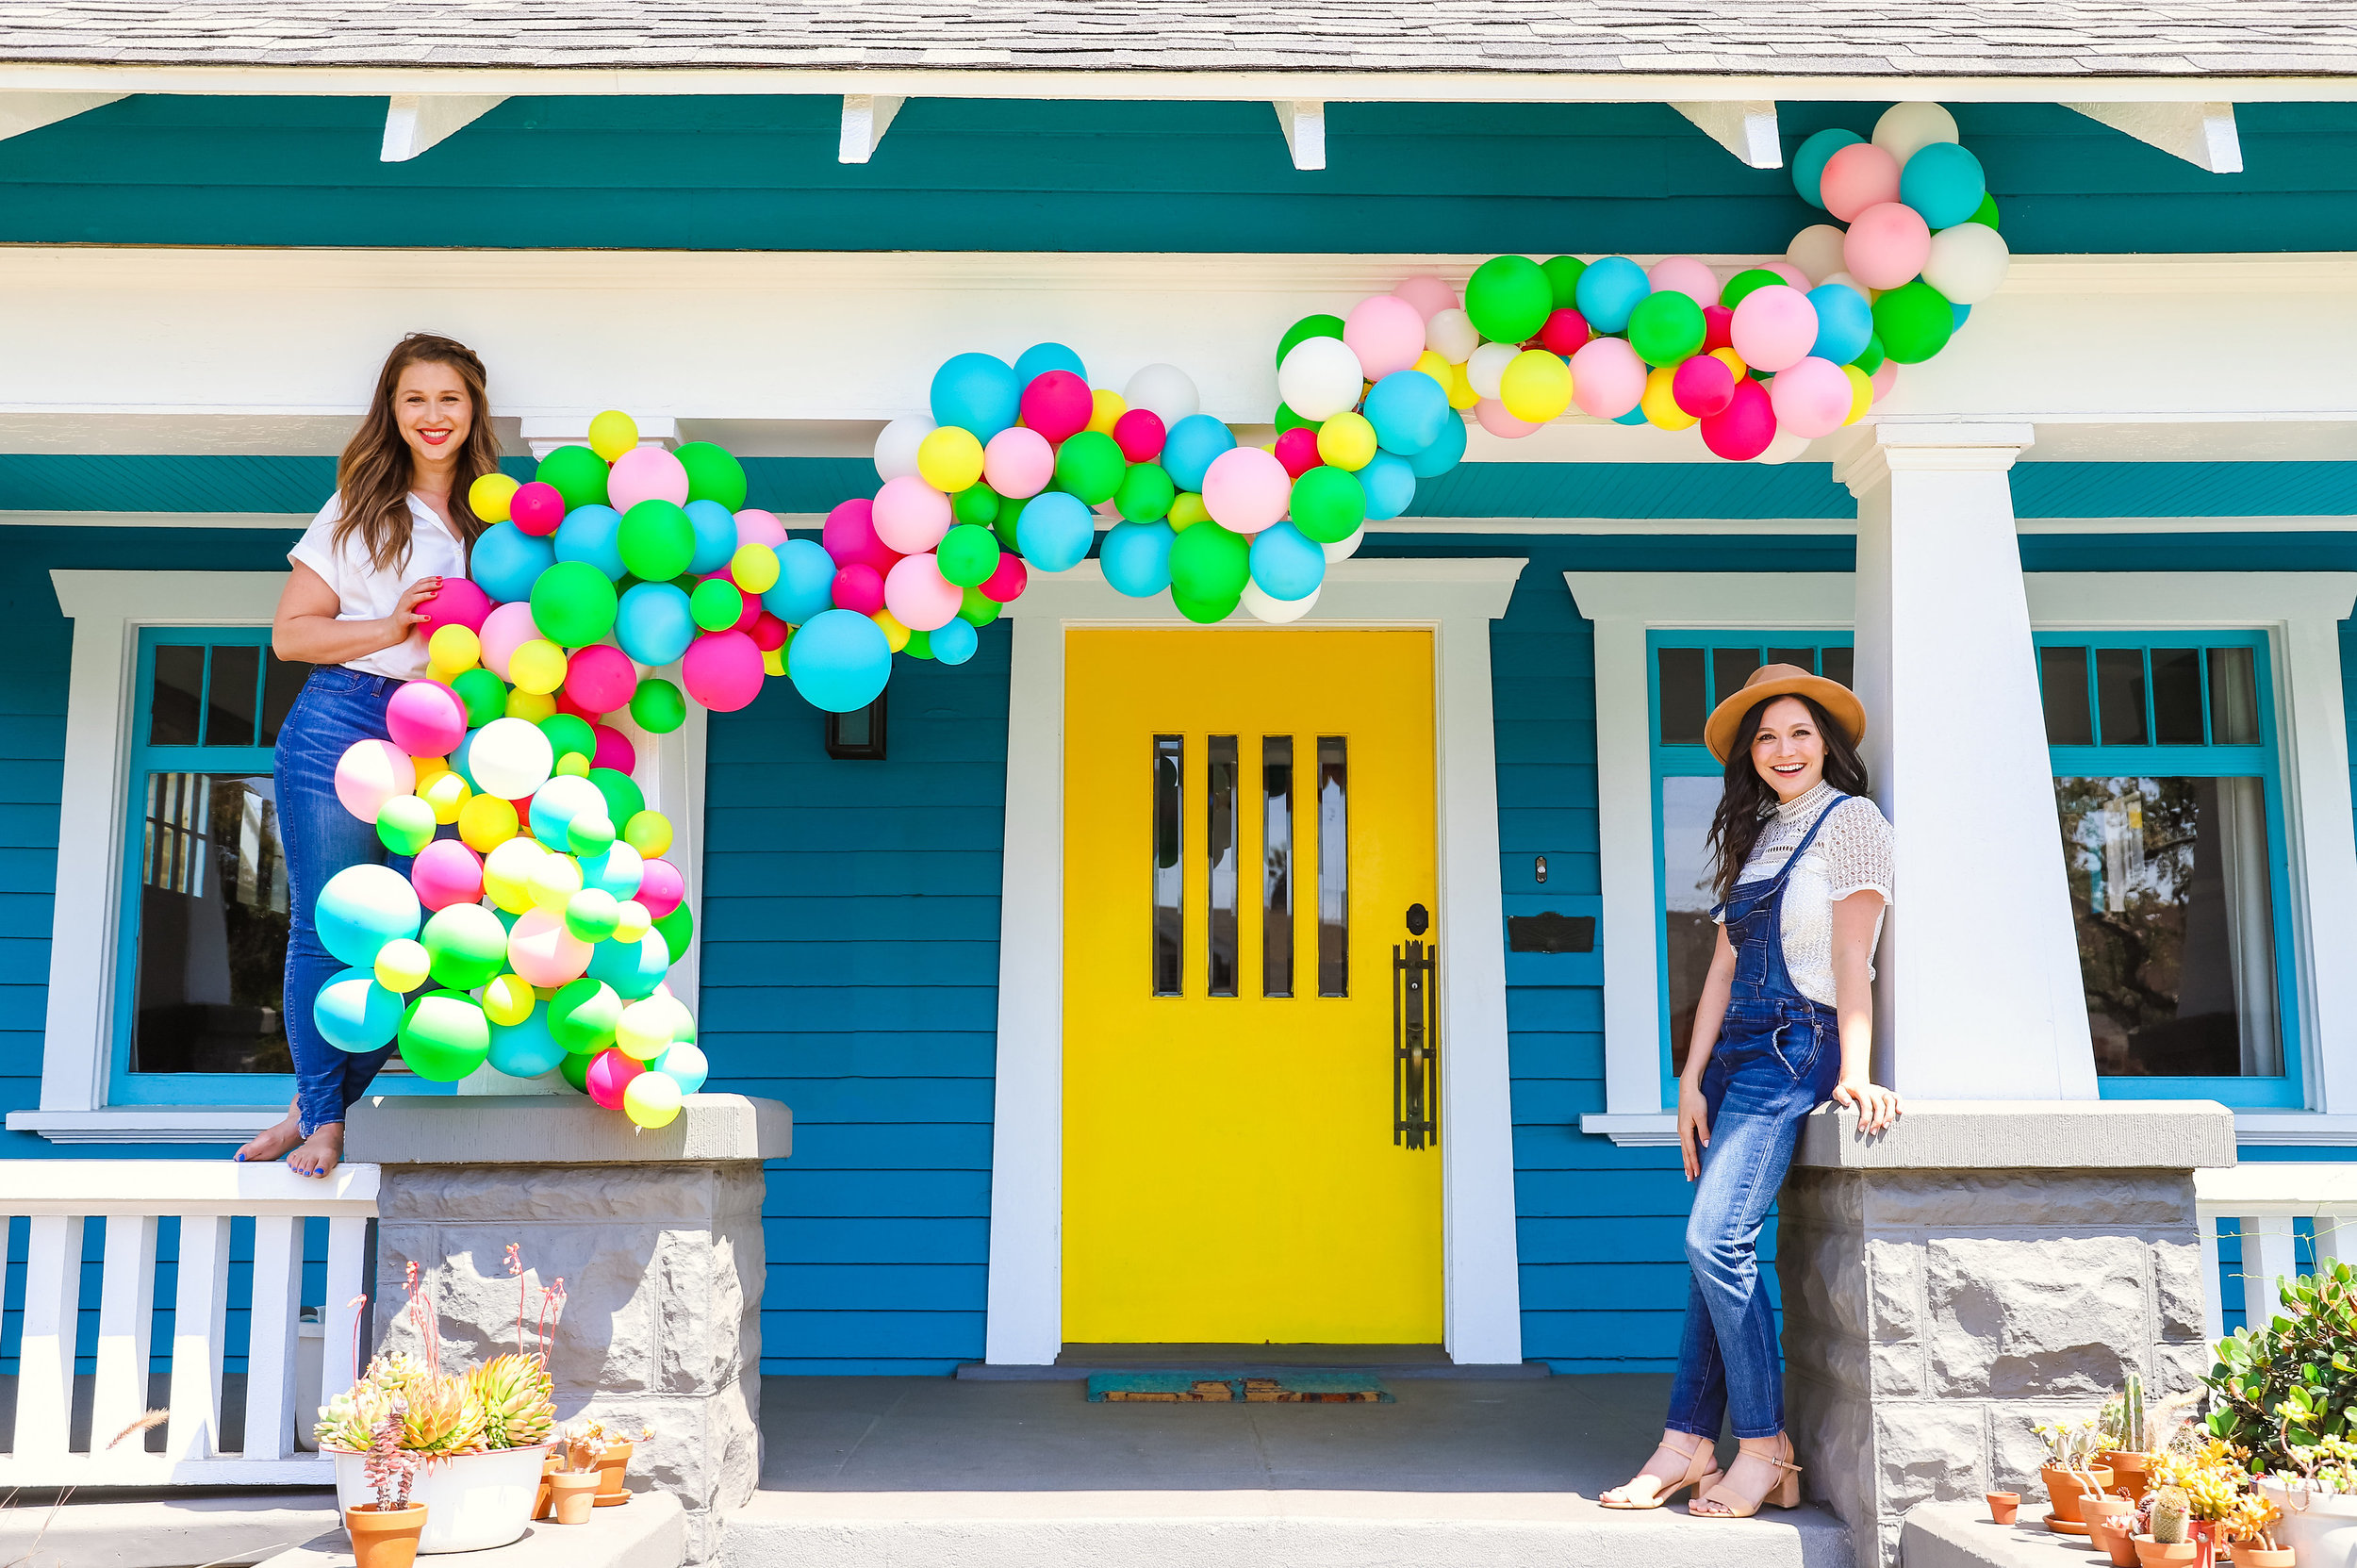
One of my favorite parts about my job is being able to work with people who inspire me.  So I was thrilled to team up with two of my friends, Ashley Adams and Julianna Strickland on the most joyful and colorful shoot to celebrate Mother's Day.  

I can't believe this will be my first Mother's Day with Milly (earthside). I have so many feels about this beautiful gift of being a mother so stay tuned for a full blog post on a Love Letter to Milly on My First Mother's Day. 

MDCollab-50.jpg

For me, a homemade gift will always mean more ten times over so I'm happy to share an easy embroidered pennant craft idea you can make for your mom or with your daughter for Mother's Day.  It's super simple to make-and like many needle necessary crafts, it's utterly therapeutic.

Photography Credit: Another Cup Photography

Photography Credit: Another Cup Photography

One of my favorite gifts I received when I was pregnant with Milly was a beautiful piece of embroidered hoop art. It's a gift I'll cherish forever that hangs in Milly's bedroom. There's something so personal about handmade art and receiving it ignited this desire in me to learn embroidery. And let's be real-it also could be because this old school craft has been getting some major love over the last few years with faves like Lauren Conrad showing her embroidery talents with her Baby Tell announcement.  Regardless, it's a trade I'd love to learn and get better at.  For years I used to crochet (blankets, scarves, throws-you name it) and when I was a little girl I loved to sew. I remember I made these amazing denim pocket purses from jeans I bought from thrift stores and tried selling them in 6th grade (I was wayyy too ahead of the trend). Then, for several years I made jewelry and sold my pieces on Etsy. I guess I love working with my hands, it's no wonder I work in food. I should open my store back up....

MDCollab-38.jpg
MDCollab-55.jpg

EMBROIDERY SO EASY EVEN A BABY CAN DO IT

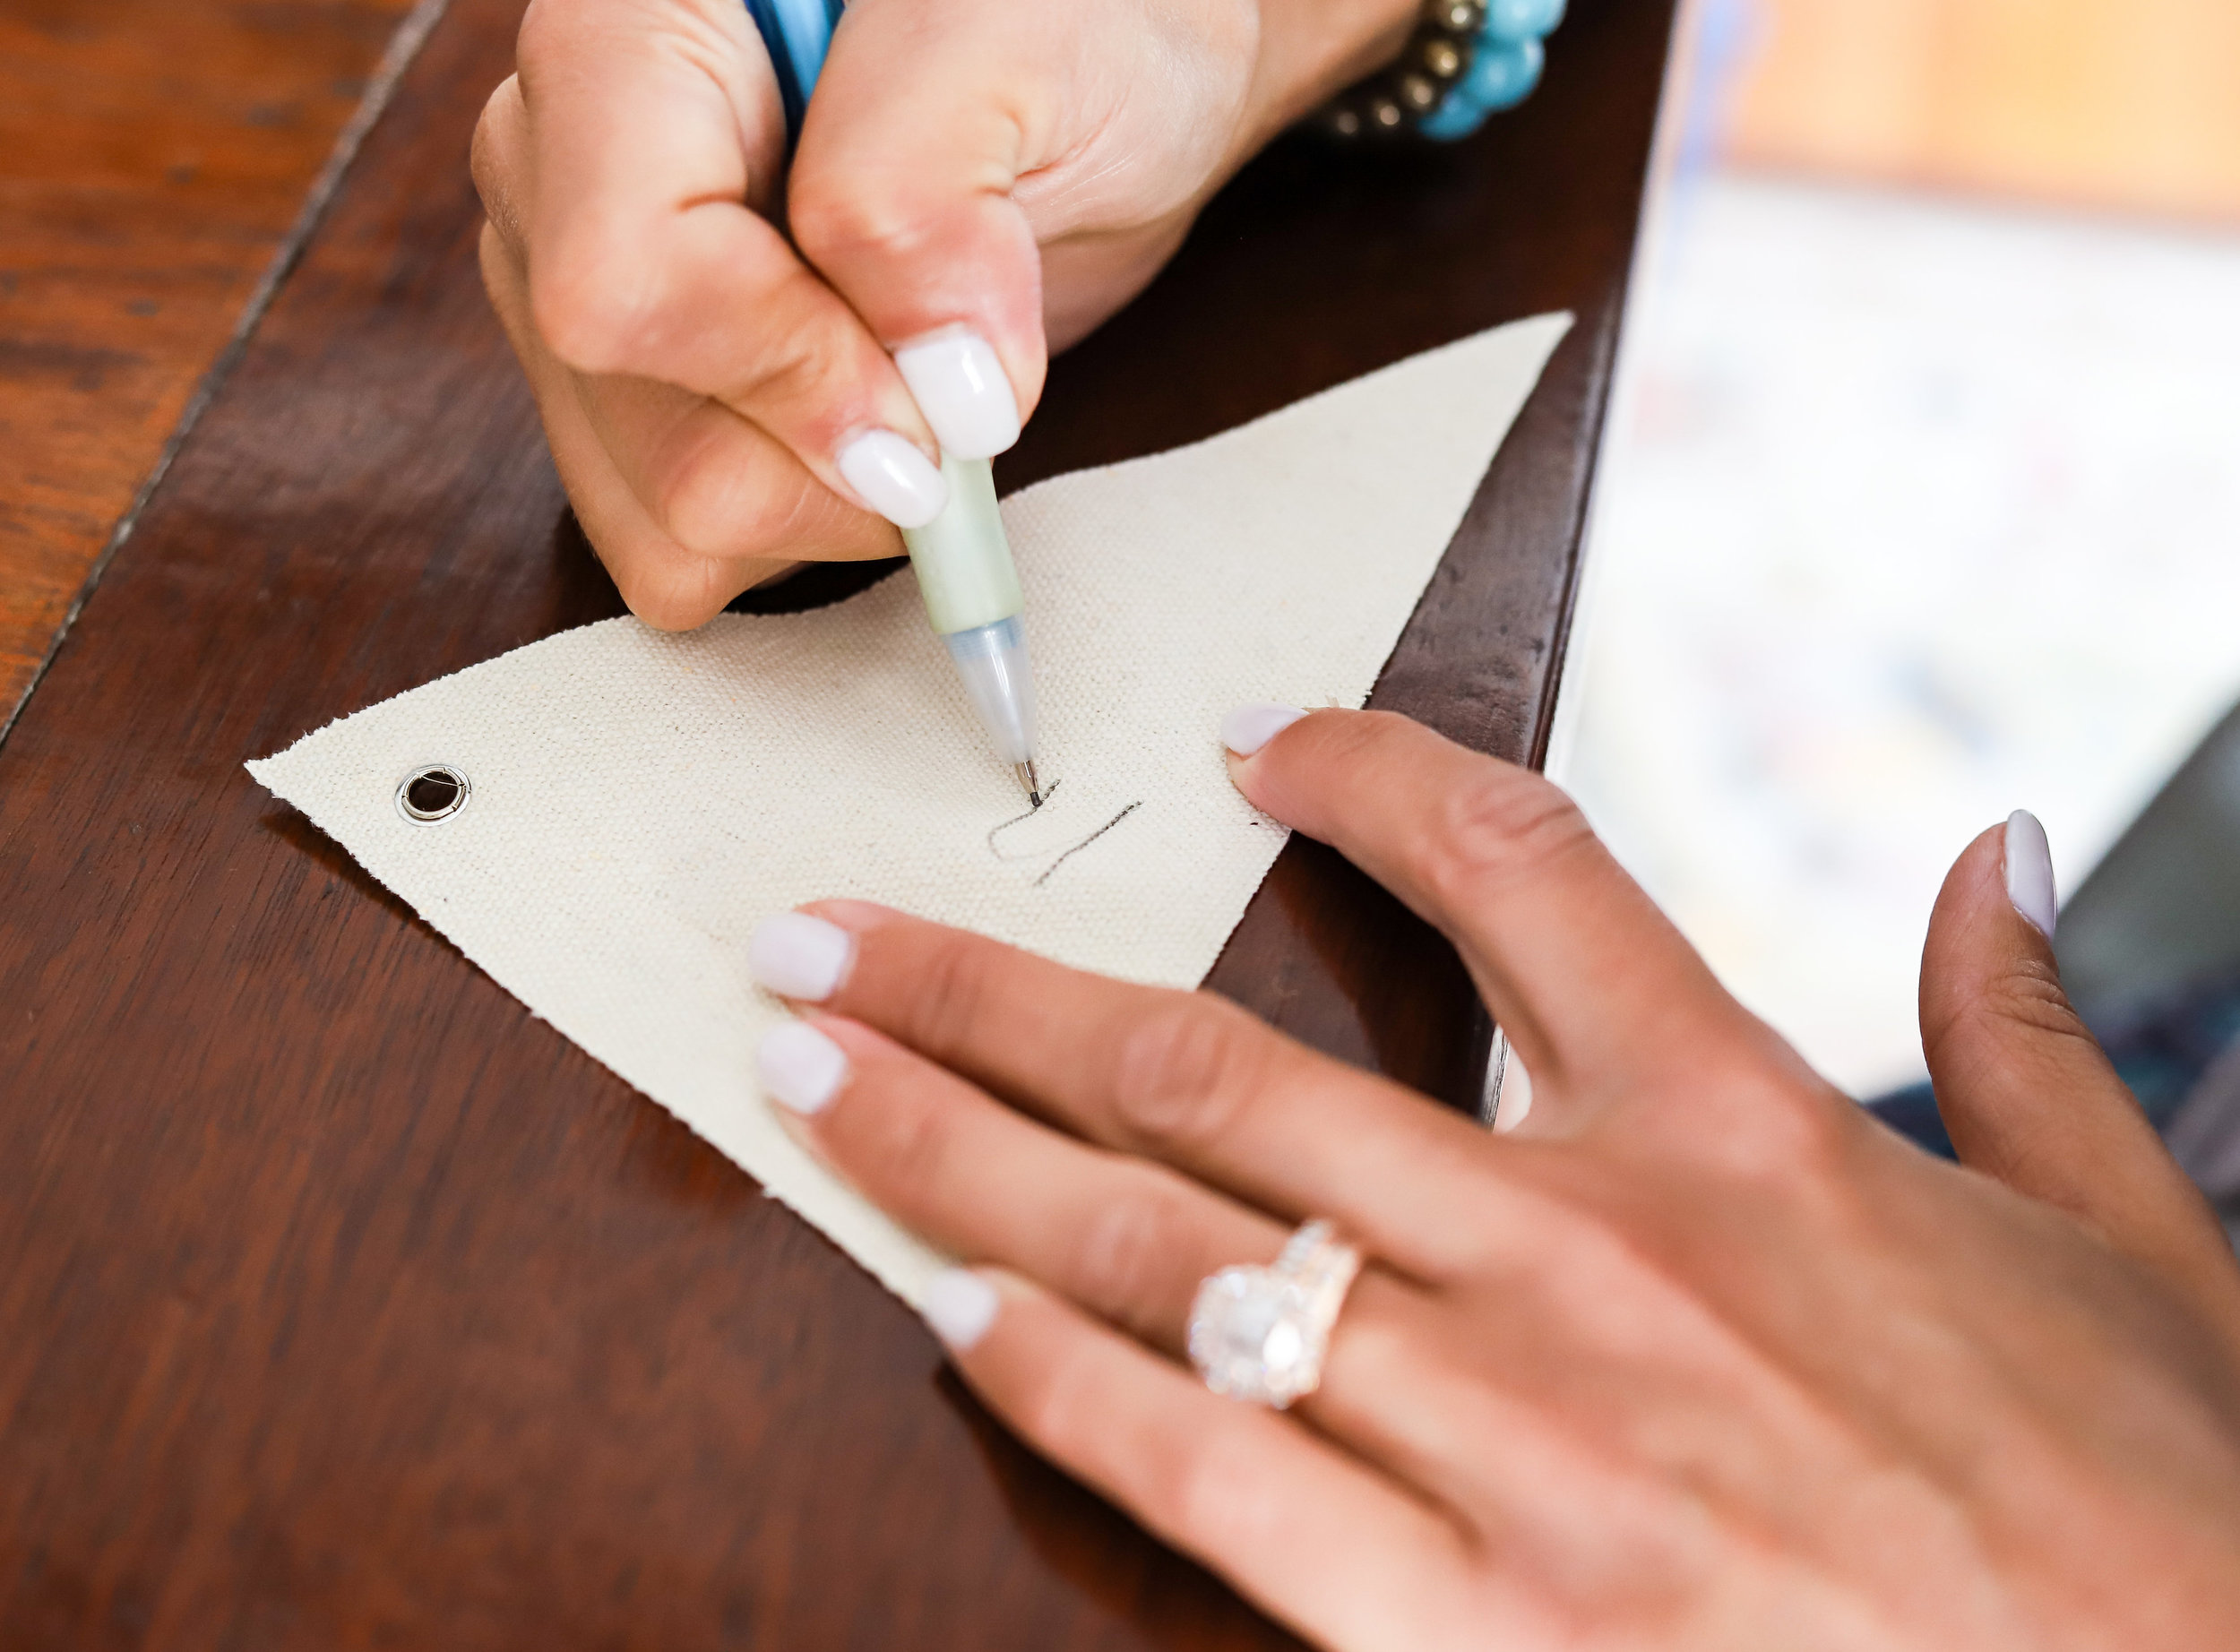
For this pennant, I chose to do the letter, "M" for Milly but a meaningful word like "love" would work too or a positive affirmation would be absolutely dreamy! I'm calling it now: embroidered pennants should replace vision boards!  For this craft you only need a few things: embroidery needle, embroidery floss and fabric (a linen blend banner, burlap flag or any thin fabric will do).

MDCollab-58.jpg

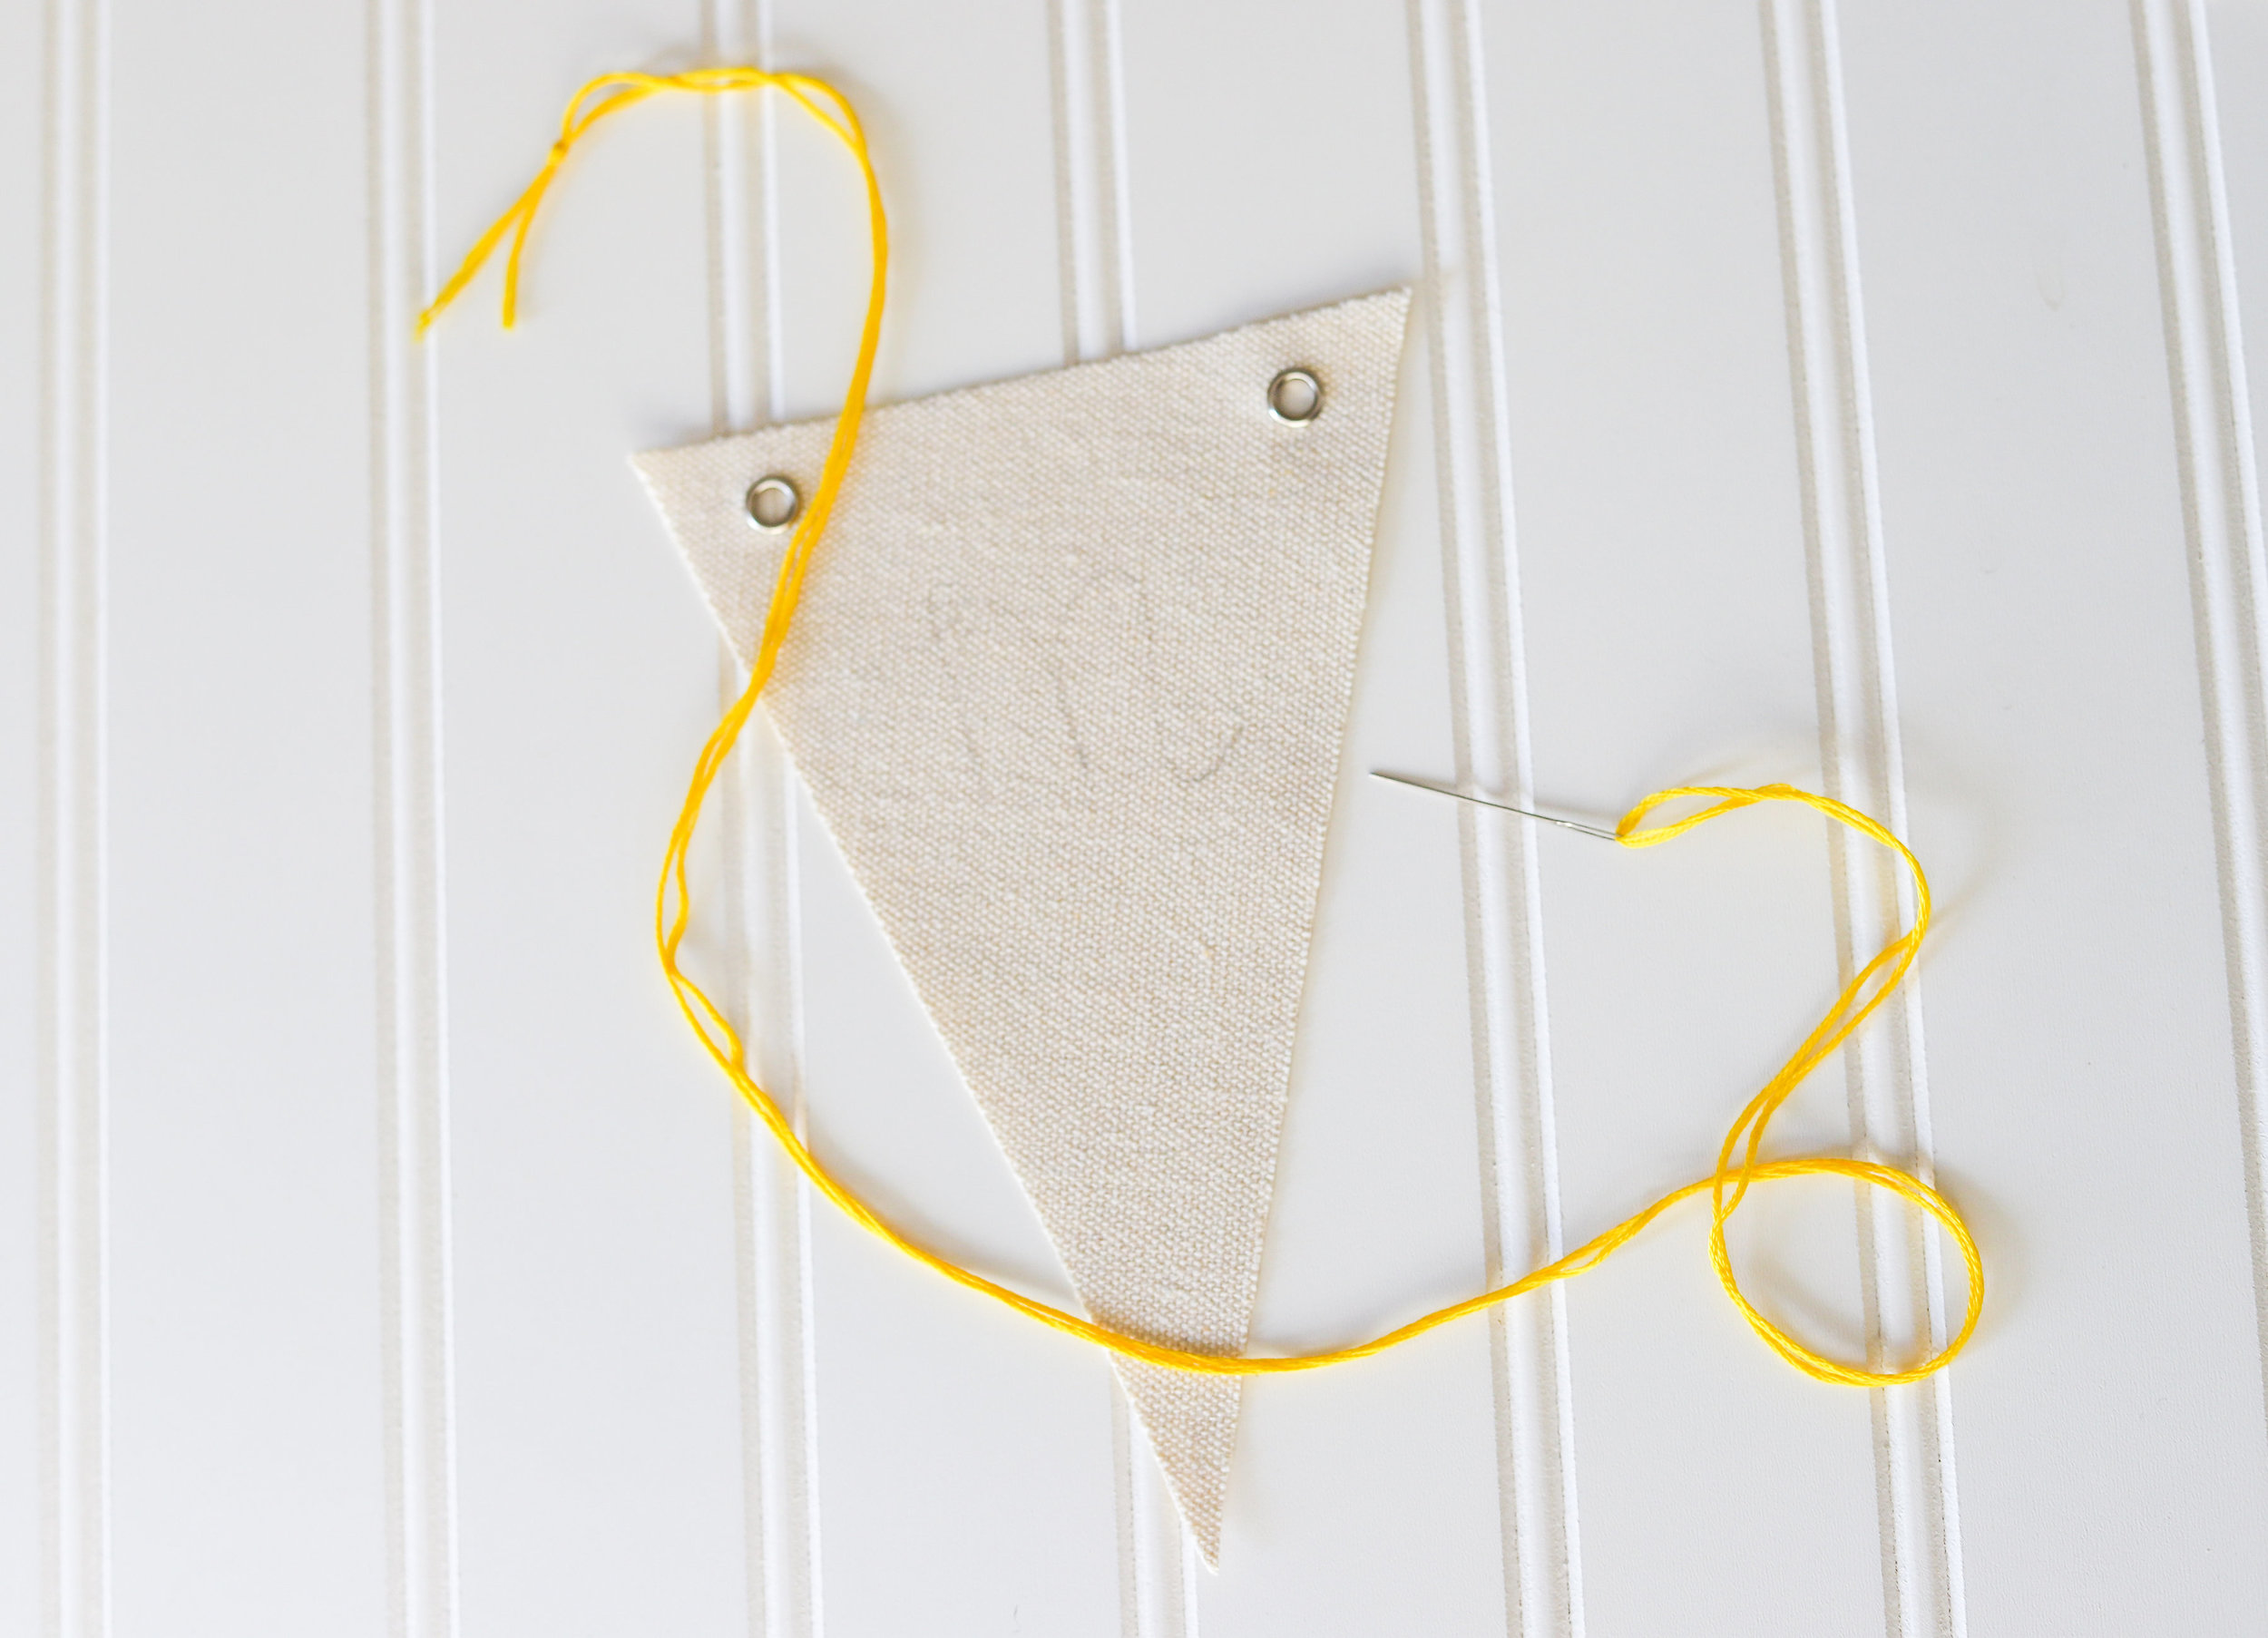
STEP ONE Using a pencil, mark the letter or words you want to embroider on your fabric.

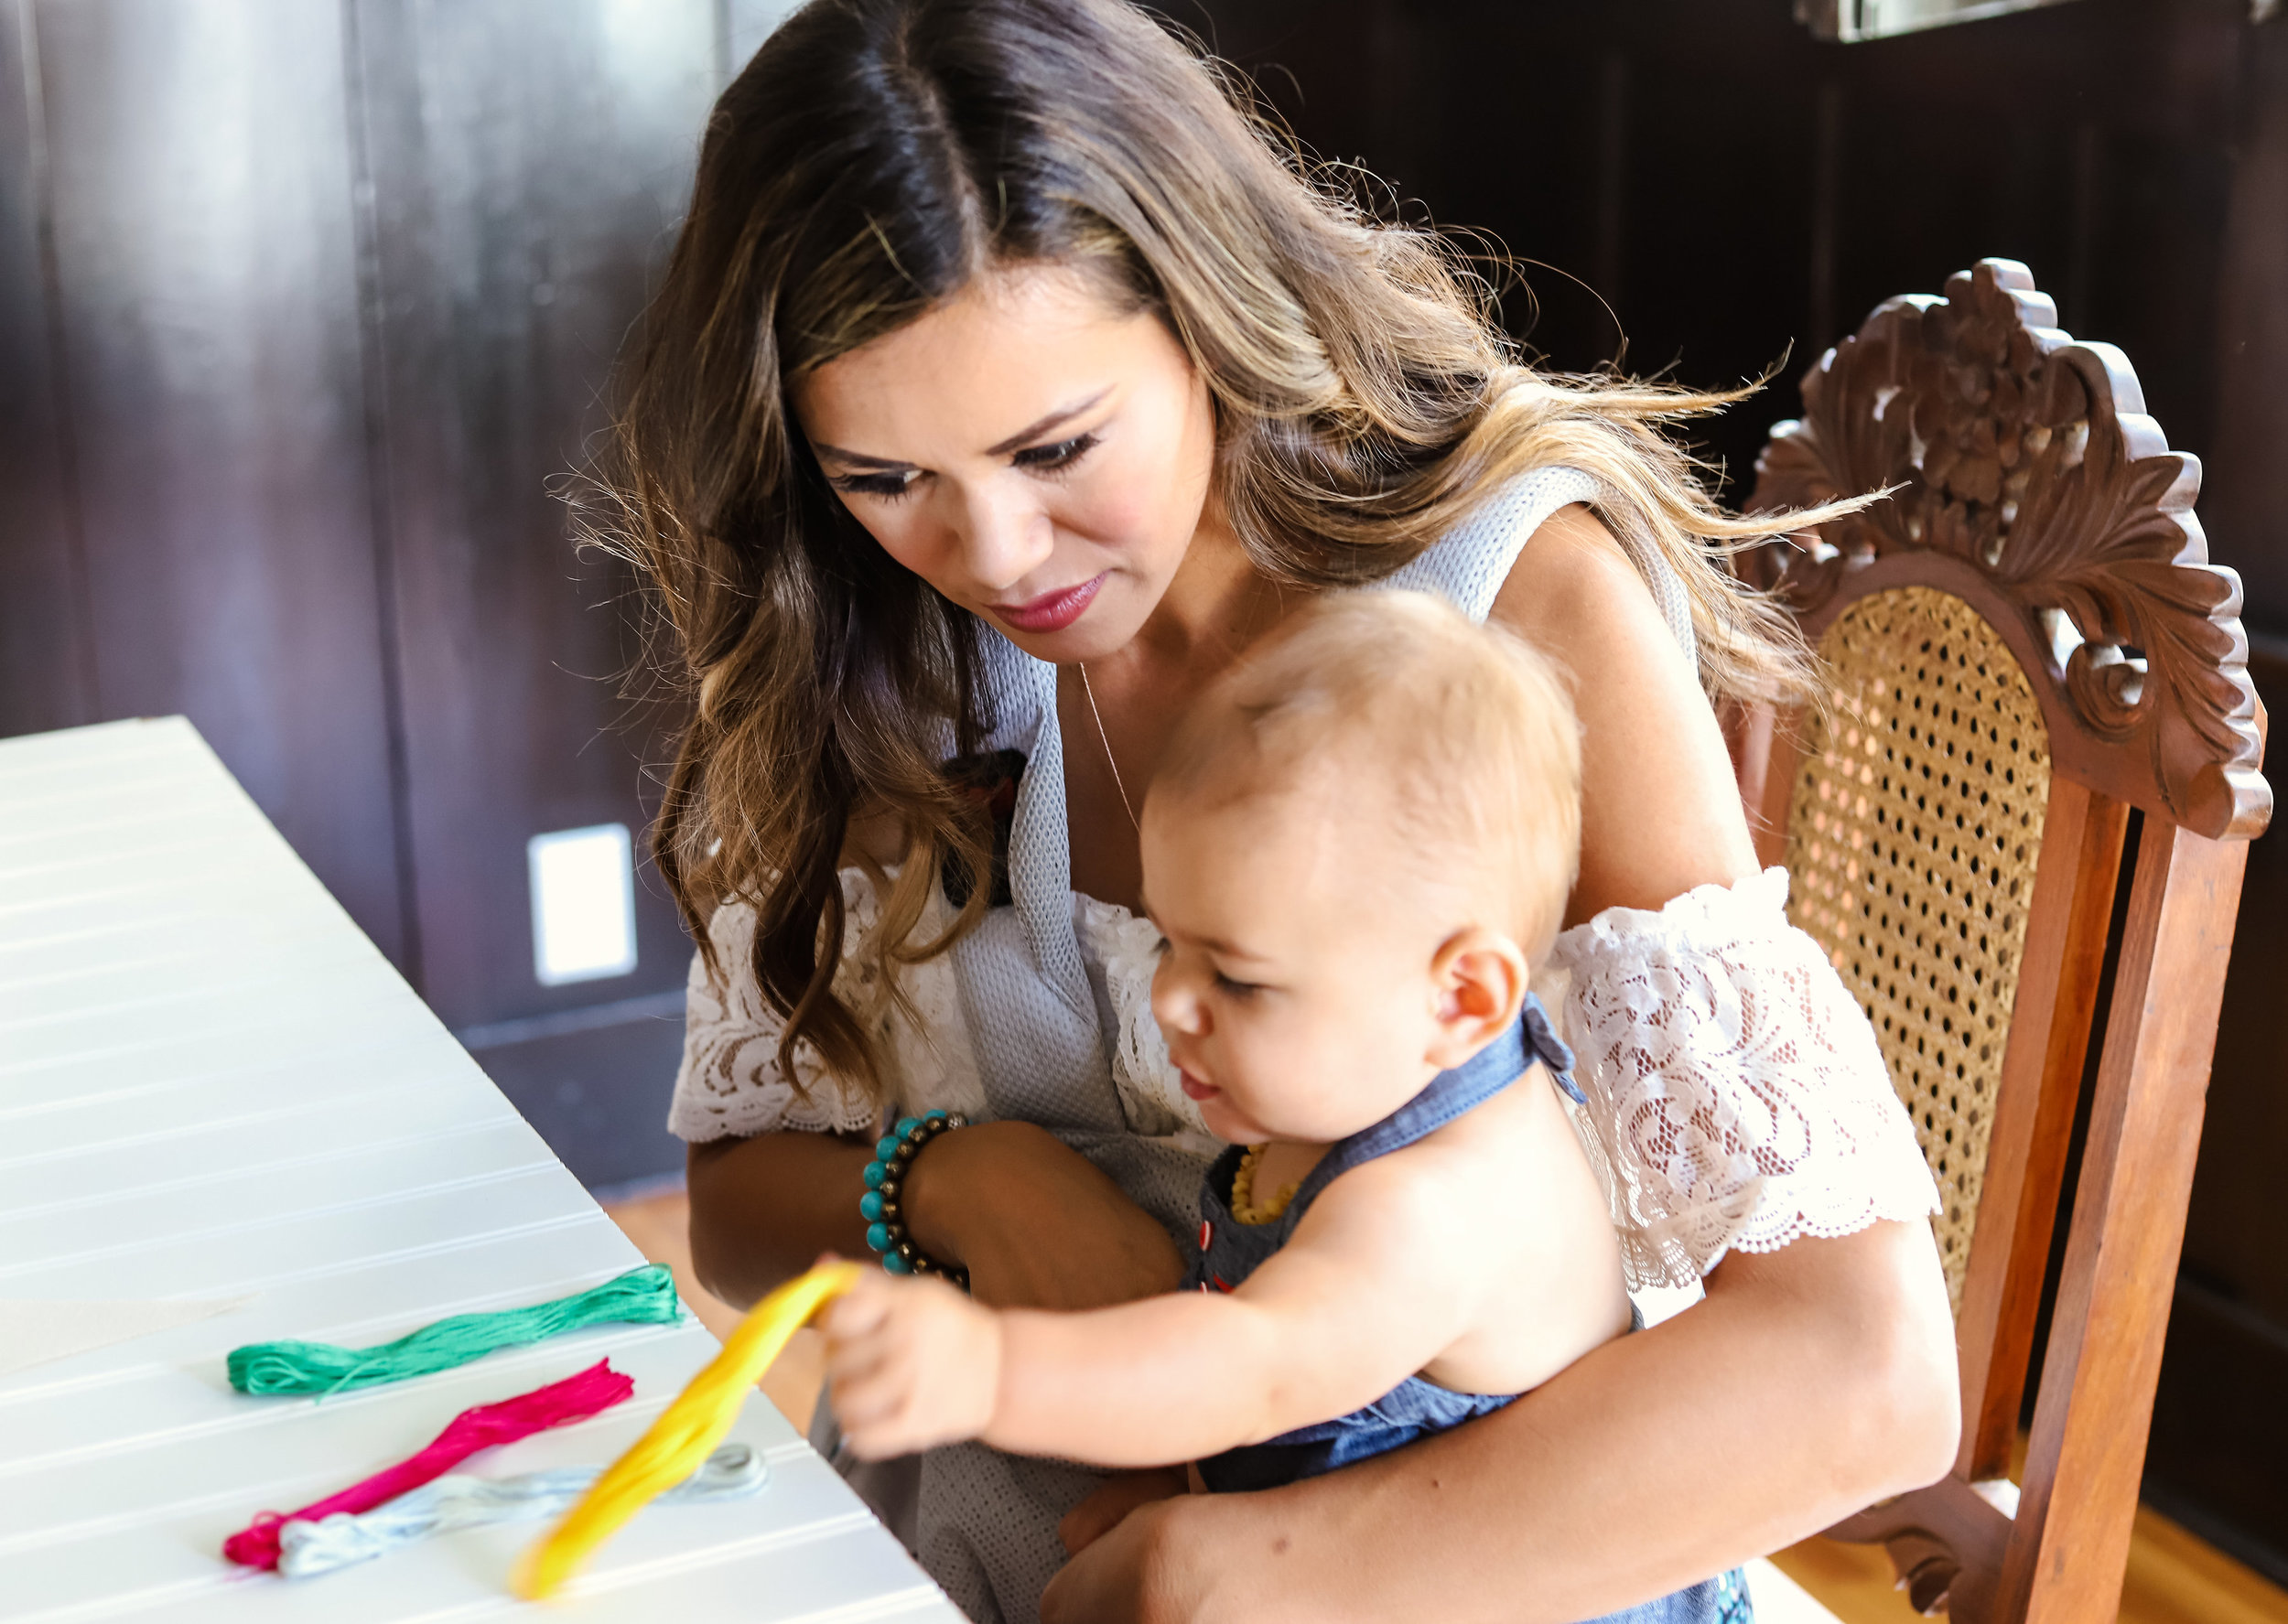
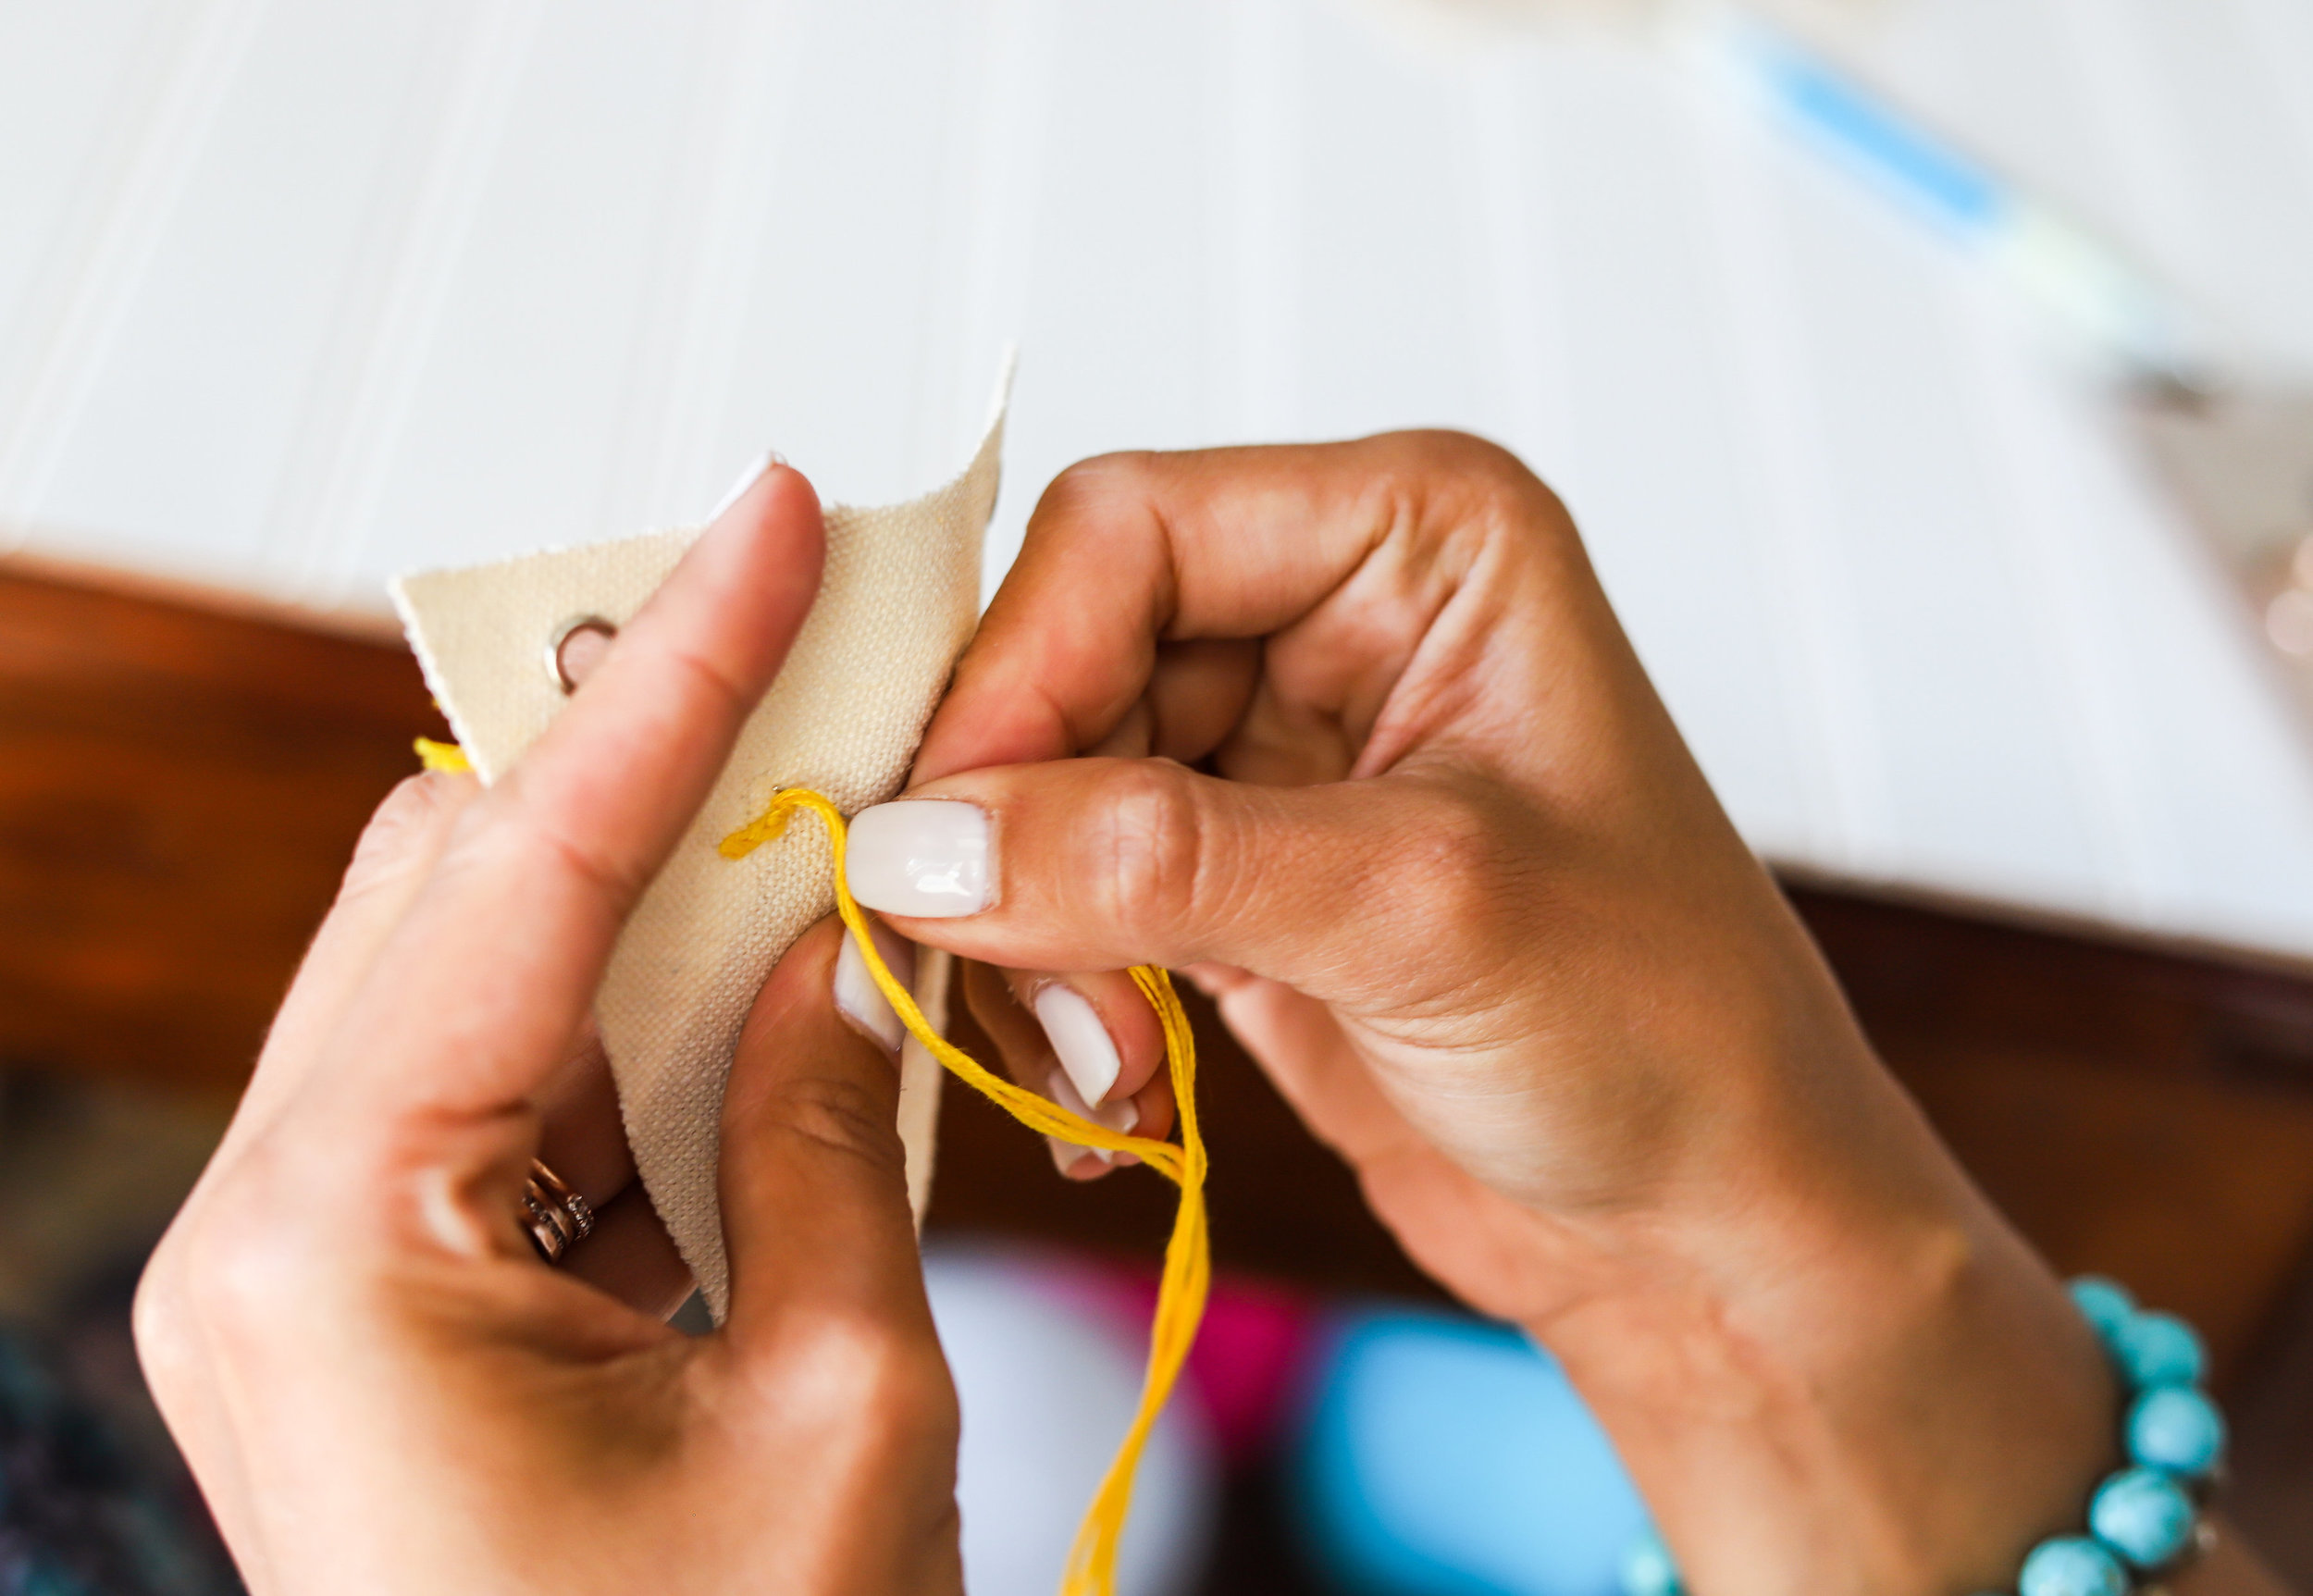
STEP TWO Thread your needle by pulling your floss through the eye only a few inches and then knot the other end. Cut your excess floss.

STEP THREE Get started by choosing your stitch. For text, a back stitch or split stitch is best. You can read and view step by step instructions for each of these here. I love the raised look of a split stitch. You can really see this stitch detail in the pink "love" banner.

STEP FOUR Hang your pennant where it will inspire you or gift to someone special. 

MDCollab-277.jpg

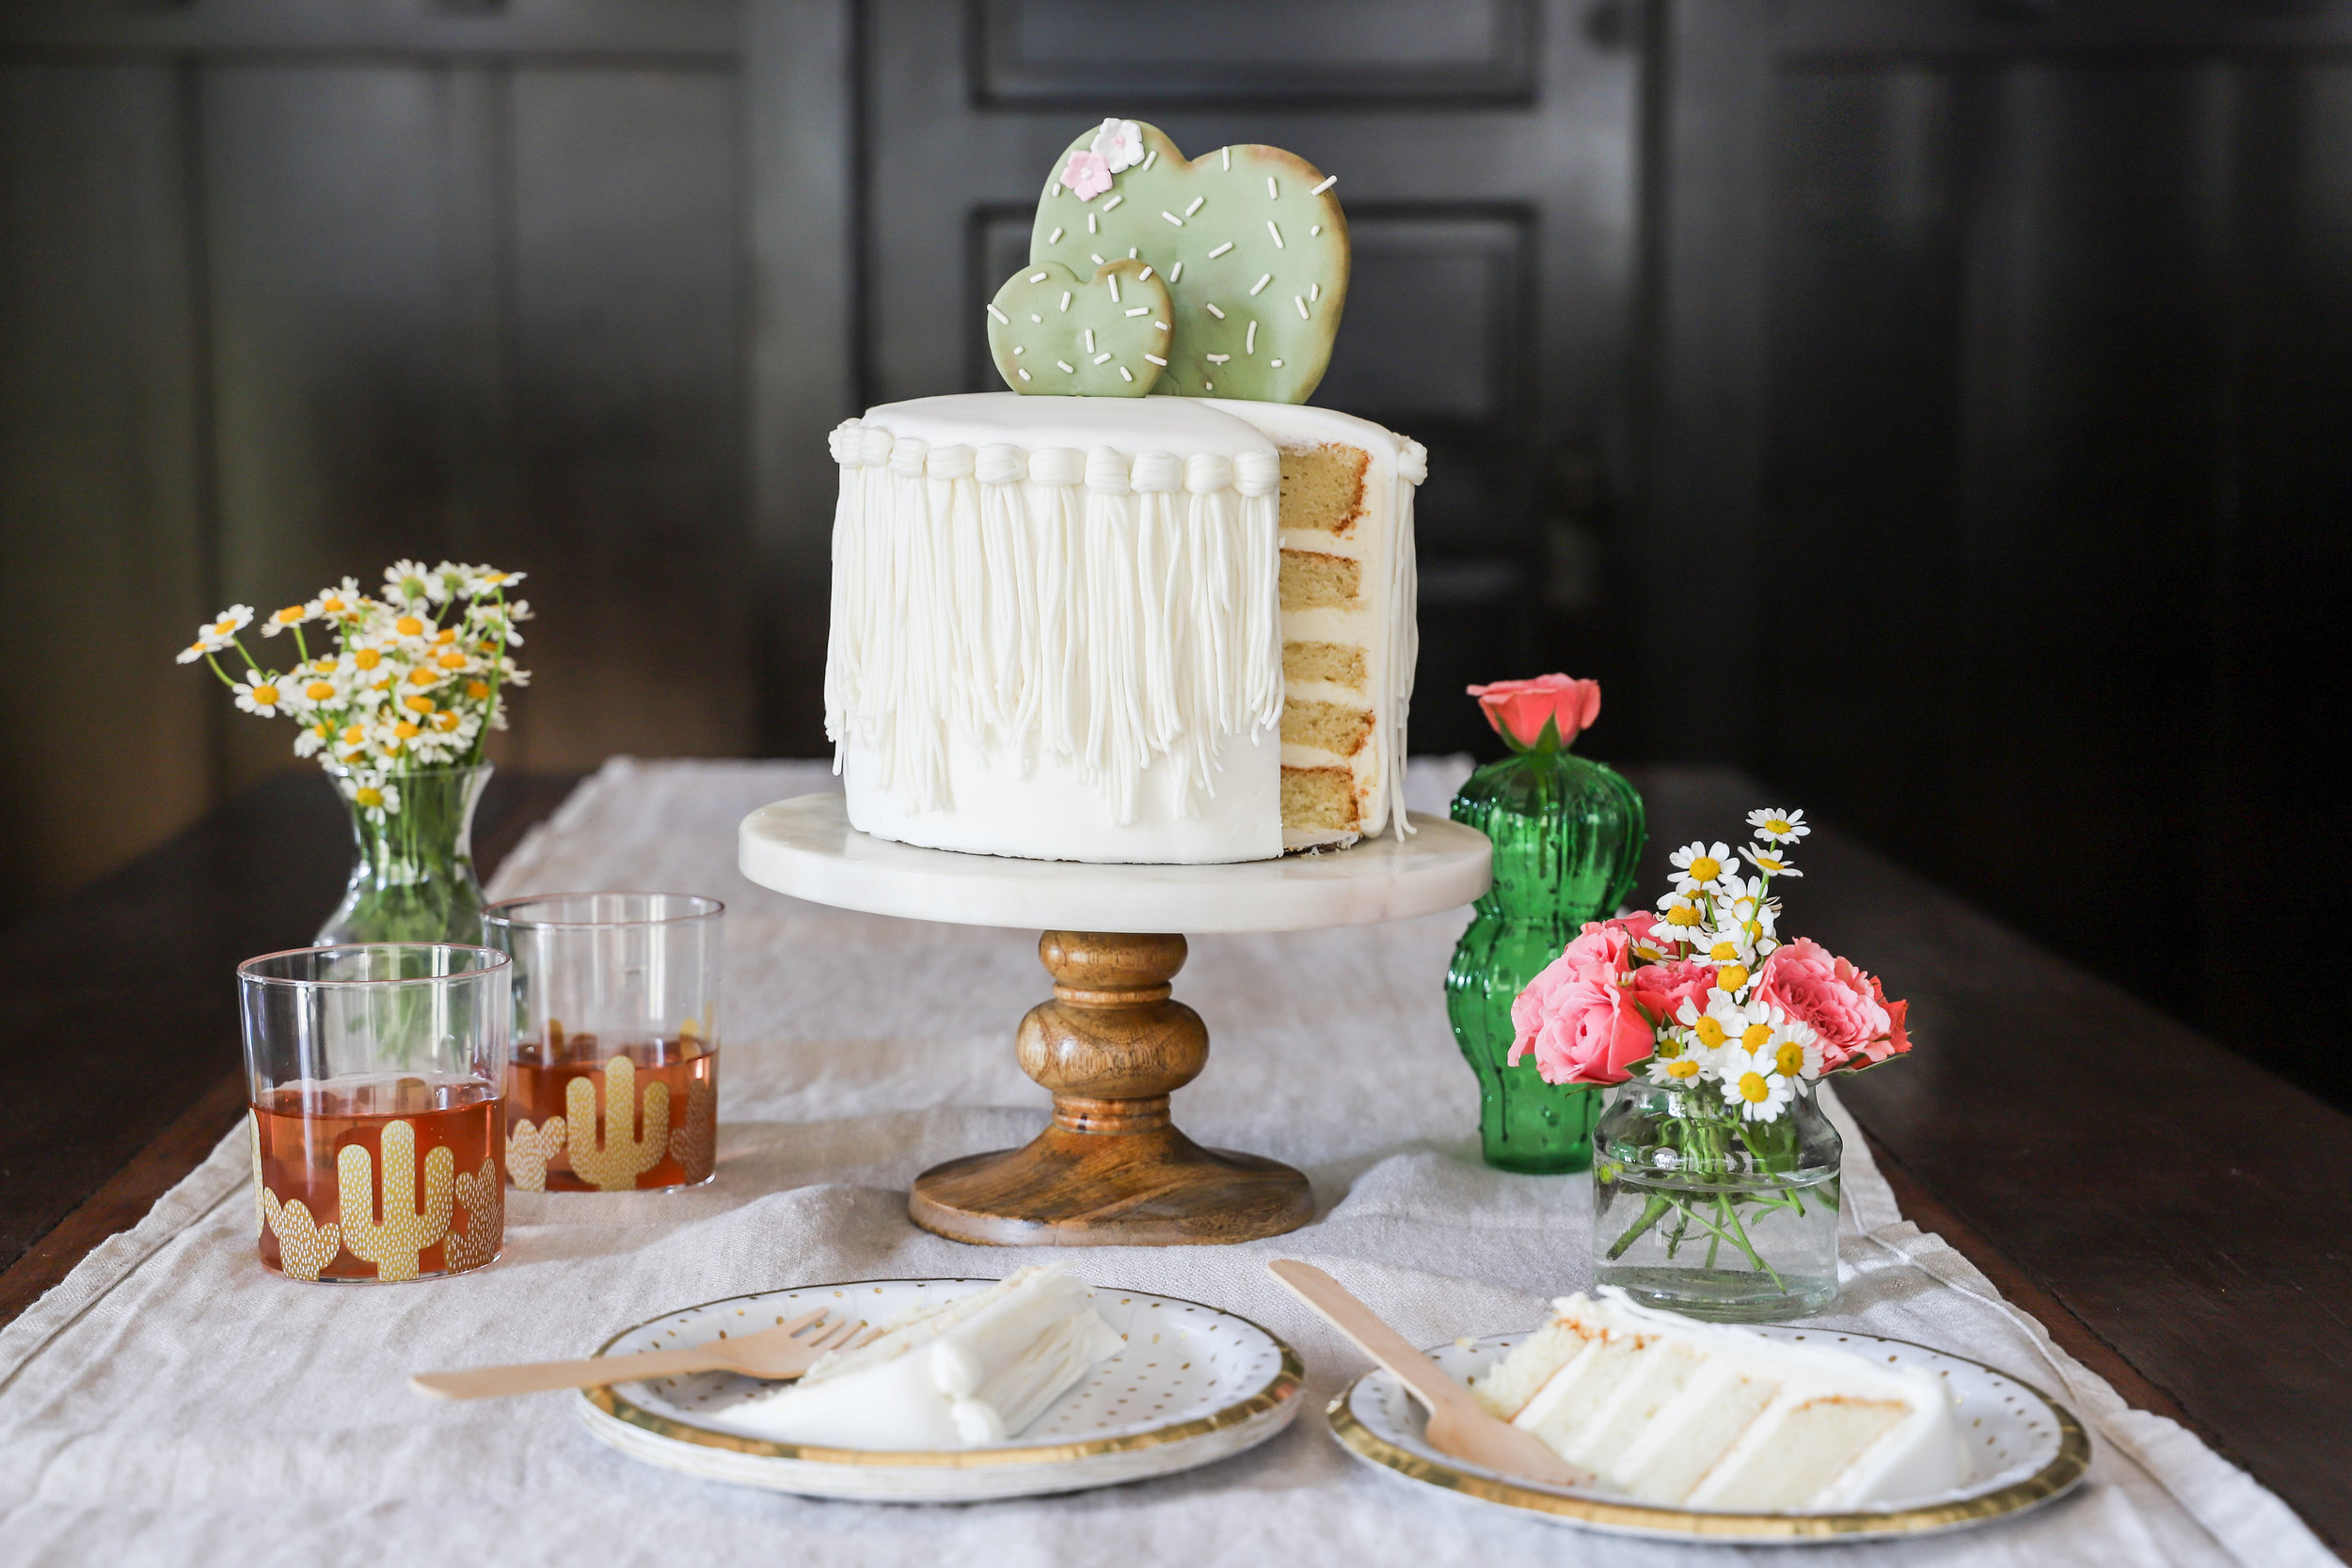
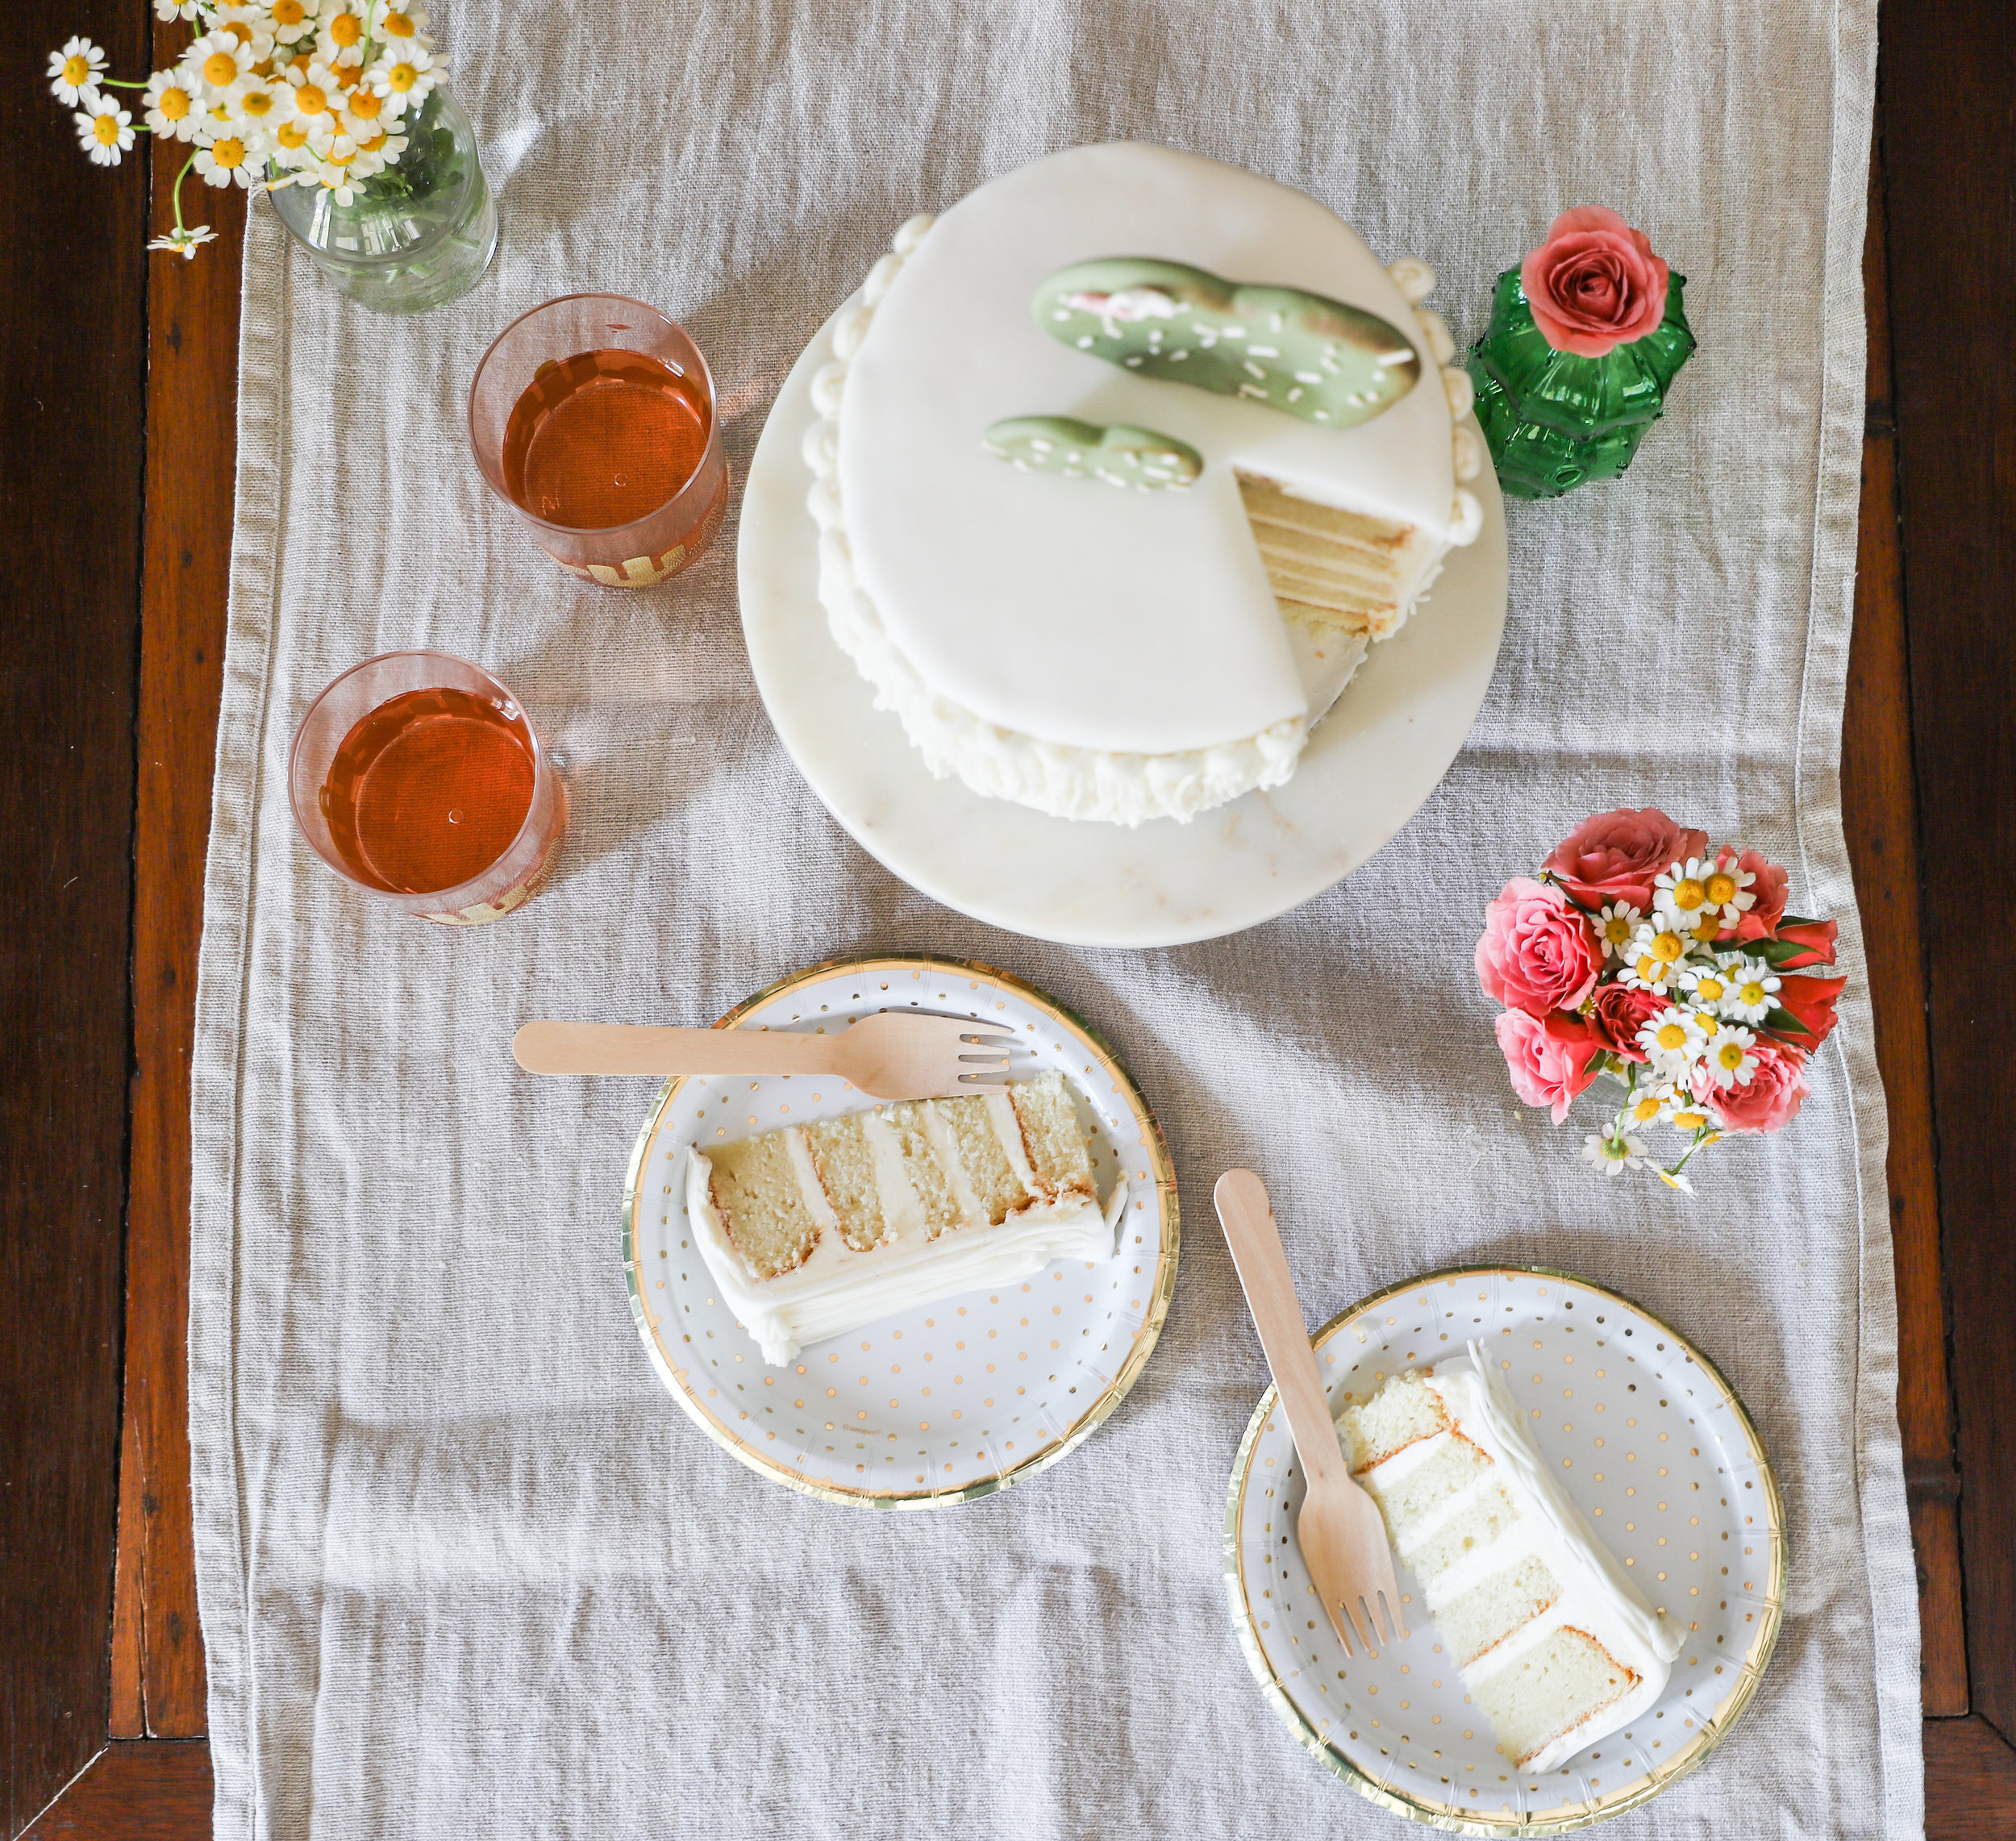
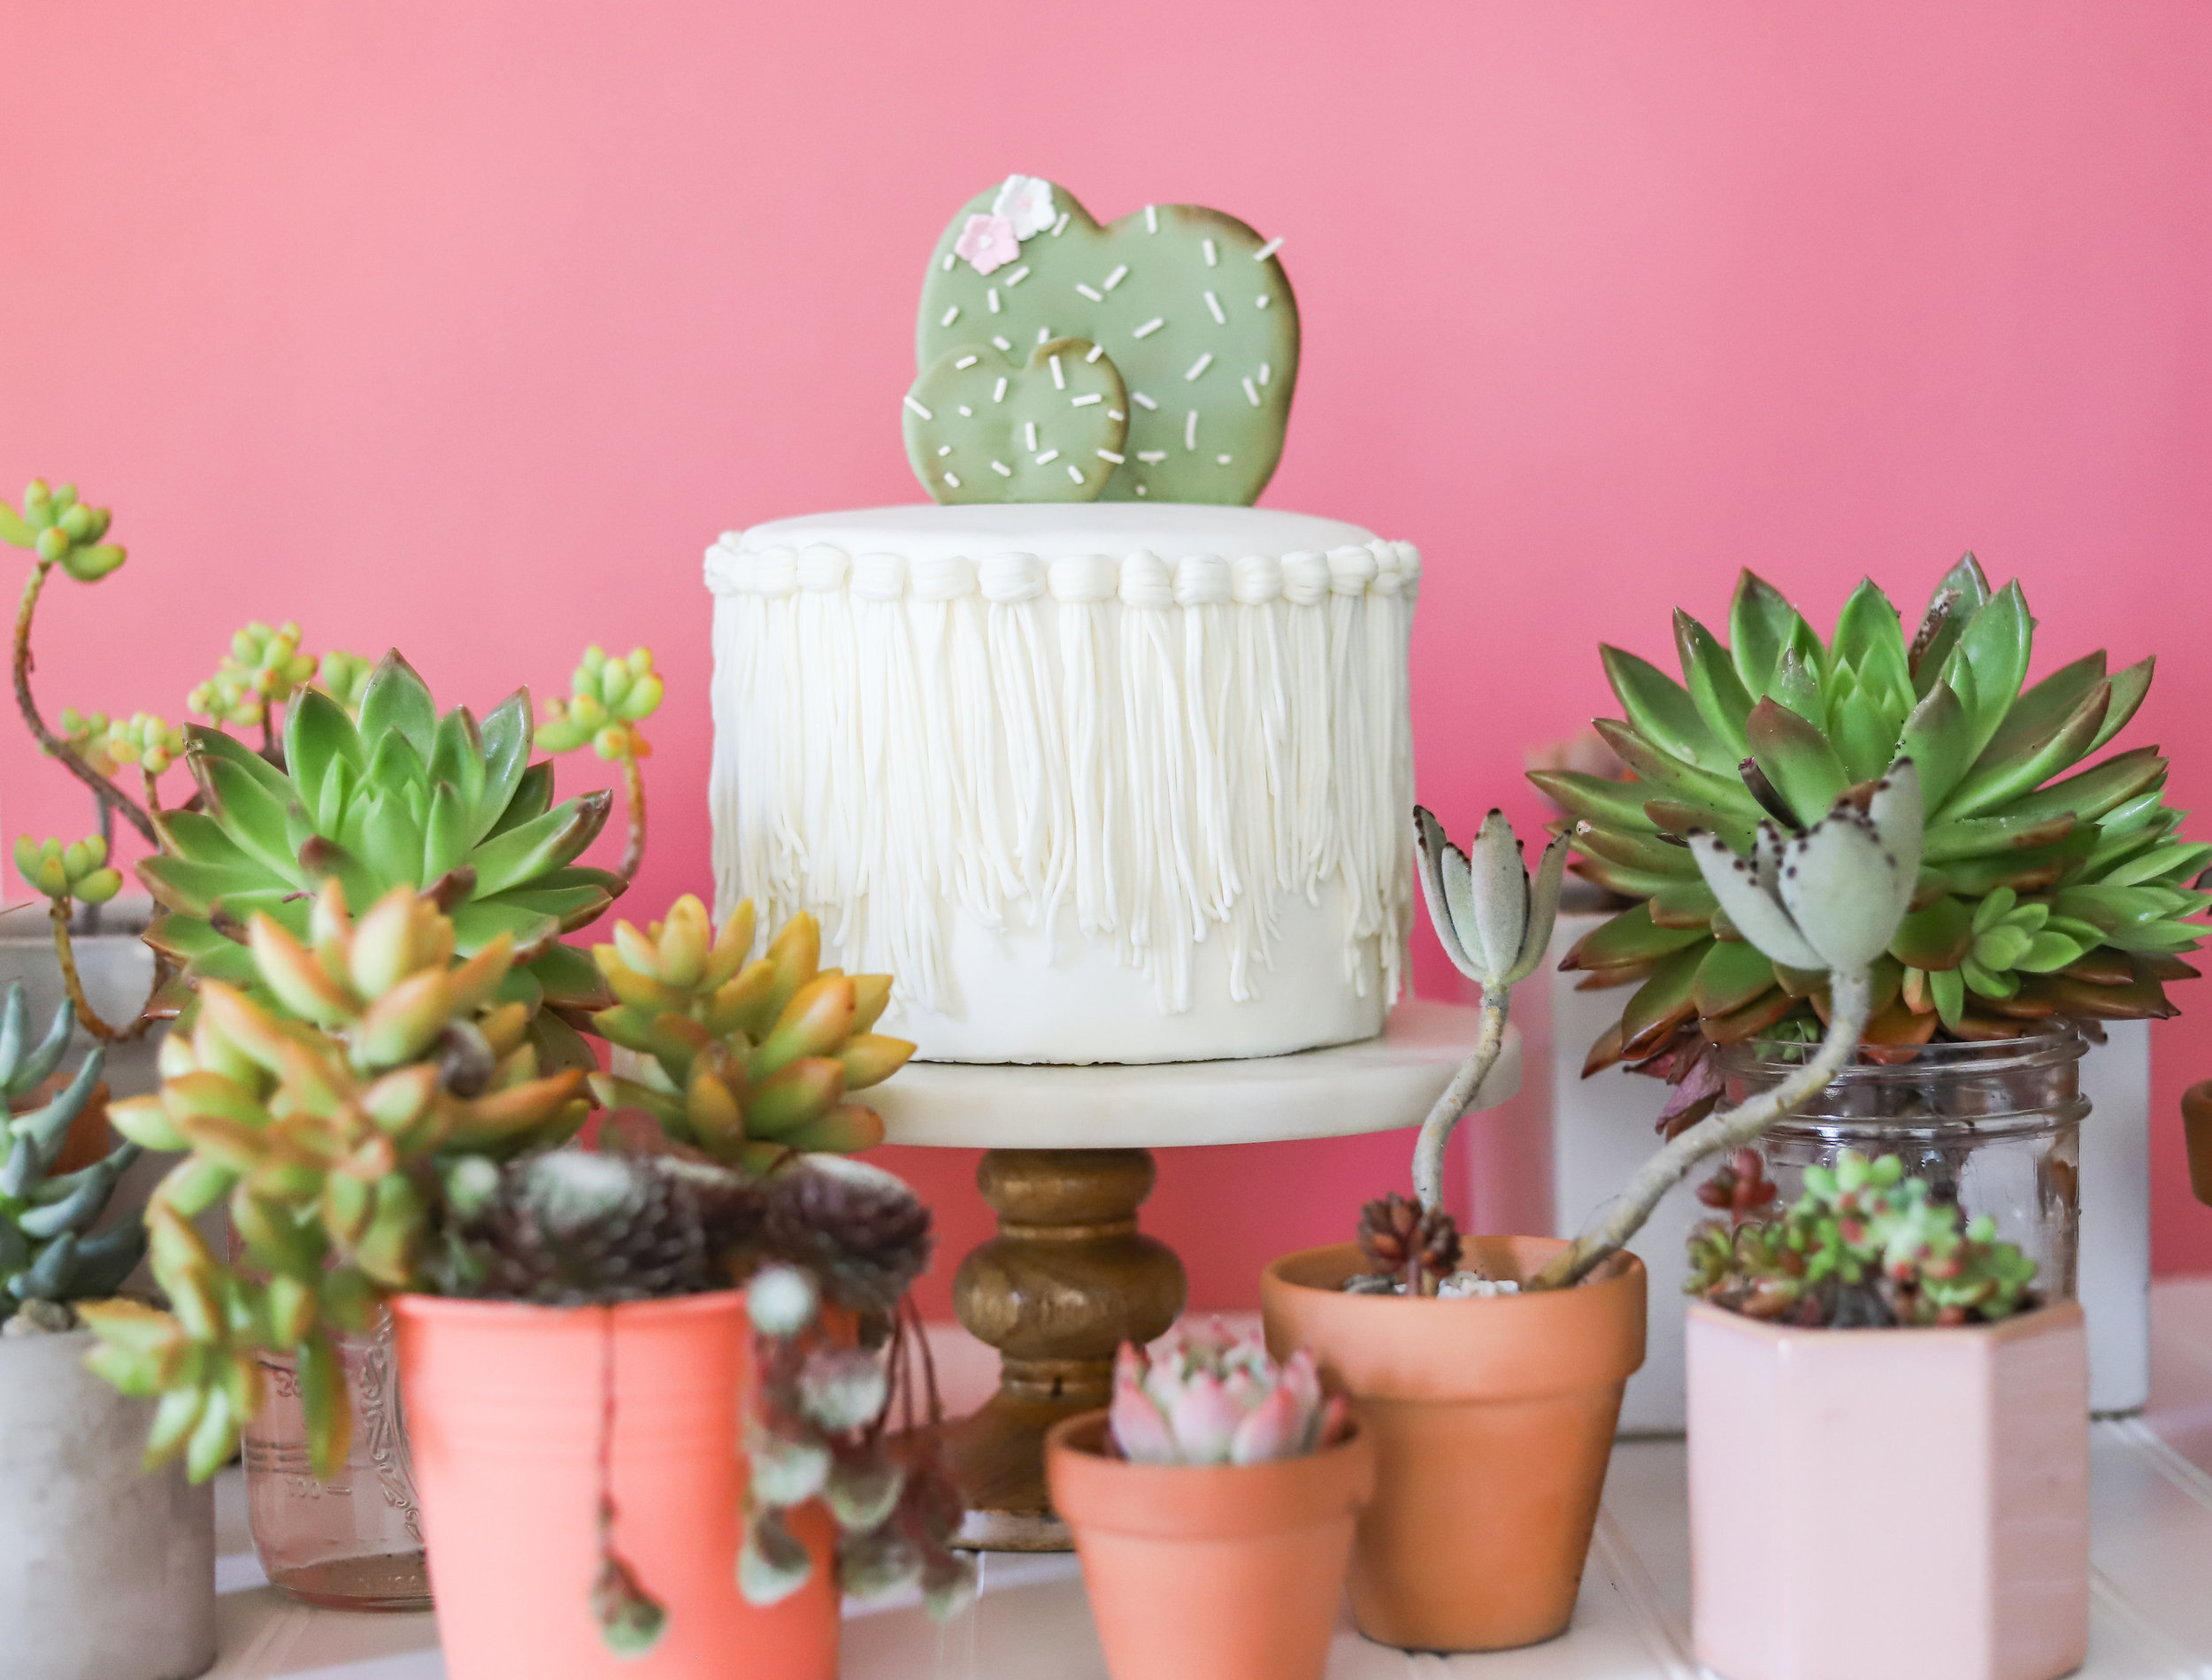
If you want to get even more inspired to create and to see the rest of our fun shoot head over to Julianna's blog to see how to put together the happiest rainbow balloon installation and go to Ashley's blog to learn how to make her boho cactus cake!

Screen Shot 2018-05-08 at 4.49.21 PM.png
Screen Shot 2018-05-08 at 5.11.51 PM.png

This served as the perfect backdrop for photos and totally made me want to recreate it for Milly's first birthday (but please don't quote me on that). 

I'm also majorly crushing on the boho cactus cake Ashley made and decorated. Swoon! 

Screen Shot 2018-05-08 at 8.43.29 PM.png

I'm trying to figure out an occasion I can make it (this would be perfect for a boho bride wedding cake or birthday party, bridal shower, etc OMG!)...but really- I'm an Zona girl-do I actually need any excuse to make something that pays homage to my homestate?! I'm already dreaming about how I would decorate mine with fuschia prickly pear!

MDCollab-223.jpg

Special thanks to Juliana of Another Cup Photography for capturing this special day for us. I just melt over the moments she captured of Milly & I.  You can follow her on Instagram @JulianasCup 

MDCollab-64.jpg

Which idea is your favorite? Let me know in the comments below and be sure to tag us on social if you recreate any of these joyful DIY ideas! @BrandiMilloy @ashrachelle @Julianna_Strickland

The Breast Pumps that suck the BEST

I was happy to guest host on What's Up Moms new show, GEAR alongside Lizzy Mathis! We tested a few breast pumps from classic favorites to modern high tech and even my go to hand pump.  You can watch the episode below and scroll down to learn more about each one. Also,  let me know what your favorite pump is and if you have any tips for pumping I'd love to hear those too! 

Featured BREAST PUMPS

Medela Freestyle 

Medela Freestyle 

Milly's 8 Month Update

I can not believe how quickly time has flown by! It's insane how quickly our baby girl has gone from a newborn to a crawling, cruising, solids eating little lady! Even since we shot this video (almost 4 weeks ago), she has changed SO much. She's eating everything now and on the verge of walking! SLOW down baby girl! I love hearing from you so let me know what you think of this video below. Also don't forget to subscribe to my YT Channel and hit that bell so you never miss a video and let me know in the comments below if you have any questions or suggestions for more videos I should shoot. 

New Mommy Must Haves

These are products I swear by especially if you're a new Mom! Keep in mind that just like how every baby is different, every mommy's needs are different too! I also think having my Mommy friends help create my registry prevented me from ending up with random things I didn't use. I love swapping products with friends so you can try and test things before you decide to purchase them. We borrowed a swing for the first three months that our friend's daughter didn't really use but Milly enjoyed! I encourage you to share all your must haves with other mamas and then let me know in the comments below what your New Mama must have is! Scroll down to learn more and shop each item and then don't forget to click the bell on my YouTube channel so you get a notification every time I post a video (2-4 times a month if I can!)

Beauty Advice for Moms with Susan Yara and Sharzad Kiadeh

When you're a mom sometimes it's a miracle if you find time to shower but on most days I try to pull myself together even if it's just for me.  I loved interviewing Susan Yara & Sharzad Kiadeh of FAM: For All Moms on my YouTube Channel about their beauty advice for Moms. And then after you watch this video, head over to their channel to watch me share my natural birth story with them on their show. 

A Candid Conversation on Motherhood, My Breastfeeding Journey and More
Photography Credit: Jenny Quicksall

Photography Credit: Jenny Quicksall

Milly and I had the privilege of hosting Munchkin's first FB LIVE this year with my friend Molly and her son, Callan where we talked all about motherhood, the ups and downs of breastfeeding, tips and tricks to getting your milk supply up, bottle feeding and so much more.  I hope to continue hosting more FB LIVEs and creating more parenting content on my YouTube Channel so if you haven't subscribed, be sure to subscribe now. I truly don't know where I would be without the community of Moms I've met in person and via social media. It's my goal to create a place for all Moms to share their stories and journey of motherhood so we can learn from and lean on each other. You can watch our first of many more discussions here. Thank you to everyone who has continued to support me through your viewership, engagement and more. Let me know what else you'd like to see on my site as I continue to create more content on food, travel, parenting and more. 

Christmas Pancakes with Milly on the TODAY Show
Photography Credit: TODAY Show | Nathan Congleton 

Photography Credit: TODAY Show | Nathan Congleton 

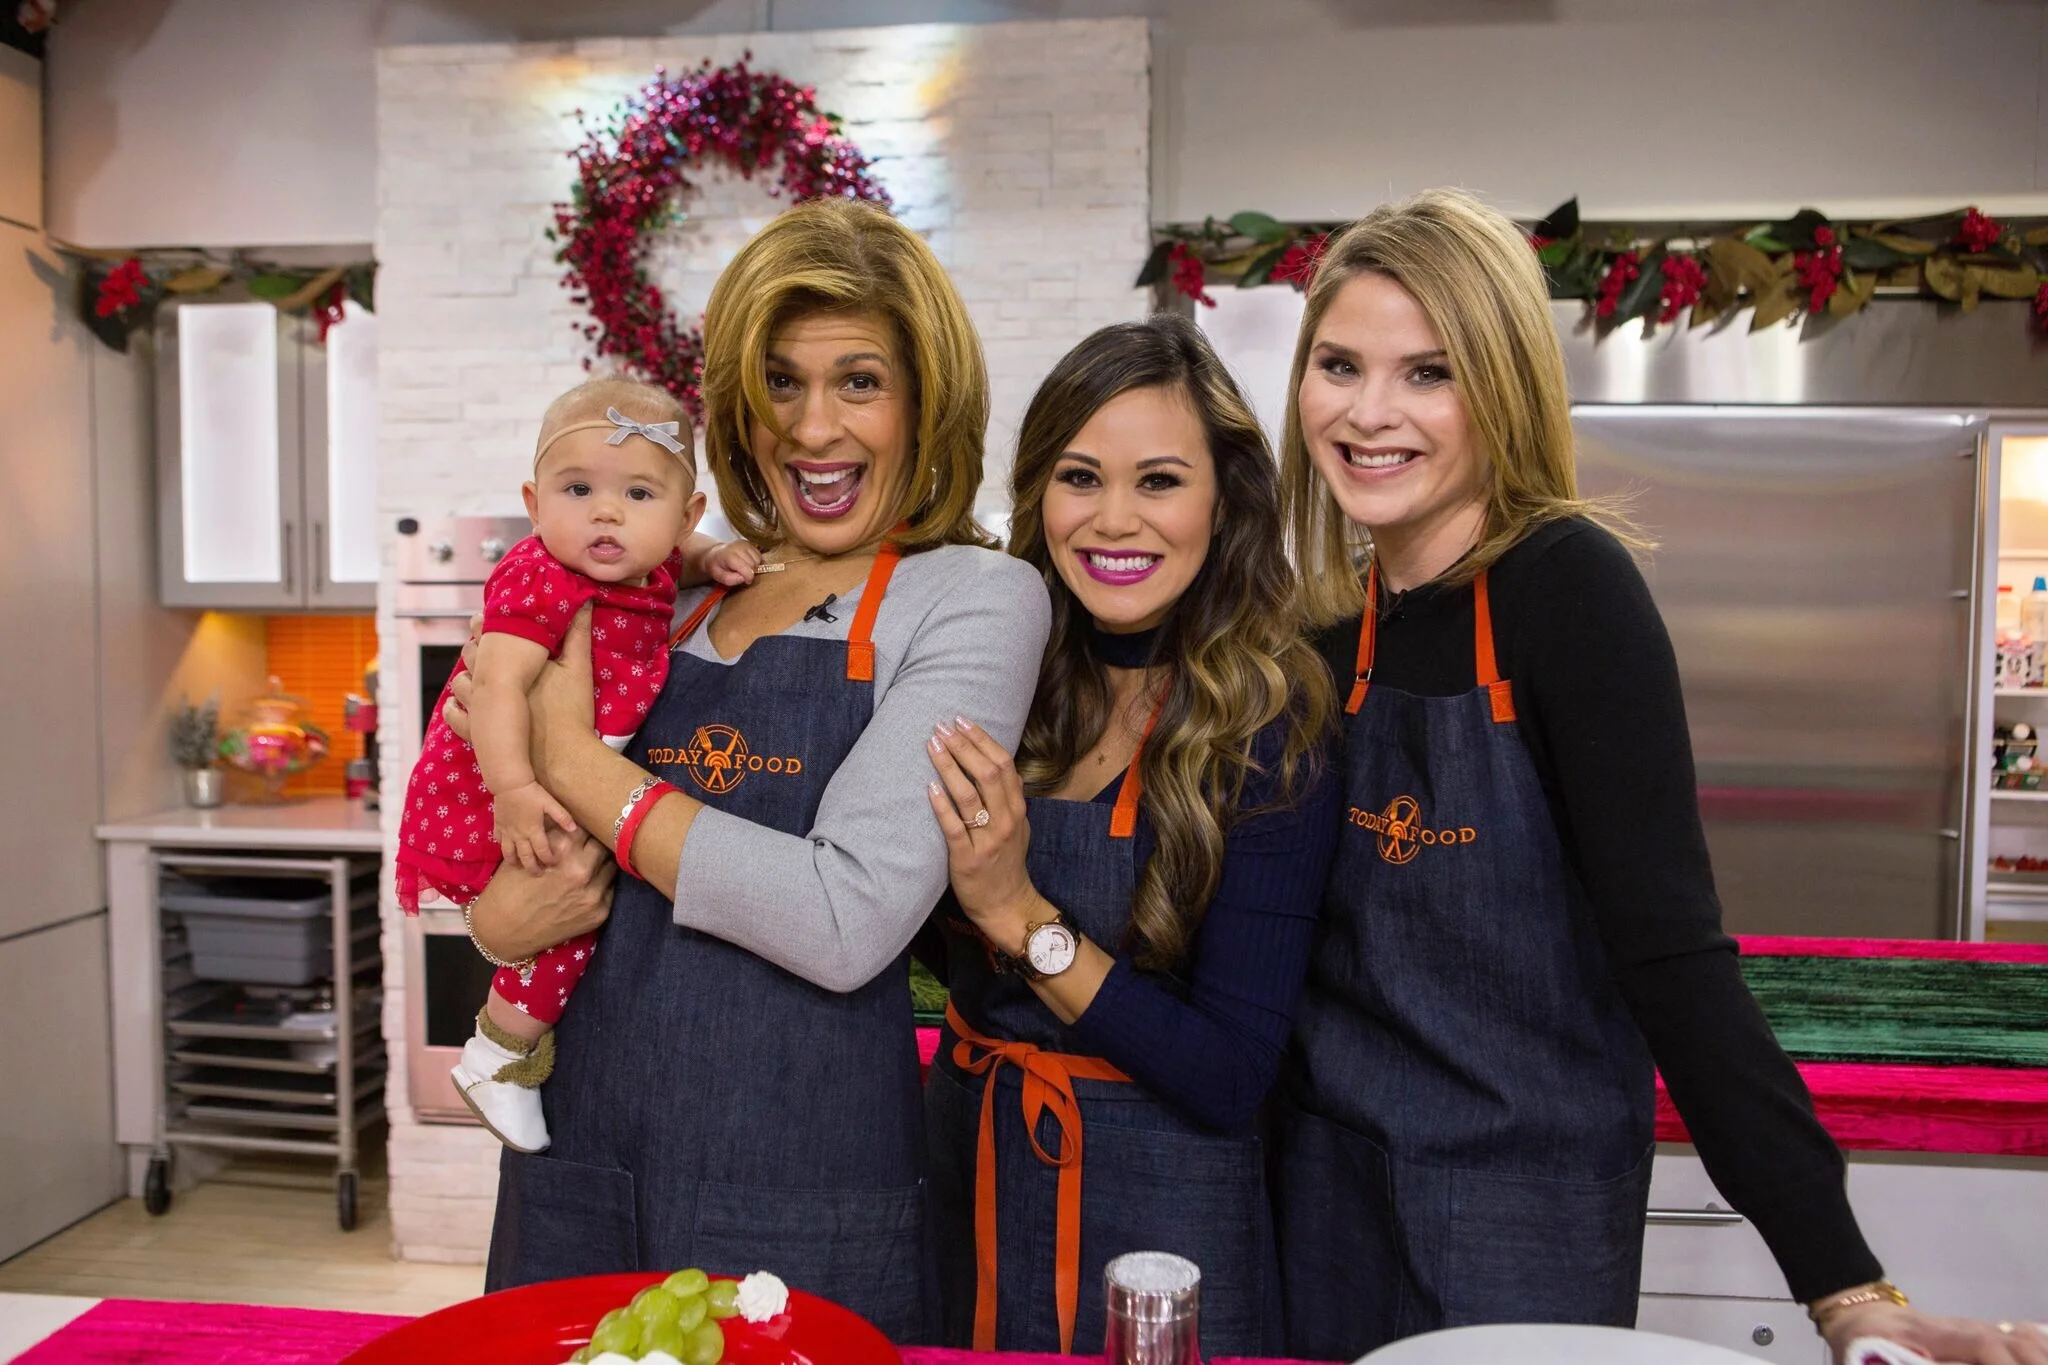
Being able to introduce our daughter, Milly to the TODAY Show family and the rest of the world during our segment on the TODAY show is a memory I will cherish forever.  It's funny because when I was invited to be on the show I knew I needed to find someone to help with Milly. Our good friend, Maureen aka GMo traveled from Philly to NYC to help us out only for Aunt Hoda to hold Milly while I worked! Baby girl was so excited to be on set and comfy cozy in Hoda's arms.  Check out the entire segment and the recipes here and then scroll down for more photos.

Photography Credit: TODAY Show | Nathan Congleton

Photography Credit: TODAY Show | Nathan Congleton

Photography Credit: TODAY Show | Nathan Congleton

Photography Credit: TODAY Show | Nathan Congleton

Photography Credit: TODAY Show | Nathan Congleton

Photography Credit: TODAY Show | Nathan Congleton

Photography Credit: TODAY Show | Nathan Congleton

Photography Credit: TODAY Show | Nathan Congleton

Photography Credit: TODAY Show | Nathan Congleton

Photography Credit: TODAY Show | Nathan Congleton

My Favorite Products for Traveling With a Baby
7516825936_IMG_4503 2.JPG

My husband and I love to travel so we decided early on we weren’t going to stop going on trips just because we added a little member to our family! Thank goodness Milly is a natural born adventurer who loves to be on the go. She’s four months old and already she’s been on a handful of flights, across country twice and more weekend getaways than I can count. I’ve learned plenty of tips and tricks along the way and you can read about those here.

When I began the overwhelming task of packing for Milly, it was daunting.  I already joke that babies are little hoarders so how do you choose what to bring when they need so much stuff? I decided to prioritize as many products that do double duty as possible. I thought about what things would make her comfortable and being away from home easier and finally, what things I use the most at home. Here are my 14 favorite products for traveling with a baby. Consider this your packing checklist!

Fold’n Go™ Travel Bassinet

IMG_7366 2.JPG
IMG_7367 2.JPG

While many hotels provide a crib you can borrow during your stay, I prefer to bring my own. Weighing in at under 3 lbs and super compact, it’s ideal for travel. Most bassinets are so bulky and big they take up an entire piece of luggage meaning that’s one more bag you have to pay for.  I also like that the mattress is removable and the sheet is machine washable. This one folds up easily and is for approximately the first 3 months. The breathable mesh panels give such a peace of mind with an infant. We took this on several trips and it allowed us to go to bed knowing Milly was safe and comfortable.  It should be noted that this bassinet should not be used when the infant begins to push up on hands and knees or has reached 15 lbs. (6.8 kg.), whichever comes first.

Teether Babies®

teether1.jpg
teether2.jpg

“Munchkin the Monkey” as we call him is Milly’s best friend.  He’s been on every trip with us so thank goodness he can go in the wash! I understand parents want to bring their child’s lovey with them on trips plus the blanket, teethers and more toys but that leaves room for losing items! And that’s a whole lot of stuff to pack! This is a packing checklist on the essentials-what you really NEED to bring. I learned early on from my mommy friends that it’s best to have a travel lovey that only goes on trips with you….and to buy two ;) just in case.  I love how this monkey pulls triple duty.  The textured paws massage Milly’s sore gums. The crinkly paper is great for keeping her attention on road trips and it even rattles. Plus the clip at the top means you can attach it to almost anything.

Travel™ Bottle Warmer

7516773456_IMG_4526 2.JPG

Having a travel bottle warmer is a must have for our family. The last two trips we took were for my work so my husband was doing about half of the feedings using my frozen breast milk. This makes it convenient for him to feed our daughter when Mommy is working or on the go. The flexible heating band conforms to the bottle so it warms evenly and quickly.  We even plugged the warmer into our Uber on the way to the hotel!

LATCH™ 4oz Bottle

IMG_7375.JPG
IMG_7376.JPG

This has been Milly’s favorite bottle since birth. Luckily we didn’t have to try a dozen bottles before finding the perfect one for her because a friend had suggested we try LATCH™.   For a breastfeeding mama I love the slow flow and ultra flexible nipple that flexes as she eats.  It mimics the movement of a real breast. And the anti-colic valve helps ensure bubbles don’t travel through the breast milk meaning Milly goes to sleep just as easy as when she breastfeeds. I don’t know what we would do if my husband couldn’t feed Milly with such ease. And bottles aren’t just for when Milly’s away from me. There have been so many instances where we were glad we had a bottle ready for her (waiting in line to rent a car, in the taxi on the way home, during dinner at a restaurant, and many more.) Even if you are a breastfeeding Mama, make sure you pack at least two bottles including a little cleaning brush and soap when you travel. You’ll be so glad you did.

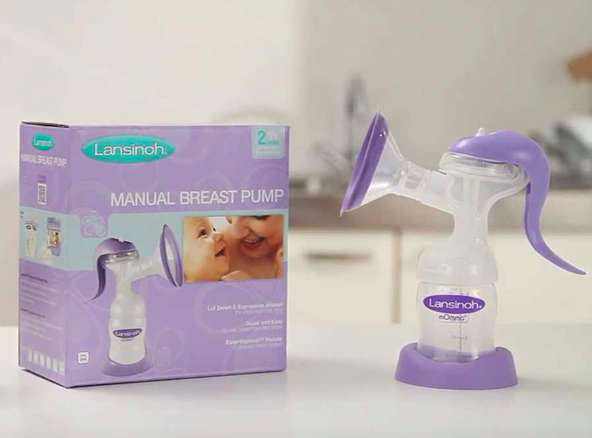
Manual Breast Pump

Screen Shot 2017-11-29 at 11.27.11 AM.png

For the same reasons mentioned above, never go on a trip without a manual breast pump.  You never know when you can’t breastfeed but need to relieve yourself and/or feed your baby. This is the best $30 I’ve ever spent.  It’s small, easy to use, discreet and quiet.  On long road trips I've used it to pump in the car (while my husband drives). I actually prefer my manual breast pump over my electric.  It just feels more efficient and I don't need to be teethered to an electrical outlet to use it! 

California Baby Bubble Bath

cababy1.jpg
cababy2.jpg

When you’re traveling with a baby sleep is so important. We sometimes give Milly two baths a day when we are on the road. One is for playtime that we make into an activity. This is great because it’s a nice way for her to play and let out some energy! The other bath is to calm and relax her before bedtime.  Ironically, our favorite California Baby bubble bath is “Party!” and “Calming”! Organic, pure and safe it’s the only skincare I use on her. 

Shhh…™ Portable Sound Machine

IMG_7220.JPG

When you’re on the go and your baby’s schedule is all out of wack, you want all the help you can get when it comes to getting them to sleep.  This sound machine is as small as a baby bottle and battery operated so it’s super convenient for on the go. It’s instantly calming and since we use one at home too, Milly is easily taken to dream city as soon as I turn it on. Read more about why I swear by this when I travel here.

goPad™ Diaper Changer

IMG_7218.JPG
go pad clutch.jpg

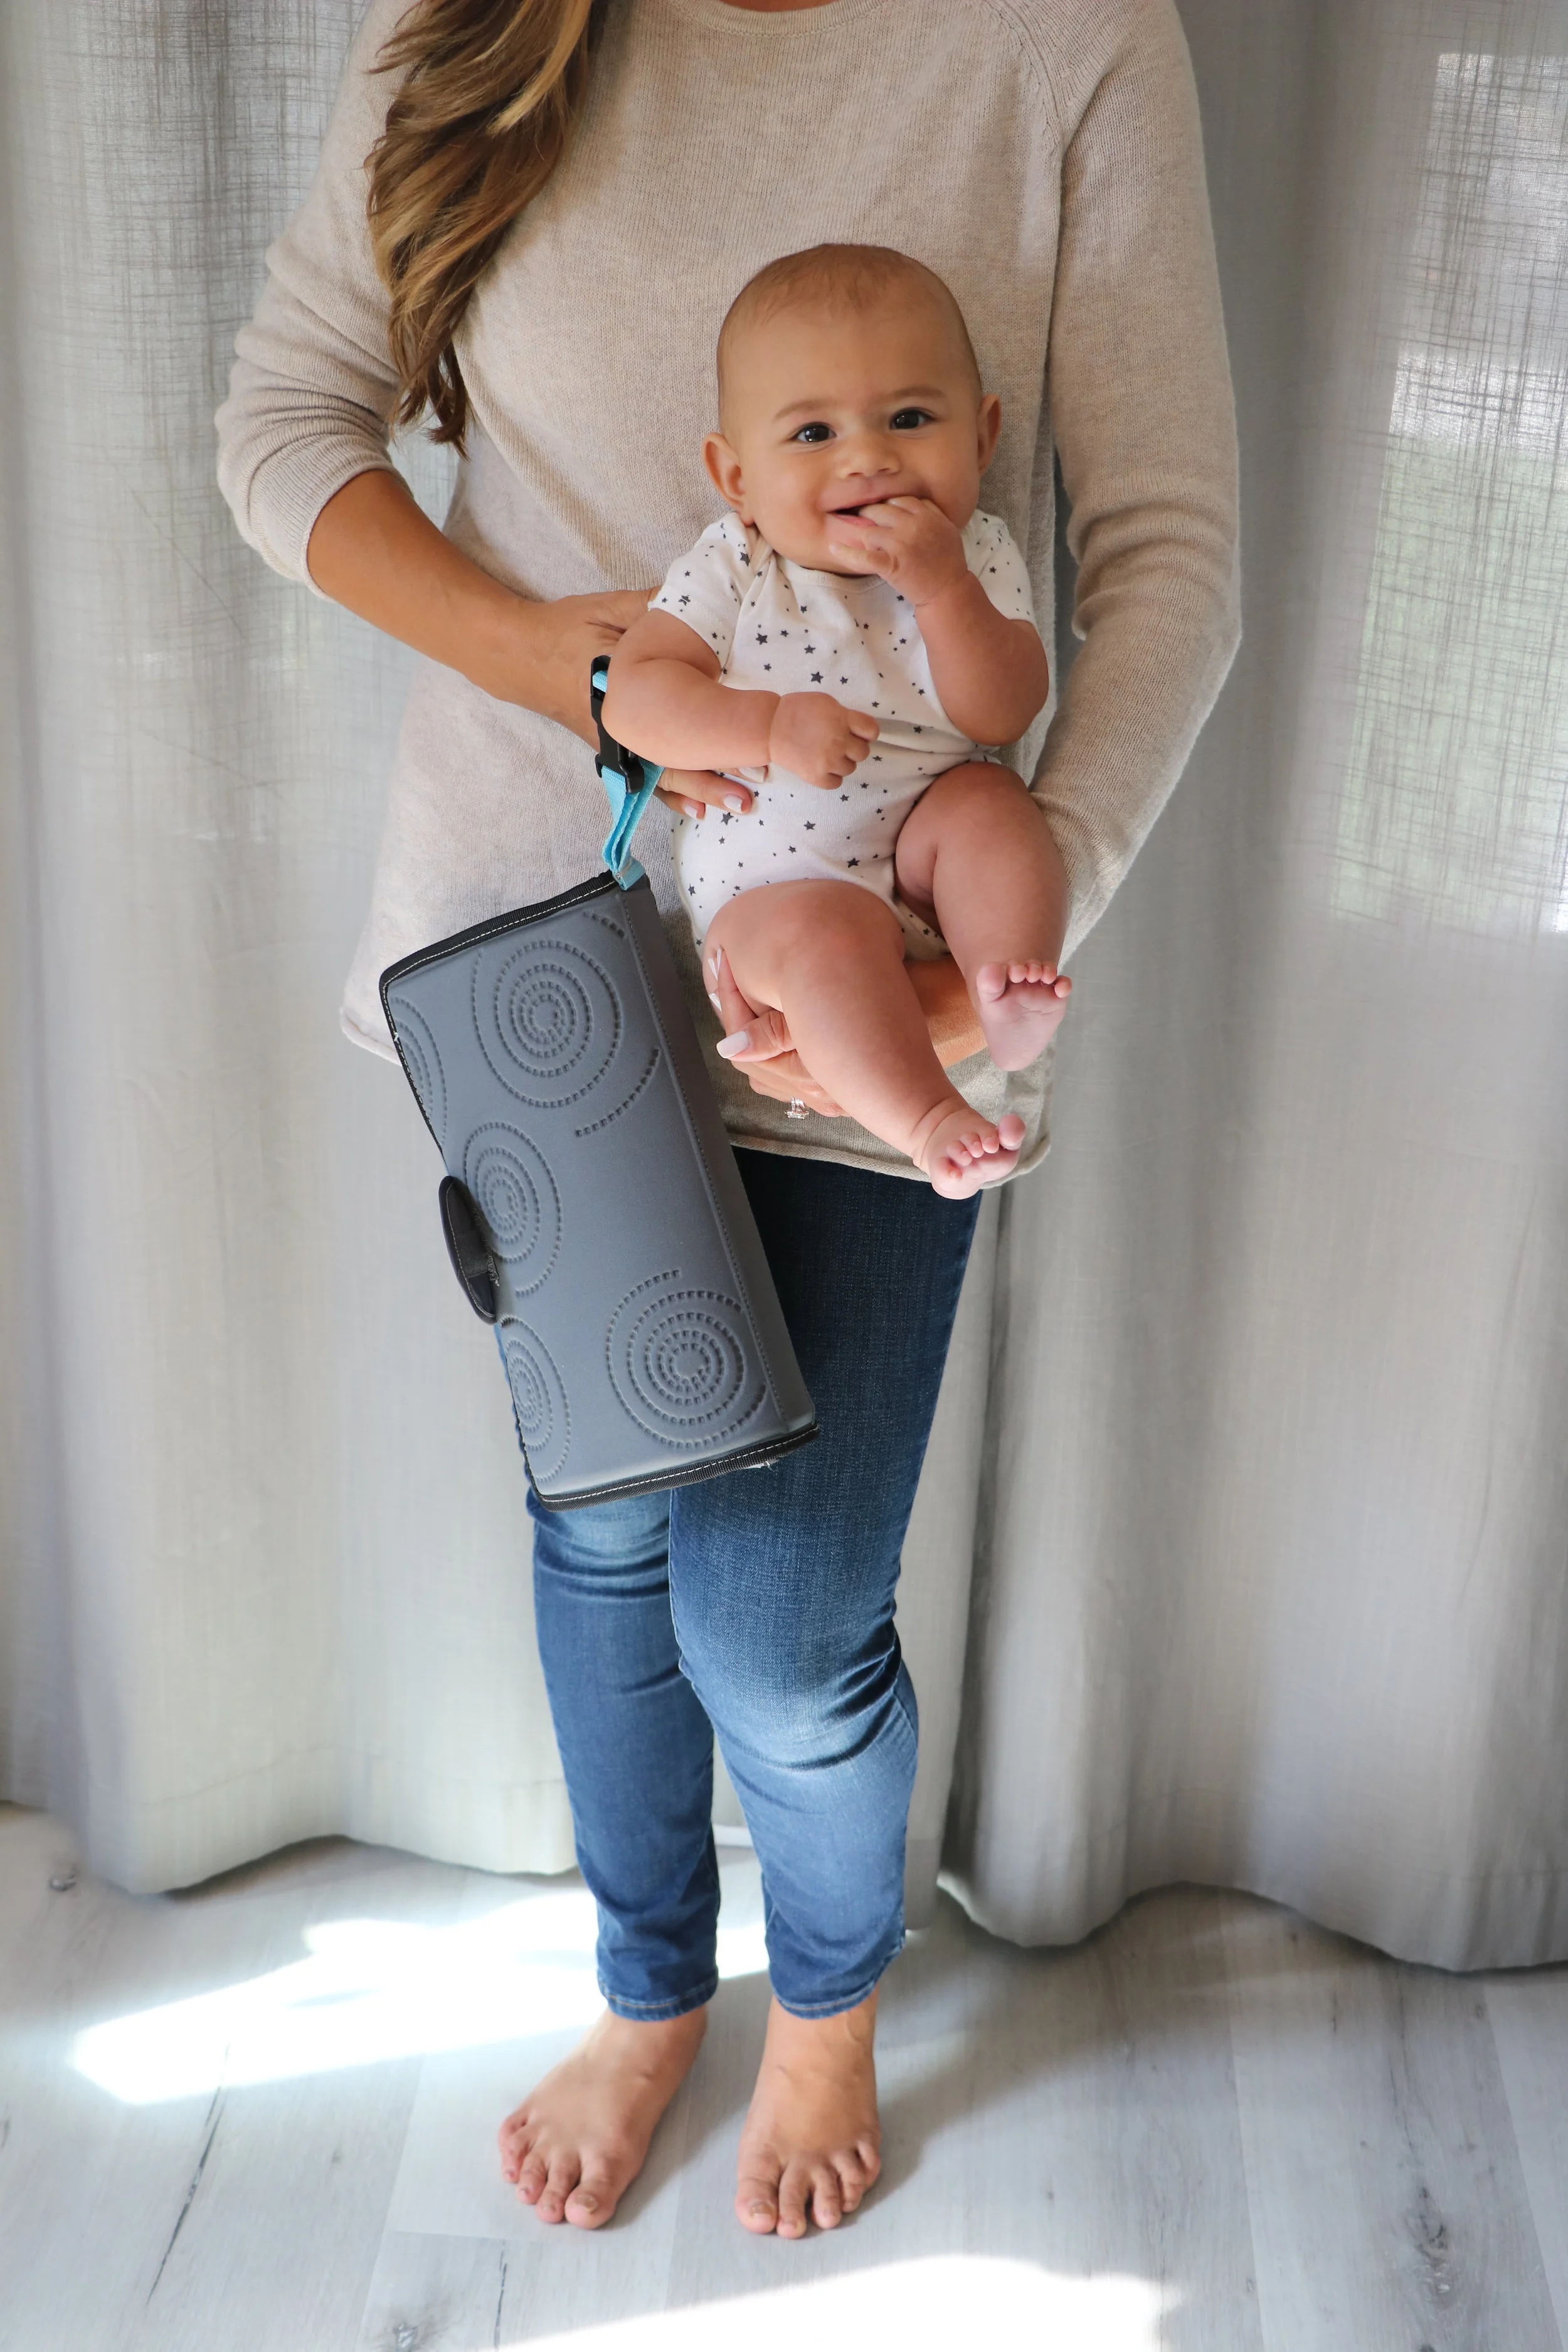
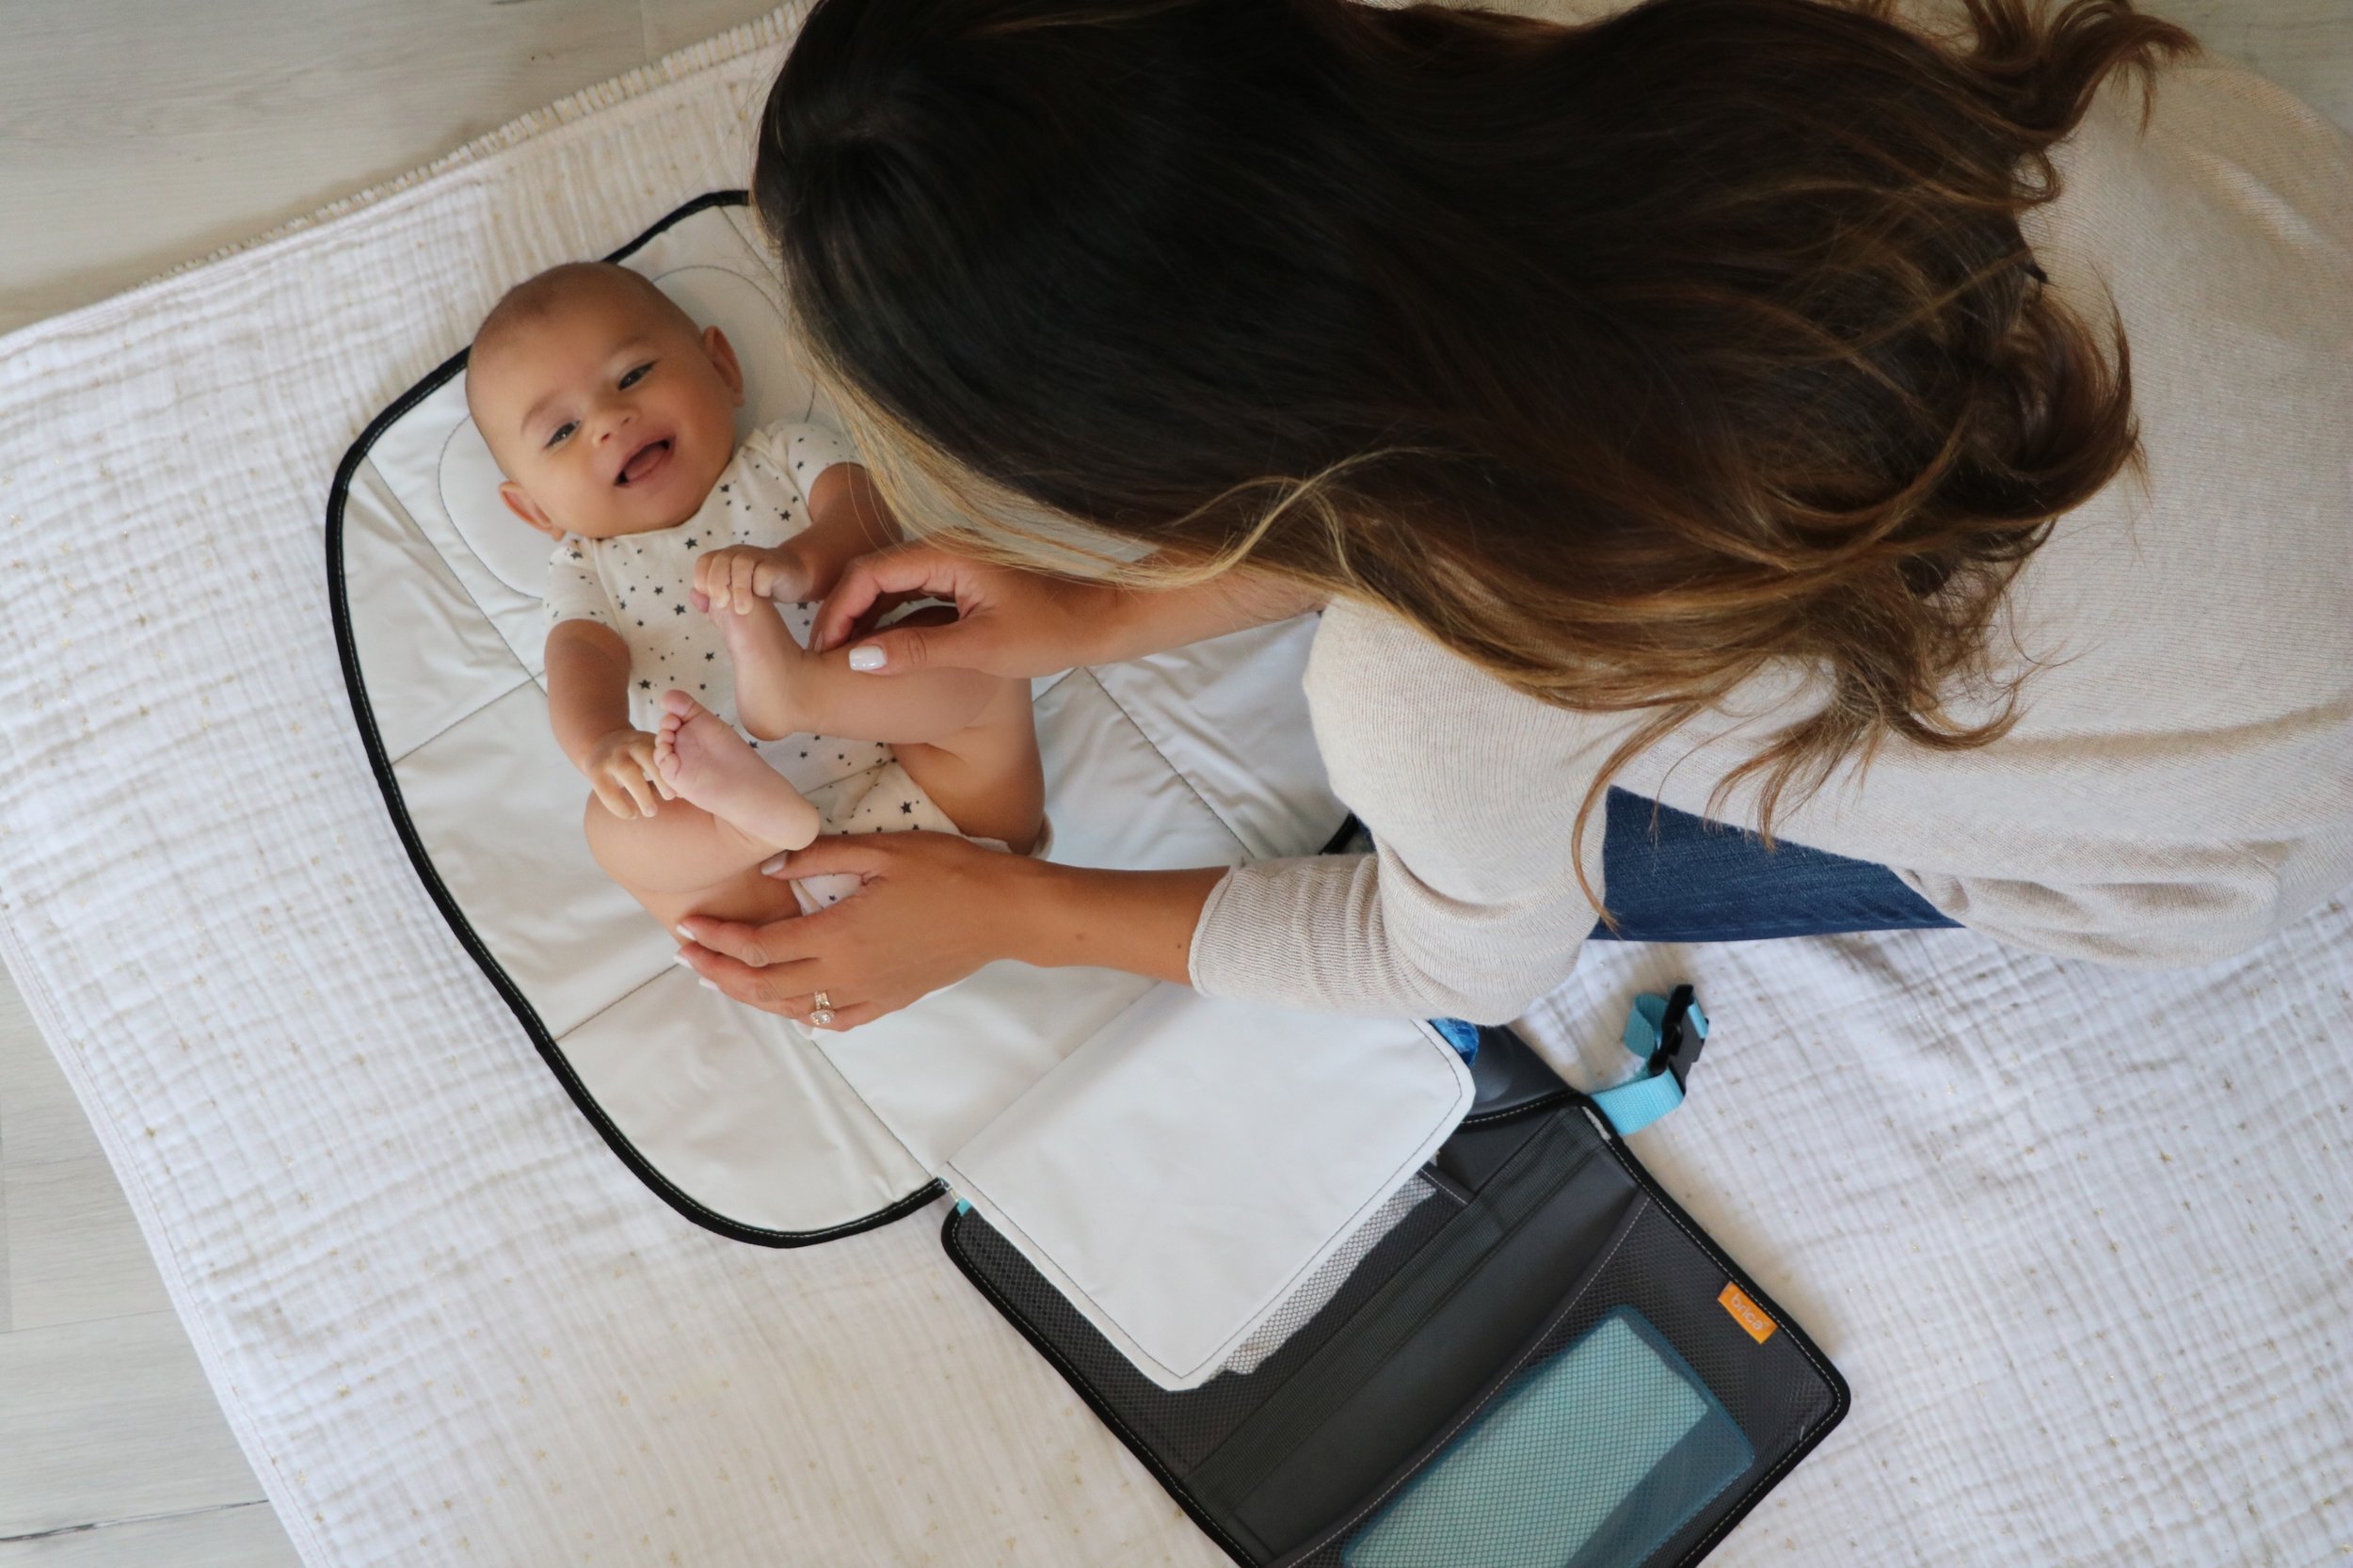
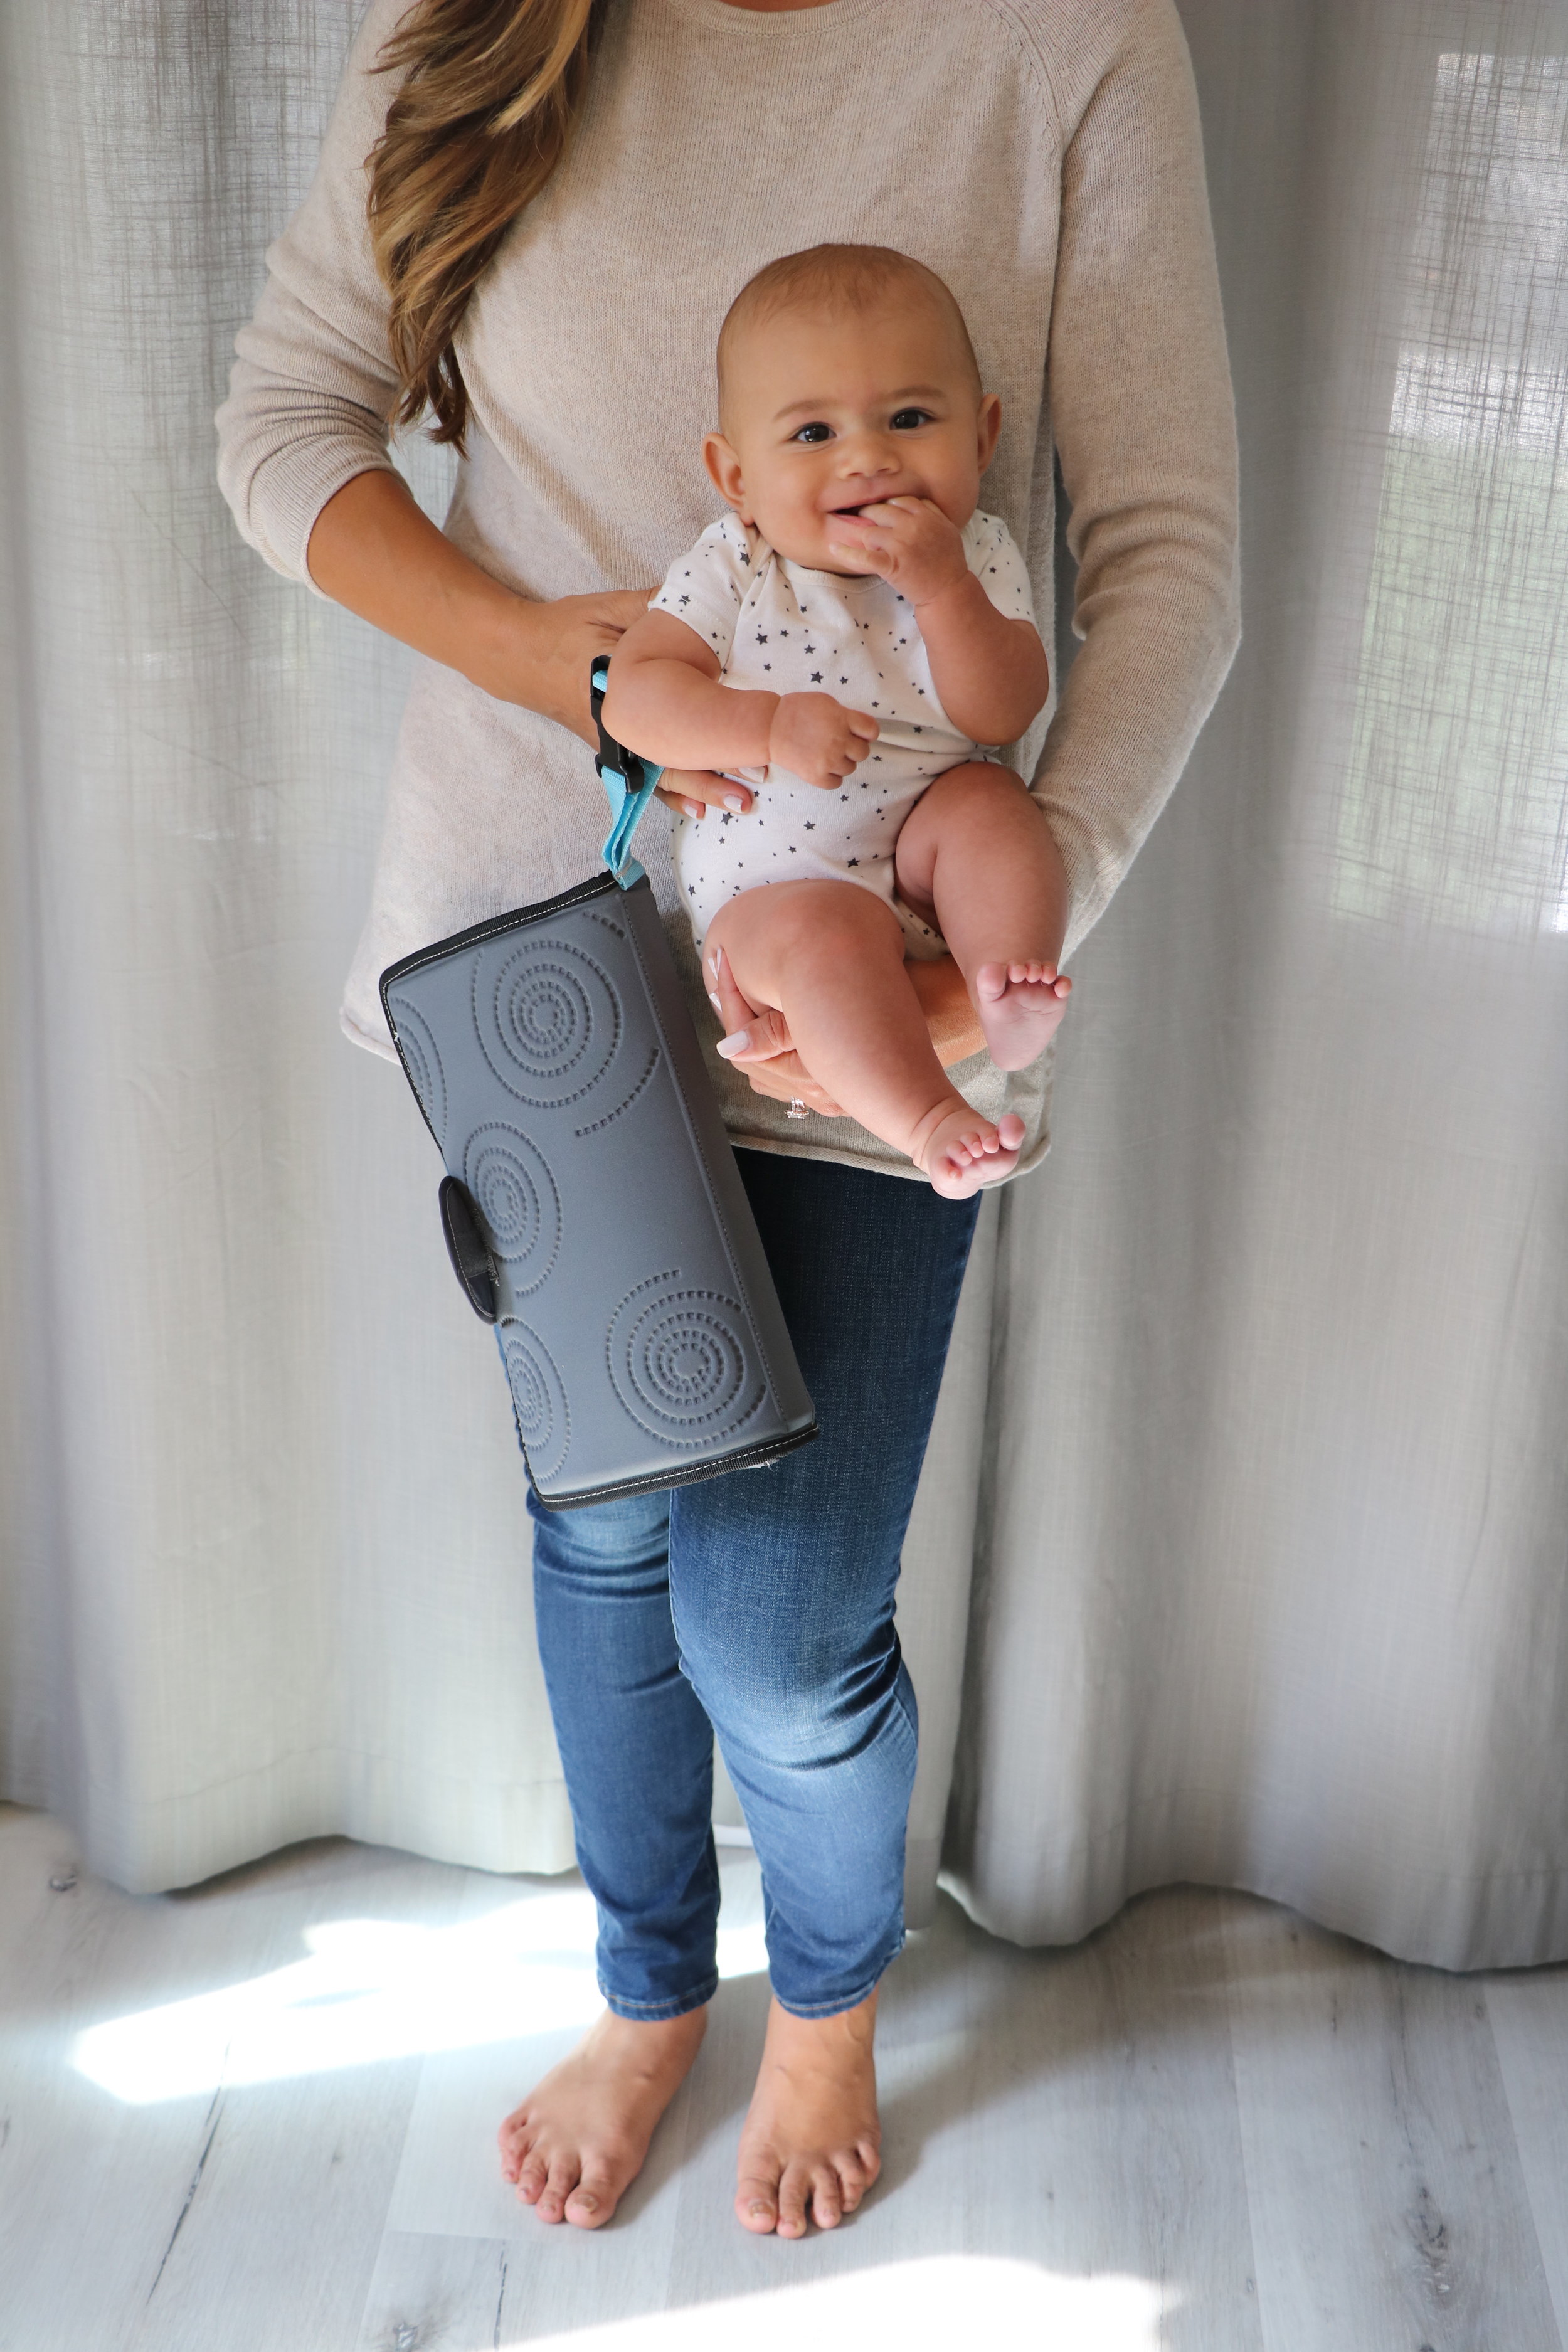
This will by far be your travel must have accessory. I keep this in my diaper bag so I can just grab this clutch instead of bringing the whole bag.  It has everything you need to change your baby on the go. I love it so much I wrote a whole post about this here

aden & anais Swaddles

Photography Credit: Jenny Quicksall

Photography Credit: Jenny Quicksall

aden and anais.jpg

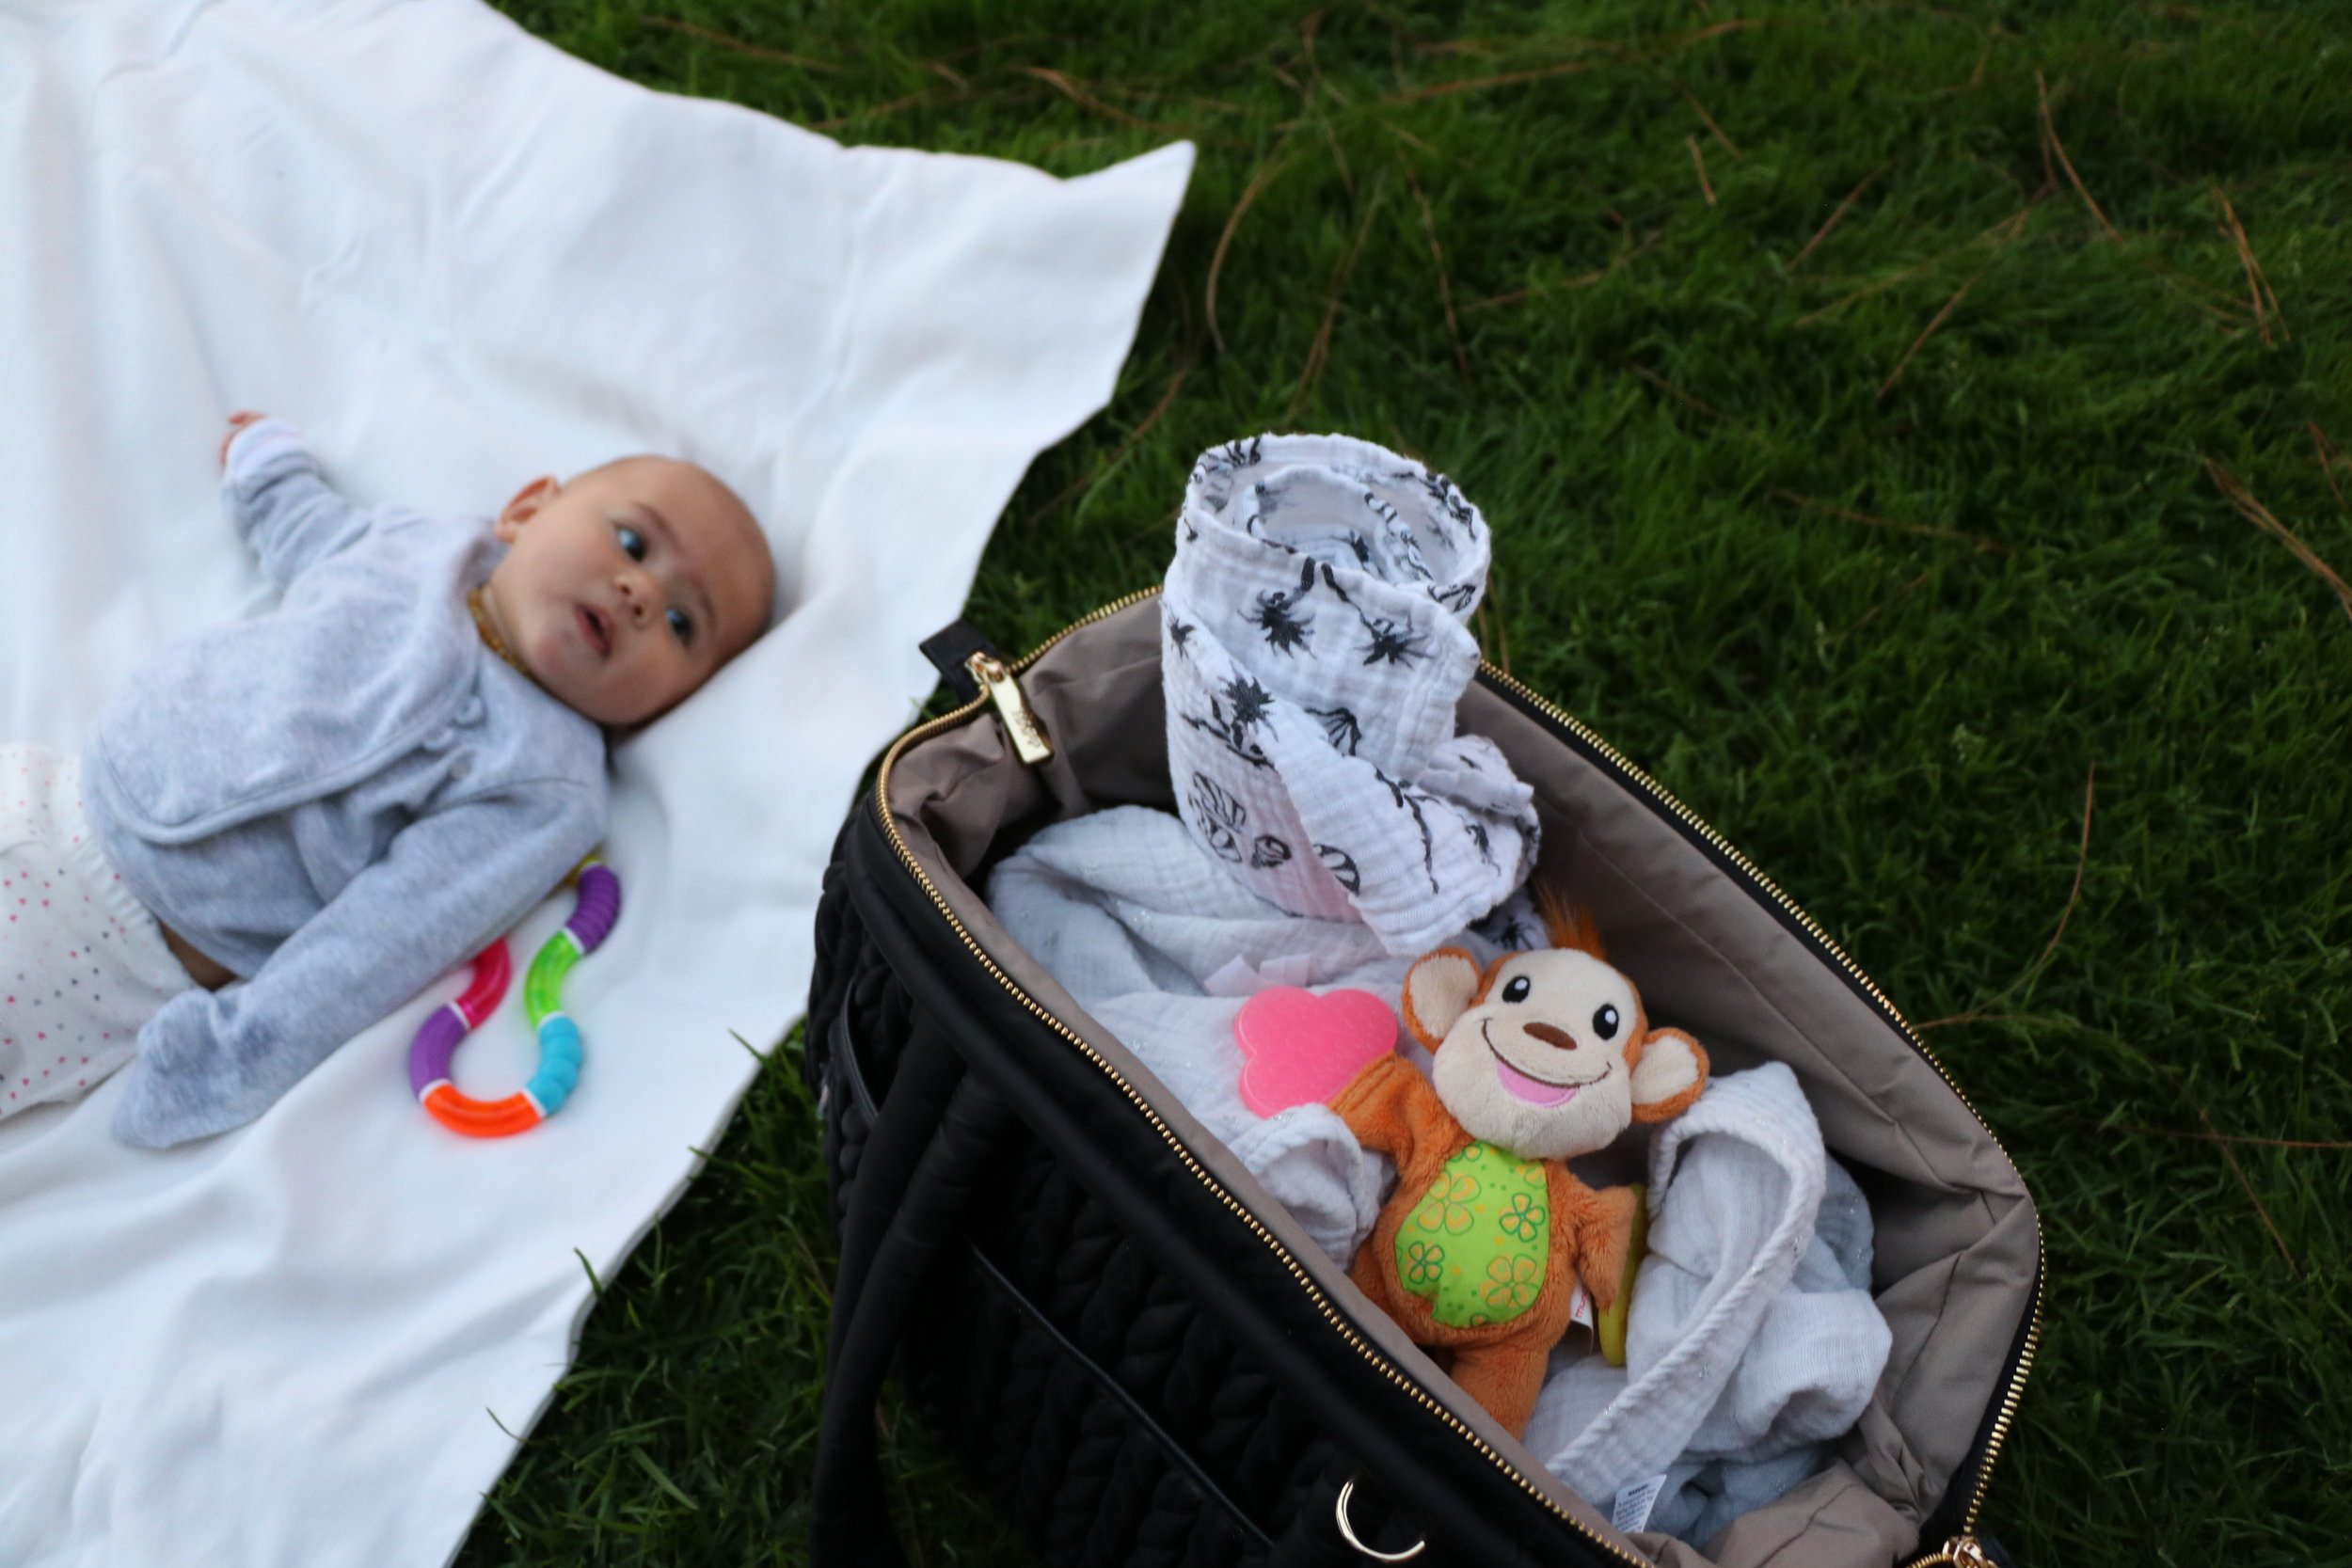
These super soft muslin blankets are so versatile. Use them as a swaddle, tummy time blanket, burp cloth, blanket, stroller cover, breastfeeding cover and more. I make sure my diaper bag, car and stroller always have them!

Baby Bjorn Carrier

7516773456_IMG_4540 2.JPG
Screen Shot 2017-11-29 at 11.18.39 AM.png

Baby wearing is truly key when traveling. I know us Moms are used to holding our baby and doing everything with one arm but save yourself the sore biceps by investing in a baby carrier. Until Milly is bigger, I’m using a hand-me-down one my sister gave me that she used with my nephews over 10 years ago!

Doona

7516825936_IMG_4475.JPG
7516825936_IMG_4472.JPG

While I won’t consider this a must have, if you travel a lot, it is worth the investment.  This car seat and stroller in one is compact and easy for travel. It made getting in and out of cabs when we traveled to NYC a breeze. With one click it goes from stroller to car seat and vice versa.  So narrow and small, it fit in the teeniest of areas. Having this on a trip eliminated the need to pack a separate car seat and stroller.

Happ Diaper Bag

7516773456_IMG_4596.JPG
7516825936_IMG_4698.JPG

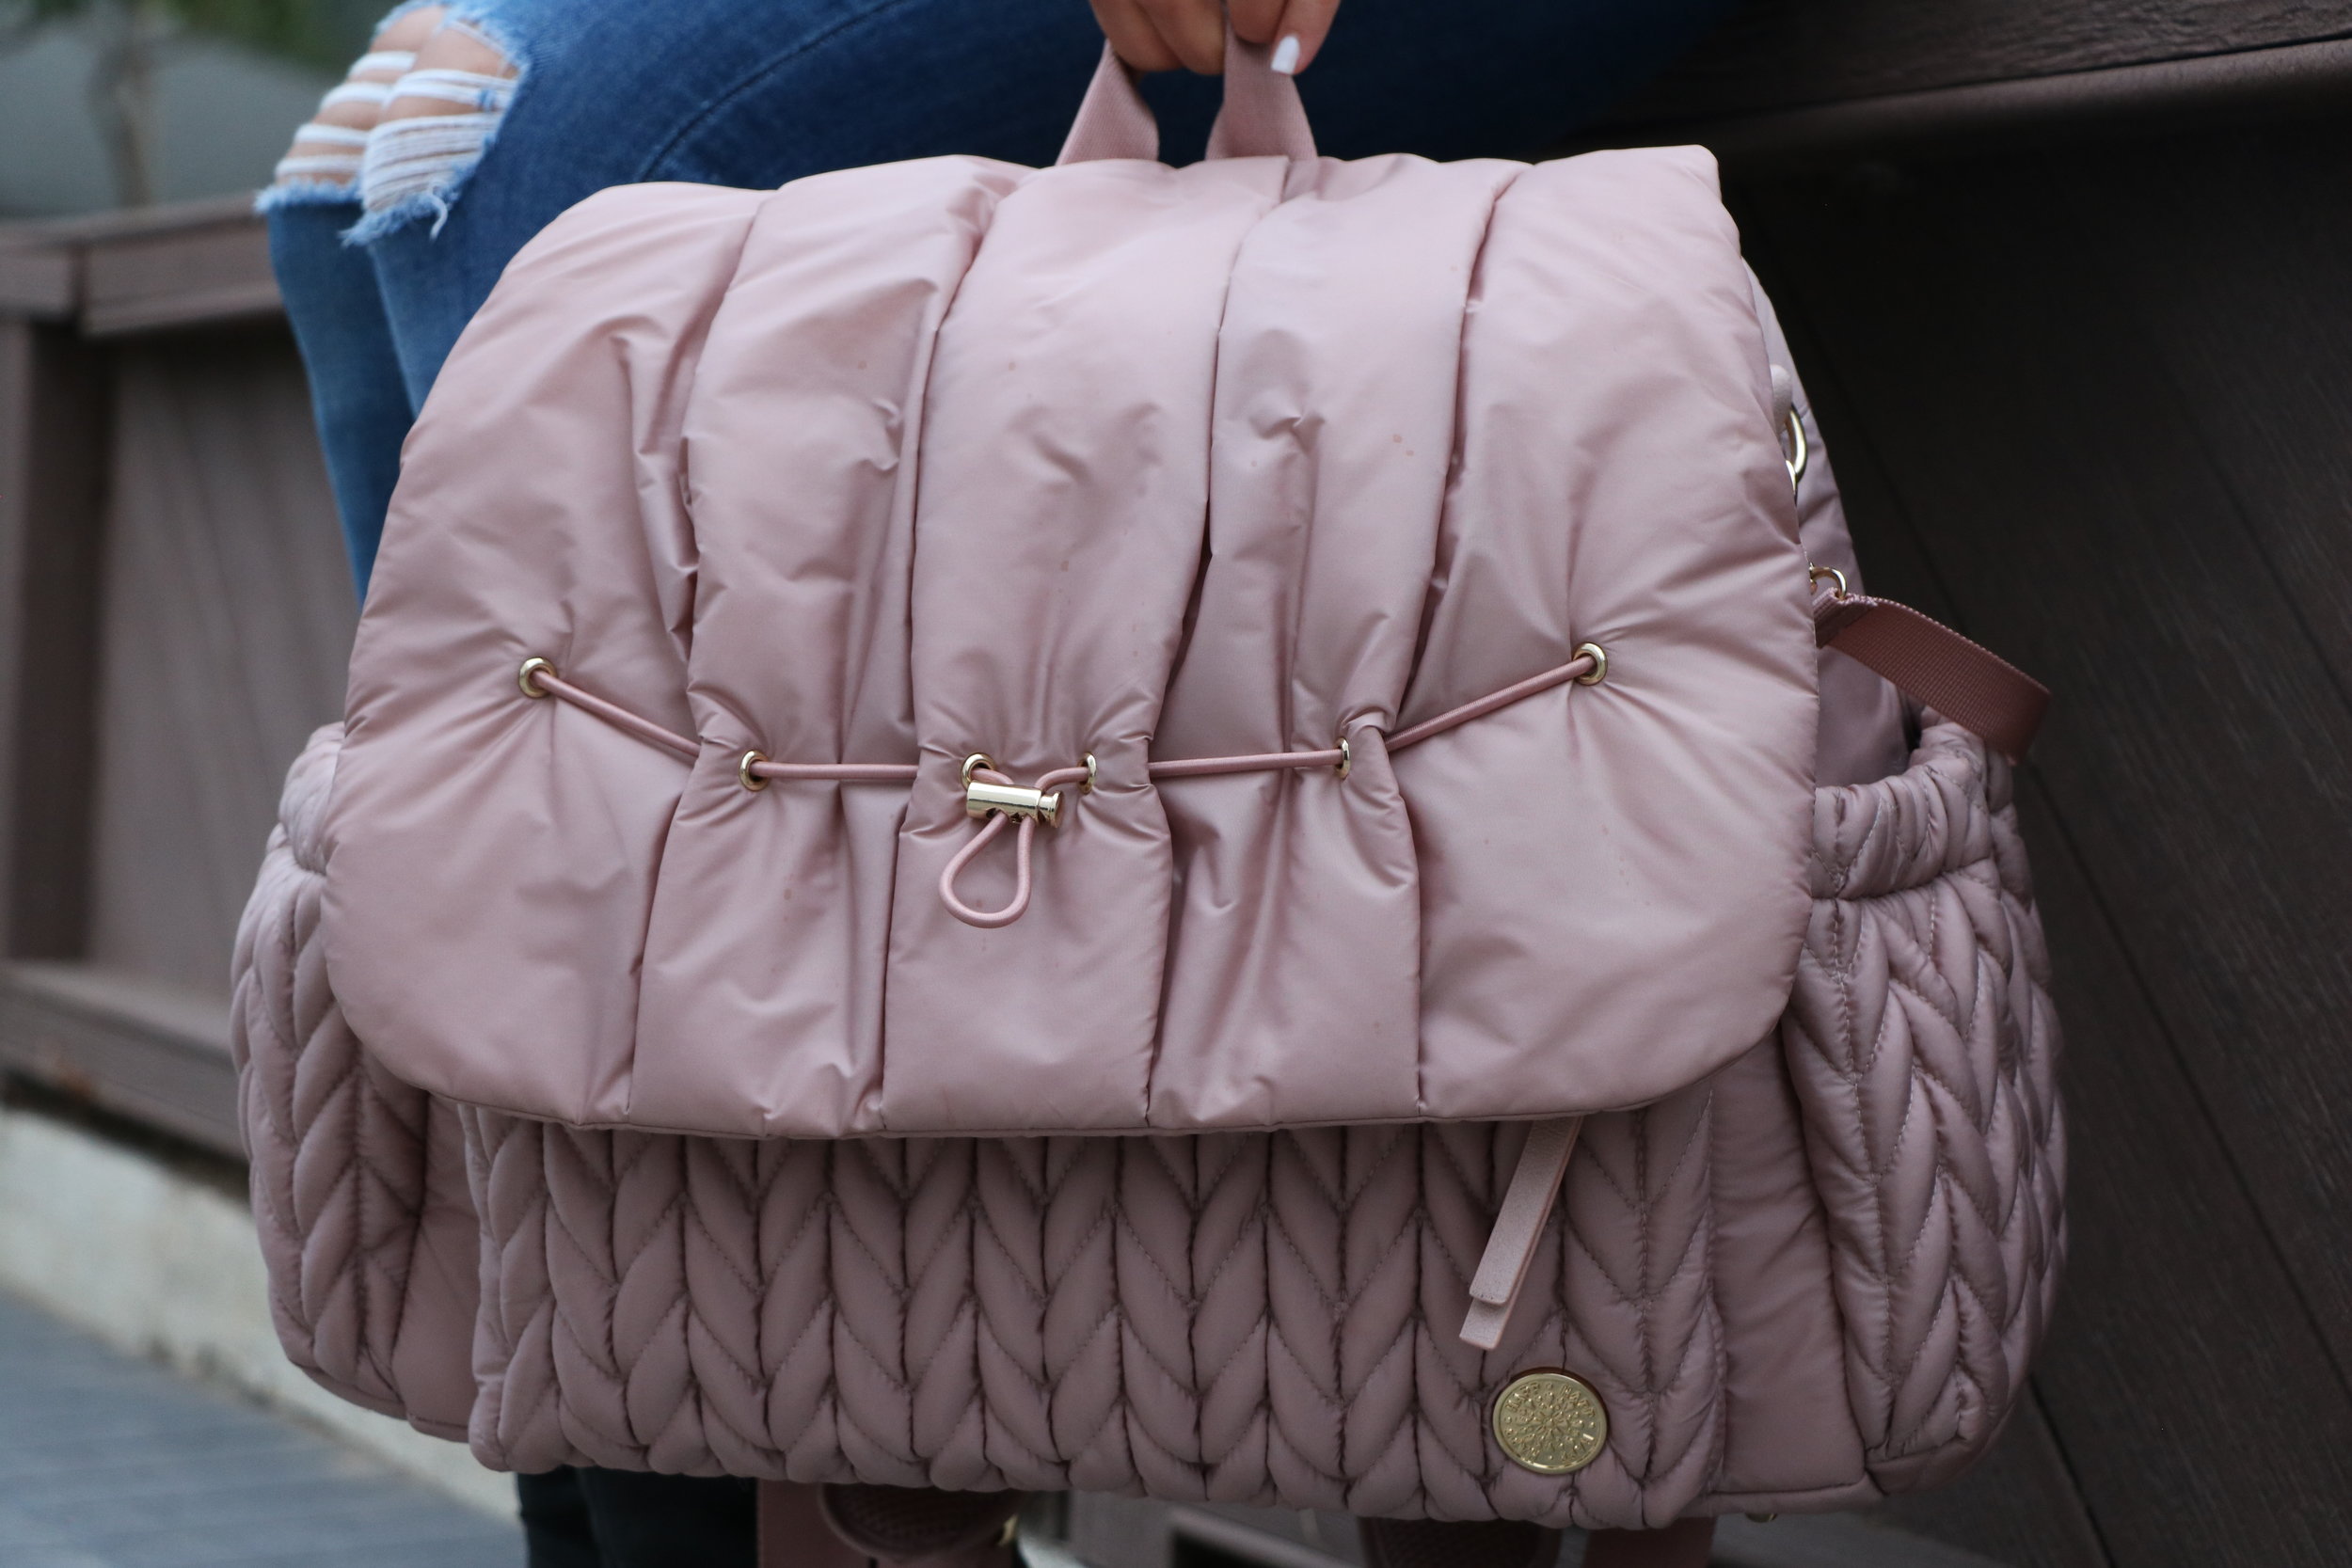
A diaper bag that doesn't look like a “diaper bag” was important to me when looking for something I could take on vacations, especially since I would also be using it as my handbag.  Obviously I needed it to be functional too. The fact that this bag is a backpack-allowing me to carry one less thing –and it’s sophisticated and modern-I decided to get two.  There are so many smart cubbies, and the zippered flap opens wide so you can easily grab all of your baby essentials.

Zip Up Sleeper Onsies

cloudisland.jpeg

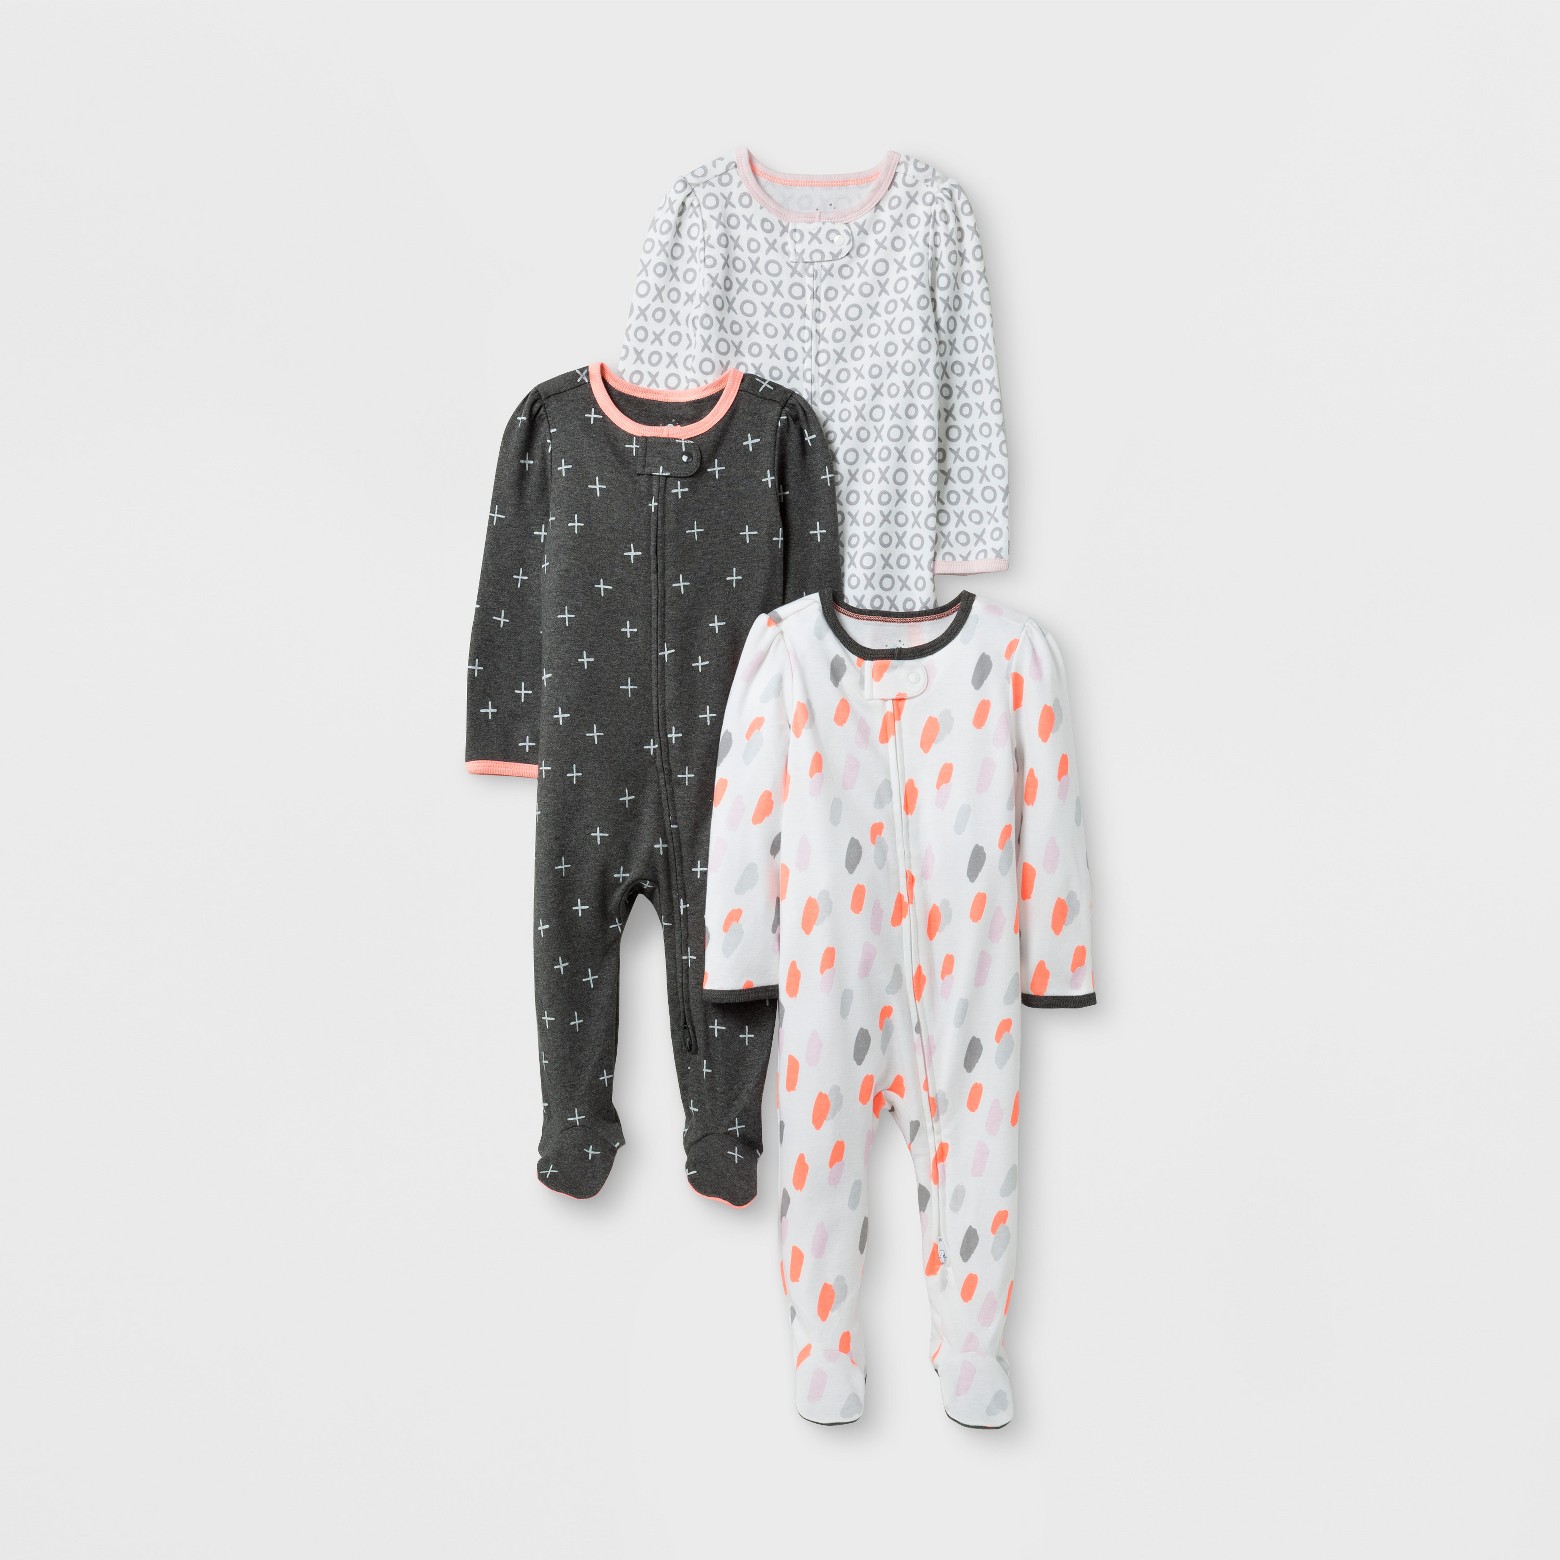
Whether you’re traveling by plane, train or automobile you want your little one to be comfortable.  Dress them in zip up sleepers so they stay warm and cozy. Changing their diaper is also much easier when you aren’t fiddling with snaps and buttons! These are also really great to wear in cold weather climates underneath their jackets and blankets so you can transition from inside to outside a lot easier.

Brica Cover Guard™ Car Seat Travel Tote

carseatcover1.jpg
carseatcover2.jpg

This bag made bringing Milly’s car seat when we flew with her really easy. Rolled as a suitcase or worn as a book bag, we maneuvered through the airport with very little effort. The extra large zipper made it easy to fit our Doona in the bag even when we had limited space at the gate.  What’s nice about waiting to check the car seat at the gate is if the flight isn’t full many airlines will give a vacant seat to your baby allowing you to use the car seat on the plane.  Plus, if you do check your car seat this cover will keep it protected and safe!


How To Survive a Trip With a Newborn
7583913920_IMG_4235.JPG
This is a sponsored post written by me on behalf of Munchkin®. The opinions and text are mine. #munchkinpartner

Traveling can be stressful, add in a baby and it can feel like too much to even bother but I’m telling you right now, this is THE TIME to travel! Milly is four months old and she’s been on a handful of flights including across country twice. We took her with us on two business trips to New York City, conquered public transportation, the TSA and plenty of not-so-baby-friendly places.  Plus, she’s been with us on weekend getaways to Temecula, Big Bear, San Diego and Palm Springs…and we’re just getting started.  

Milly loves to be out and about. In fact, she thrives from it!  Our babe is definitely not a homebody but we also started traveling with her early on and it became a part of her lifestyle. I remember friends with children telling us they didn’t go on trips until their baby was six years old and I never wanted that to be the excuse why I stopped doing things I enjoy.

Traveling with a newborn is actually amazing because they are so predictable. They eat, sleep and potty. They’re small. They aren’t mobile…yet. They don’t have opinions or tantrums and did I say they aren’t mobile?  And they fly for free, people!

I’m here to tell you, you can do it. Whether you have a road trip coming up or a flight ahead-here are my tips and top travel must haves for not only surviving but enjoying a trip with baby.

Give Yourself Plenty of Time

IMG_7225.JPG

Prevent yourself from feeling rushed or stressed by giving yourself plenty of time to do everything you need to do.  If it took you an hour before baby, add at least another half hour with baby.  Whether that’s allowing extra time to go through security at the airport or allotting enough stops on a road trip for diaper changes-if you build that extra time into your schedule, you won’t want to pull your hair out when you need to change your baby’s soiled outfit for a second time…which leads me to my next tip.

Pack Smart

IMG_7218 2.JPG

Preplan your baby’s outfits (including bibs & blankets) and pack them in zippered bags. This makes getting your baby ready super easy and then at the end of the day you can place the dirty clothes in the bag.  I take pride in Milly’s diaper bag. Everything is organized and easy to find and that doesn’t mean I fill every pocket with something different. I find that you never remember where you put something and unless the bag is completely clear you spend more time searching for something when you need it. I love my goPad™ Diaper Changer.  Every diaper bag should have one.  This is a lifesaver! I can’t imagine traveling without it. 

go pad clutch.jpg

Instead of lugging the diaper bag to the lavatory on the plane or through a restaurant/store/etc. you just take this instead. It’s a diaper bag clutch. You can even hook it to the stroller. I keep it fully stocked with Milly’s diapers, wipes, cream and hand sanitizer so I can just grab it and go. The extra large cushioned pad makes sure she’s comfortable even when the sometimes make-shift-changing-table isn’t and it has an expandable bonus panel to use as she grows.  The diaper pad zips off and the vinyl surface makes it easy to clean.  There’s even a disposable bag dispenser that comes with 25 bags.

IMG_7369.JPG

Know Before You Go

IMG_7223.JPG

If you plan on flying with your child, know the policies before you go. If you have a child under 2, they fly free on most airlines...but some will give you a seat for your child as long as the flight is not sold out (so wait to check your stroller until you get to the gate and always check airline policies on extra bags, strollers, etc).  Also, sometimes it's worth purchasing a seat for them even if they fly free.  Consider this option for long flights.  You will be more comfortable, your baby will be too and if you book it far enough in advance, it's really worth it.  We recently flew across country and paid extra for "even more space seats." However, by the time we did that round trip, it was almost $400 for the upgrades.  We decided it would have been better just to pay for a seat for our child to have our own row!  Also, try to book direct flights so you don't have to deal with extra travel time due to layovers and stops!

Wear Your Baby

IMG_7217 2.JPG

When you’re a mama, you’re used to doing everything with one hand but sometimes you need both of your hands, especially when you travel and that’s why a baby carrier is key! I actually use a hand-me-down baby carrier from 10 years ago that my sister used with my nephews. It makes traveling so easy, especially when I’m by myself. You don’t have to worry about where you’re going to put your baby when you need to do something or if the stroller is going to fit somewhere because your baby is comfortable and safe right on your chest. Eliminating having to push a stroller gives you so much freedom!  We’ve gone through museums, spent hours exploring and site seeing and even went hiking with Milly in the carrier.  Plus, she loves being in her carrier. She really enjoys looking around and seeing everything. And most of the time she falls asleep in the there!

A Rested Baby is a Happy Baby

IMG_7220.JPG

Traveling can be tiring, especially for babies and it can be tough (even for me) to get quality sleep when on a trip.  My secret weapon for getting Milly her much needed rest is her sleep soother. This Shhh…™ Portable Sound Machine is as small as a baby bottle and battery operated so it’s super convenient for on the go. It features three different sounds: shushing, heartbeat and white noise and has a timer.  It also acts as a night light (that can glow solid or pulse) which I love since it does double duty when we’re away from home.  We used this when we stayed with family and friends. I’ll use it to help drown out noise when she’s napping in her stroller.  It was really useful when we traveled to the Big Apple because the portable sound soother helped to drown out any noise from the bustling big city below.

7516825936_IMG_4727.JPG

I hope this gives you the confidence you need to travel with baby! And remember that no matter what, everything you are is enough for baby! You got this!!! Stay tuned for a full round up of all my favorite products for traveling with baby!  What are your travel must haves? Let me know in the comment box below and be sure to subscribe on here and YouTube and follow me on Facebook, Instagram and Twitter so you never miss a thing.

Custom Watercolor Birth Announcements by Consider the Lilies
DSC_0891.jpg
DSC_0894 (1).jpg
DSC_0859.jpg
DSC_0853 (1).jpg
DSC_0863.jpg
DSC_0914.jpg
DSC_0878.jpg
DSC_0862.jpg
DSC_0914 (1).jpg

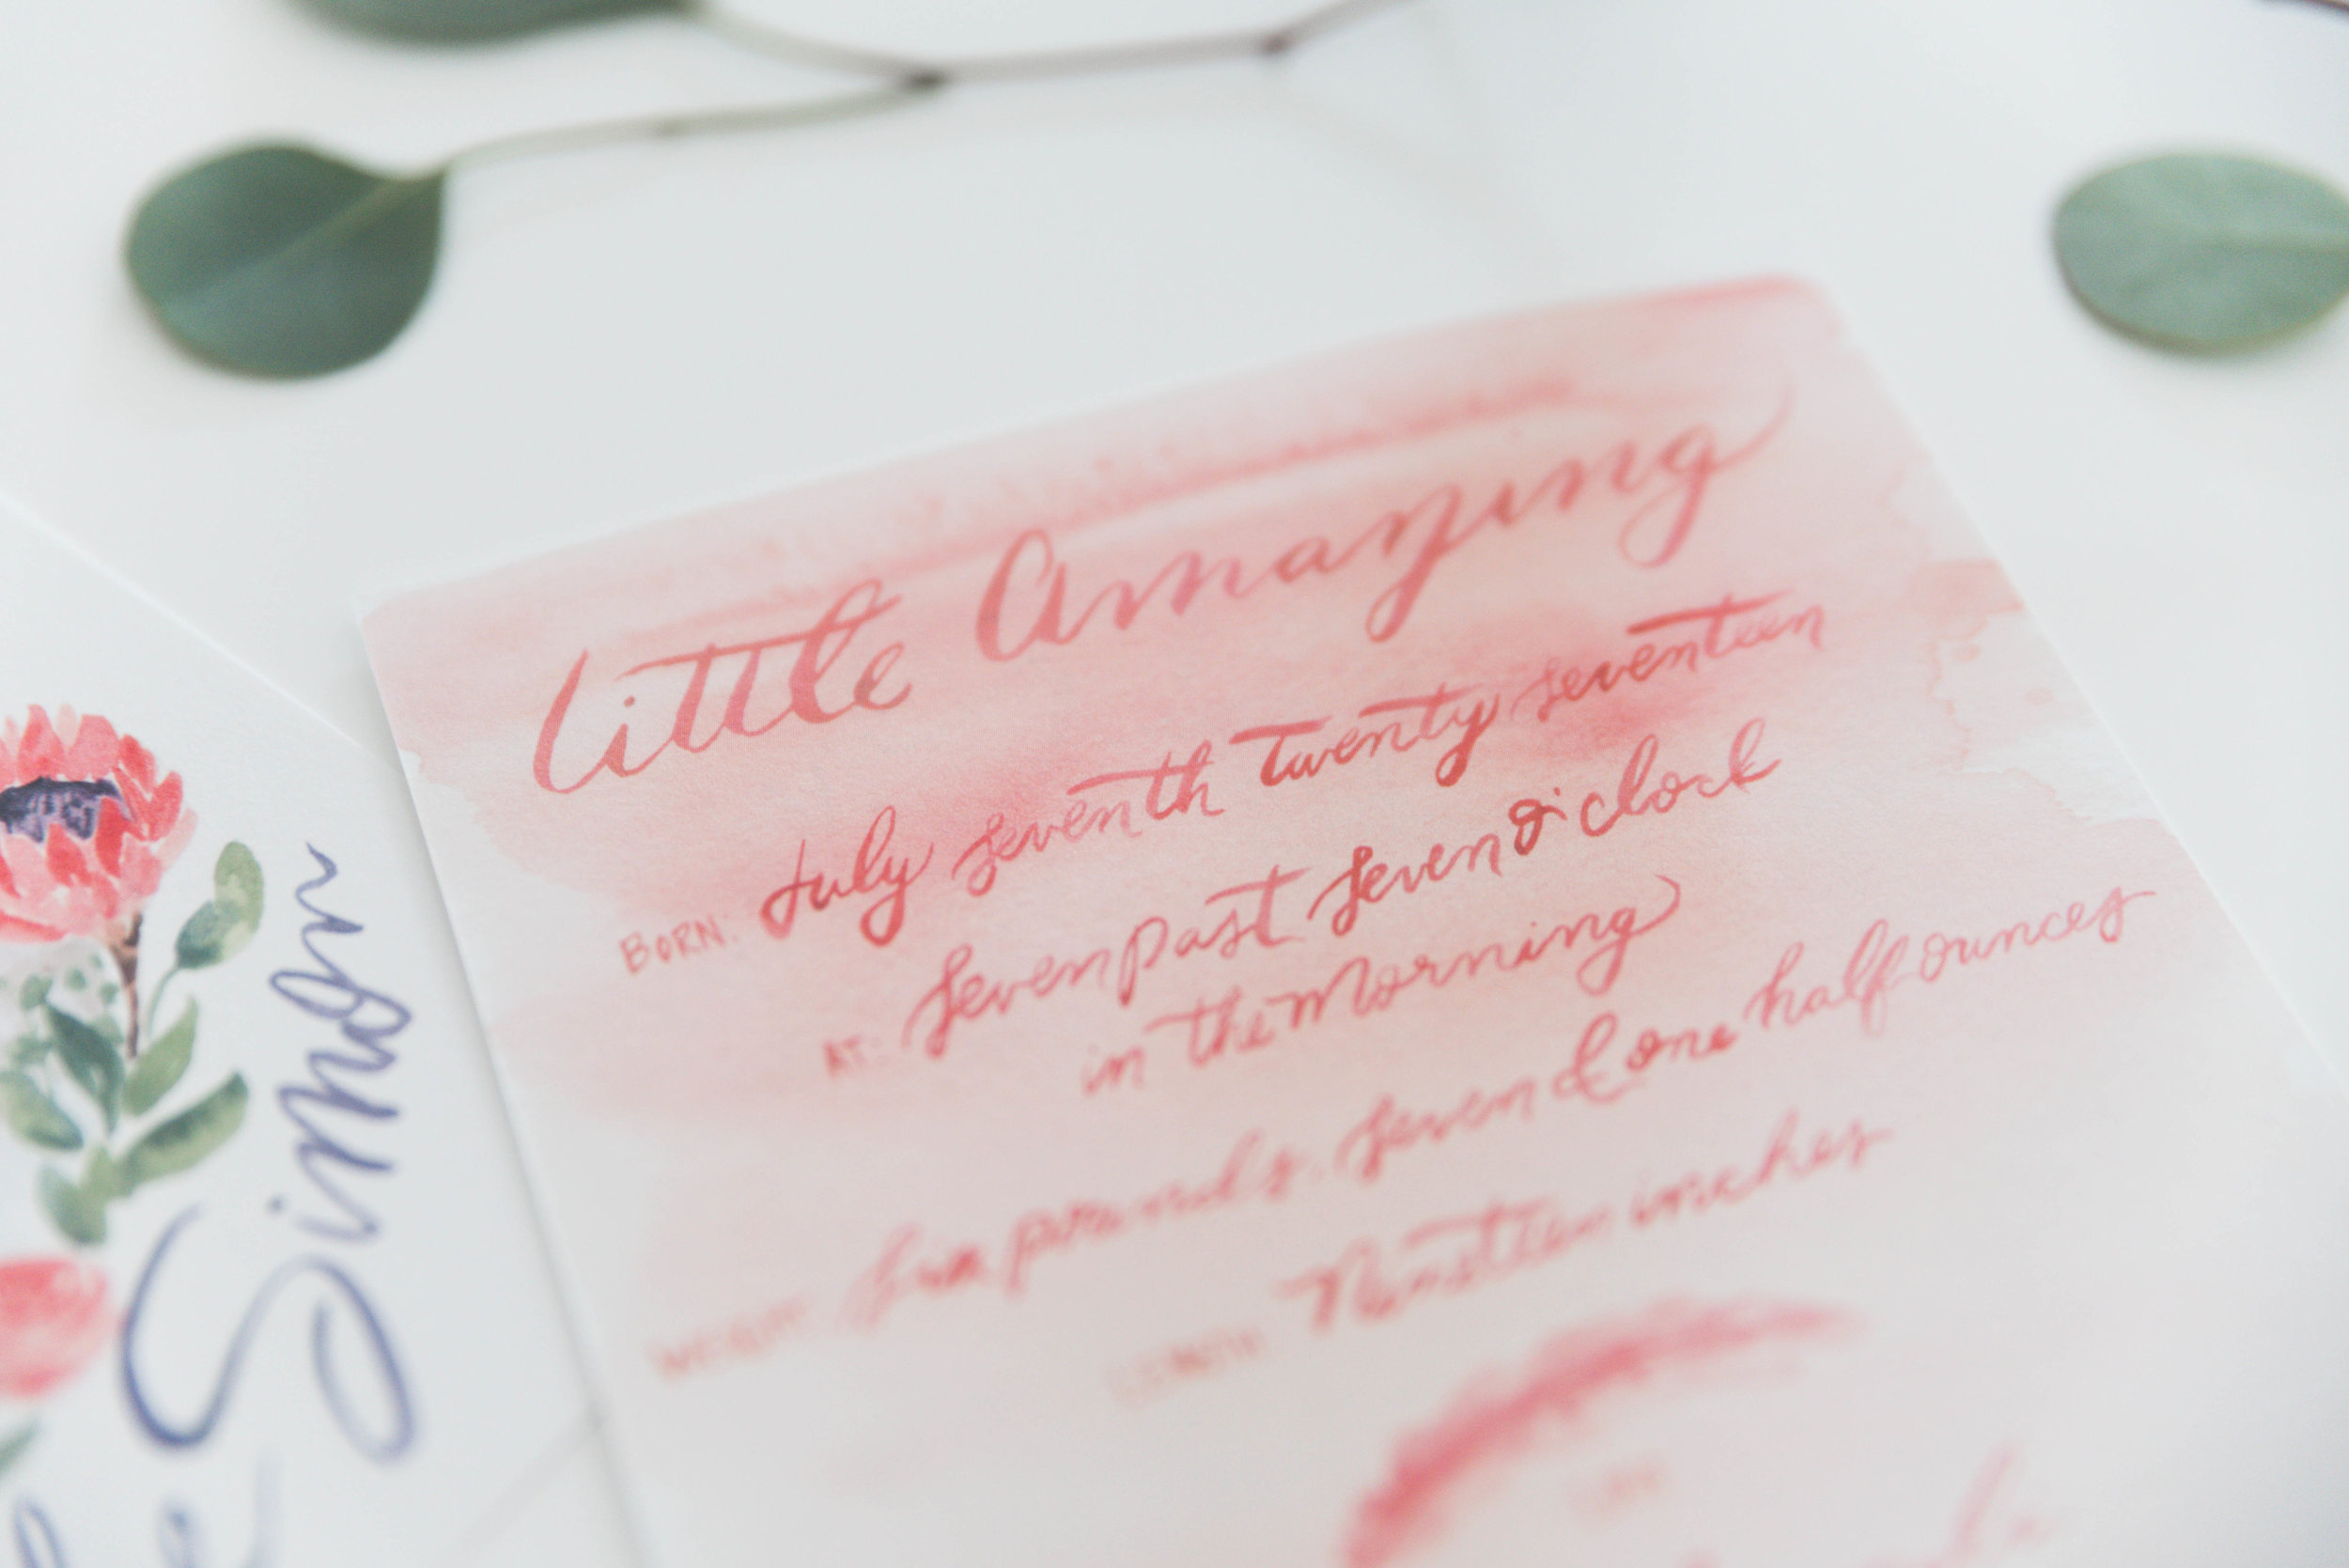
What a blessing to be able to work with Abby Hollar of Consider the Lilies to create Milly's custom birth announcements. I've admired her work for some time now. Not only is she an extremely talented artist, painter and water colorist, but she has such an incredible eye and amazing taste. She's also a blogger, photographer, and the kind of friend you love to brag about!  Working with her was so easy especially since I had no idea where to start. She pulled a couple ideas out of me and truly brought my vision to life.  I shared with her how I have an affinity for protea flowers and ranunculus and then shared some photos of Milly's nursery for more inspo. I love the soft blue gray she chose for her name and the delicate rose gold color for the back.  The floral wreath works perfectly with the newborn photo taken by Jenny Quicksall. We couldn't be more thrilled with how they came out! Thank you Abby!