Holiday Movie Watching Party Tips
Photography Credit: Home & Family

Photography Credit: Home & Family

Every time I work at Home & Family I have an absolute blast. Their team is truly “family” and everyone is so warm and welcoming. So it was even more special to work with Cost Plus World Market, partners I’ve worked with for years now and is a dream company to represent. The theme was a holiday moving watching party! Do you love the Countdown to Christmas on the Hallmark Channel as much as our family? They have the best movies and it always gets us in the holiday spirit.

Photography Credit: Home & Family

Photography Credit: Home & Family

For this set up I created a few different themes. The first is for families complete with a hot cocoa drinking station and all the yummy fixins like snowmen marshmallows. The other is for girls night in and is all about lux touches and feminine colors. When my friends come over I love spoiling them with charcuterie boards, cocktails and dessert. You can watch the full segment here and then let me know if you set up your own holiday movie watching party!

Photography Credit: Home & Family

Photography Credit: Home & Family

How He Asked: Our Love Story
Photography Credit: Kyle Hartman

Photography Credit: Kyle Hartman

Photography Credit: Kyle Hartman

Photography Credit: Kyle Hartman

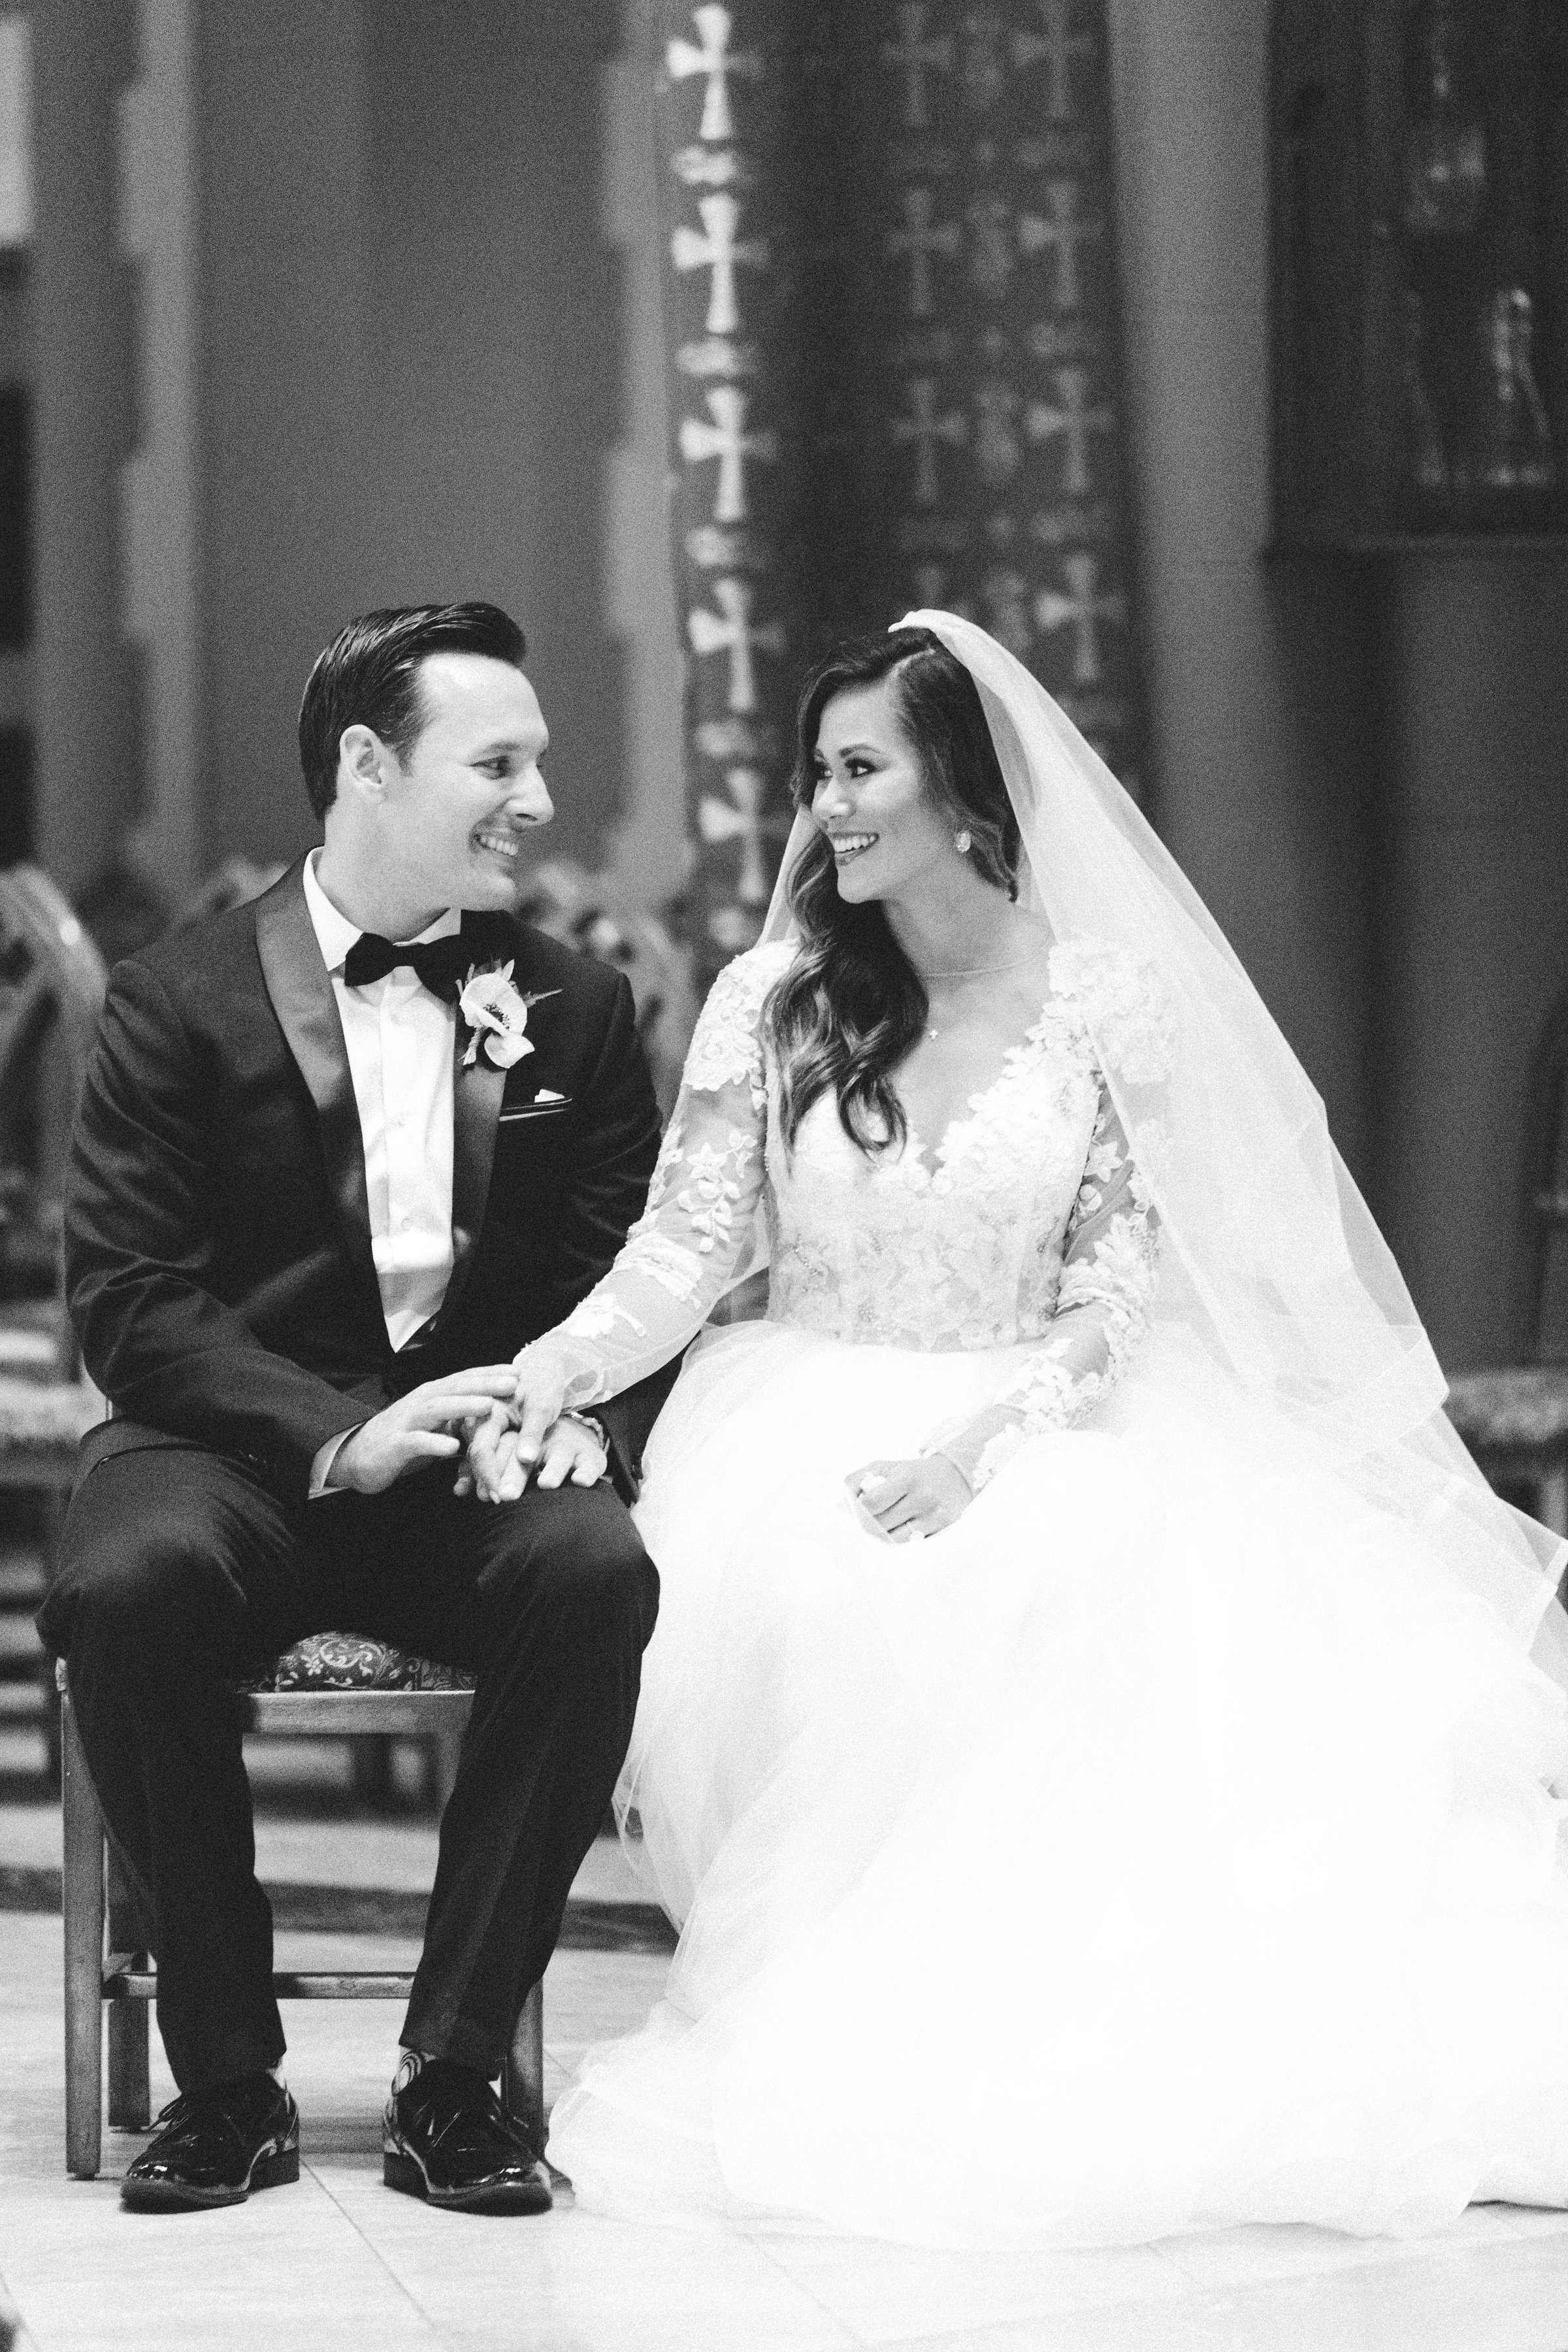
Getting engaged to Mr. A was the most magical moment ever. Actually, our entire courtship was magical and a complete whirlwind.  Our first date was the day after we met. Our second date, four days later. Two weeks after that I met his family.  I spent Thanksgiving with them and remember thinking at the dinner table that I could absolutely marry this man and his family. That Christmas he came with me to AZ. Three months later we went on an epic trip to Asia visiting Thailand and the Philippines. Over the next several months we did a ton more travel to Big Bear, Vegas, Breckenridge, Sedona, NYC and I think there’s even more but I can’t remember. Then we decided to plan a trip to Tulum, Mexico to celebrate our almost one year anniversary. Little did I know that this trip would completely change our lives forever and I’d be getting proposed to! I get giddy just thinking about it. Luckily my hubs set up a camera before he asked me to marry him and we have the entire proposal on tape! We are also grateful to our dear friend, Jillian Ezra of Ezra Productions who invited us to talk about our proposal together with a his and hers perspective. Scroll down to watch the proposal and the interview of us sharing how it all went down!

Photography Credit: Kyle Hartman

Photography Credit: Kyle Hartman

Photography Credit: Kyle Hartman

Photography Credit: Kyle Hartman

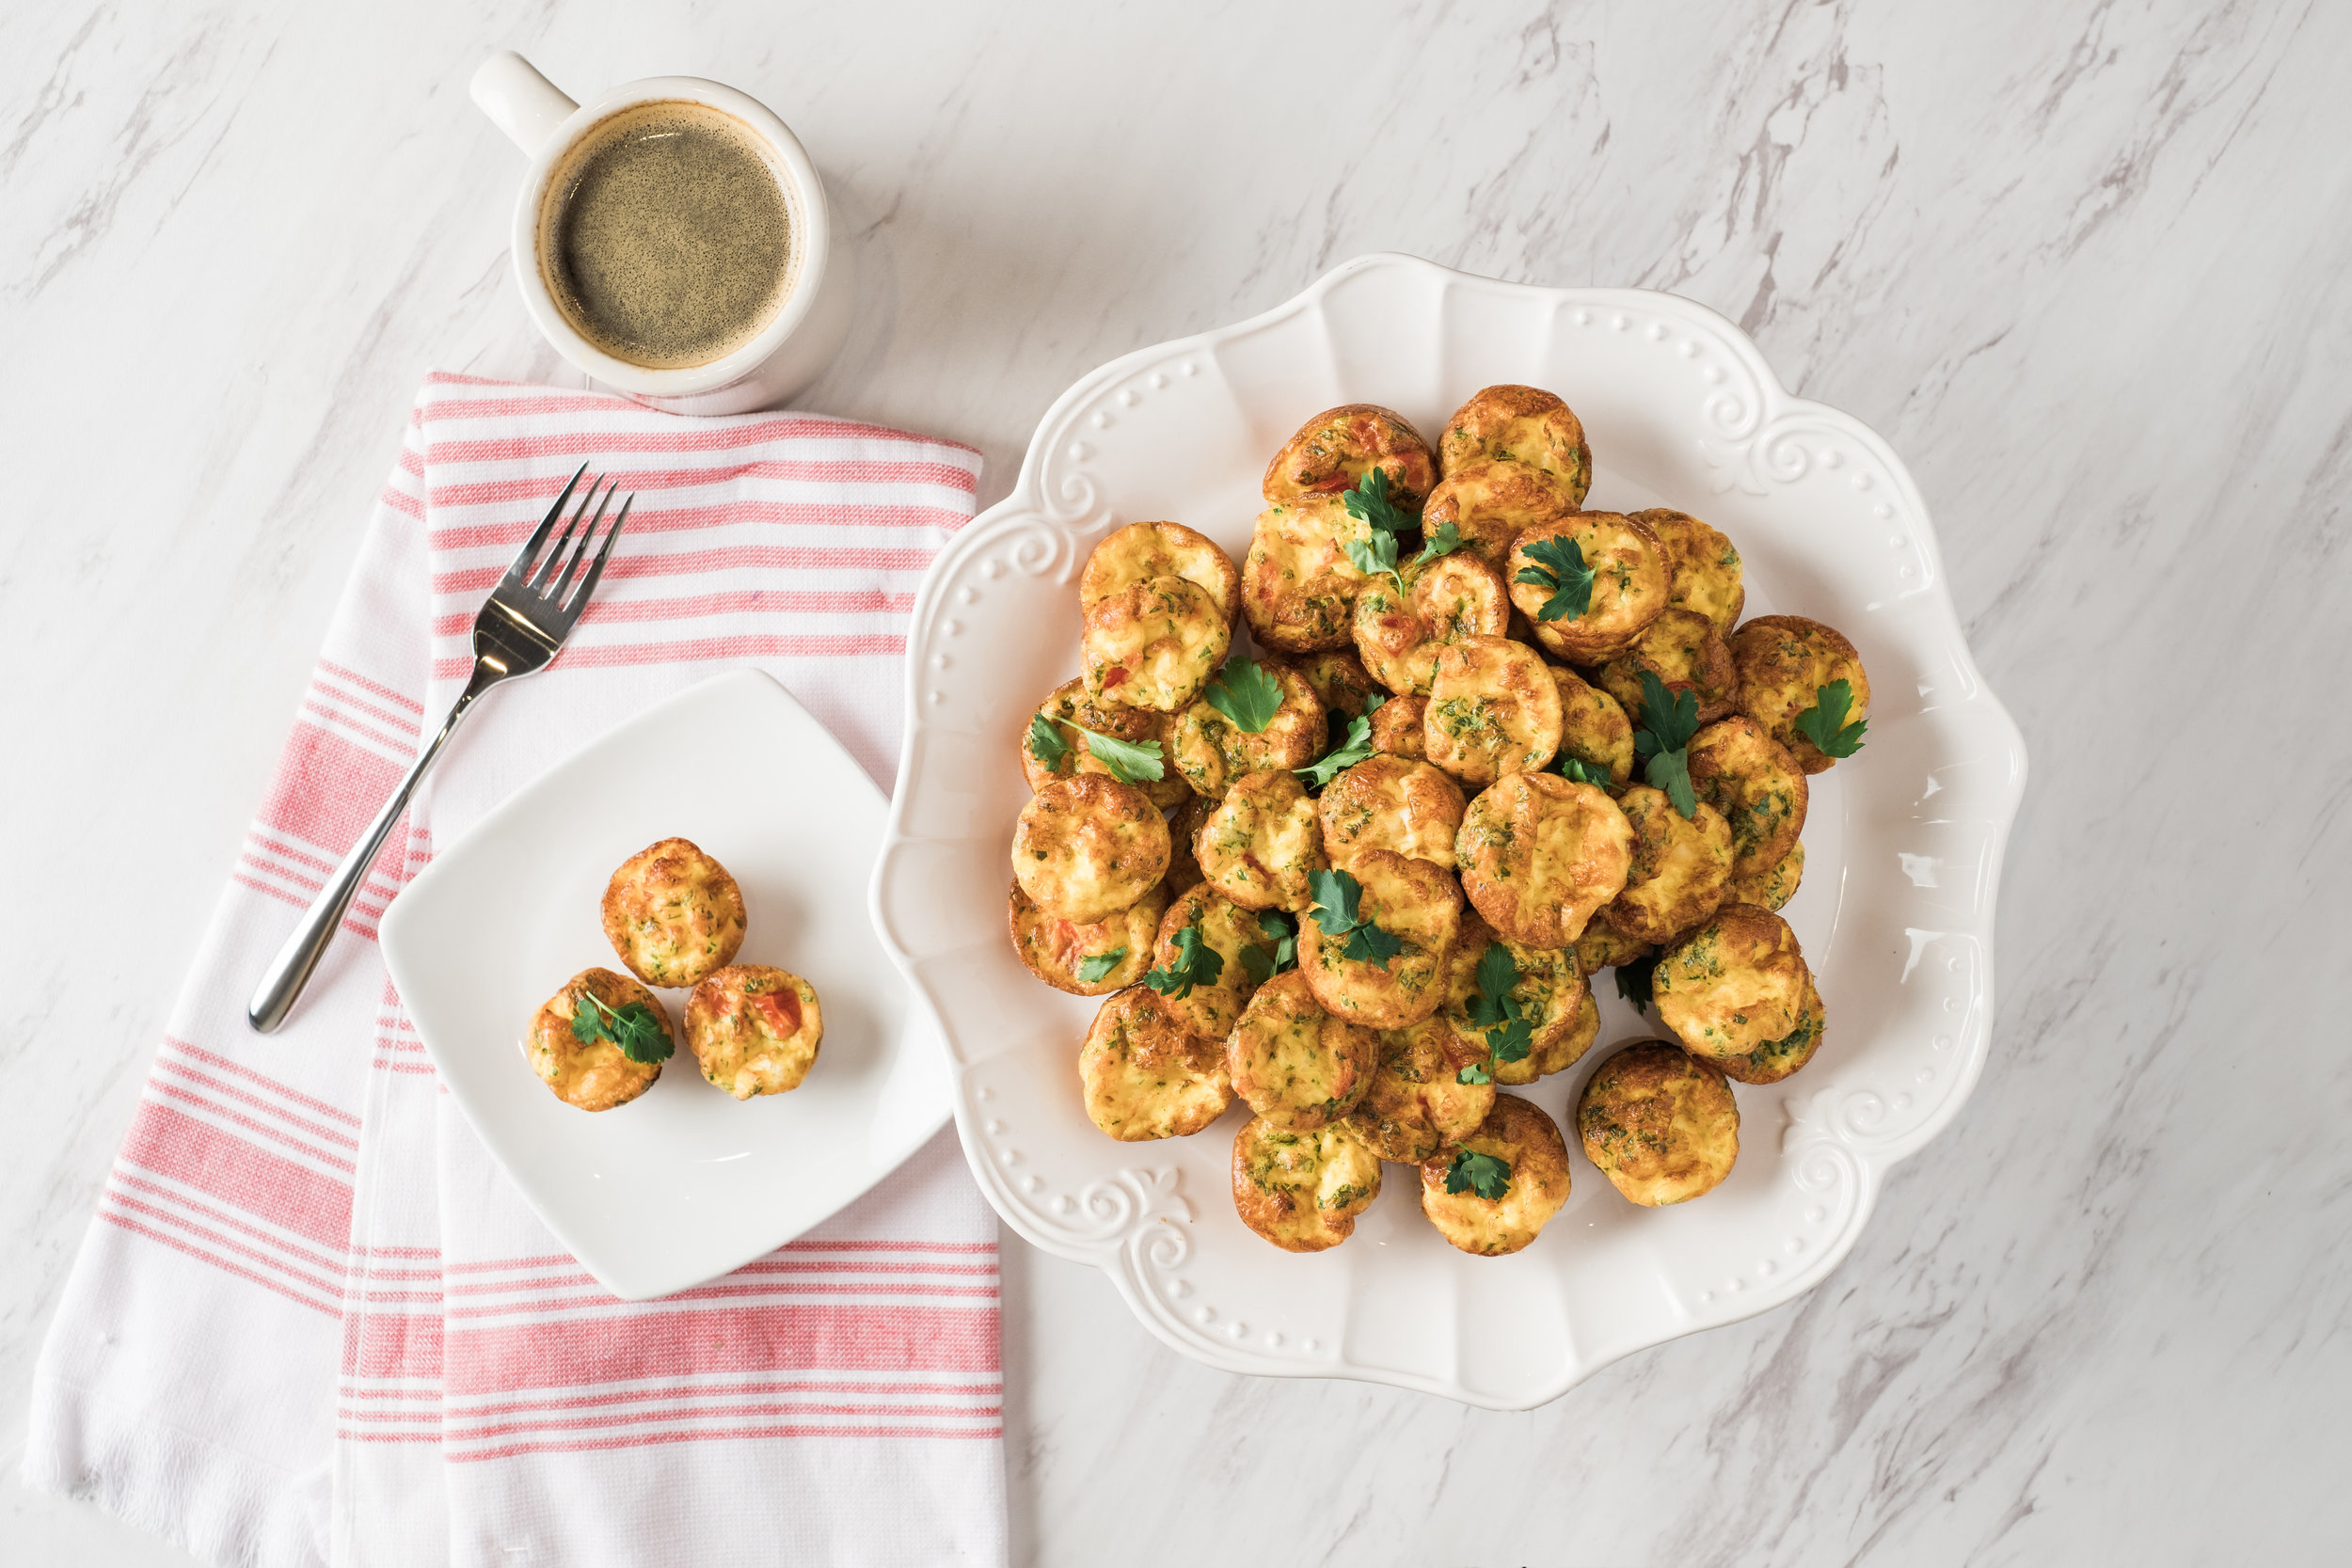
Green Eggs & Ham Breakfast Cups
Photography Credit: AshtonStan.com

Photography Credit: AshtonStan.com

These are one of my go to snacks for Milly. Obviously they are great for breakfast but she enjoys them anytime. It’s a great way to sneak in a ton of veggies and you can make a dozen at a time. I use whatever I have on hand and there’s something about food shaped like a cupcake that makes toddlers love them! It’s the perfect size for their little hands.

Photography Credit: AshtonStan.com

Photography Credit: AshtonStan.com

These are also great for when you’re hosting a ton of people or when family is in town staying over. They’re great brunch foods! To make them even more decadent, sometimes I’ll add a little pie crust to the bottom so it’s almost like mini quiches. I love quiche. People don’t give quiche enough love. Scroll down for the recipe and then let me know what other variations you come up with. If you post the photo on instagram, be sure to use the hashtag #BrandisBites.

Photography Credit: AshtonStan.com

Photography Credit: AshtonStan.com

Green Eggs & Ham Breakfast Cuppies

By Brandi Milloy

Ingredients:

  • 12 large eggs

  • 1/2 cup milk

  • 1 heaping cup fresh spinach, chopped

  • 1 cup veggies or choice, chopped (like broccoli or mushroom)

  • 1/2 teaspoon seasoning salt

  • 1/4 teaspoon fresh grated black pepper

  • 1/4 teaspoon fresh grated nutmeg

  • 1 1/2 cups ham, sliced and chopped

  • 1 cup swiss cheese, shredded

  • 1/2 cup cheddar cheese, shredded

  • 2 teaspoons fresh Italian parsley, chopped (optional)


    Directions

  1. Preheat oven to 375F and spray muffin tins with non-stick cooking spray.

  2. In a large bowl, whisk the eggs, milk, veggies, salt and pepper and nutmeg. Fill muffin tins equally with ham and cheese and then carefully cover each with the egg mixture, about ¾ of the way full.

  3. Bake for 25-30 minutes or until eggs are set cups are golden. Let cool for 5 minutes before enjoying! 

Photography Credit: AshtonStan.com

Photography Credit: AshtonStan.com


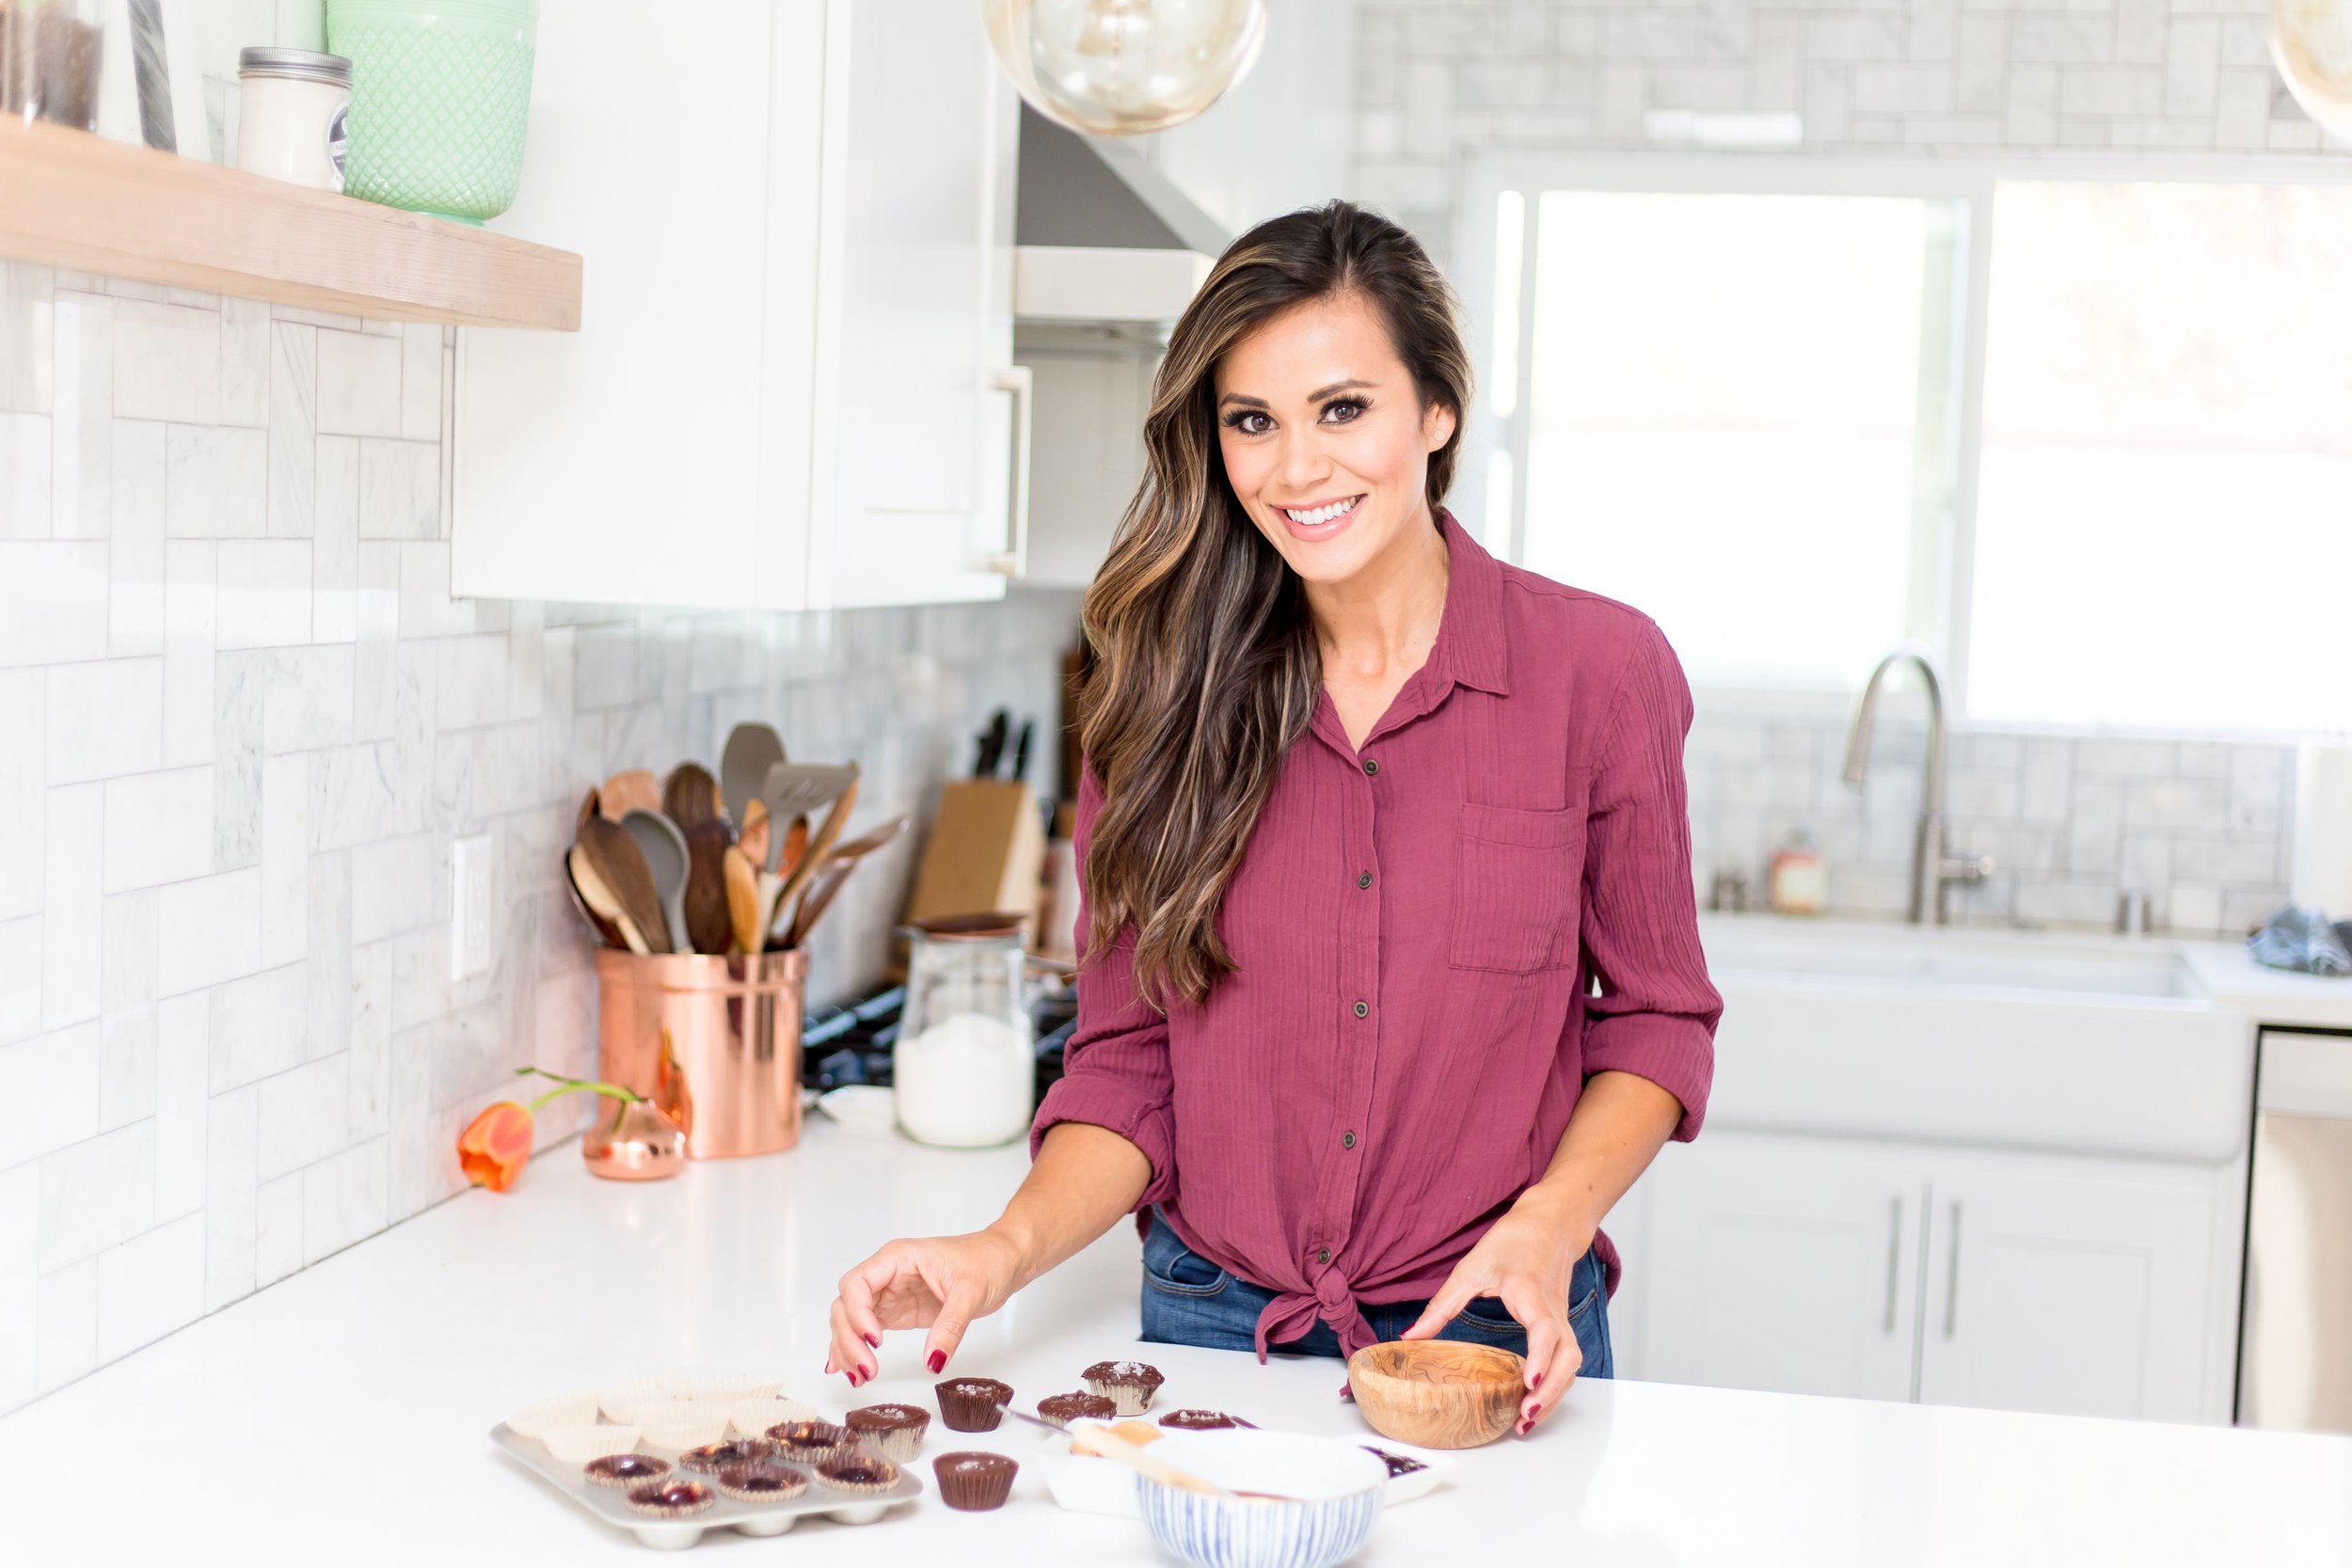
Peanut Butter & Jelly Cups

Peanut Butter and Jelly Cups

This post was made possible by the U.S. Highbush Blueberry Council. Thank you for your support!

6D4A0672.jpg
6D4A0691.jpg
6D4A0814.jpg
6D4A0867.jpg
6D4A0885.jpg
6D4A0772.jpg
6D4A0961.jpg

PB & J Cups

by Brandi Milloy

Ingredients

  • 12 oz. fresh blueberries

  • 1 tbsp. water

  • 1/2 cup sugar

  • 12 oz. semi sweet chocolate, melted

  • 3/4 cup creamy peanut butter

  • fluer de sel, optional

Directions

  1. Make jam by placing blueberries, sugar and water in pot on medium-high heat and bring to a boil. Boil for a minute and mash slightly. Turn off heat to cool. Pour jam into clean jar and keep in refrigerator up to a month.

  2. Using a pastry brush, spread chocolate up sides of mini muffin liners and place in muffin tin. Freeze to set, about 5 minutes.

  3. Spread 1/2 tablespoon of peanut butter into bottom of chocolate shell. Top each with 1/2 tablespoon of jam. Place back in freezer to harden, about 5 minutes.

  4. Top each cup with melted chocolate and garnish with a sprinkle of sea salt. Place back in freezer one final time to set completely. Keep in refrigerator for ultimate freshness and enjoy within 10 days!

7 Things You Should Do Everyday for a Healthy Marriage
Photography Credit: Brandon Kidd Photography

Photography Credit: Brandon Kidd Photography

I don’t know about you but I’m trying to have a healthy marriage, one that lasts, endures and thrives! I wanna feel like a newlywed when I’m 100. Early on into our courtship Mr. A and I made the commitment to make our relationship top priority and after attending our first marriage retreat a few years ago, we decided we would commit to a couple’s retreat once a year.

Last weekend we attended our second marriage retreat (we’ve been married two years so we are two for two!) and I left there feeling even more excited about the life we are creating together. I plan on writing a few posts about our experience and maybe I’ll even get Mr. A to guest host but here are the 7 things you should do everyday for a healthy marriage.

The Rule of 3

This might seem pretty straight forward but “touch” is a huge part of the way we connect! In this day and age, so many of us are busier than we’ve ever been and if you are a parent on top of that, time together can be very limited. When we show affection to each other we are acknowledging one another and giving the other attention (which can also be a sign of respect), showing them they are important and cherished and most importantly, affirming your bond to one another.

  • Kiss each other three times for 3 seconds everyday

  • Hug each other for 3 minutes everyday

  • Speak to each other (in a meaningful, undistracted conversation) for 30 minutes at least once a day -holding hands if possible

Unplug

Half of an adult’s day is spent consuming media. Reread that. Half. The average time adults spend on media (listening, watching, interacting) is 18+ hours a day. Young adults ages 18-34 spend 43% of their time consuming media on digital platforms. (Source: Nielsen) These statistics are so startling it makes me want to make major changes in my life. A few of these small steps can have a significant impact:

  • Set media boundaries. For example, no phones at the dinner table is a great one!

  • Place a limit on how many hours of television/phone/tablet etc. you use

  • Turn off all media 30 minutes before bed. This includes phones! This is part of the reason why we don’t like televisions in bedrooms. Bedrooms are for retreating, sleeping, connecting or mattress mambo. :)

Envision Your Marriage

Take time each day to envision what you want your marriage to look like. One of the exercises we did before we got married was write a family prayer. I definitely encourage you to do this with your spouse and family. You can call it a guide, blessing or mission statement/manifesto for your home but it was a great way for us to write down exactly how we want to live and what we hope to accomplish together as a family. Everyday we pray together. We pray for our family, our marriage and anything that is on our mind in our lives. Thoughts become things, things become habits. The more you envision what you want, the more likely you are to take the steps you need to make your vision become a reality.

Walk With Your Spouse

Ever since buying our home and becoming parents we’ve done a lot of walking. Maybe it’s cause when you have a newborn and want to get out of the house, a stroller walk seems like the easiest way to get fresh air. It could also be cause we are absolutely obsessed with our hood and love how close we are to the beach and all of our town’s stores and restaurants (we are so grateful). When we walk together we talk together. Go on a walk everyday with your spouse. Make it a thing. I’m telling you it will change your life. A walk is great for your heart (literally and figuratively). It gets your body moving, blood flowing and energy going. It allows you to decompress, connect with nature, relieve stress from the day and time to talk. And if you don’t want to talk, you are still walking side by side, breathing in fresh air, observing the world around you. We used to say that the sunshine was Milly’s babysitter cause no matter how upset she was we could take her outside and she would immediately stop fussing and start smiling. Connecting with the Earth allows us to connect with each other.

Do Something Together

This can be as simple as sharing a hobby or making dinner together. Even laying in bed and making a bucket list together, planning your next trip or reading the same book together (Chris and I do this sometimes) is doing something together! I know sometimes it can be easier for us to watch our own shows or do our own thing but incorporating each other in those hobbies or tasks or at least watching the show together is always better. You make memories and hopefully have a lot of fun. #BetterTogether

Let Go of the Little Things

The same things you fight about now will be the same things you fight about 20 years from now if you don’t let go of the little things. And, the little annoyances can lead to bigger issues if you don’t find a way to overcome them. Whether it’s figuring out who’s in charge of doing certain chores around the house but also understanding that all tasks are both of your responsibilities or accepting that they will always forget to hang up their wet towel and you’ve accepted you will always pick up the wet towel for them, you’ve gotta let go of the little things.

Teamwork Makes the Dream Work

No marriage is perfect. Even the healthiest marriages have challenges but what sets the ones that work and the ones that don’t apart- is exactly that. Work. Both people have to be on the same page about dealing with challenges and obstacles. This means resolving conflict together. And the quicker the conflict is resolved the better. Daily check ins are so crucial to making sure each person’s needs are being met. This is something you can do each evening or some time in the morning.

I’d love to know if you have any tips for living a healthy marriage or please share any activities, resources, etc you use in your relationship below. And keep coming back to the site for more posts as I continue to share more of what we learned at our retreat. Thank you!

Our Favorite Books for a One Year Old
6D4A1011.jpg

We’ve been reading books to Milly since she was in my belly. In addition to this being great for bonding (especially for Daddy and baby), it can also help stimulate baby’s senses and brain development. Once she was born we continued reading to her throughout the day and before bed. Over time we’ve seen huge growth in her language skills, her connection to pictures, recognizing things and imitating sounds. Her thirst for knowledge and learning is amazing! I will spend hours on the floor with her reading just to watch the excitement and joy she gets from each story. We have our favorite classics of course like Dr. Seuss’s ABC and The Very Hungry Caterpillar by Eric Carle but as Milly has gotten older she has her own favorites. And while we love going to the library each week to check out books and have different ones in rotation (I especially love checking out holiday or theme books out instead of buying them), these are the books I’m so glad we own and will cherish for years to come. The added bonus for a one year old is these are all hard back books which is key when your LO just wants to put every page in their mouth.

Little Blue Truck

We love the theme of this story which focuses on helping and togetherness all while learning the sounds of our favorite animals on the farm and of course, the little blue truck’s signature beep!

We’re Going On a Bear Hunt

I just adore this story so much. I could listen to Mr. A read it to Milly all night long. The adventure of going on a bear hunt and all the challenges they overcome along the way are great lessons for teaching courage and bravery!

The Pout-Pout Fish

This was the first book Milly ever kissed! Heehee. This story teaches you that it’s all about how you look at things and that sometimes all it takes is one person to make a big difference. It’s a very “cup half full” story and has wonderful repetition and rhyming.

Giraffes Can’t Dance

Similar to the theme of the Pout-Pout Fish, I love that this story teaches the beauty of differences and the unique qualities we each have. Such a powerful lesson to teach all of our children early on!

Little Blessings for Little Children

What we love about this book is that you discover something new every time you read it. The images are beautiful and the blessings featured are simple and pure. It’s a great book to reflect on all of the small things in our life that bring us joy and encourages a thankful heart.

Wherever You Are My Love Will Find You

This is one of those books that will make Mamas cry. It’s an opportunity to tell your children how loved they are and a daily read for our family. We adore several of her books.

Daddy and Me

All of Karen Katz’ books are great! She does lift-the-flap books really well. Milly loves the surprise element and getting to participate in the story. These can get torn by eager hands so be careful when leaving them out without grown up supervision.

`Baby Animals

These Indestructibles books are awesome! They can be chewed and pulled and won’t rip or tear. I like bringing these on trips or keeping in the diaper bag. Milly is such an animal lover and this book features a great variety of them!

Sophie la girafe: Colors

This flap book is super simple with a combination of colors, animals and everyday objects. Milly loves to lift the flaps to reveal the story and I really like that the author included unique names like Josephine, Margot and Gabin.

If You’re Happy and You Know It

This is a multi-cultural version of the traditional song which means it’s also an interactive music activity for us. Milly loves reading this book, clapping her hands and stomping her feet, etc. Featuring 36 different cultures it’s diverse, worldly and is truly a wonderful book.

Ring POPsicles
Photography Credit: Karen DeGrazio

Photography Credit: Karen DeGrazio

So Milly hates milk and I mean who can blame her when Mama’s milk is so good (breastfeeding joke-haha!) I’ve never been a fan of cows milk but give me all the cheese and ice cream. Love diary but not a cow’s milk drinker. We are basic b’s around here and love our organic almond milk, pea milk and always cereal milk. Ha! But when it comes to Milly’s health and how crucial it is for her to get essential vitamins and minerals (Vitamin D and Calcium) plus dietary fats for brain development (80% of your child’s brain development happens before they are 2 years old-whoa!), proteins plus all the other essential nutrients in whole milk- I had to get creative. Easy. Whole milk yogurt popsicles. This isn’t a new idea. My sister has been making these for my nephews for years and the last time we were in AZ visiting them they made Milly her own and she was all over them (her cousins and the popsicles).

Photography Credit: Karen DeGrazio

Photography Credit: Karen DeGrazio

What I like about having these on hand is they act as a “special treat/dessert” even though they aren’t really a dessert at all. I mean… the way I make them they are pretty straight forward. I like to buy a large tub of organic pasture raised plain whole milk yogurt and flavor it myself but you can also buy the flavored ones. I will add fresh or frozen fruit purees, fresh or frozen fruit and some spices if I’m feeling naughty.

Photography Credit: Karen DeGrazio

Photography Credit: Karen DeGrazio

These are one part organic pumpkn puree, two parts whole milk yogurt and a few sprinkles of cinnamon and nutmeg. Very PSL minus the L and 100% basic b again. Milly loves them! They aren’t sweet at all but super flavorful. A quick hack for making them even easier is just alternate squeezing a pouch of yogurt with your favorite fruit pouch and freeze! No excuses for not making your babes something semi-homemade!

Photography Credit: Karen DeGrazio

Photography Credit: Karen DeGrazio

I love these popsicles so much. Some days they are breakfast pops, other days an afternoon snack, her appetizer for dinner. I just love she’s getting another source of calcium in addition to other calcium rich foods she eats like greens, tempeh, almond butter, broccoli, pinto beans. Plus how freaking cute are these ring pop molds. Don’t think I wasn’t going to gush about how stinkin adorable these are!!!

Photography Credit: Karen DeGrazio

Photography Credit: Karen DeGrazio

Super affordable and didn’t need all 18 so we gave a set to our friends. The molds I got for my sis when her boys were small are these and I think I might like them better but you get half the amount of pops so just depends on what you need.

Photography Credit: Karen DeGrazio

Photography Credit: Karen DeGrazio

I love that they’re the perfect size for little hands and so soothing for swollen gums and teething mouths! Milly has fun trying to get to the frozen blueberries hidden inside so in some ways it’s a bit of an activity her.

Photography Credit: Karen DeGrazio

Photography Credit: Karen DeGrazio

I’d love to know what combinations you come up with. Let me know in the comments below and post your ring pop pics on IG and tag me @BrandiMilloy #BrandisBites.


DIY Toddler Learning Tower Stool
6D4A1154.jpg
6D4A1157.jpg
6D4A1160.jpg
7793376560_IMG_7165.JPG

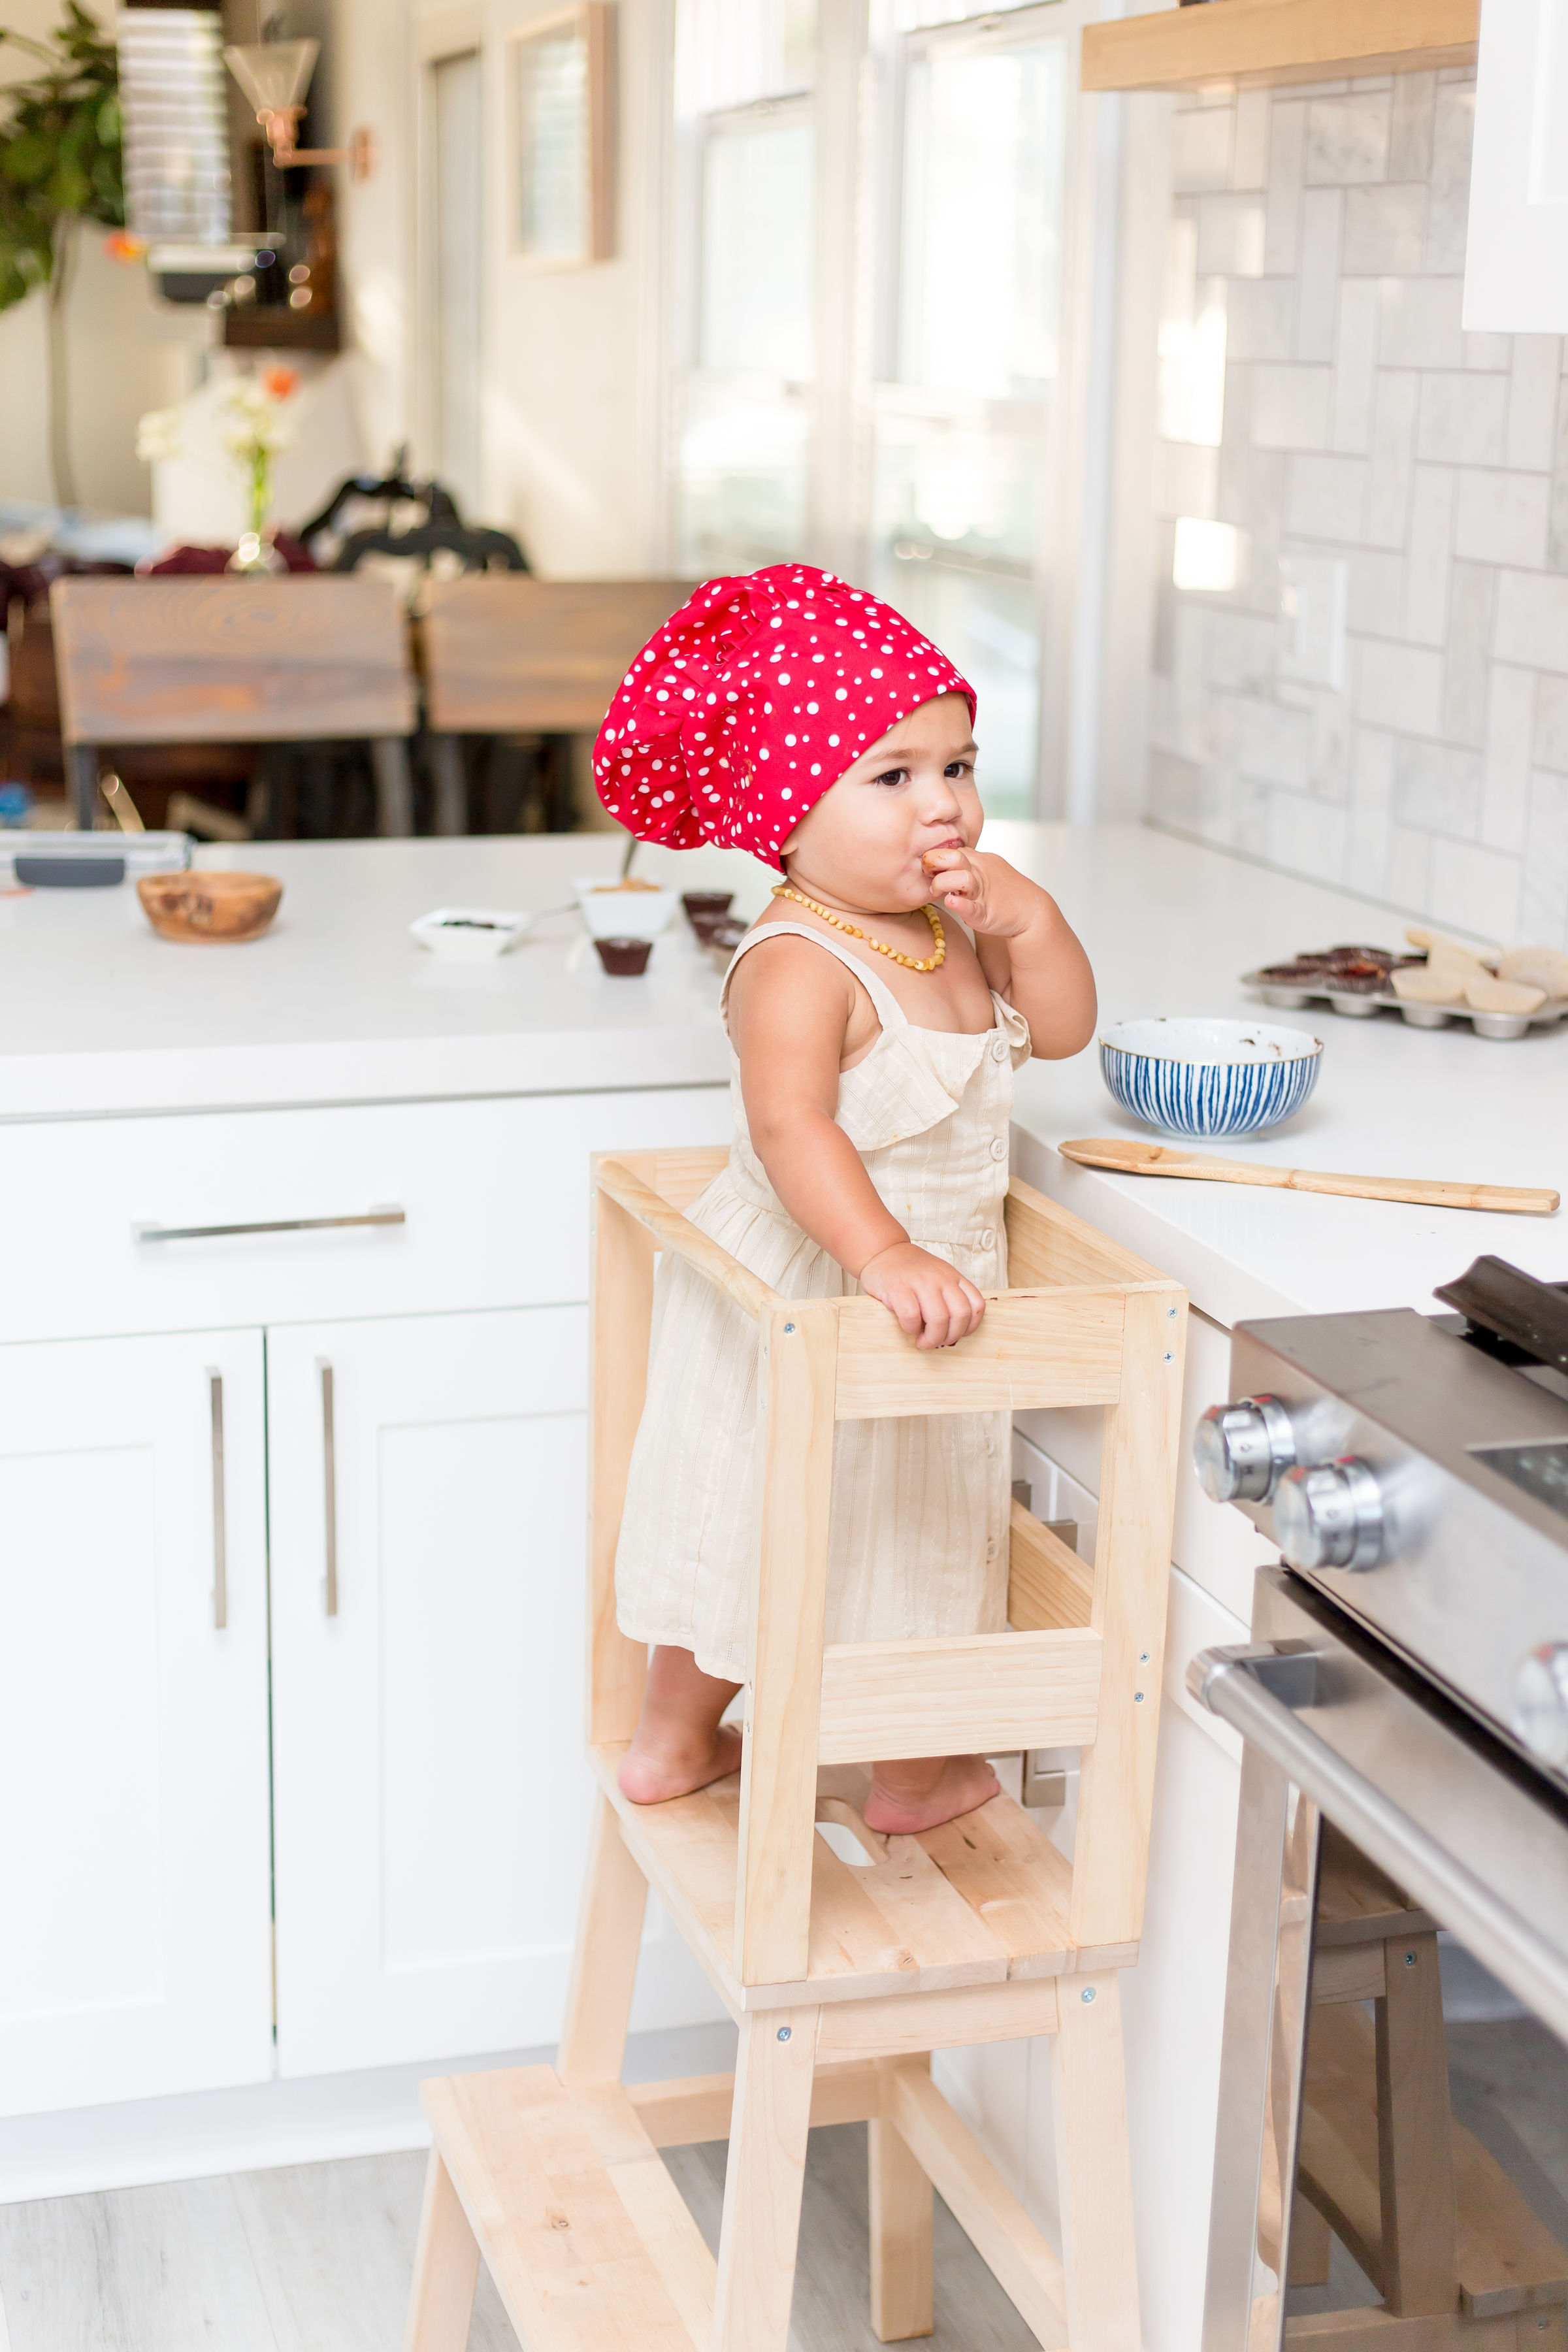
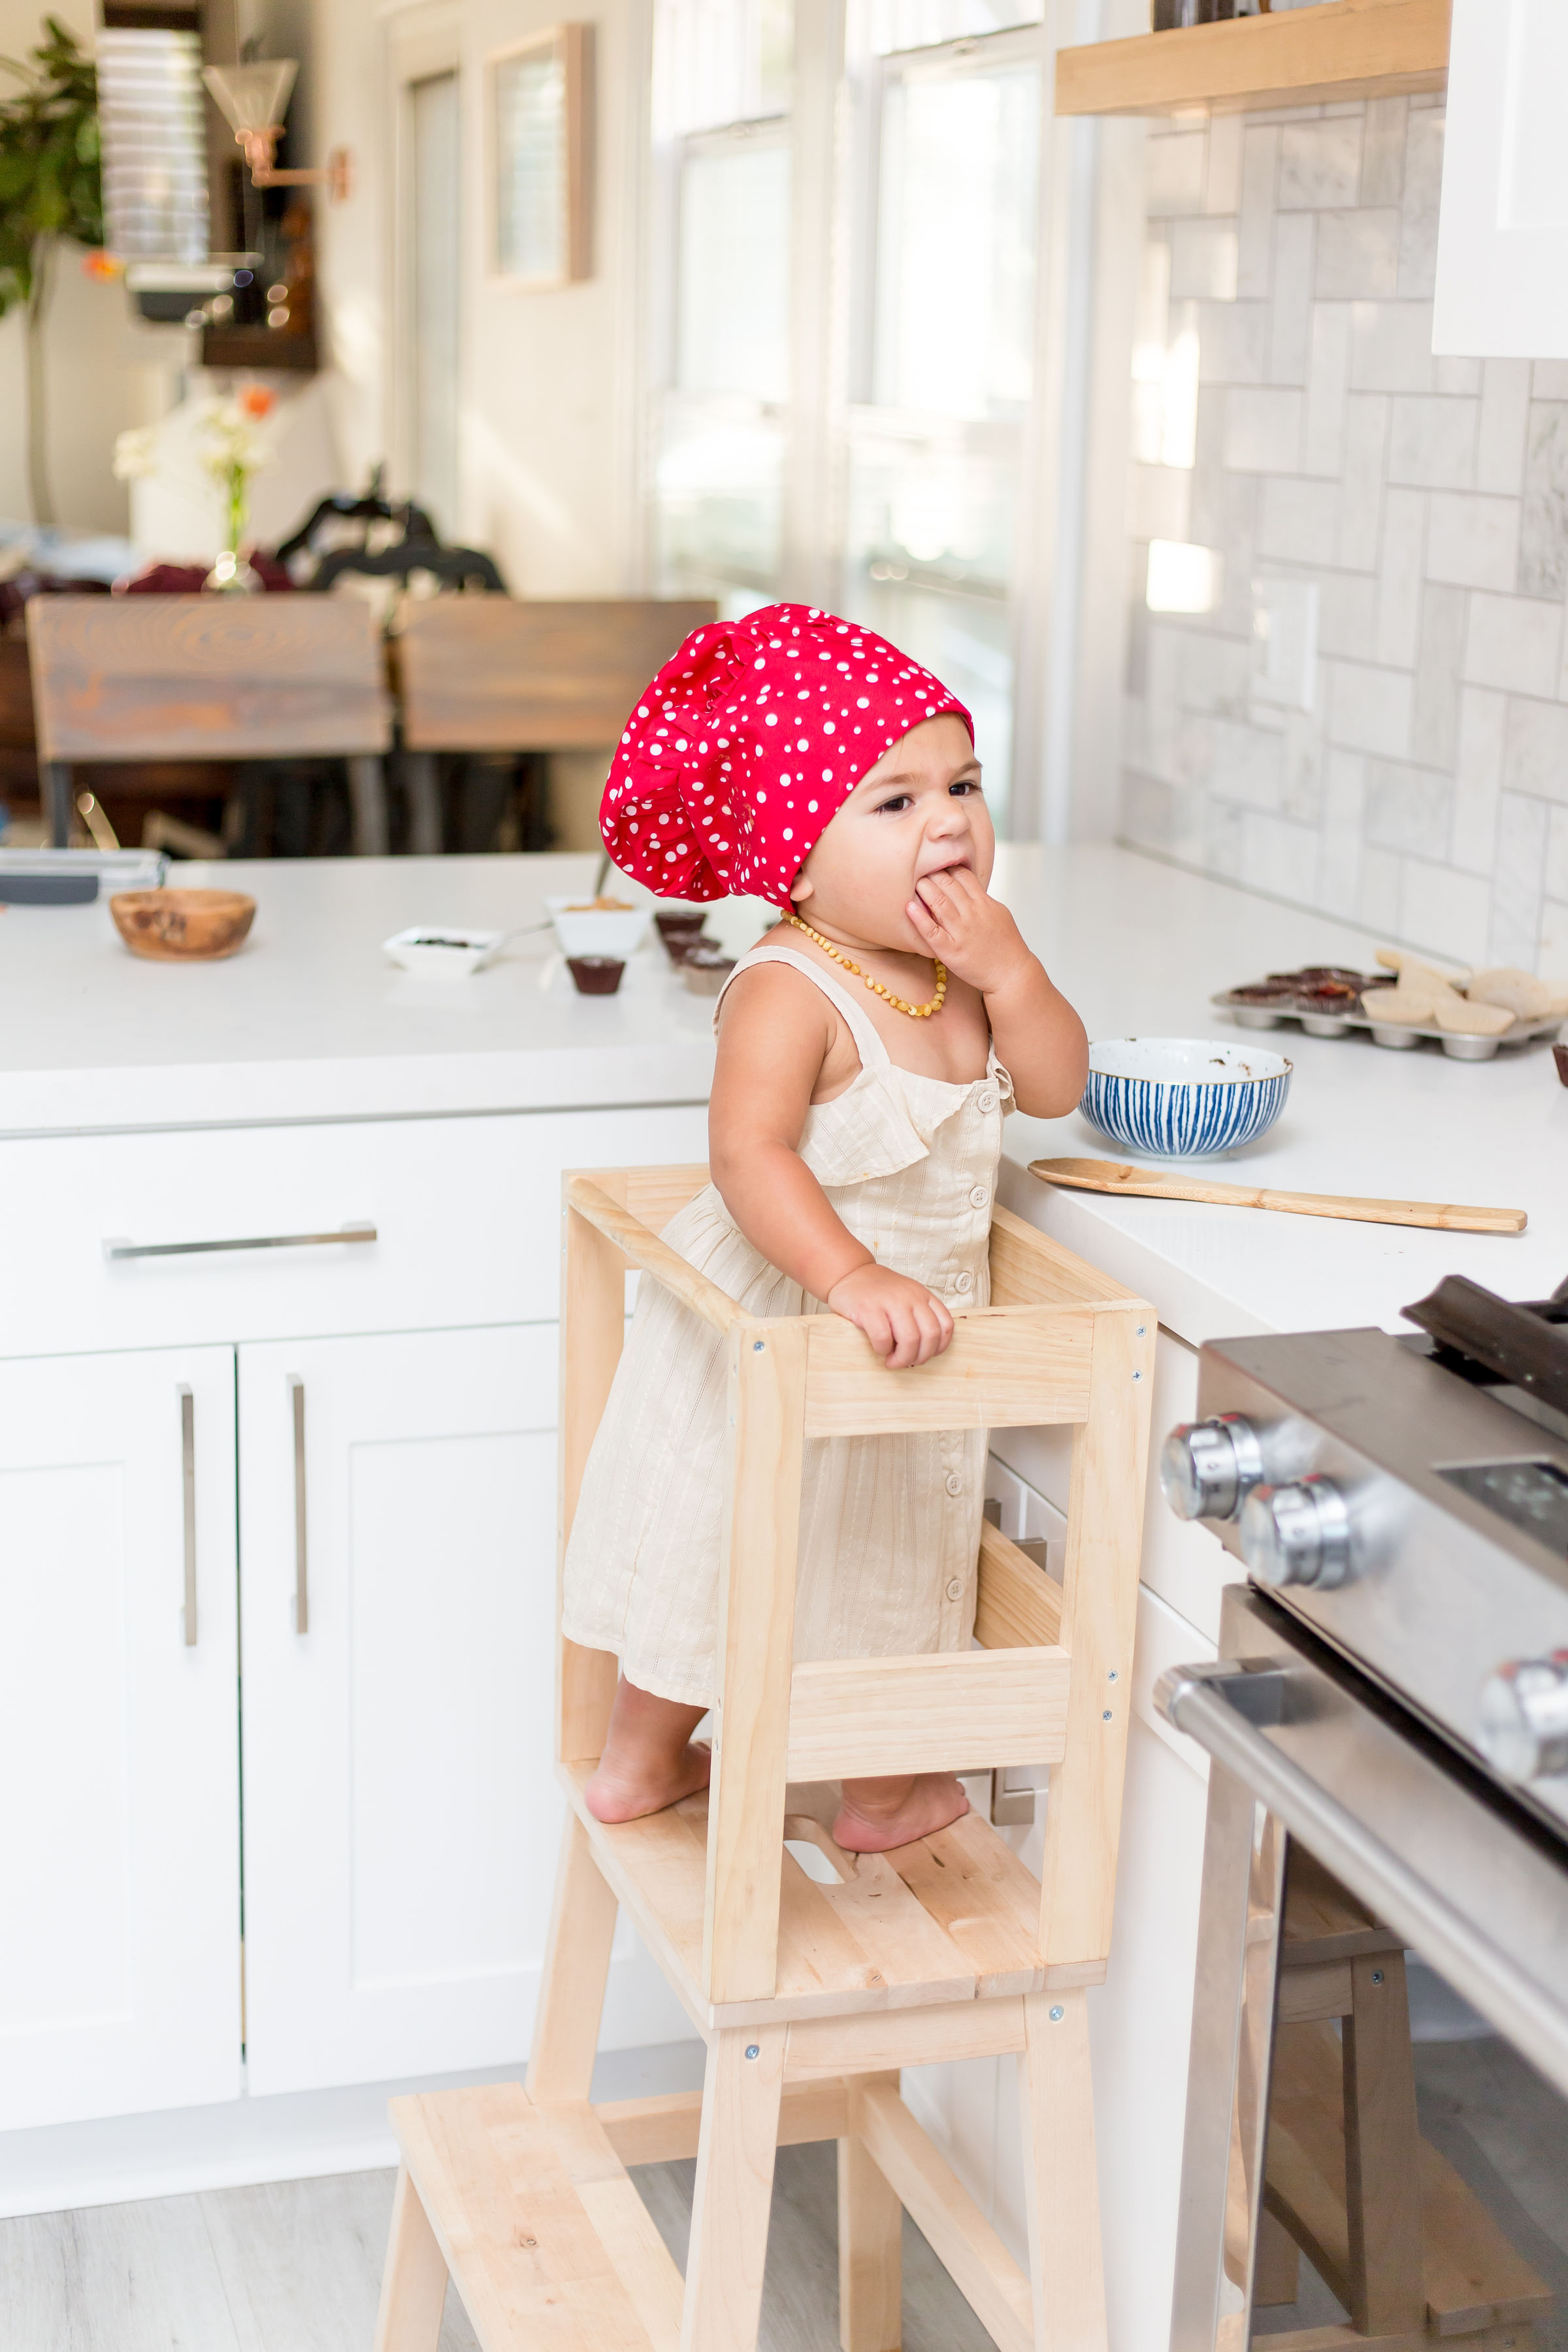
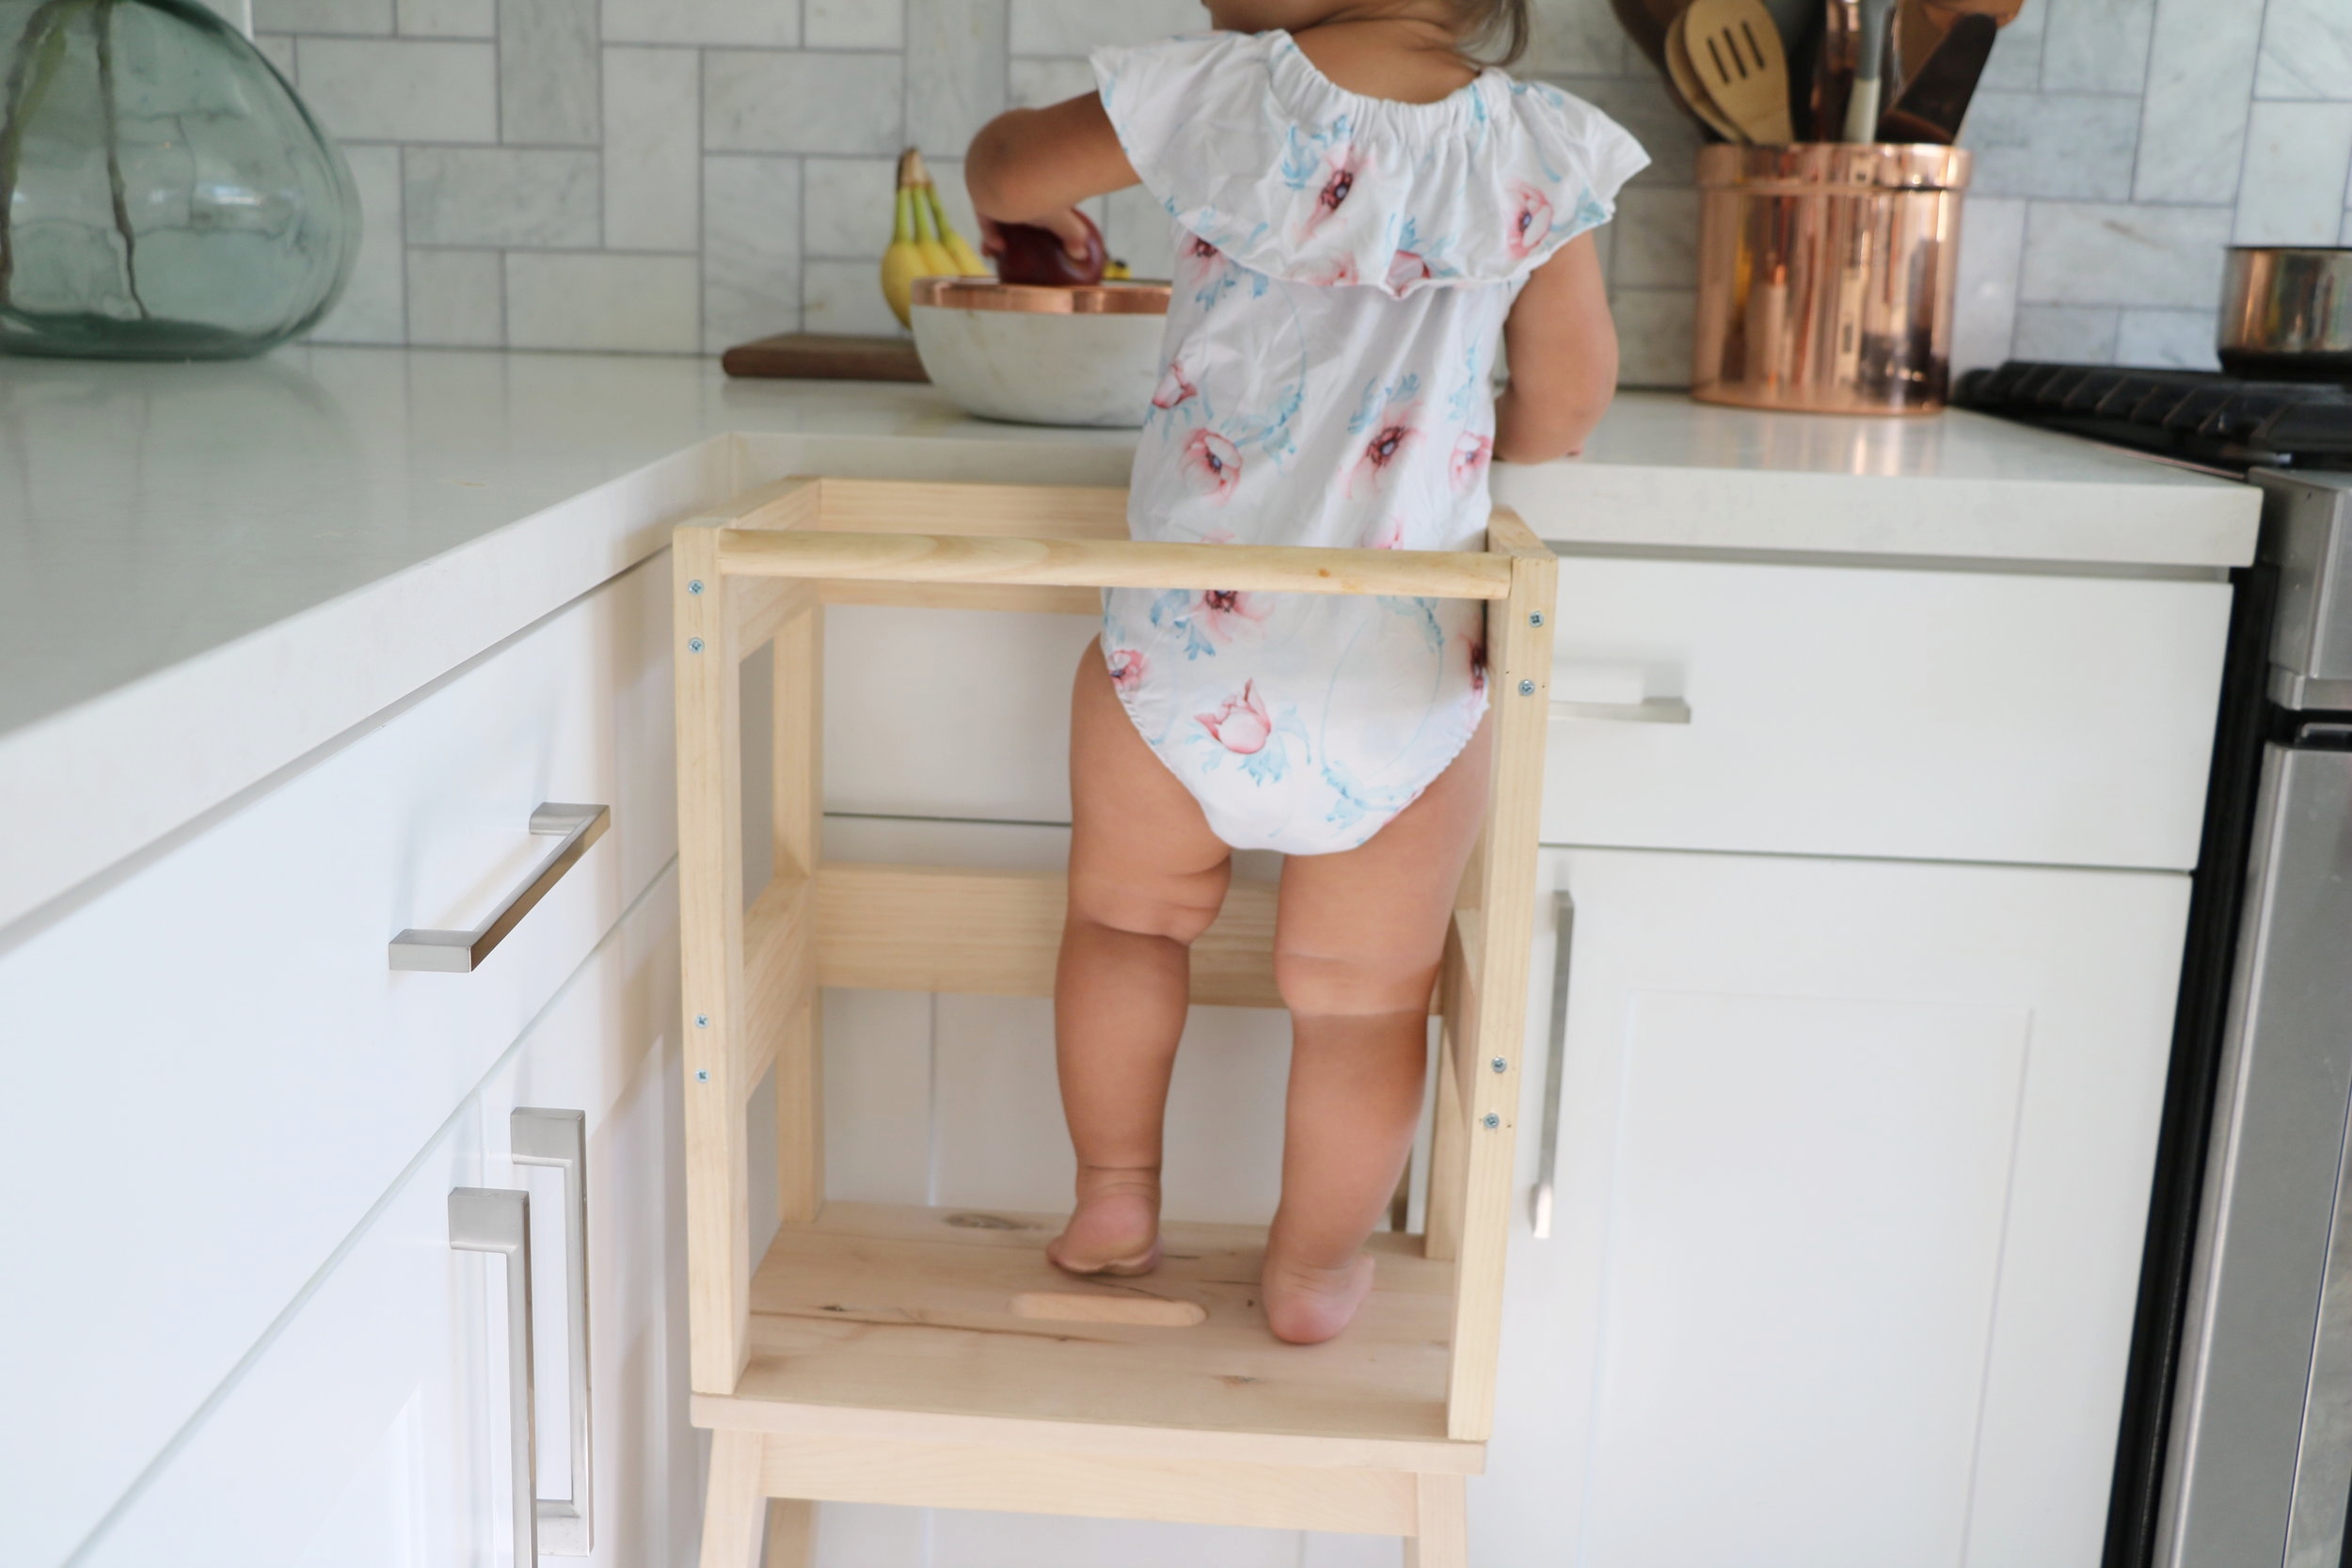
Ever since Milly was an infant she’s been hanging out in the kitchen with us. When she was an itty bitty babe I’d wear her in my wrap or carrier and she’d watch me put dishes away or prepare meals. Many times we would keep her in the dock-a-tot on our island in the kitchen and she’d watch us cook and eat. Once she was sitting up, she’d sit in her chair and watch me from the counter. I’ve always encouraged participation in the kitchen. When she was old enough to grasp things I’d let her stir a dish or press the button on the mixer. I love how interested she is in learning! If there’s anything I’ve taken away from parenting it’s to embrace the messy and give your child the liberty and independence to learn. Every day there is something new to discover! So you would imagine as soon as she was big enough to cruise and then stand, she was always tugging at me trying to see what I was doing and get in on the action. One could think your child is whining or getting fussy because they want a toy or want you to stop what you’re doing but with Milly, as soon as I picked her up and showed her what I was doing she was immediately engaged and excited. Once this clicks, it’s a lifesaver for continuing your day and getting all that household business done. Even just explaining to Milly what I’m doing or why I’m doing it makes her feel like she’s involved. They just want to help and be a part of whatever you’re doing! I couldn’t wait to have Mr. A help me make this learning tower stool IKEA hack I found on Happy Grey Lucky (the link is below!) And by help, I mean I picked up the $19 stool from IKEA. :) He did everything else.

7856249408_IMG_7171.JPG

What I love about this learning tower stool is the design. It’s sleek, modern and I like the raw pine look. We haven’t put the finishing touches on (we plan on covering the screws with wood filler, staining it slightly and then sealing it with poly to make clean up super easy) but I love the way it turned out!

6D4A1153.jpg

There are a lot of similar stools available but they are bulky and large and in our amazing bungalow, space is limited. Plus, they cost anywhere from $200-$250 and this entire hack cost us less than $50! This is something Milly will use for at least 3-4 years and hopefully one day her little brother or sister will enjoy it too. Be sure to follow me on instagram to see the many ways we use it for learning and hands on activities!

7856243792_IMG_7169.JPG

For the full tutorial go to Happy Grey Lucky!

Pumpkin Spice Blueberry Donuts

Blueberries are an absolute staple in our home so I’m thrilled to partner with the U.S. Highbush Blueberry Council on some fun and easy recipes like these pumpkin spice blueberry donuts. Some might argue these aren’t donuts because they aren’t fried but I promise you they are every bit delicious. These cake donuts are fluffy and tender with juicy blueberries, a creamy frosting and if you like pumpkin spice-they have all those warm comforting flavors that instantly get you in the fall mood.

6D4A1137.jpg

And when I say this recipe is easy, I mean SO simple! All you need is pumpkin bread/muffin mix, oil, eggs, water and blueberries!

6D4A1349.jpg

You basically make the batter, fold in the blueberries and then pour it into your donut pan and bake. That’s it. This is the donut pan I use.

6D4A1436.jpg

If you want to add a simple glaze on top, you need a little bit of powdered sugar, water or milk (I used almond milk cause that’s what we had on hand) and some chopped blueberries. Then just frost them after they’ve cooled.

6D4A1369.jpg

Even my 15 month old daughter, Milly was able to join in on the fun! If you’re like me and your kiddos won’t let you do anything without them, invite them to help you! I love using cooking and baking as a teaching tool. I had Milly help me add the blueberries to the batter. It may have took her a while and she ate about half of the blueberries but she did it and was so proud of herself!

6D4A1208.jpg
6D4A1241.jpg

For a finishing touch, I added a few fresh blueberries on top of each donut while the frosting was still wet and I had Milly help with this too.

6D4A1395.jpg
6D4A1264.jpg

I mean, can you even with those cute chubby baby hands!?

6D4A1274.jpg
6D4A1292.jpg

I just love this recipe and I hope you do too. The flavors of the pumpkin spice and blueberries work so well together and frankly, I think it’s a beautiful treat to show off at any of those holiday parties you have coming up!
6D4A1472.jpg
6D4A1324.jpg
recipe.jpg

Photography Credit: @Ographr

A Mermaid Inspired Dessert Table
JQ2_0643.jpg

I adore a good dessert table. It's perfect for someone like me that can never just commit to one dessert. Anyone else want the cookie AND the ice cream? I remember when I was a little kid and my parents would let us get one treat-I'd always try to find a way to get two! Why have just ice cream when you can get an ice cream sandwich with two chewy cookies hugging that ice cream. Right?! A dessert table at a party is always a good thing...and in some ways it's easier! Making a batch of a few things brings me so much more joy than stressing about making one gigantic perfect cake. And something I've learned in my years of hosting parties and my experience owning a dessert catering company (raise your hand if you knew this-and if you didn't-let me know in the comments below and if you want me to blog about that amazing adventure) is not everyone likes cake (gasp!). So I knew a dessert table was the way to go when it came to our daughter, Milly's first birthday shellebration! 

JQ2_0771.jpg

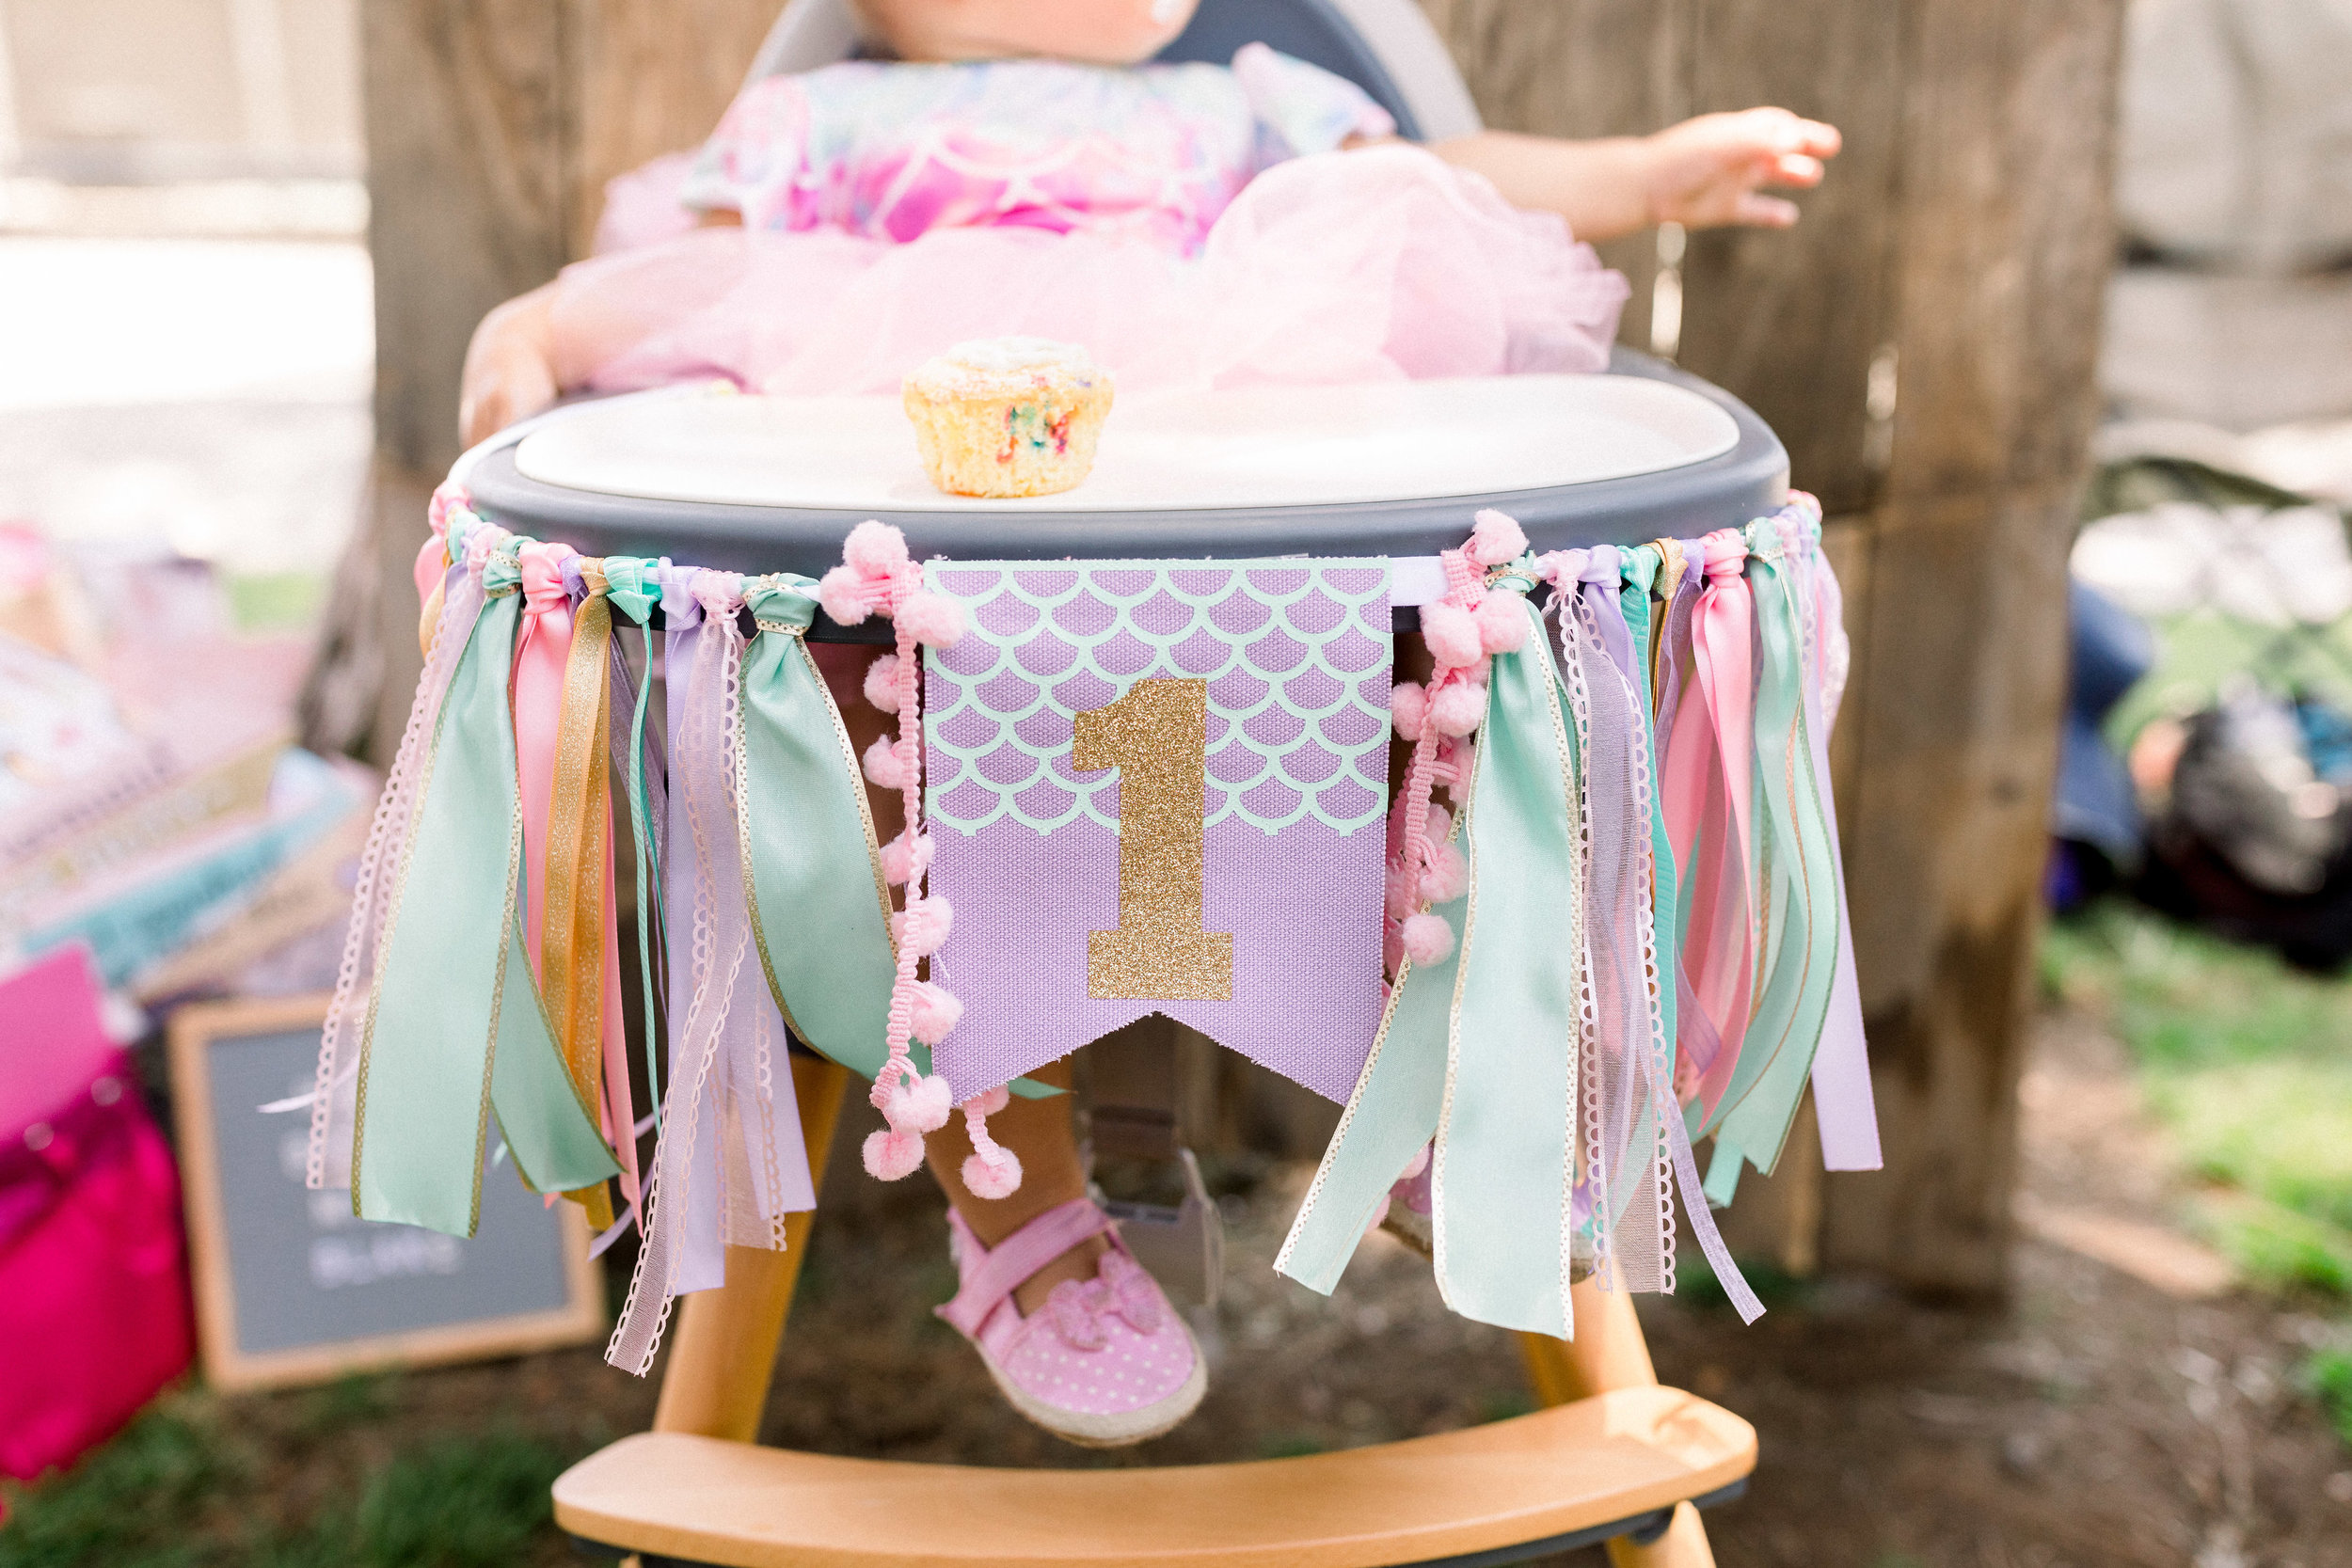
How cute is this babe holding her birthday cake truffle? For the record Mama took it out of her hand before she could sneak a bite (sorry baby girl!).  If you read Milly's first birthday party post, then you already know I didn't end up making her a homemade smash cake like I wanted to. We actually didn't let her do a smash cake at all and guess what? It was fine! She already got her first taste of buttercream when we gave her a cupcake during her one year photos and that was enough for both Mr. A and I to agree that we don't need to let our babe go ham on some cake. 

JQ2_0654.jpg

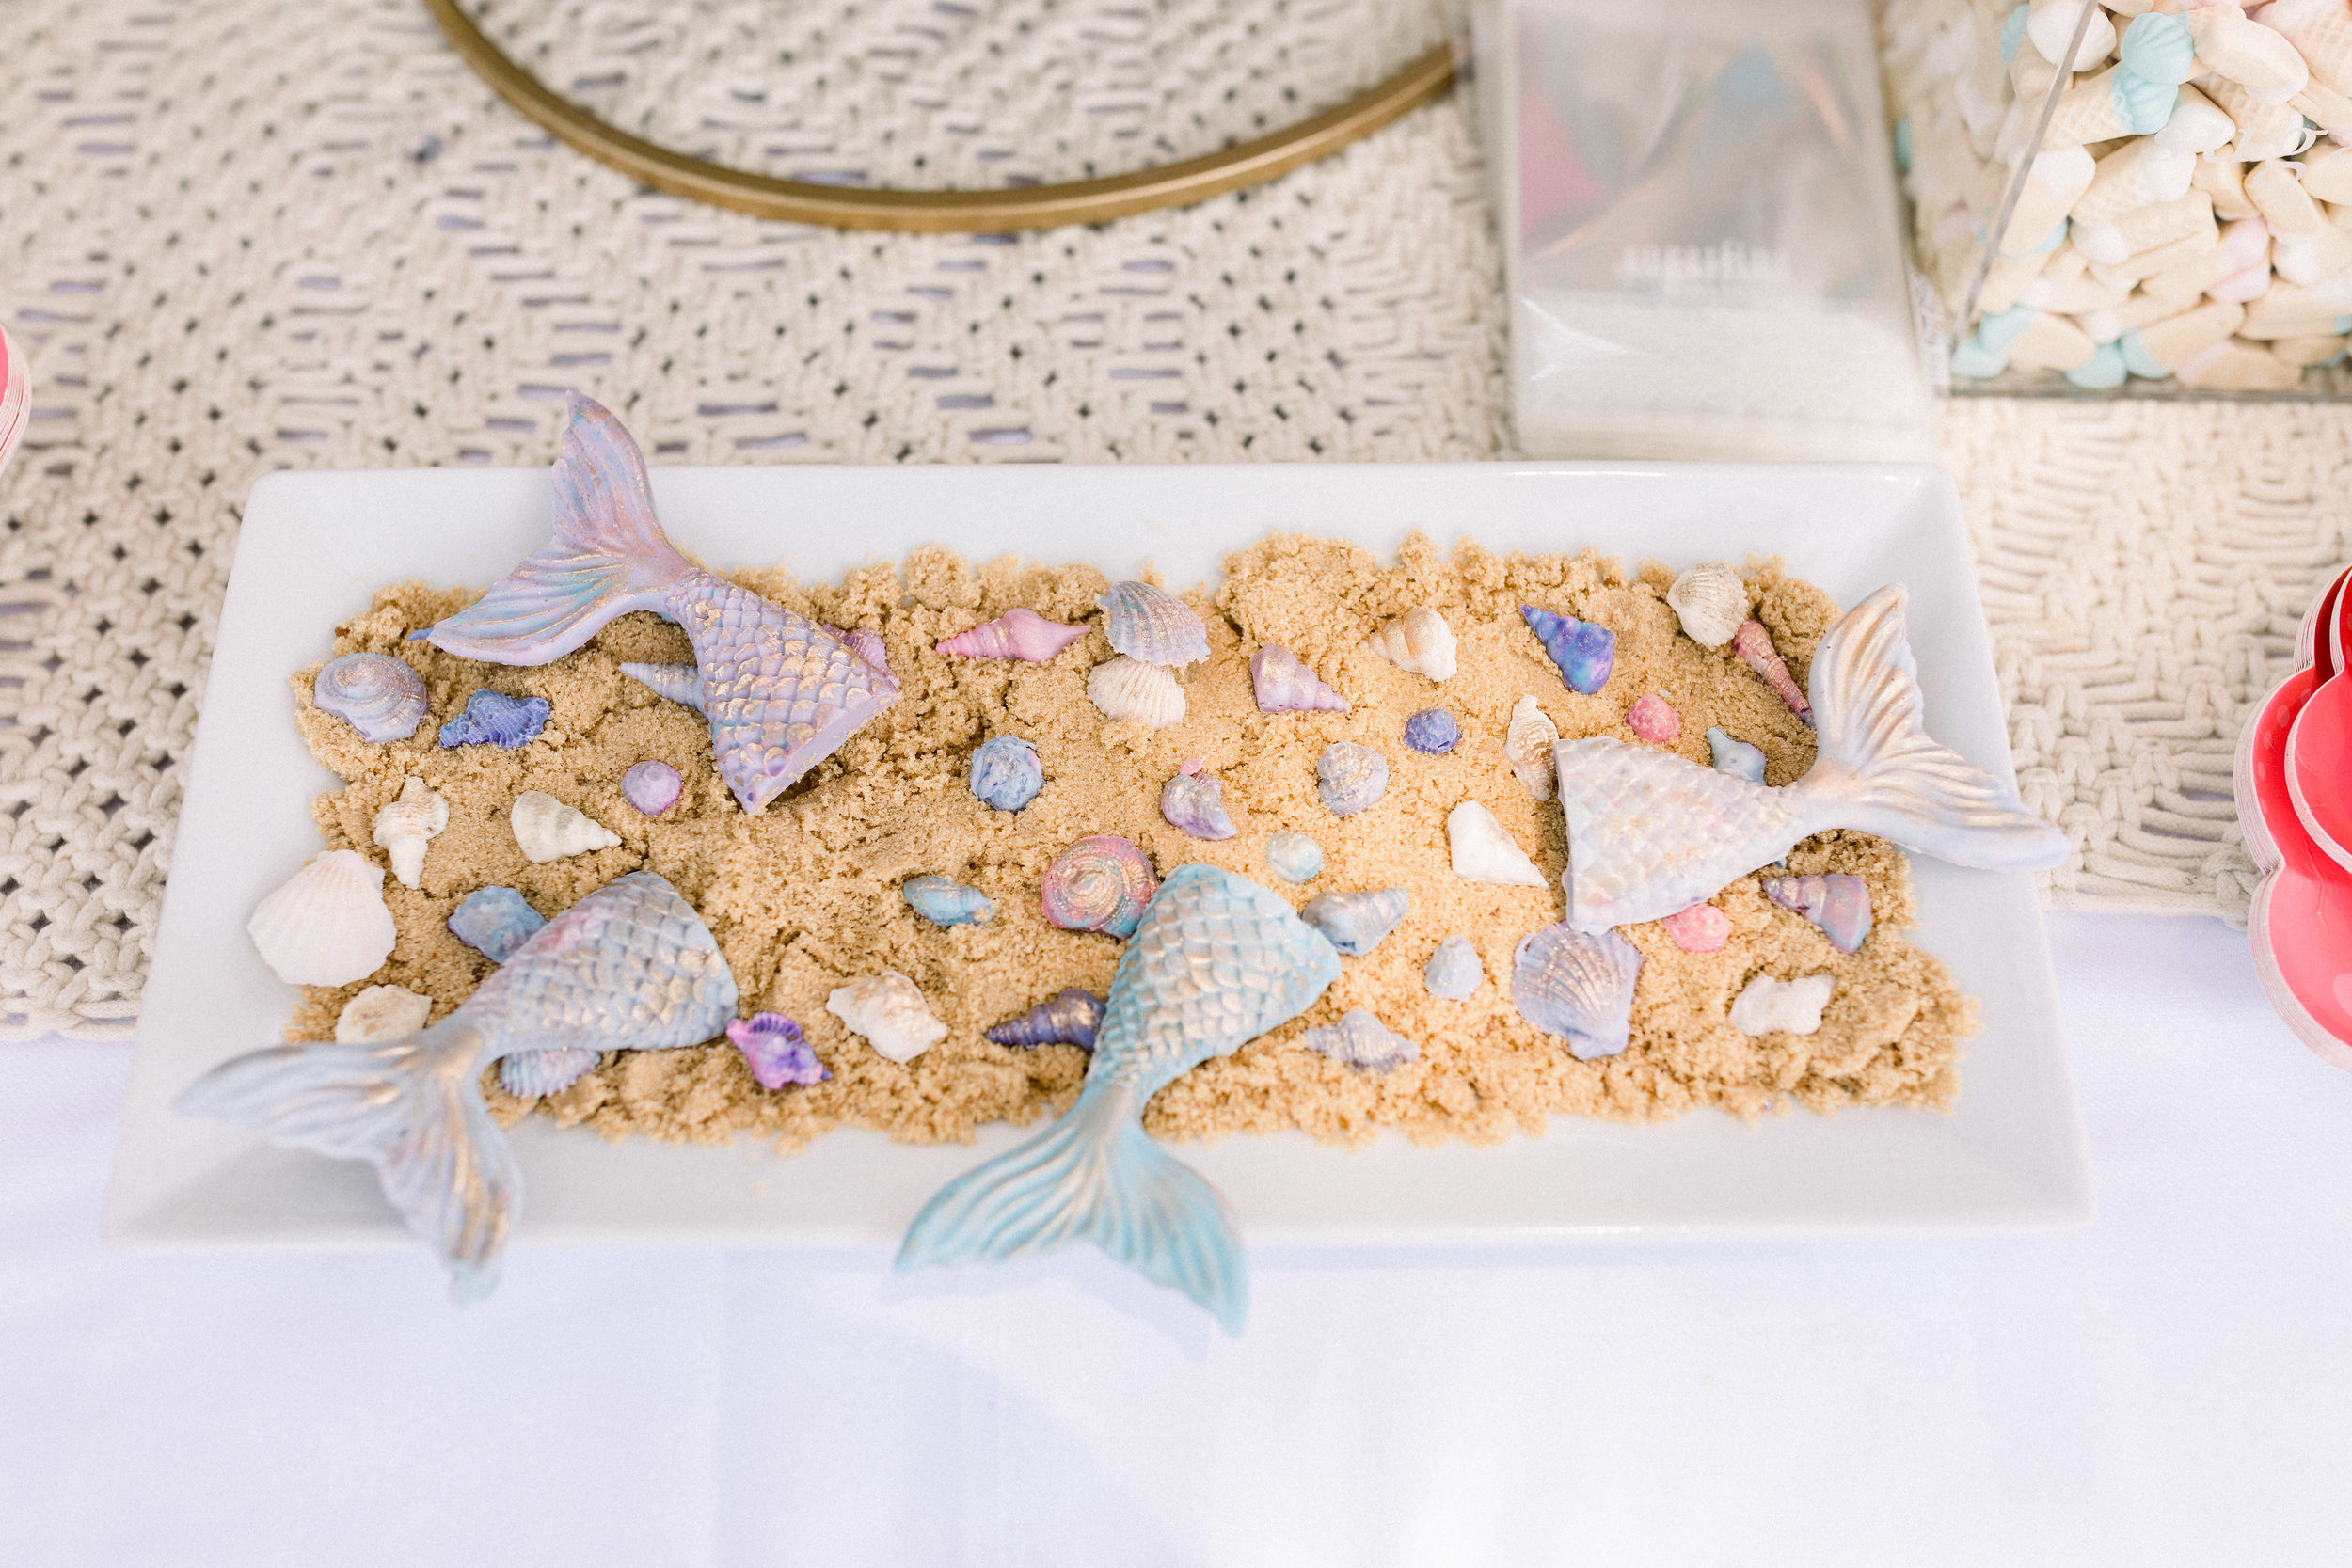
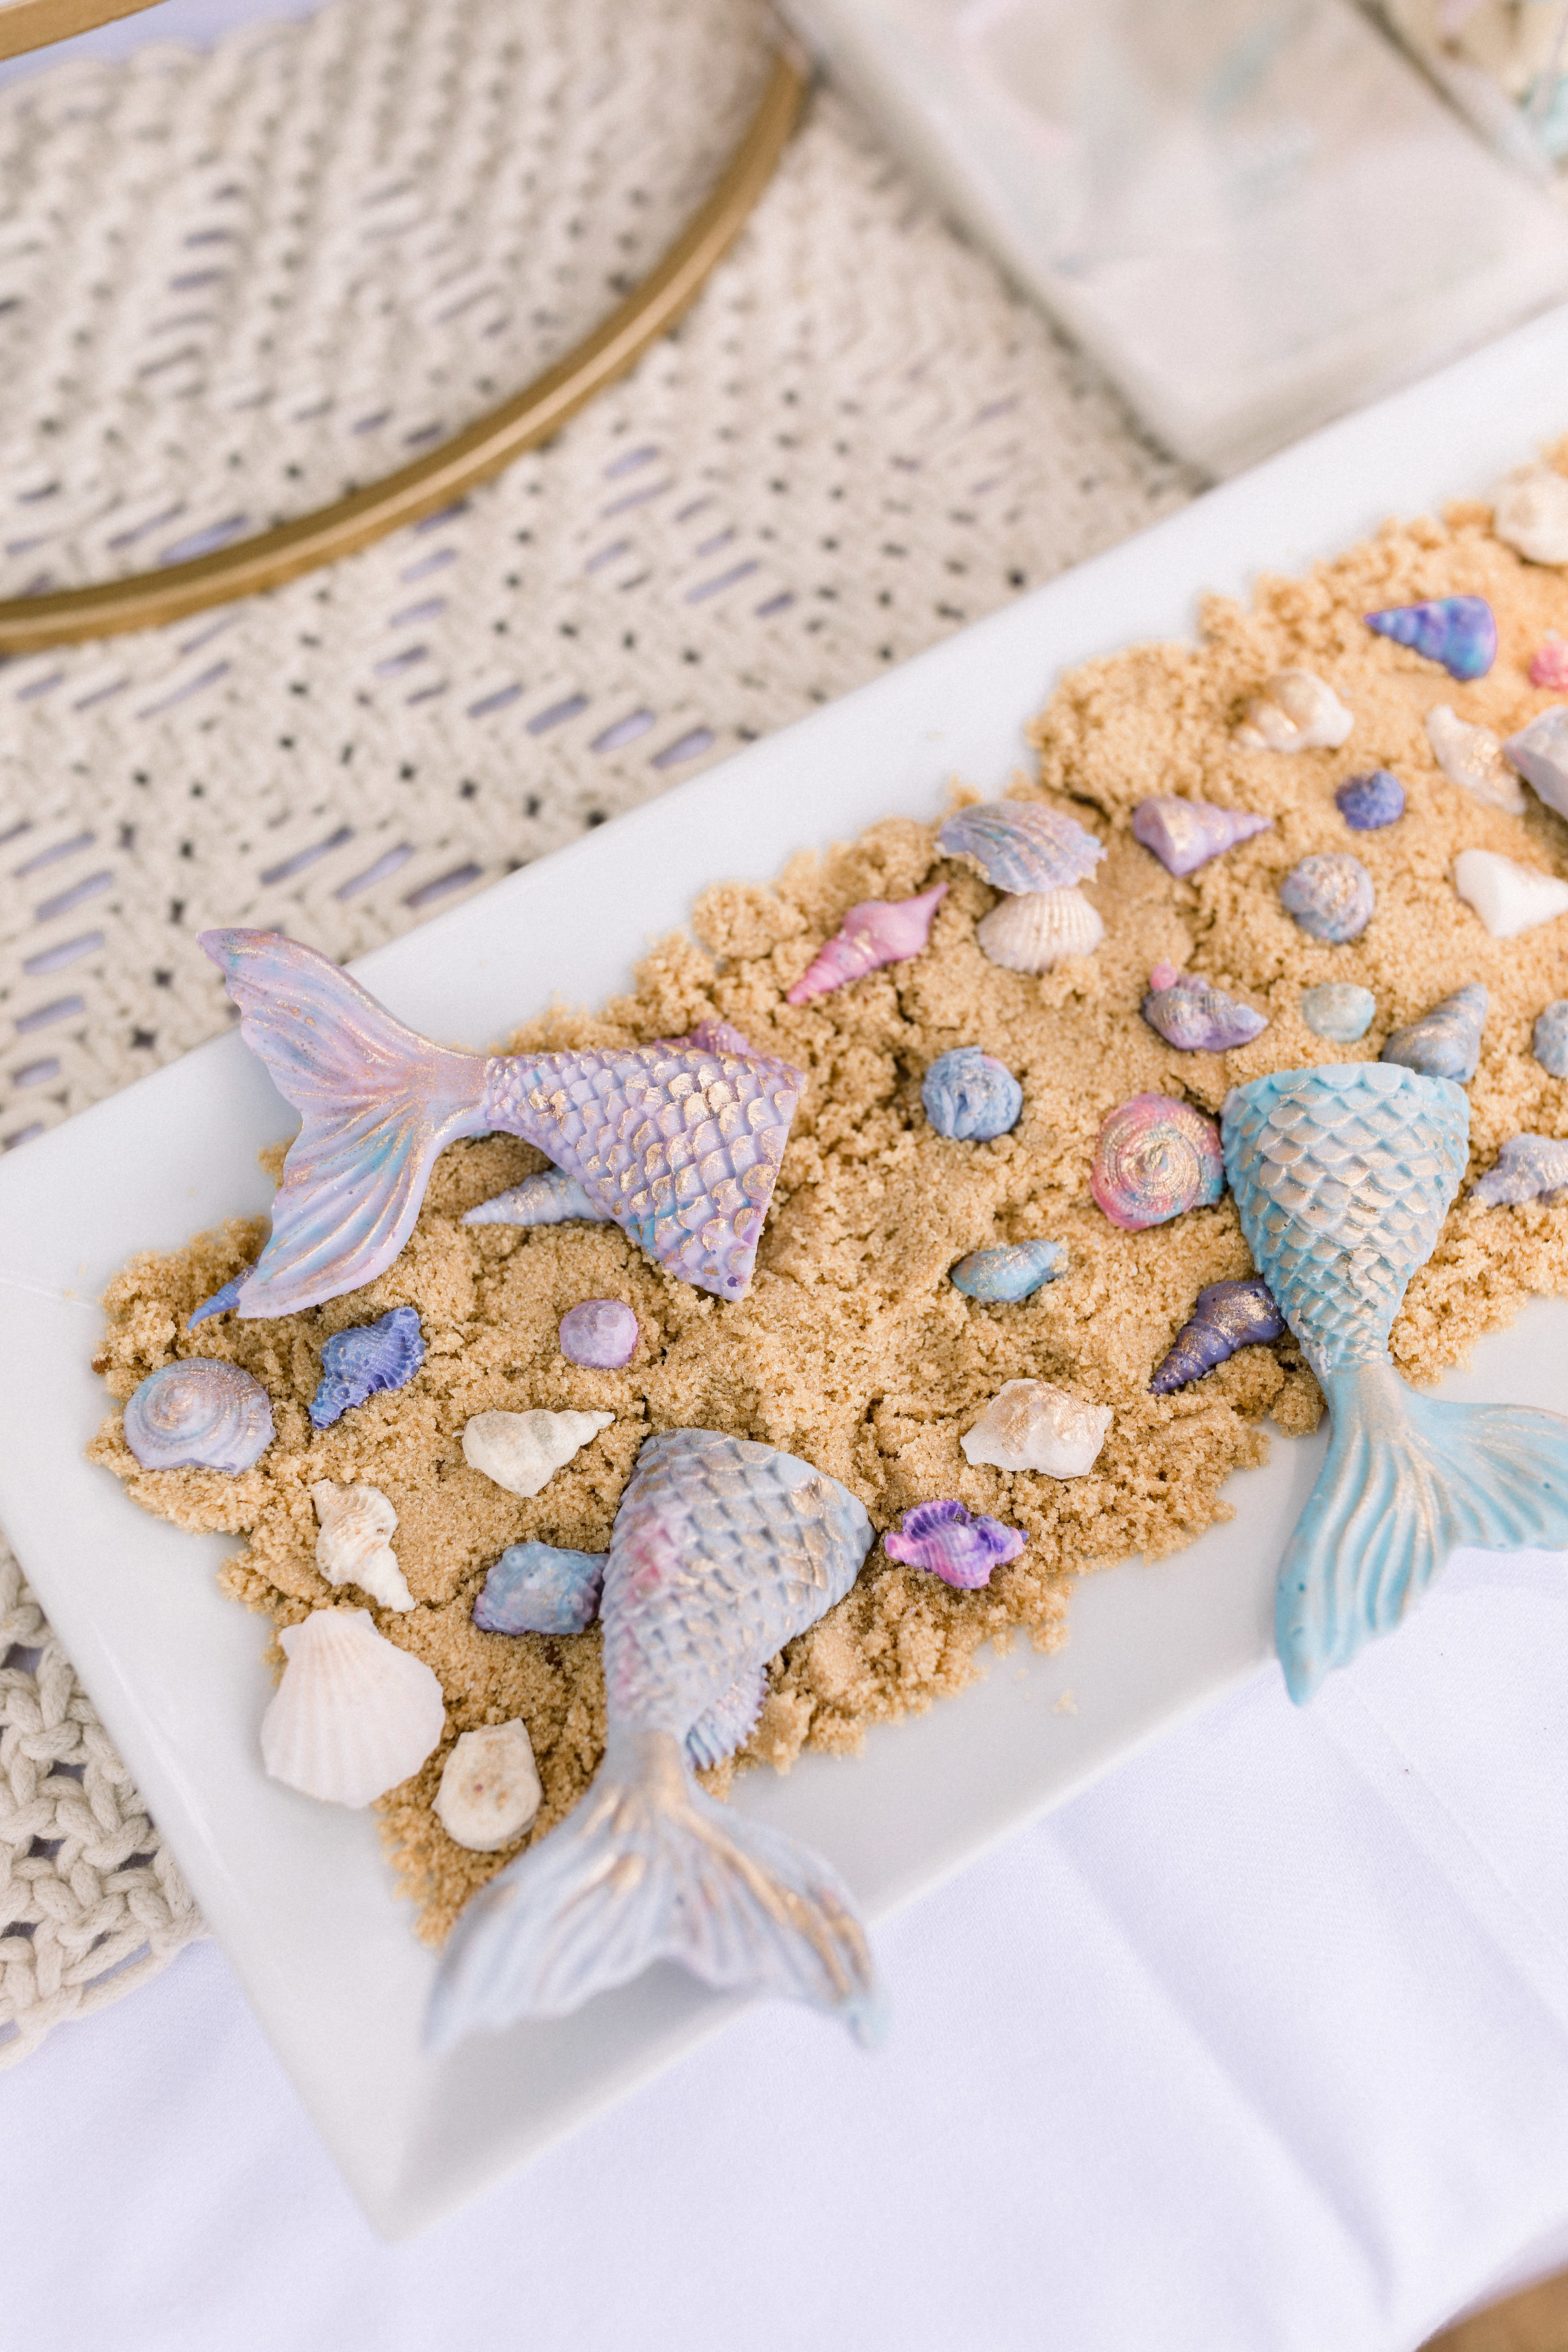
We did however make sure we had cake for our guests! I ordered our favorite birthday cake and truffles from Momofuku Milkbar and made my favorite funfetti cupcakes topped with chocolate seashells and mermaid tails.

JQ2_0658.jpg

These are SO easy to make and you can find the molds for each online. Scroll down for the full recipe/directions on how to make these. 

JQ2_0670.jpg

One of the easiest treats to make ahead of time for a party are marshmallow treats! You can't tell, but these are made with brown butter giving them a salty caramel flavor.  It's my absolute favorite way to elevate any dessert.  Then while they were still warm, I sprinkled my favorite sprinkles from Sweetapolita on top. These were gone in like .2 seconds!

JQ2_0680.jpg

And if that's too much work and you want to keep things simple, host a candy bar! Even if it's just to see adults act like giddy little kids-have a candy bar at your party.  I'm telling you it's amazing! We love Sugarfina because they have all the best candy.

JQ2_0659.jpg

I'm partial to gummies so we chose 5 of our favorites (baby whales, peach bellini, baby butterflies, apple frogs and ice cream cones). Nothing brings me more joy than to watch the look on people’s faces as they load up their candy bag! I also love how this pretty much acts as a party favor meaning one less thing I need to do which by the way-I don’t like party favors and think they’re a total waste of money. :)

JQ2_0661.jpg

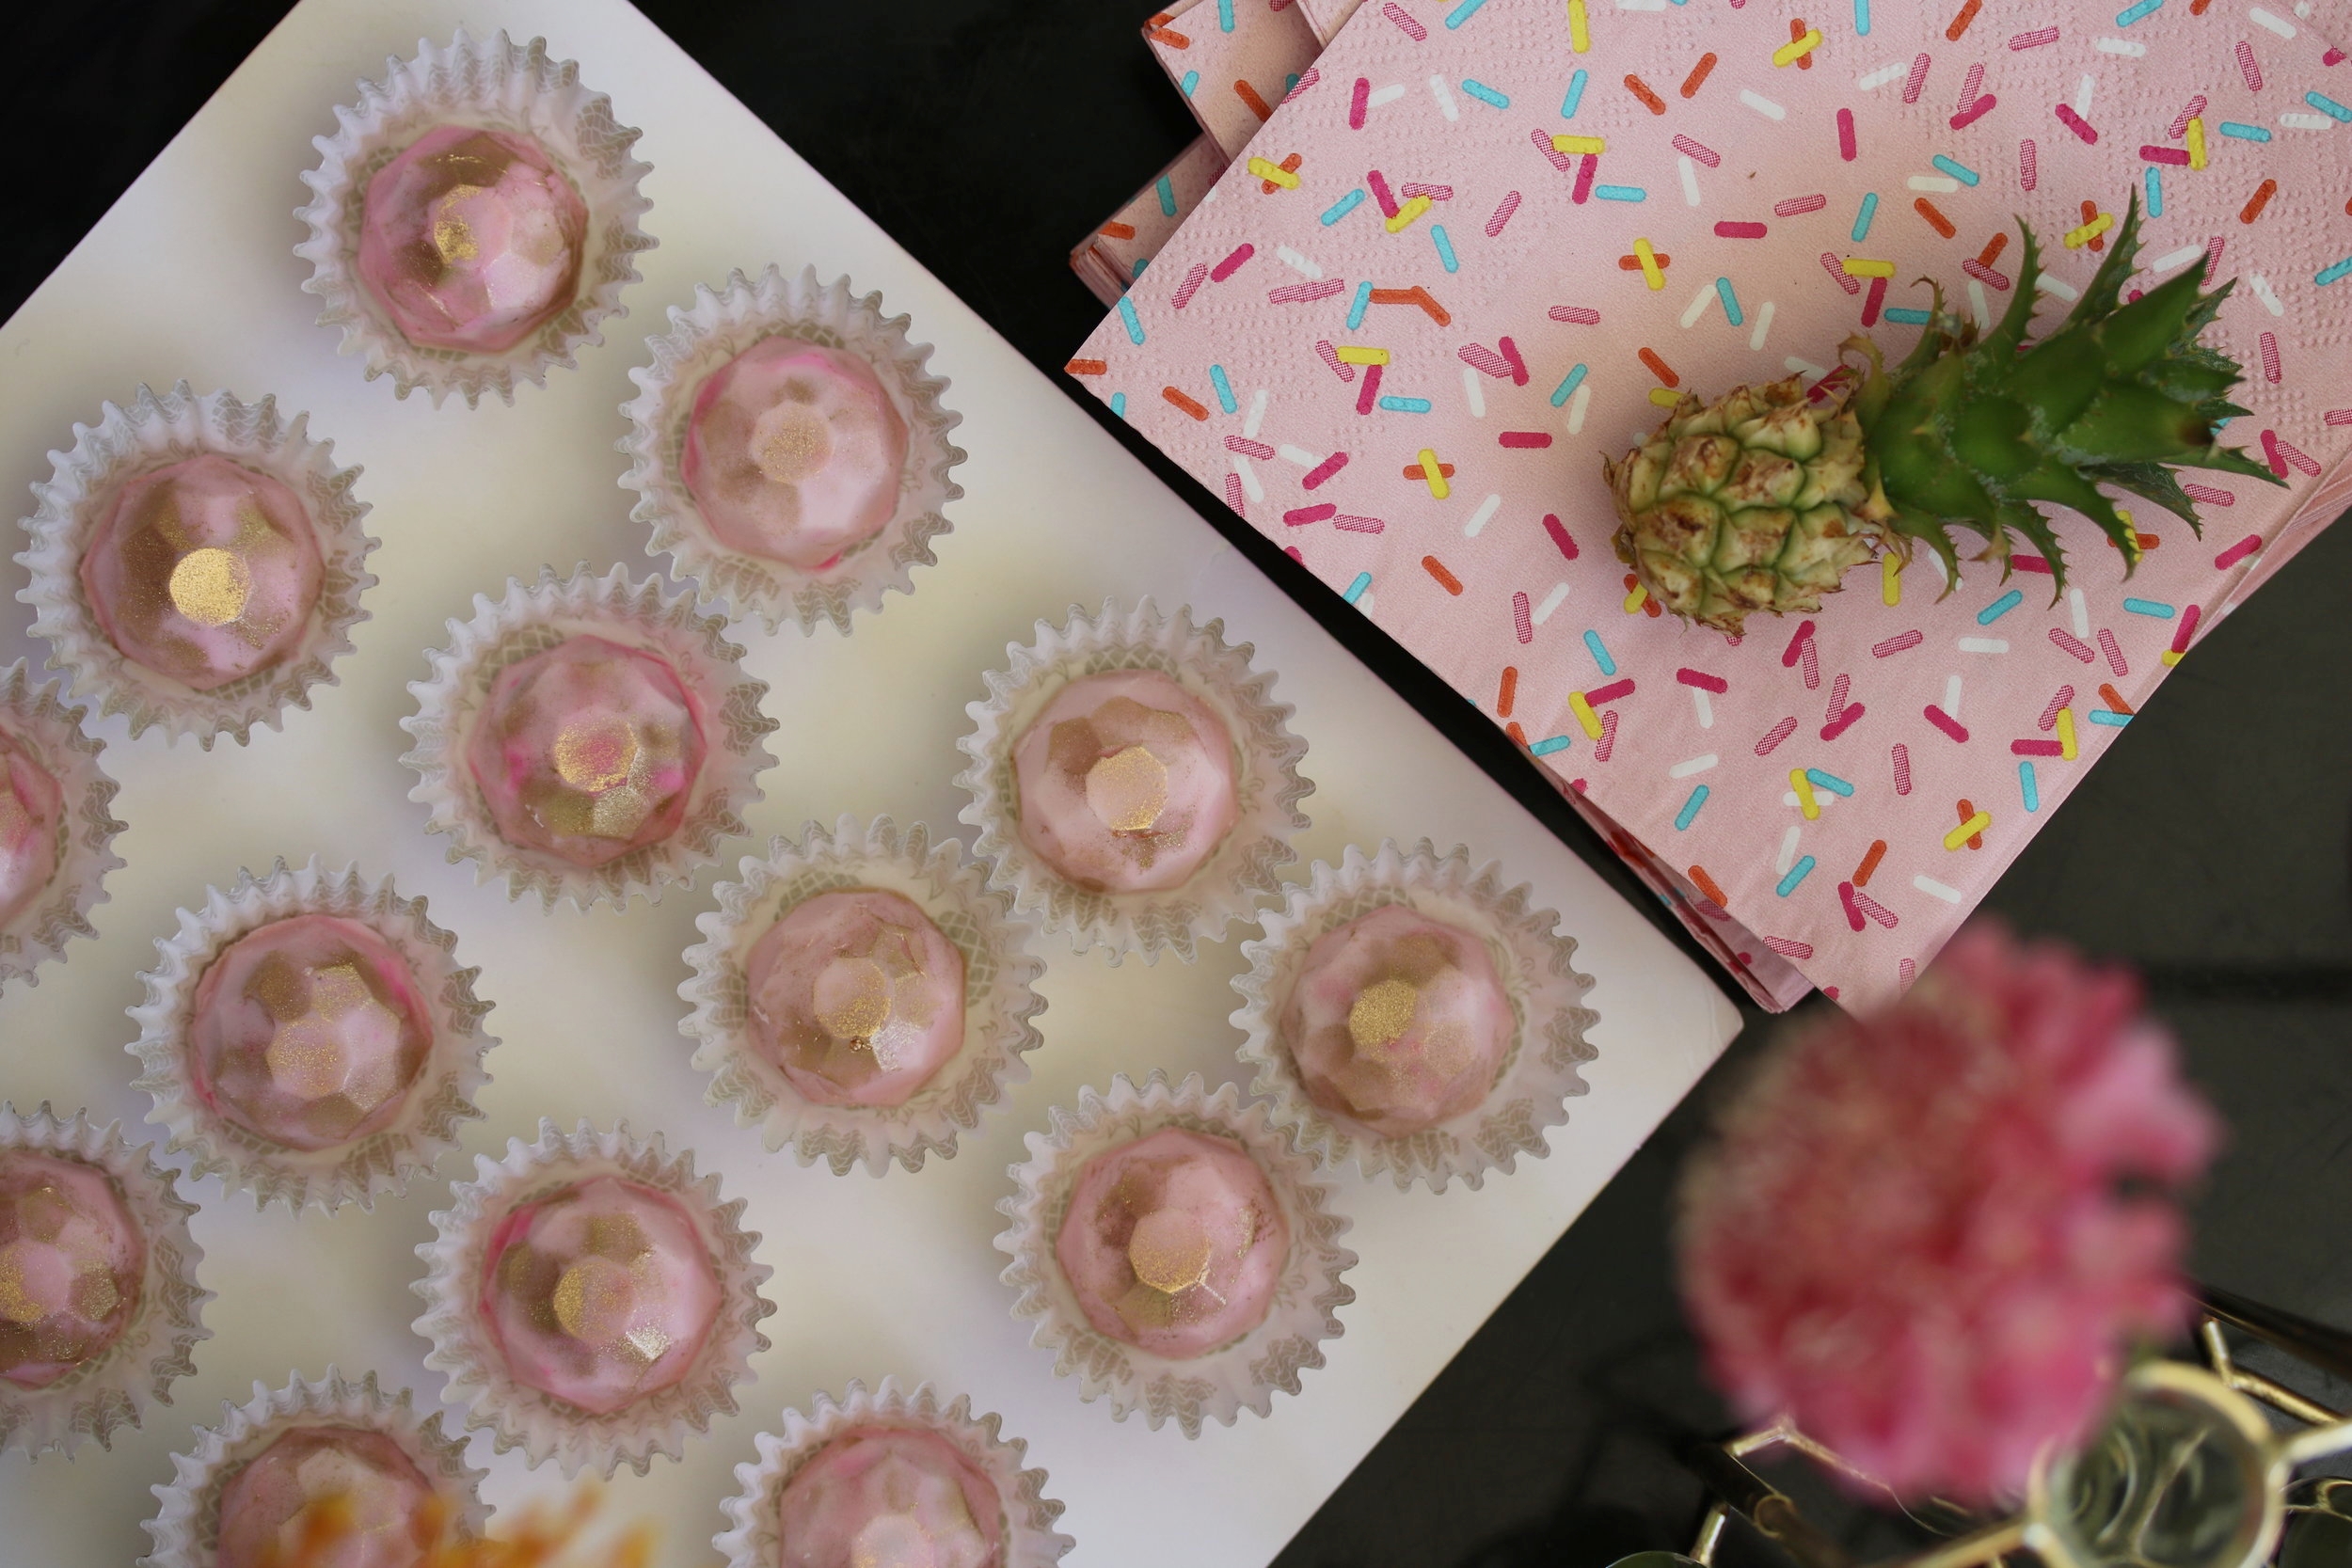
The last dessert we made were these cookie dough gems. Mr. A and I actually tag teamed making these because they’re that easy to do! They’re filled with homemade egg less cookie dough using this recipe (or you can also just buy Edoughble). All I did was tint white chocolate using gel food coloring (you can also use candy melts) and then filled each mold with the melted chocolate. Flip it over to allow the excess to drip and then place in freezer for about 5 minutes to set. Then you fill each chocolate coated mold with cookie dough and top with more melted chocolate to seal. Place back in the freezer for at least 15 minutes to harden. To remove gems from the mold, just tap on a kitchen towel covered counter. You can make these up to a week in advance if kept in a cool, dark place. You can also keep them in the refrigerator but they can sometimes sweat. For a finishing touch, I dusted mine with luster dust.

JQ2_0665.jpg

I melted several different colors of white chocolate and then swirled them with a knife to create the marble effect before coating each mold!

JQ2_0672.jpg

I actually used the same chocolate for the gems as I did with the mermaid tails and shells. Keep it simple!

JQ2_0679.jpg

 I just adore how our daughter's party turned out. Let me know what you think! And if you recreate any of these recipes or ideas, tag me on instagram @BrandiMilloy. For the full party blog post including the simple DIY balloon arch Mr. A and I made, be sure to check out Milly’s First Birthday Shellebration. And scroll down for a quick recipe for these show stopping mermaid tails!

JQ2_0681.jpg

CHOCOLATE MERMAID TAILS RECIPE

by Brandi Milloy

Ingredients:

Directions

  1. Slowly melt candy melts using a double boiler method or in the microwave for 30 seconds and then 10 seconds at a time. Once they are melted, use a spoon to carefully fill the mold, tapping it on a hard surface to get rid of any air bubbles. I mixed a few different colors to achieve the pastel watercolor look.

  2. Place mold in the freezer to harden and set for about 10 minutes. You can make these up to a week in advance and they will still taste and look fresh as long as you keep them in a dry cool place. 

Milly's 1st Birthday Shellebration
JQ2_0764.jpg

Thank you to Jenny Quicksall for her amazing photography in capturing this special day for us. Like all parties, it's always a whirlwind trying to say hi to everyone, make sure food is replenished, all your guests have a drink, baby is happy, etc. I can't imagine trying to remember to take pictures on top of all of that much less pictures that include both myself, Mr. A and Milly- so to have our friend, Jenny there taking photos of each moment was an immeasurable relief and a priceless gift we will cherish forever!

JQ2_0749.jpg

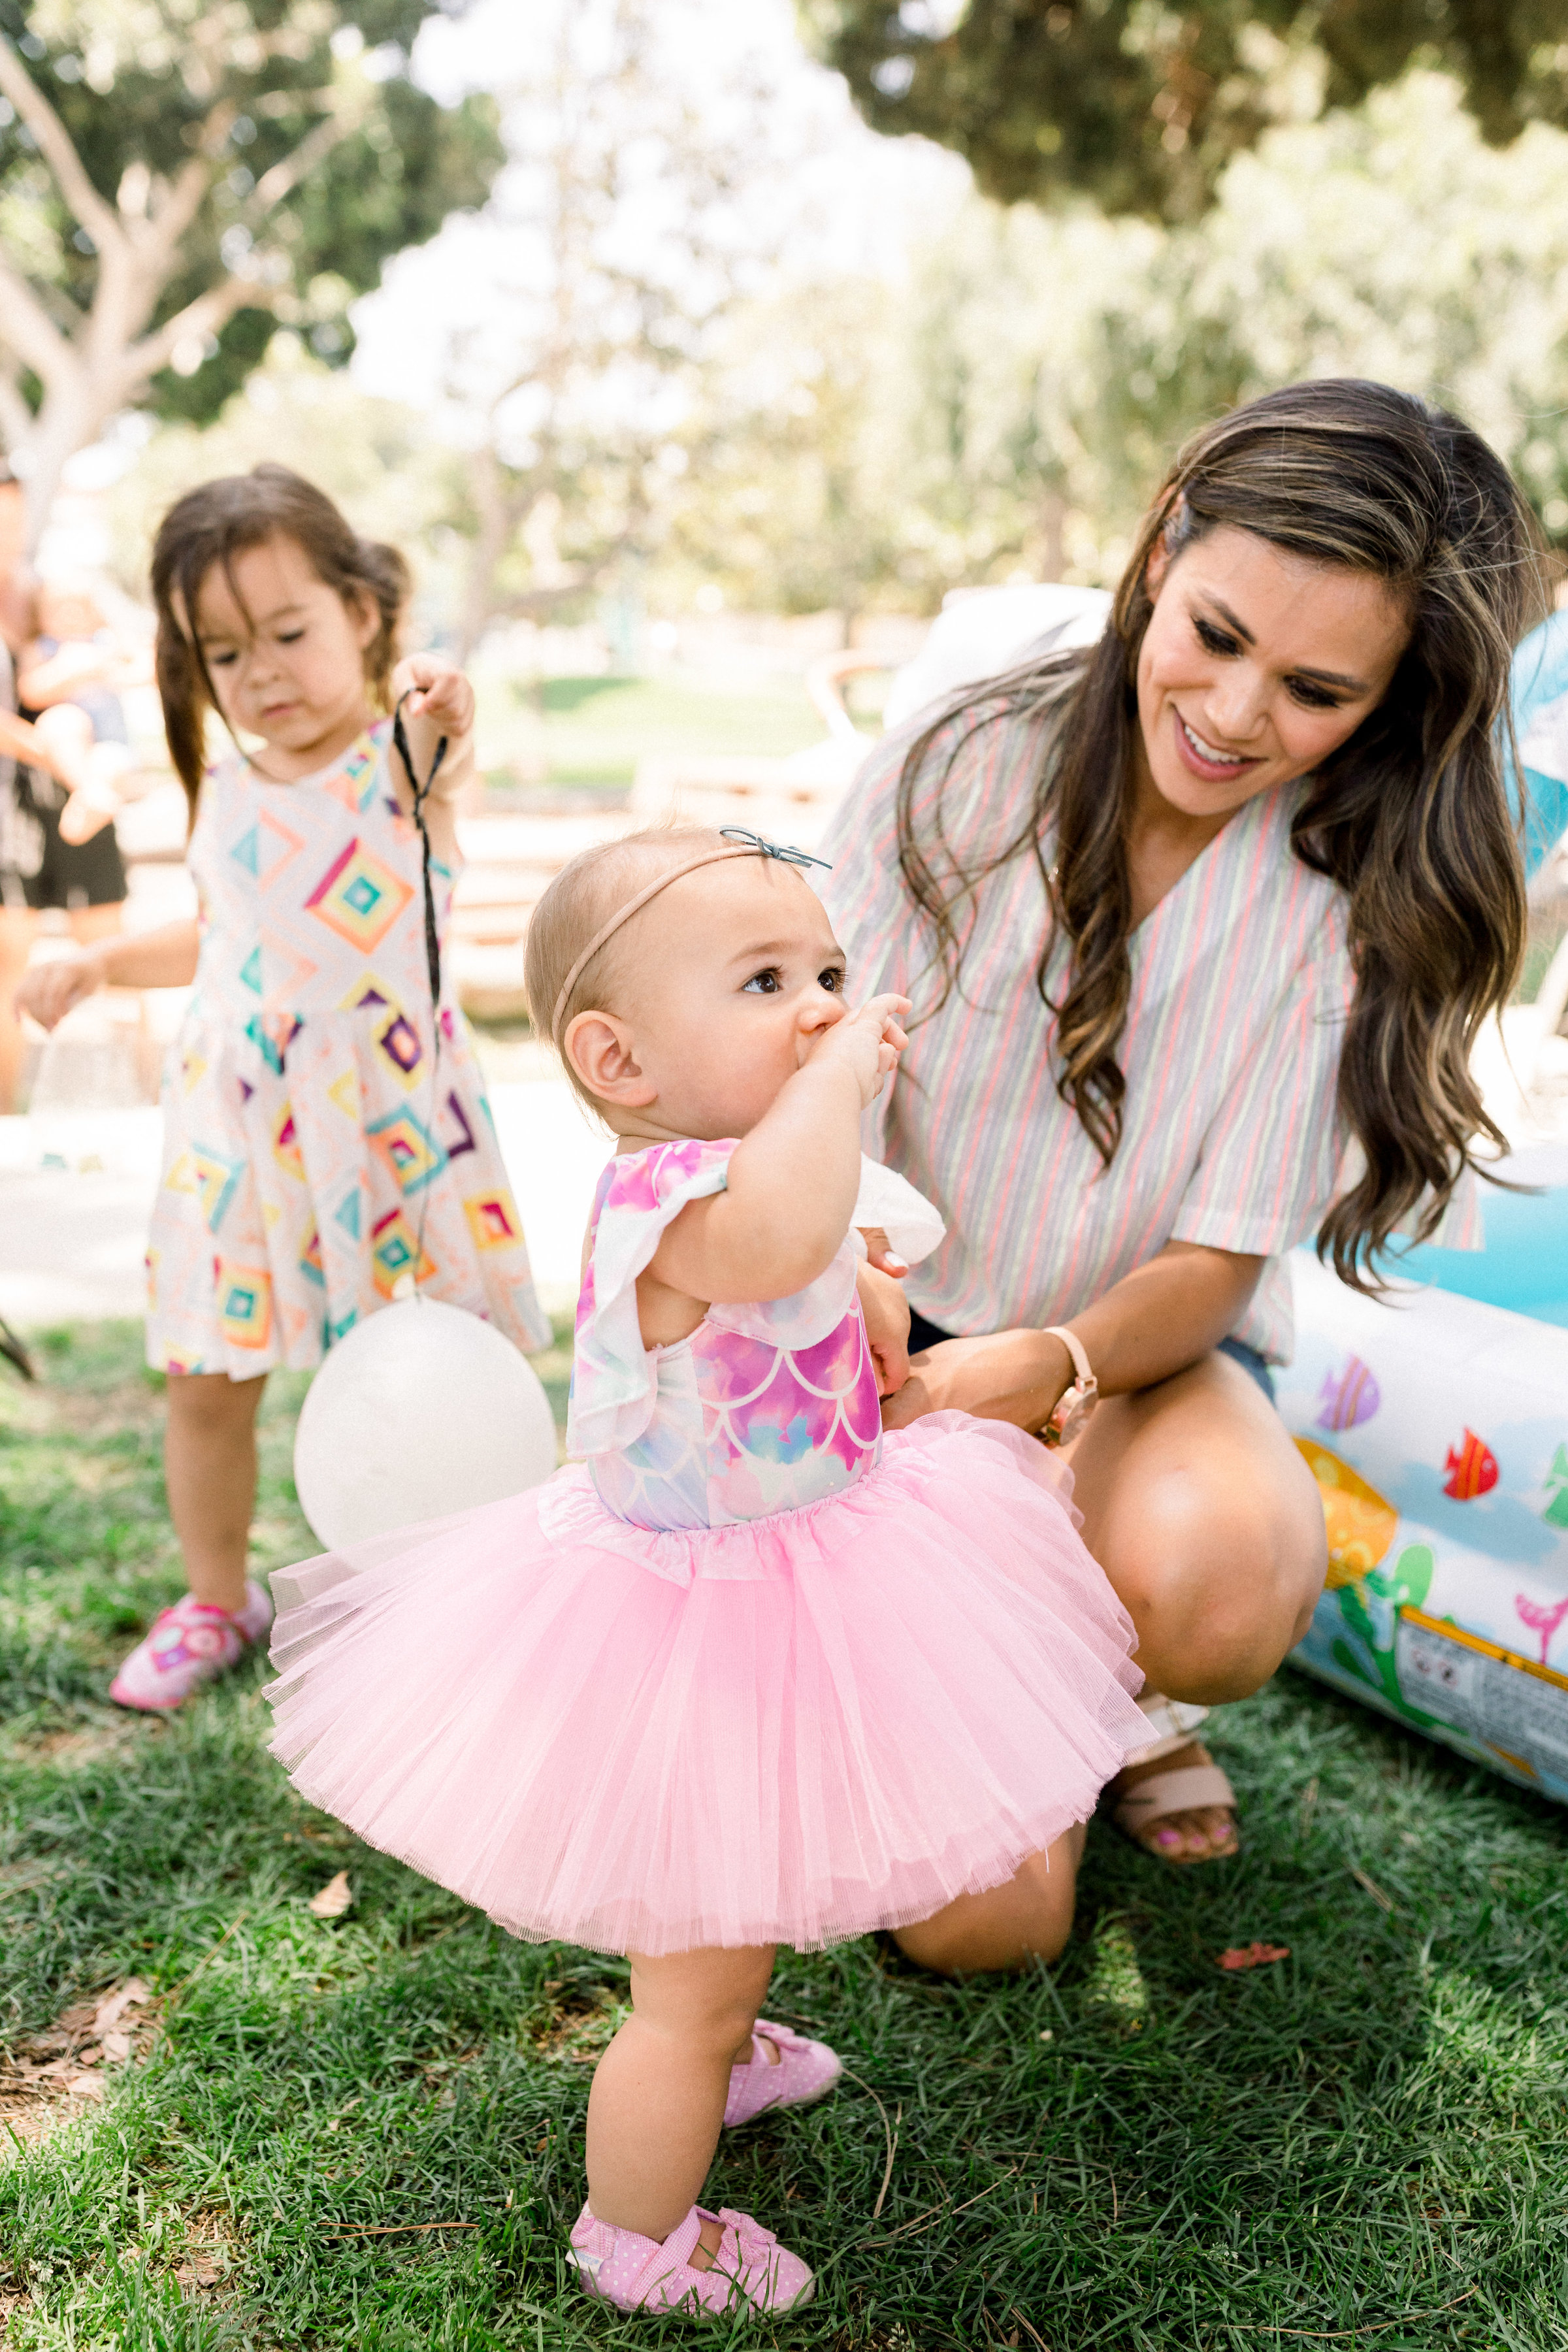
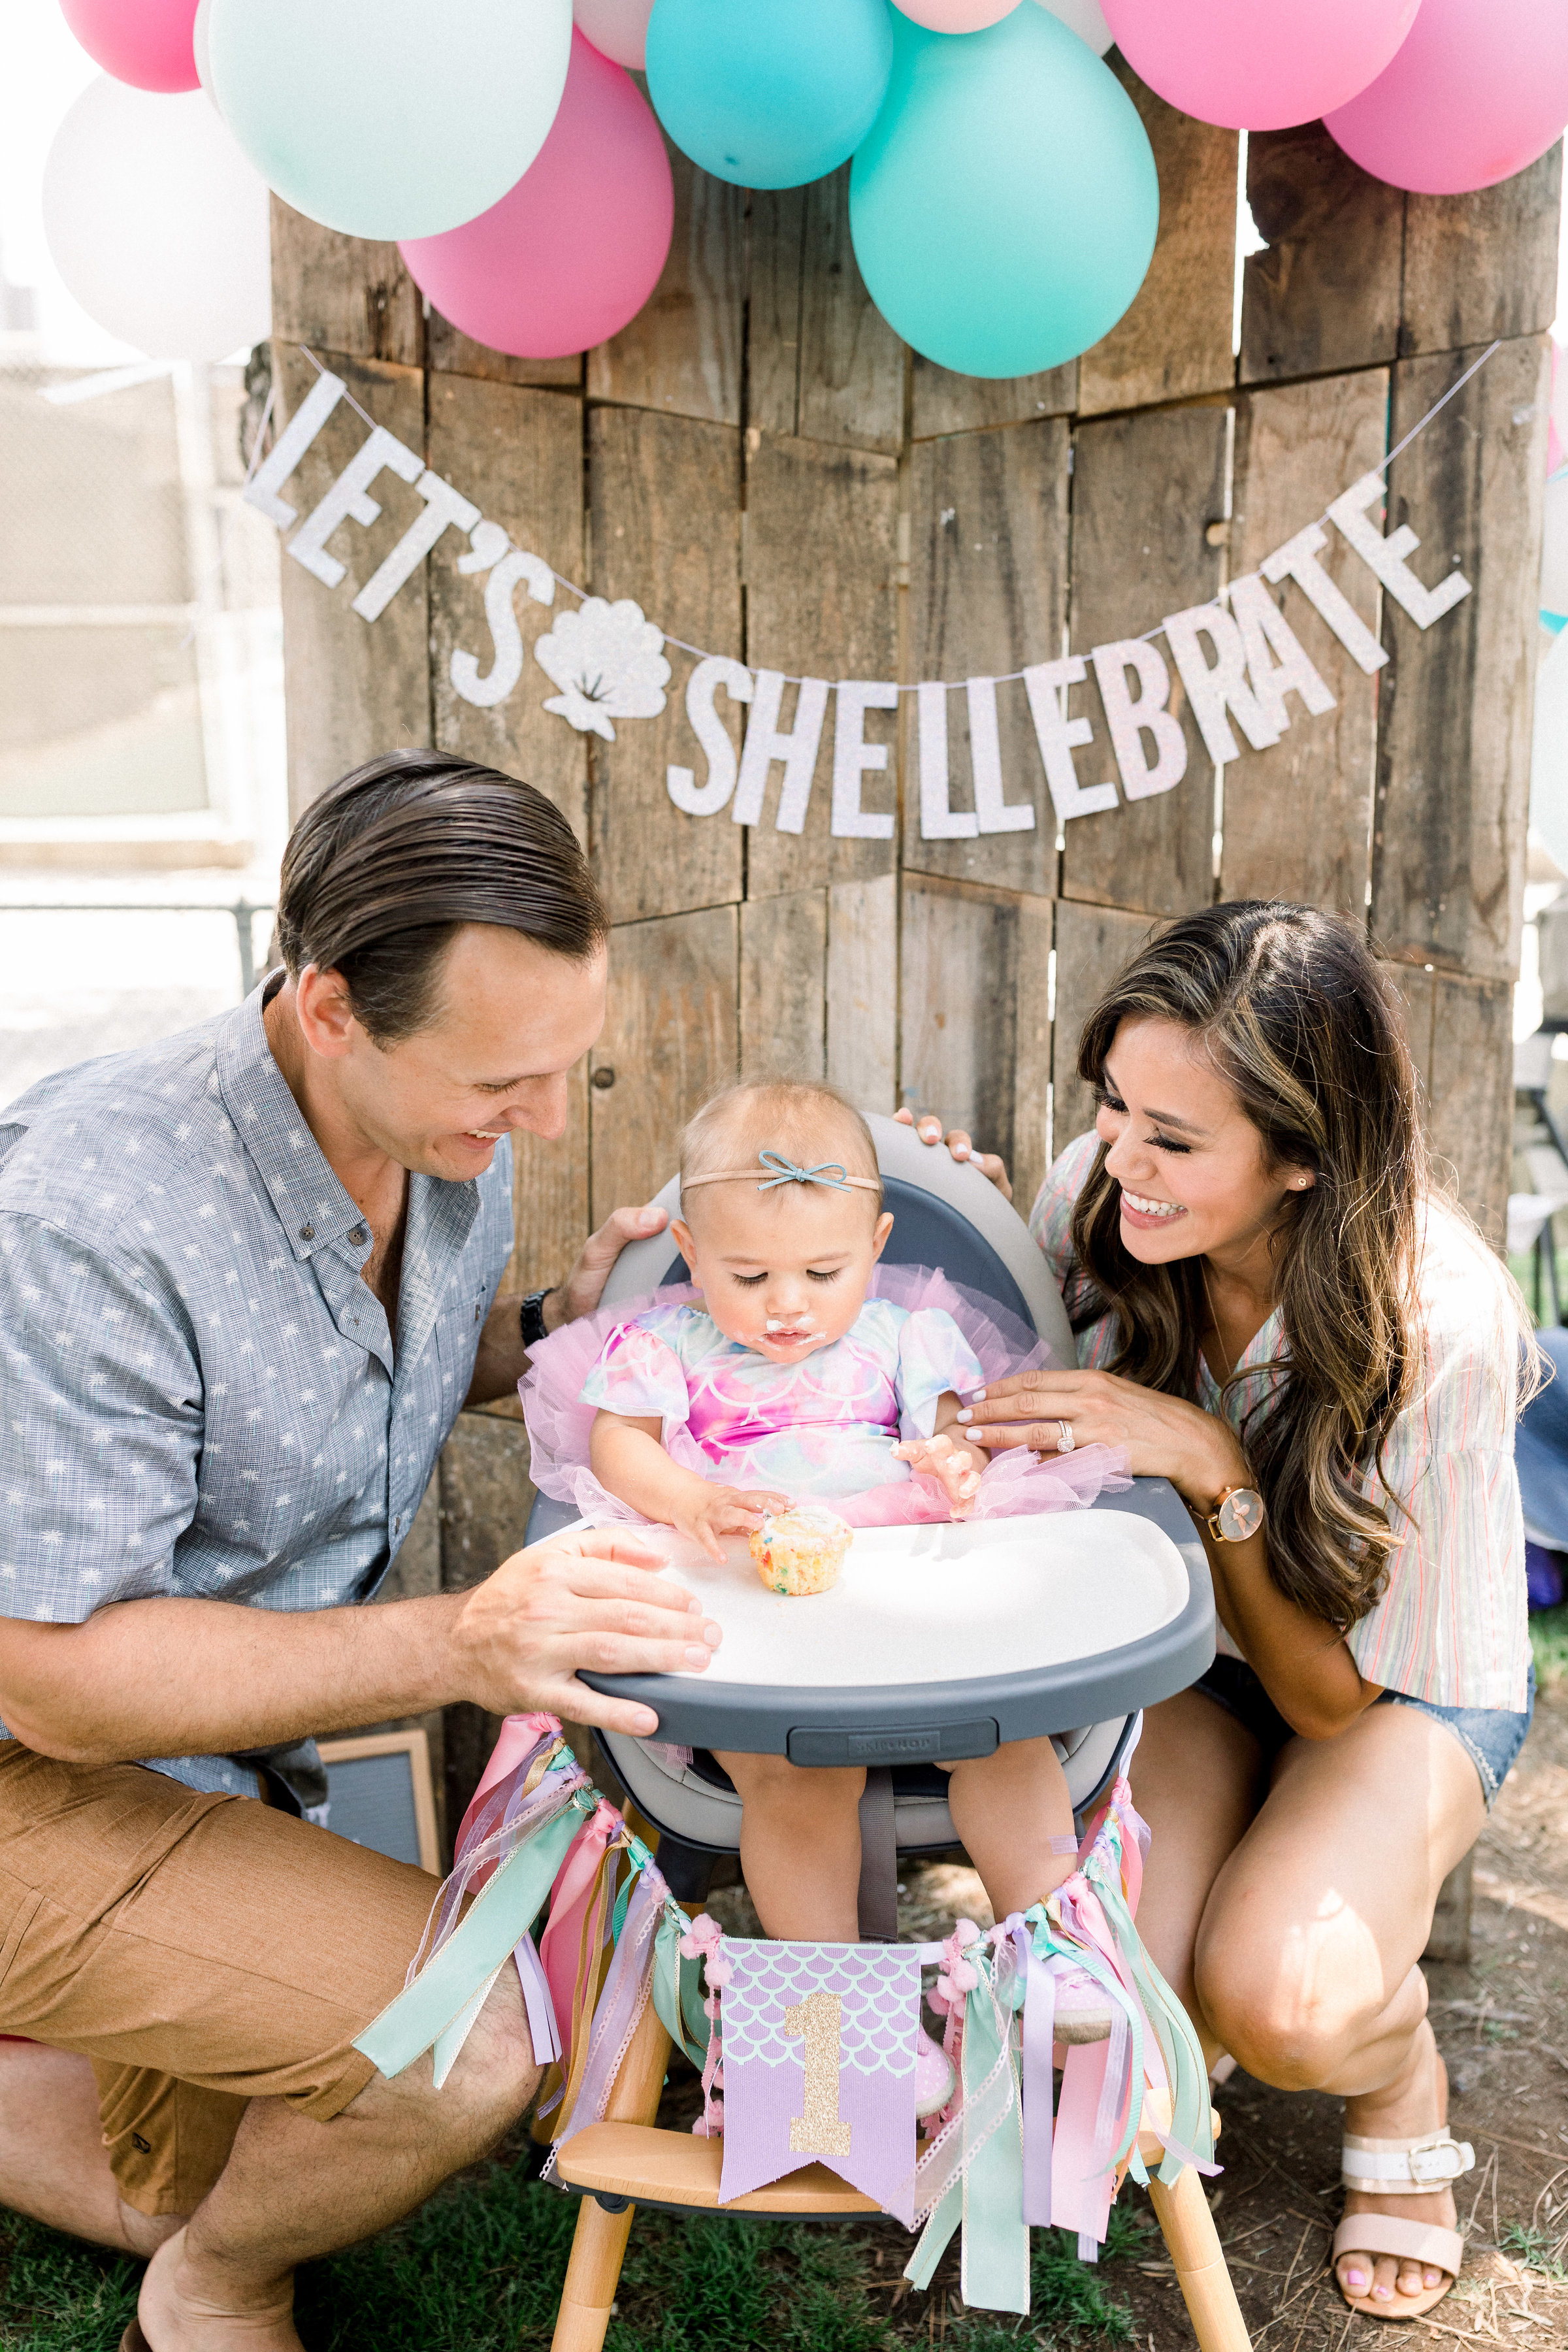
Happy Birthday Little Amazing!!! I can't believe our baby girl is already 1 year old. They say the days are long and the years are short and now that I'm a Mama I totally get it.  My little mermaid baby that couldn't wait to meet us, who was almost born in Daddy's car-is here and has given us so much joy in the last year it's hard to remember life before her. She is a dream baby but I don't know if I ever really looked at her like a "baby" because to me she's always been a magical gift from God, this tiny person that I've always known and continue to fall more and more in love with. Every night after we put her to bed Mr. A and I will look at each other and talk about how amazing she is. Sometimes we do this for hours. We love being Milly's Mama & Daddy! And we couldn't wait to shellabrate her with a party fit for the mermaid babe she is and invite all her friends.

JQ2_0871.jpg
JQ2_1022.jpg

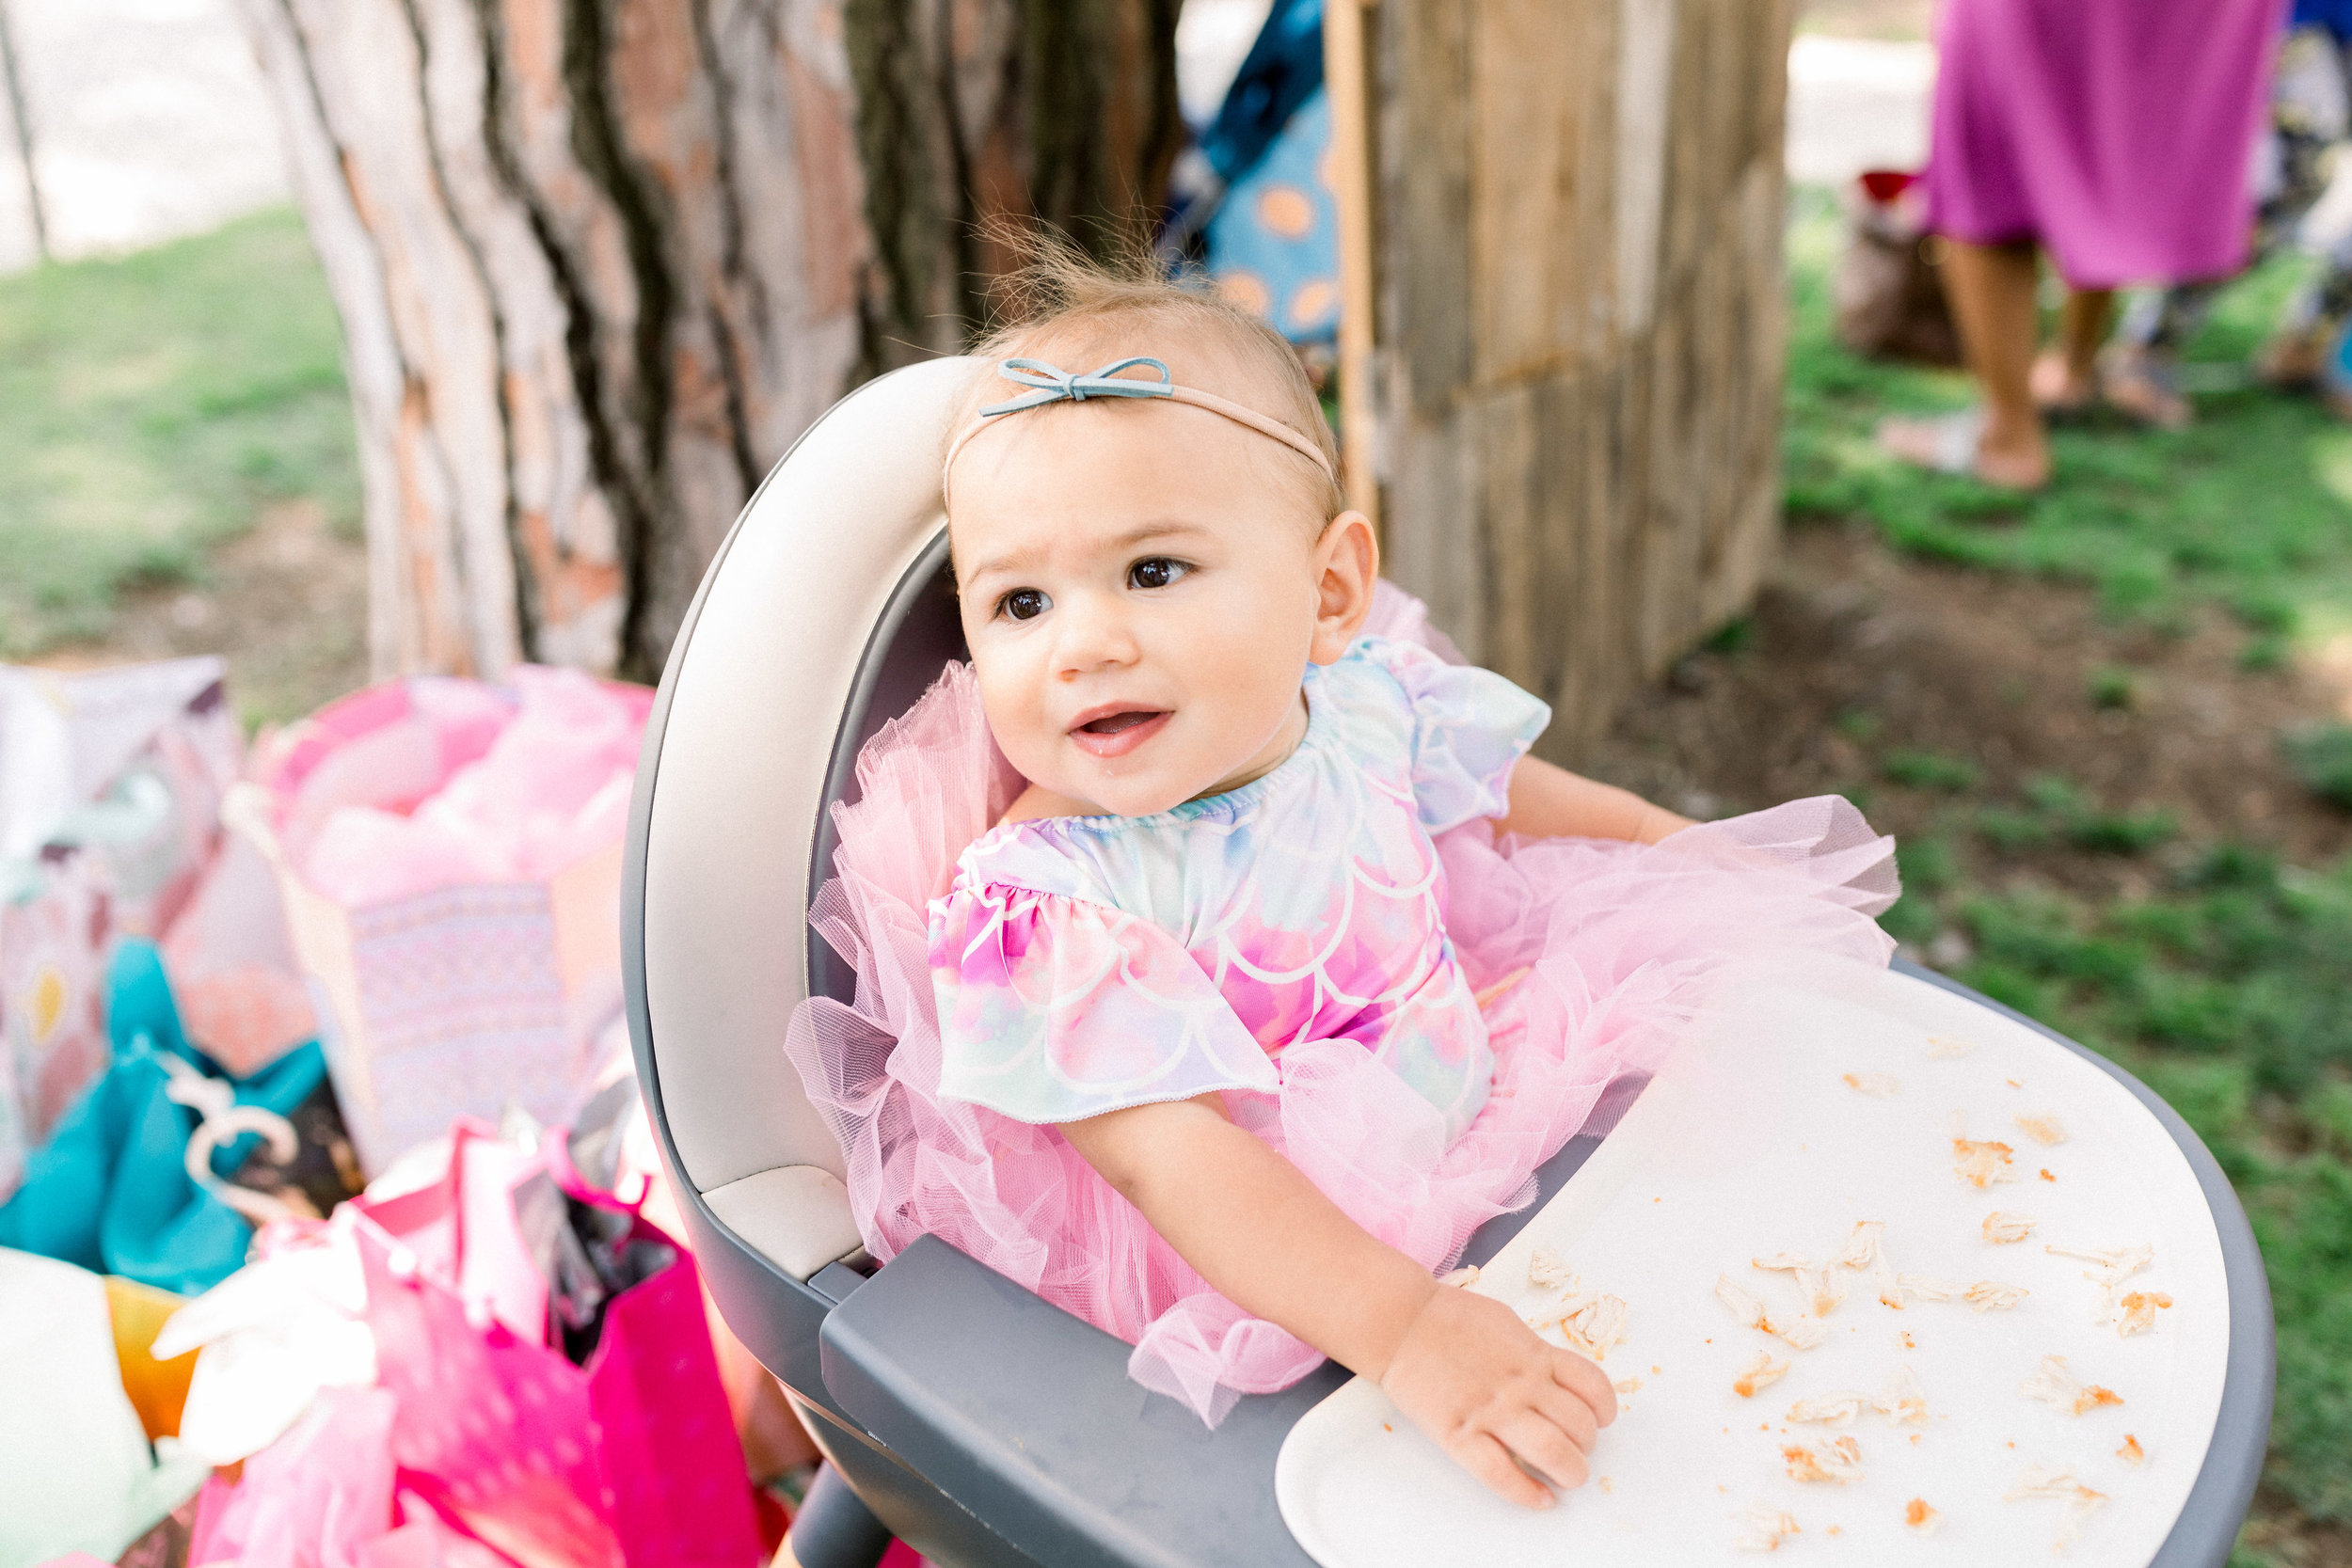
The inspiration for her party began with the sweet ruffled one piece she wore. I bought this on Amazon a few months after she was born because I liked it so much but never really planned on it being her birthday outfit. After months of looking at it hanging in her closet, I couldn't wait for her to wear it for her special day.  I like that it has the mermaid scales and pastel watercolors without being a true mermaid costume/outfit. When I added the pink tutu all of a sudden it was the perfect birthday ensemble. 

JQ2_0634.jpg

Our favorite park felt like the best spot to celebrate. There's plenty of room for all of her friends and their families and I liked the idea that guests could bring a blanket and we could all party under the trees.  The only predicament with this idea was figuring out where to hang decor and how to make the large space personal for our birthday girl. One night I was wasting hours on Pinterest when I showed Mr. A a balloon arch and backdrop. I explained to him how I didn't know where I was going to hang a simple Happy Birthday banner much less any other decor and he told me he'd make it for me.  Wait. What? He said he'd make a backdrop for the party. Maybe two of them. We had a ton of reclaimed wood on the side of the house his dad had given us from old projects/who-knows-what-else and he'd make them for me.  You guys-I HAD NO IDEA Mr. Amazing was so handy when I married him. I mean-the man is actually beyond handy. He is a home engineer! He fixes things, builds things, did a ton of remodeling on our house and so much more. In two days he had created two wood backdrops.

JQ2_0642.jpg

I'm obsessed with them. Oh but his help with the party didn't stop there. The man pretty much created both of the balloon arches in one evening so there's that too. I totally scored the best husband.  Granted these balloon arches look way more complicated than they actually are. I should have taken tutorial photos to share but it's not even necessary cause anyone can make these. All you need is balloon tape, balloons and a balloon pump (to make your life easier). The balloon tape is a plastic ribbon with holes where you place the tied balloons. Once you've blown up your balloons in various sizes, you just push each balloon tie into the holes on the ribbon (alternating colors and sizes). Once you have the length you want, simply cut the ribbon and fasten the arch. We used a staple gun to attach our balloon arches to the wood backdrops. If at this point you want to fill in any spaces and build out your arch with other balloons to make it fuller, you can tape them on, use glue dots or use a low temperature glue gun to add more. We ended up being pretty satisfied with how it looked the way it was! I think the real key is making sure you use different colored balloons that are still complimentary. I love these affordable variety packs I found and I still had balloons leftover!

JQ2_0824.jpg

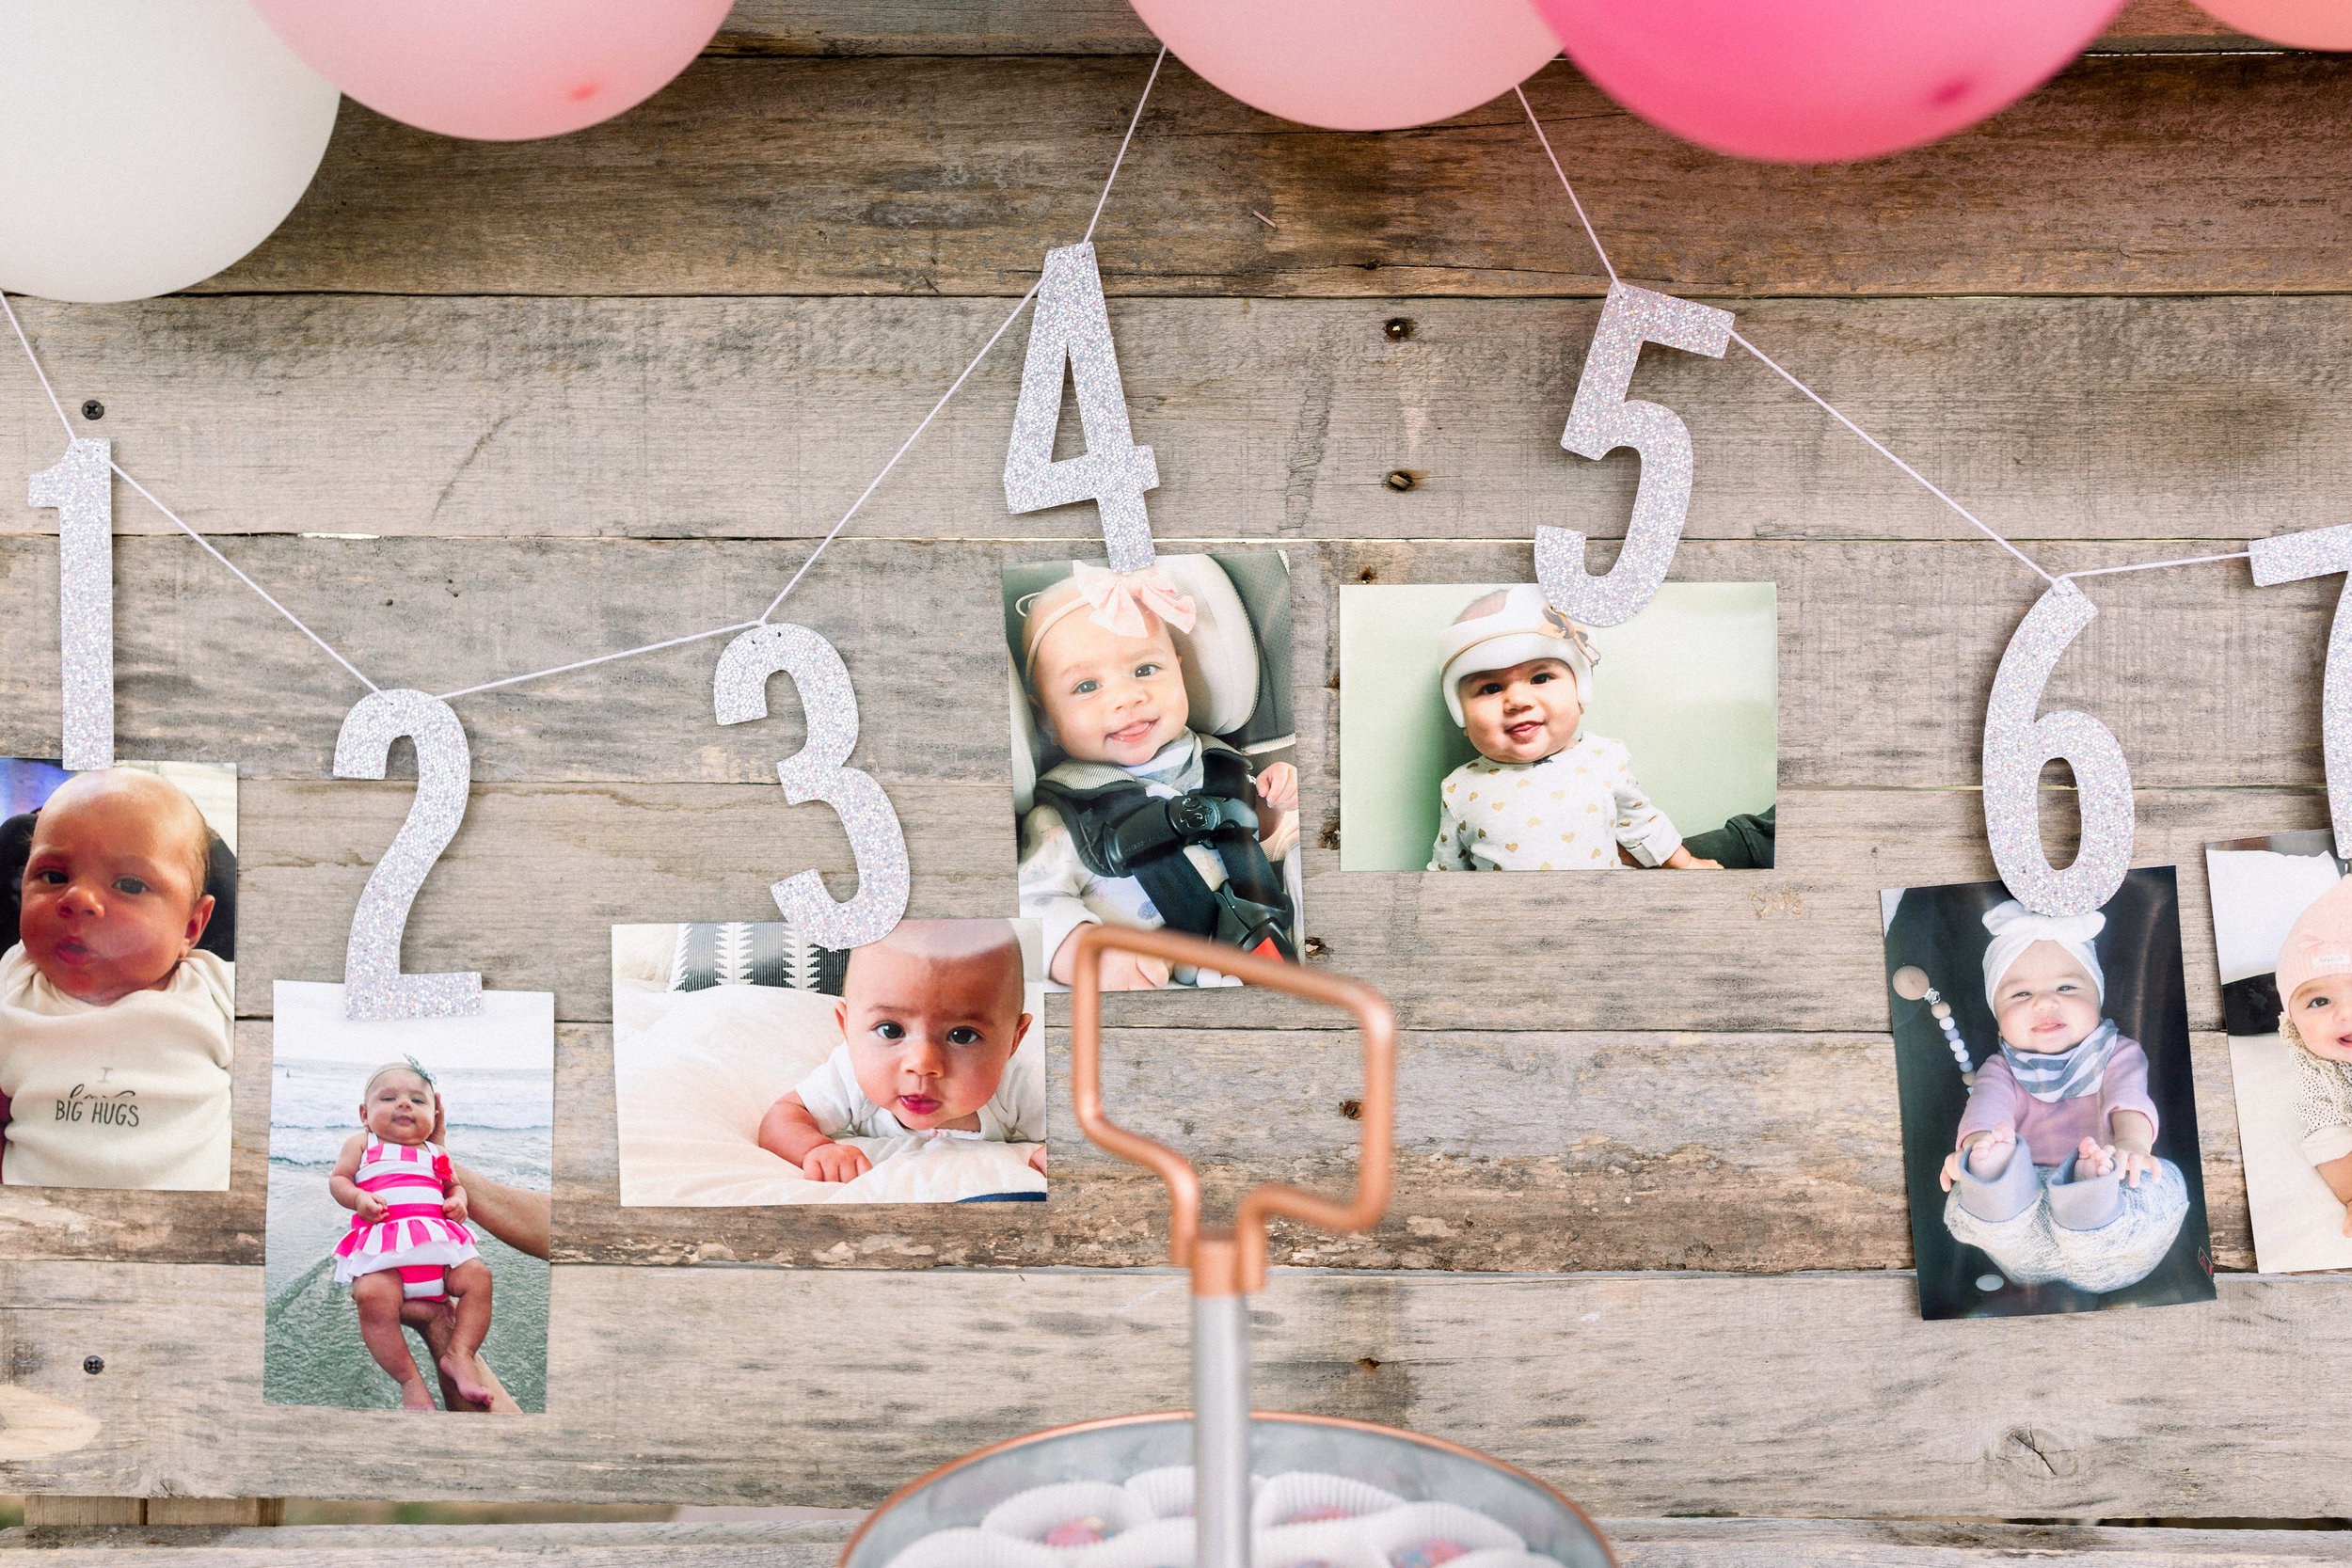
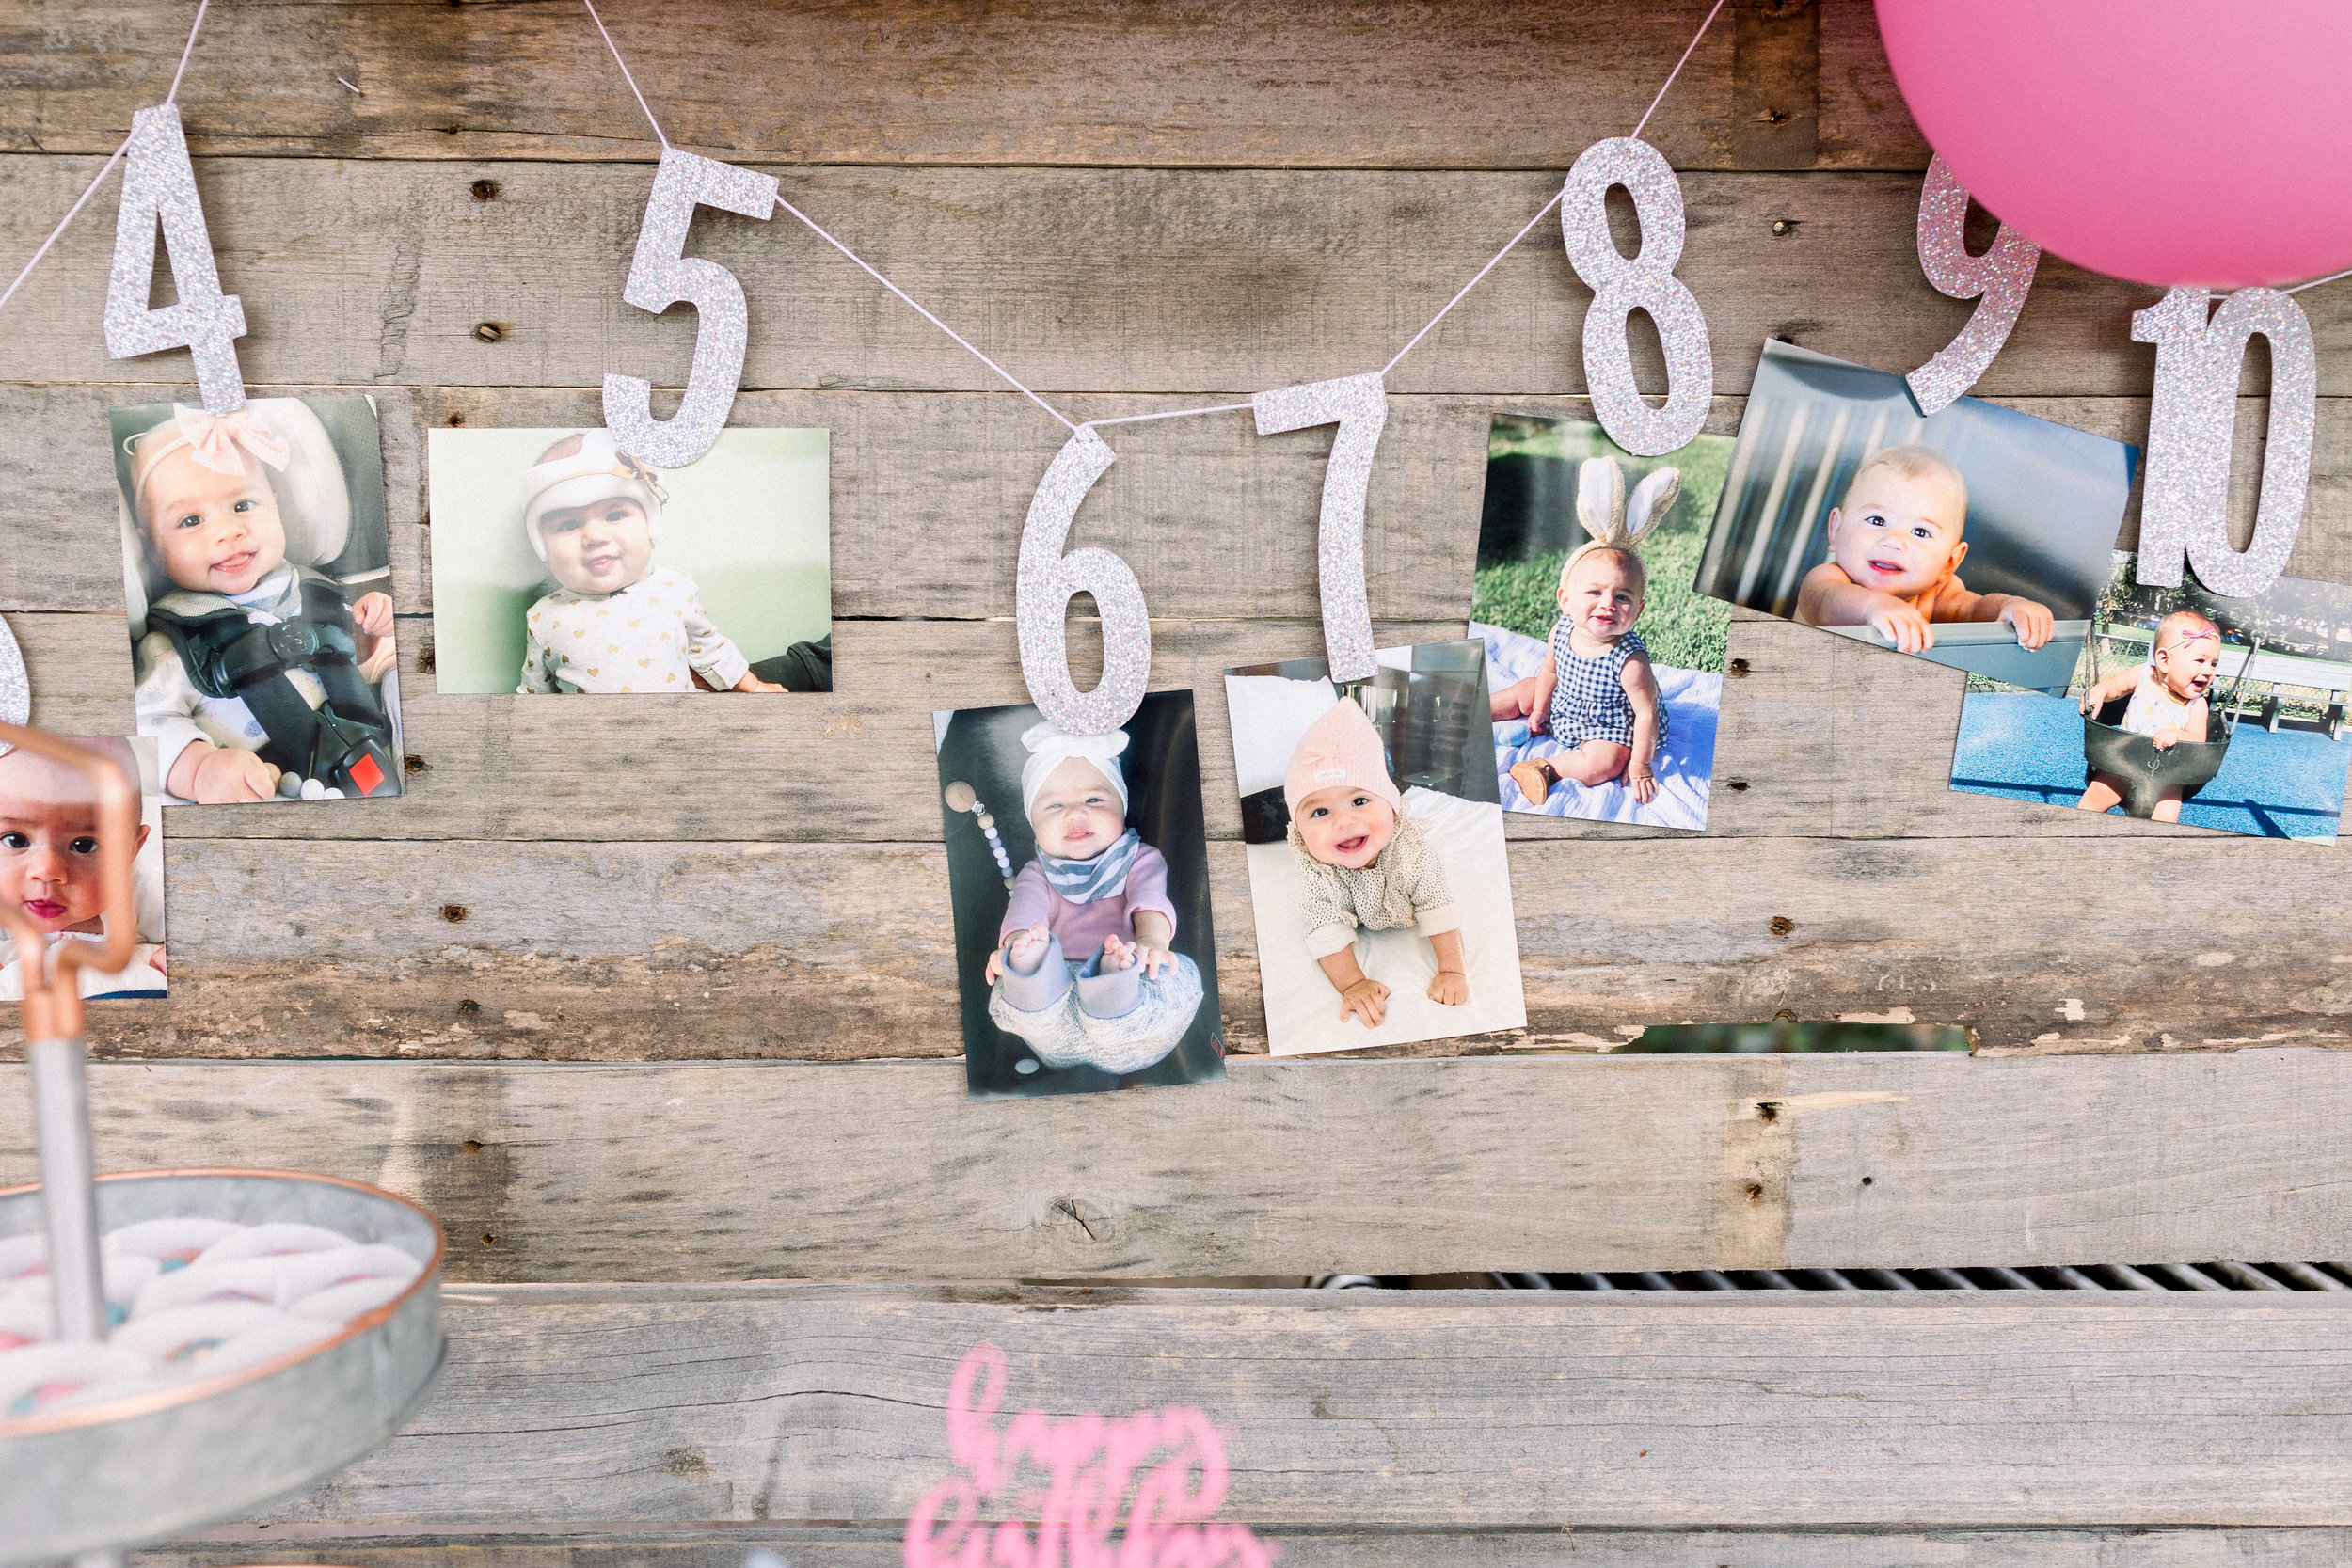
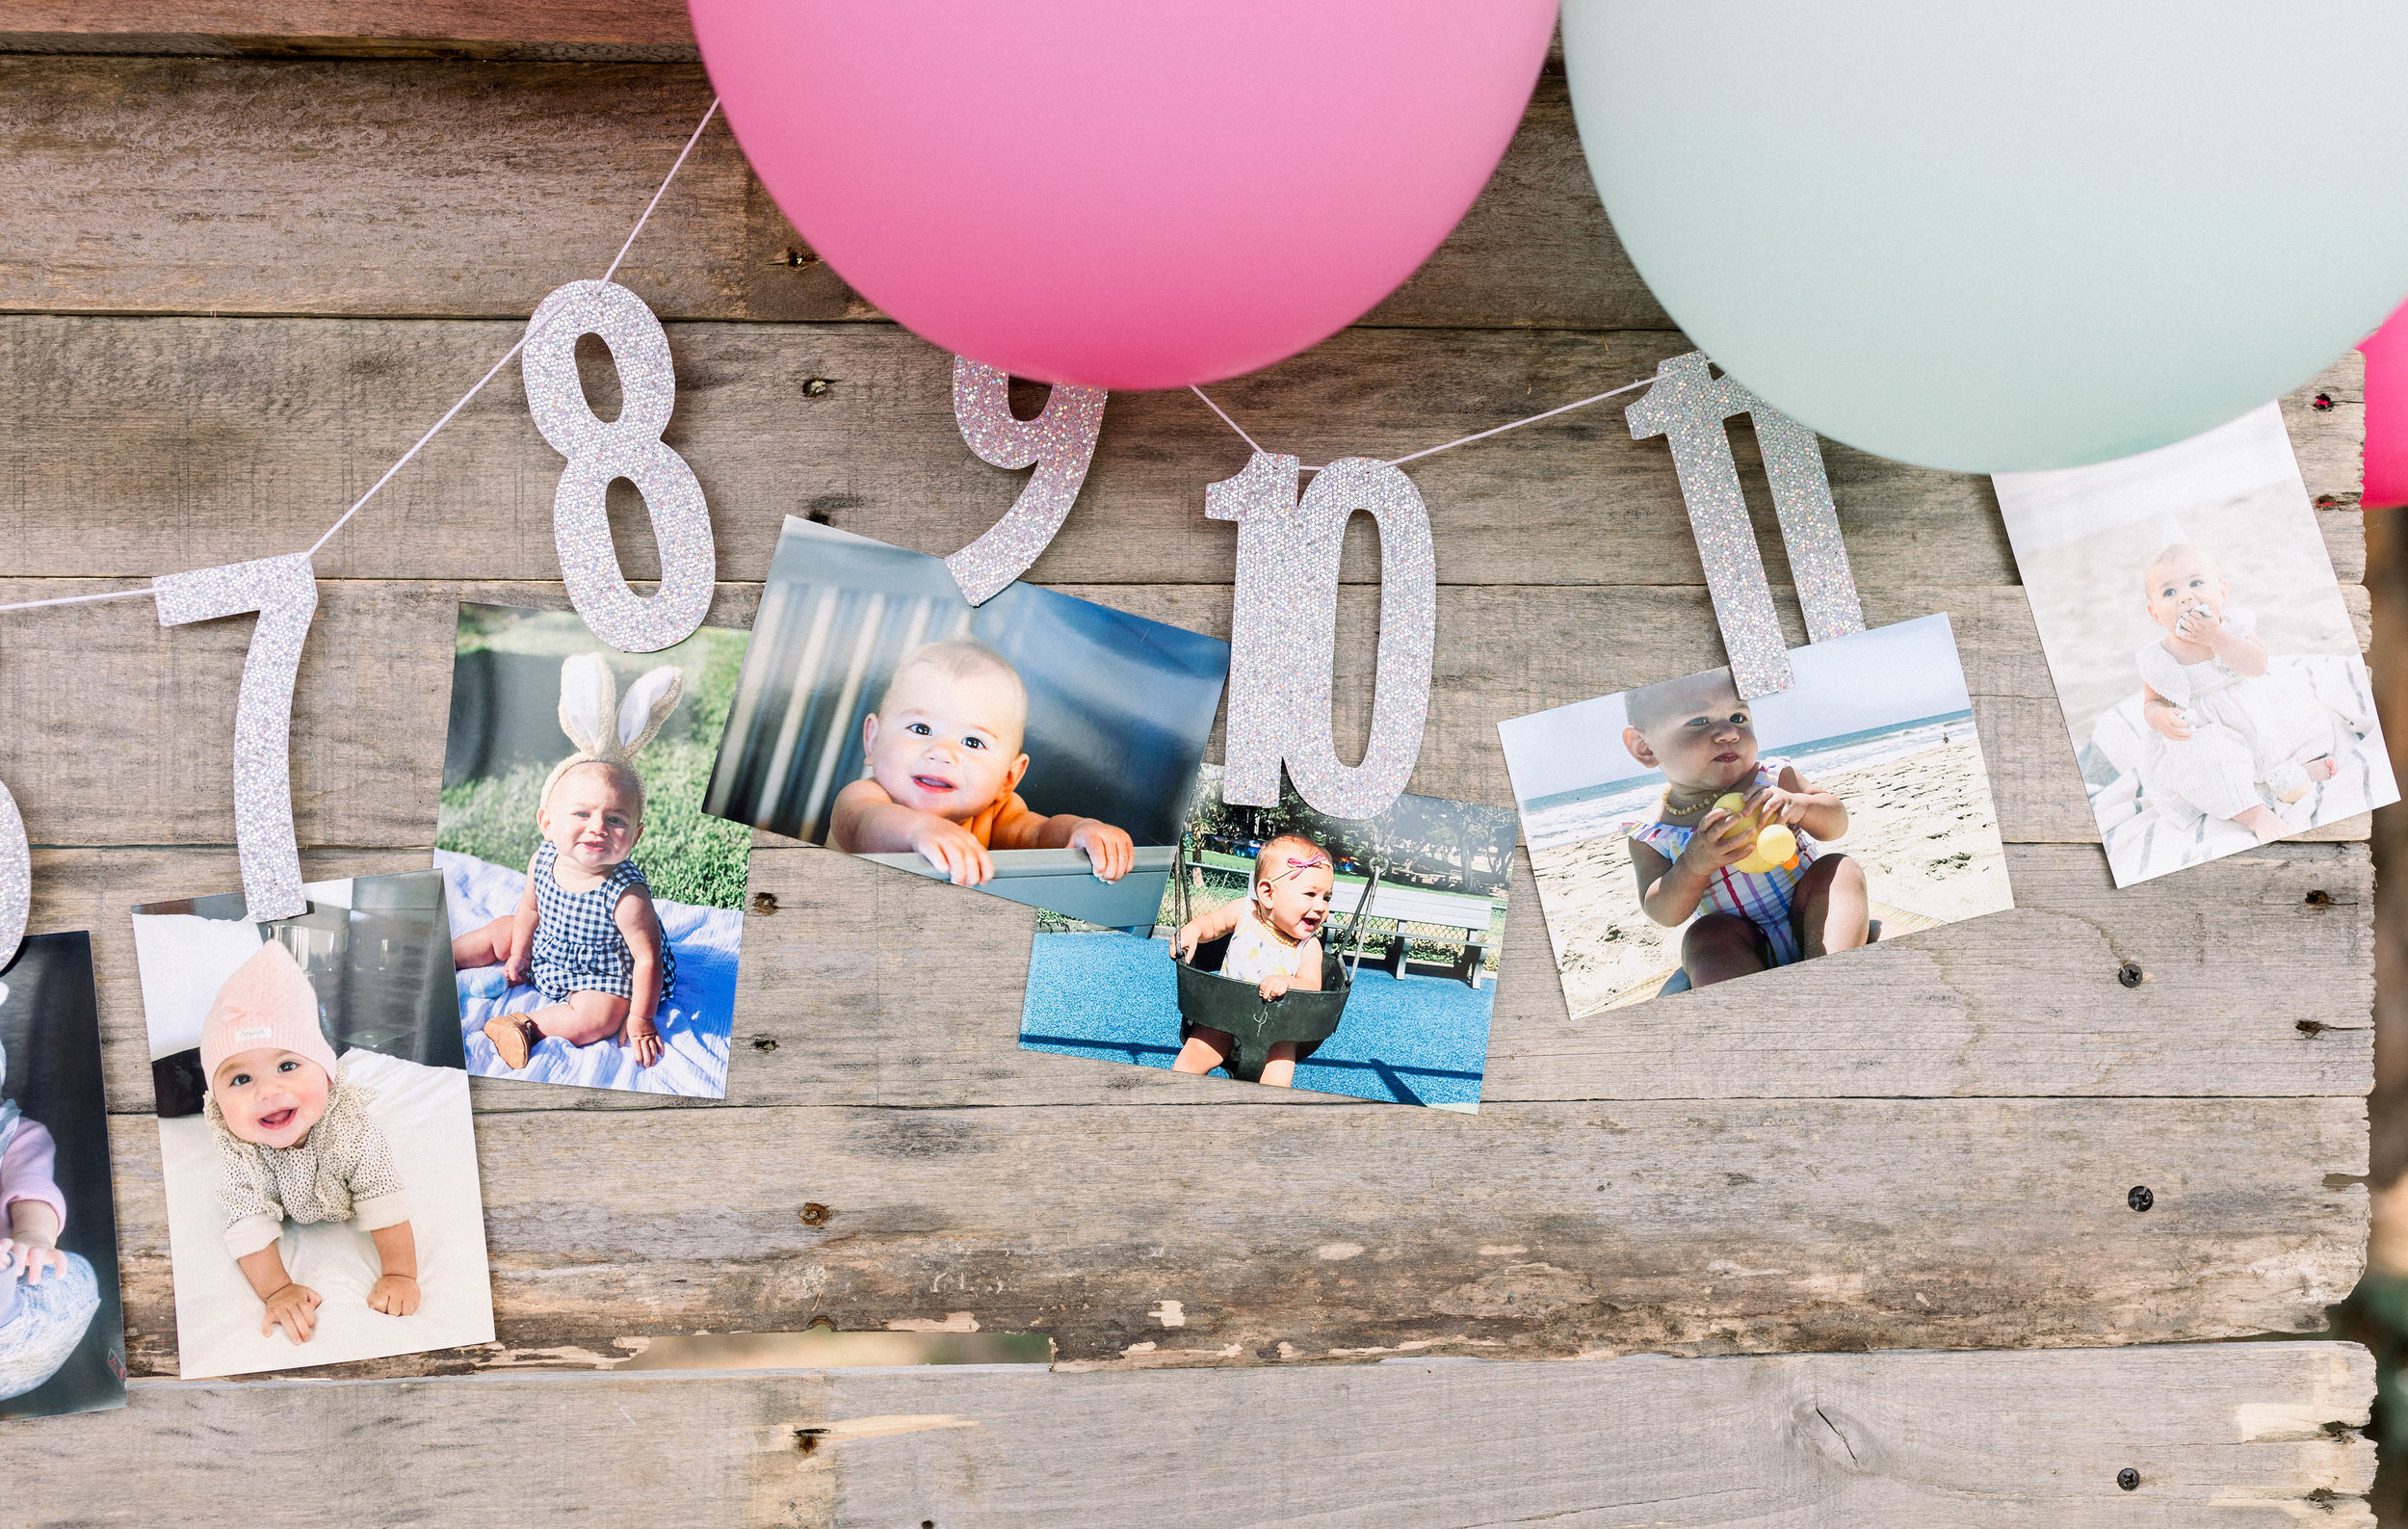
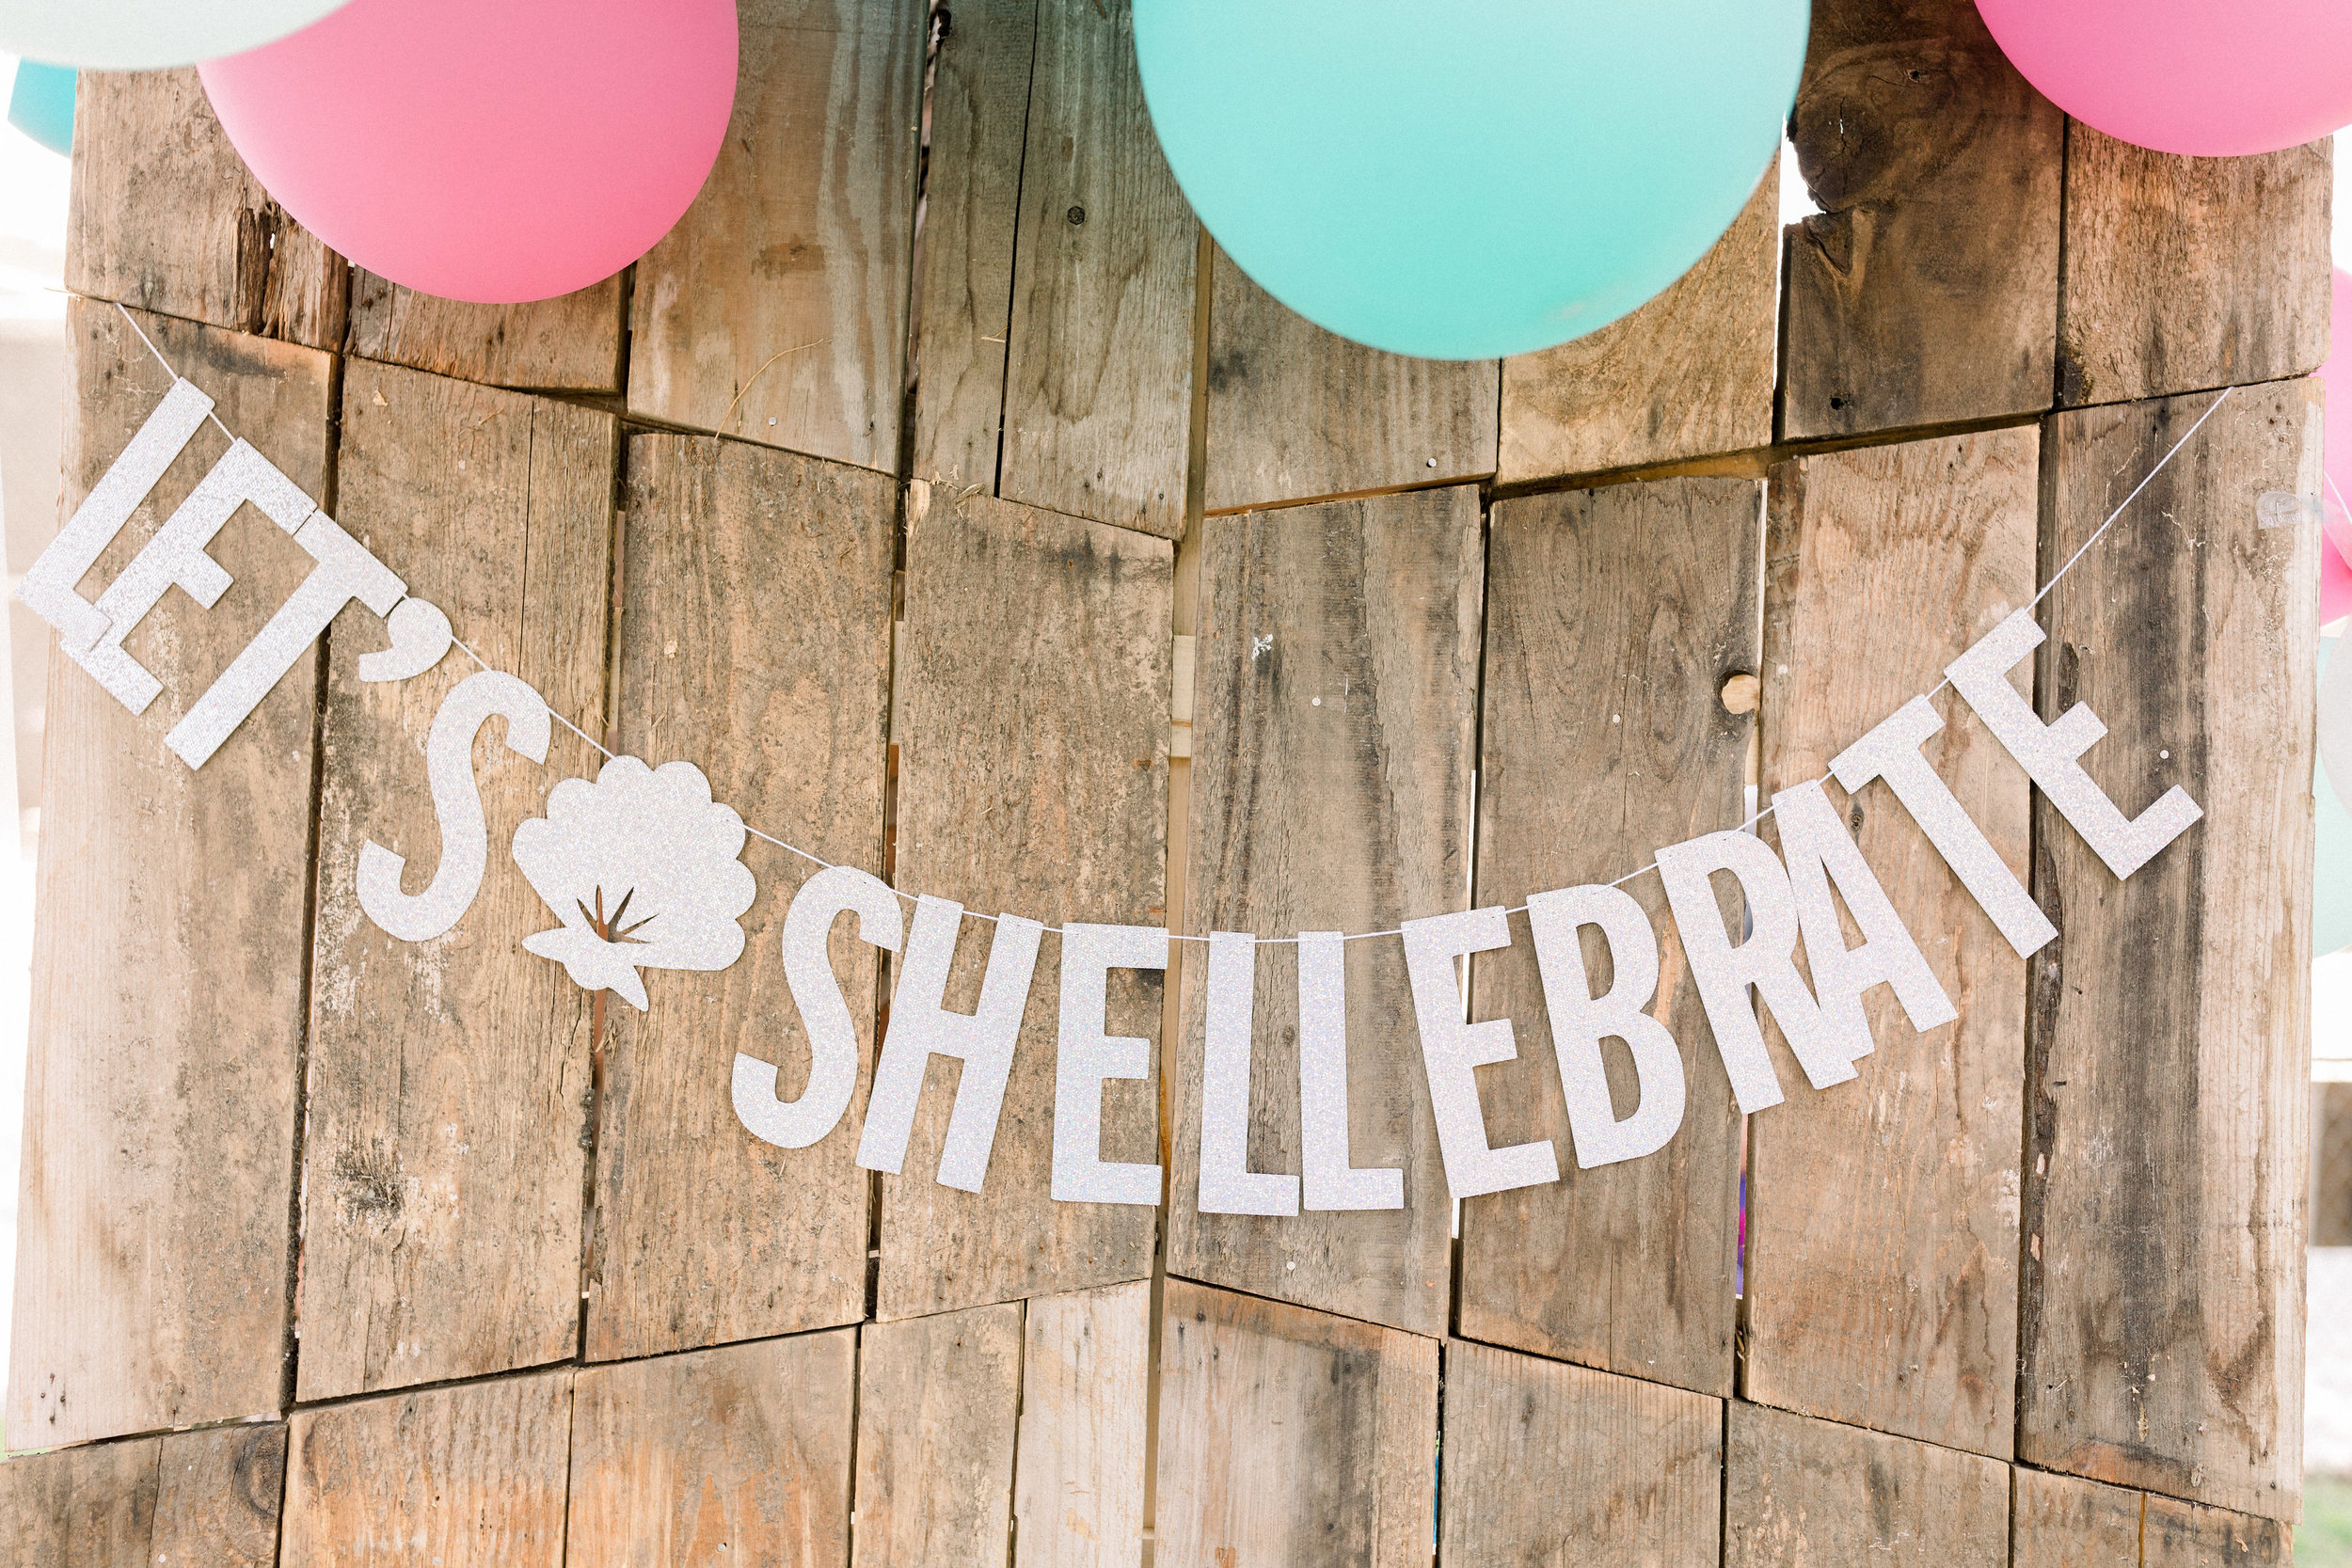
But I think what really made the backdrops were the two banners we got from Glam Banners. It's tough to tell in the photo but both the "Let's Shellebrate" and the monthly photo banner are made with this fun disco glitter card stock so they catch the light and have this fun colorful prism look. I just adore the playfulness of the Let's Shellebrate banner and the monthly photo banner holding Milly's pics from month 1-12 is a must have at any first birthday party! It's so sweet to see the changes month to month!

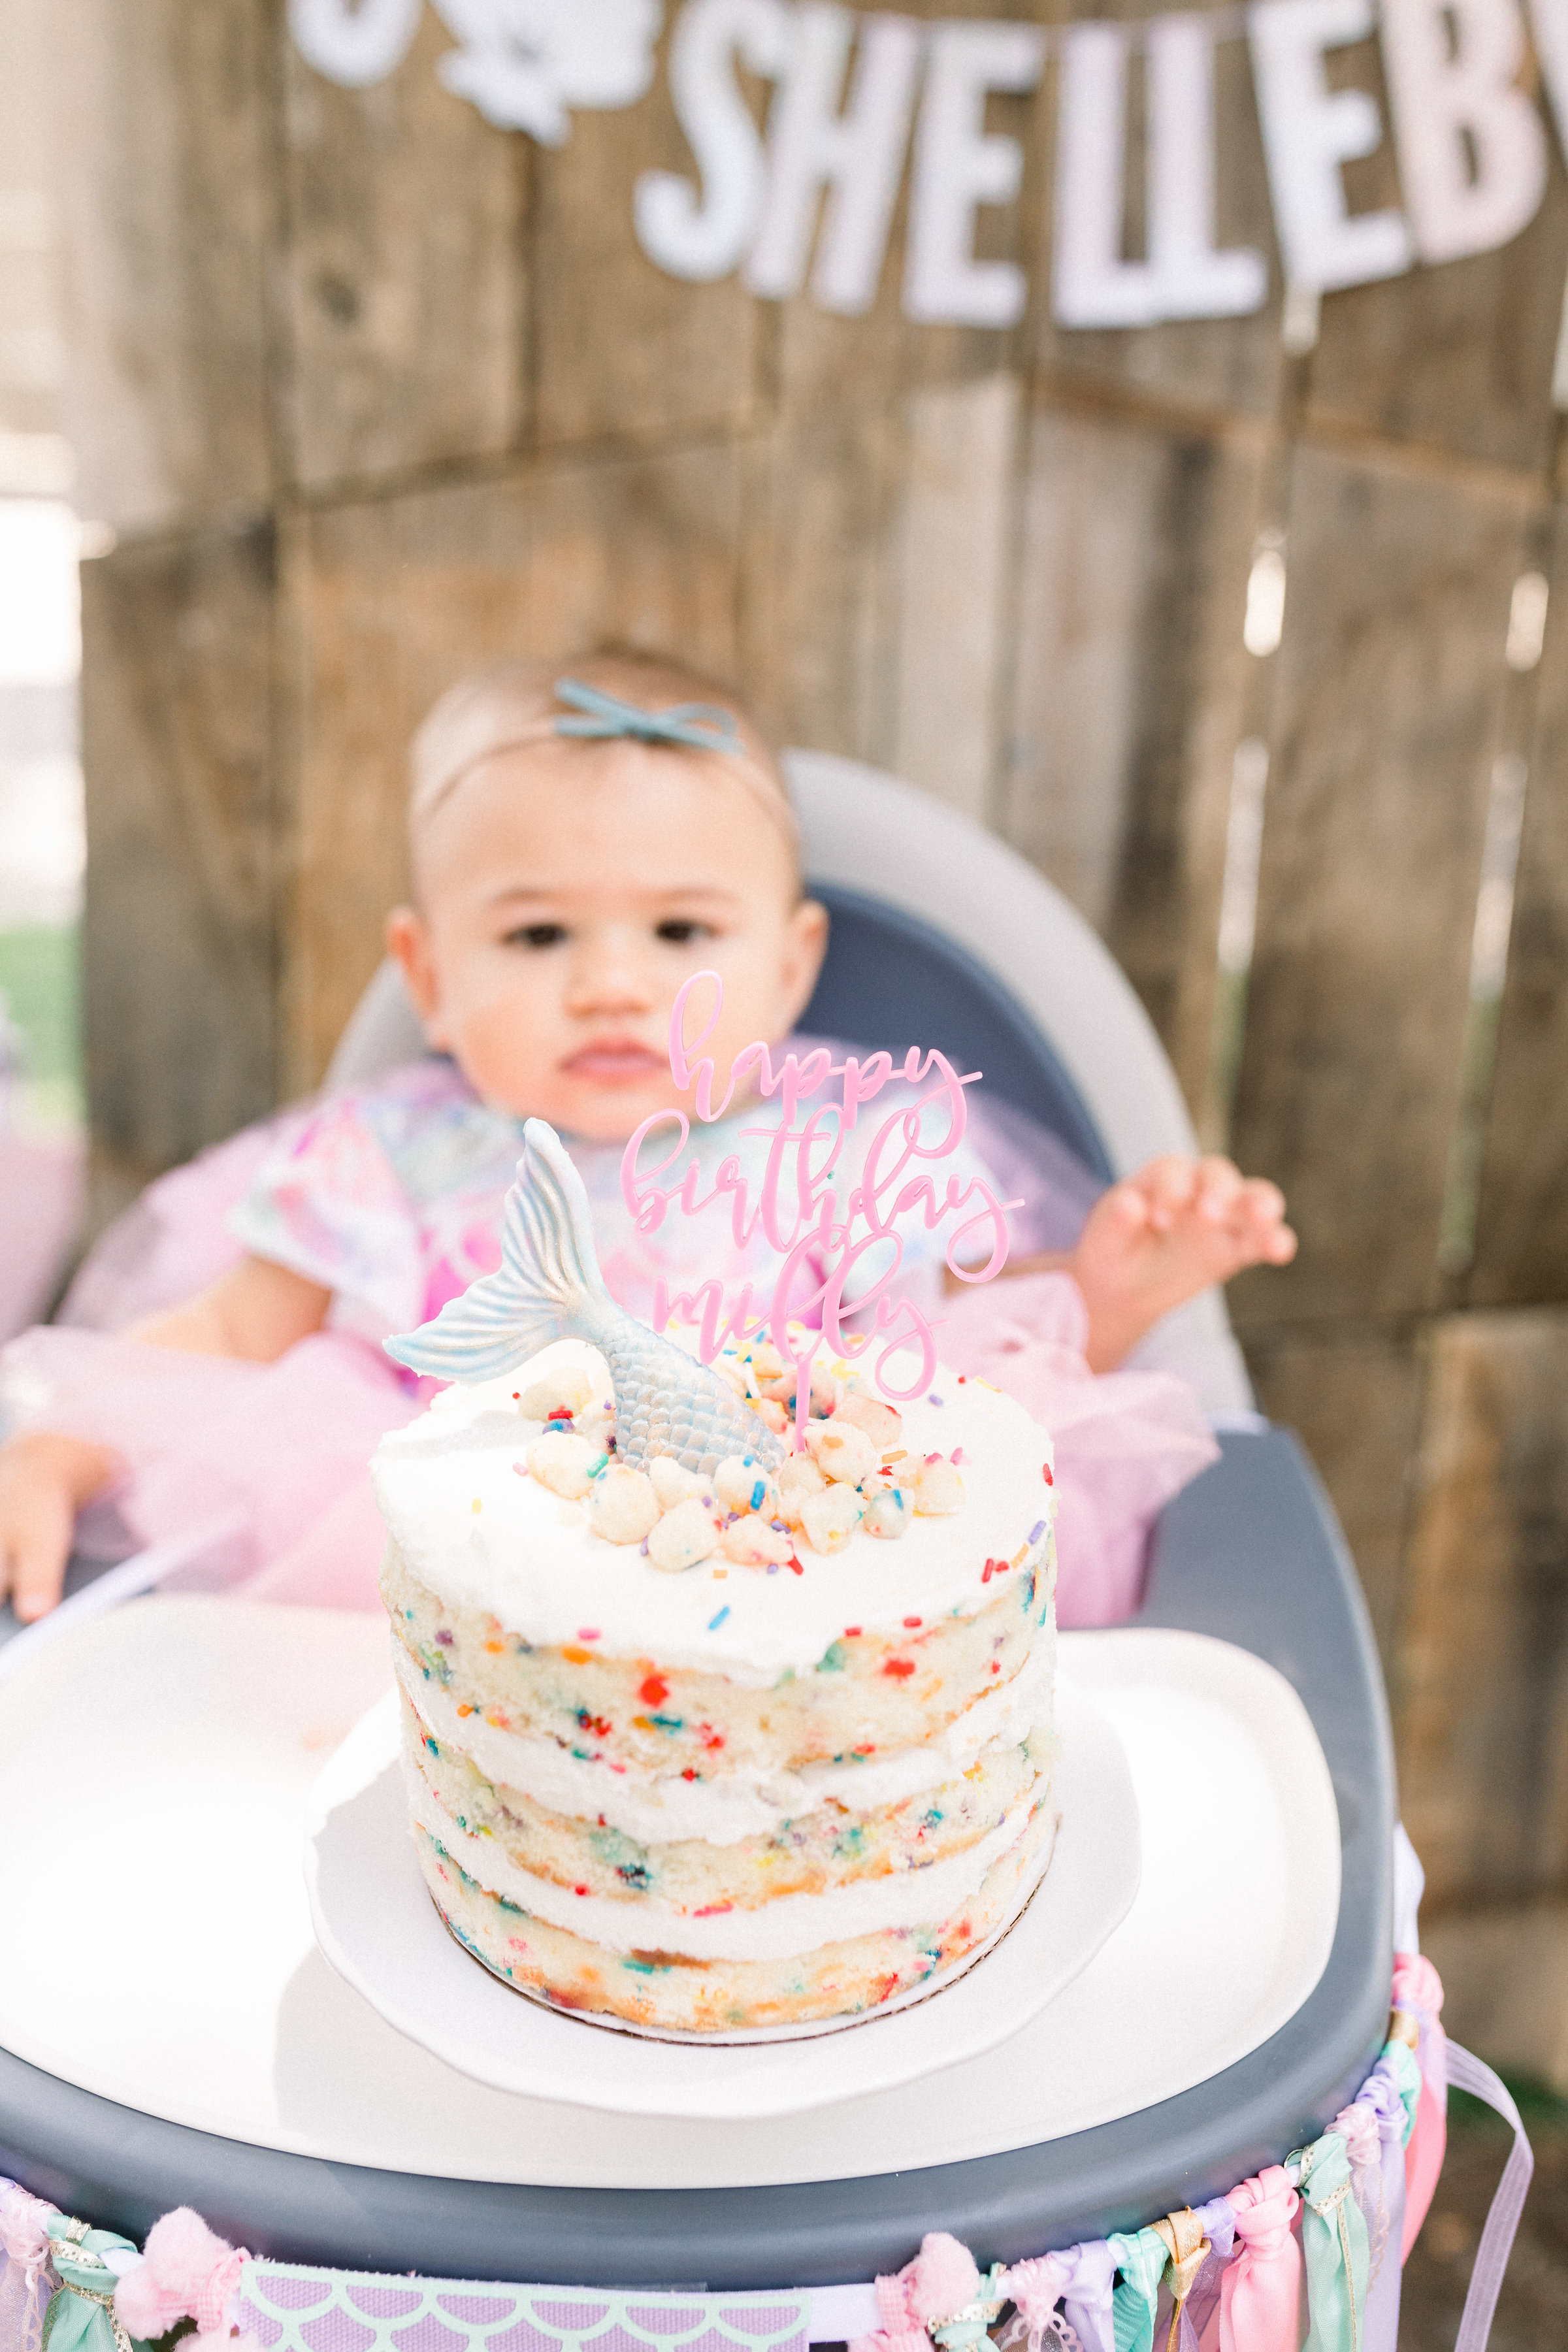
Mr. A and I went back and forth on if we were going to let Milly enjoy a smash cake. I mean we wanted her to enjoy something and I couldn't wait to hang this adorable high chair banner I got on Etsy.  As you know, Milly's been self feeding since 6 months so she is very capable and able to pick up a ton of cake and frosting at a time. She's definitely not one of those kids that will just poke at a cake. If she sees food in front of her, she's devouring all of it. But all of this sugar can't be good for any child, especially a 1 year old so I thought I would make a carrot or zucchini cake with coco whip. Then the night before her party I absolutely bailed on that idea after having a complete melt down (literally-our city got hit with a heat wave that wouldn't let up) and I threw in the towel and went to bed deciding I would just use the Momofuku Milk Bar Birthday Cake we ordered for the dessert table as her cake. Done and done. This is one of those moments where I had to just let go of what I had planned and go with the flow. Everything in our house was melting (no AC for this beach town living family) and I was losing my mind trying to control everything. 

JQ2_0925.jpg

The morning of her party we added a chocolate mermaid tail I had made for the dessert table to the center of the cake, a custom cake topper from DeLovely Details and the cake was done! I figure I have plenty of years ahead to take cake requests from my daughter and joyfully look forward to making all her sugary dreams come true.

And even though I didn't make her cake, I made plenty of other sweet treats for our guests including brown butter rice krispie treats, cookie dough chocolate gems, funfetti cupcakes and so many chocolate mermaid tails and seashells. Sugarfina gummies completed the dessert table and are always the star of the show. I've never seen adults get more excited than when you give them a cello bag to fill with candy from Sugarfina. To read all about the dessert table of our underwater dreams, I'm creating a dedicated blog post just for this with a ton more photos tonight so stay tuned for more!

JQ2_0676.jpg
JQ2_0772.jpg

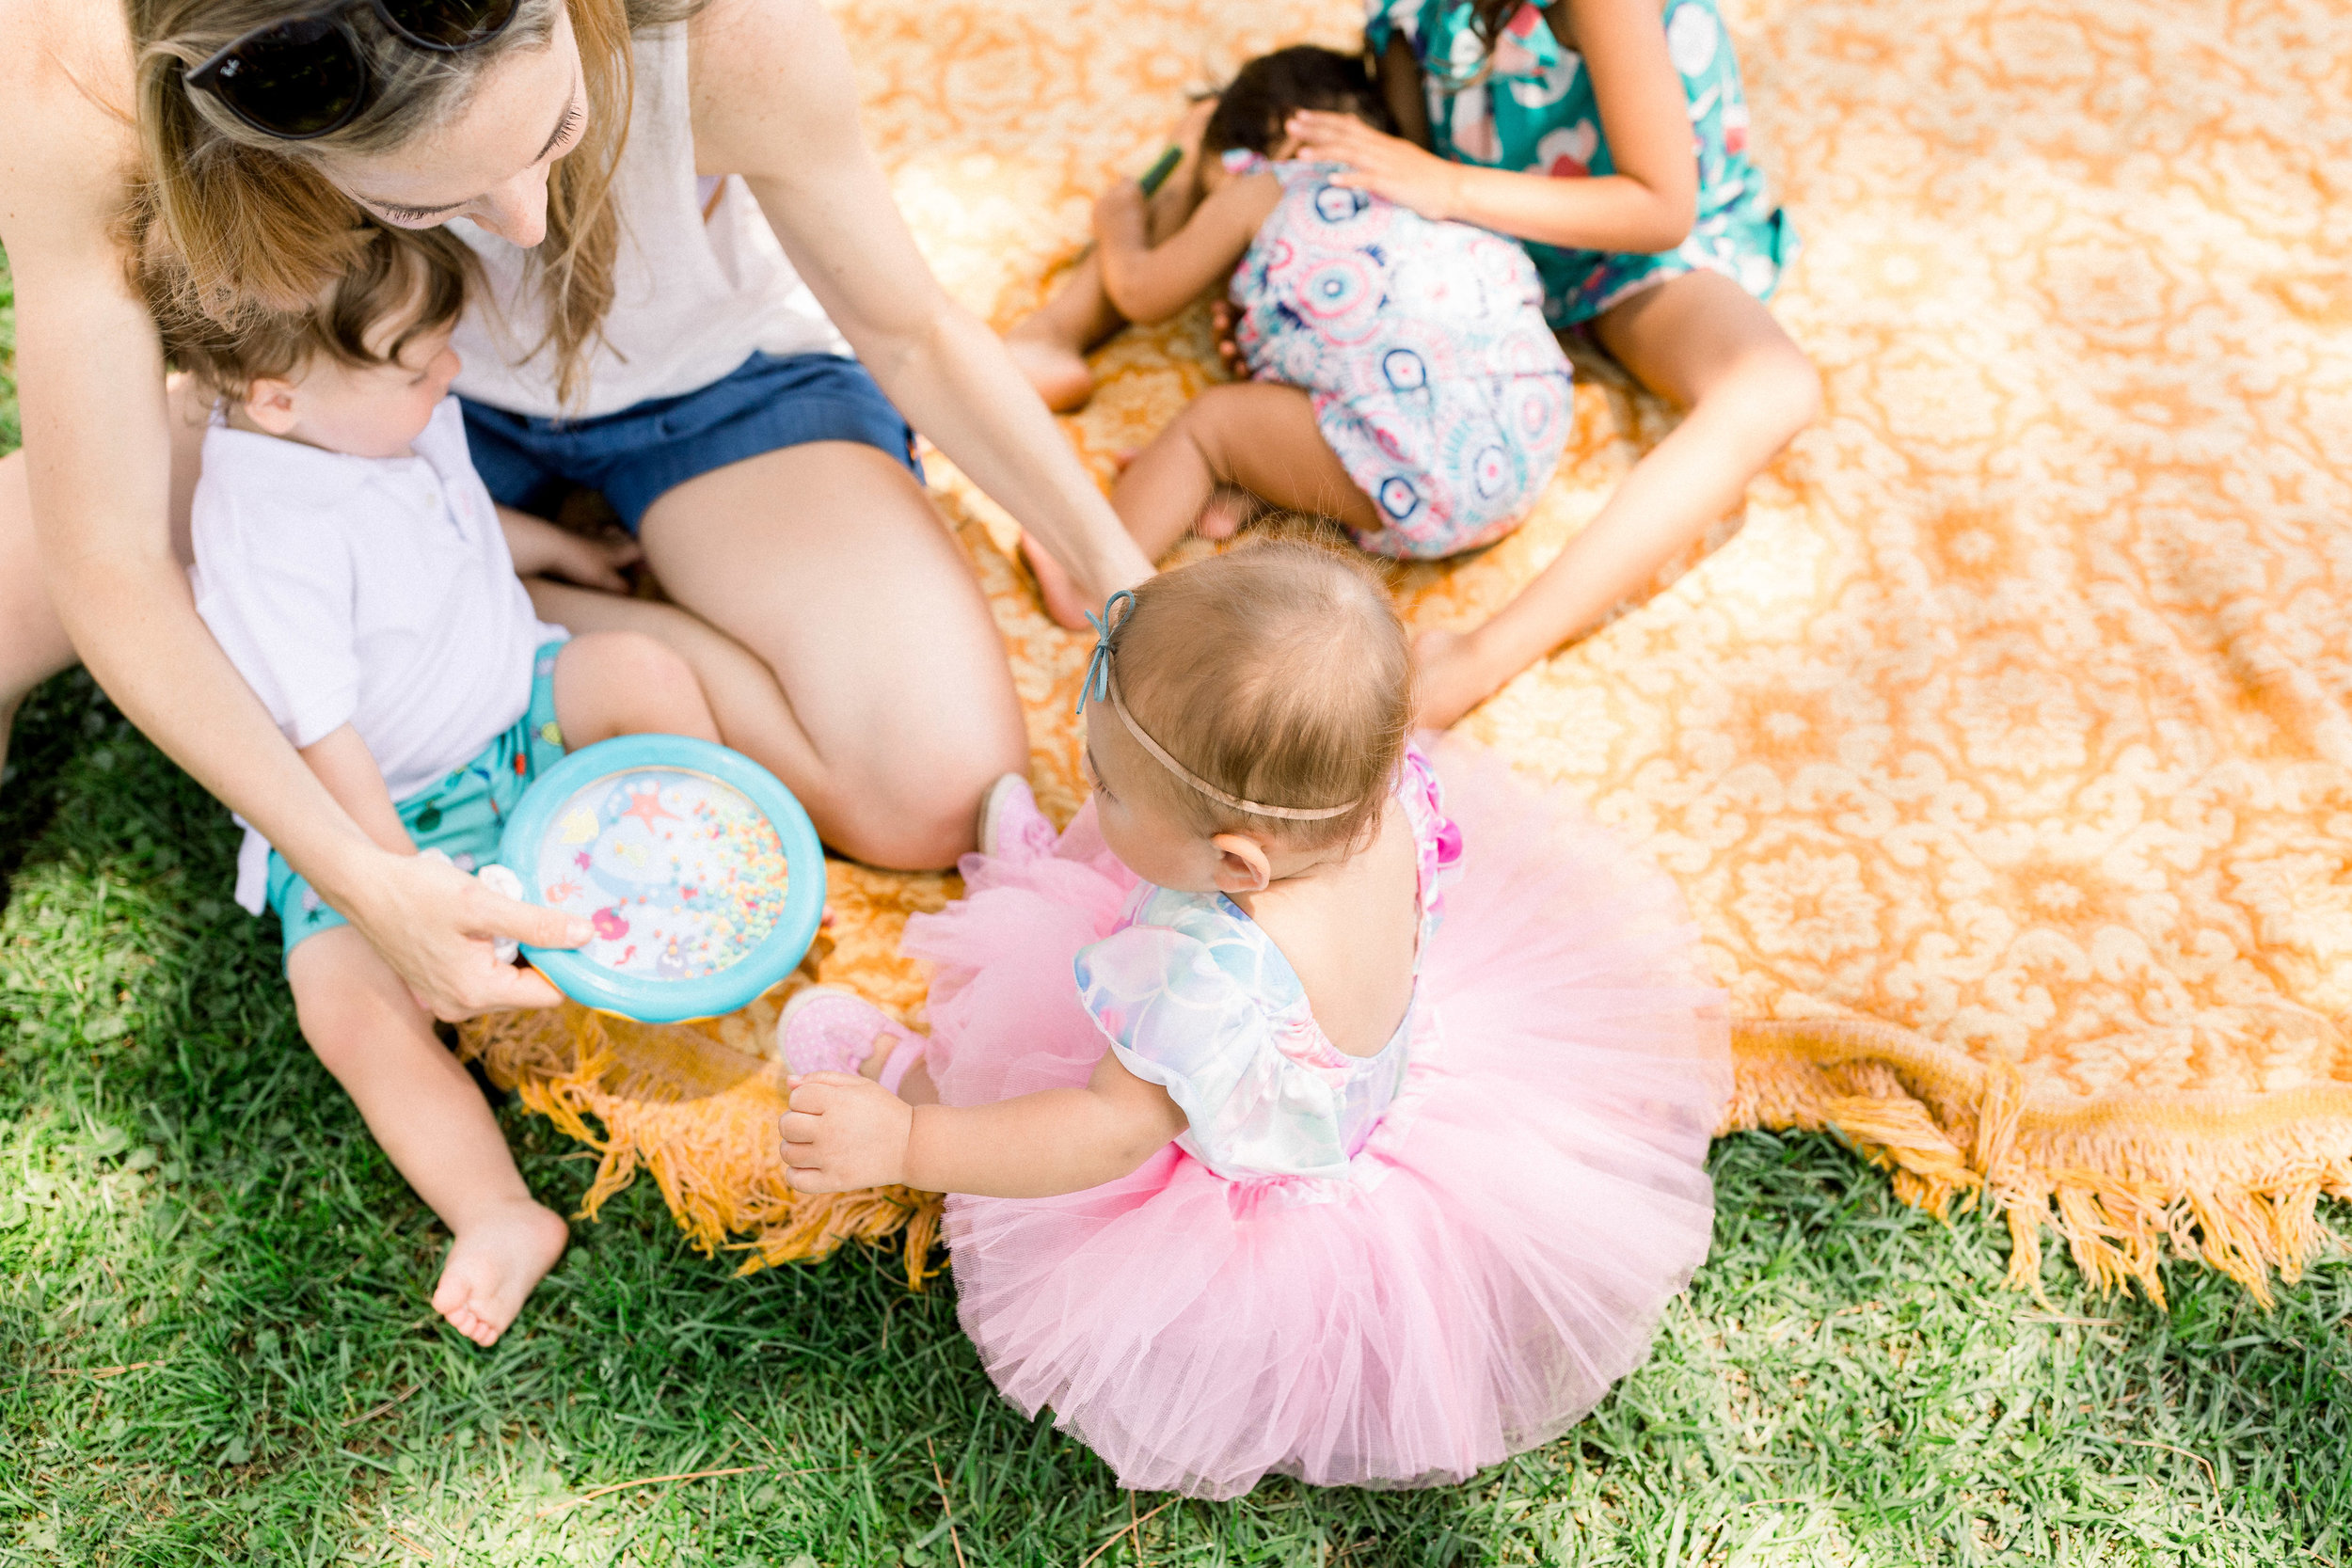
The dessert table was such a big hit, I think people skipped lunch and ate dessert first or maybe only dessert! We hosted lunch from our favorite, Chick-fil-A (sandwiches and nuggets), sweet tea and lemonade and made pasta salad, sliced fresh fruit and a veggie platter. It was so wonderful to have most of Milly's friends there (a few were out of town!), our friends, some of Mr. A's family and a ton of my extended family that live in SoCal but I hardly ever get to see.  Milly had so much fun playing with her friends, crawling and cruising around, eating everything in sight and waving at everyone passing by! 

JQ2_0902.jpg

We are so grateful to everyone who was there physically and in spirit to celebrate our daughter. And even though we put "no gifts necessary" on the invitation, Milly was spoiled beyond belief and we were spoiled too. The cards with sweet messages telling us we are kicking ass as parents and how much they've enjoyed watching us as parents are cards I will keep forever! Thank you to everyone for being a part of our first year as parents. We couldn't do it without our village. 

JQ2_1016.jpg
Mr. A made this too! This was a total surprise.

Mr. A made this too! This was a total surprise.

JQ2_0980.jpg
JQ2_0751.jpg
My New Food Network Show, Let's Eat!
JQ2_0908.jpg

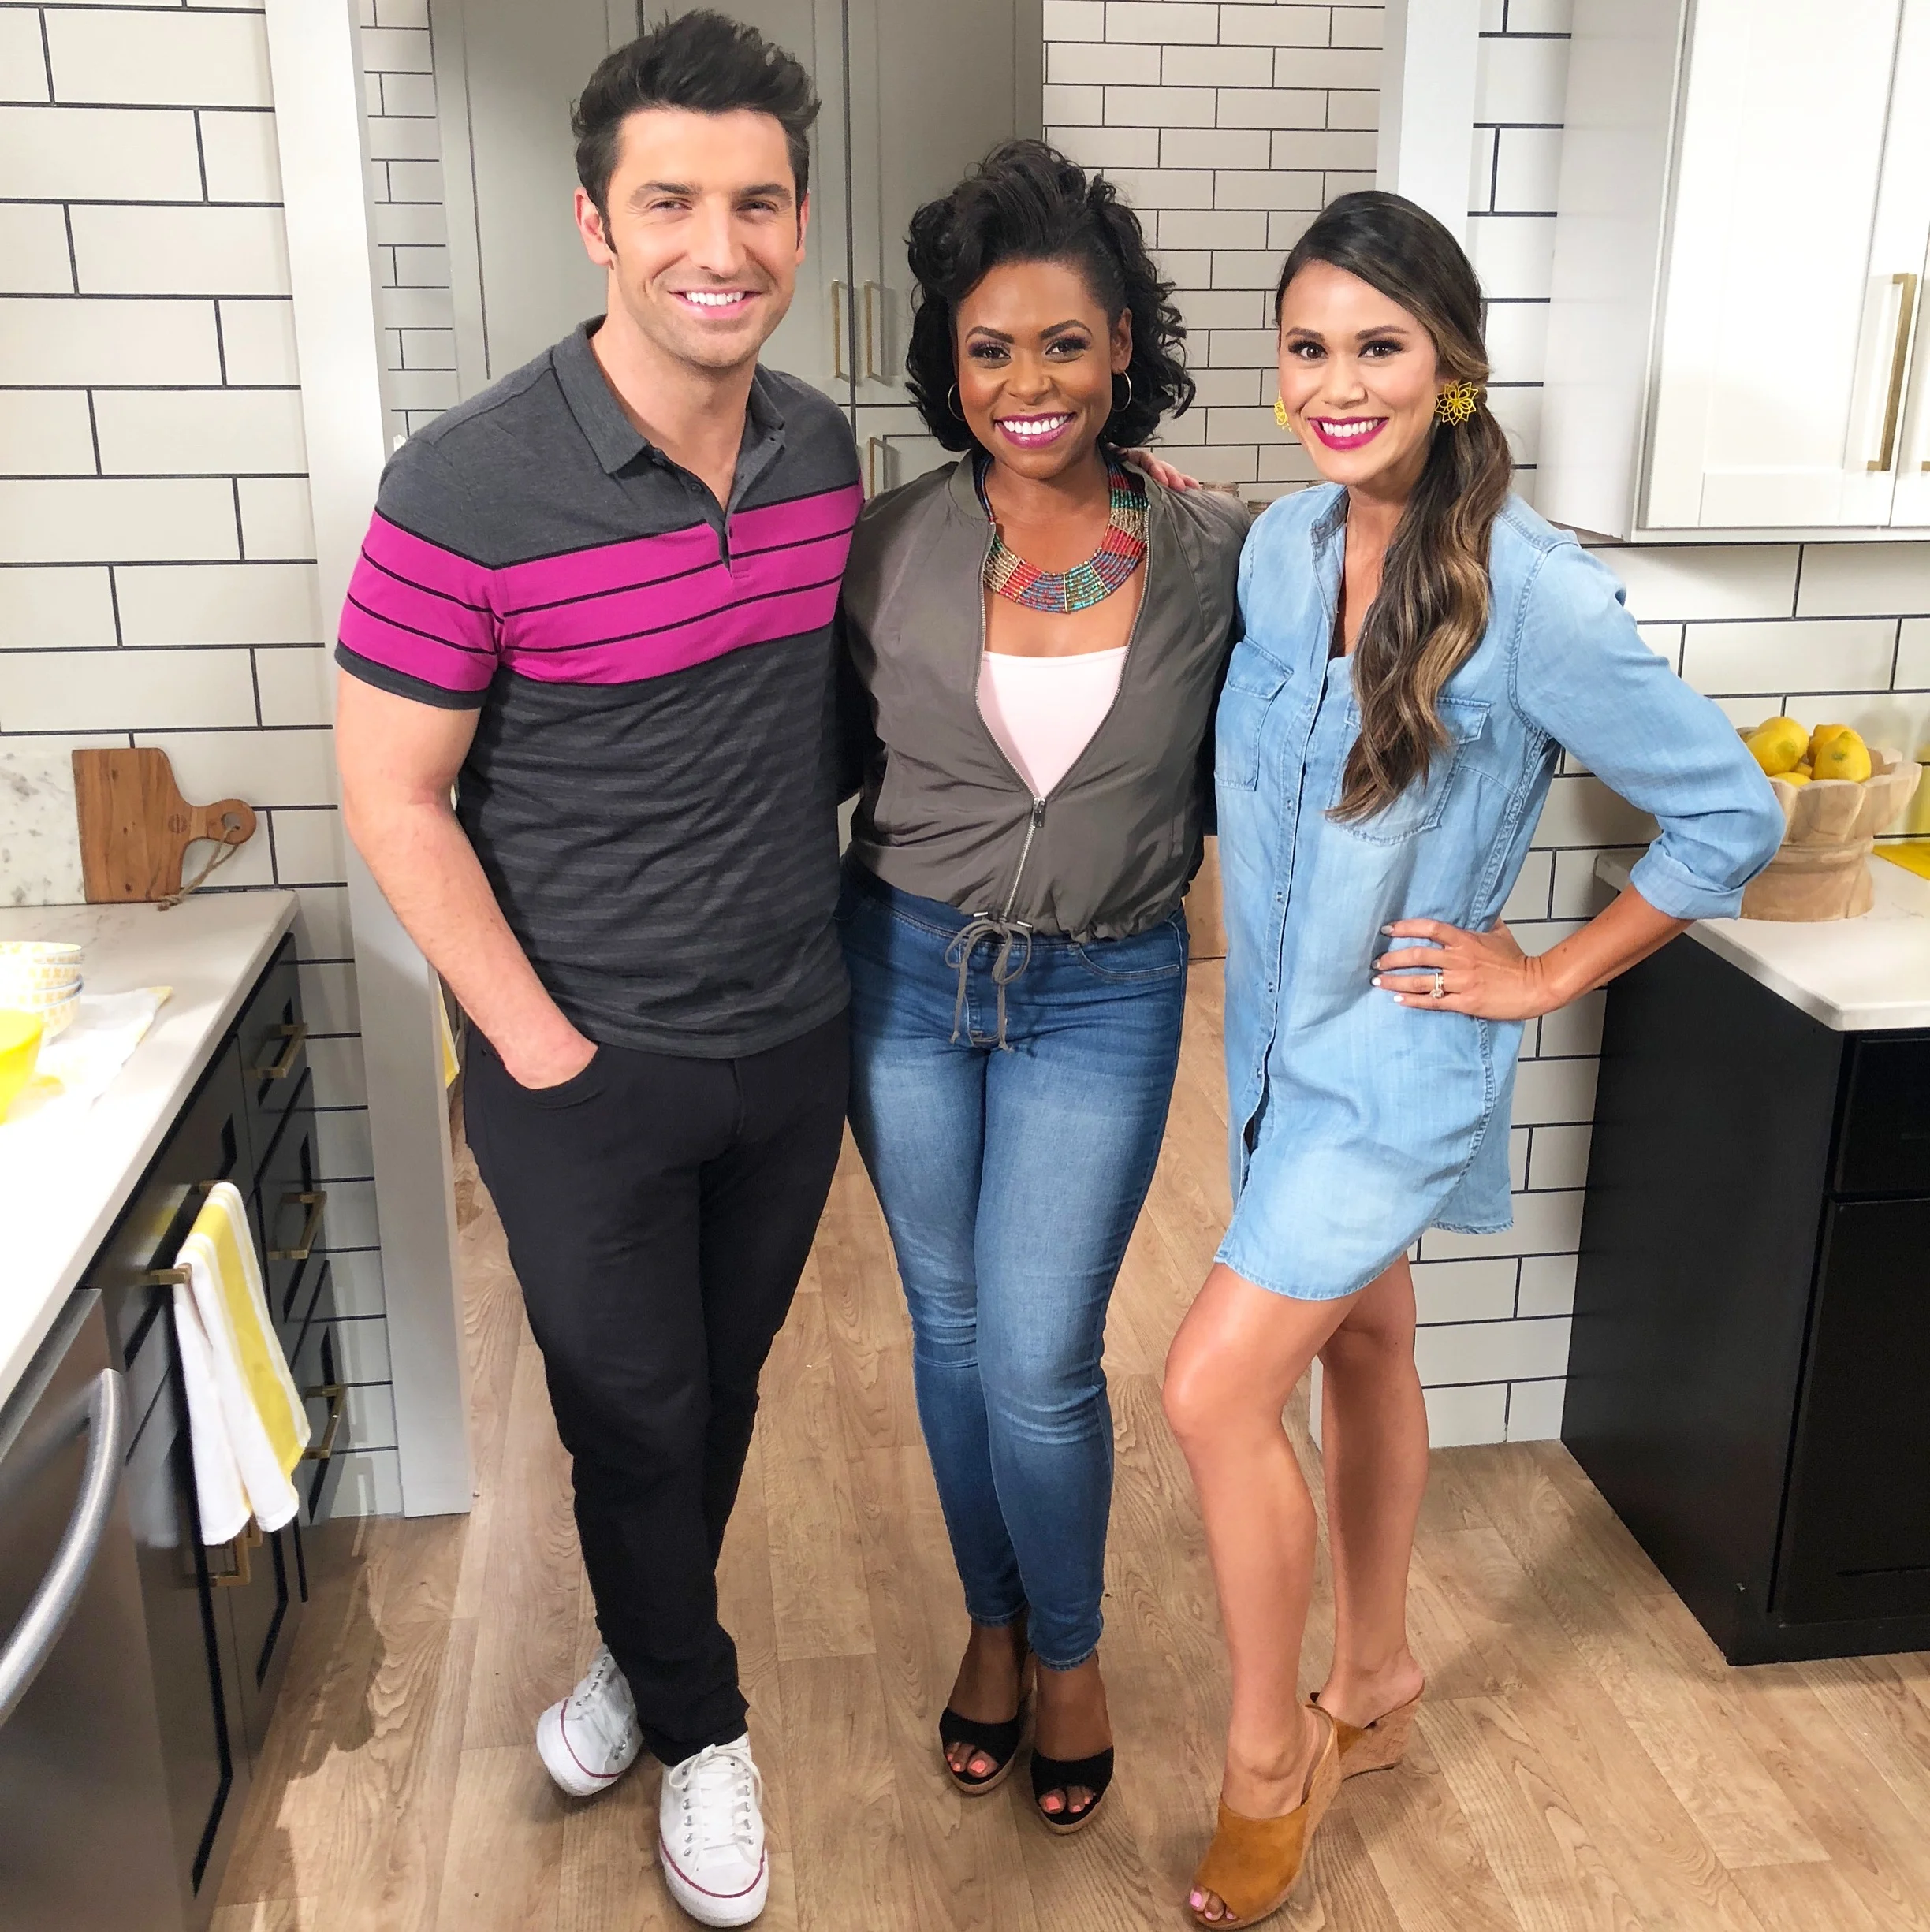
I'm thrilled to finally officially announce my new show on Food Network premiering August 12th at 11/10c called Let's Eat! I'll be alongside Stuart O'Keeffe and Jamika Pessoa who also happen to be good friends of mine. There's nothing better than doing what you love with people you love too! I can't wait for you to see us together in the kitchen showing you our favorite delicious recipes, food hacks you need to know and drool worthy food mash ups that are bound to become new favorites.  You can read more about the show here but be sure to mark your calendars now! I'll be LIVE tweeting every single episode.

Baby Helmet Therapy for Plagiocephaly

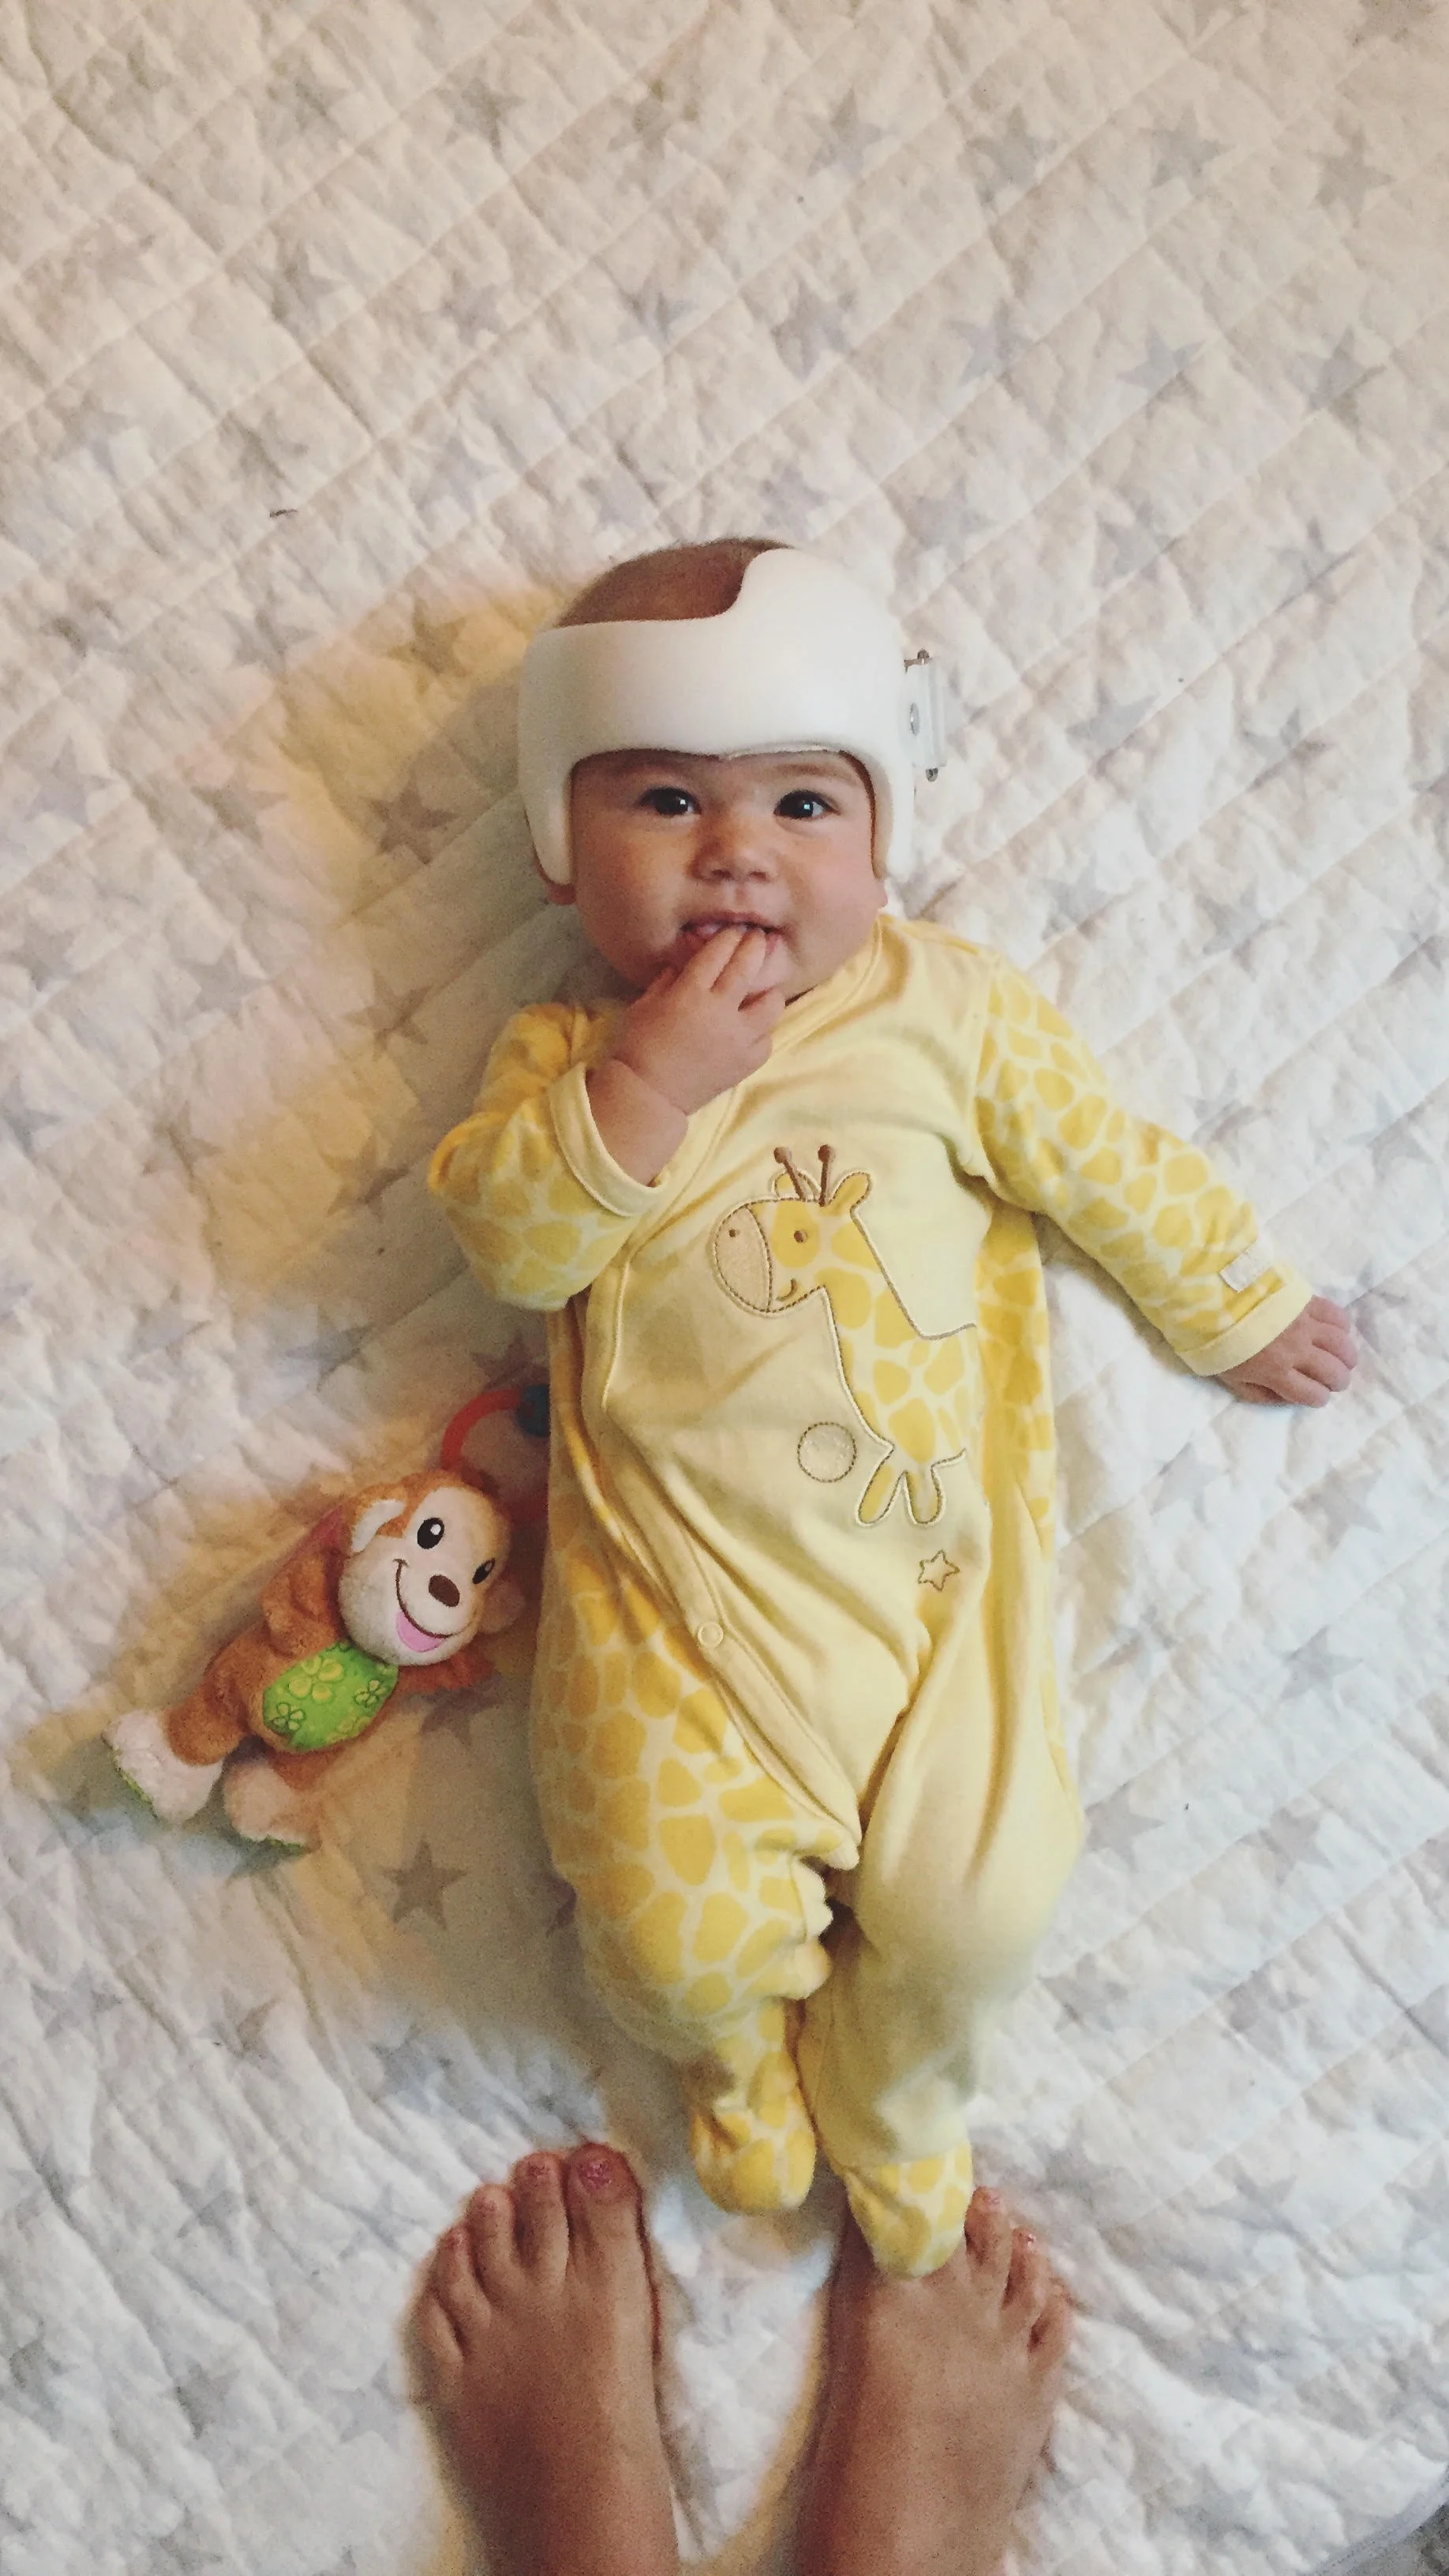
It actually seems like forever ago when we made the tough decision to get Milly fitted for a helmet to help correct the flat spot on her head but looking back I'm so glad we did. Thank  you FAM: For All Moms for allowing me to share Milly's story. You can watch my interview with Susan Yara and Sharzad Kiadeh below and then let me know if you have any questions in the comments below. 

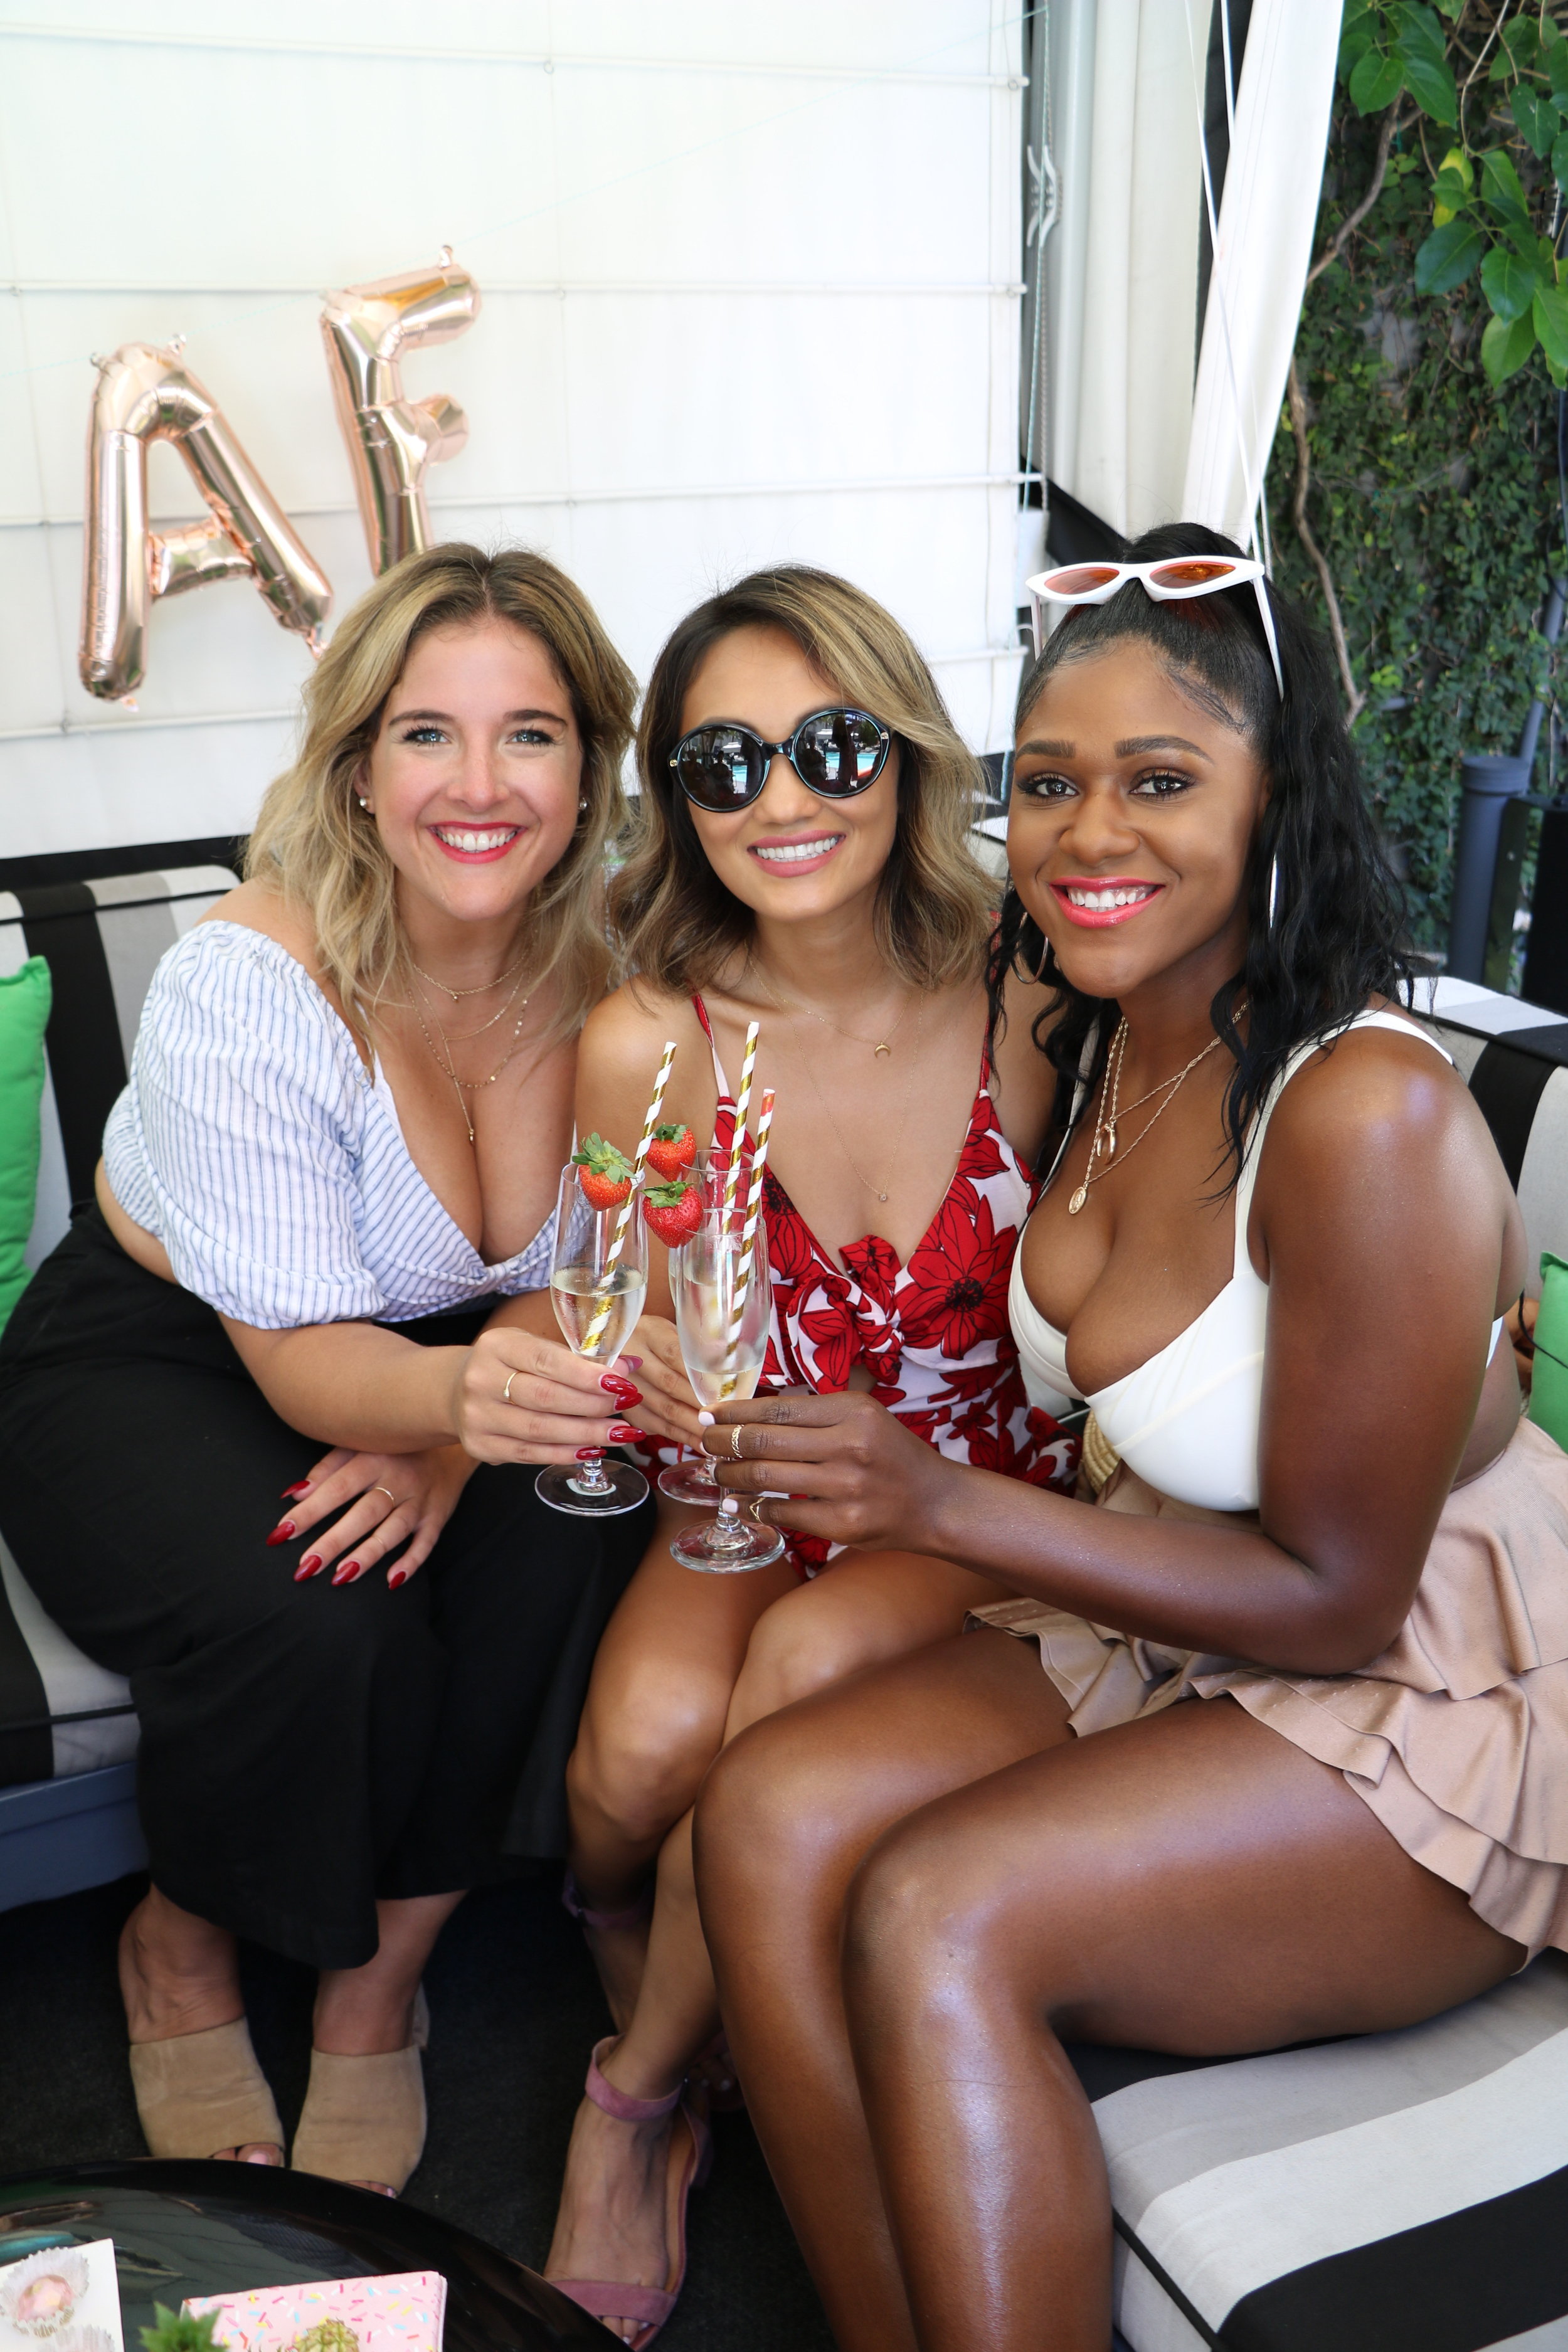
A Chic & Tropical Young AF Birthday Party
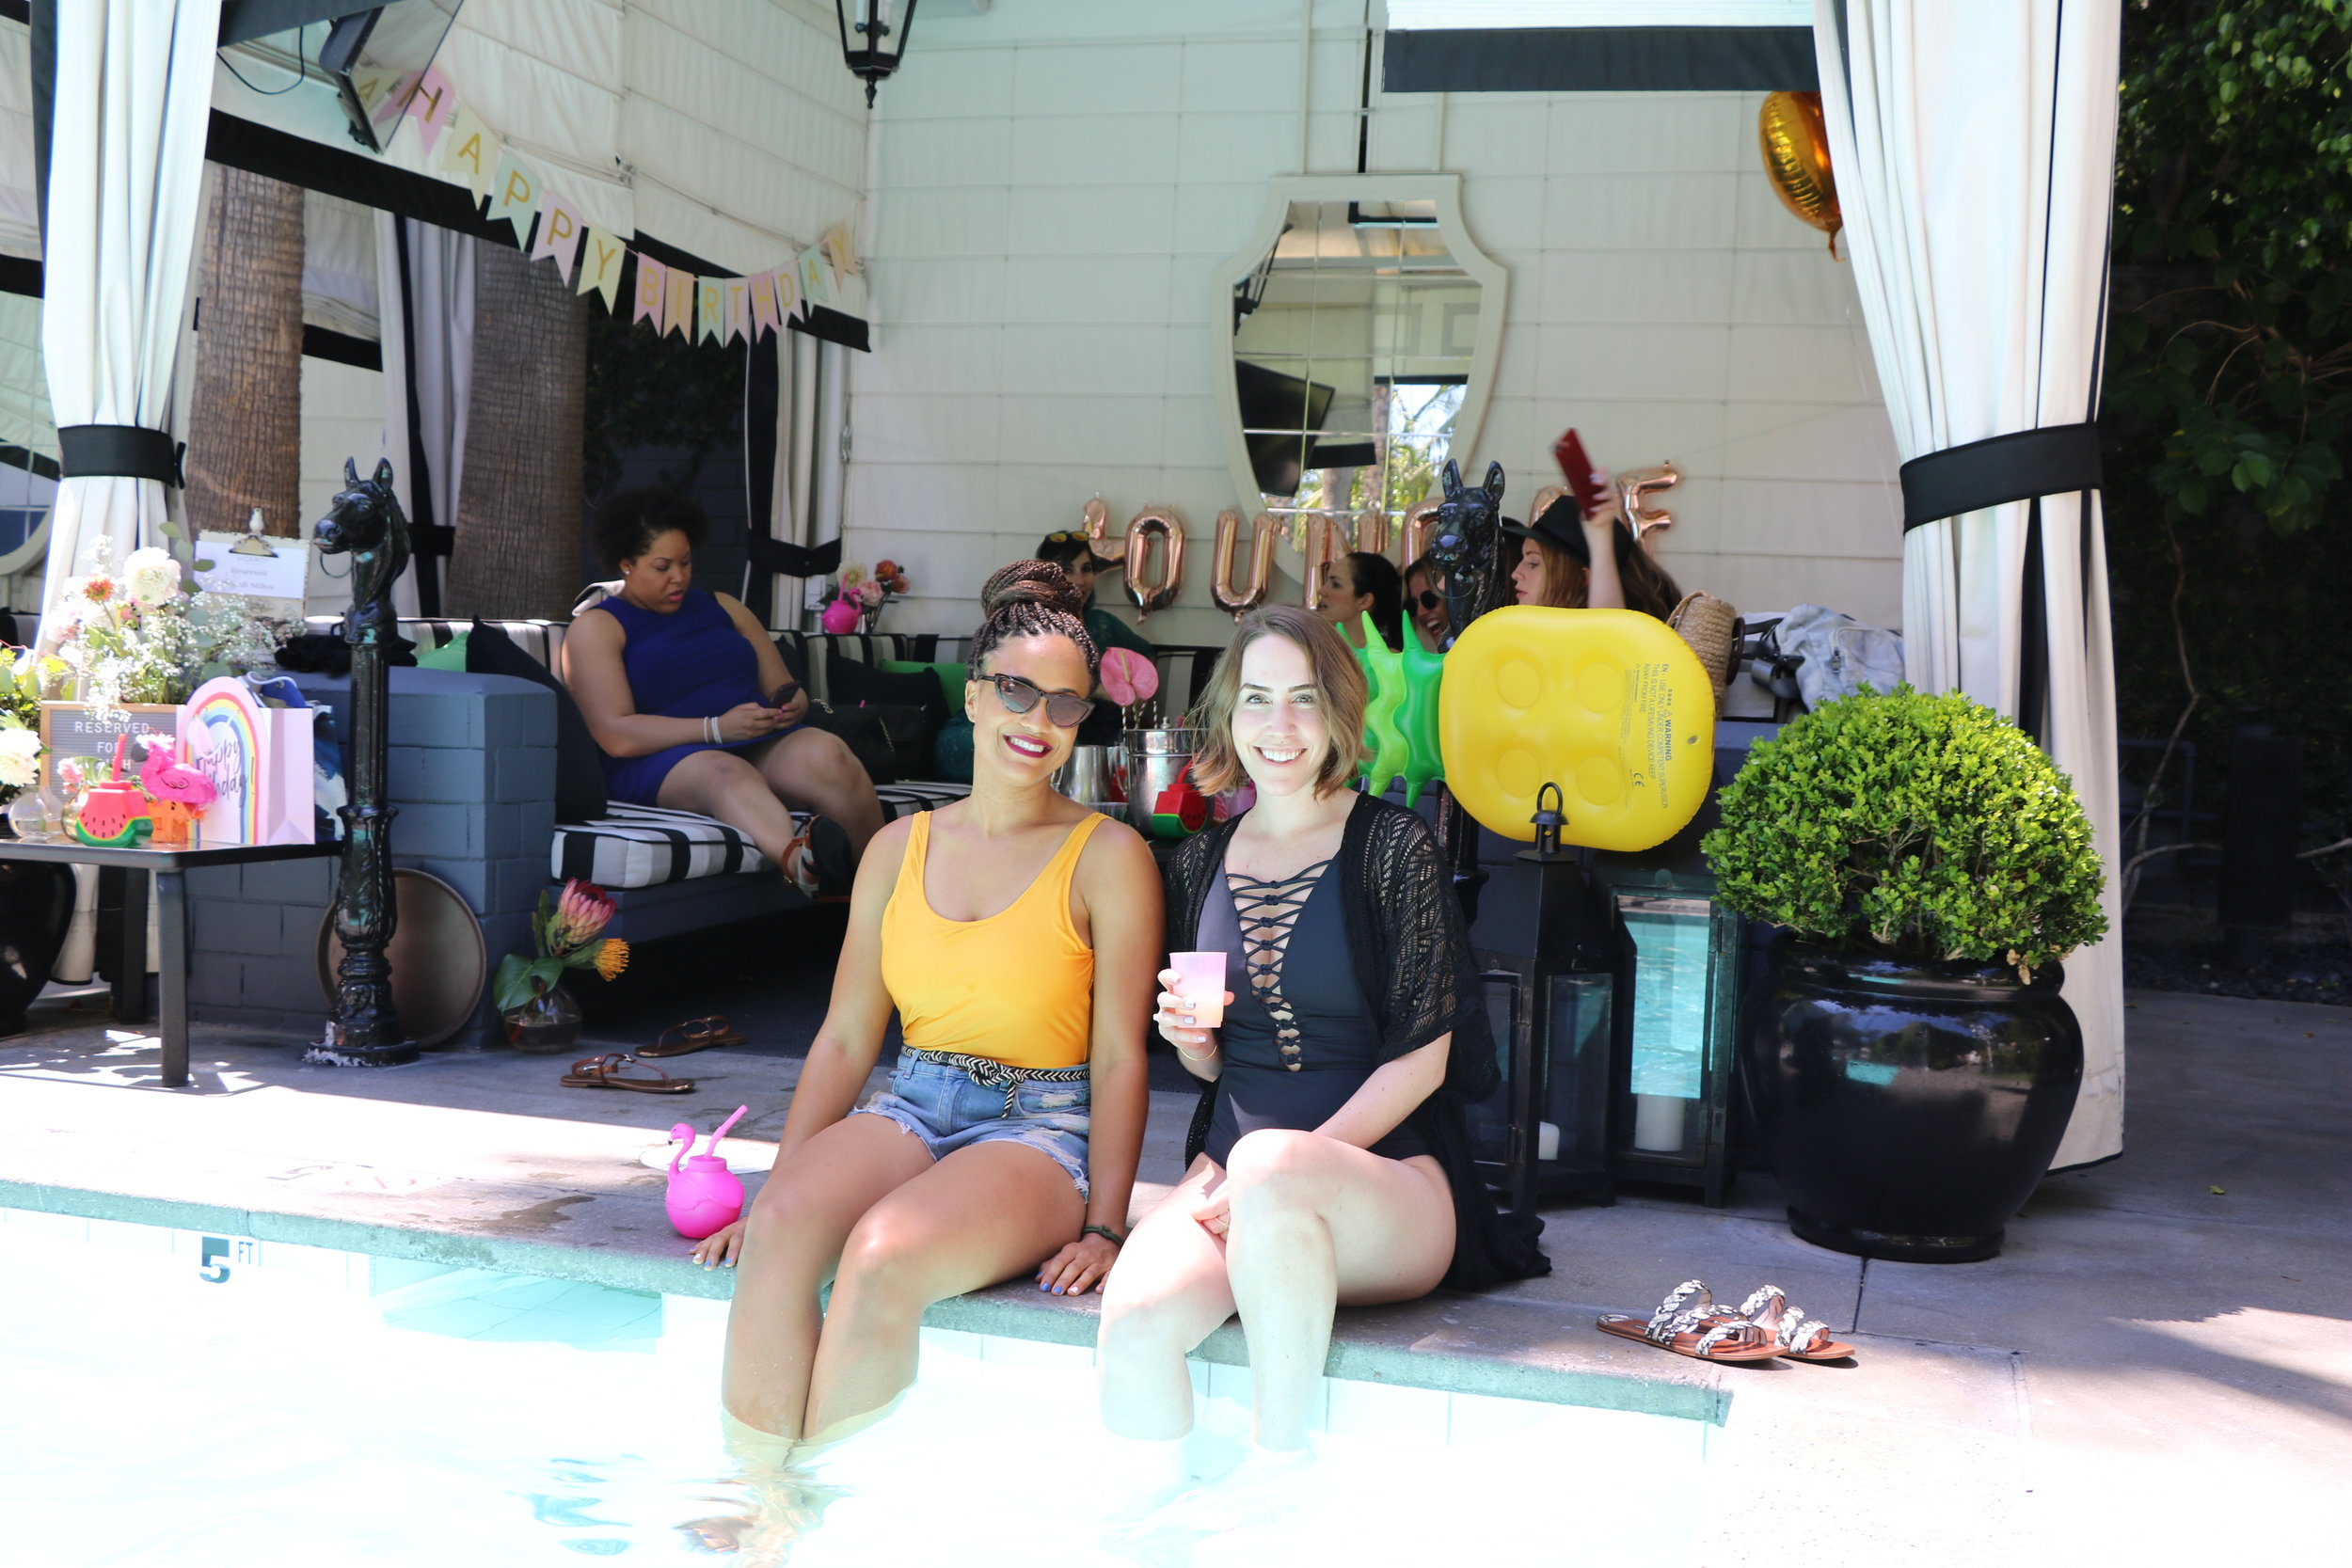
Viceroy Santa Monica Cabana

Viceroy Santa Monica Cabana

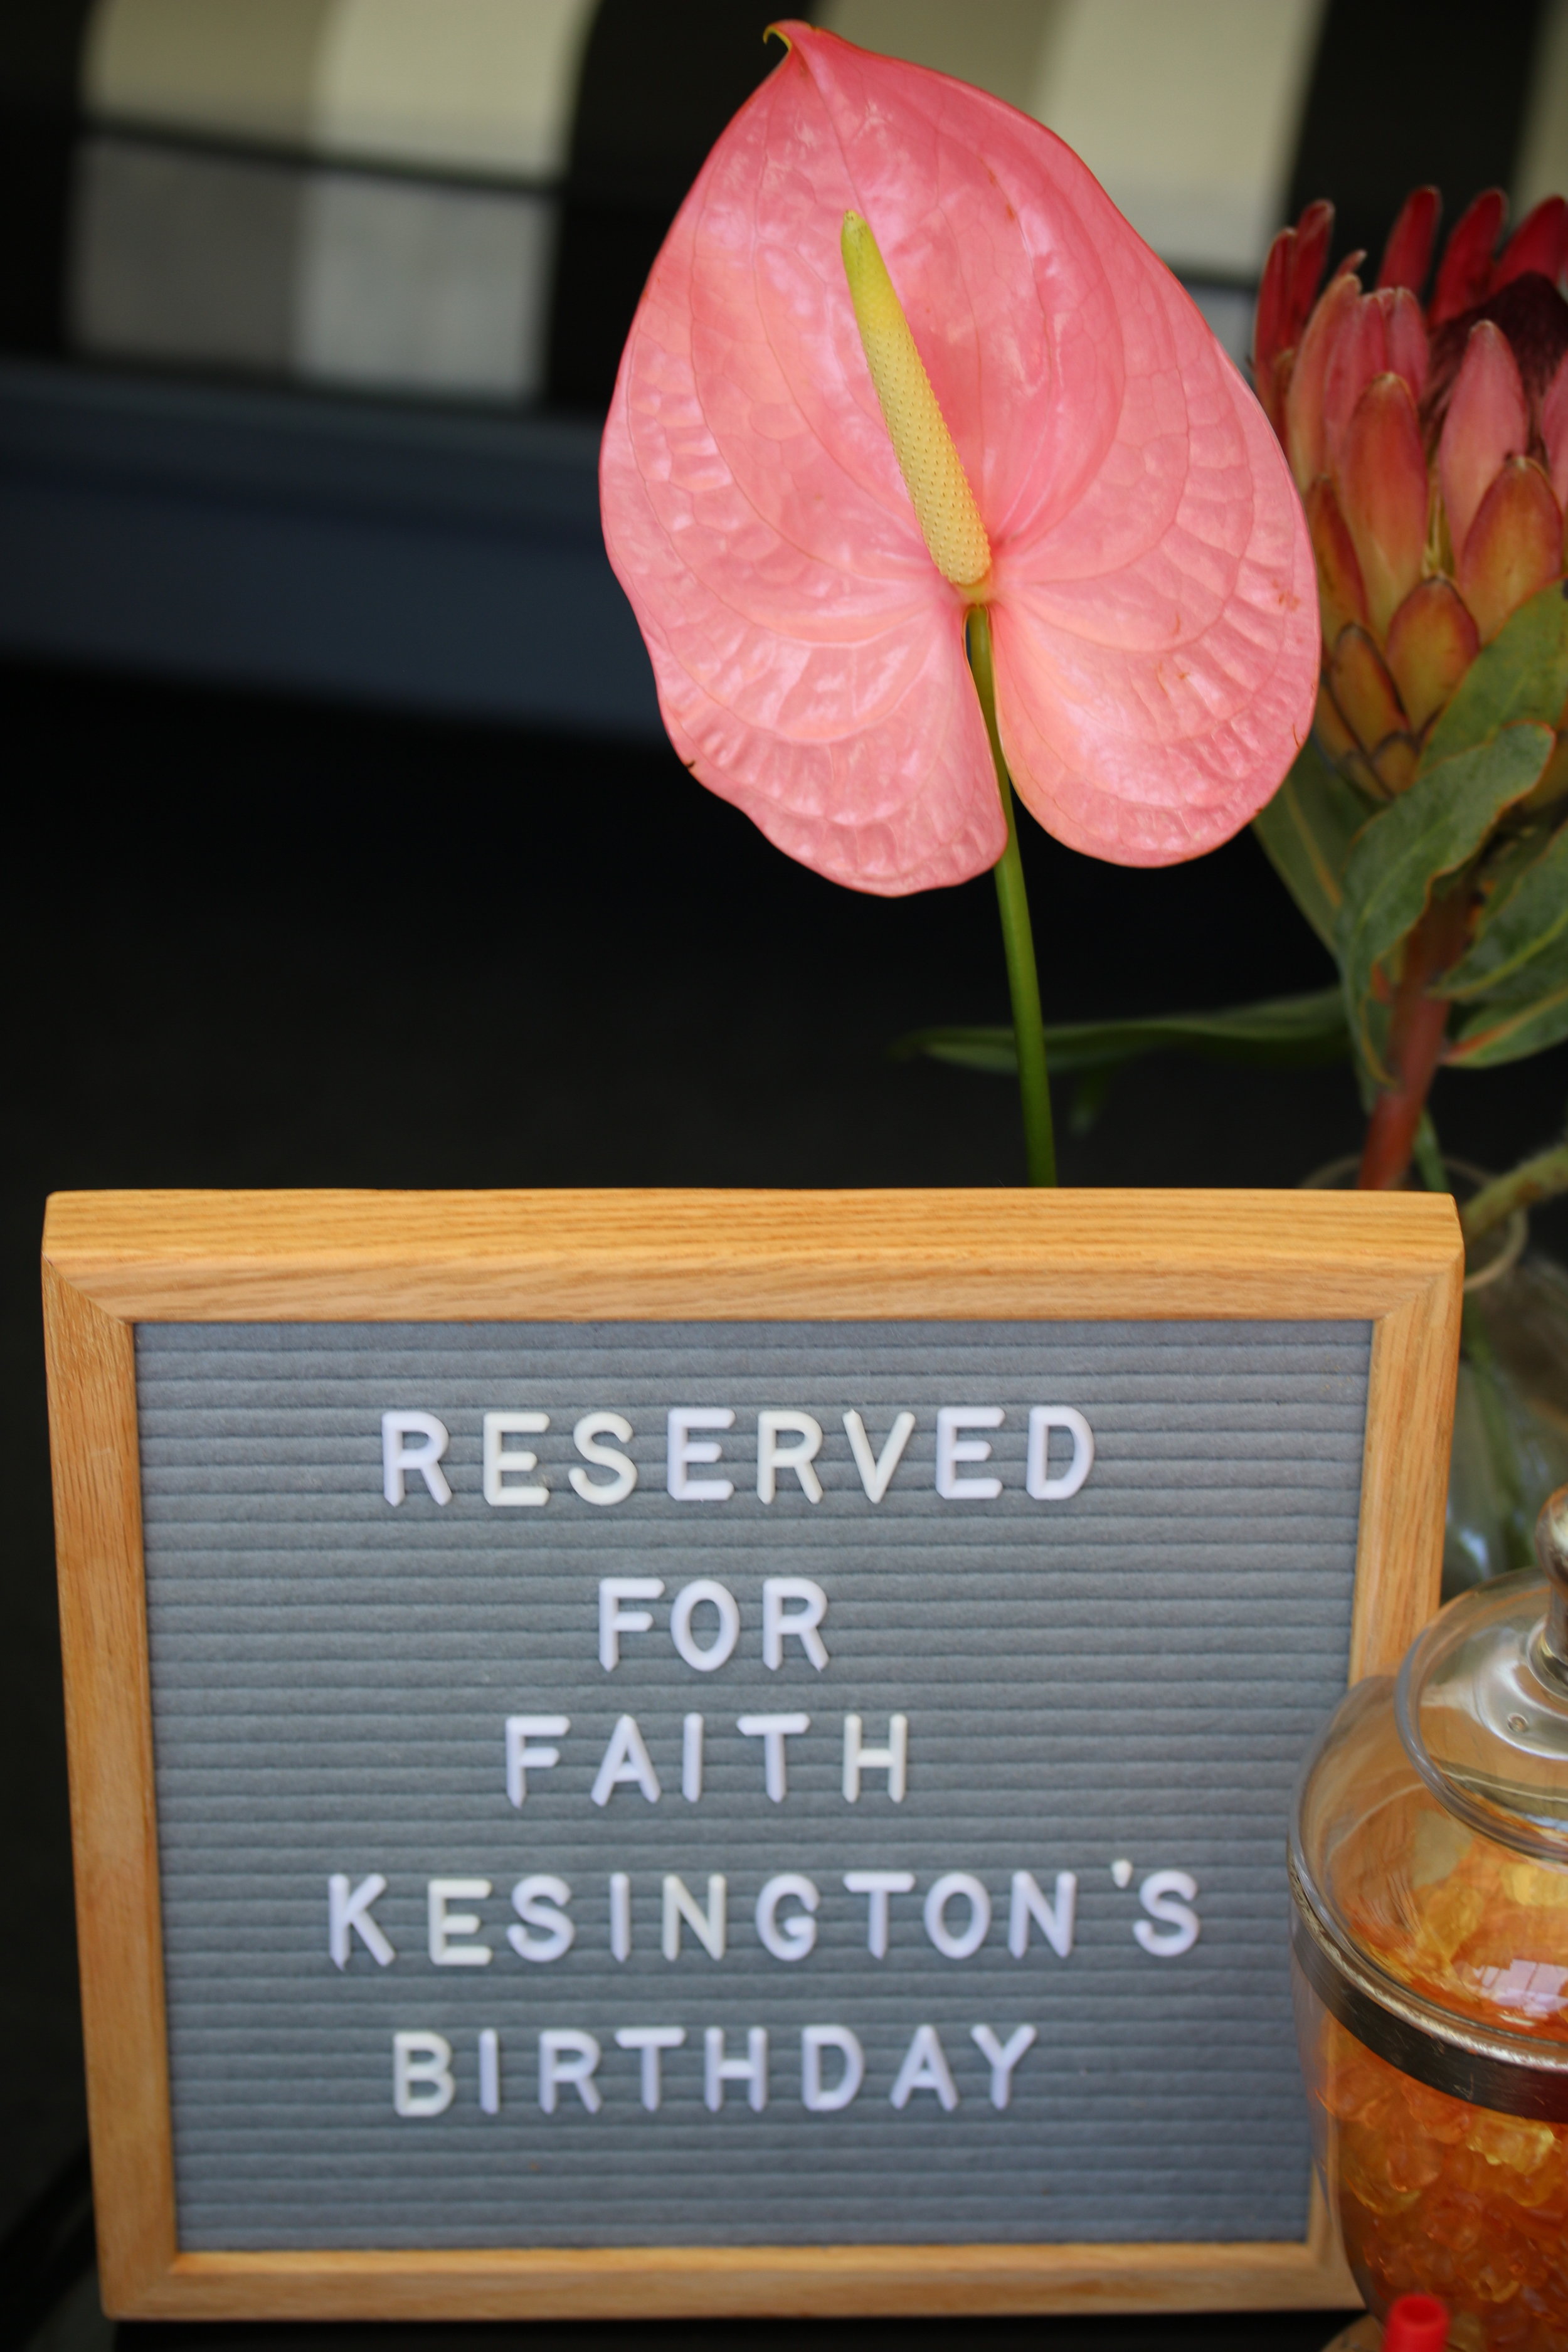
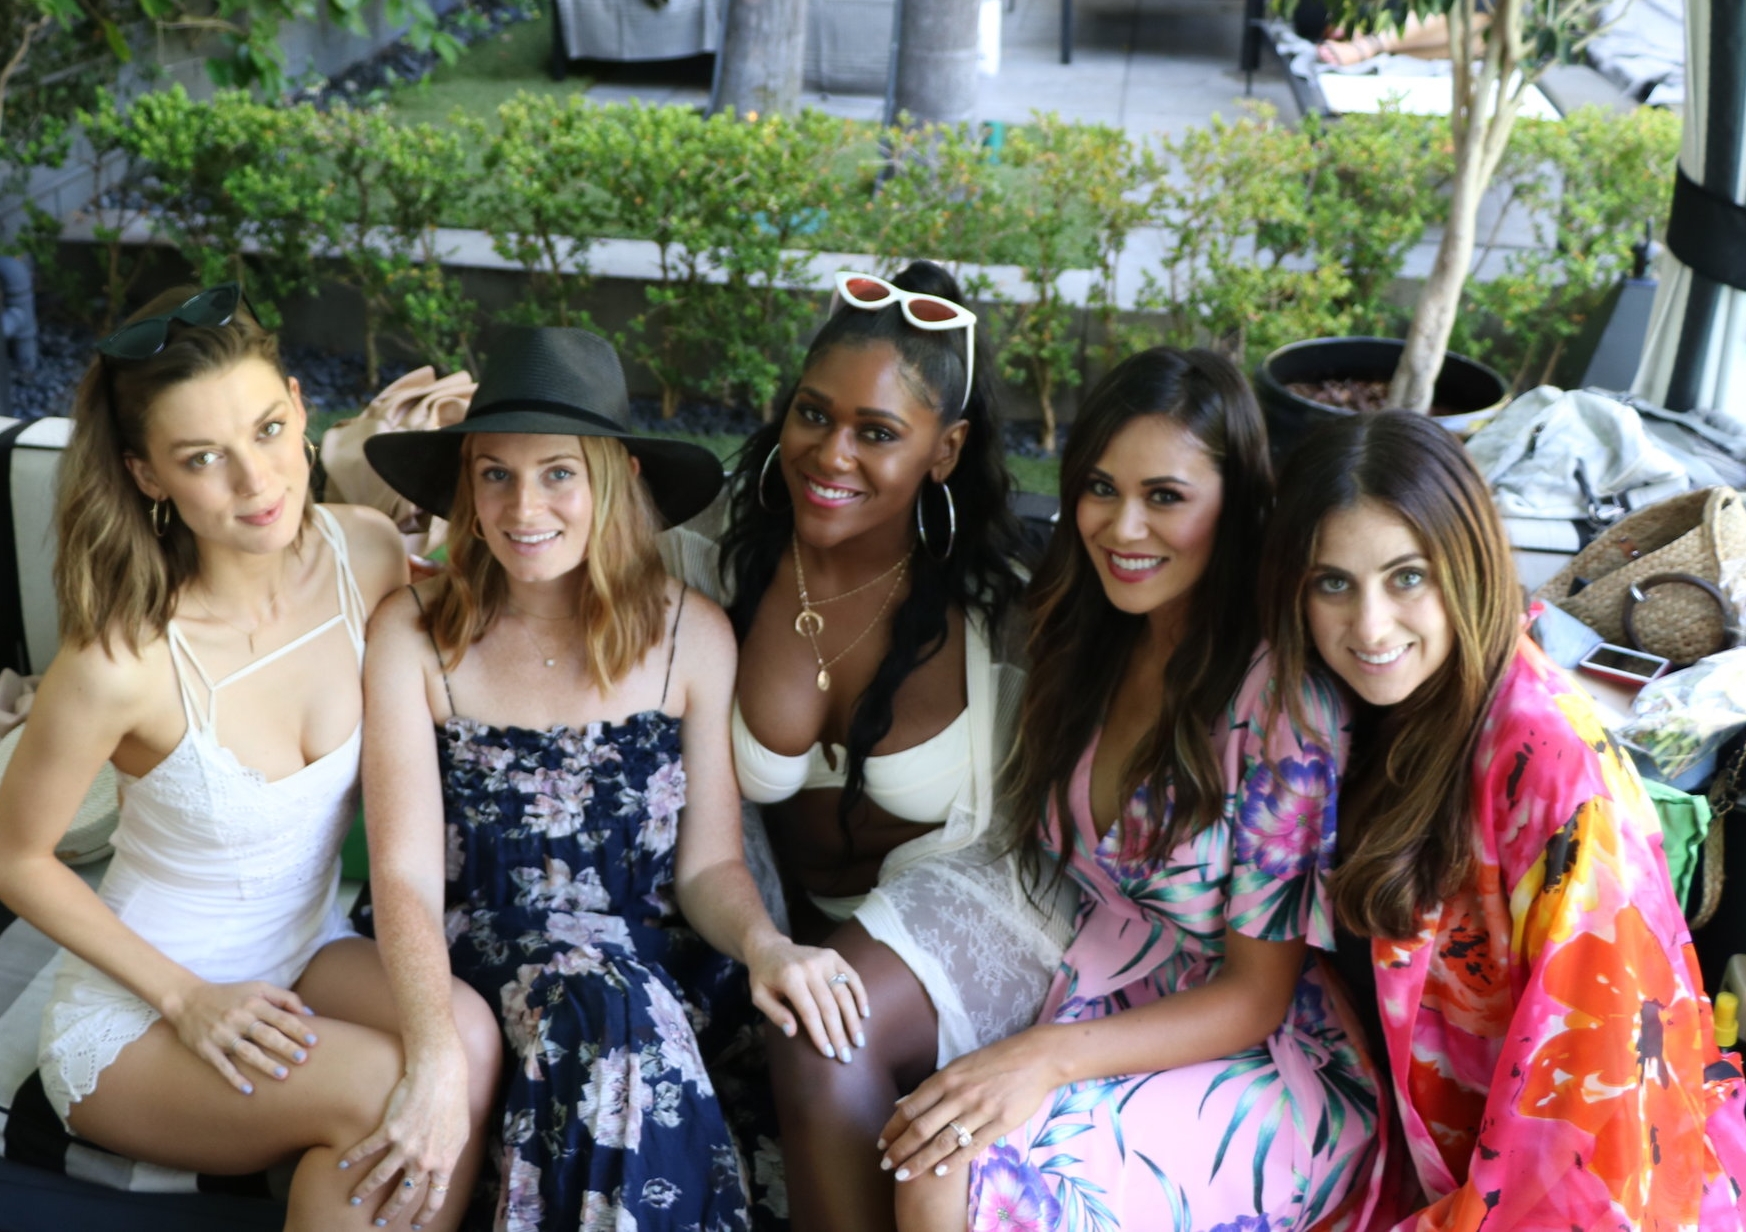
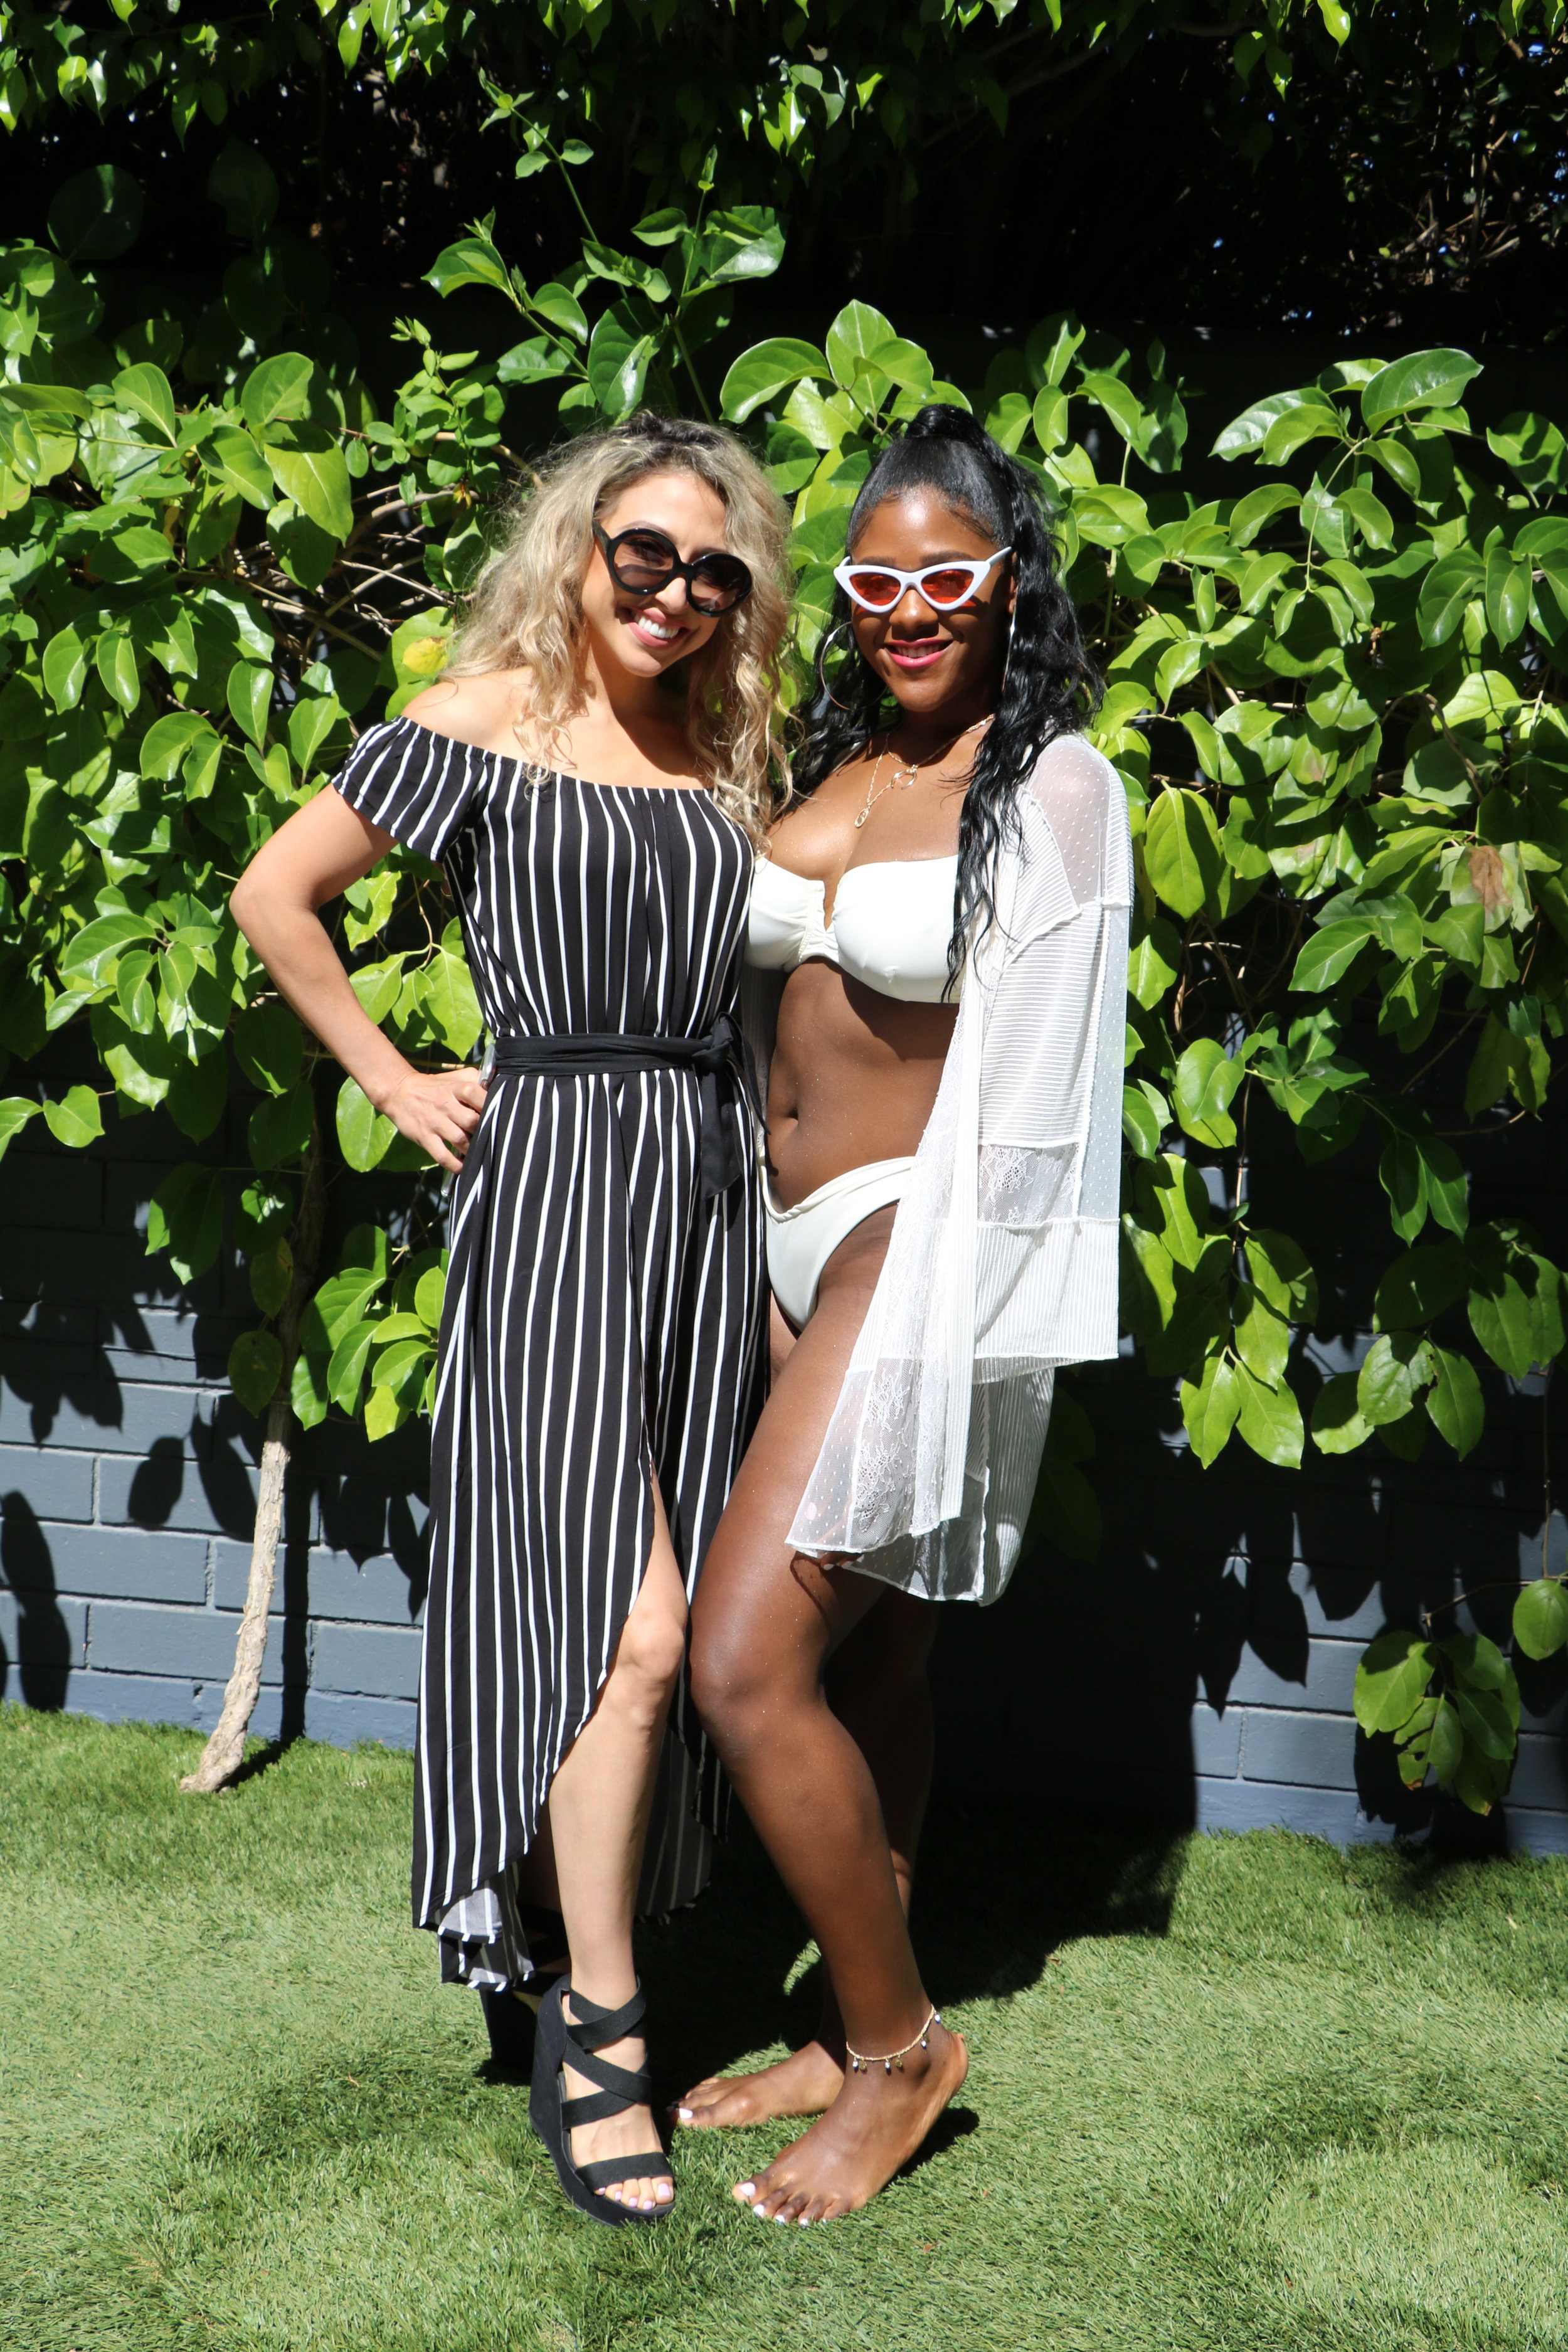
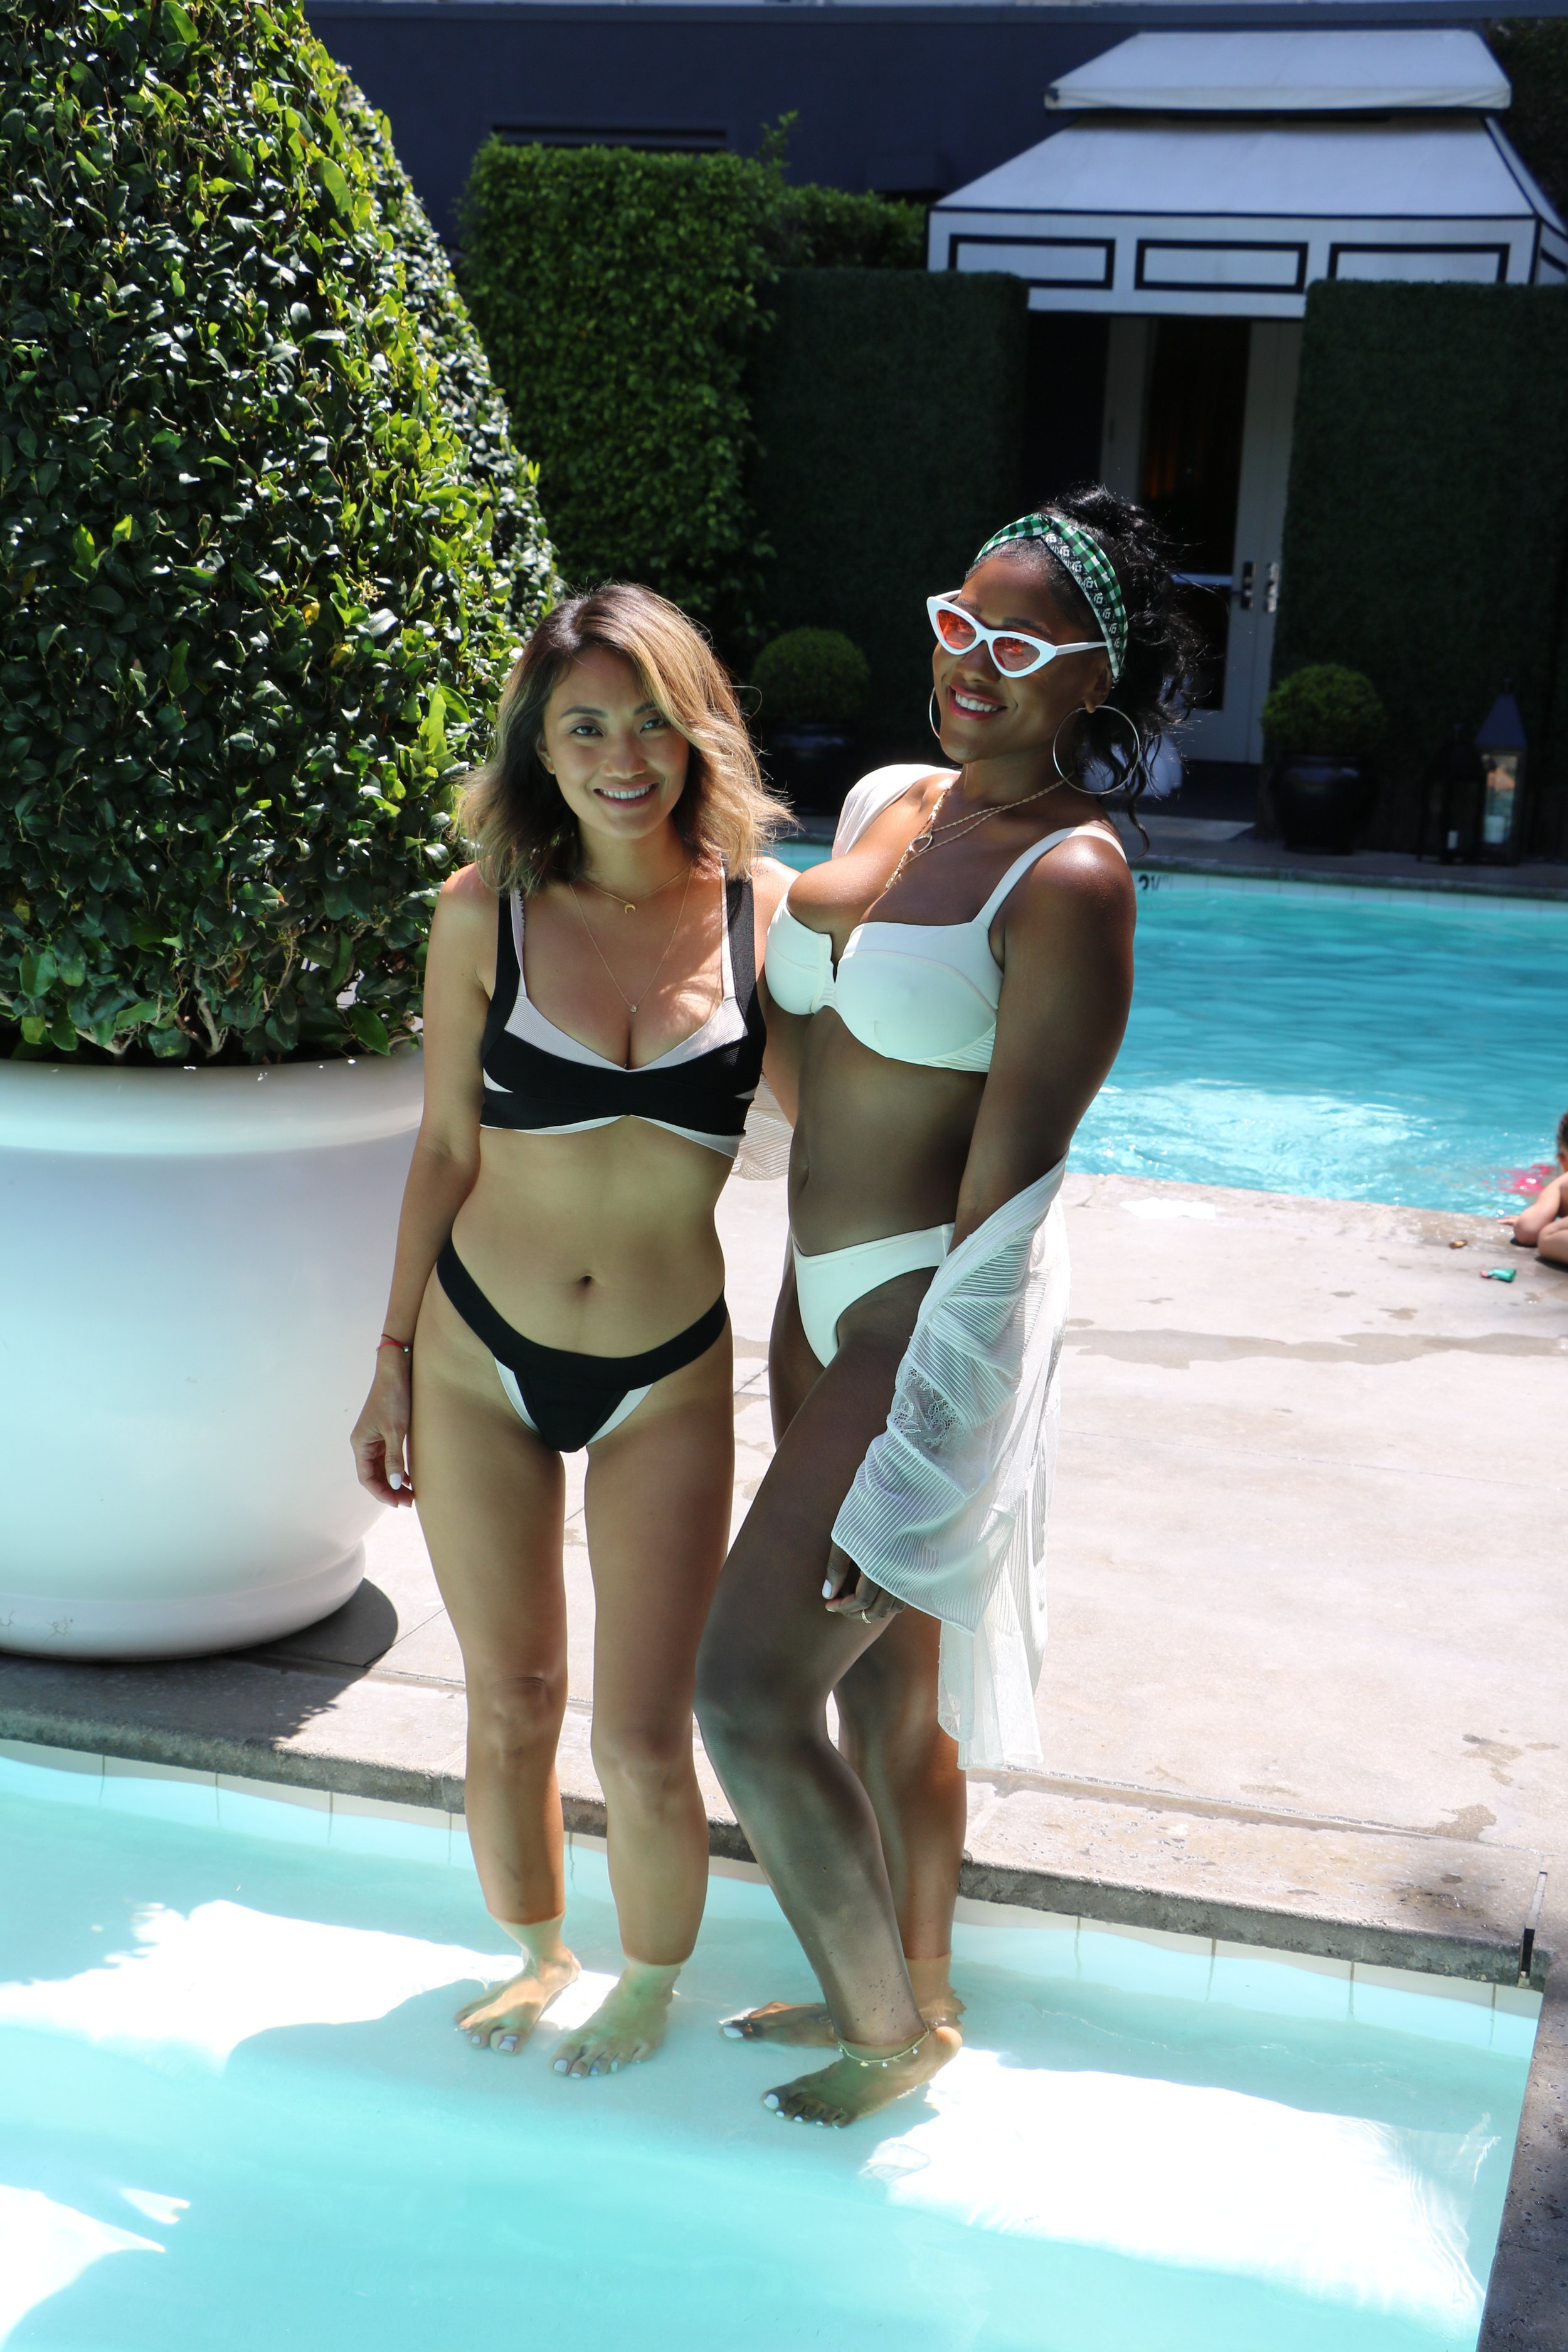
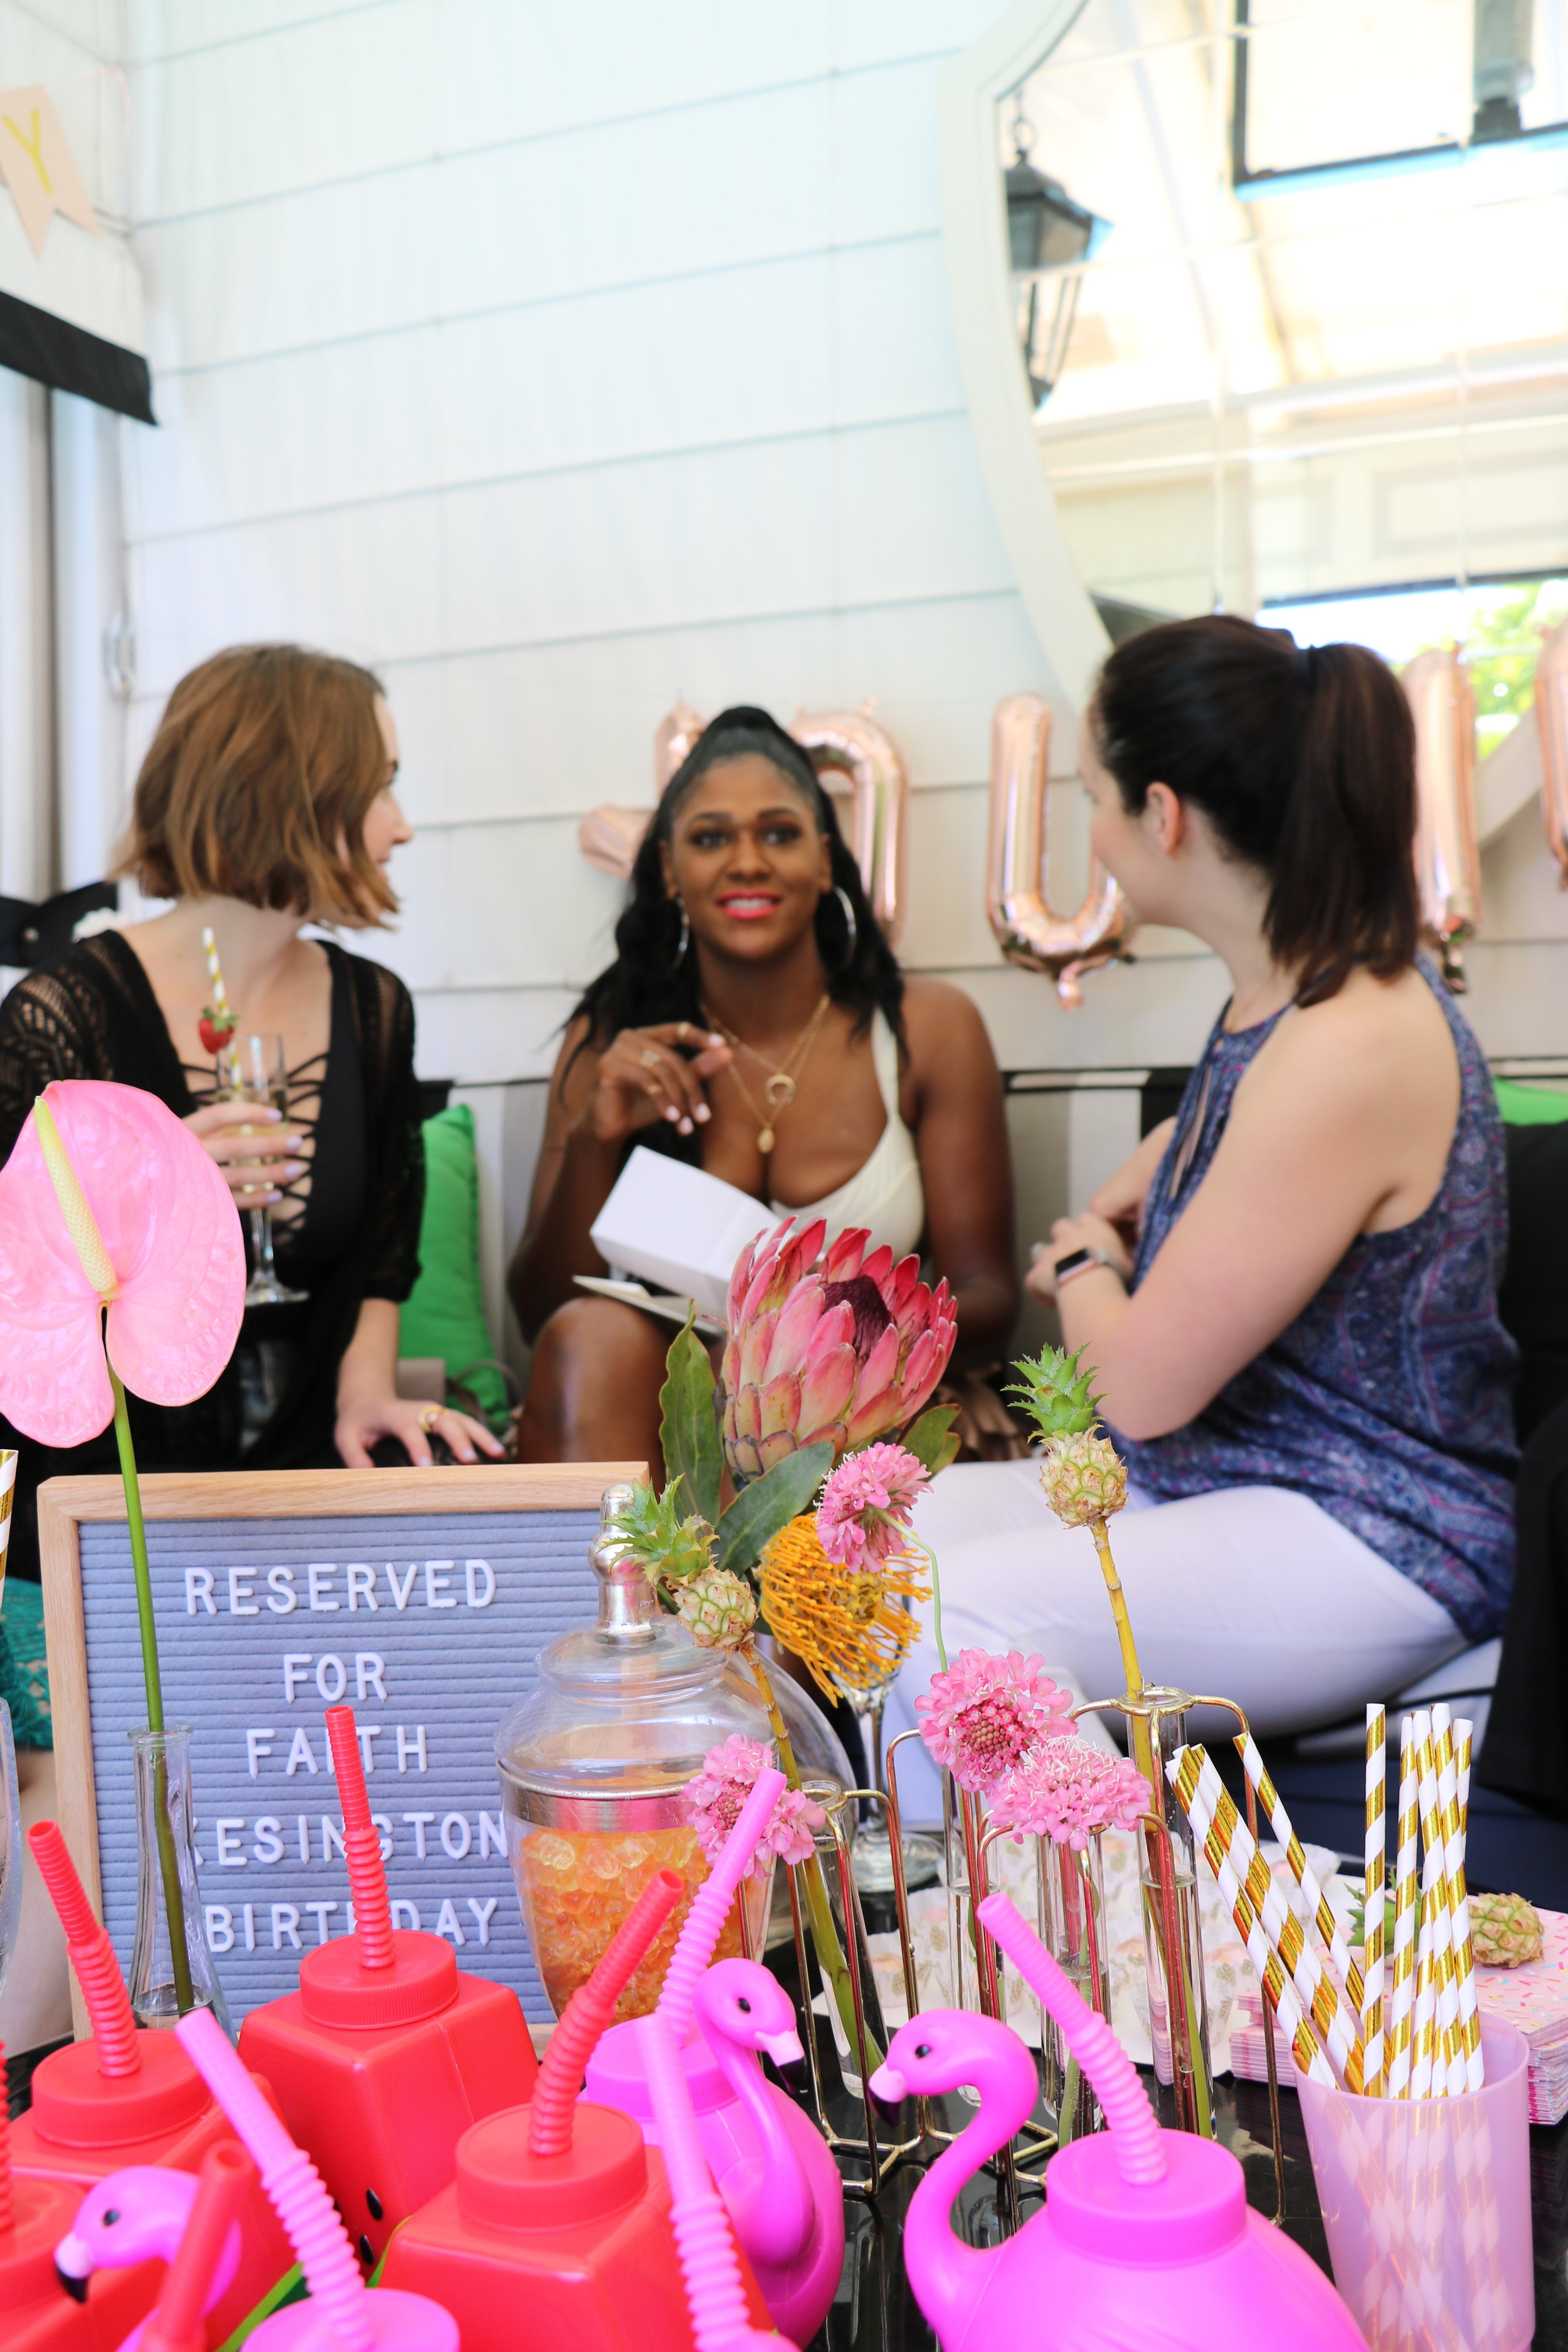
Happiest Birthday to one of my favorite women in the world, Faith Kesington! You've surely seen her on my instagram and in photos because SHE is the woman behind making so many of my big life moments so special. From helping host my epic bachelorette party in Palm Springs to helping me find my wedding dress(es) and standing beside me on my wedding day as one of my bridesmaids to making my baby shower for Milly the best ever-Faith is one of my nearest and dearest. She is kind, soulful, giving, driven, inclusive, smart, successful and one of the most beautiful people, inside and out. 

IMG_5658.JPG

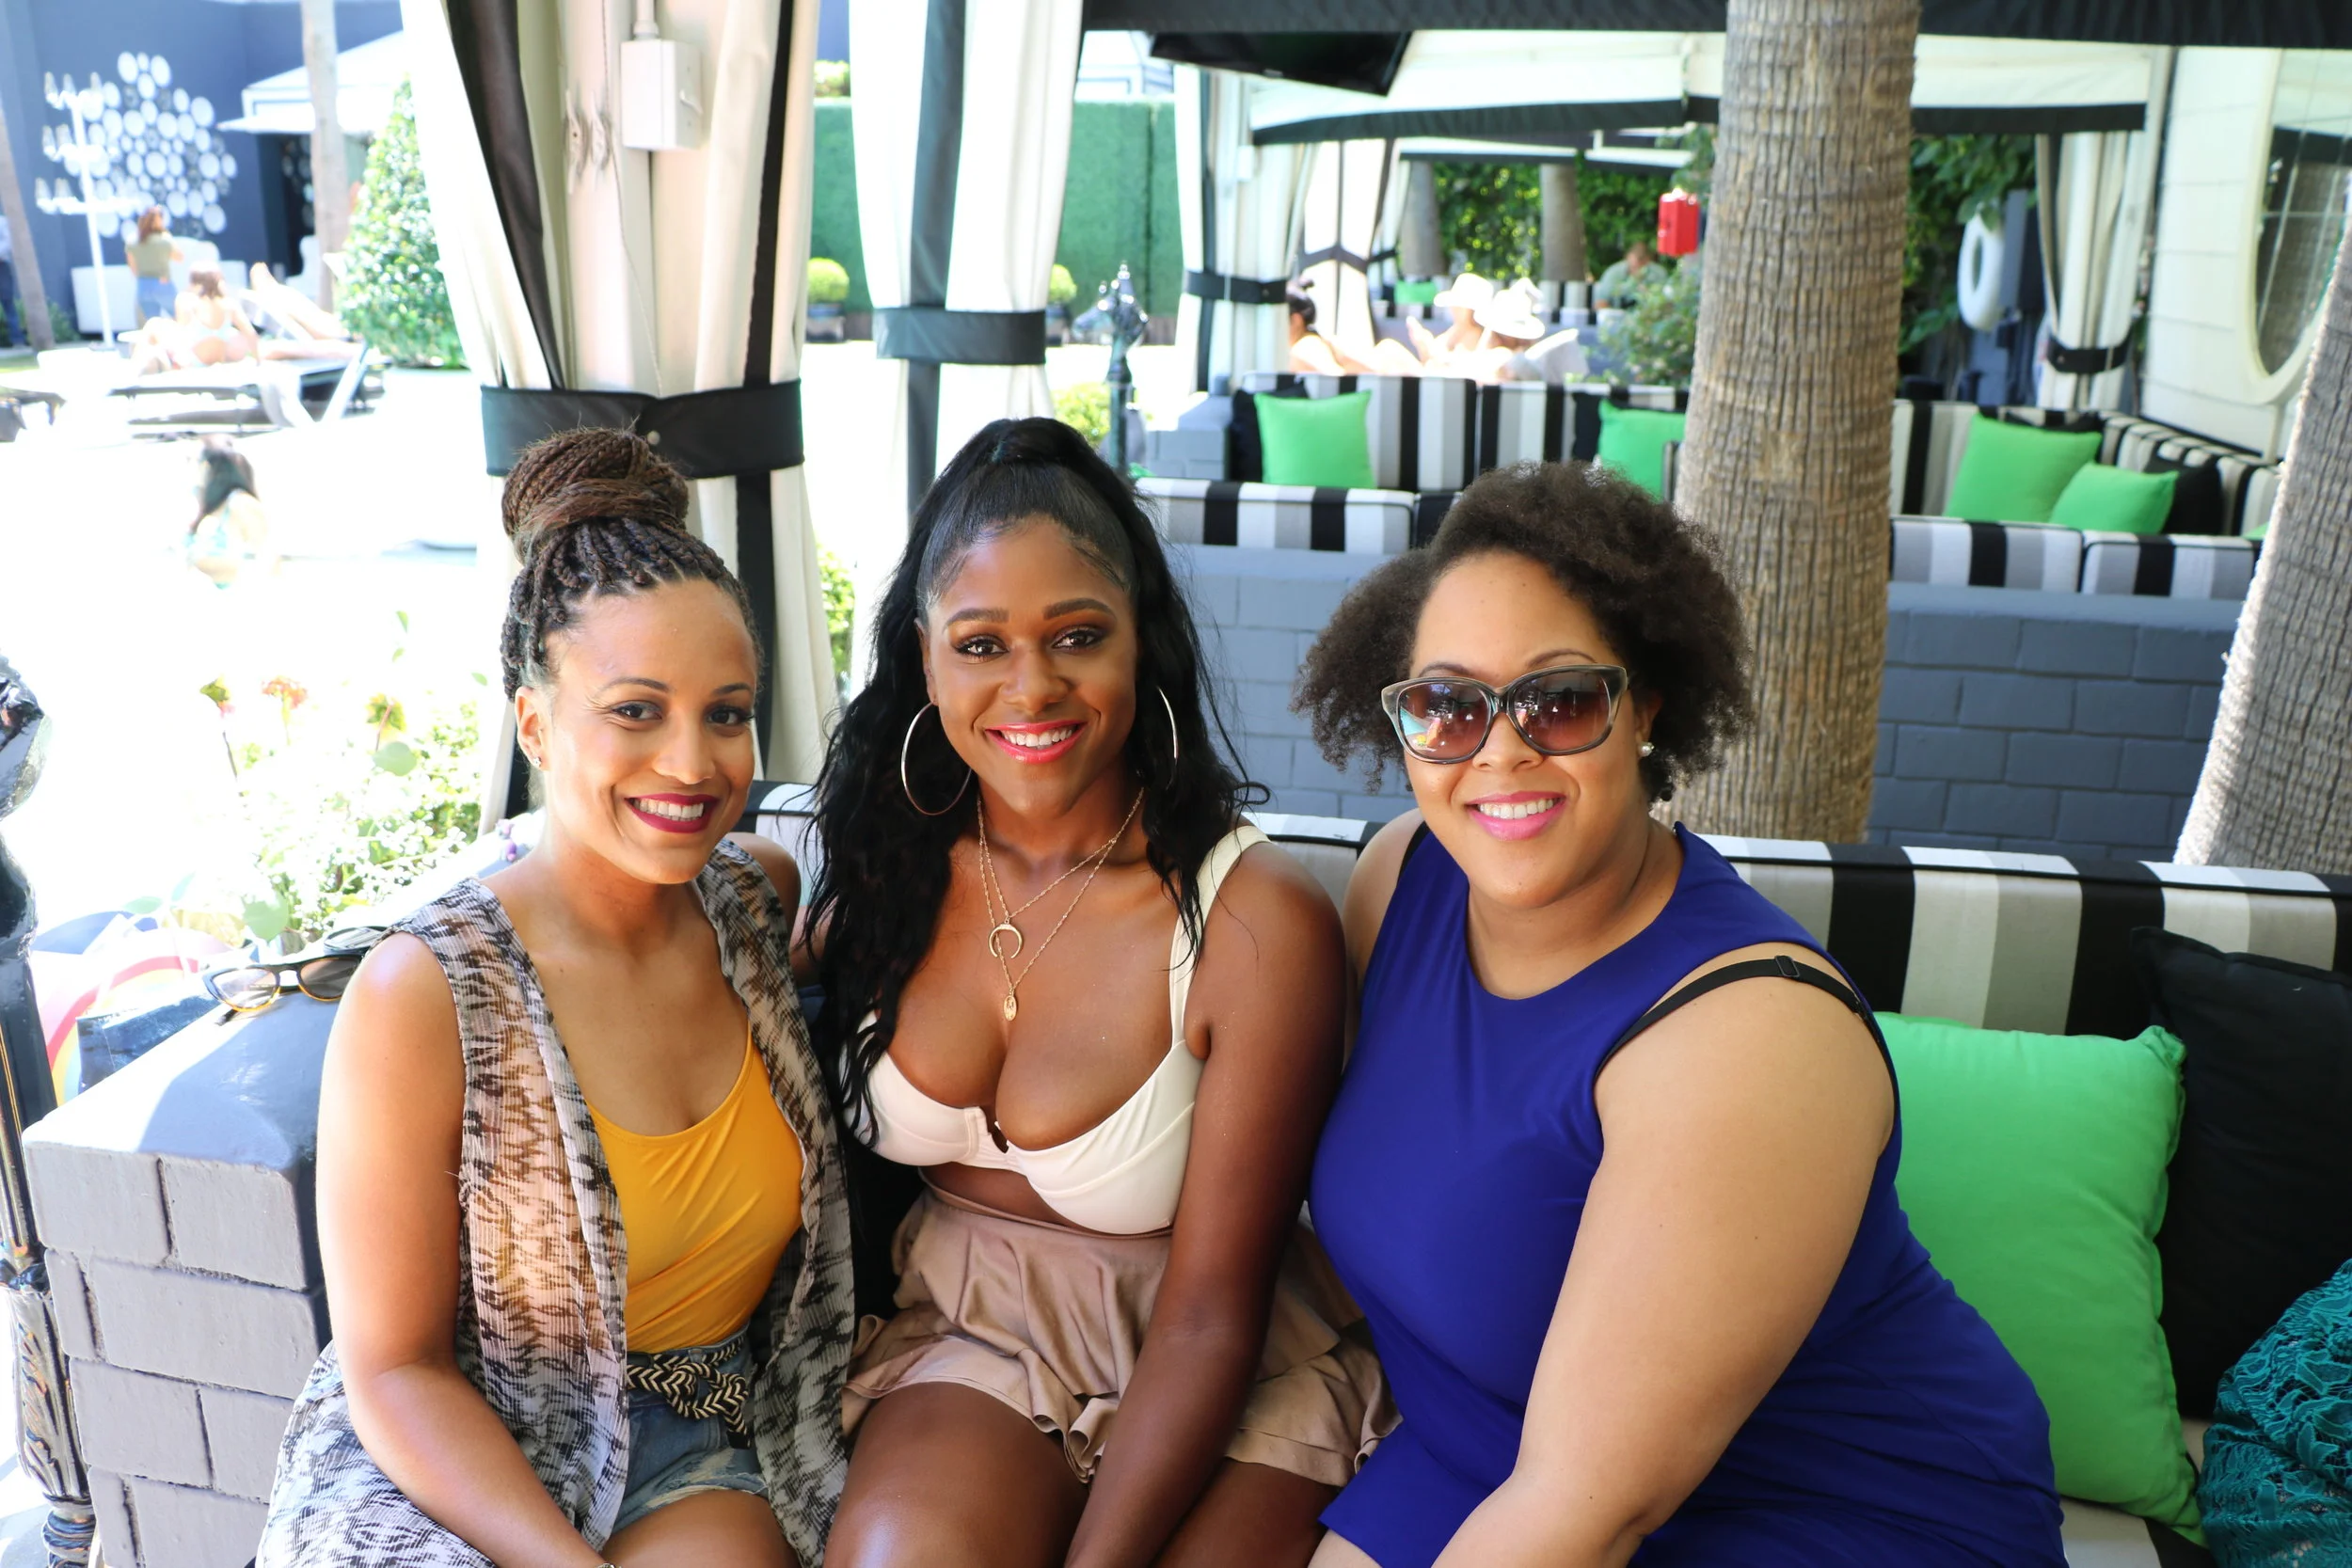
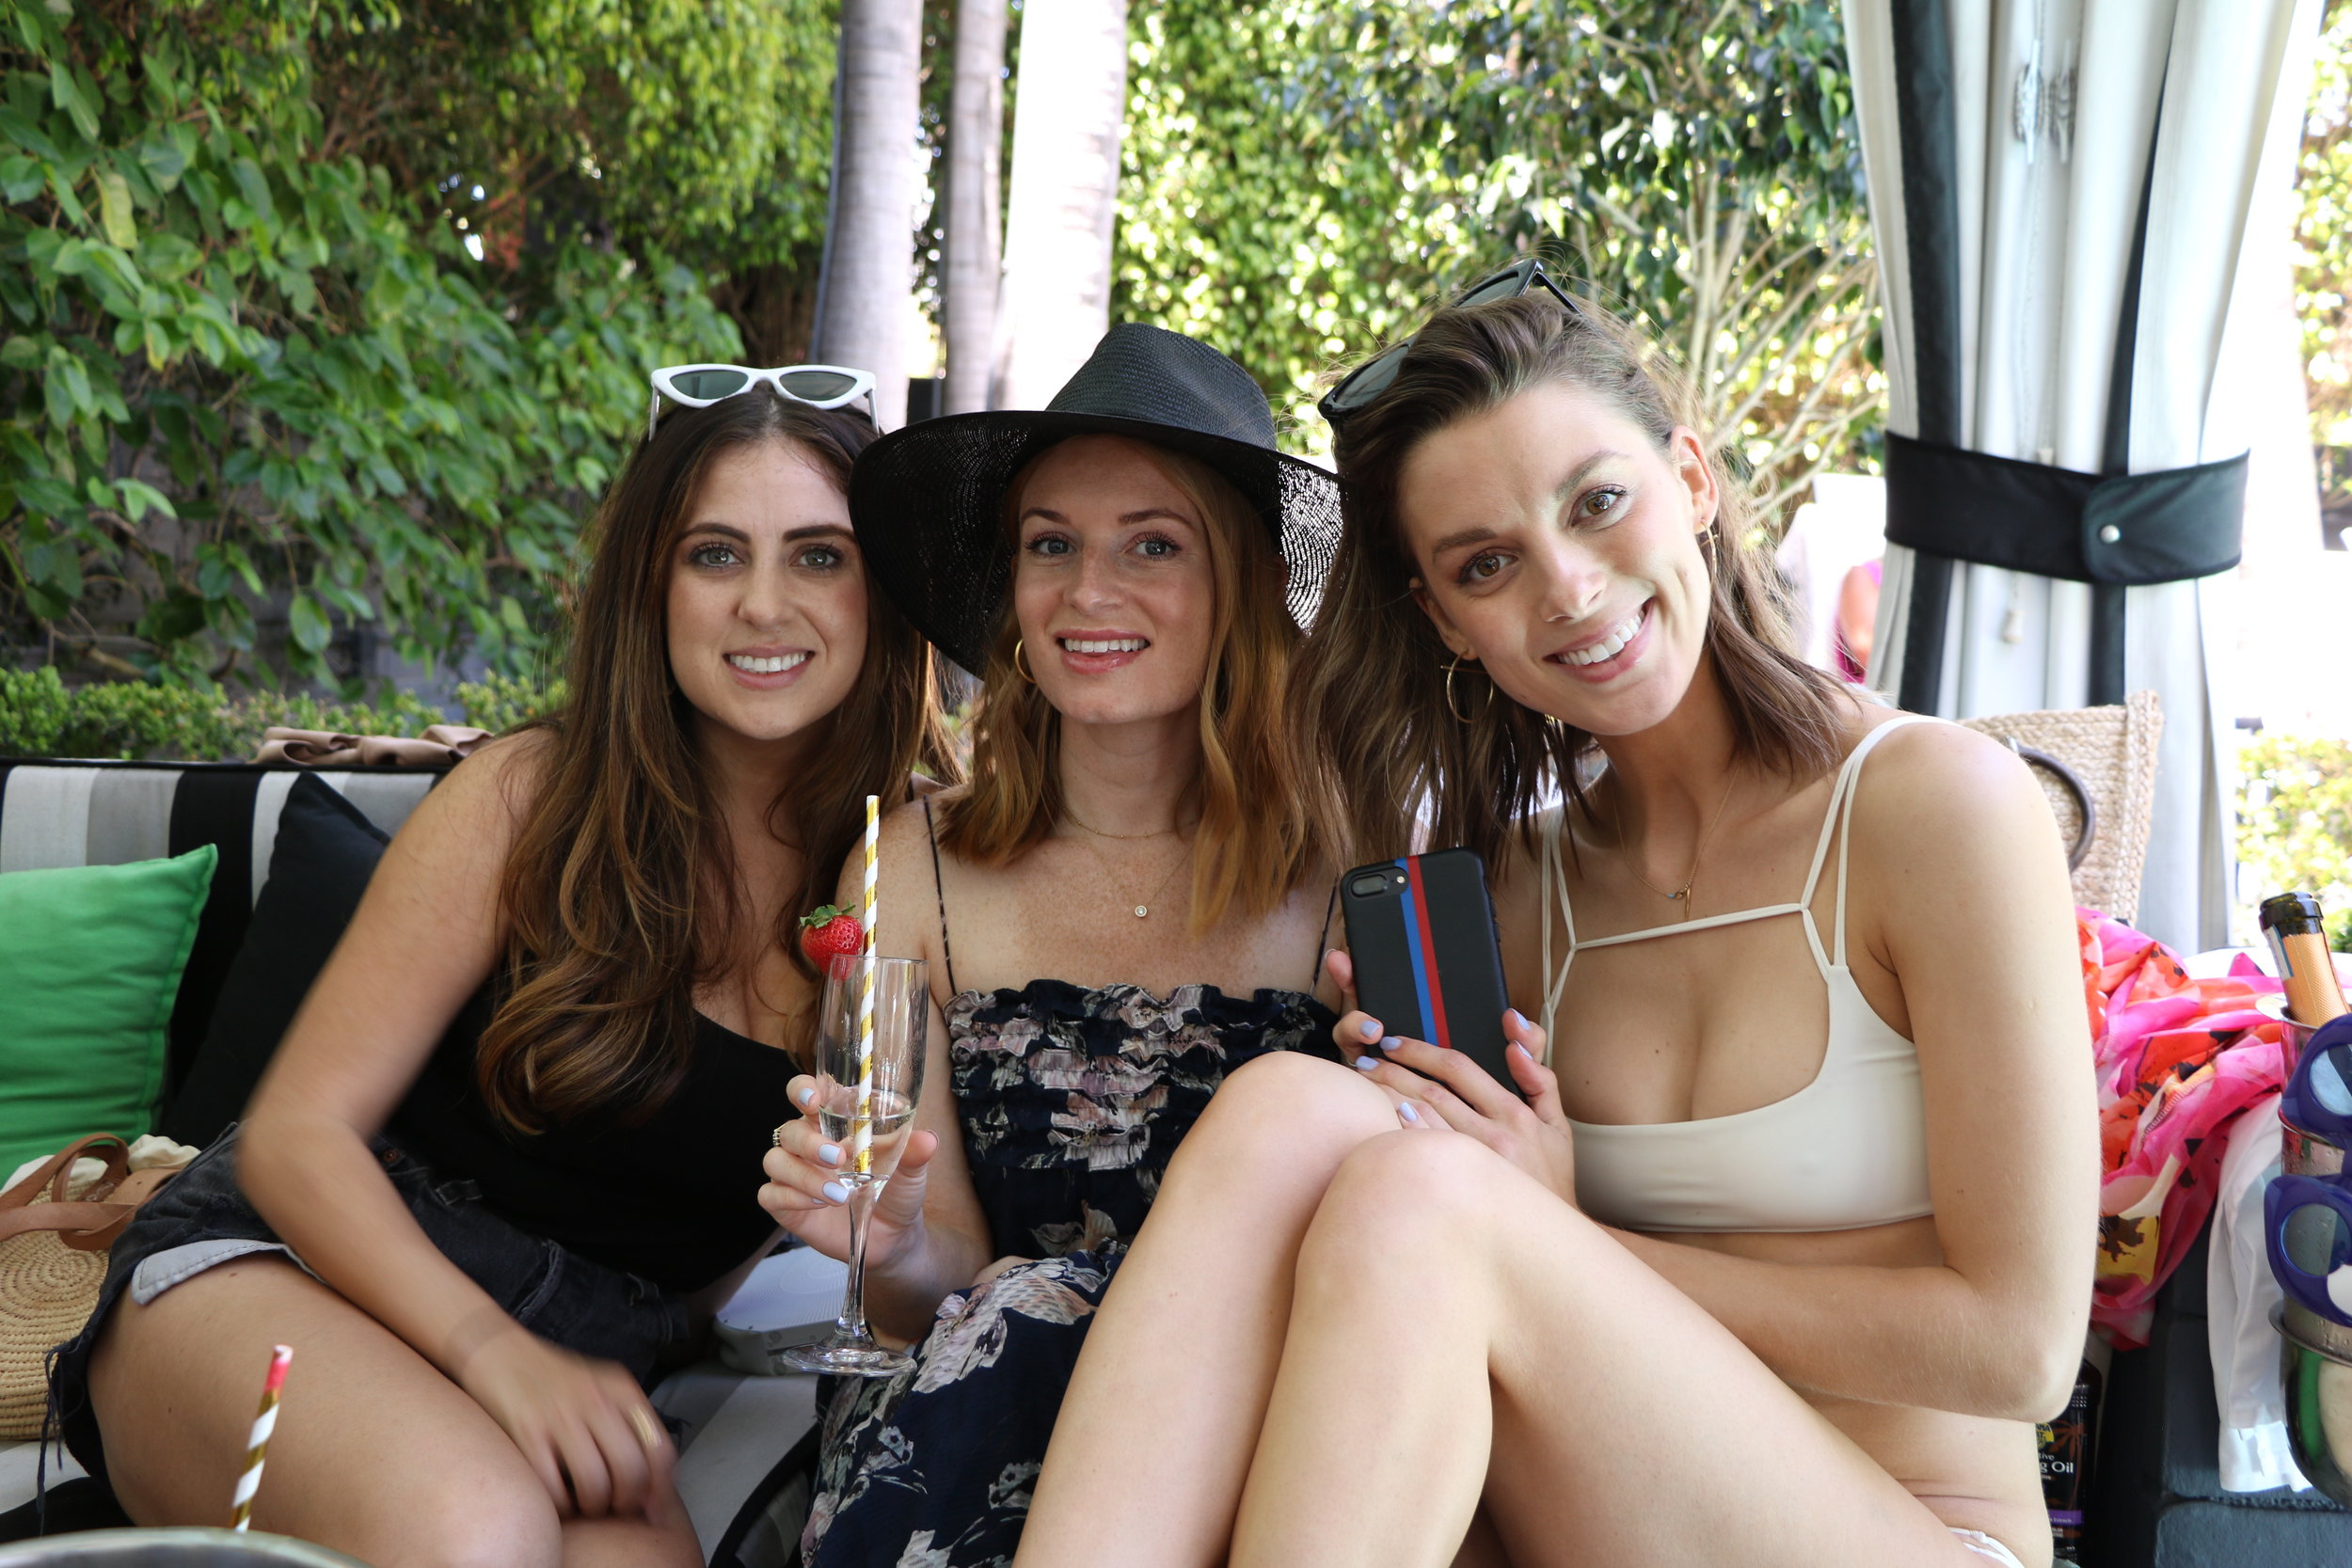
So when it came time to plan a day to celebrate her, I was beyond thrilled!  Everyone deserves to be celebrated and it was an honor to host a party just for her with a dozen of her friends.

IMG_5666.JPG

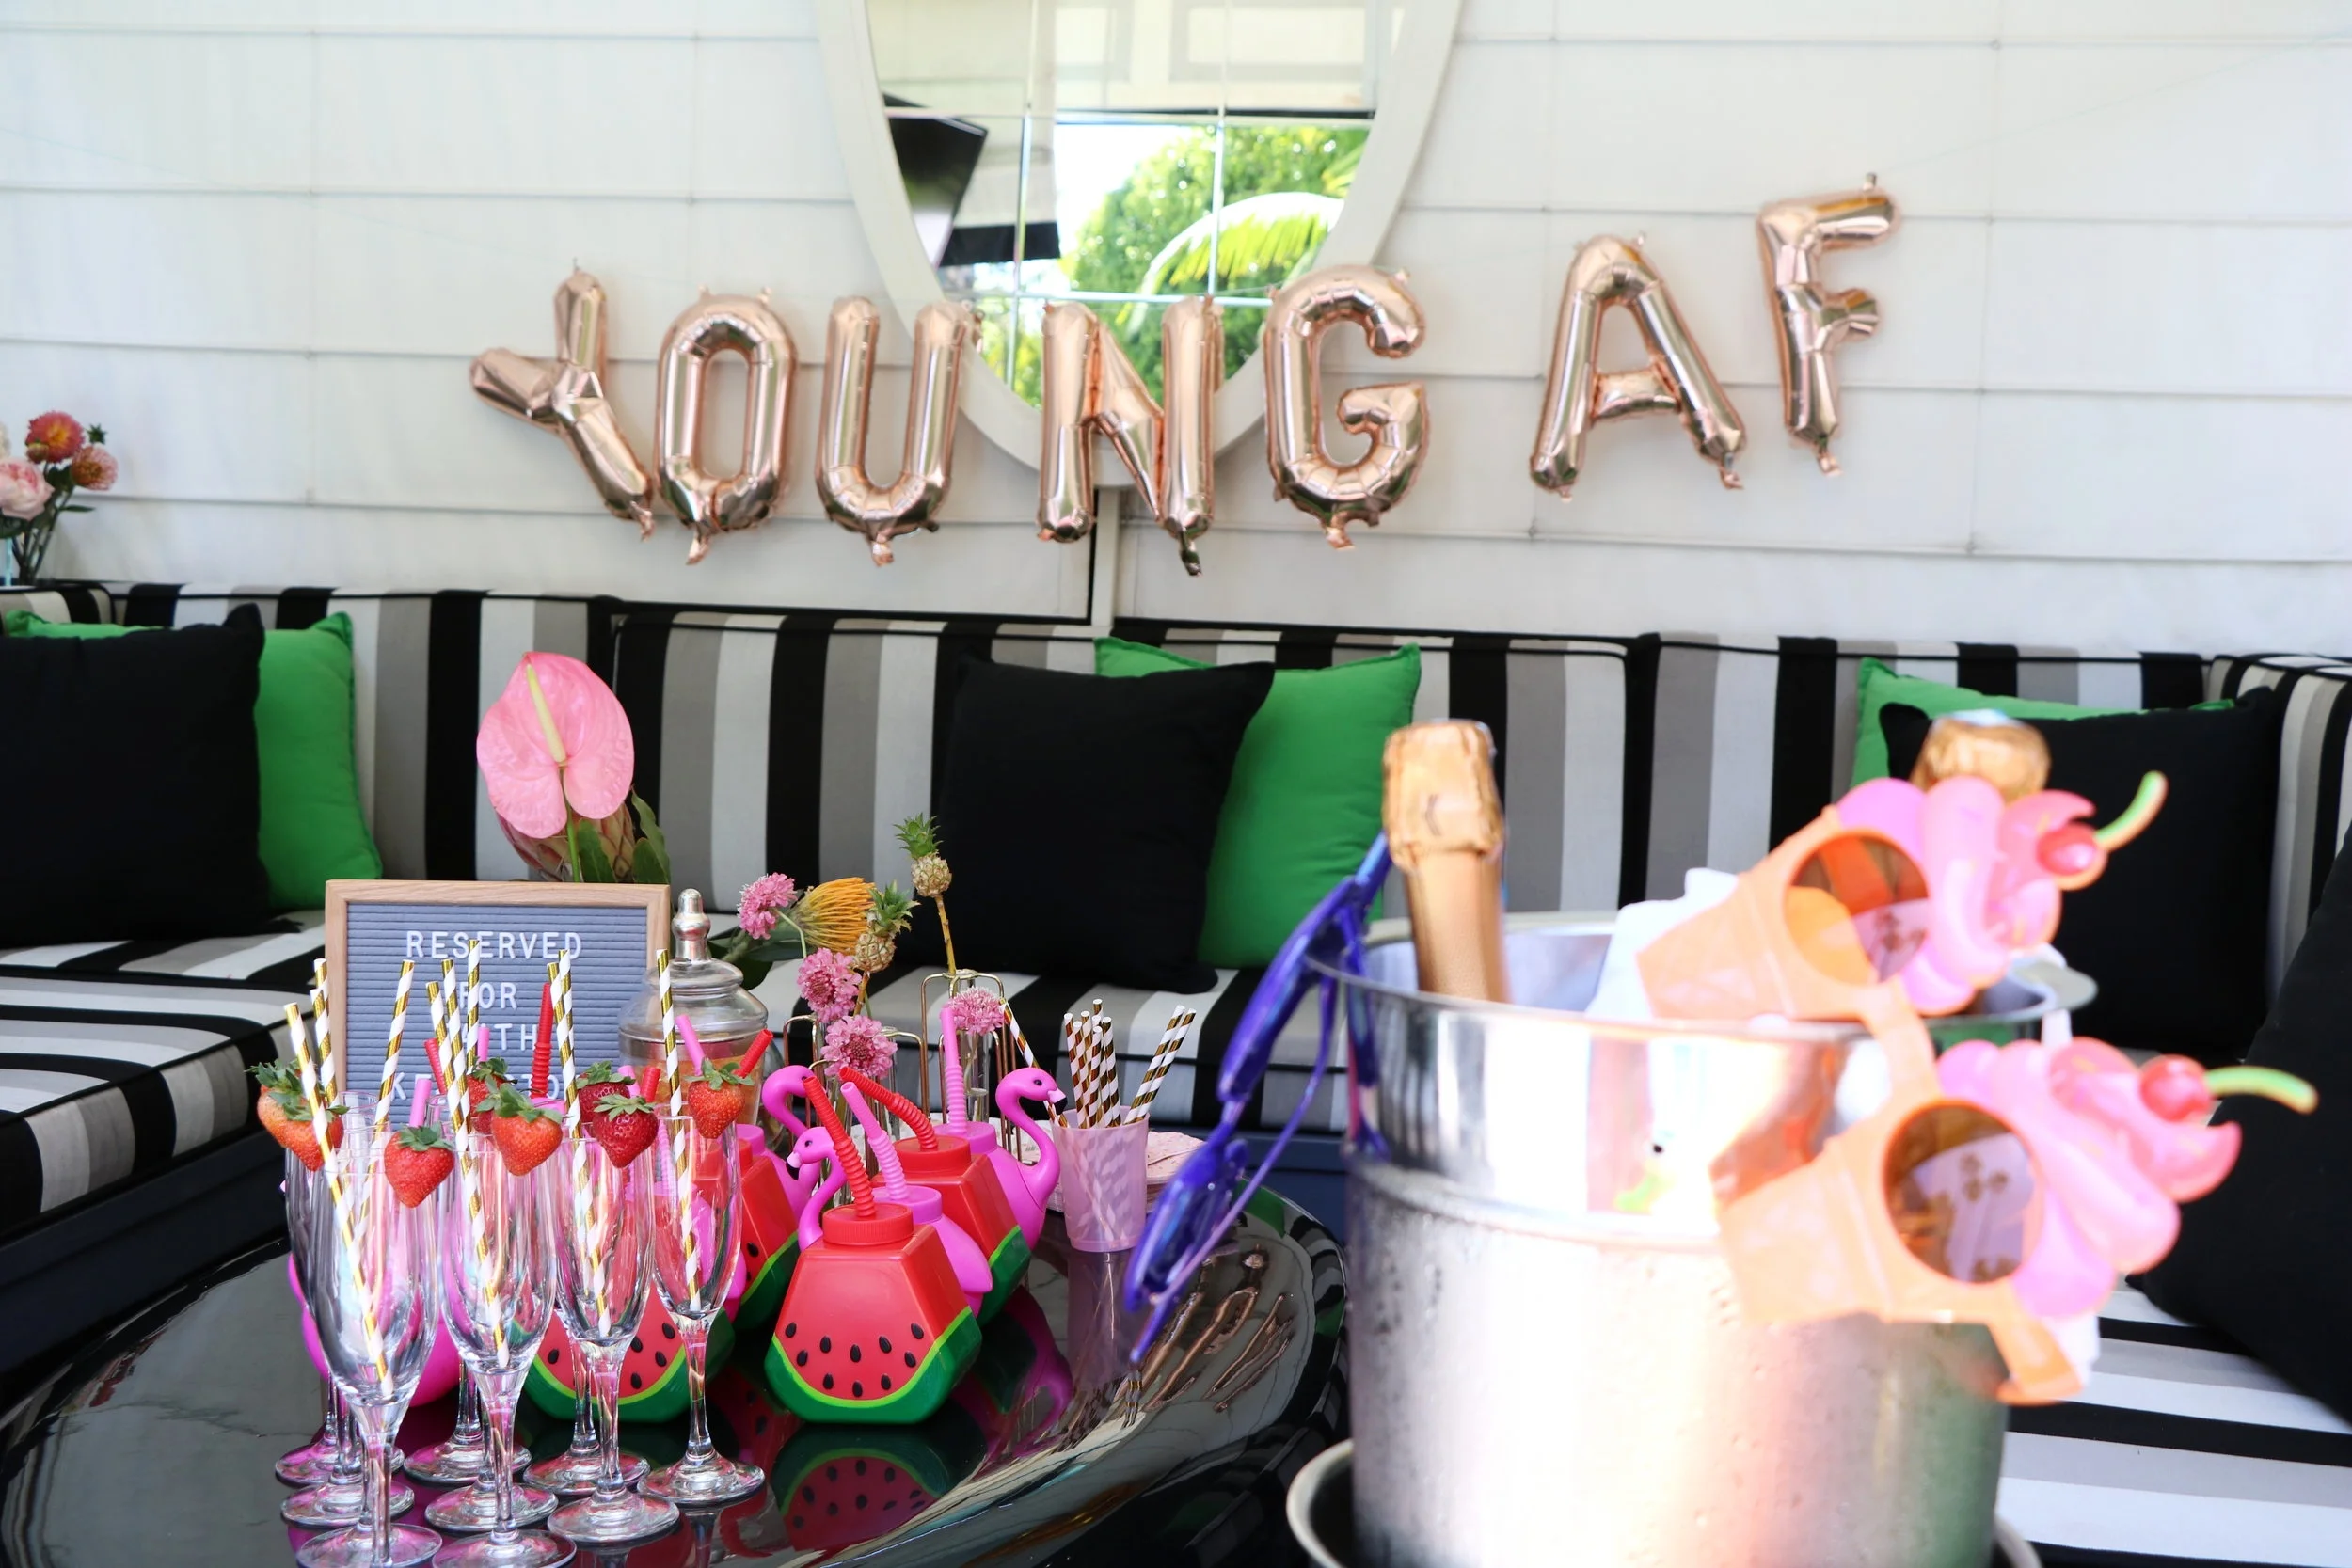
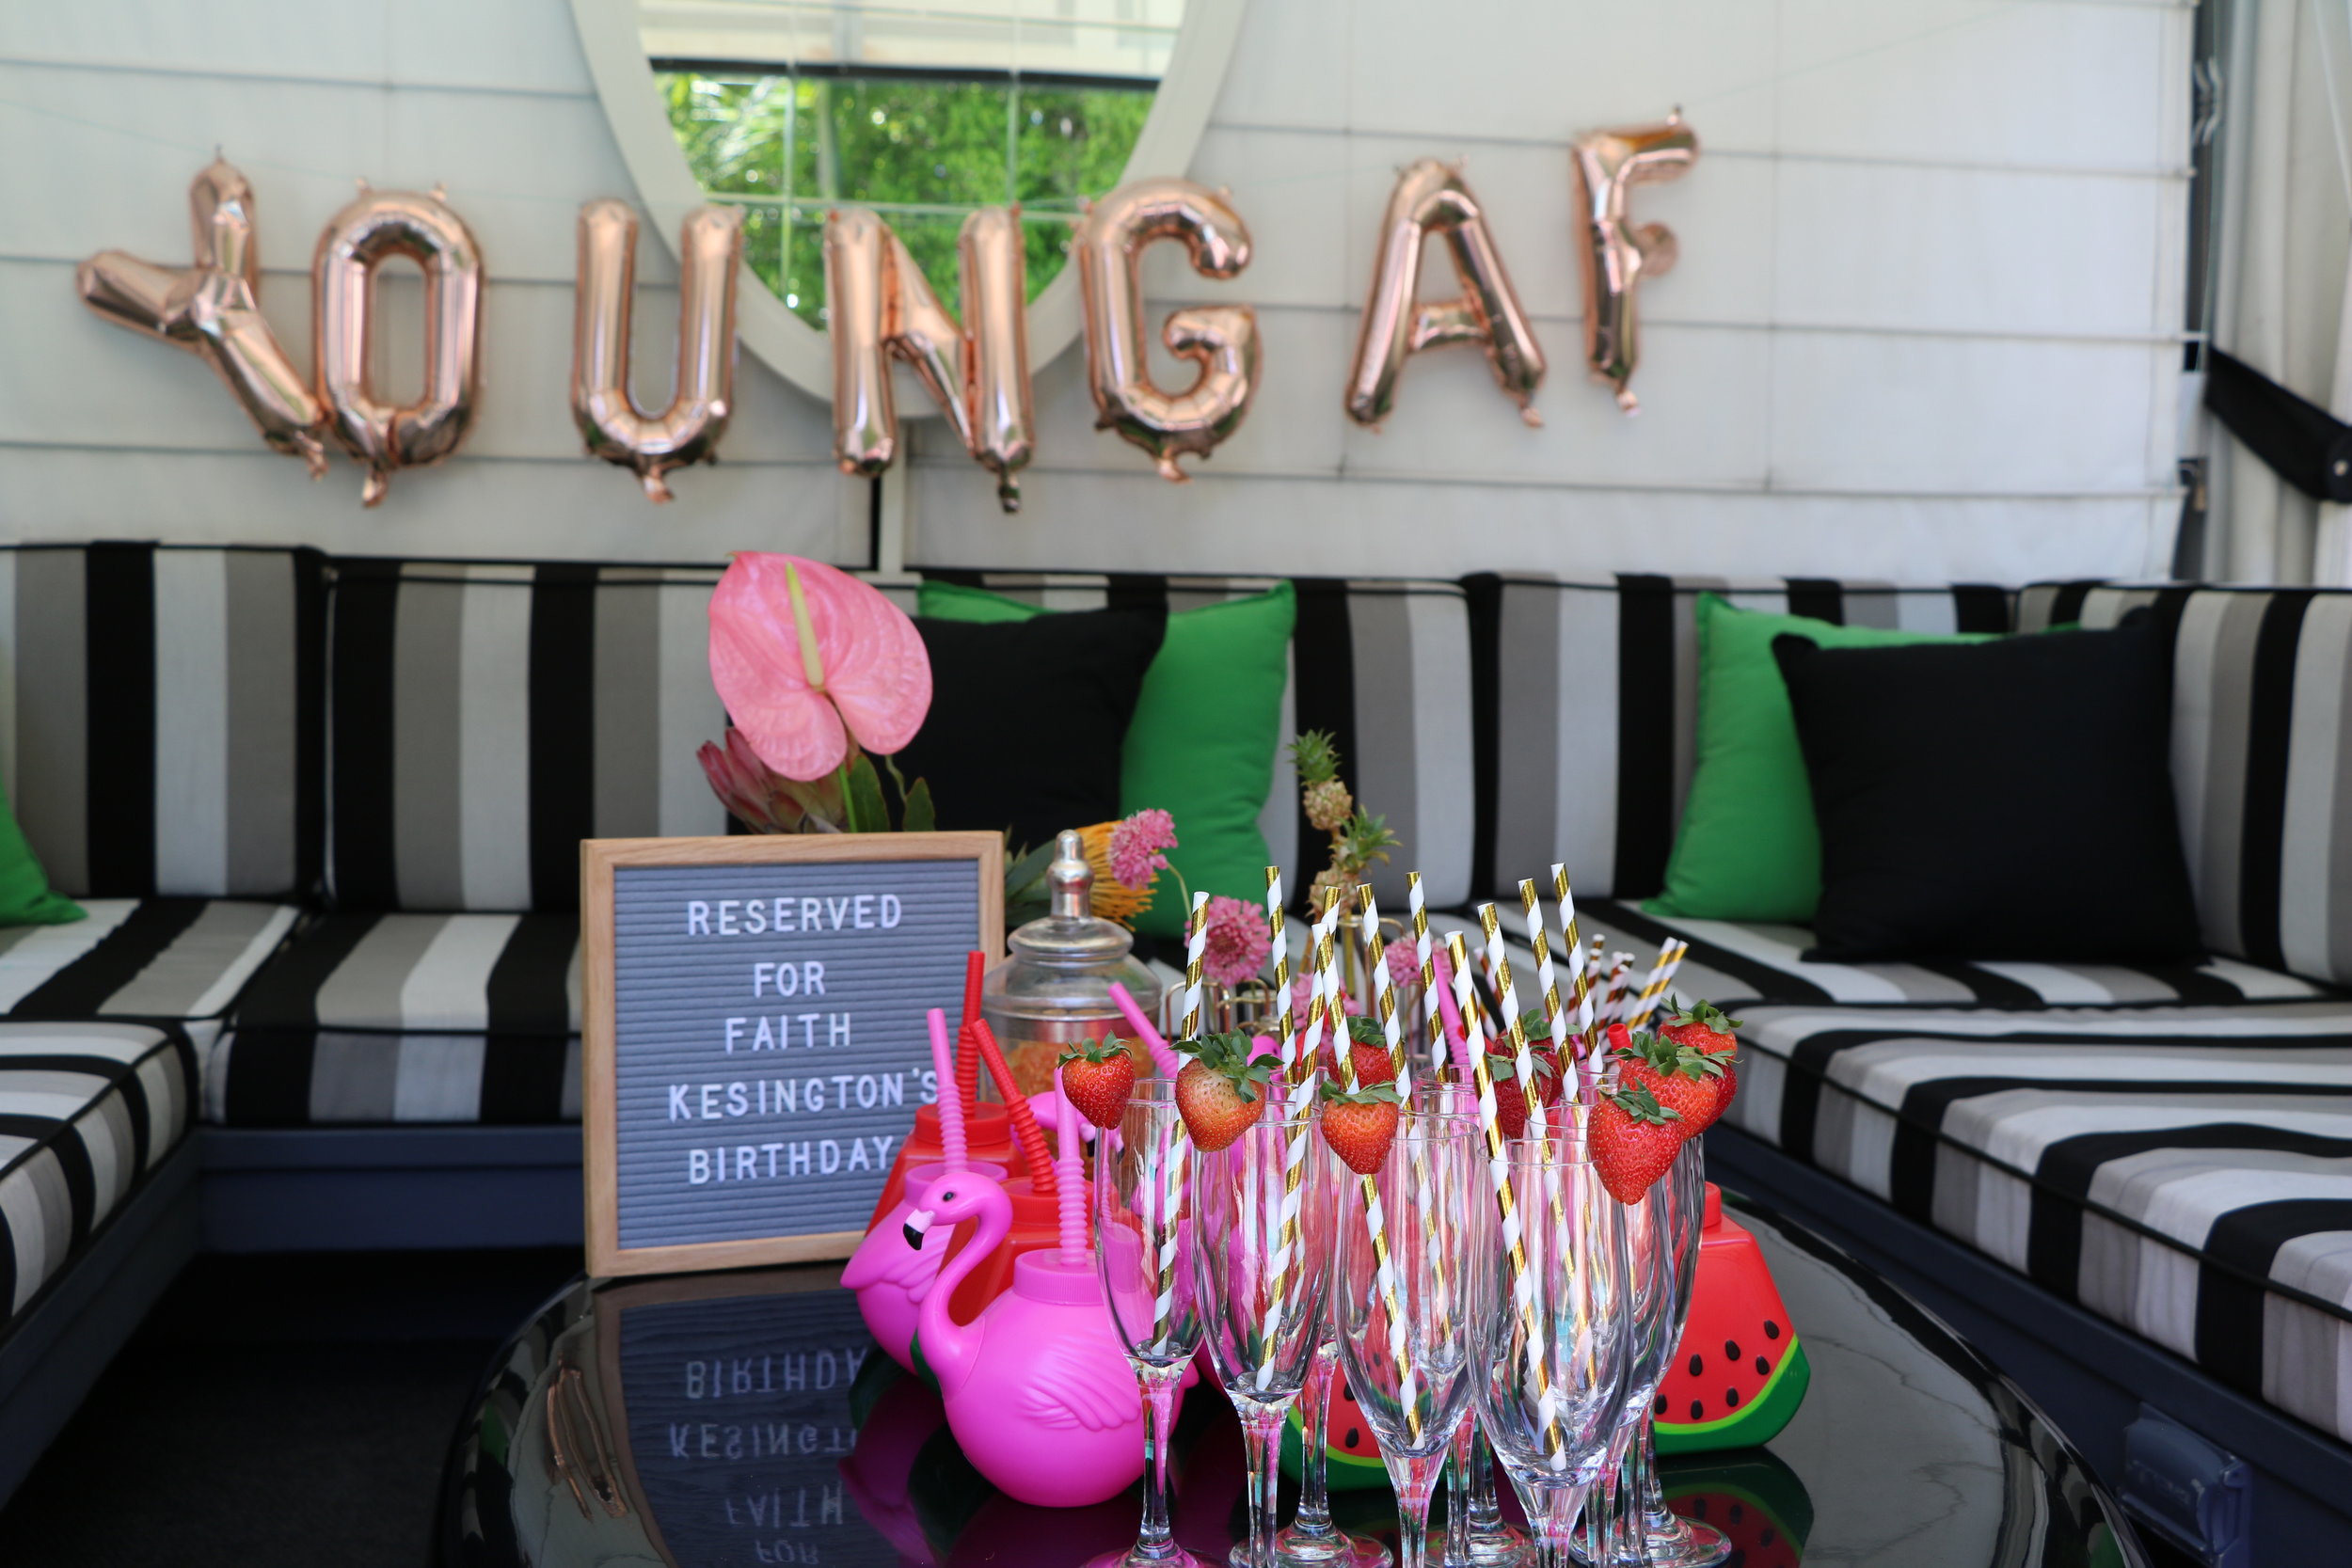
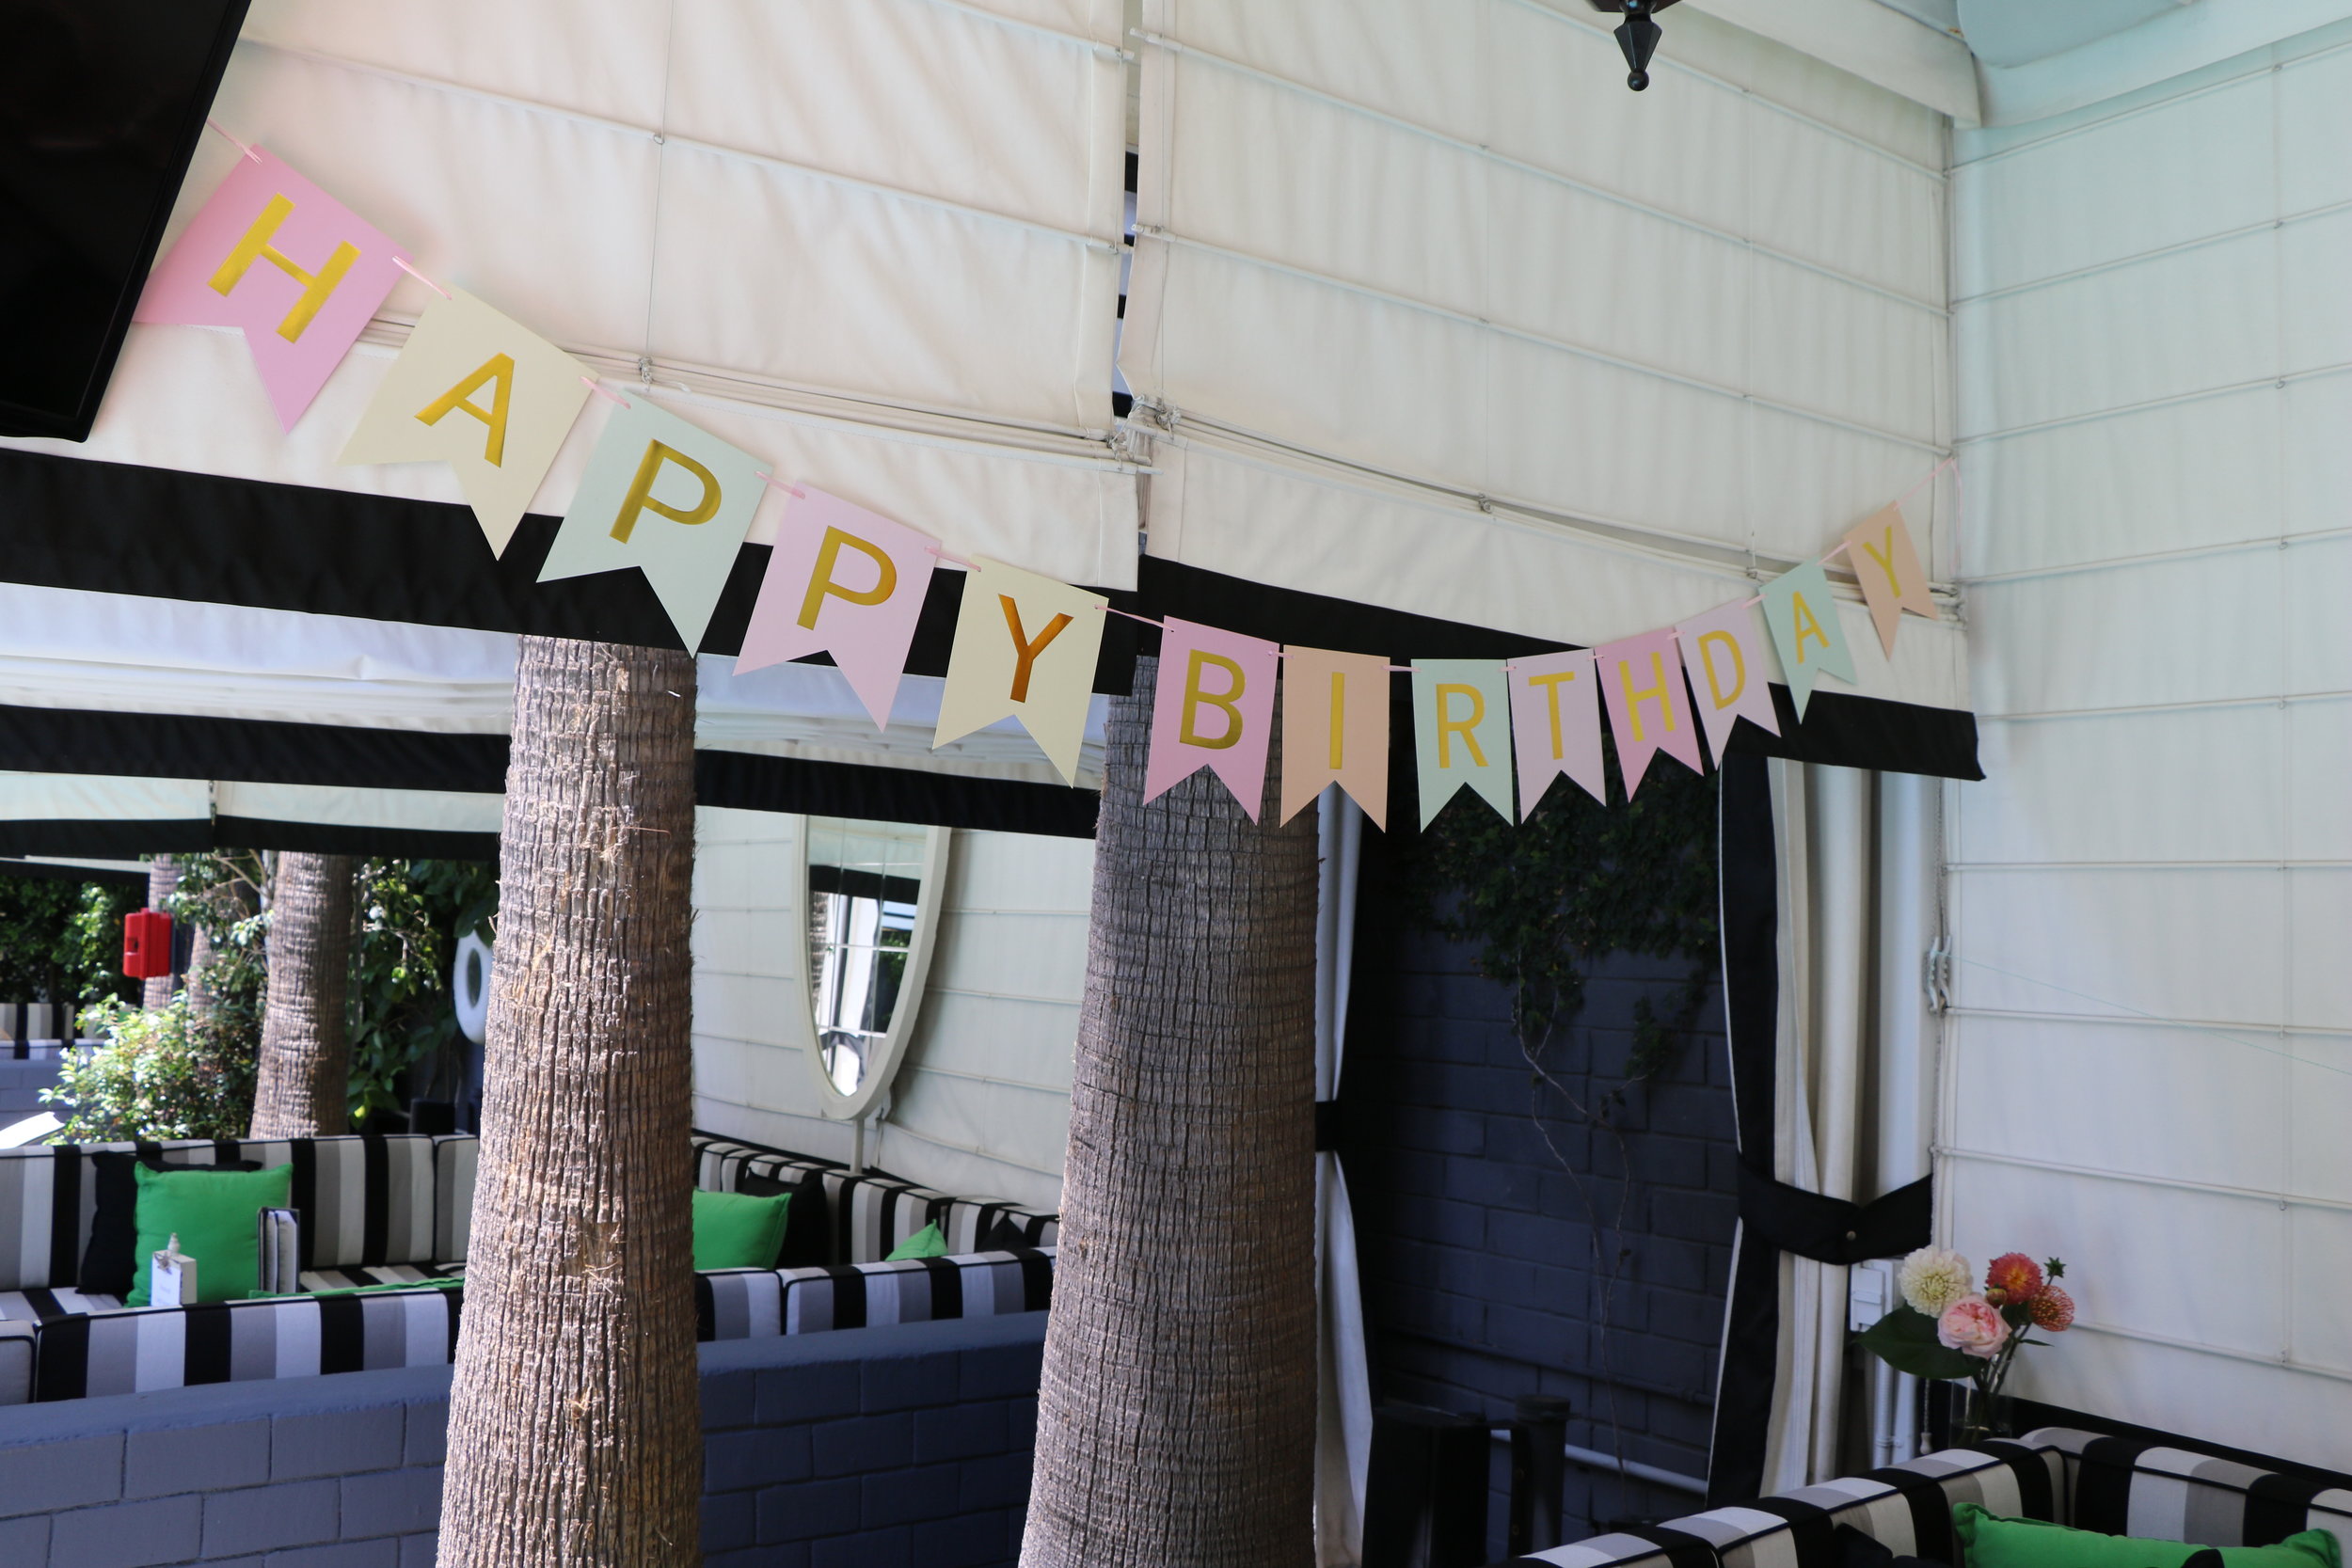
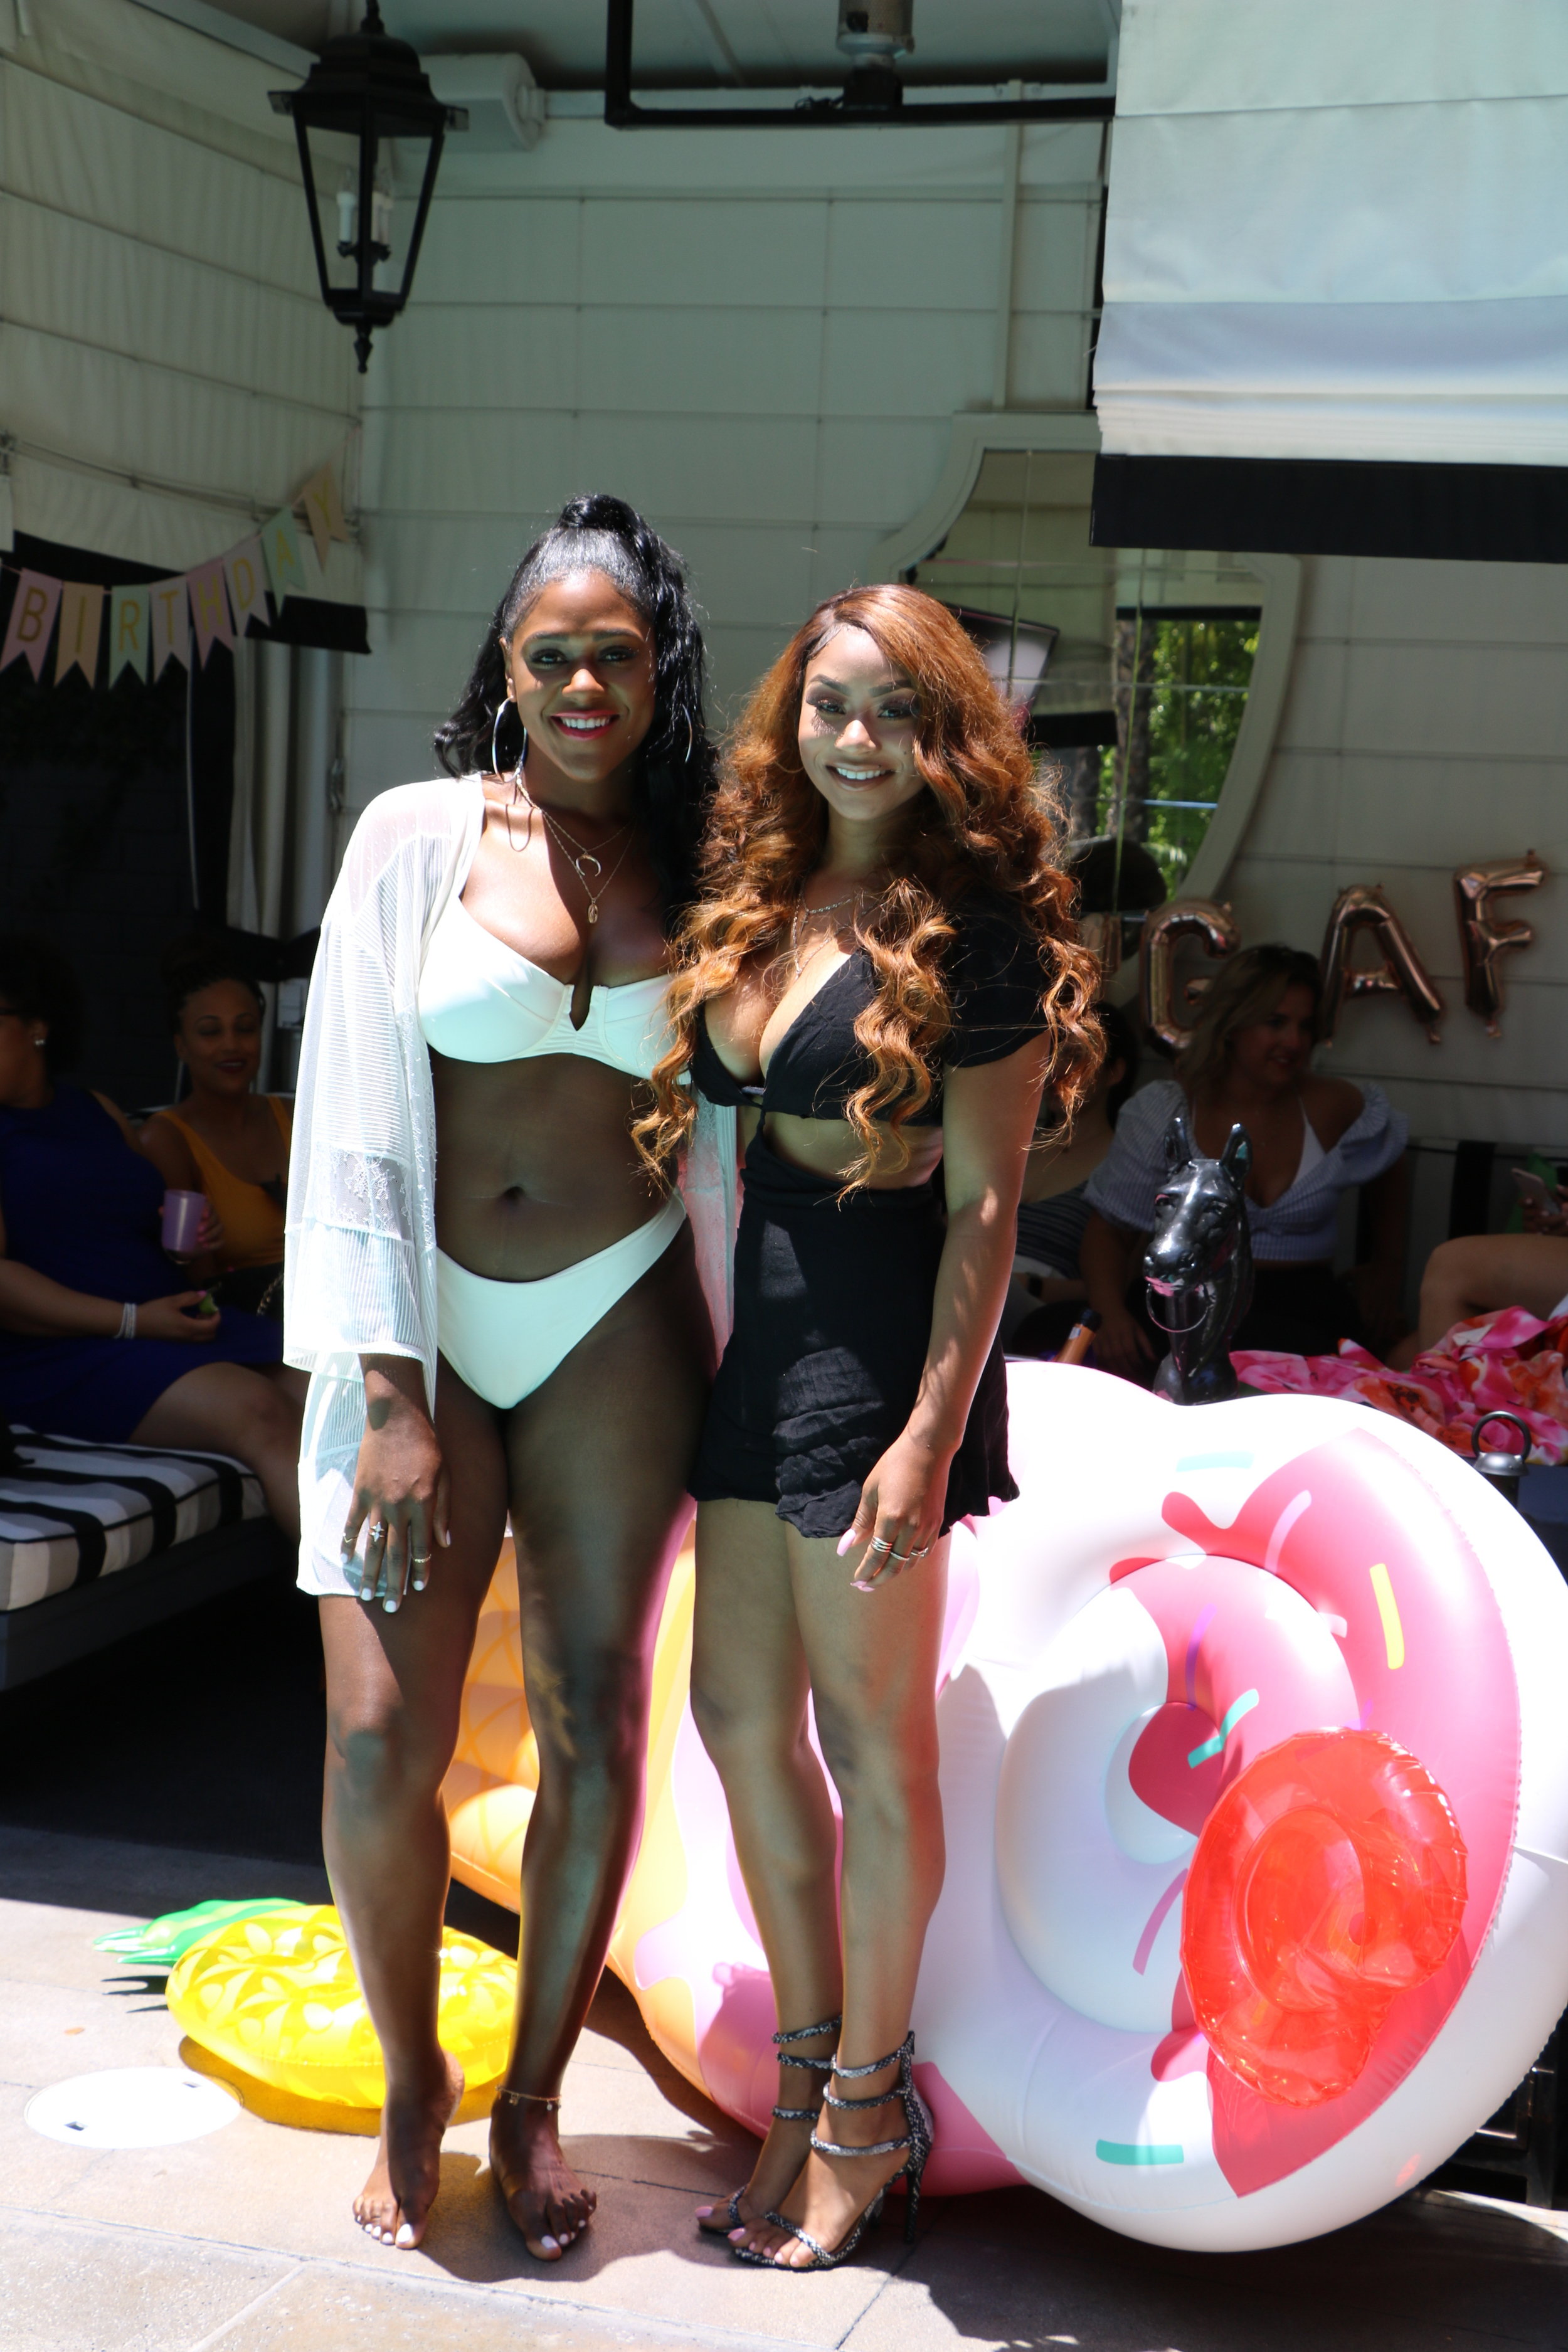
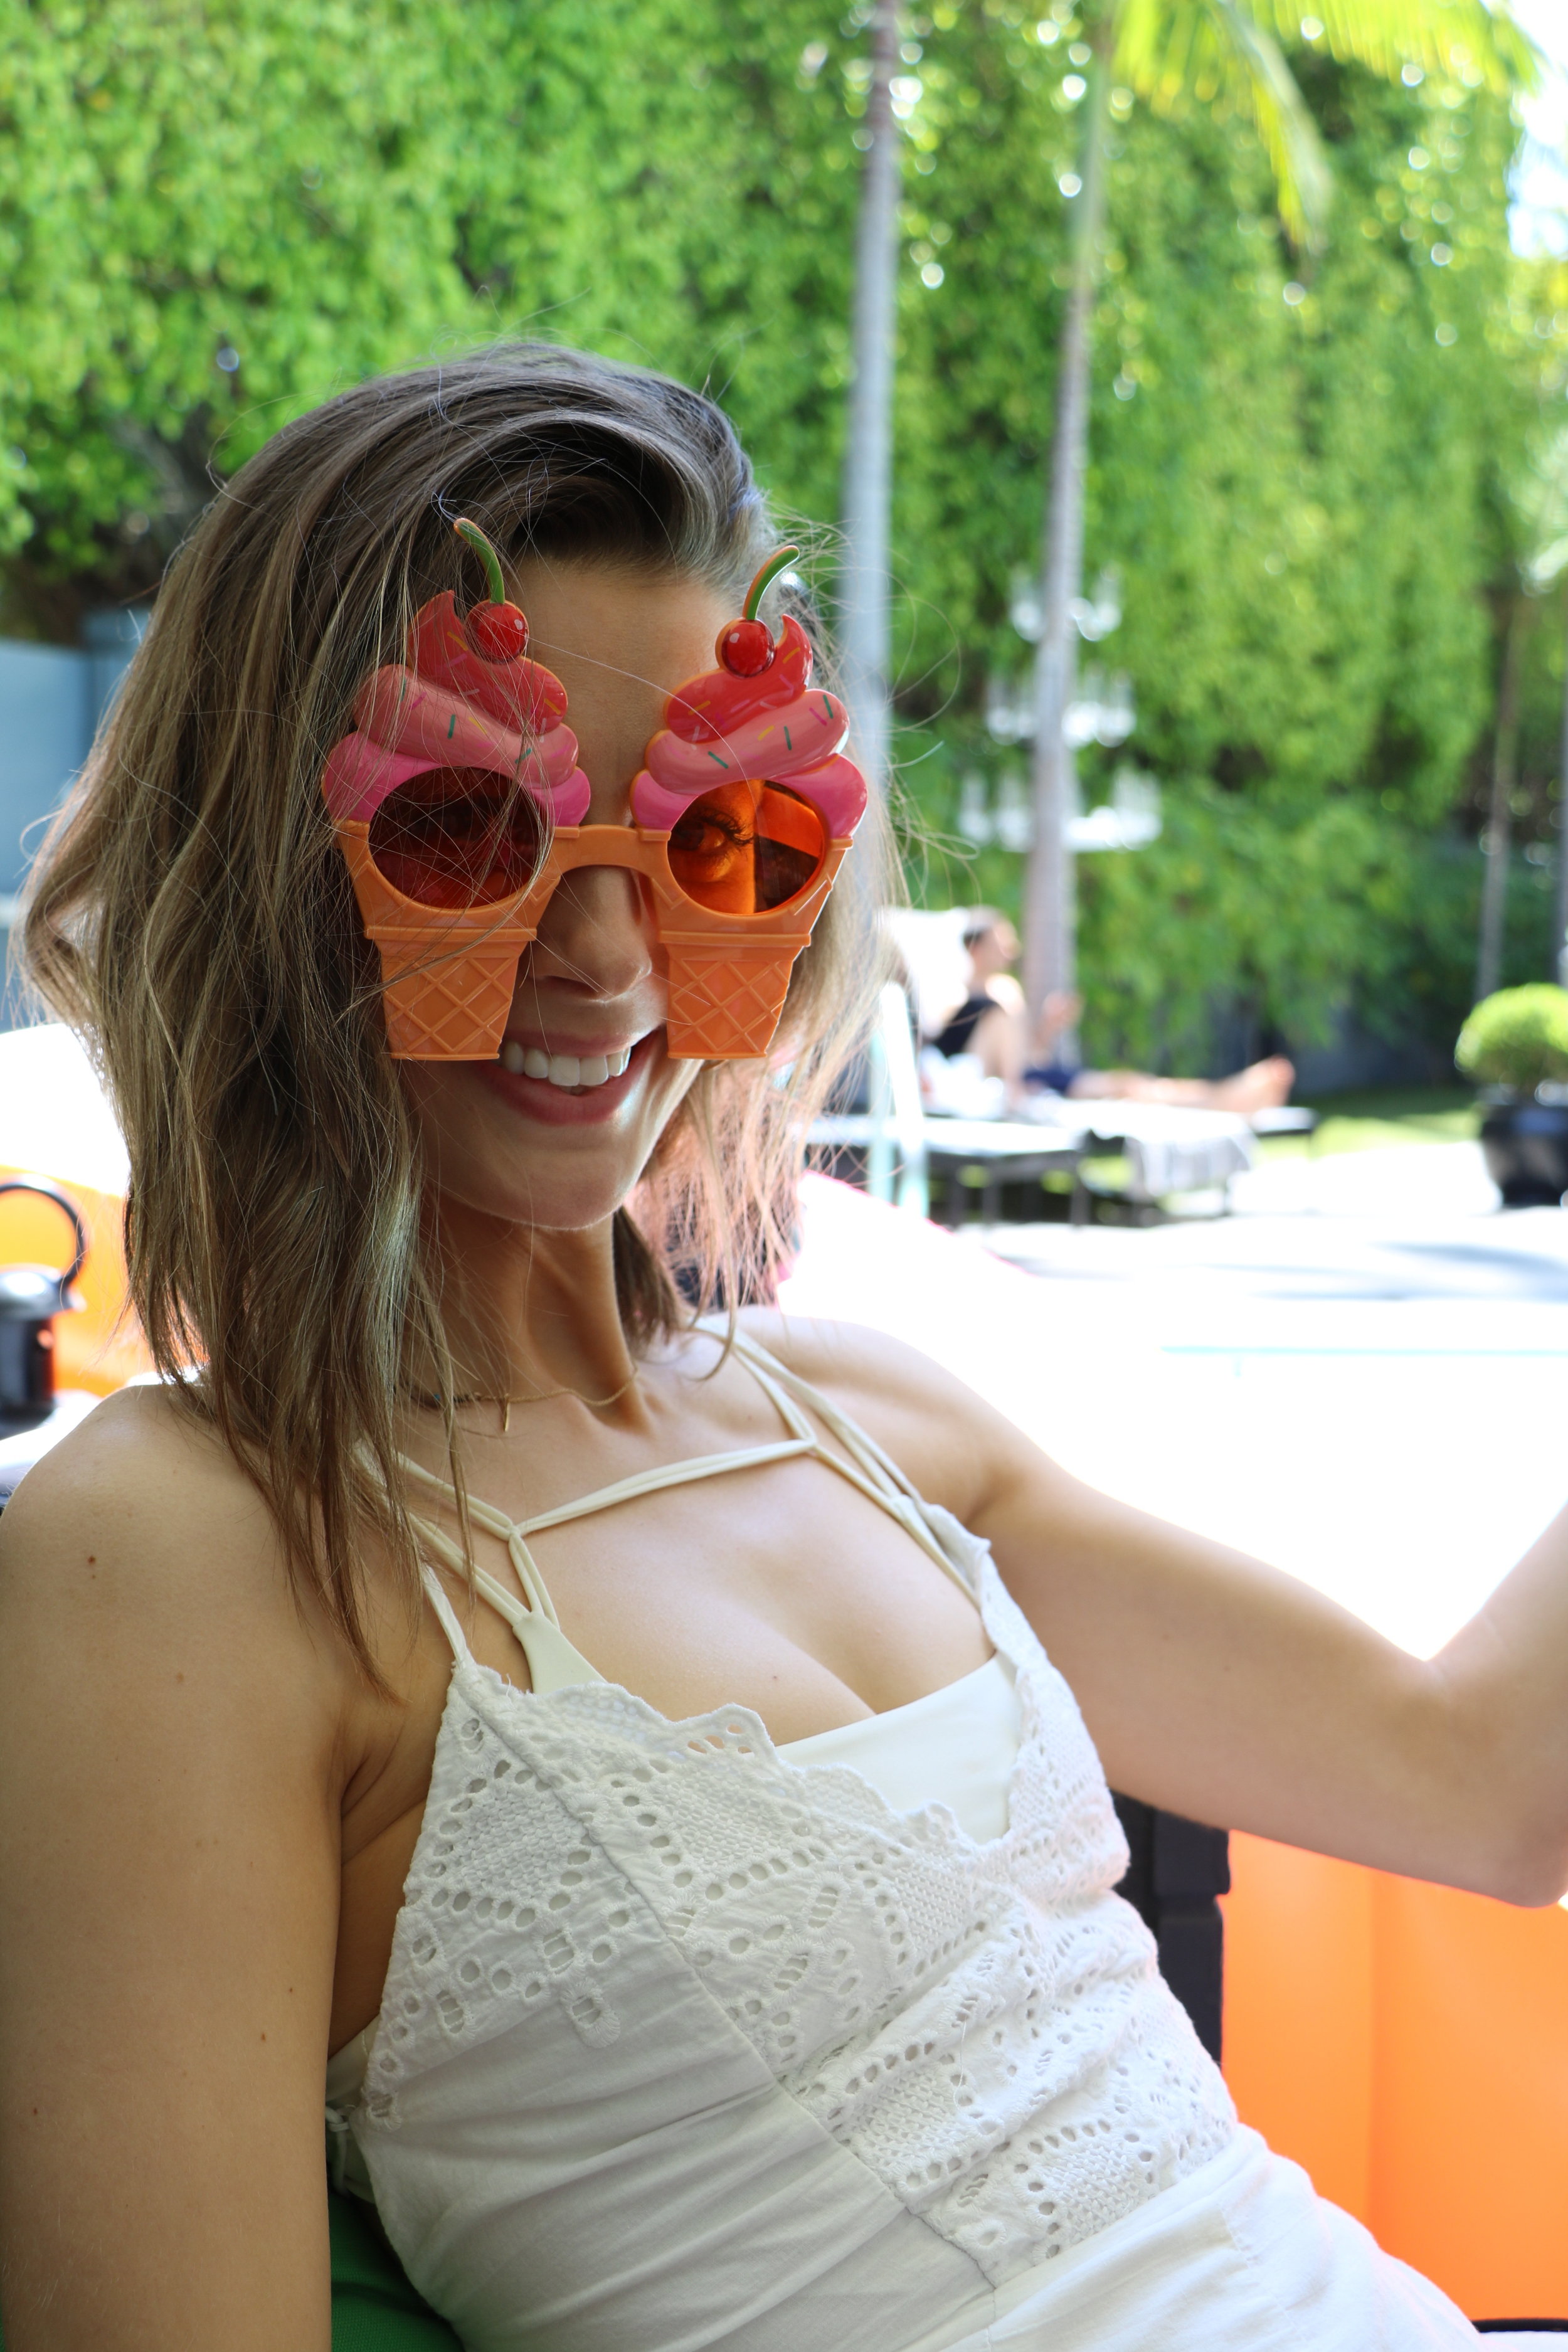
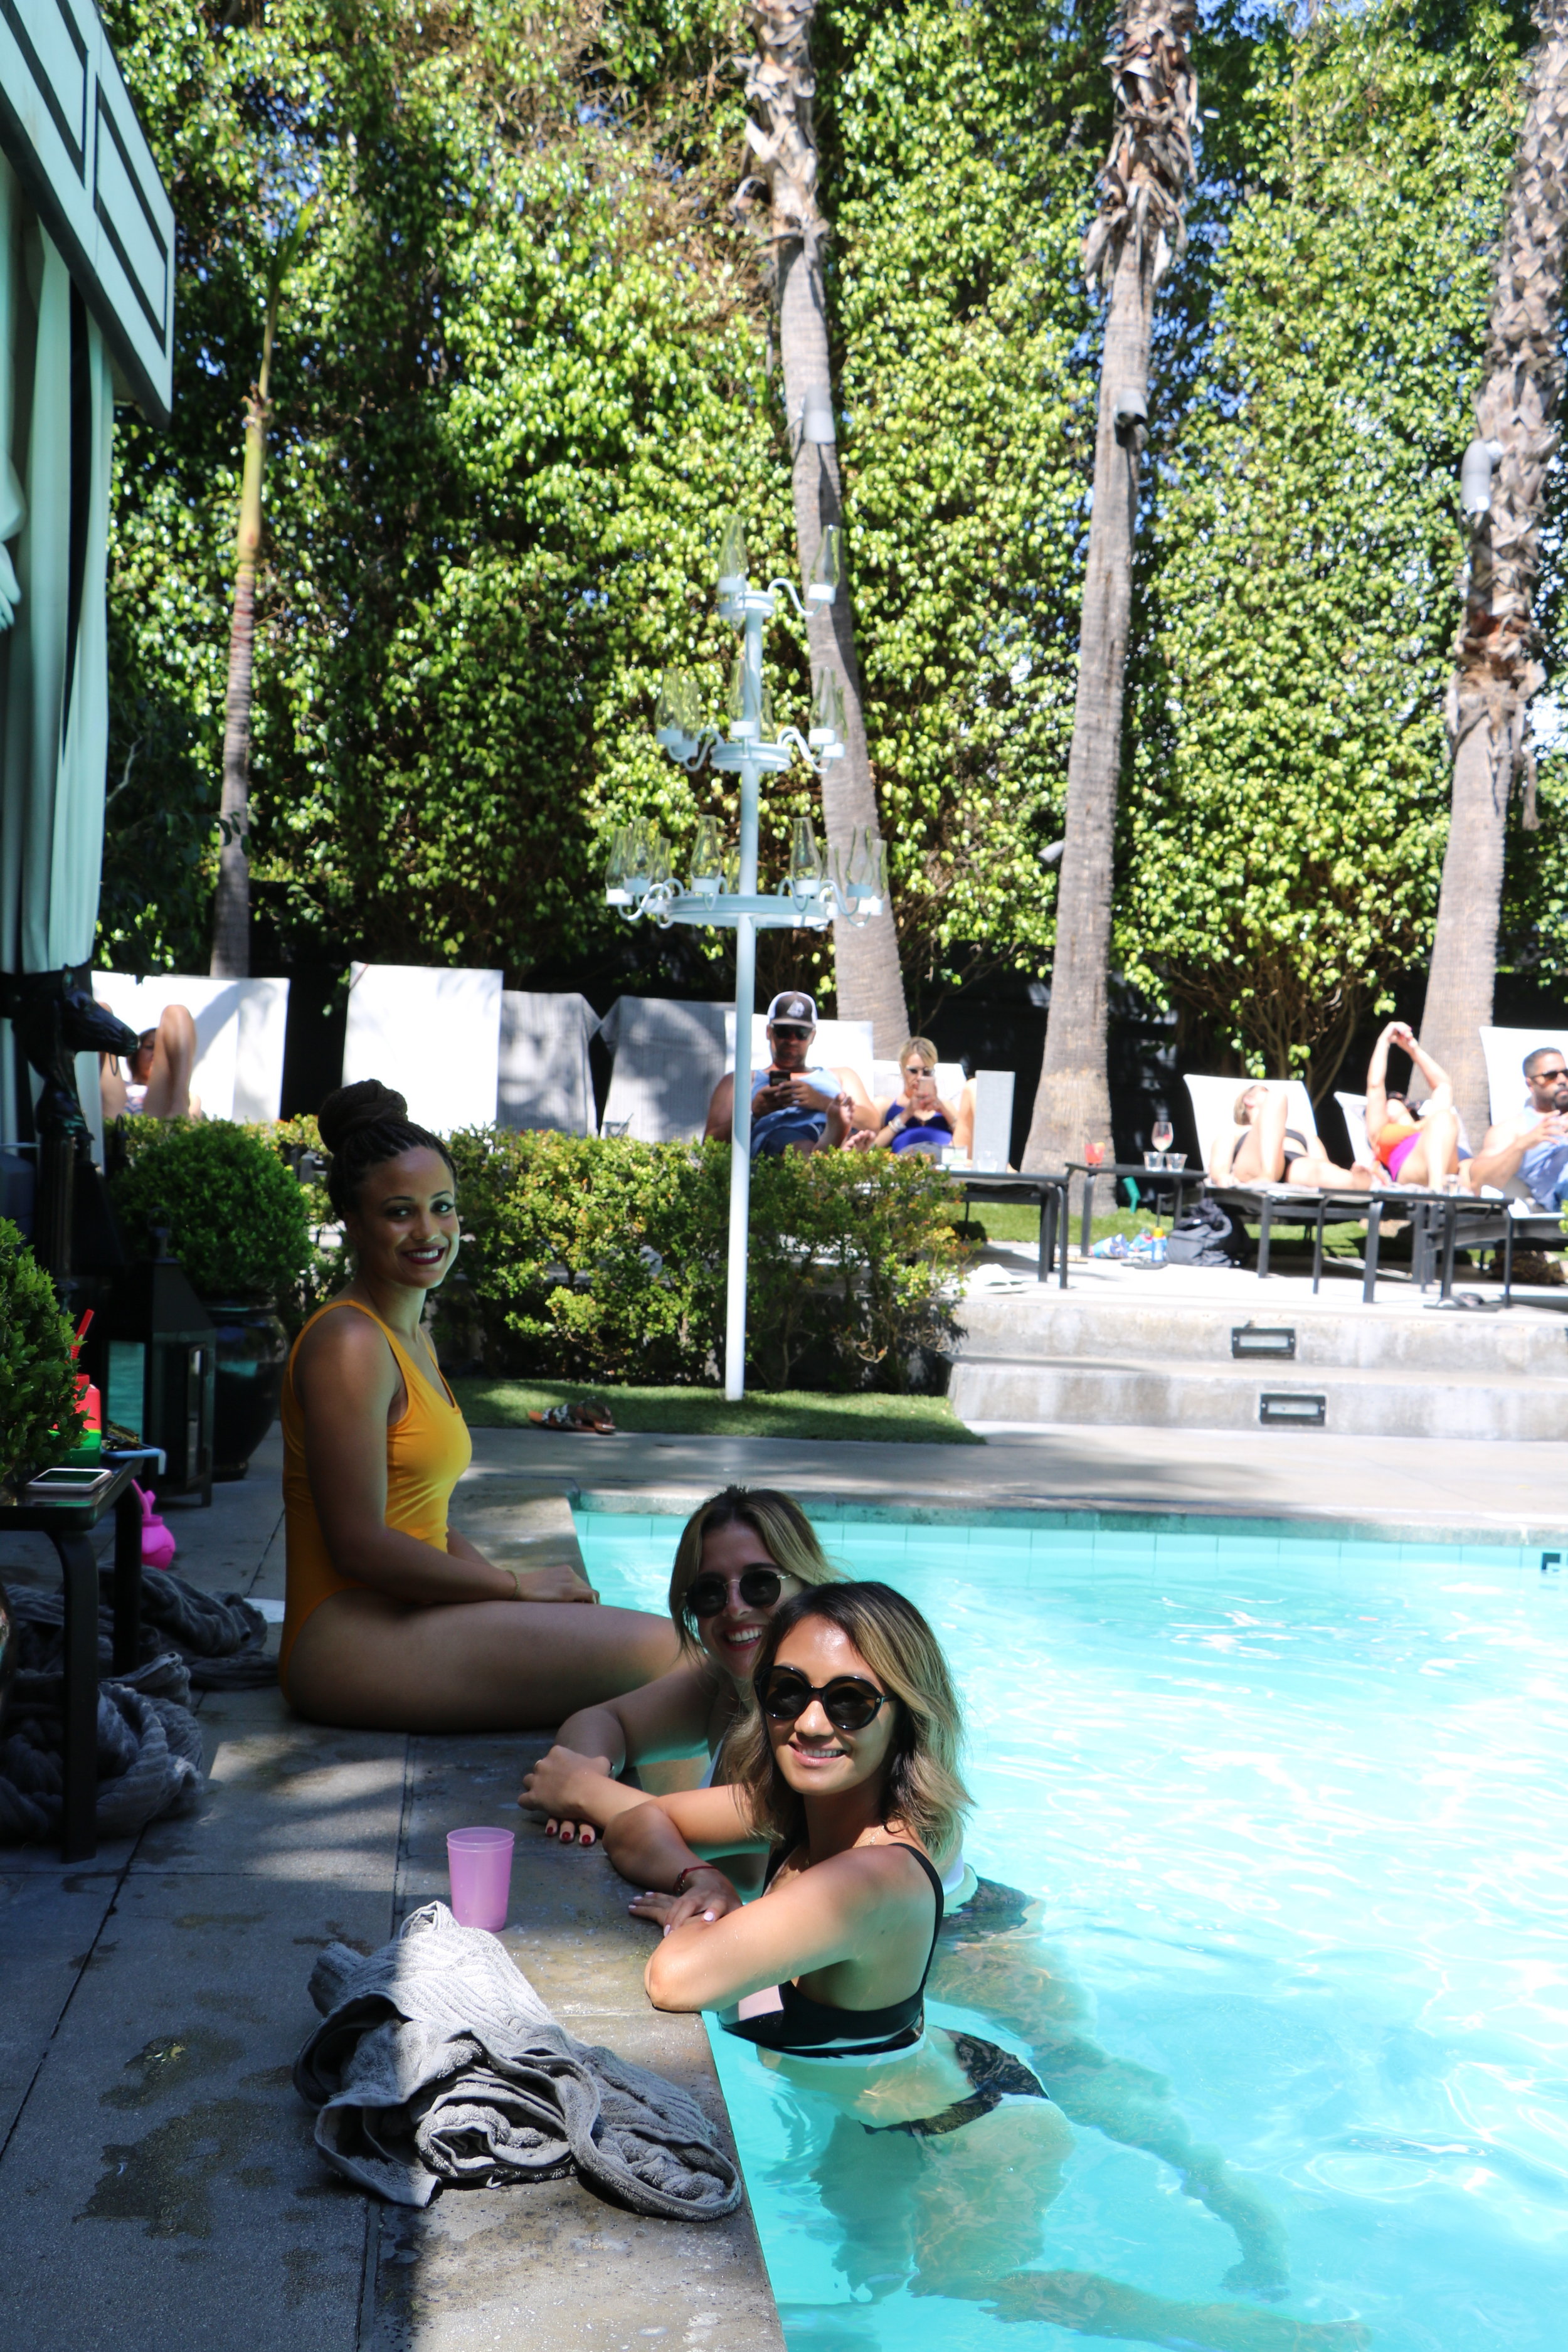
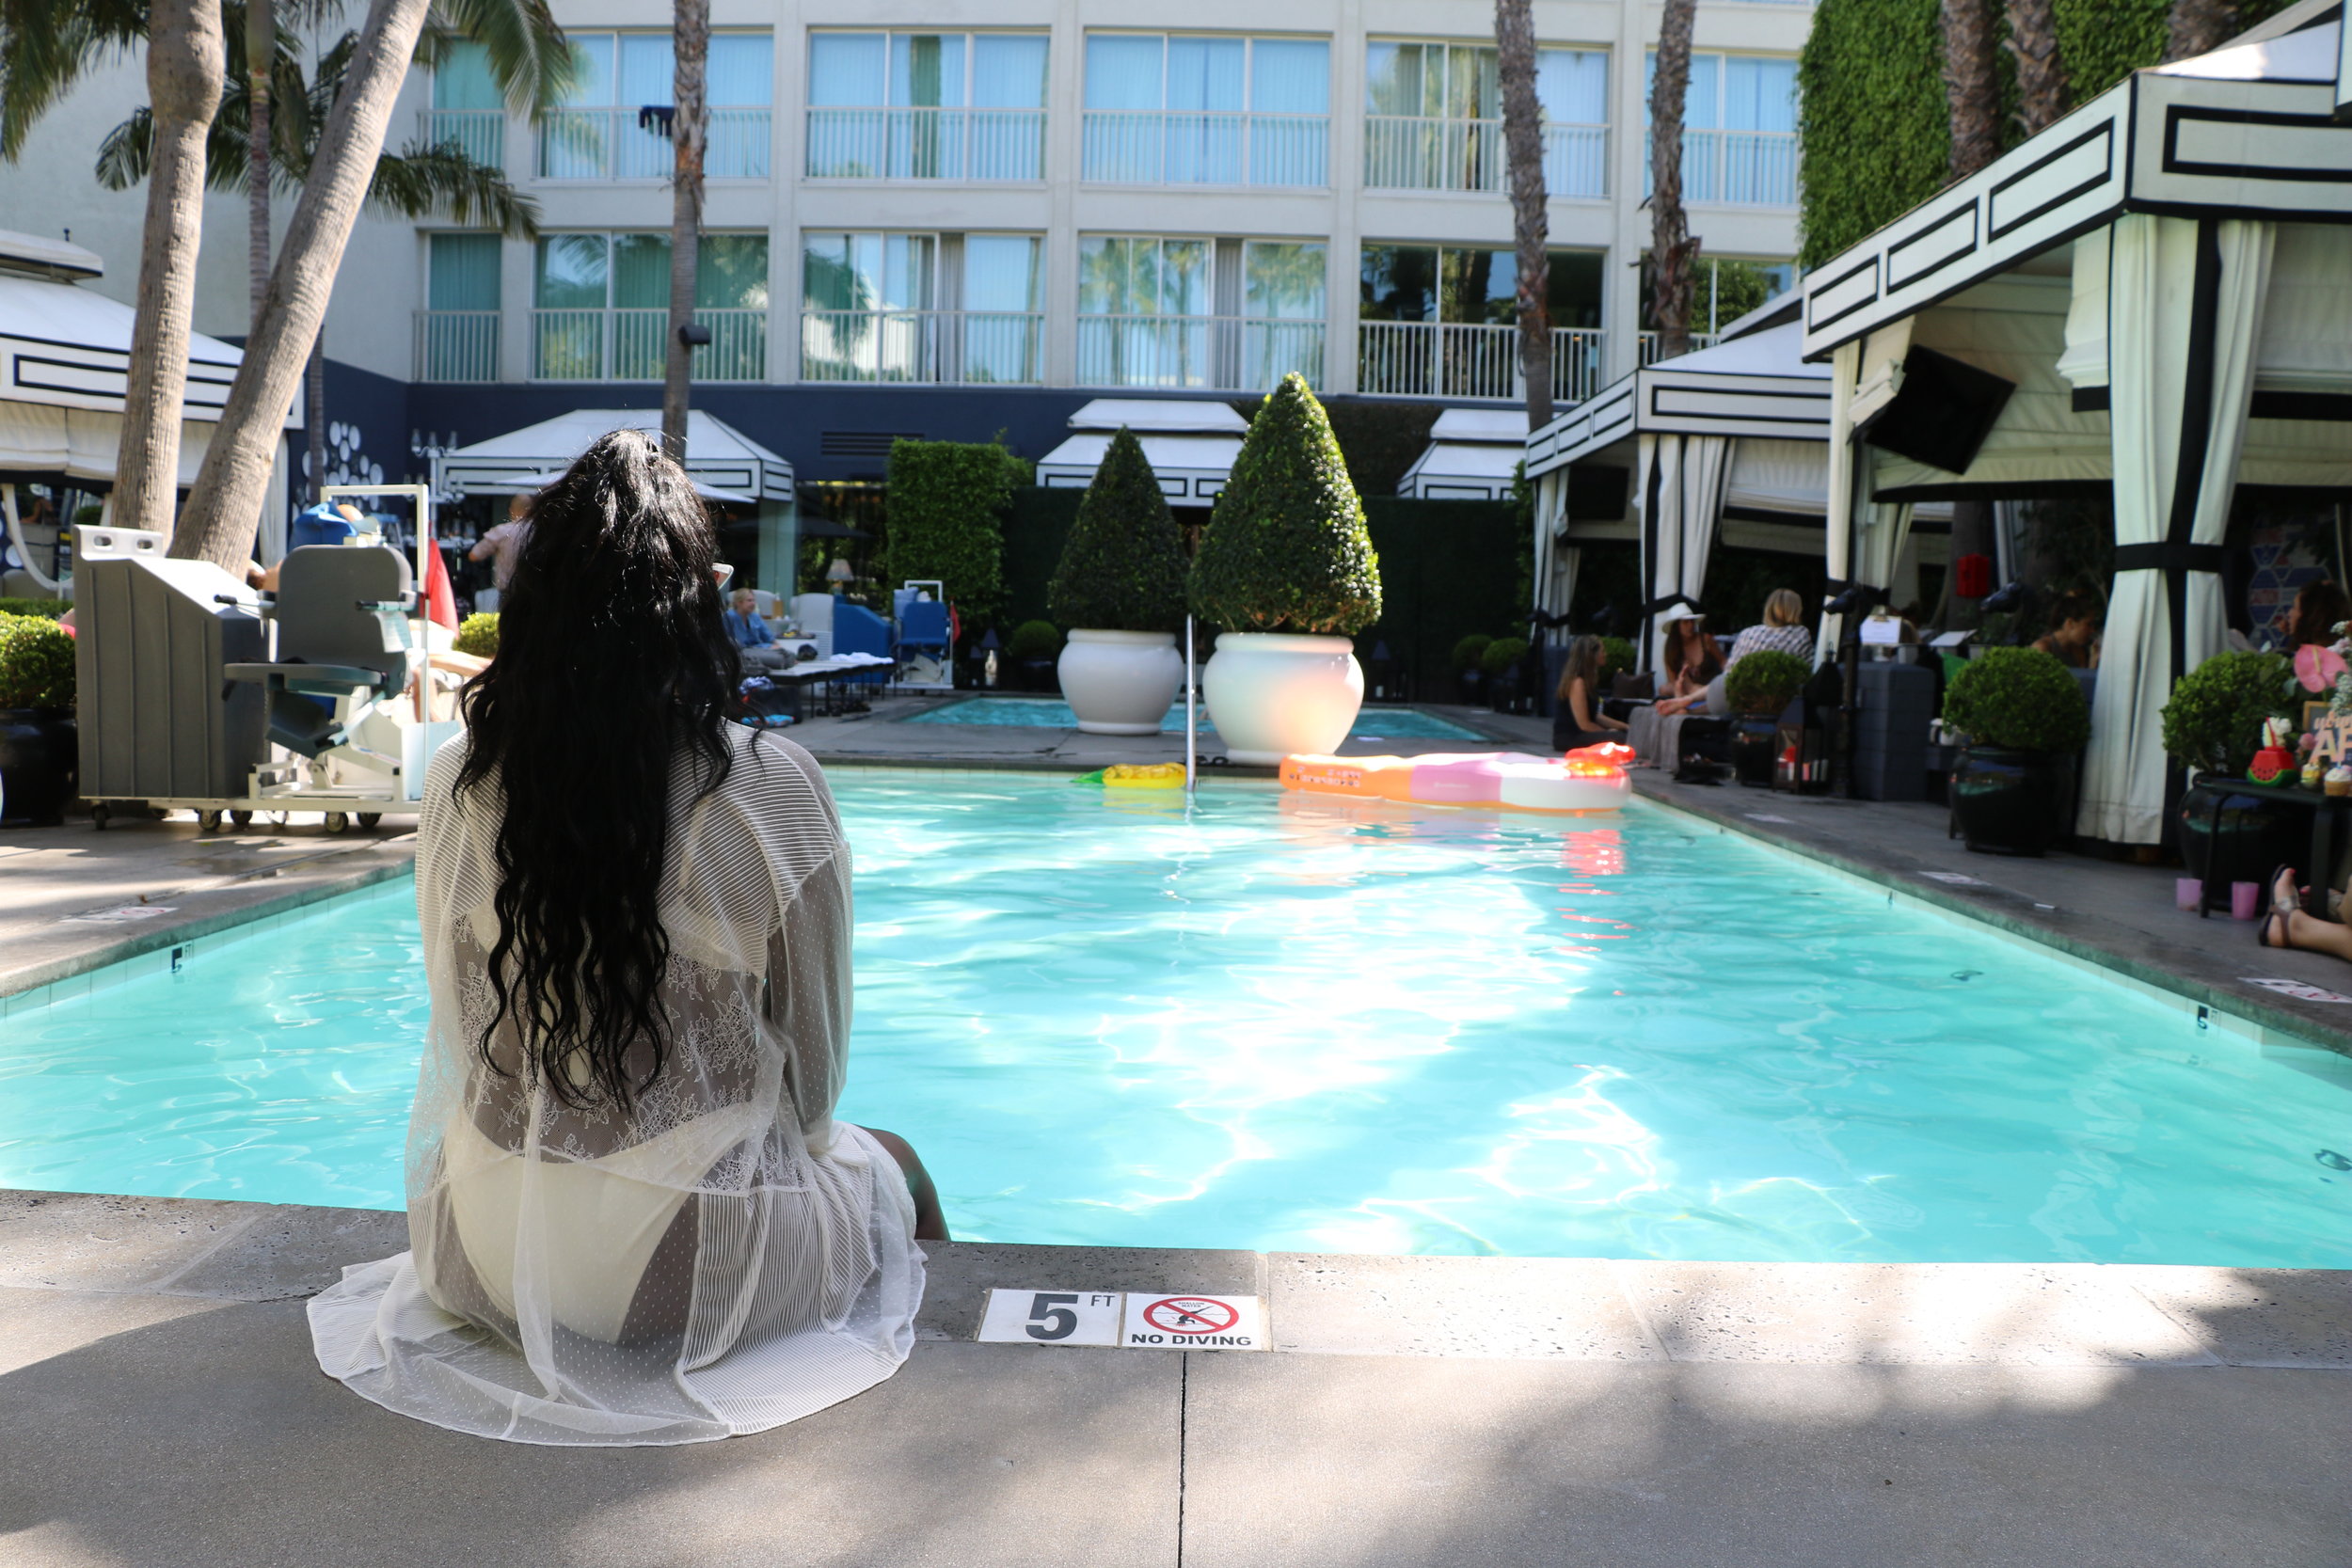
The Viceroy Santa Monica was the perfect spot for the chic soiree. Designed by Kelly Wearstler, the bold & modern space became the ultimate backdrop for my most fashionable friend. Our poolside private cabana provided plenty of room for all of us girls and with a few personalized touches, it went from #SundayFunday to a Young AF Birthday Party for our best babe! 

IMG_5625.JPG

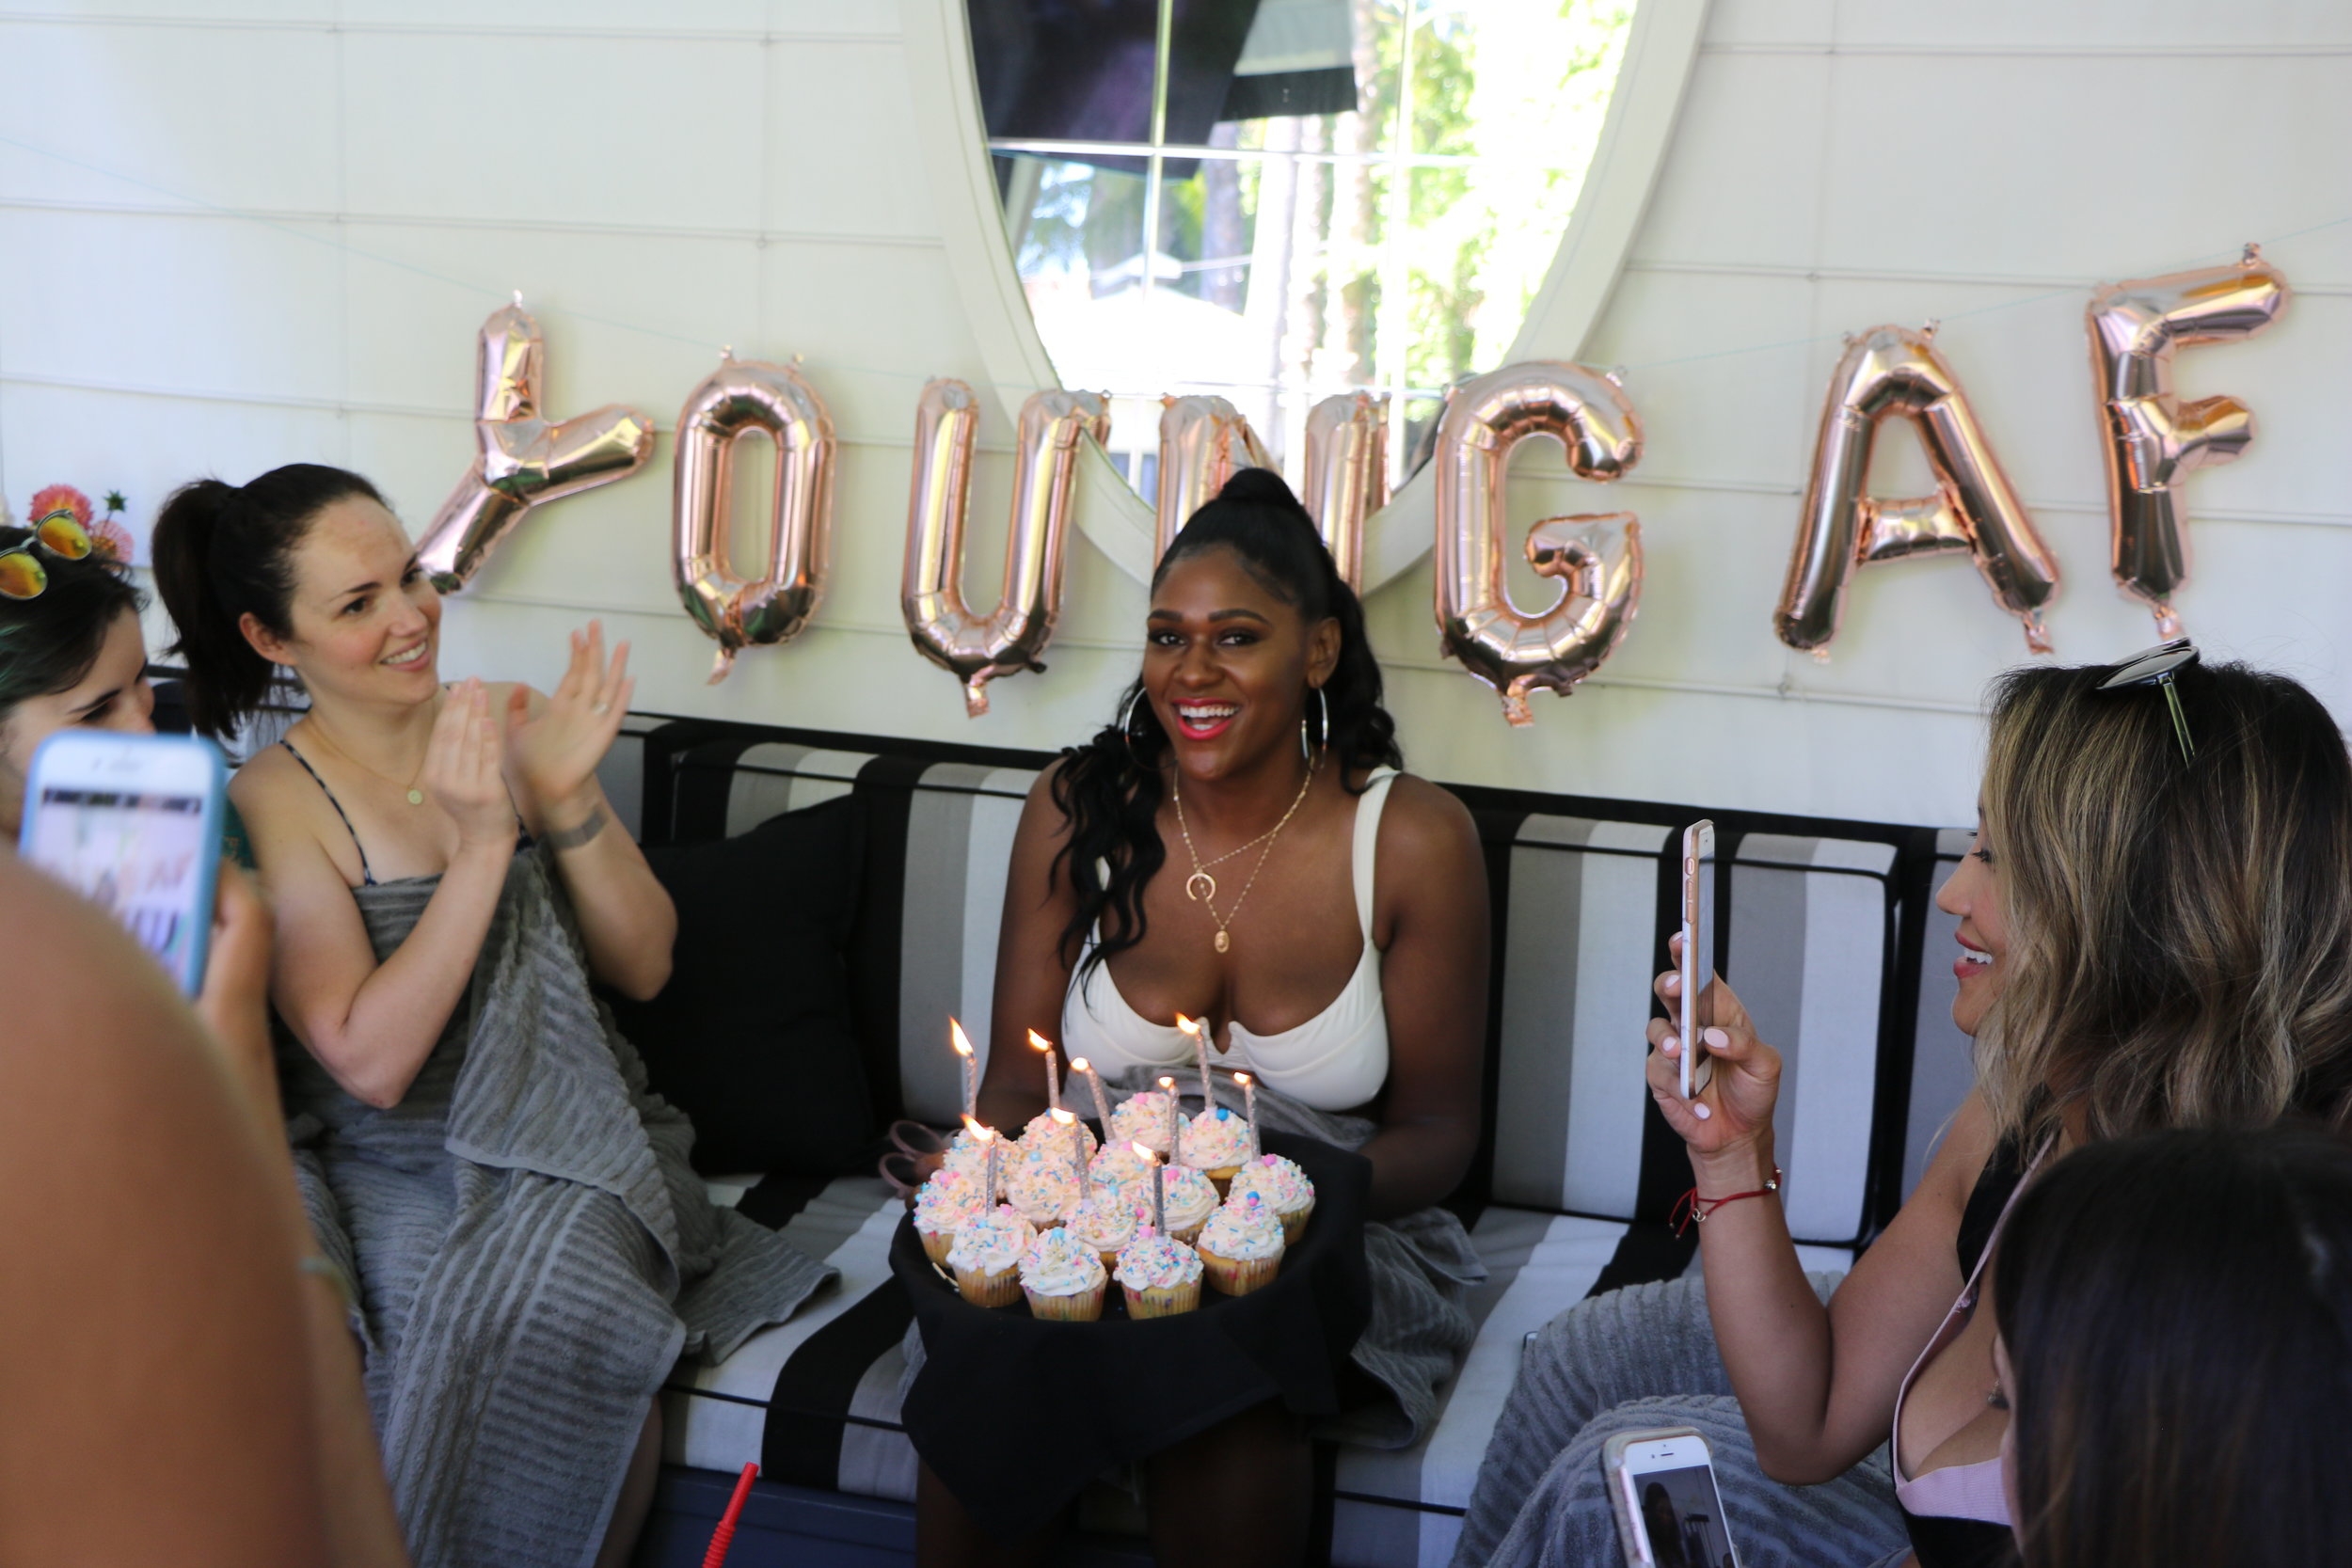
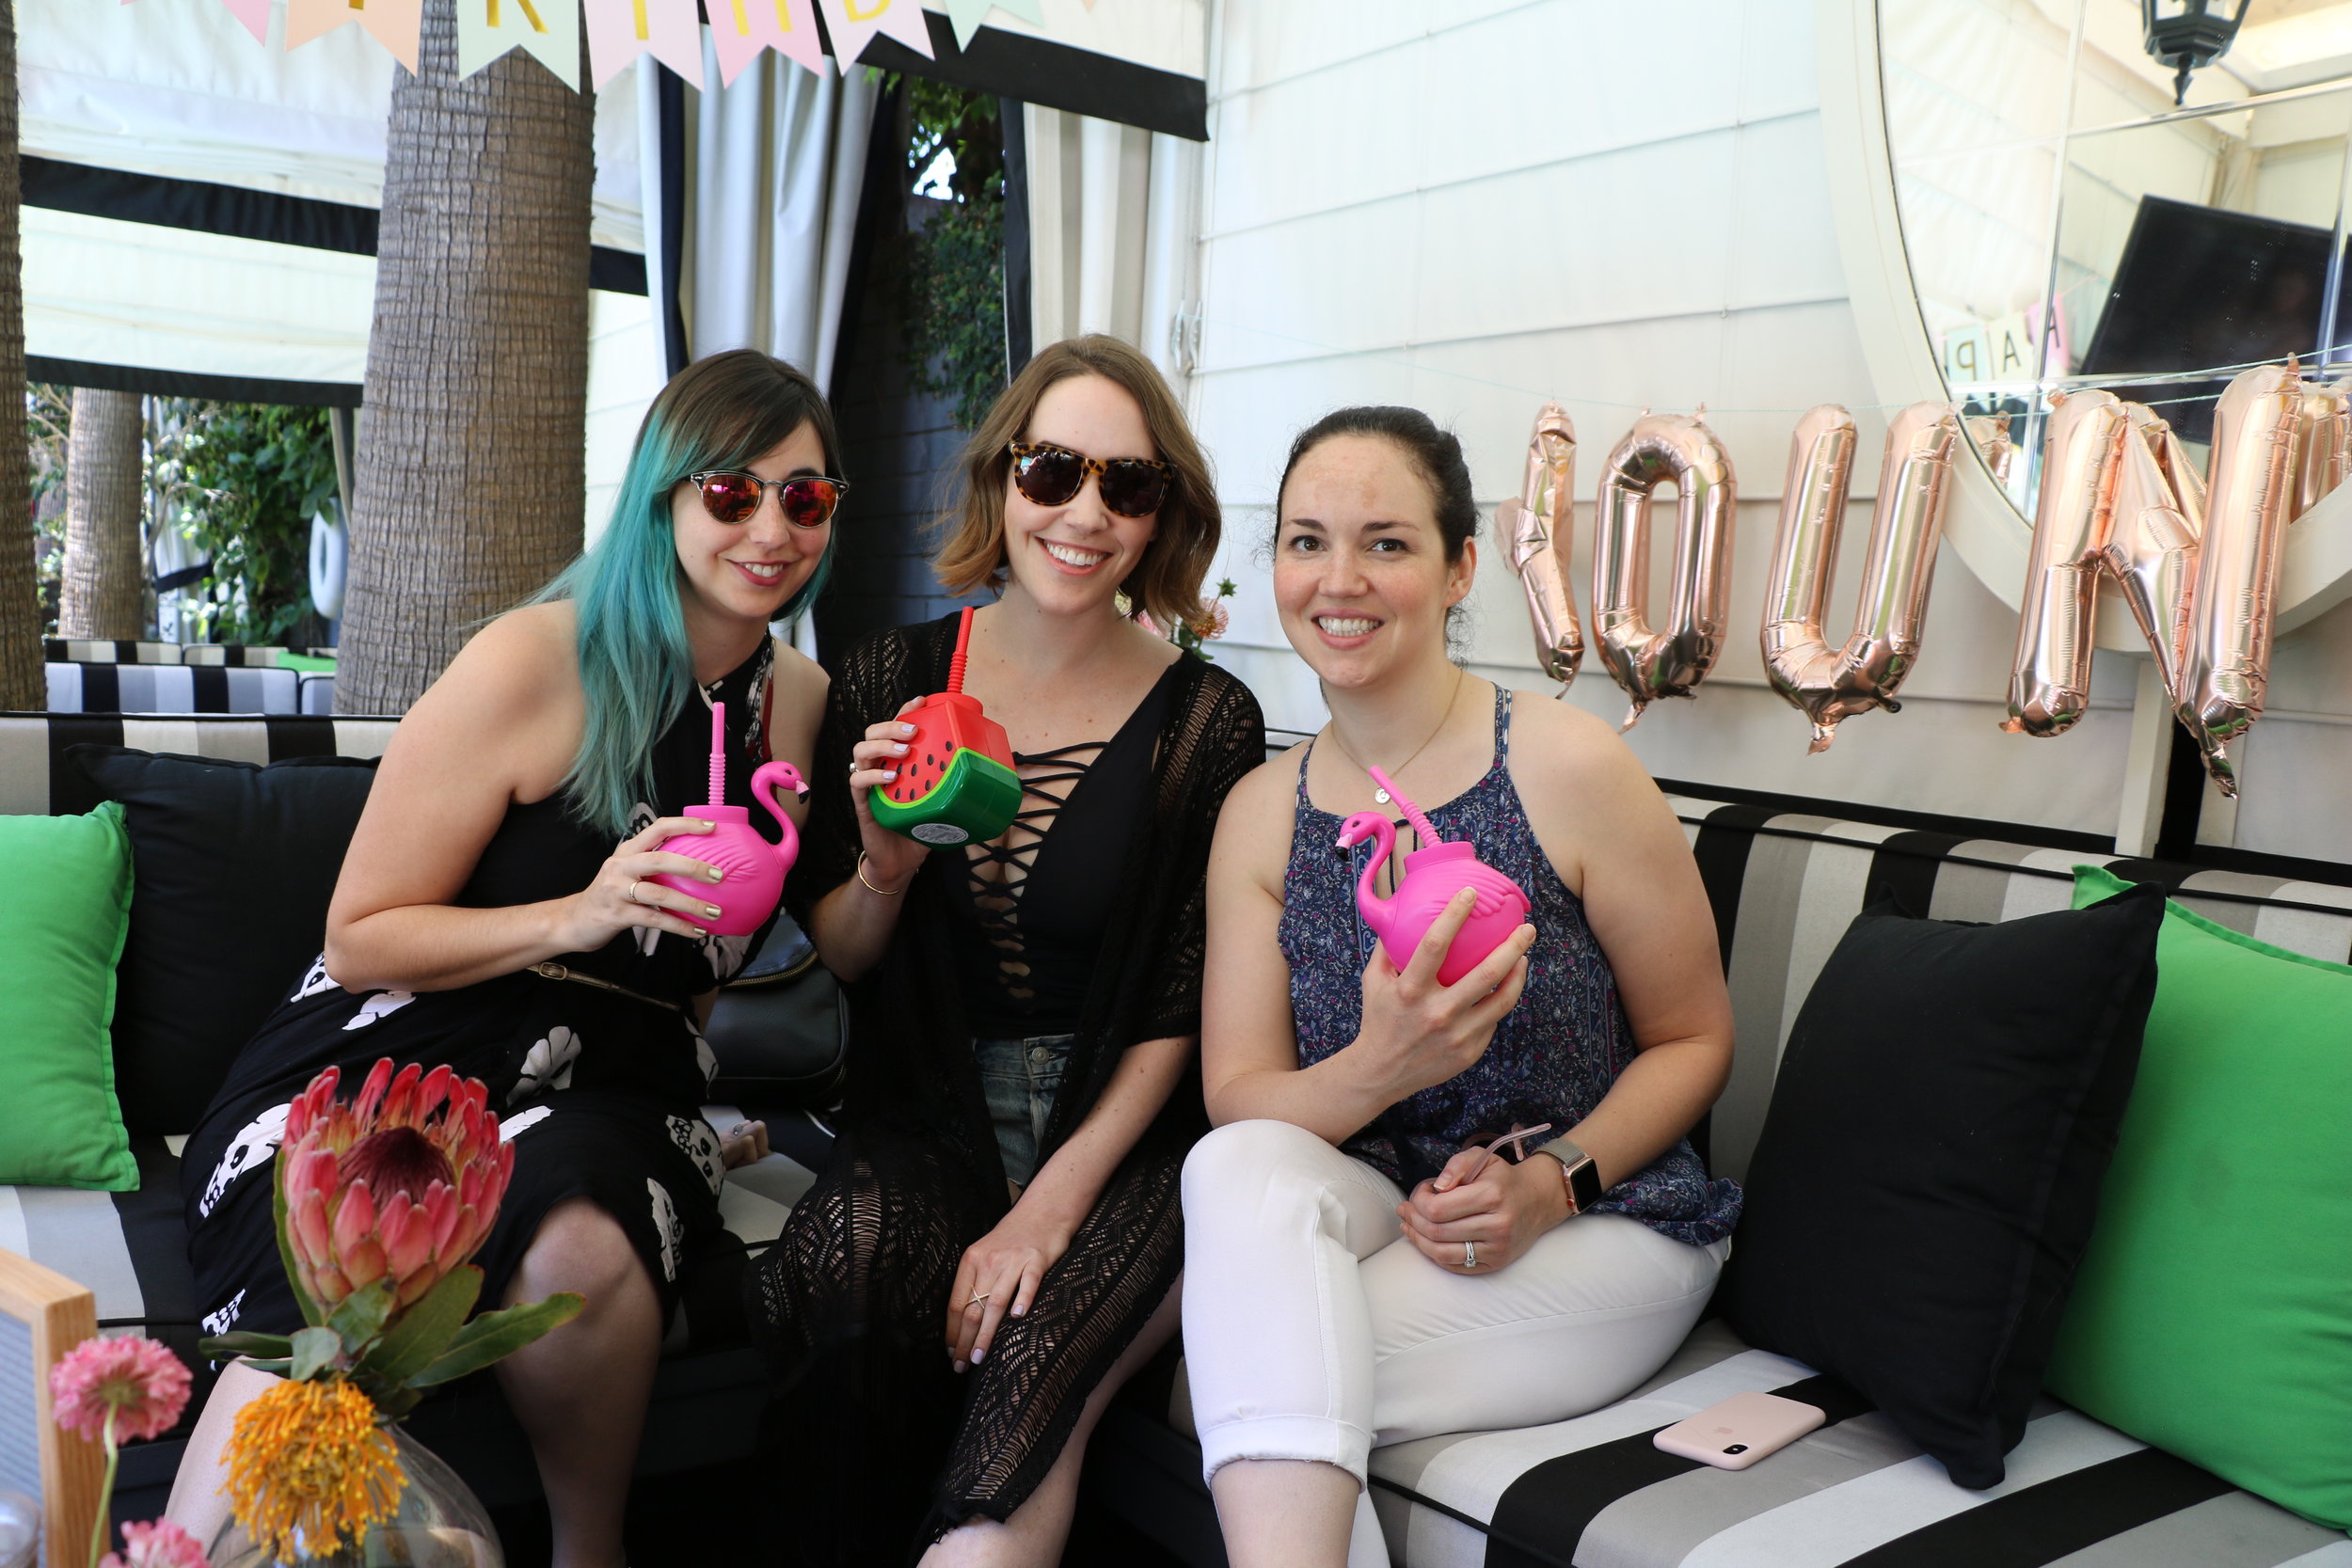
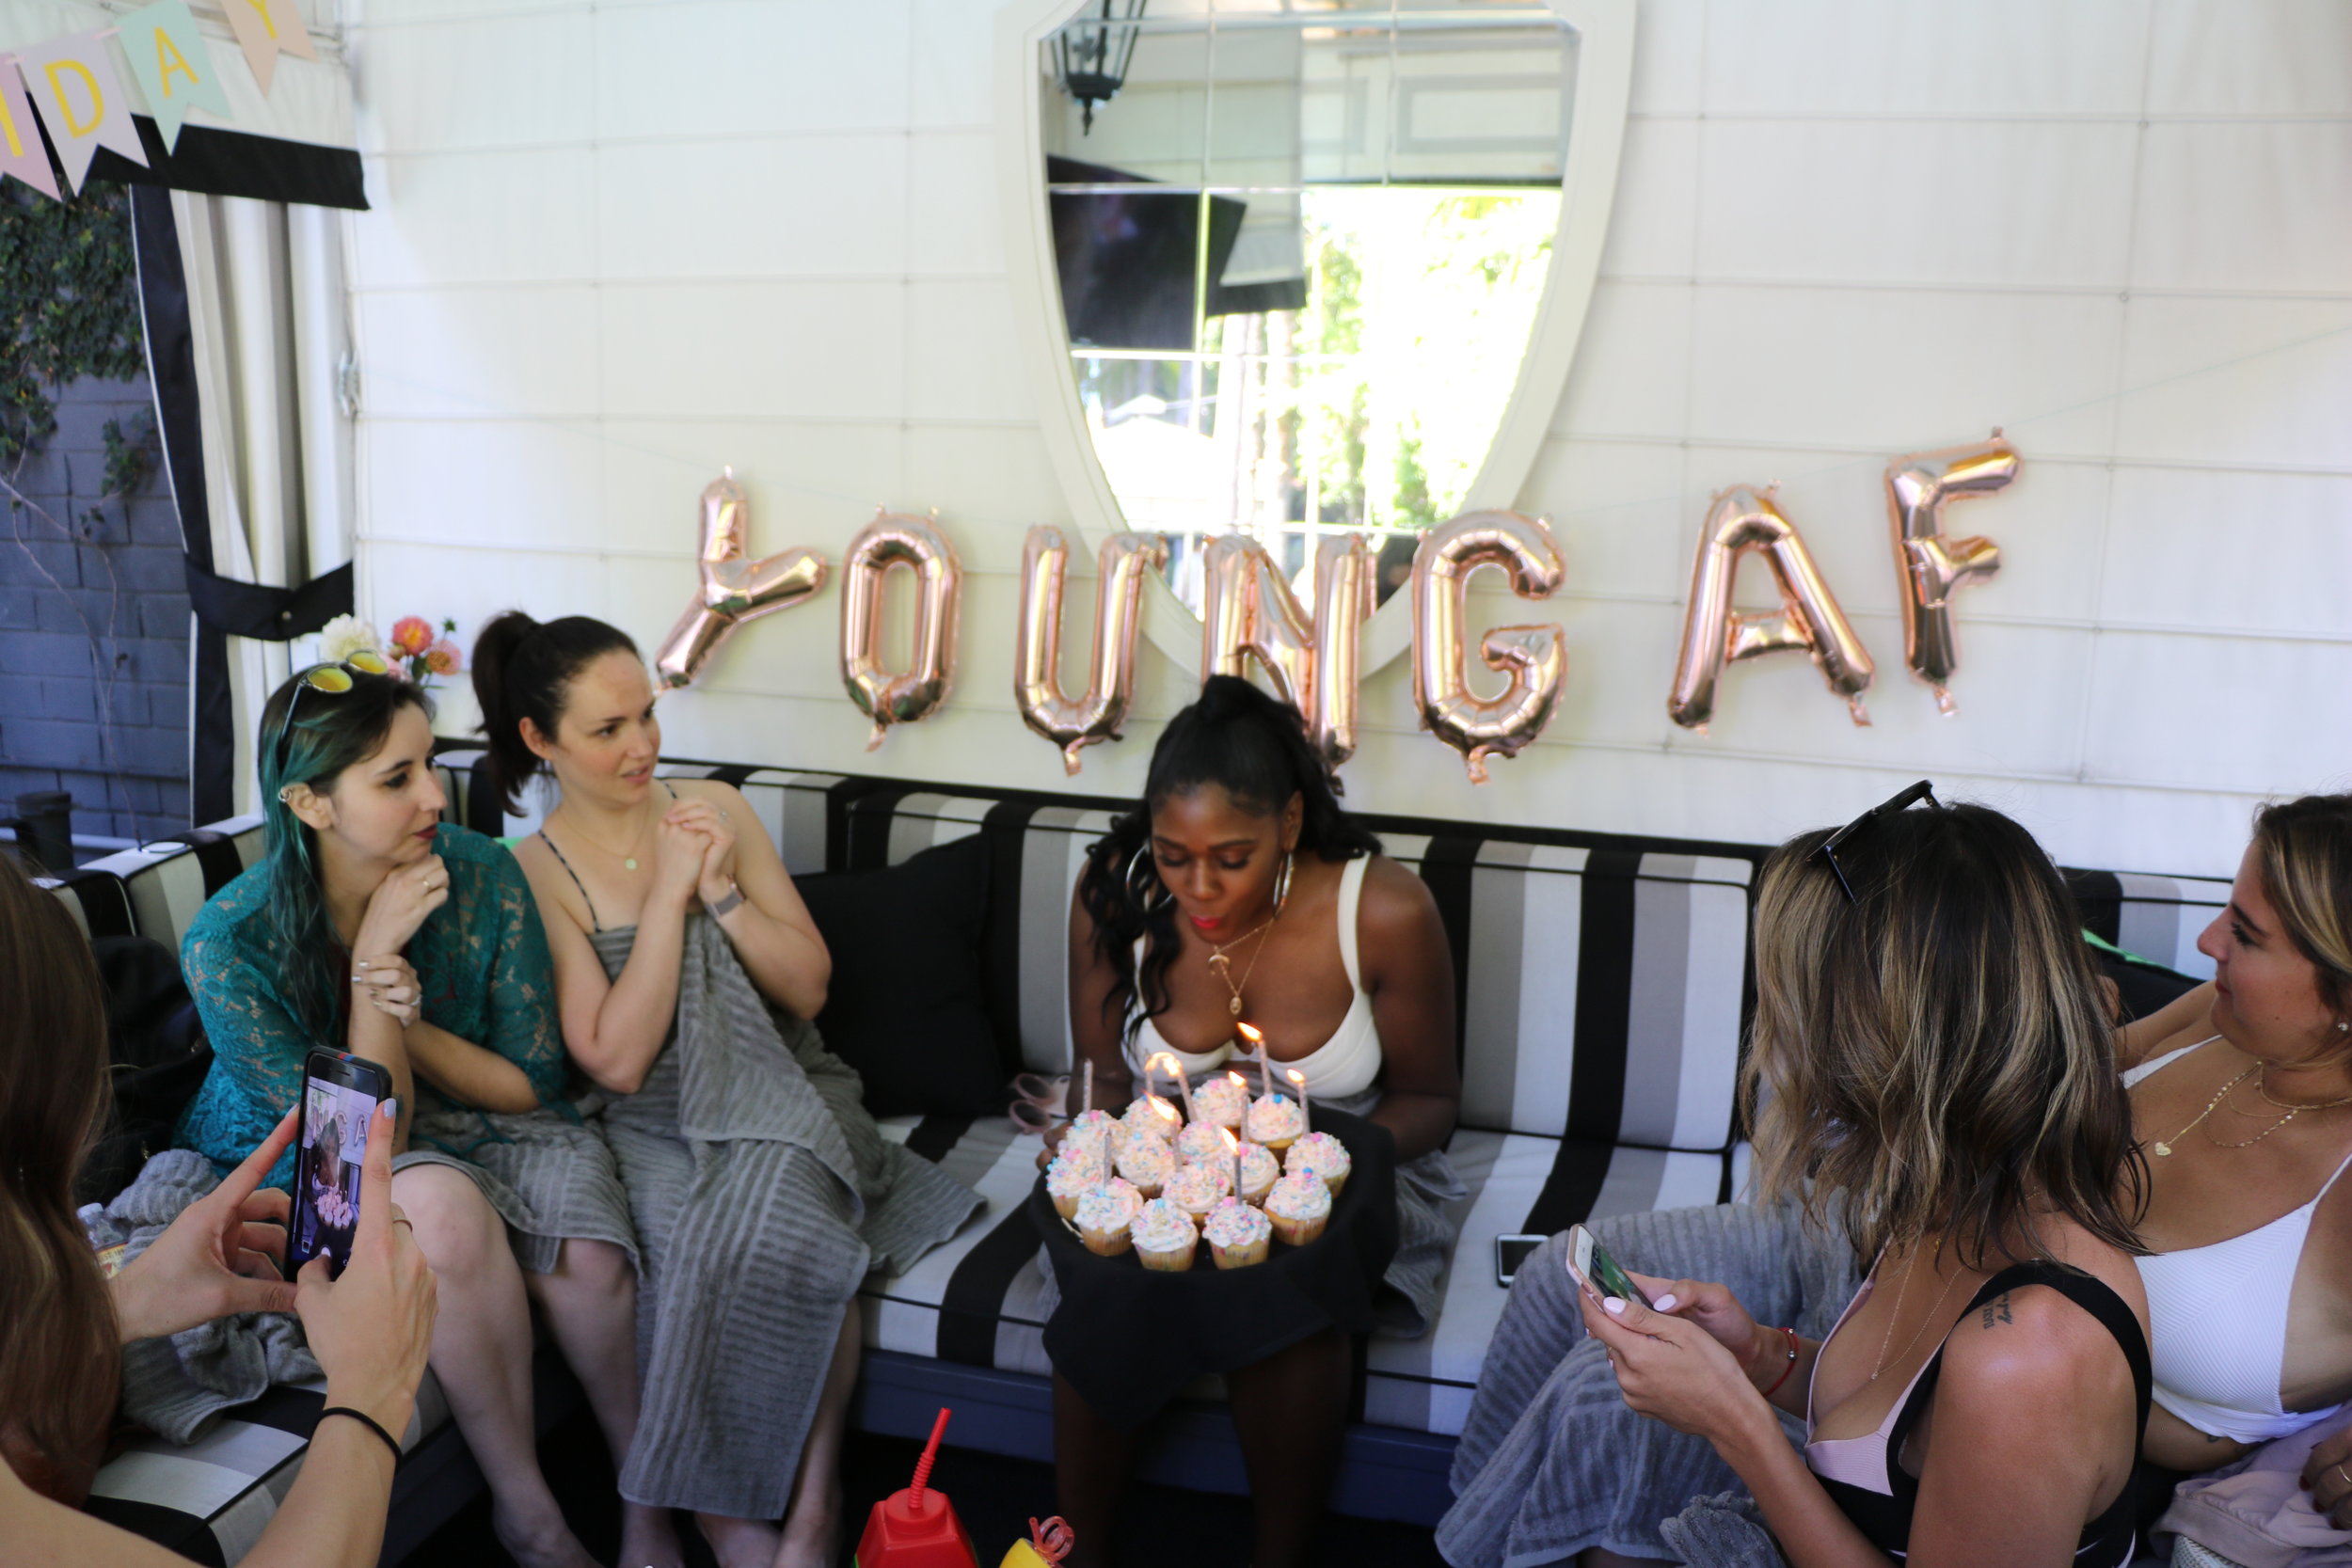
I've always hated the whole "flirty and 30" party theme and "dirty thirty" is even worse.  So when I saw these rose gold balloons  on etsy I knew this would be a fun idea. And when it comes to decor, there's a fine line between going for it and over doing it. These made the space an instant party but so much of design is all in the details!

IMG_5595.JPG

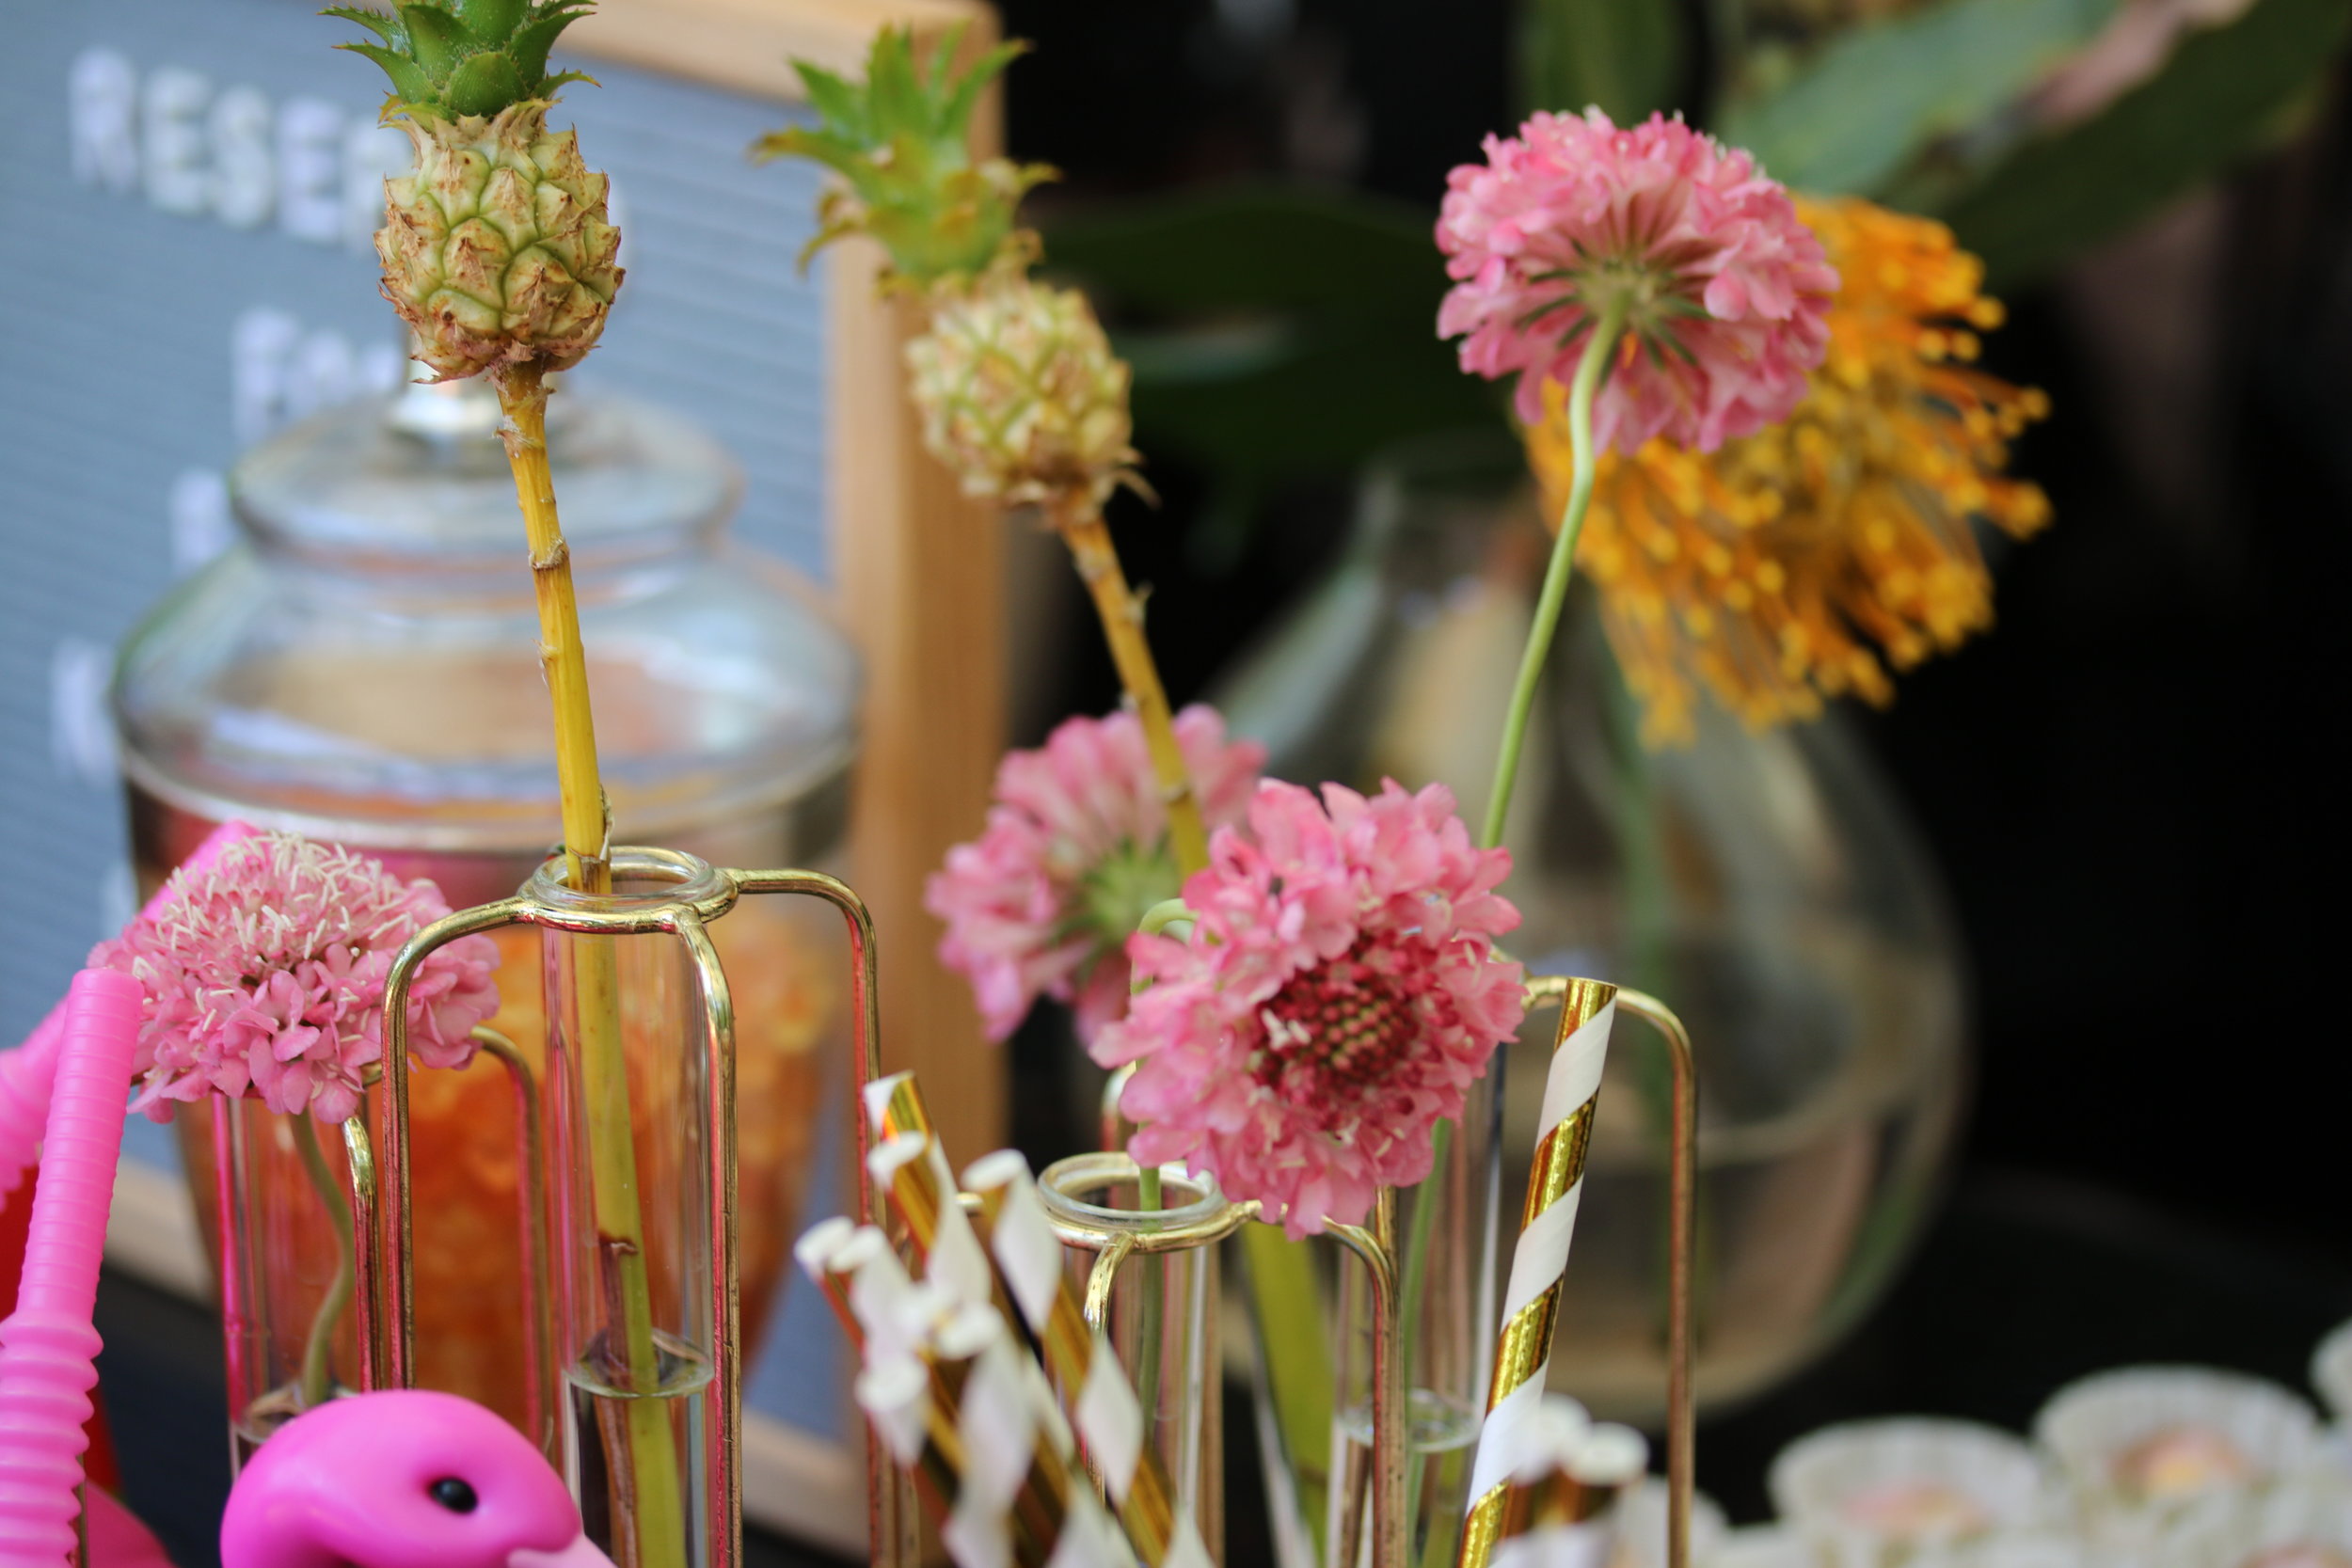
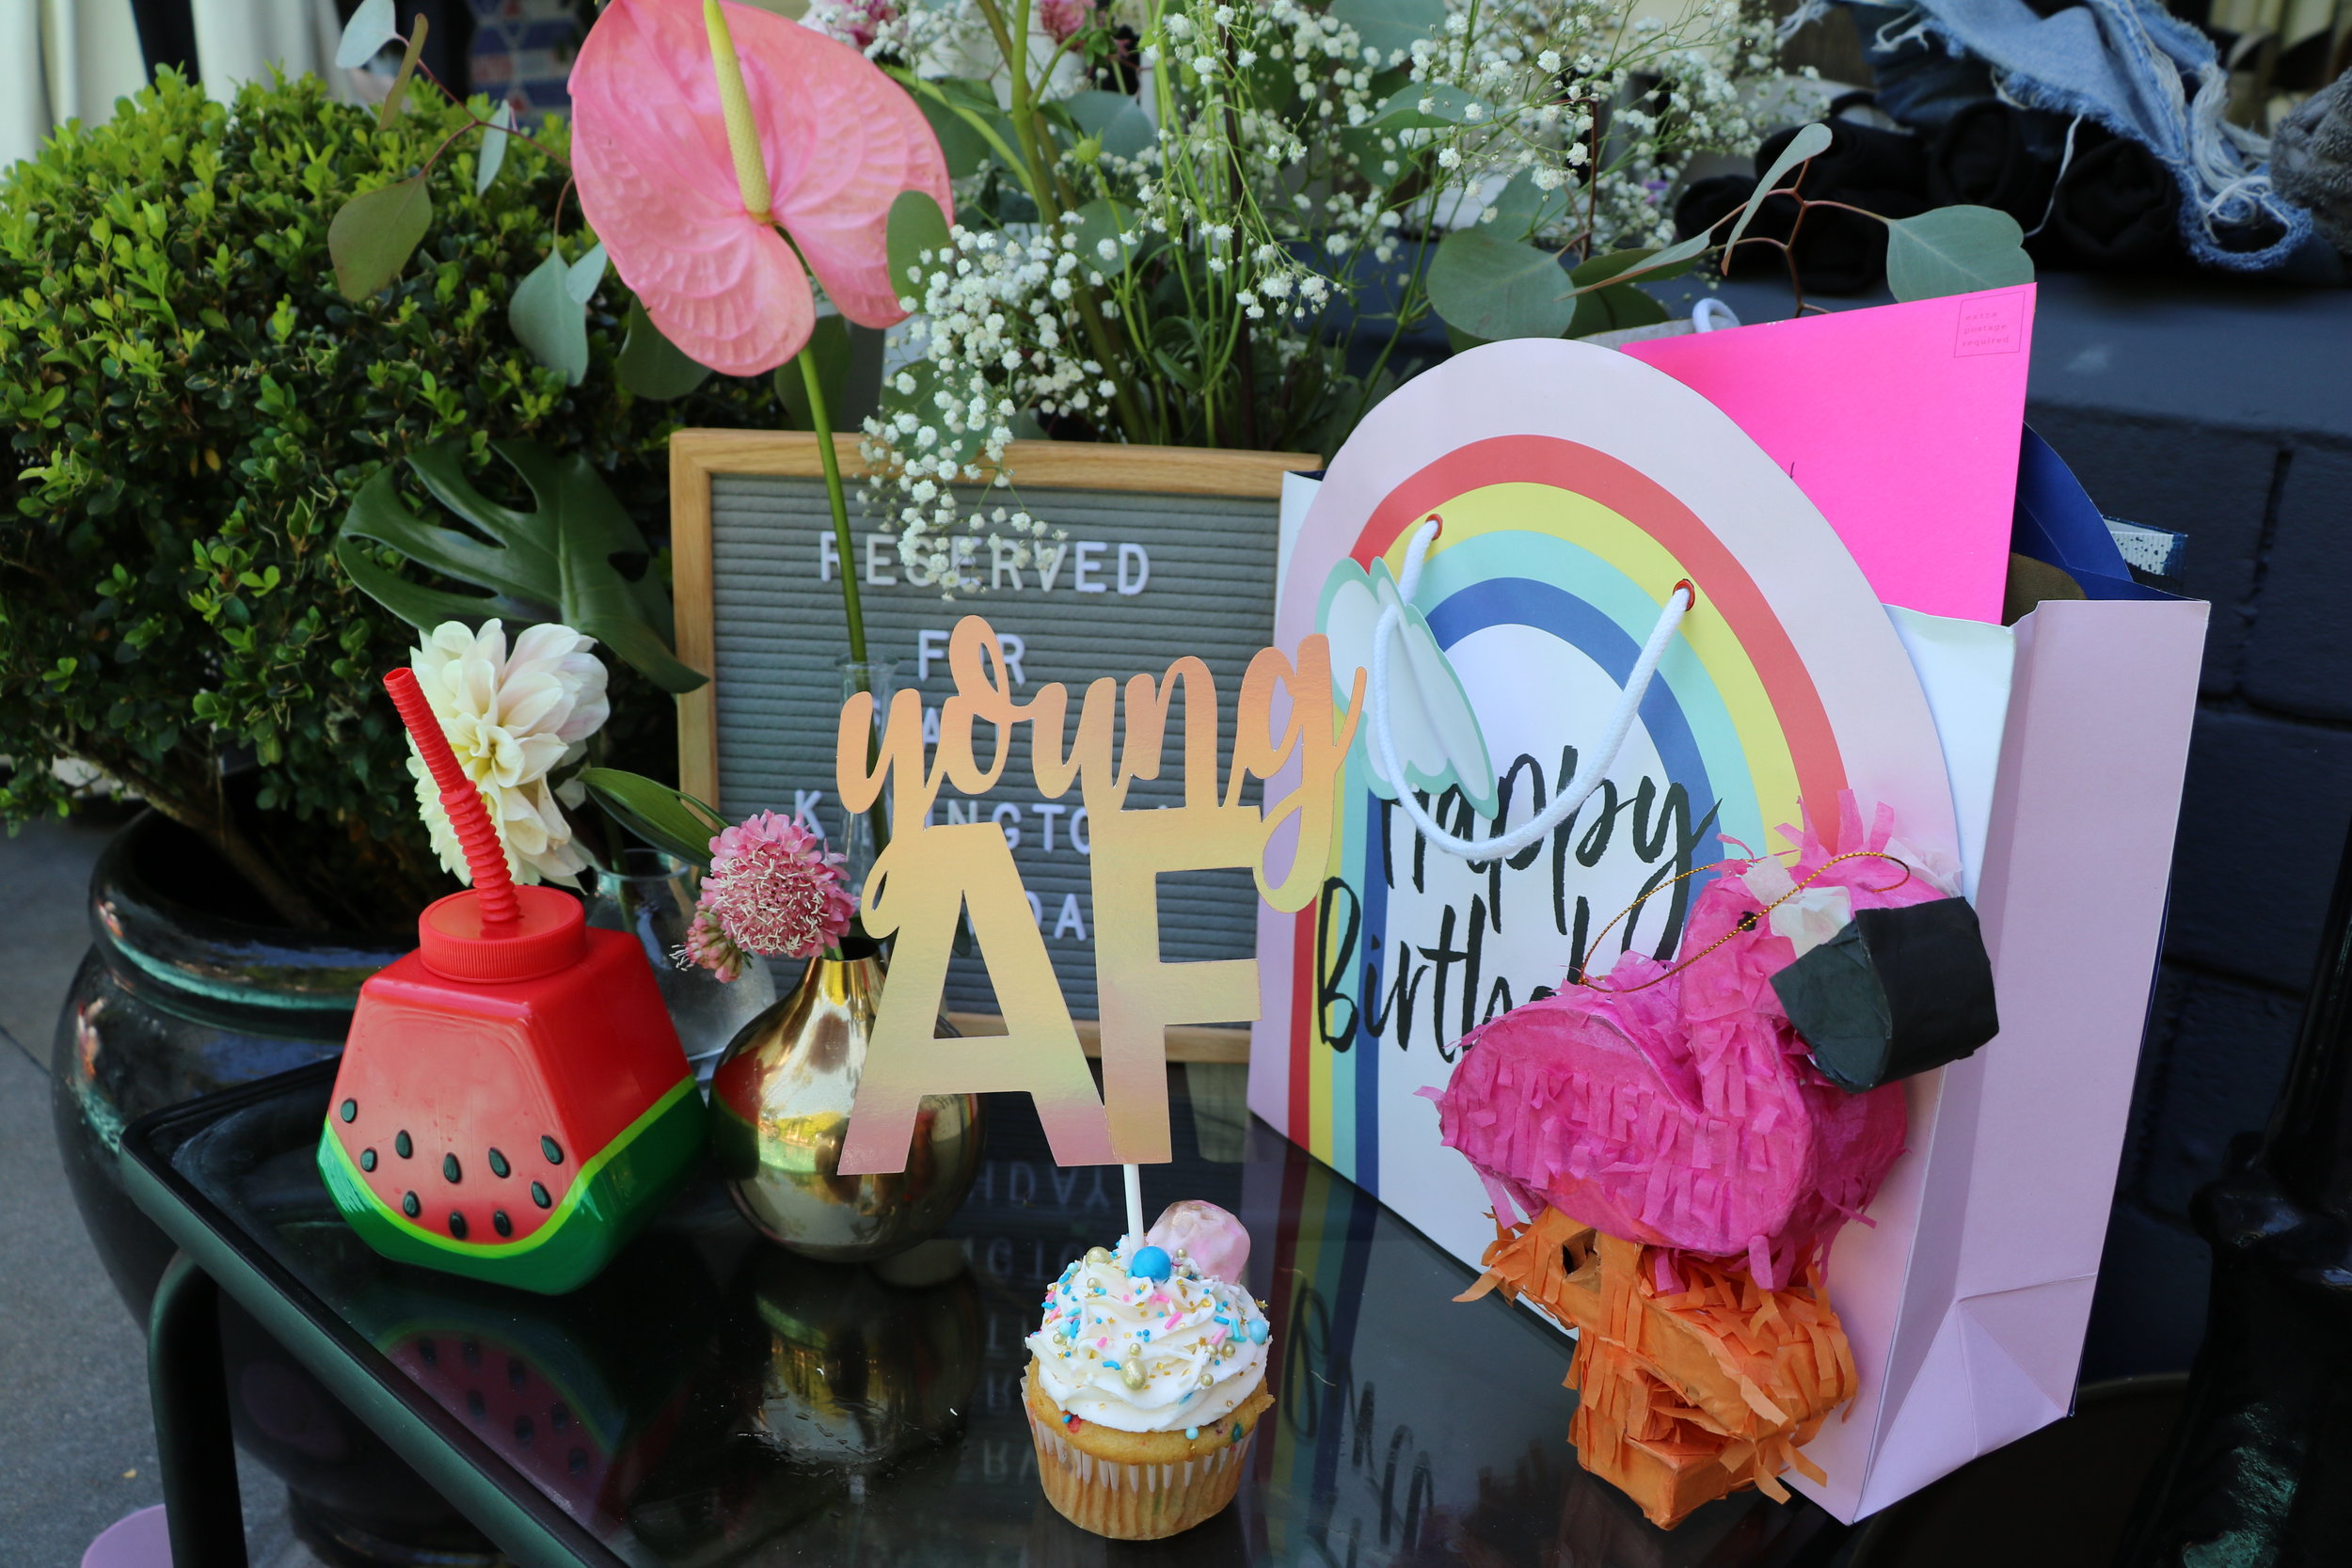
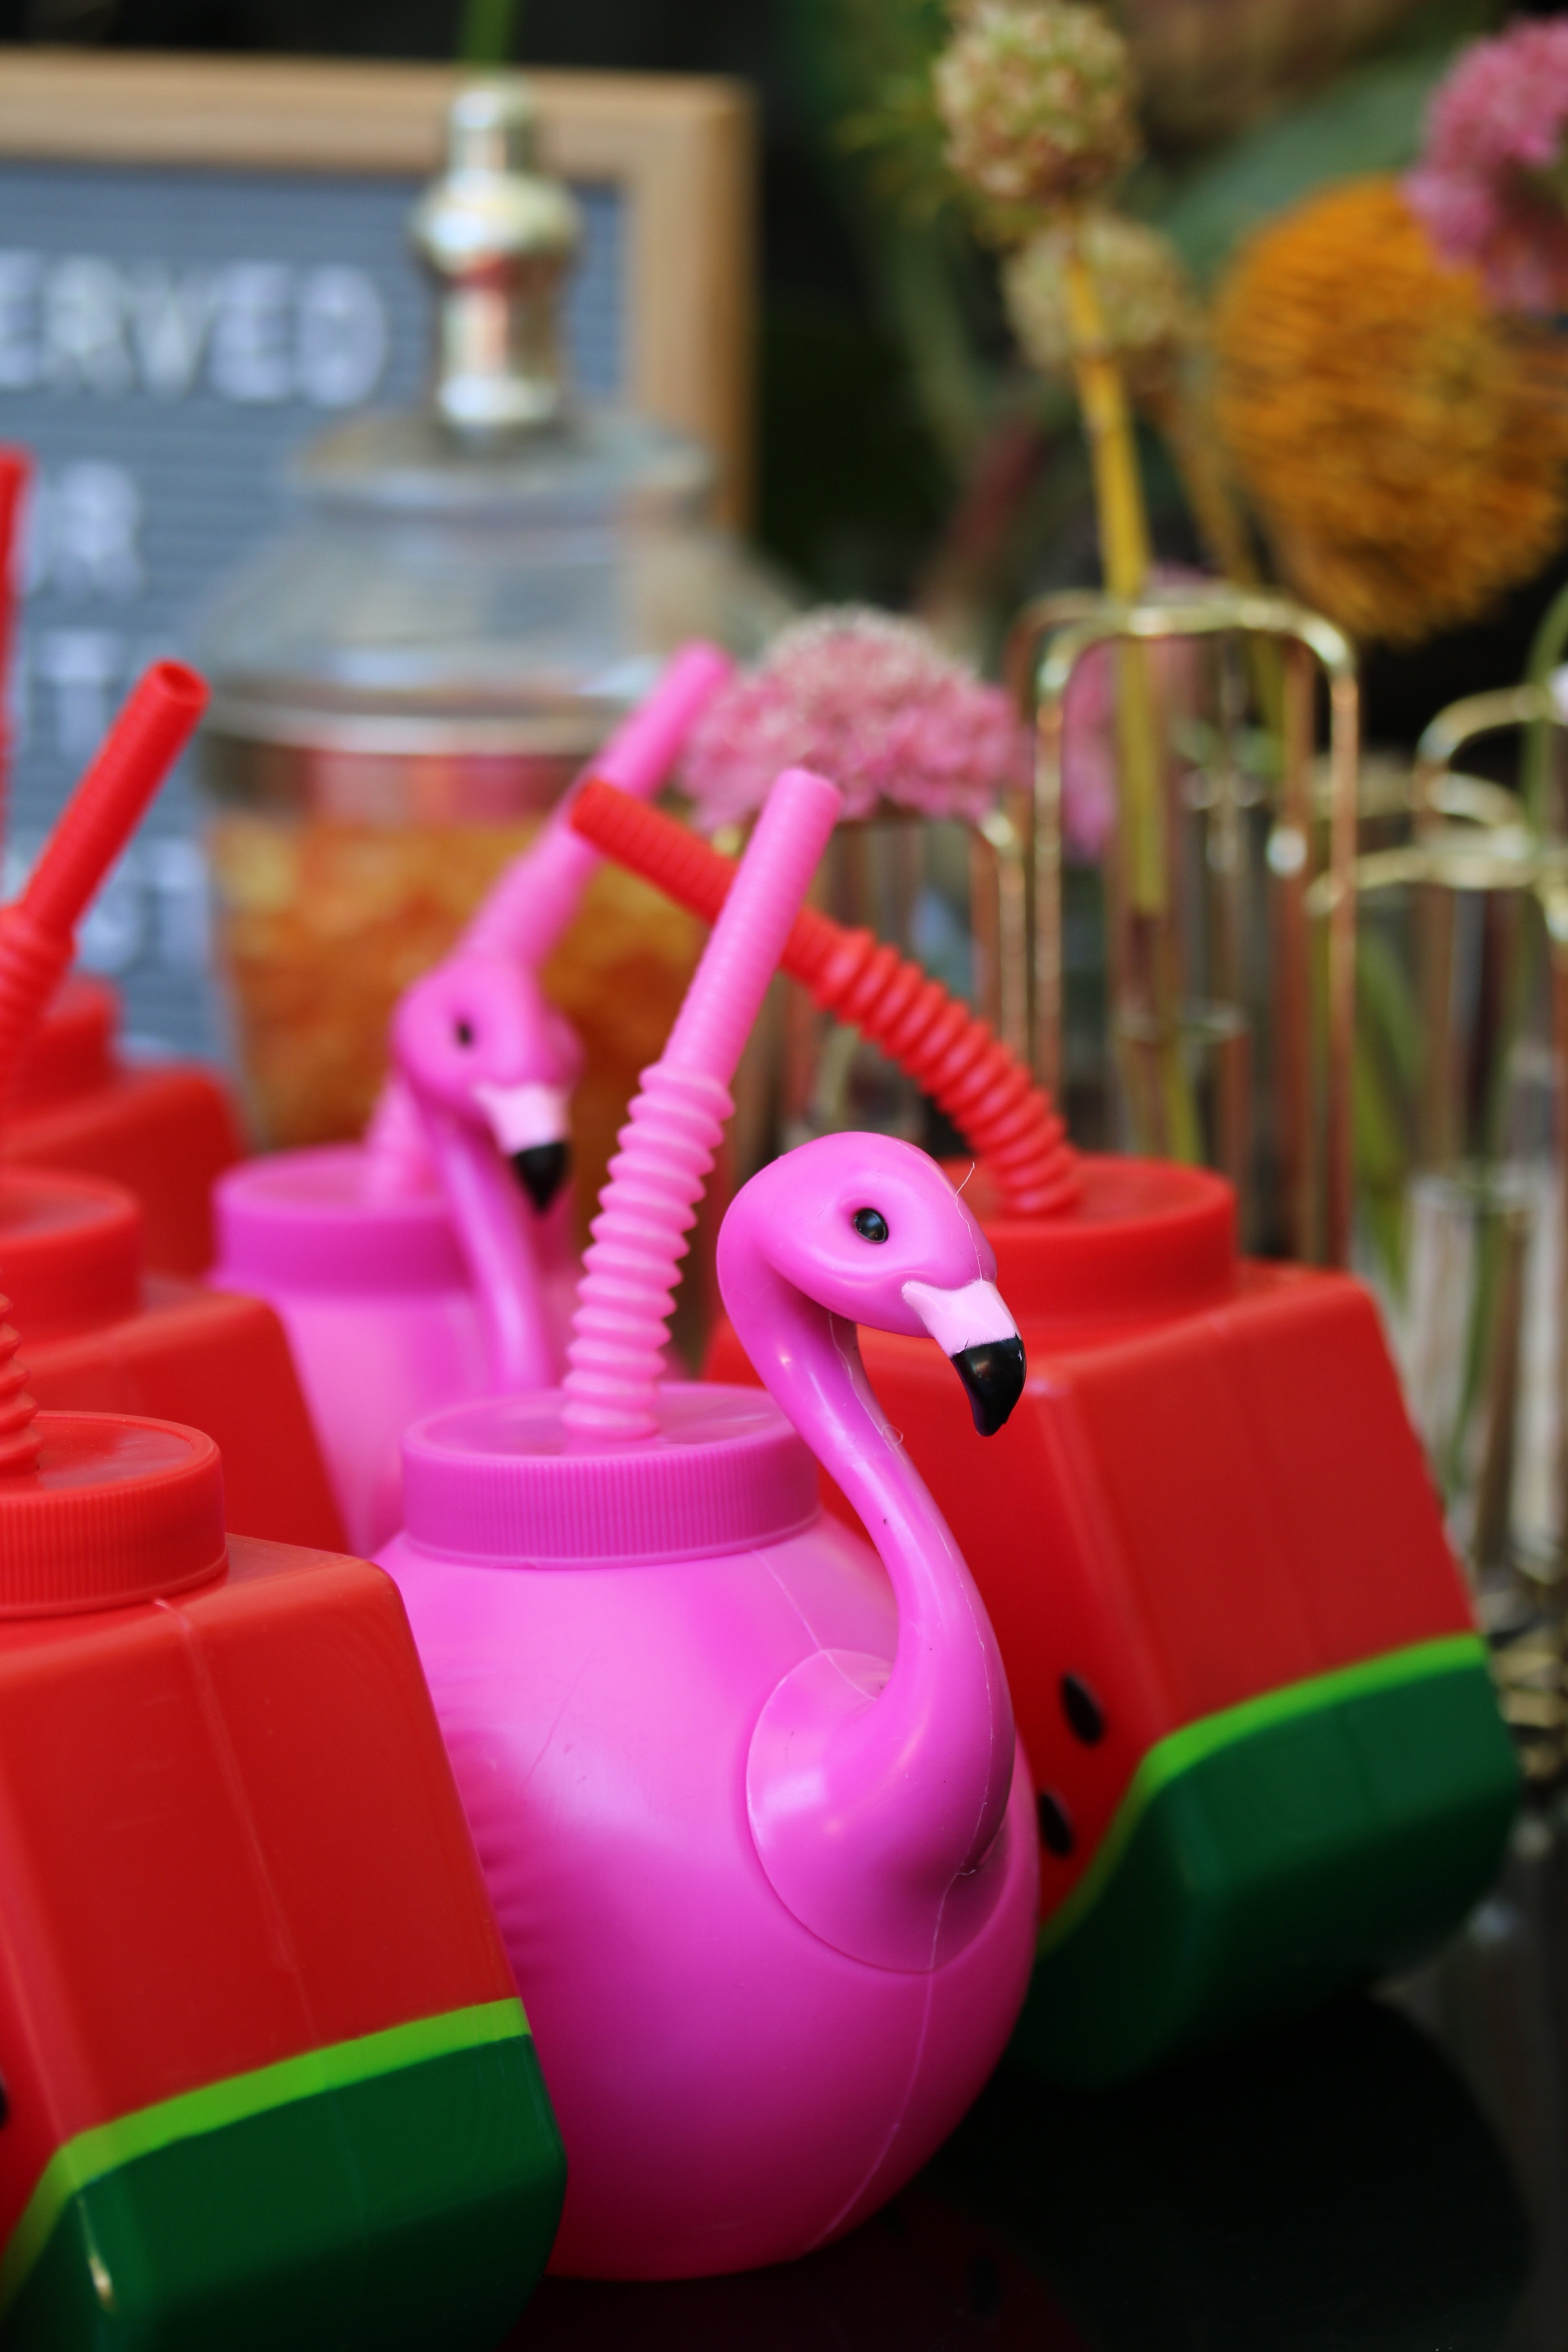
Adult sippy cups featuring flamingos and watermelon provided a playful touch and doubled as party favors.

IMG_5611.JPG

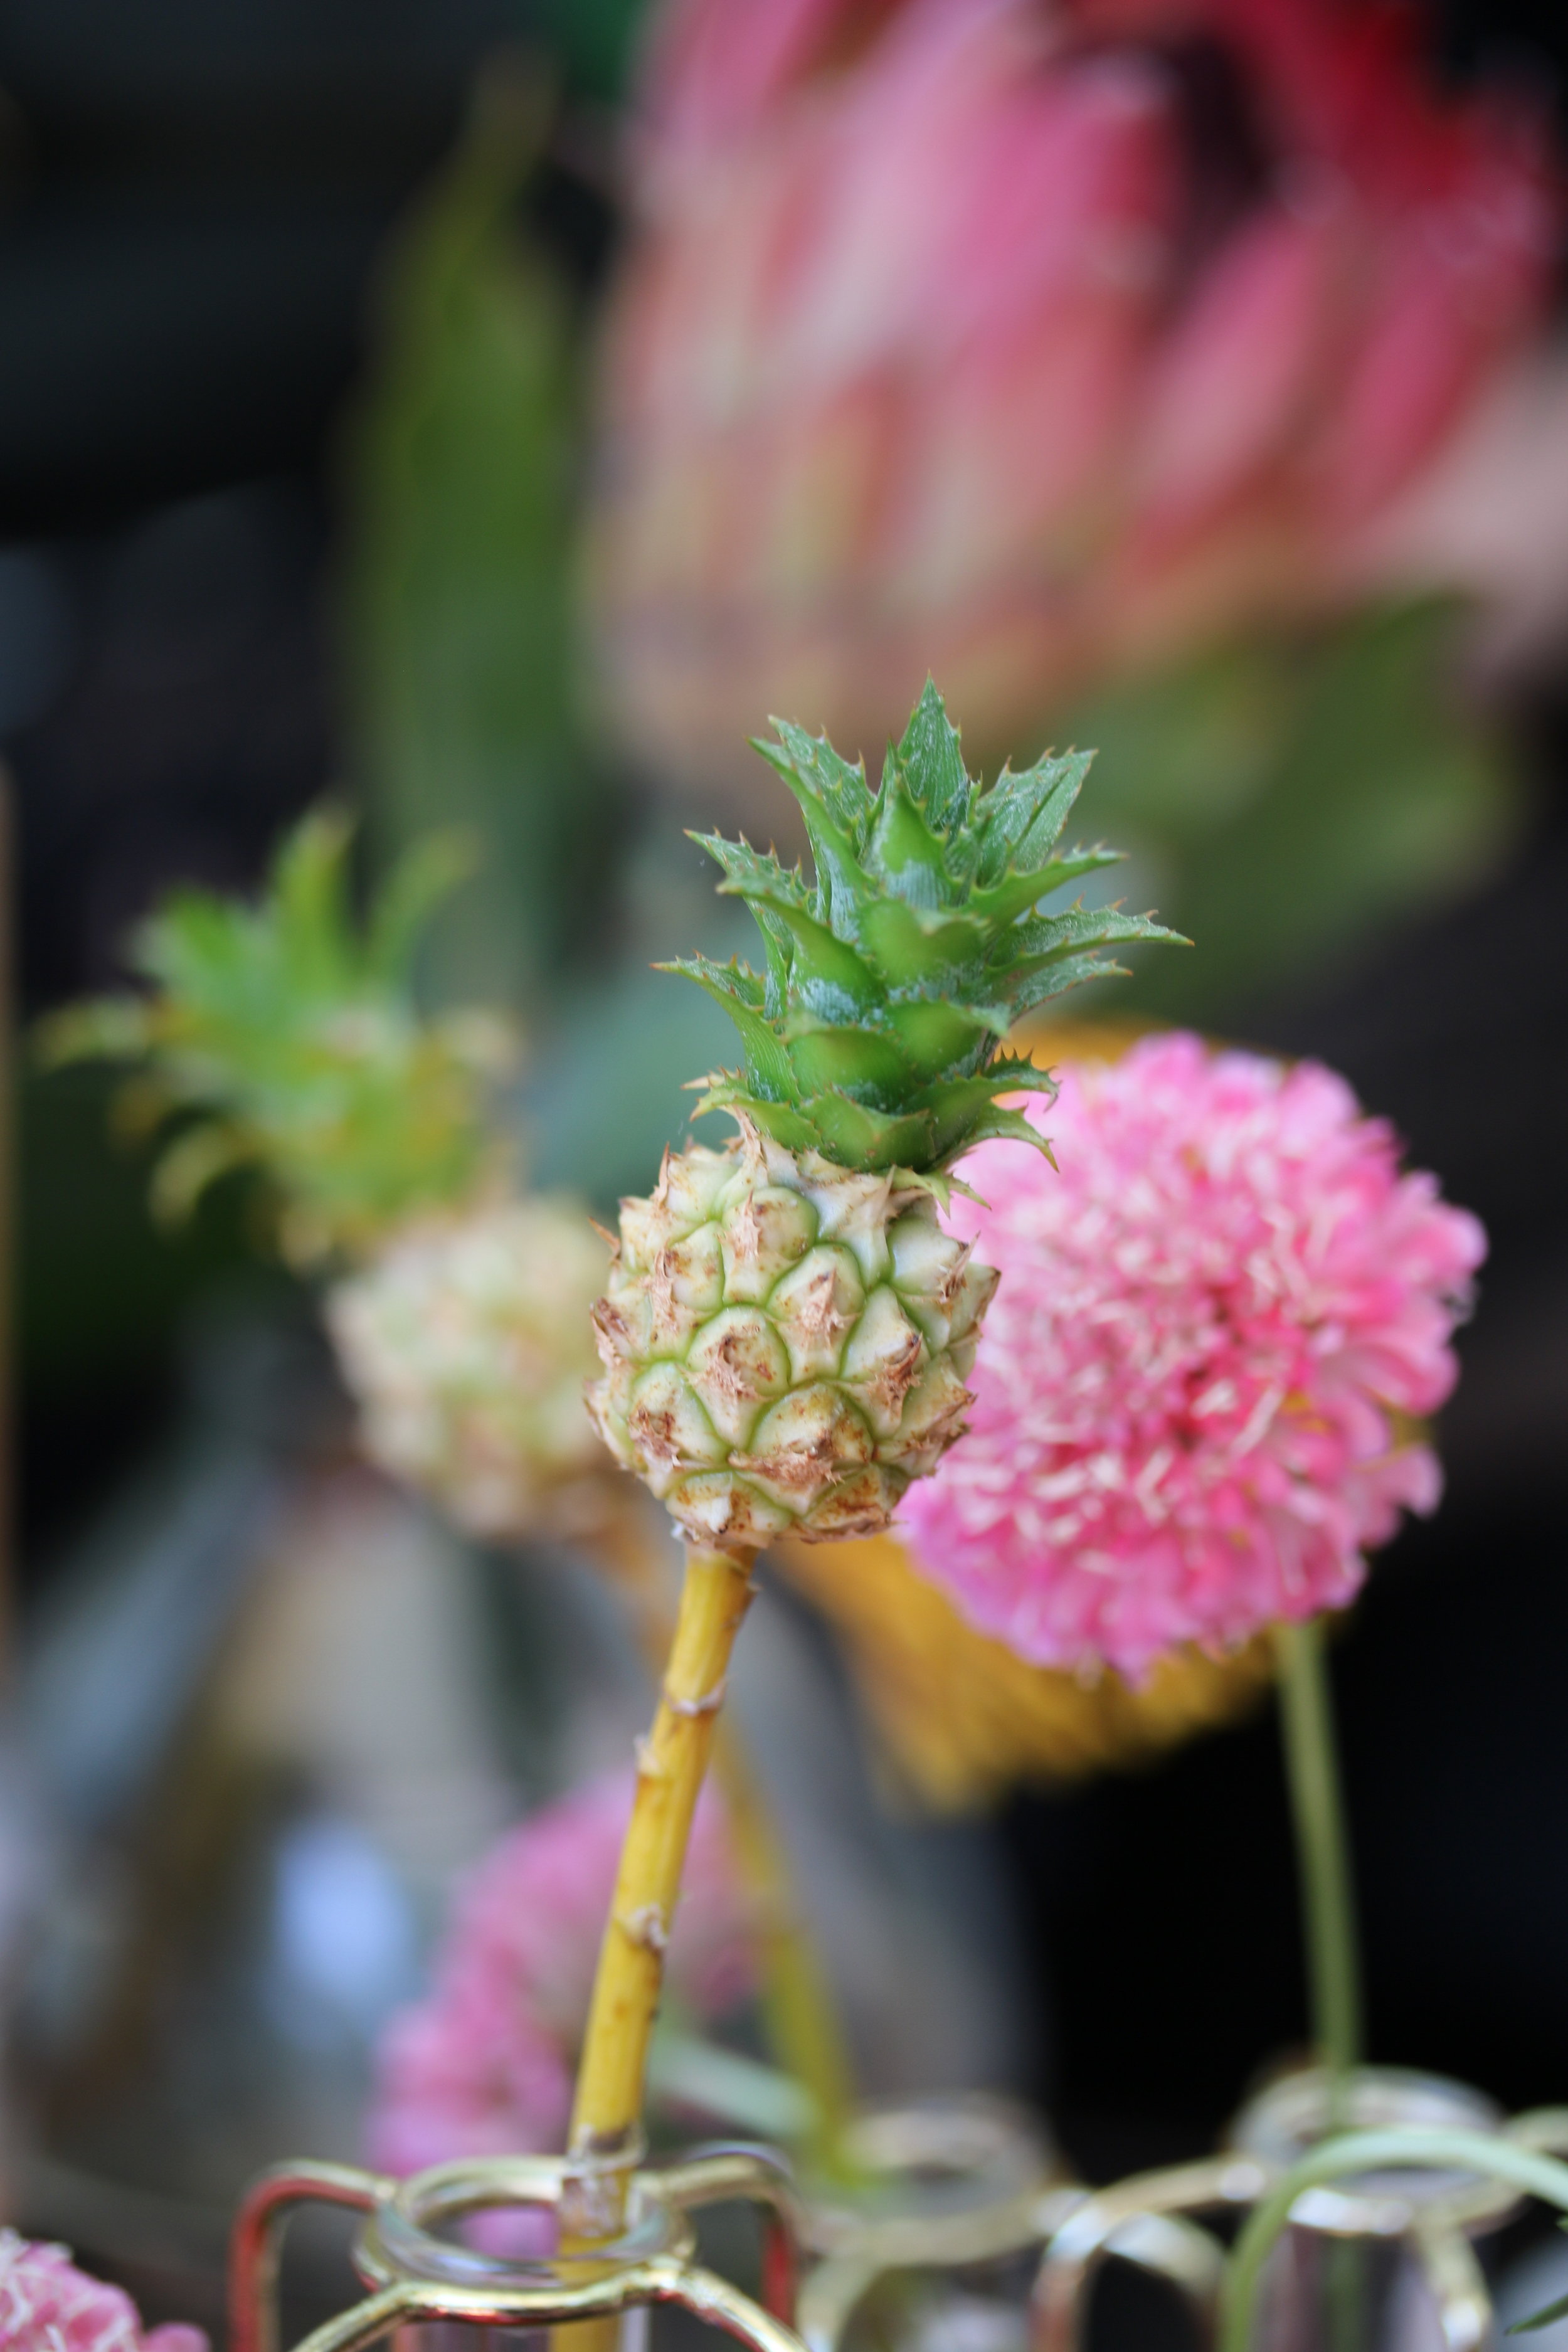
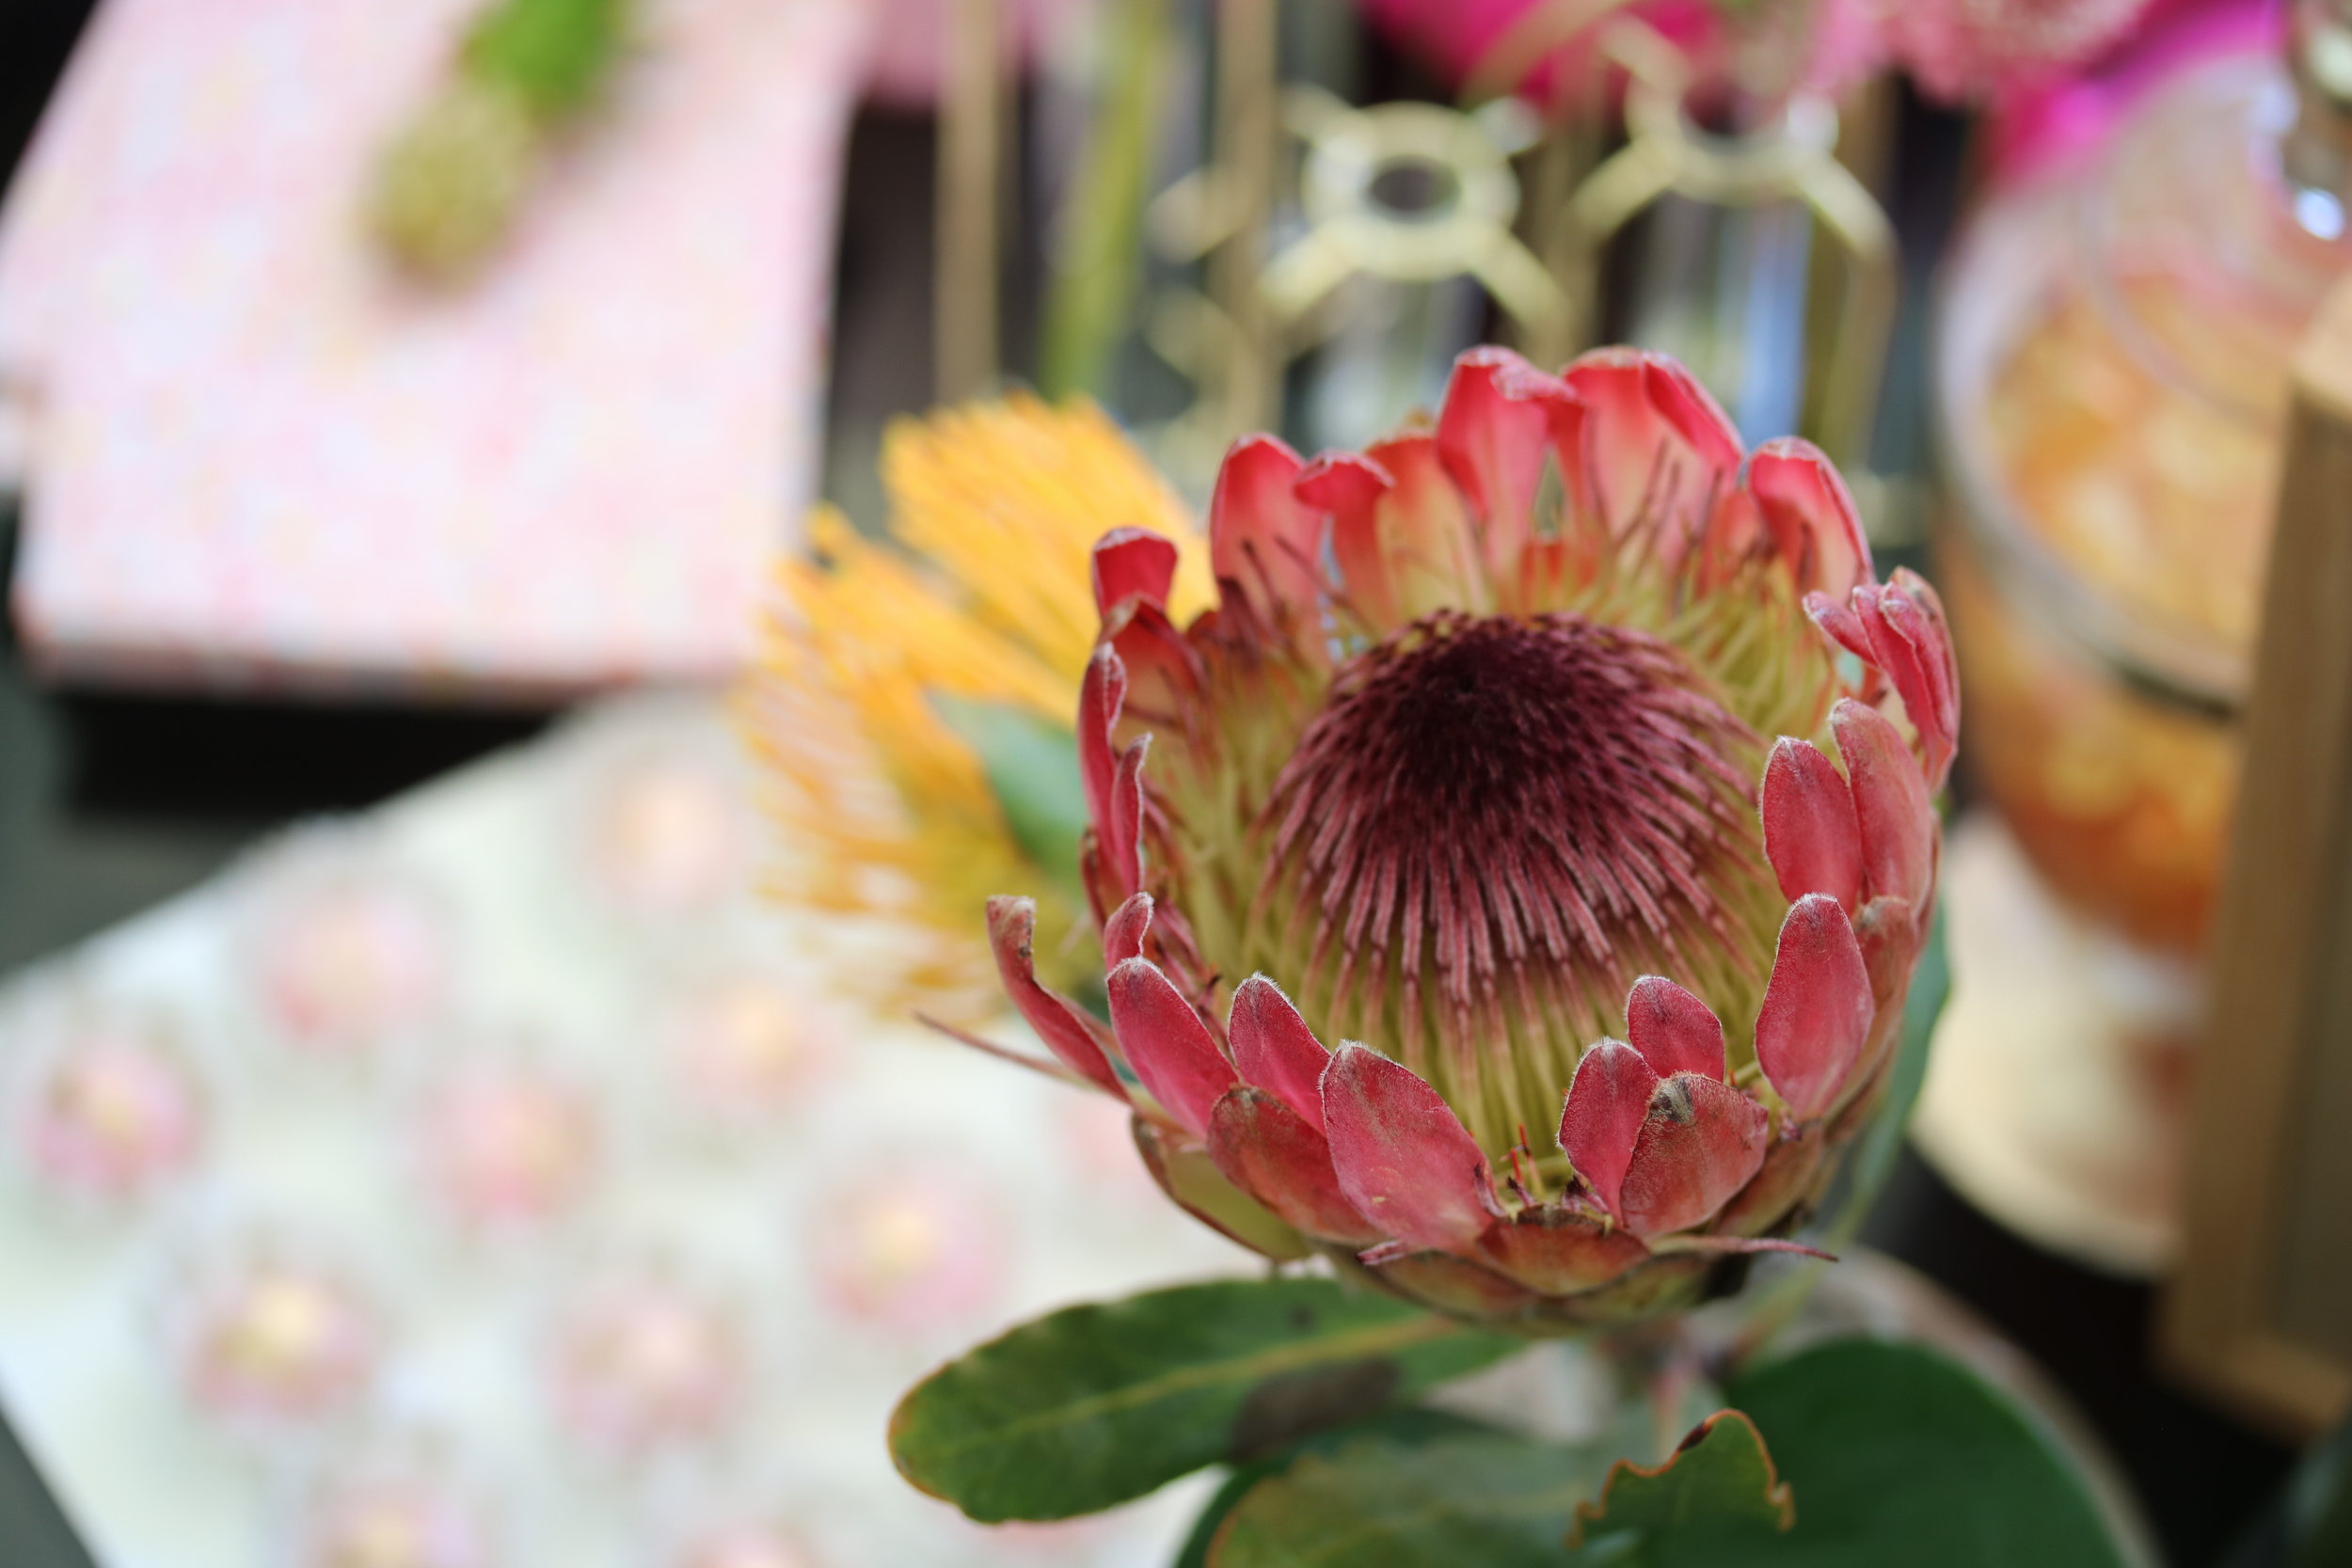
For the tropical florals I met up with my friend, Drew of Rogue & Fox Floral Co the day prior at the LA Flower Mart to get the adorable mini pineapples, flamingo lily, scabiosas, pincushions, dahlias, David Austin roses and a "Queen" protea in the rose gold, coral pink color palette. 

IMG_5603.JPG

Even if you don't have access to a huge flower mart, check with your local florist to see what exotic florals they carry. I've even seen amazing range at my grocery store depending on the season. I really love the texture these florals bring to the space!  I also made sure to pack a vase to arrange all of the flowers to give to Faith after the party.

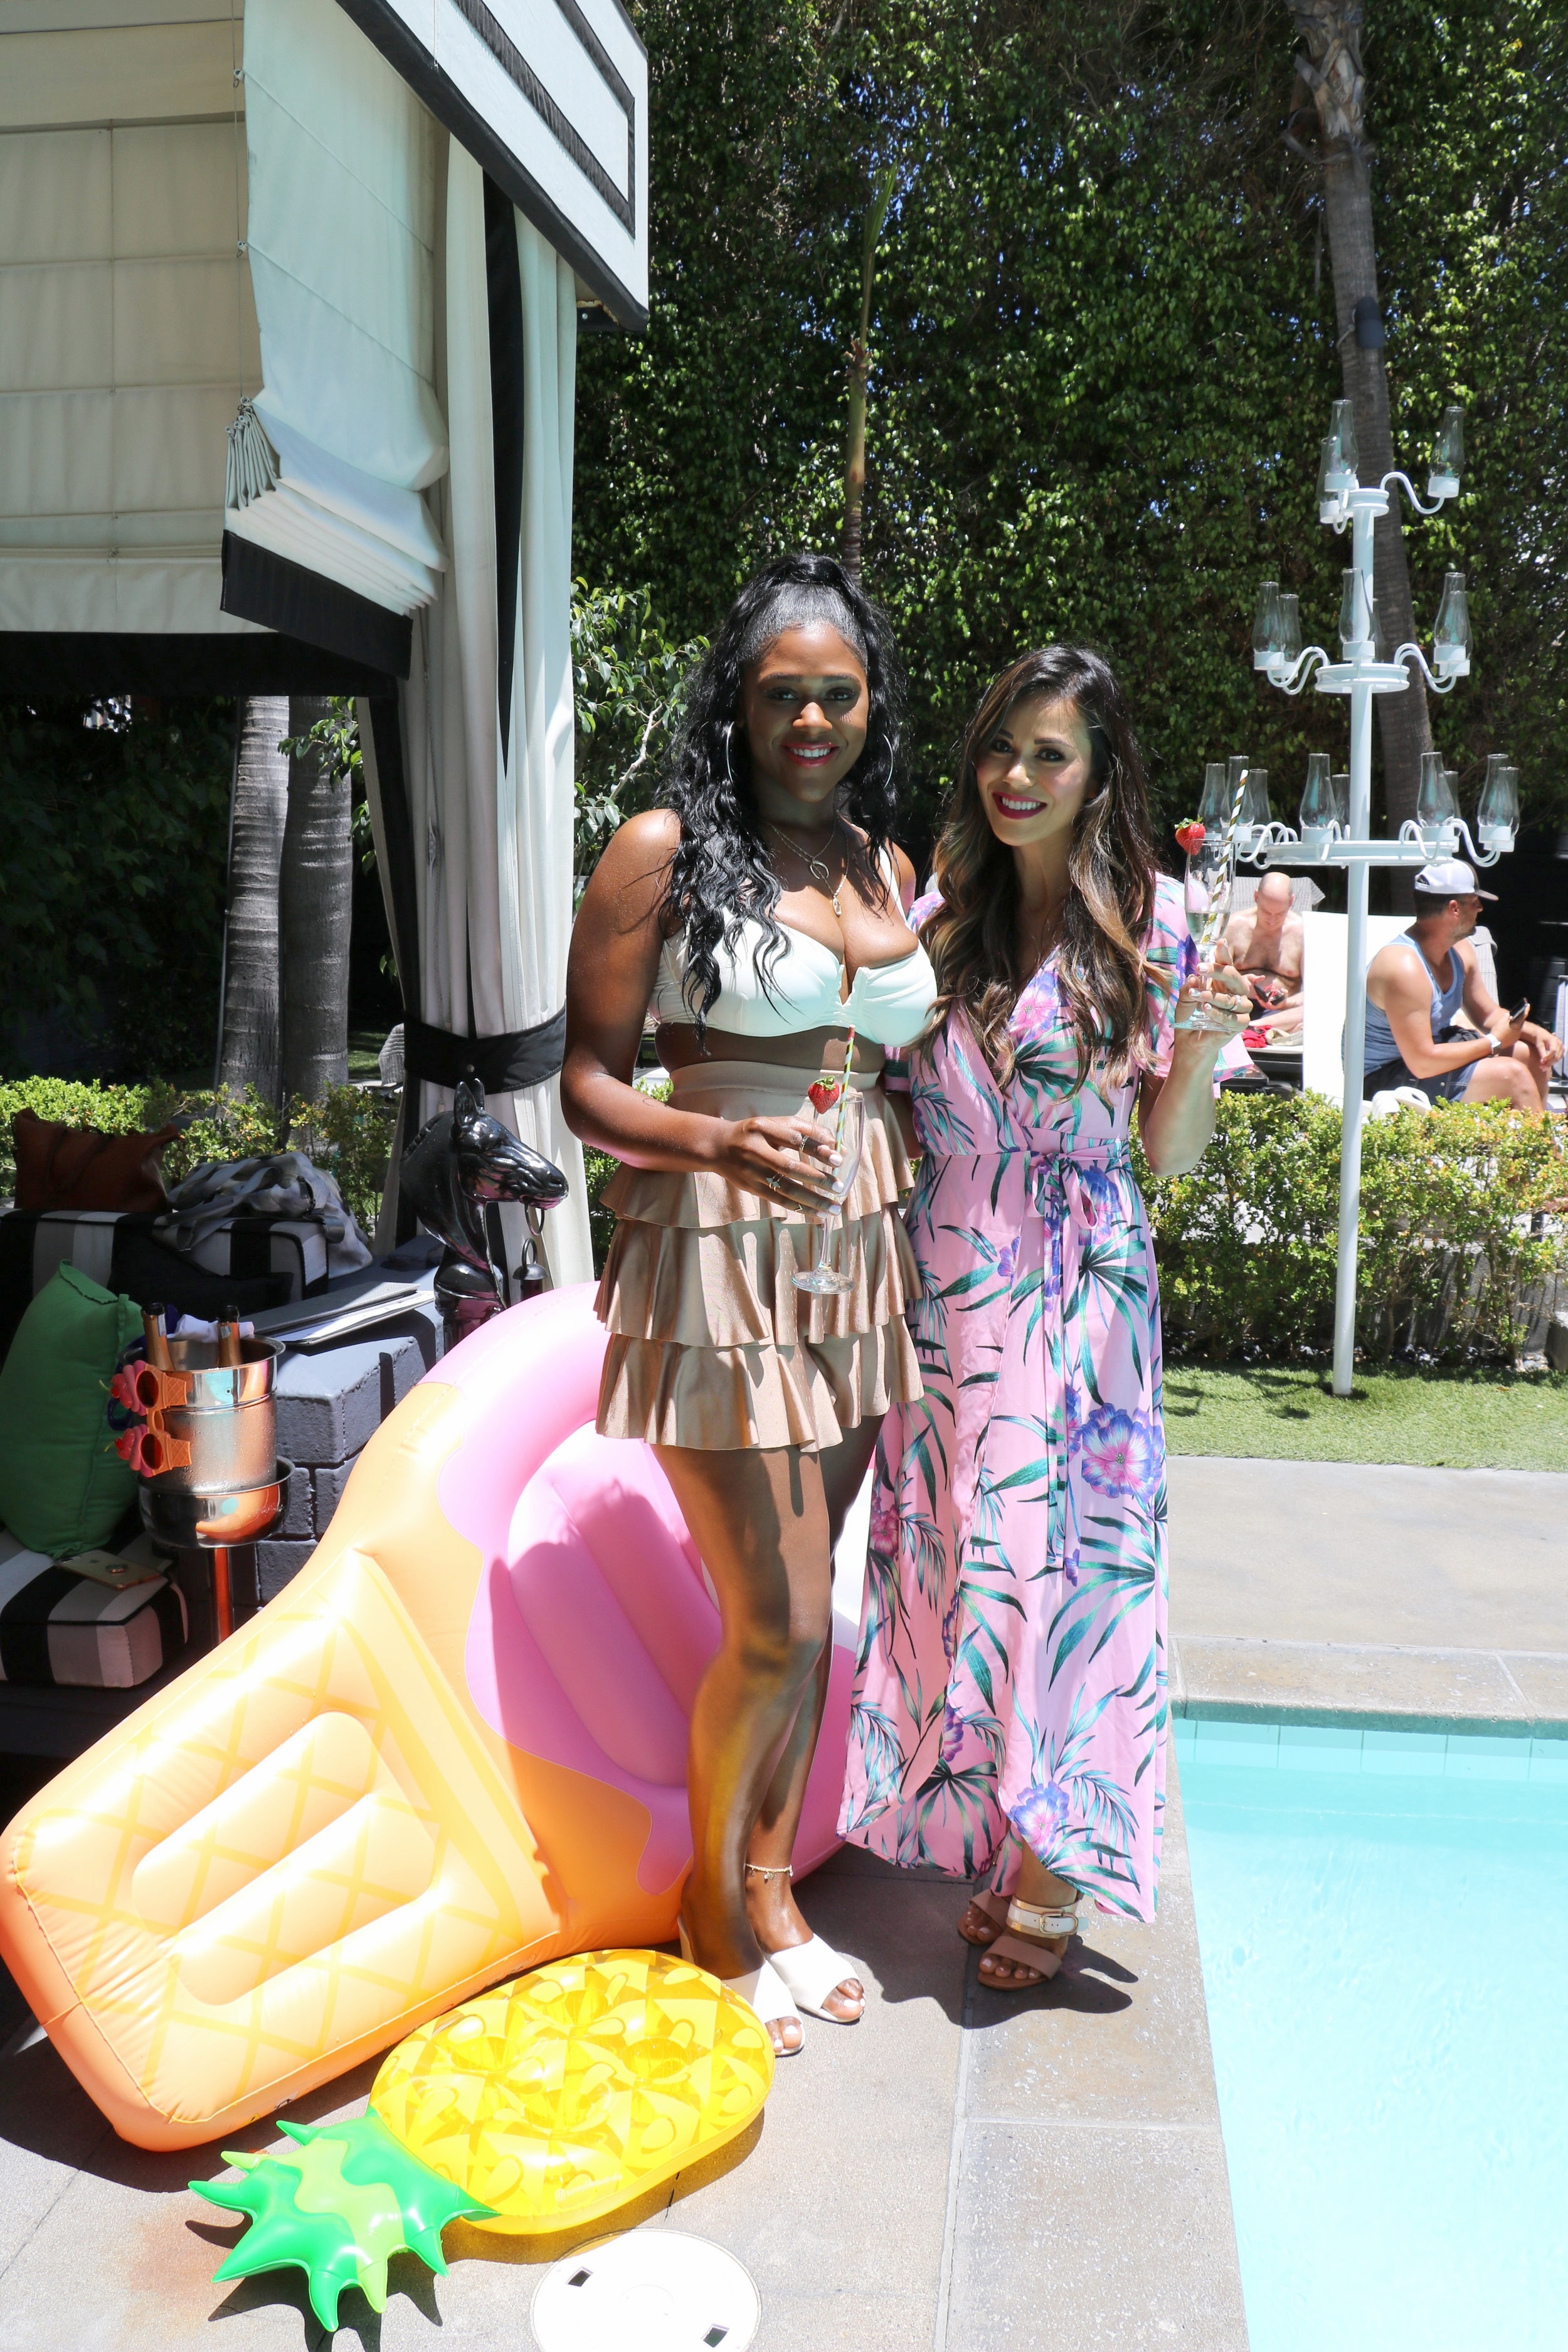
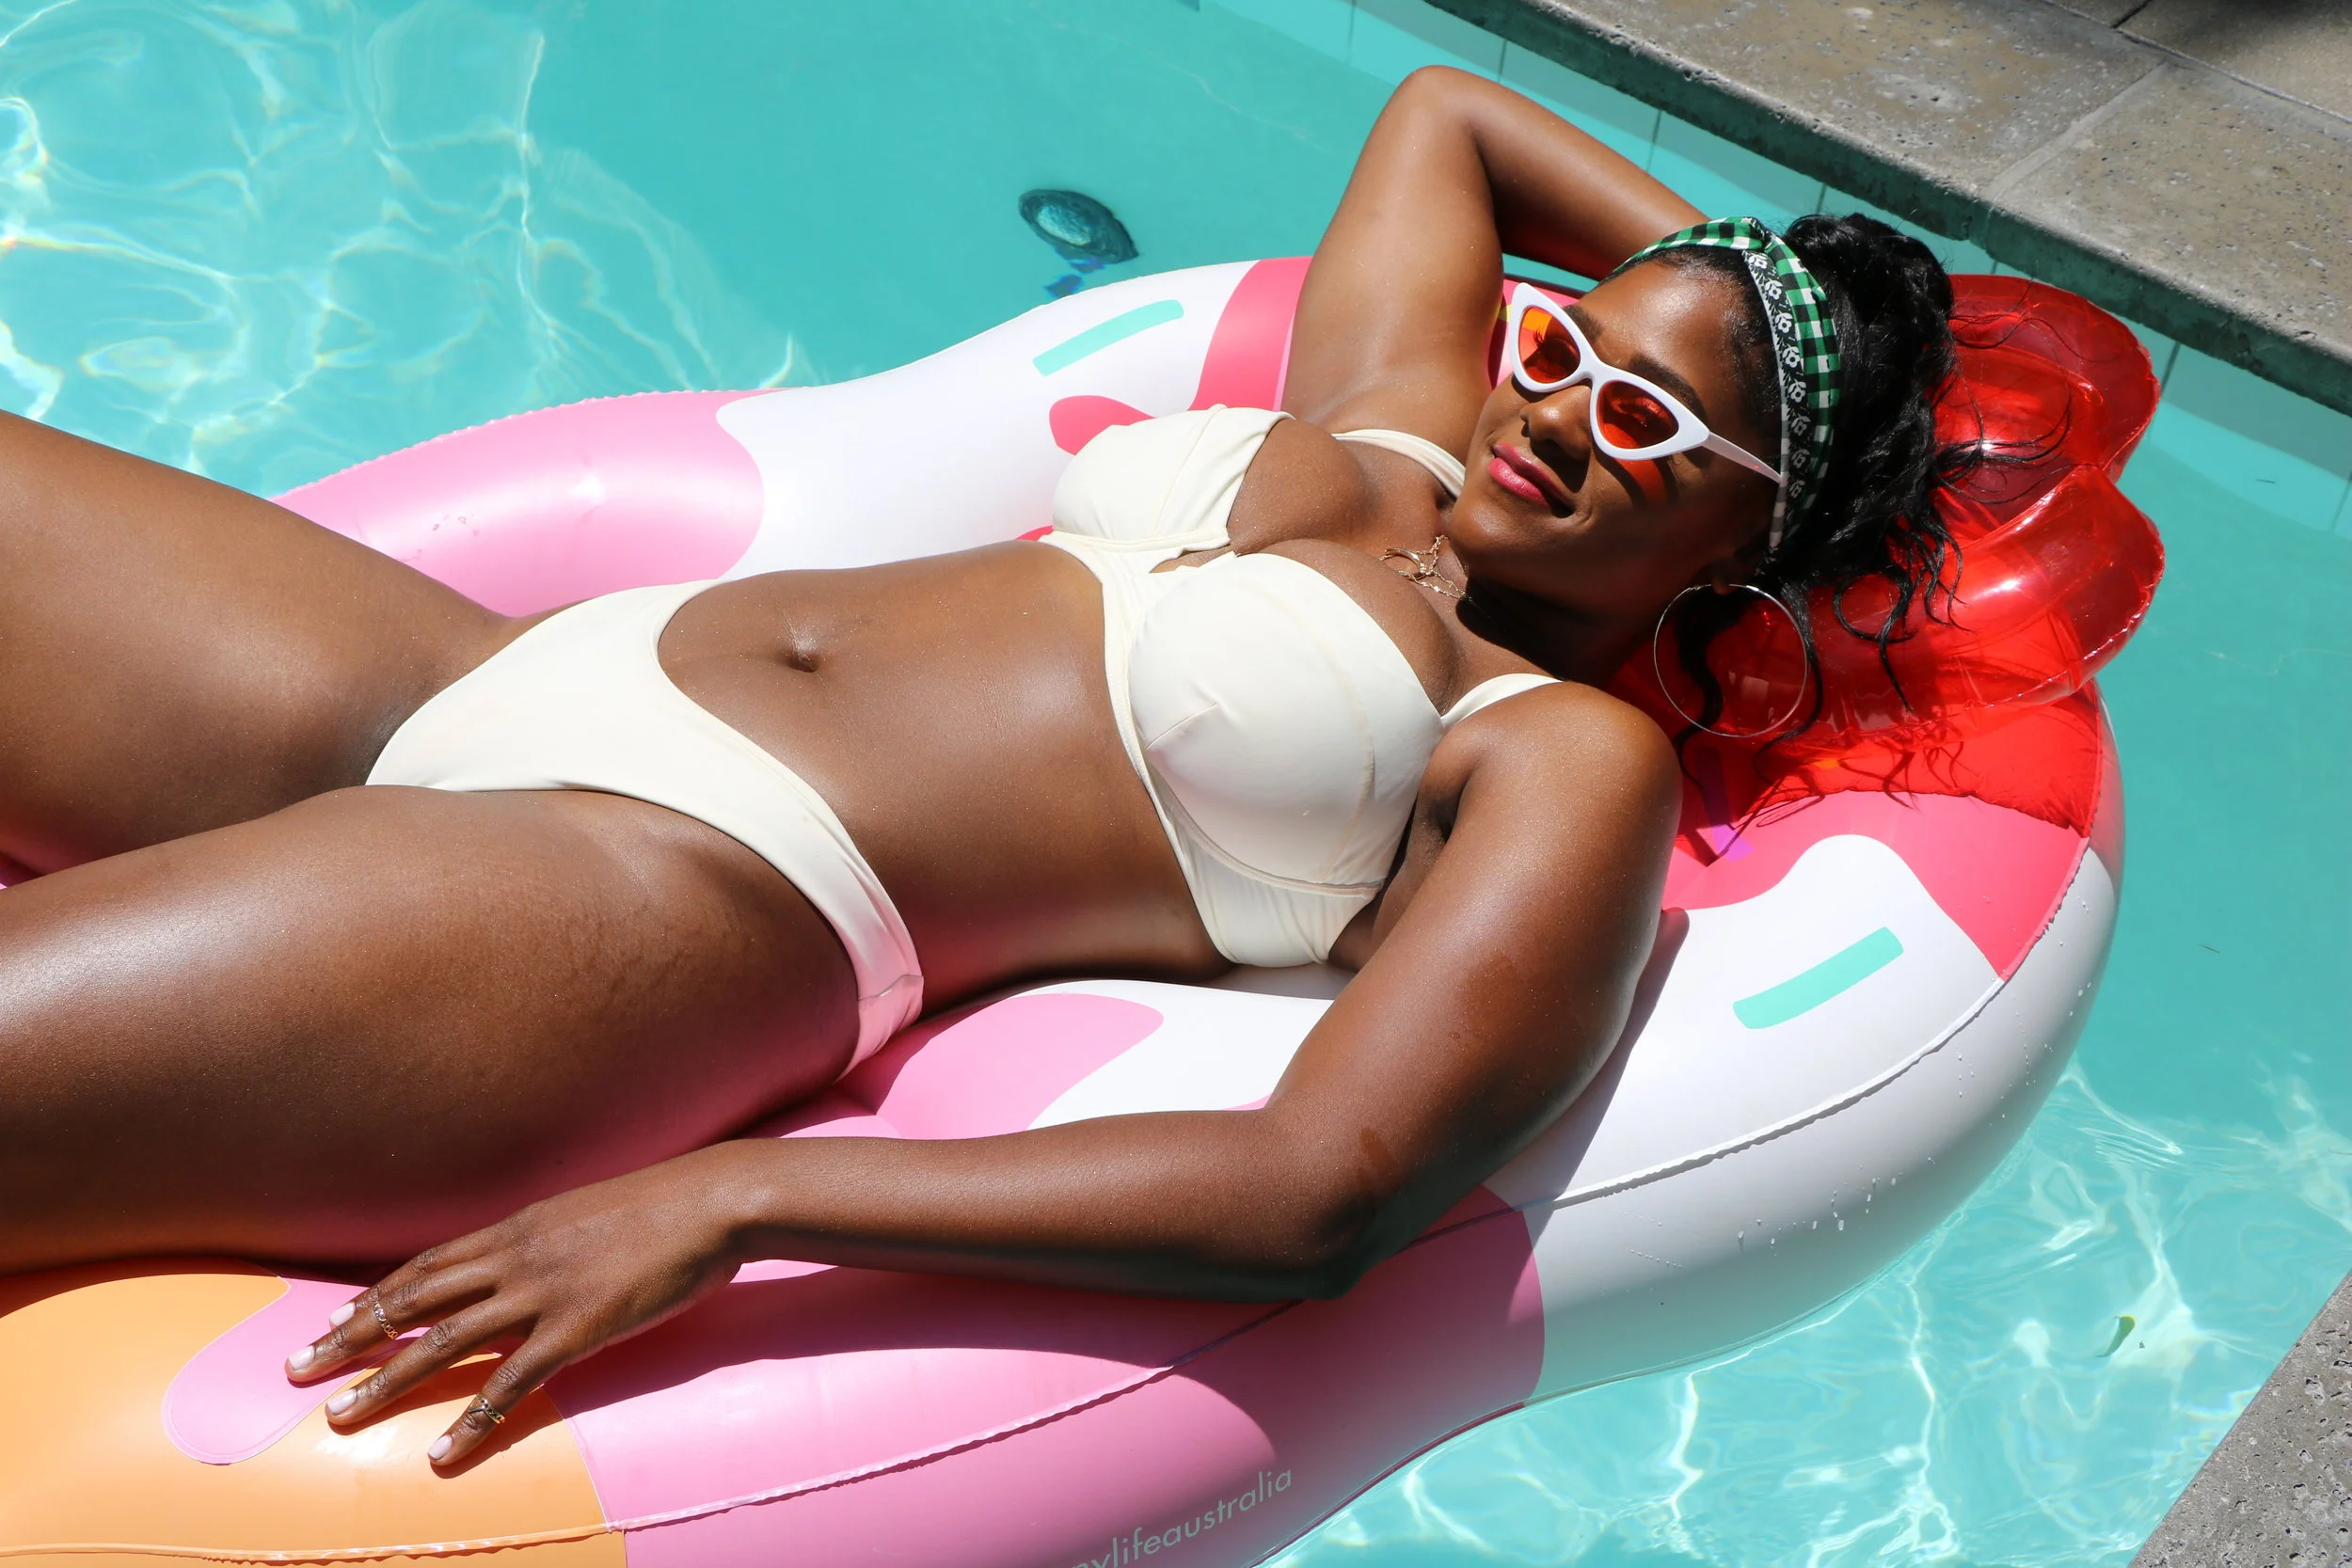
Hosting an insta-worthy party is EVERYTHING and having a larger than life float is key at any pool party. I love this oversized ice cream cone from Sunnylife where everyone snapped pics for the gram.  And how bombastic does our birthday babe look on this? 

IMG_5645.JPG

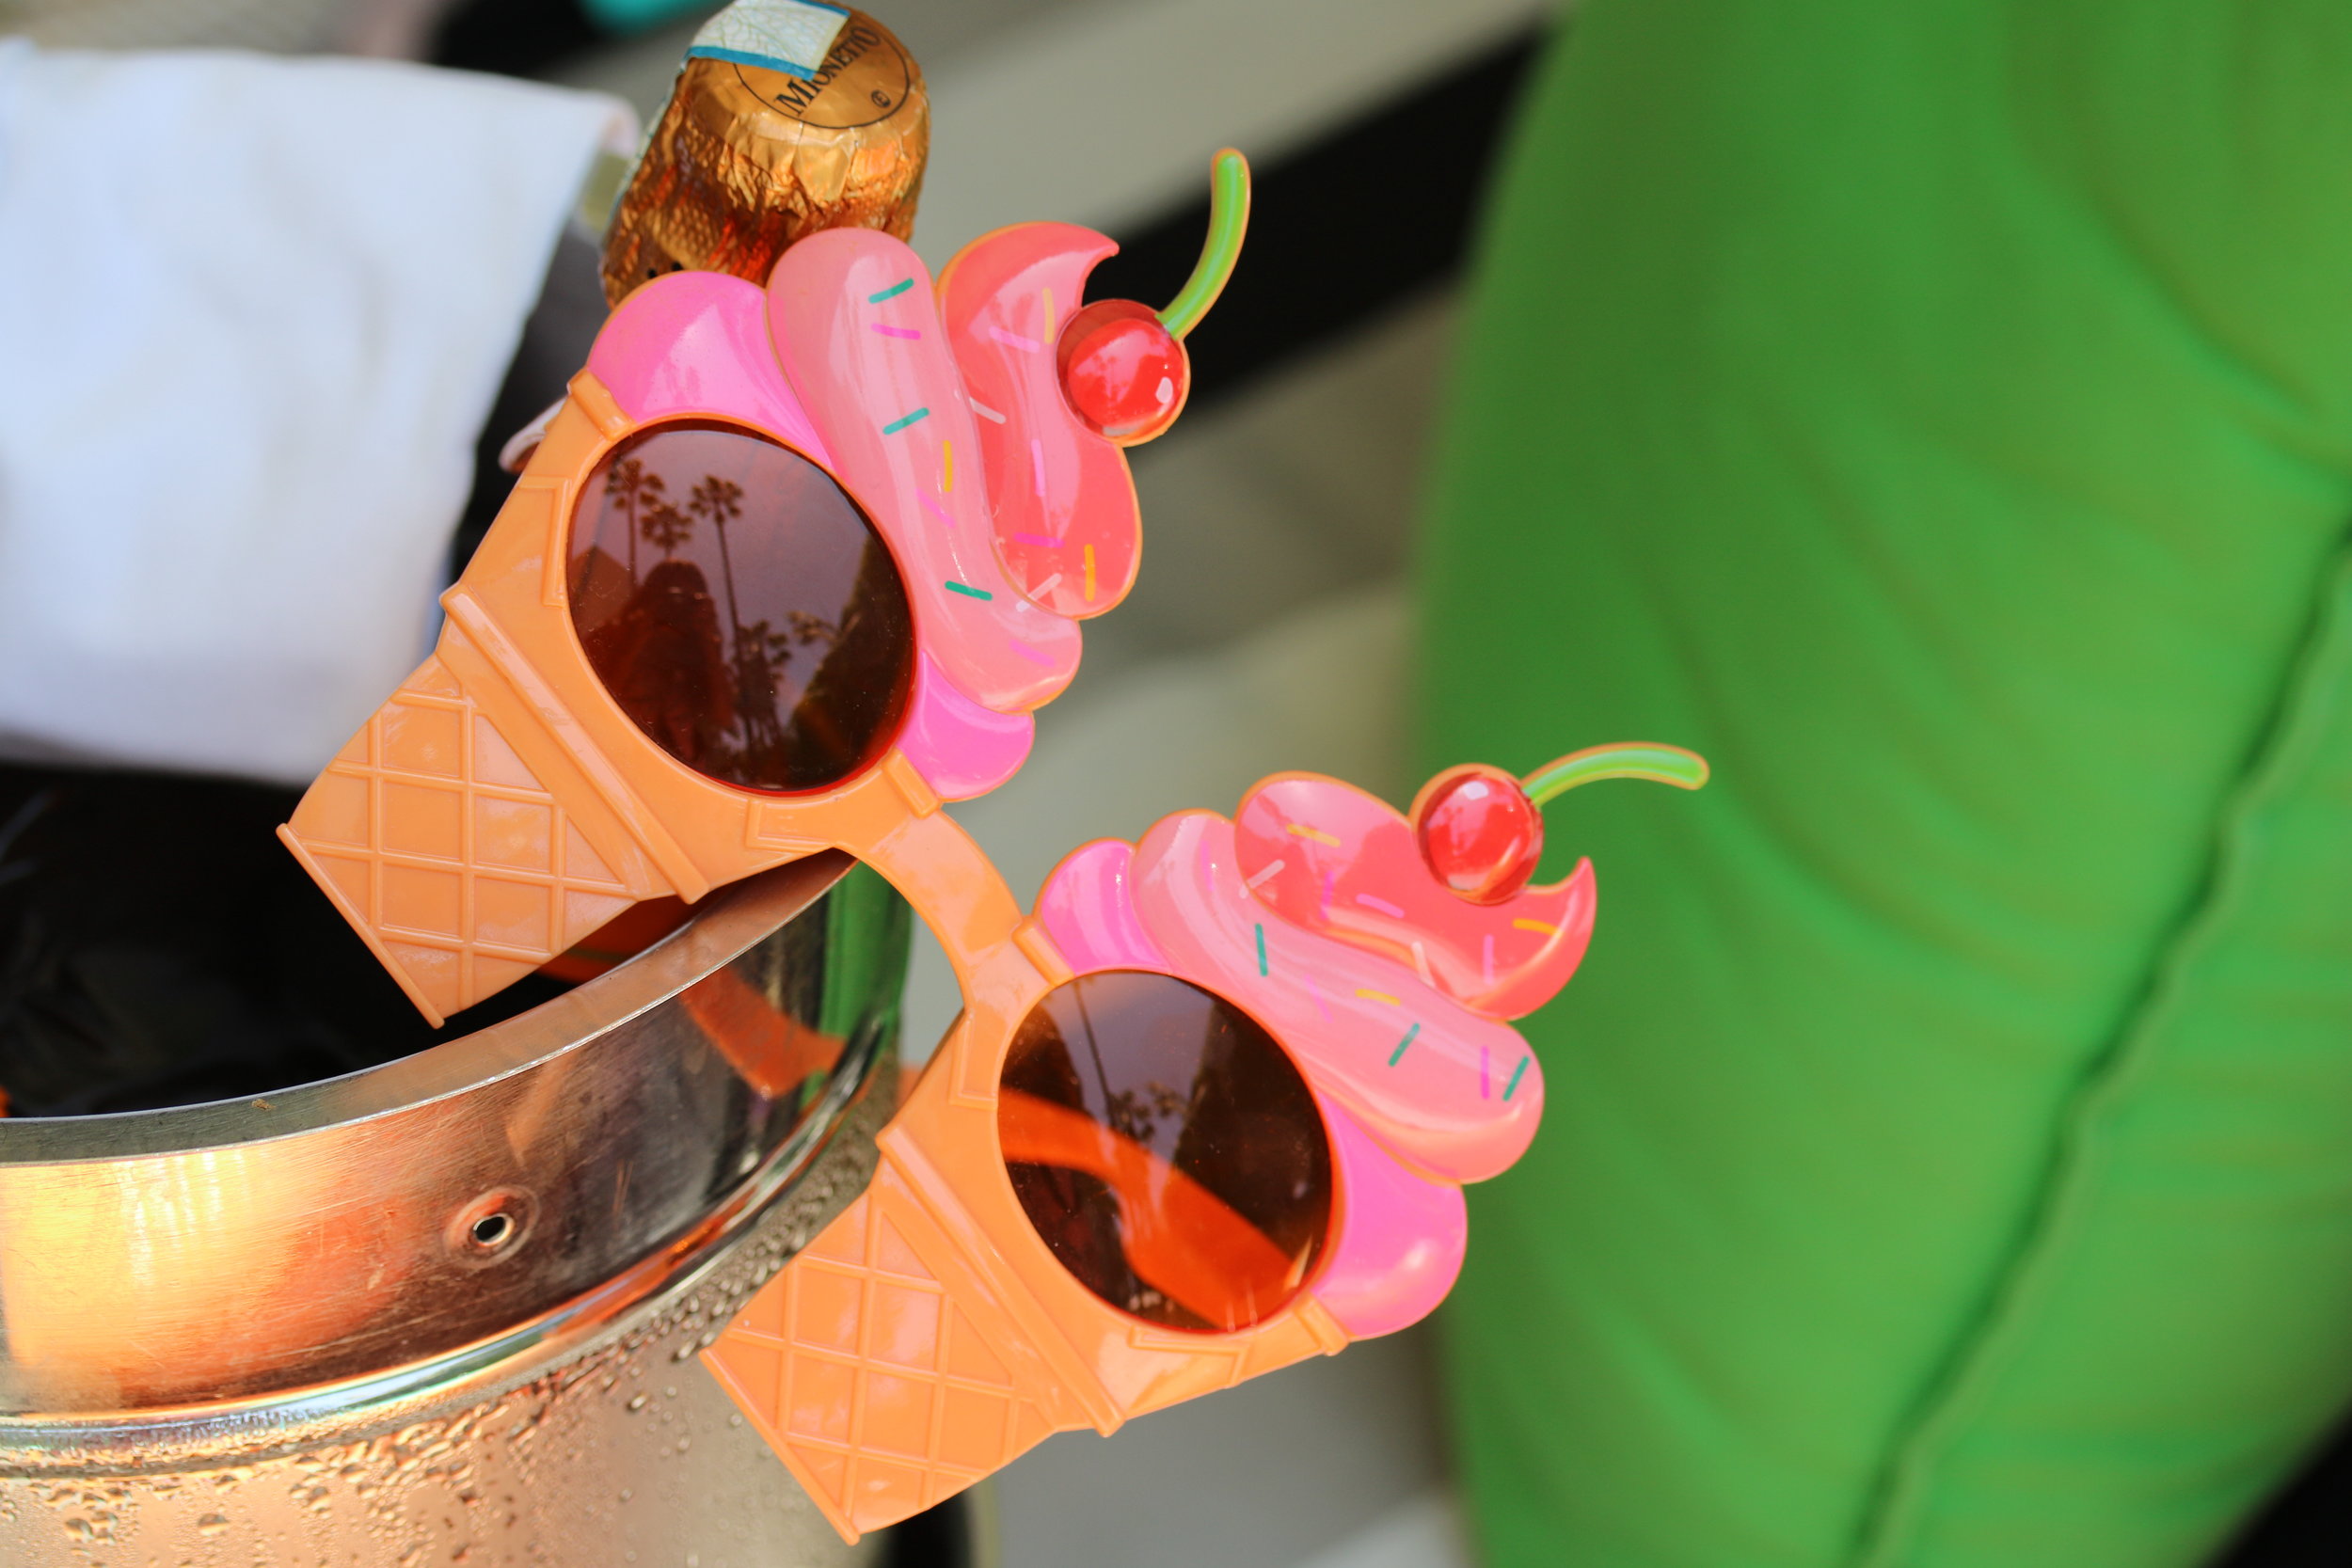
Anytime I host a party I like to have a few bottles of bubbles on ice so guests can be greeted with a drink as everyone arrives.  As soon as our birthday girl got there, we kicked the afternoon off with a celebratory toast! And because the craft cocktails at Viceroy are so amazing, we opted for a few carafes of their jalapeño pineapple infused tequila cocktails. They were the perfect mix of sweet and spicy and so refreshing on a warm day. 

IMG_5695.JPG

After some delicious bites, (the cauliflower tempera and truffle fries were a huge hit) we sang Happy Birthday and satisfied our sweet tooth with homemade birthday cake cupcakes by yours truly.  Covered in amazing Sweetapolita Sprinkles and decorated with cookie dough gems (recipe post to come-I promise!) Faith's featured a rose gold cake topper by Glam Banners.  

IMG_5691.JPG

The entire afternoon was flawless.  Good friends, great vibe and a gorgeous day. I remember looking around and no one was on their phone, everyone was in or around the pool lounging, listening and laughing with each other. It was such a memorable birthday party.  To see more pics of this chic and tropical Young AF party scroll down! 

IMG_5670.JPG

Let me know what you think in the comments! Do you have any other theme ideas for 30th birthday parties? I'd love to hear them!

Patriotic Oreo Cheesecake Bars
IMG_8615.JPG
4th of july.jpeg

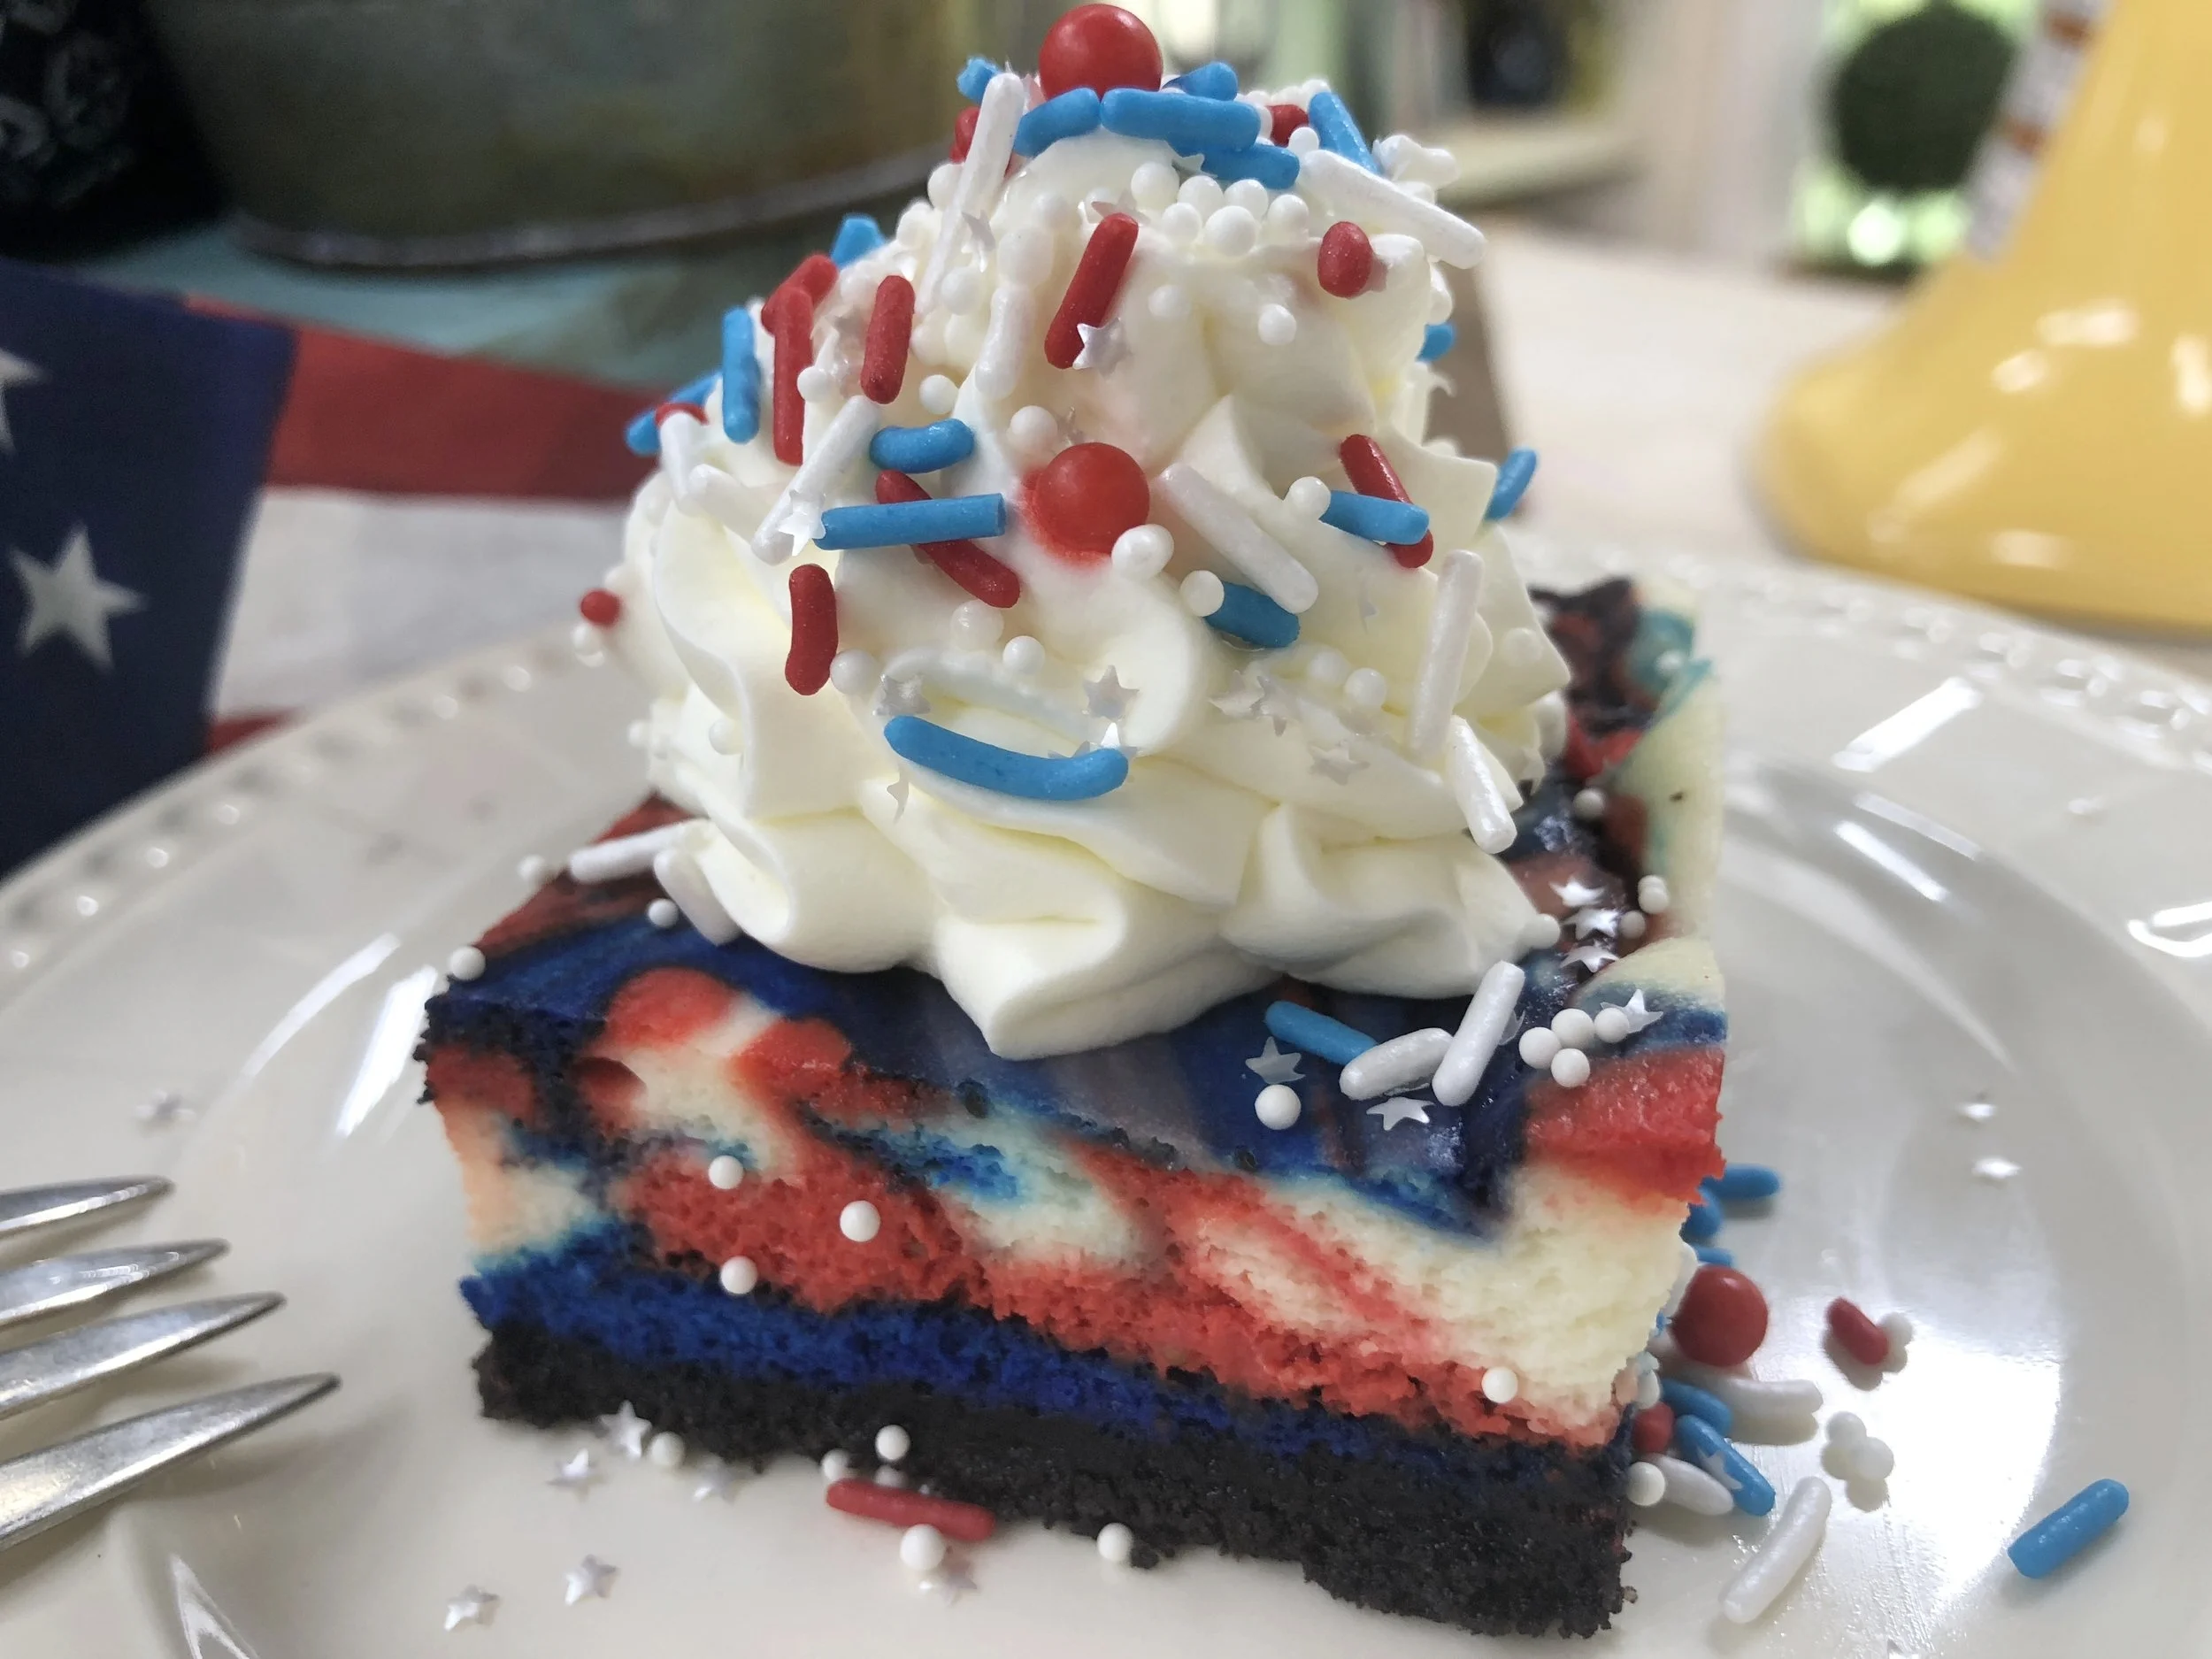
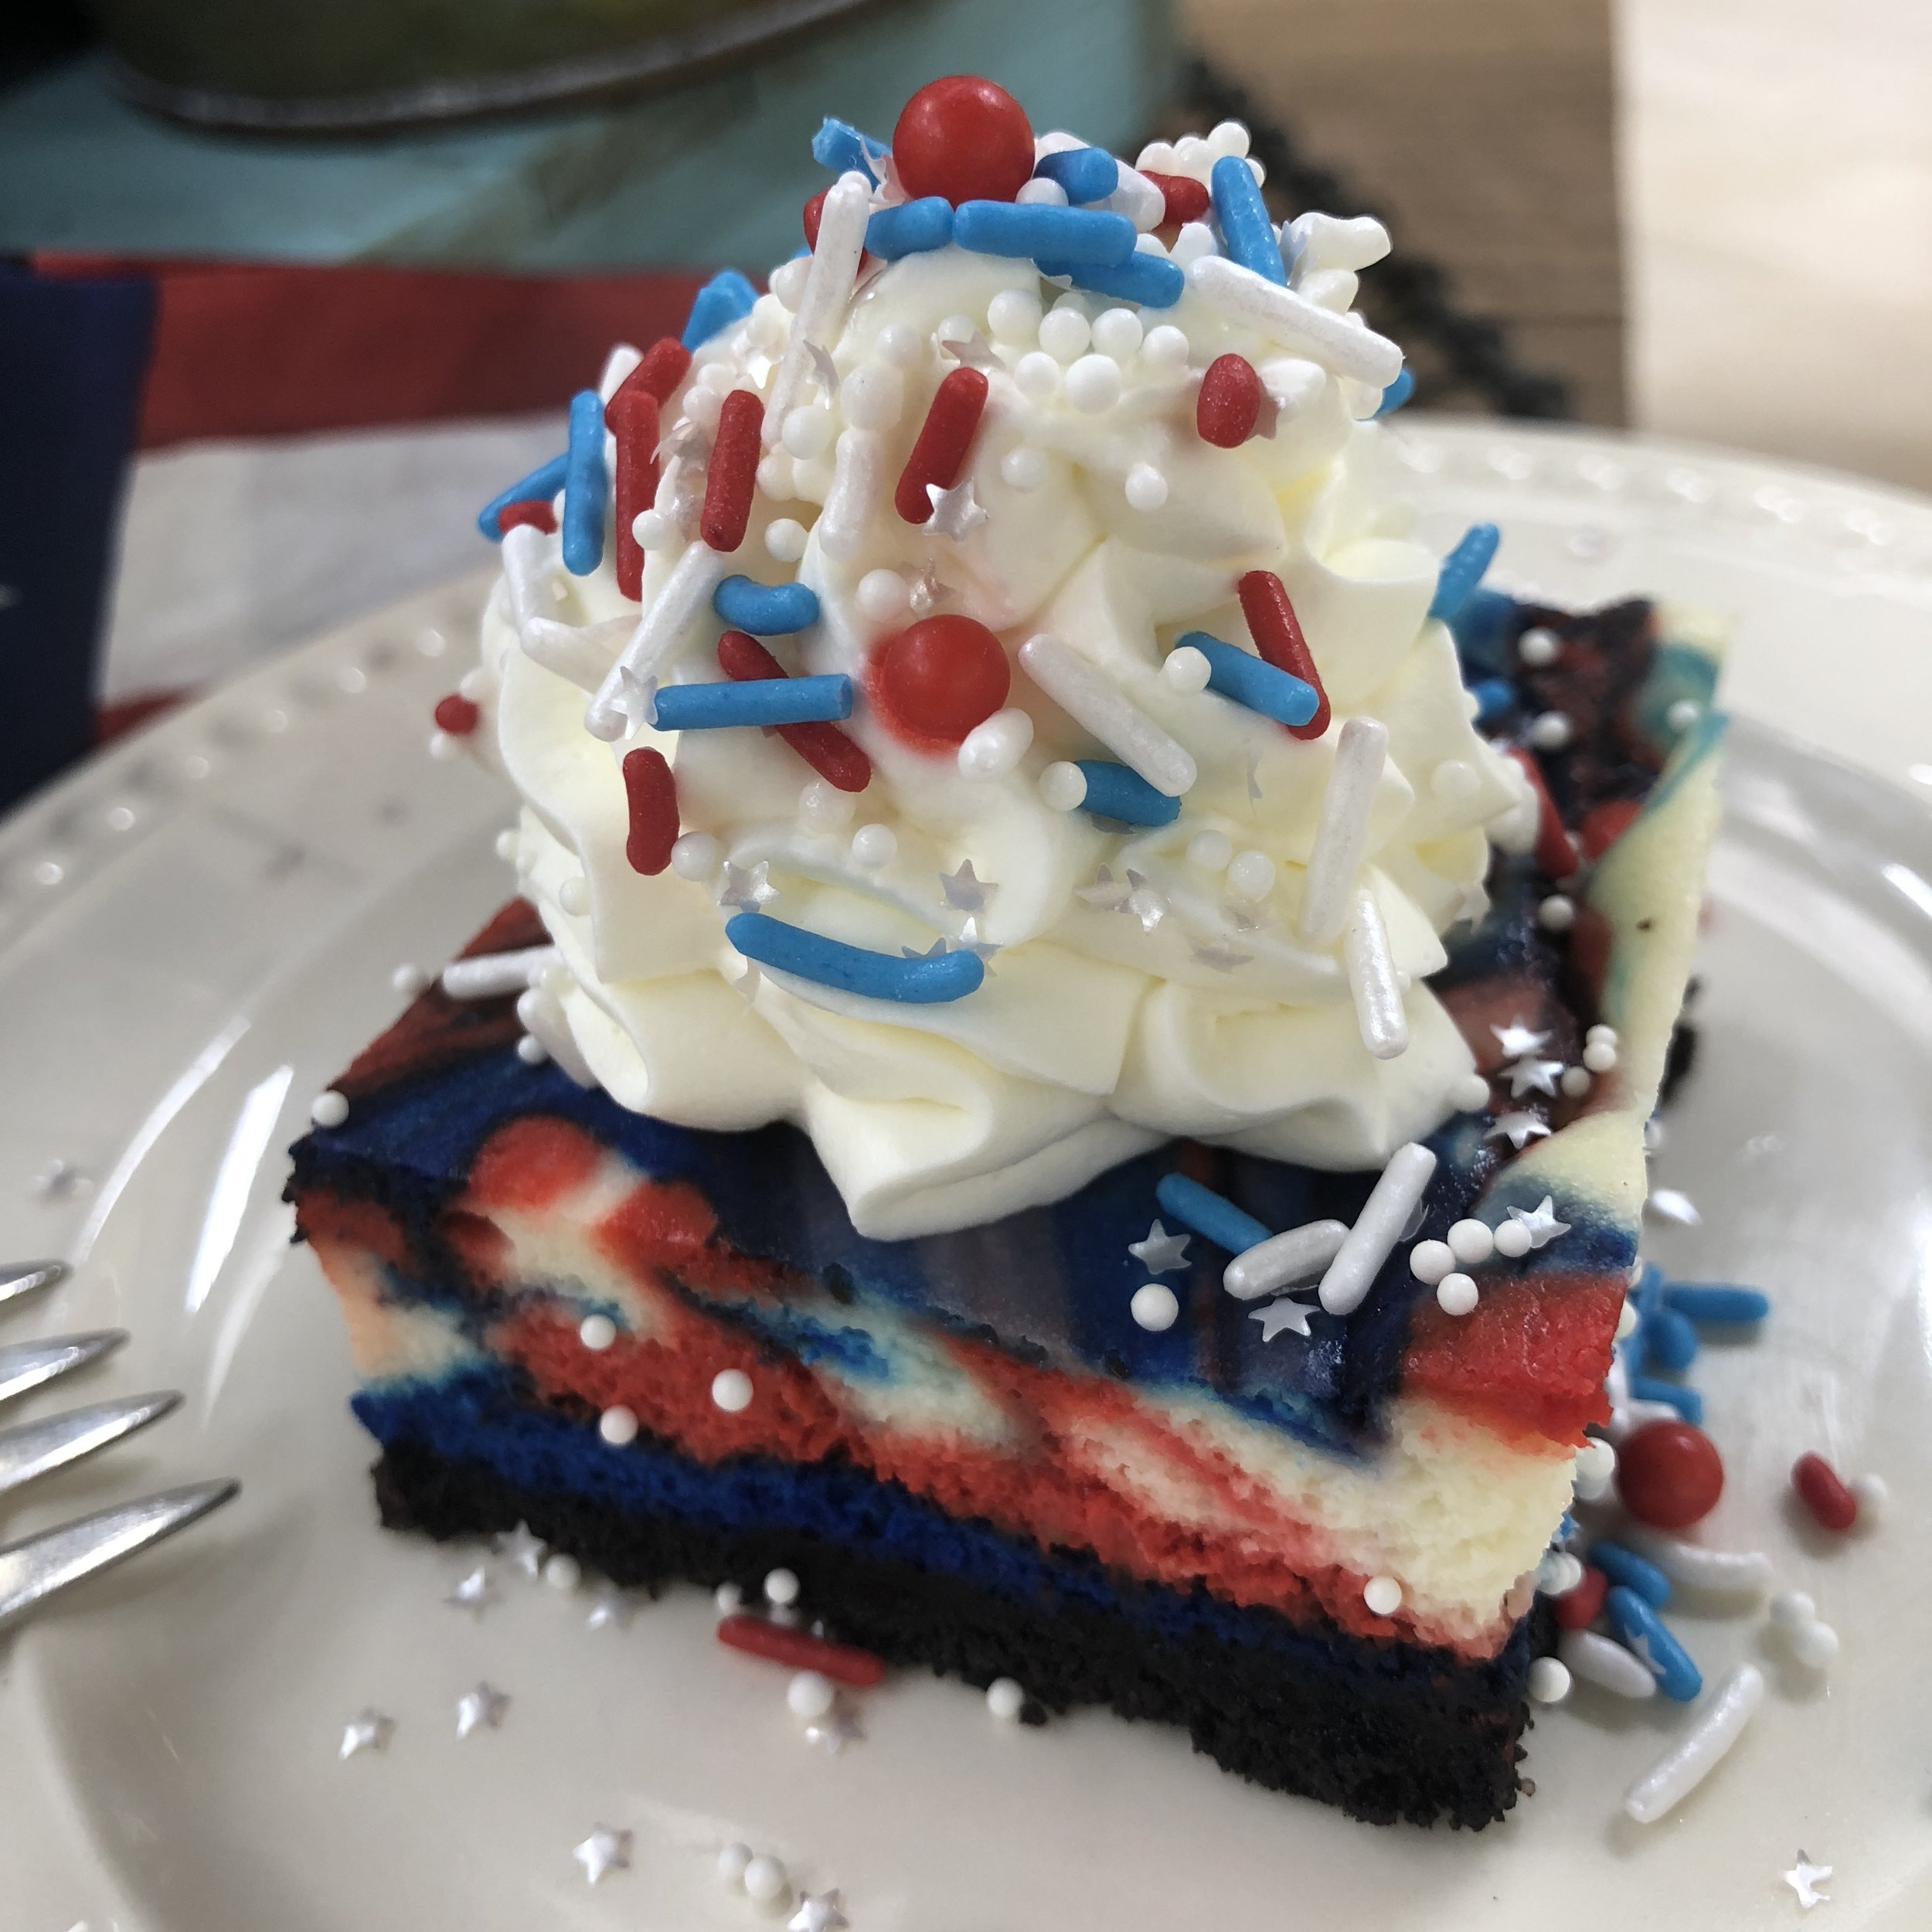
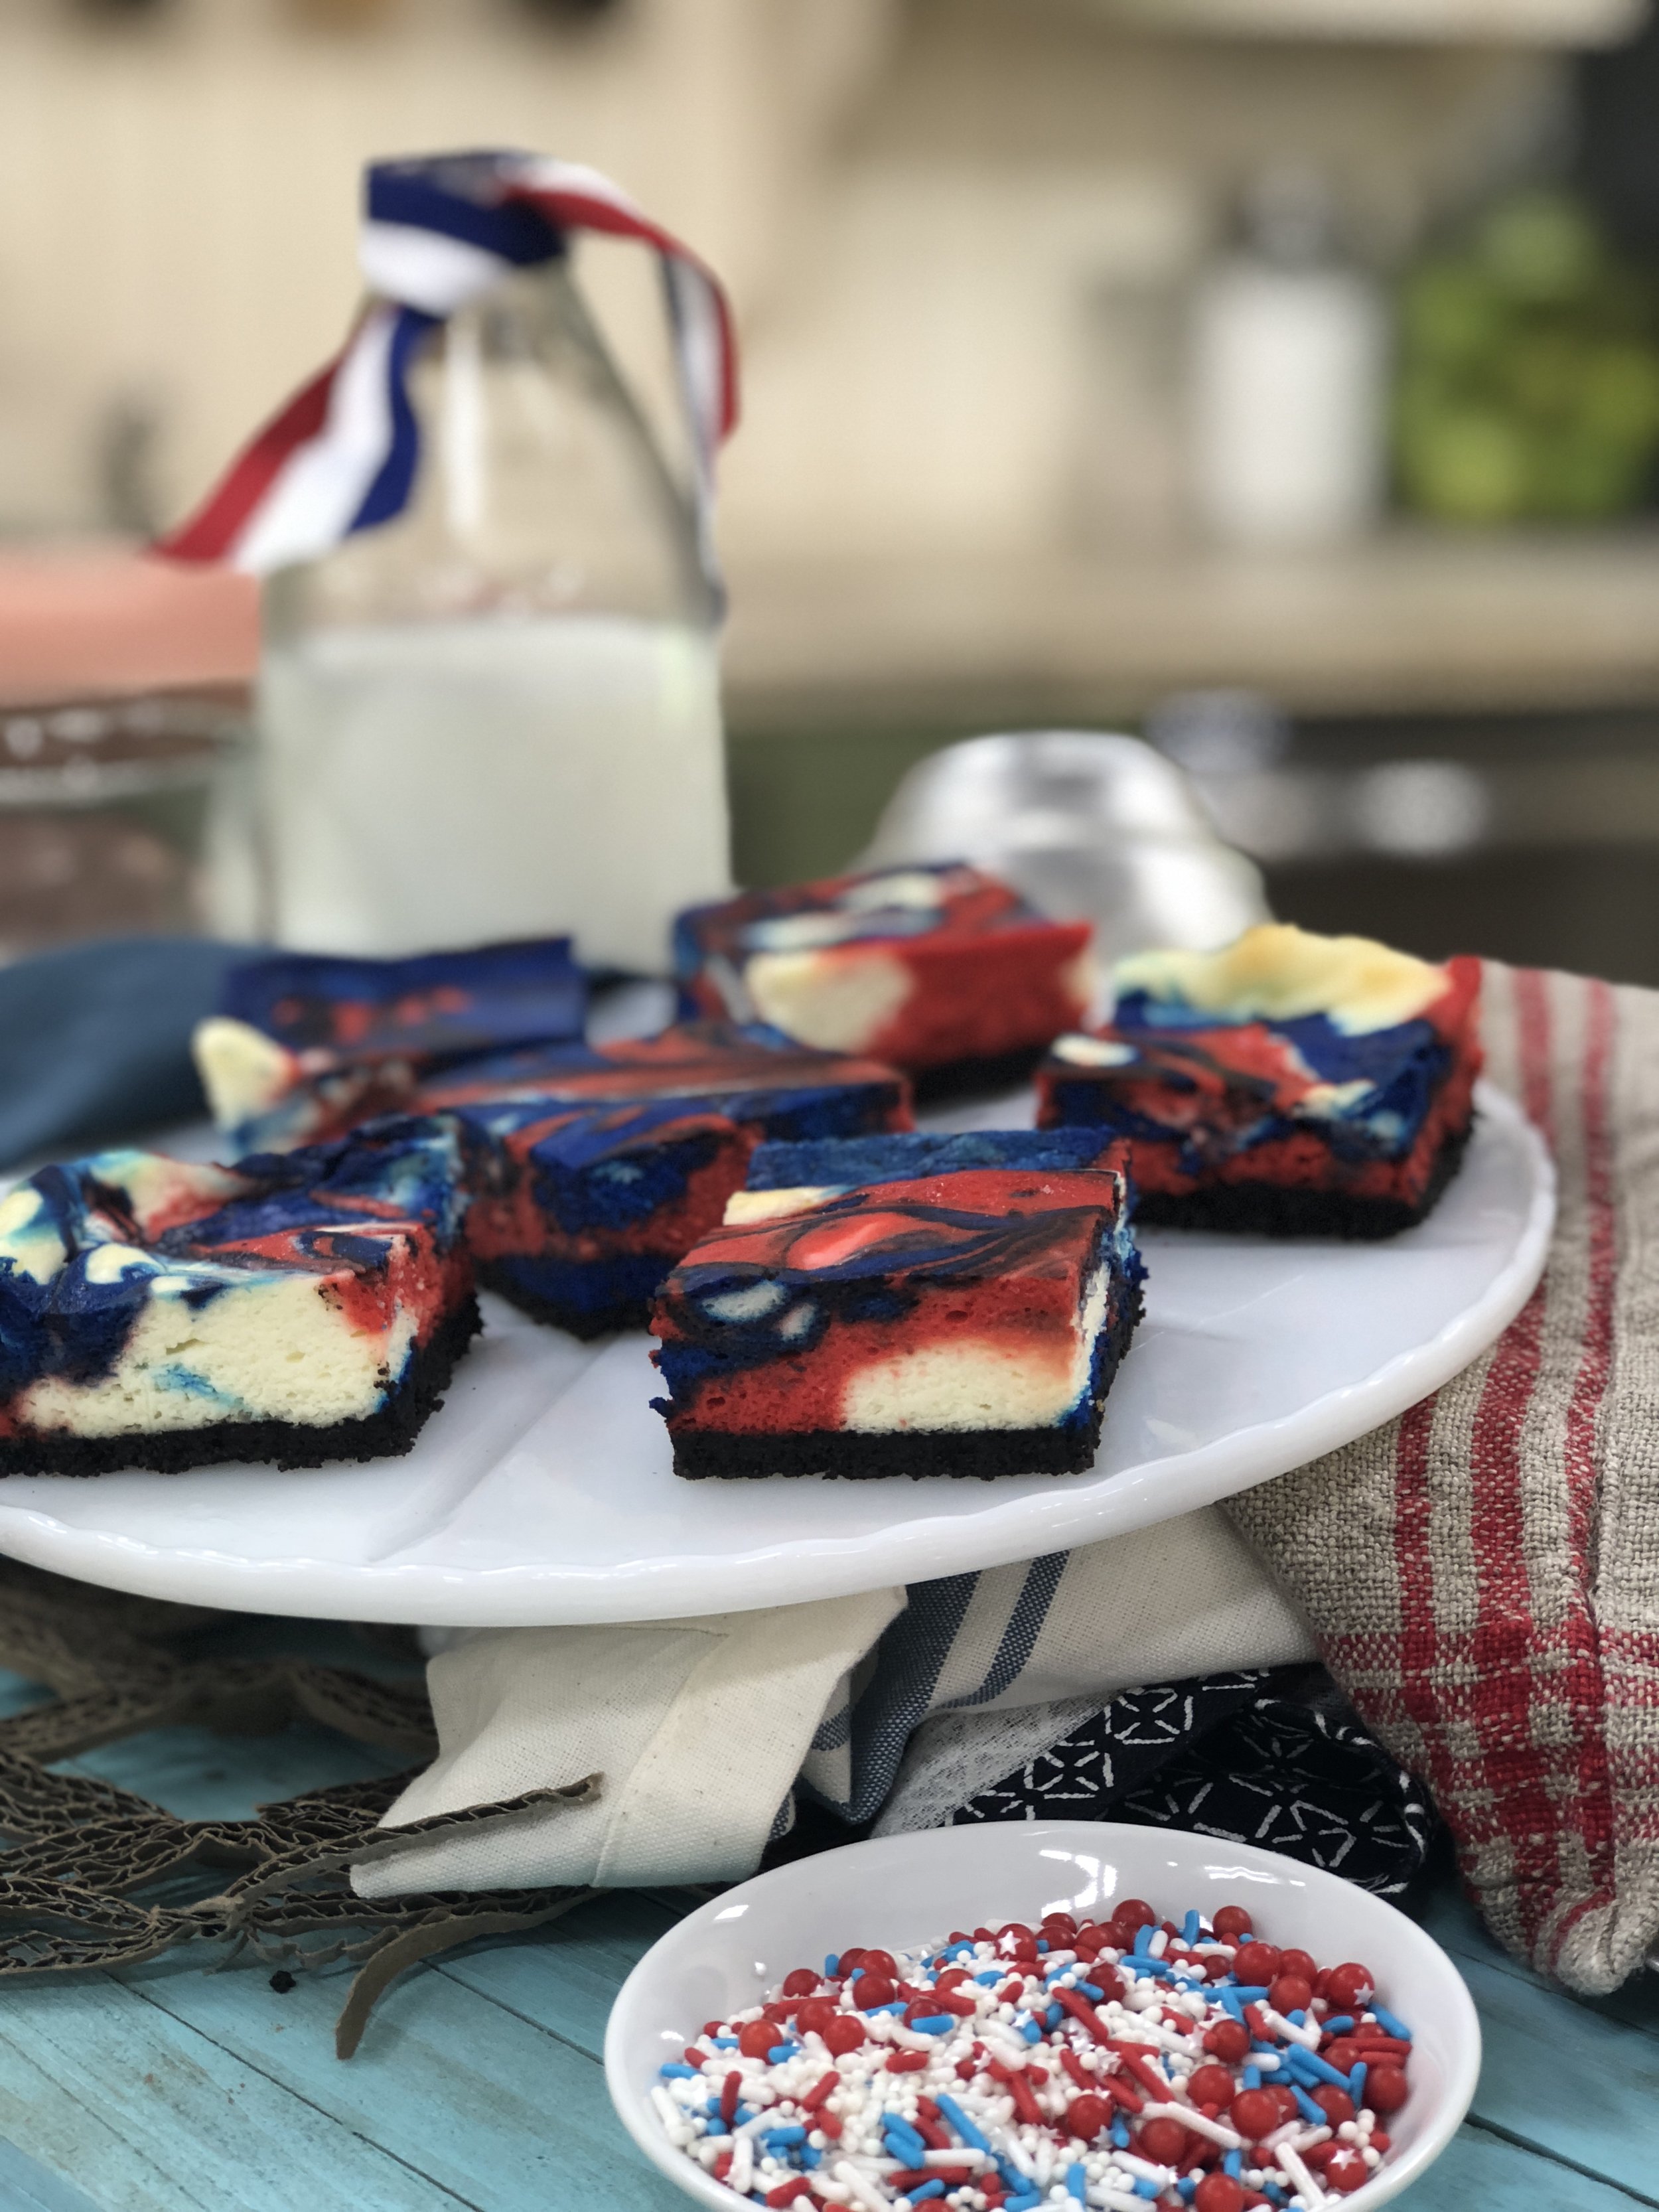
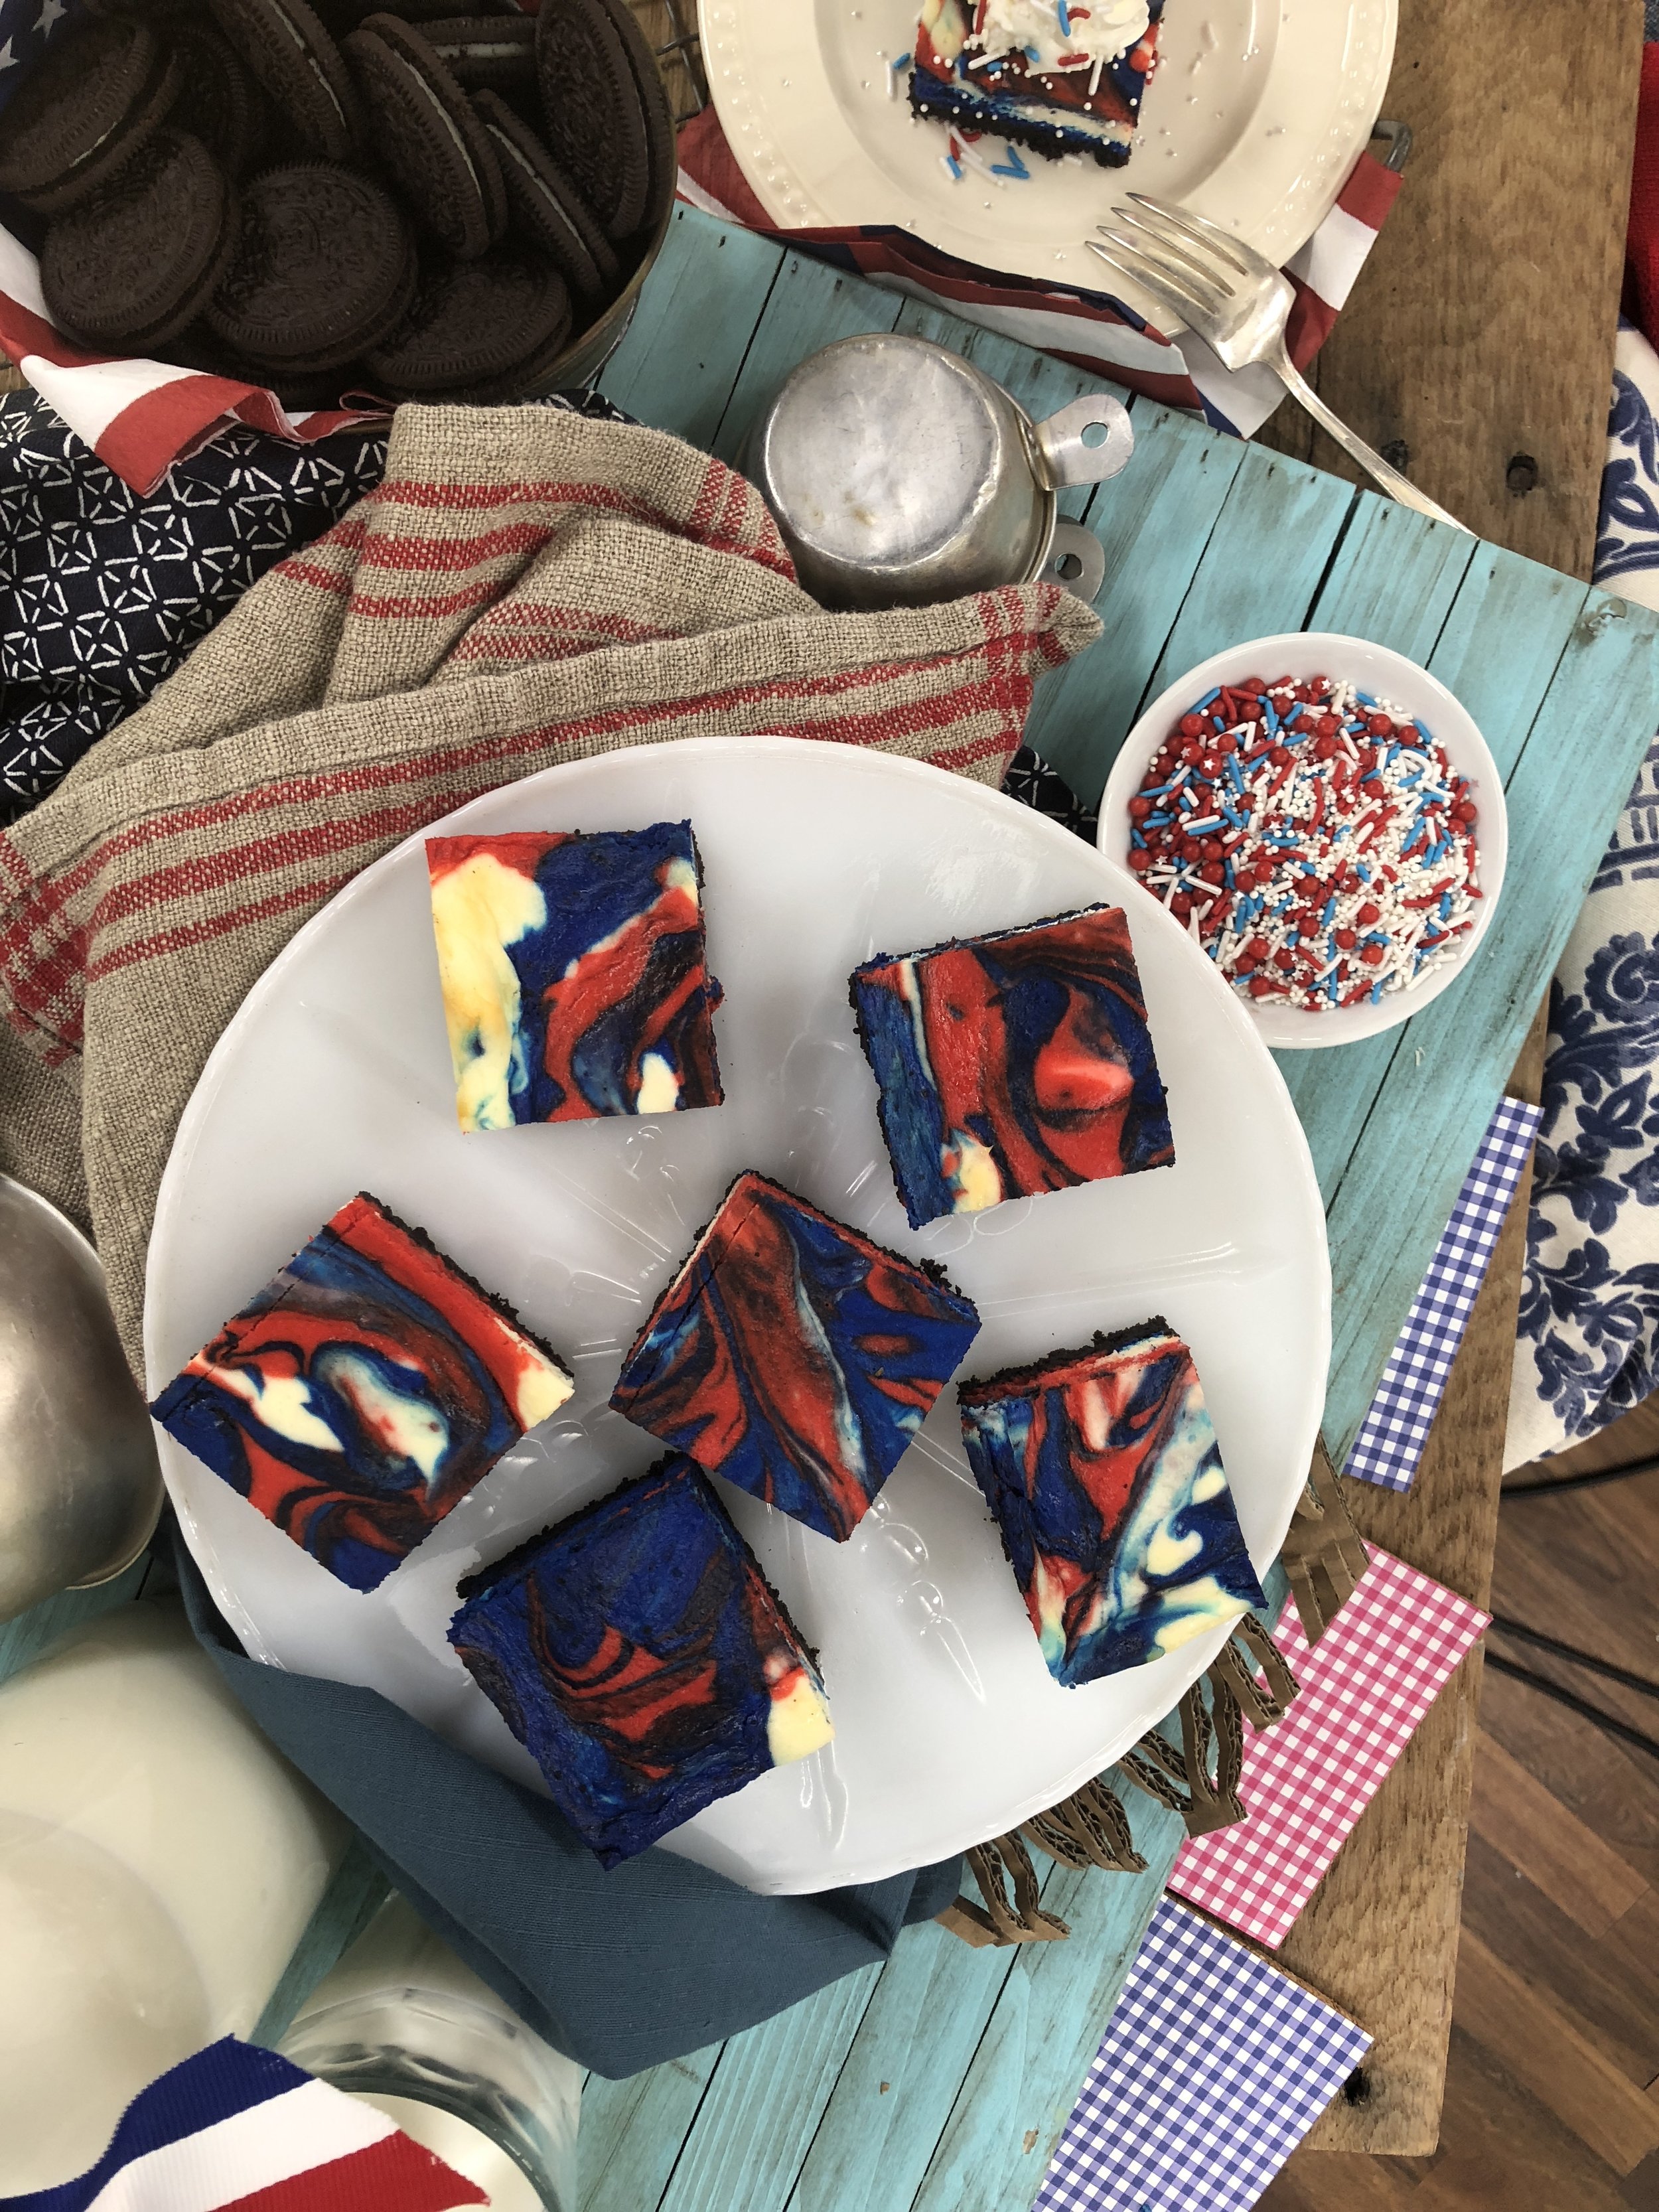
If you're tired of showing up to 4th of July parties with the same berry flag cake (no offense), you've gotta stop what you're doing right now and make my patriotic oreo cheesecake bars.

They are super creamy with a chocolatey oreo crust and the red and blue swirls are actually pureed strawberries and blueberries (with a little gel food coloring for bold color)! These bars are relatively easy to make-the hardest part is waiting for them to set up! If you're short on time, follow the same fruit swirl technique using your favorite no bake cheesecake recipe!

IMG_8872.JPG

I had so much fun making these on Home & Family.You can grab the full recipe here.

American Egg Board Disney•Pixar’s “Incredibles 2” World Premiere
premiere.jpg

This is a sponsored post written by me on behalf of the American Egg Board. The opinions and text are mine.

In case you missed my INCREDIBLE night, which I documented on Instagram stories, I had the opportunity to attend the Disney•Pixar’s “Incredibles 2” World Premiere on behalf of the American Egg Board. I can’t believe it’s been almost 14 years since the first movie premiered so if you’re a Super fan like me, you can agree it’s about time for this sequel to finally happen!

The premiere shut down Hollywood Boulevard, stretching from the Roosevelt Hotel to the El Capitan Theatre. I joined some members from The Incredible Egg and we watched anxiously as the stars arrived.  From the iconic Disney•Pixar’s “Incredibles 2”-themed red carpet, to the décor and activities, the event completely transported us to Metroville. Even the food was on theme! 

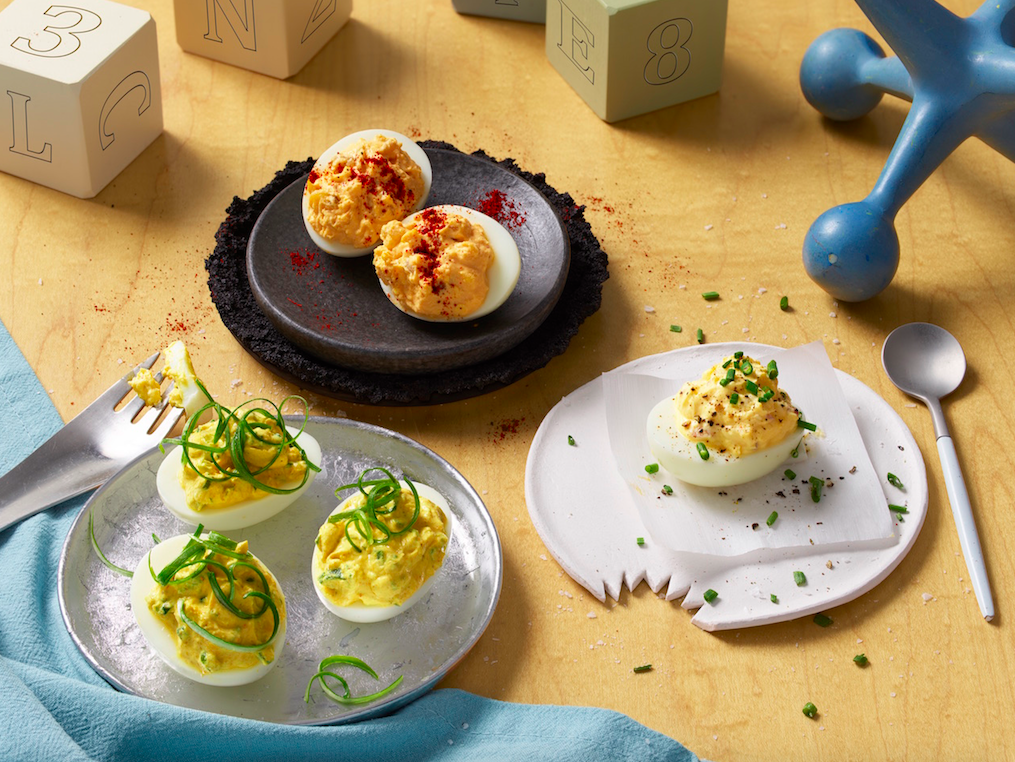
I went straight for the Incredible deviled eggs and sugar cookie masks! Don’t mind if I do. Then I snapped a pic with Edna and did my best Super pose before heading in to watch the movie.  It was fantastic! There is so much to love about this sequel! The humor is fantastic, the family dynamic was spot on, there’s non-stop action and so much love for female heroines!  It’s hard to choose what was my favorite part about the movie. All I kept thinking while watching it was “what would my superpower be if I lived in Metroville?”

incredibles pic.jpg

I love taking personality quizzes, so when I learned that the Incredible Egg had created a quiz to see which Disney•Pixar’s “Incredibles 2” character you are, I had to find out! (If you want to try it yourself, visit The Incredible Egg’s blog!)

Then based on your results, it will tell you how you like your eggs – with recipes paired with each character’s distinct personality. I totally got a kick out of my results because it said I was Jack-Jack. He reminded me of my daughter, Milly, totally stealing the show! His dish is Multiplied Deviled Eggs.

Photo Credit: Incredible Egg

Photo Credit: Incredible Egg

I had so much fun taking the quiz, I tried it out again just to see what my results would be. The second time I got Mr. Incredible, which was even funnier to me because out of all the egg dishes I enjoy, I eat egg avocado toast and deviled eggs on a weekly basis. Try Mr. Incredible’s Clobbered Egg Avocado Toast!  

Photo Credit: Incredible Egg

Photo Credit: Incredible Egg

Can’t choose which recipe to try out? You can find all the customized recipes for each of the leading characters at IncredibleEgg.org/DisneyPixarIncredibles2.

This is making me so excited—I’m contemplating changing Milly’s 1st birthday party theme to Disney•Pixar’s “Incredibles 2” since the menu is already done!

Thank you to the American Egg Board for inviting me to this unforgettable event.  


All You Need to Know about Baby Led Weaning

Milly and I loved hanging with Nora of Modamob to give her some tips on baby led weaning. Her darling little babe, six month old Ayah is definitely ready to start feeding herself solid foods so I made sure to share all I know with Nora! It makes me so happy anytime I get to meet with other moms and offer any insights with them about my motherhood journey. I cover everything from how to get started to what to do about allergies and so much more in this video. After you watch, leave a comment below letting me know what you think. Plus I'd love to hear any tips or tricks you might have about baby led weaning including any simple recipes. Also, you might need to watch it a few times since Milly is adorably distracting...especially around 1 minute when I give her a piece of pear but she thinks it's gonna be a lemon? LOL! Love her! 

Yogurt Bark: Tropical & Peanut Butter and Jelly
yogurt bark1.jpg

Looking for a healthier option to ice cream? Yogurt bark is a frozen snack packed with sweet fruit that takes minutes to make and keeps in the freezer. I love having fun in the kitchen and this is definitely one you can get the kiddos involved!  It starts with the same base-any type of yogurt (I make this with coconut milk yogurt for my 10 month old), maple syrup/honey/agave for a little sweetness, vanilla extract and any mix-ins you want! Use what you already have to keep it easy.  I love to use chopped fruit, fruit purees, dried fruit, nuts, spreads like peanut butter or chocolate hazelnut spread. Anything you would put in a smoothie or top a smoothie bowl is fair game.  I tend to over buy produce so this is what I do when I have too many strawberries. I ether make yogurt bark or homemade jam.

yogurt bark2.jpg

So when Home & Family invited me on the show to make a treat, I decided to share two of my favorite flavors. The tropical bark is loaded with mango, kiwi, pineapple and dragonfruit. If you've never seen dragonfruit in your market, ask the produce manager to get you some. Otherwise usually you can find it in speciality grocery stores or in the freezer section in frozen puree packs.

Pitaya-Plus-Smoothie-Packs-600x600.jpg

The pb & j has that classic peanut butter and jelly flavor and is super creamy and addicting. If you prefer almond butter, that works too. I also love to sneak n crushed nuts or even slices of fruit. For this one, I used strawberry jam and added sliced strawberries. 

Let me know what flavor you try to make or if you create your own. Be sure to post your photos on instagram and tag me @BrandiMilloy

yogurt bark3.jpg

Tropical Yogurt Bark

by Brandi Milloy

Ingredients

  • 2 cups nonfat plain or Greek yogurt
  • 3 tbsp. agave, honey or maple syrup
  • 1 tsp. vanilla extract 
  • dragonfruit, pieces (you can also fold in dragonfruit puree found in the freezer section)
  • mango, sliced
  • pineapple, chunks
  • kiwi, pieces
  • shaved coconut
  • mini chocolate chips, optional

Directions:

Onto a baking sheet lined with parchment paper, spread your yogurt mixture about 1/4" thick. Sprinkle toppings evenly. Freeze overnight and then break into pieces and enjoy.

Peanut Butter & Jelly Bark

by Brandi Milloy

Ingredients

  • 2 cups nonfat plain or Greek yogurt
  • 1/4 cup peanut butter, melted
  • 1 tsp. vanilla extract
  • 4 tbsp. strawberry jam
  • fresh strawberries, sliced 
  • chopped peanuts, optional

Directions:

Onto a baking sheet lined with parchment paper, spread your yogurt about 1/4" thick. Top with peanut butter, using a knife to swirl it through. Do the same with the strawberry jam.  Sprinkle toppings evenly. Freeze overnight and then break into pieces and enjoy.