Posts in Food
Holiday Movie Watching Party Tips
Photography Credit: Home & Family

Photography Credit: Home & Family

Every time I work at Home & Family I have an absolute blast. Their team is truly “family” and everyone is so warm and welcoming. So it was even more special to work with Cost Plus World Market, partners I’ve worked with for years now and is a dream company to represent. The theme was a holiday moving watching party! Do you love the Countdown to Christmas on the Hallmark Channel as much as our family? They have the best movies and it always gets us in the holiday spirit.

Photography Credit: Home & Family

Photography Credit: Home & Family

For this set up I created a few different themes. The first is for families complete with a hot cocoa drinking station and all the yummy fixins like snowmen marshmallows. The other is for girls night in and is all about lux touches and feminine colors. When my friends come over I love spoiling them with charcuterie boards, cocktails and dessert. You can watch the full segment here and then let me know if you set up your own holiday movie watching party!

Photography Credit: Home & Family

Photography Credit: Home & Family

Green Eggs & Ham Breakfast Cups
Photography Credit: AshtonStan.com

Photography Credit: AshtonStan.com

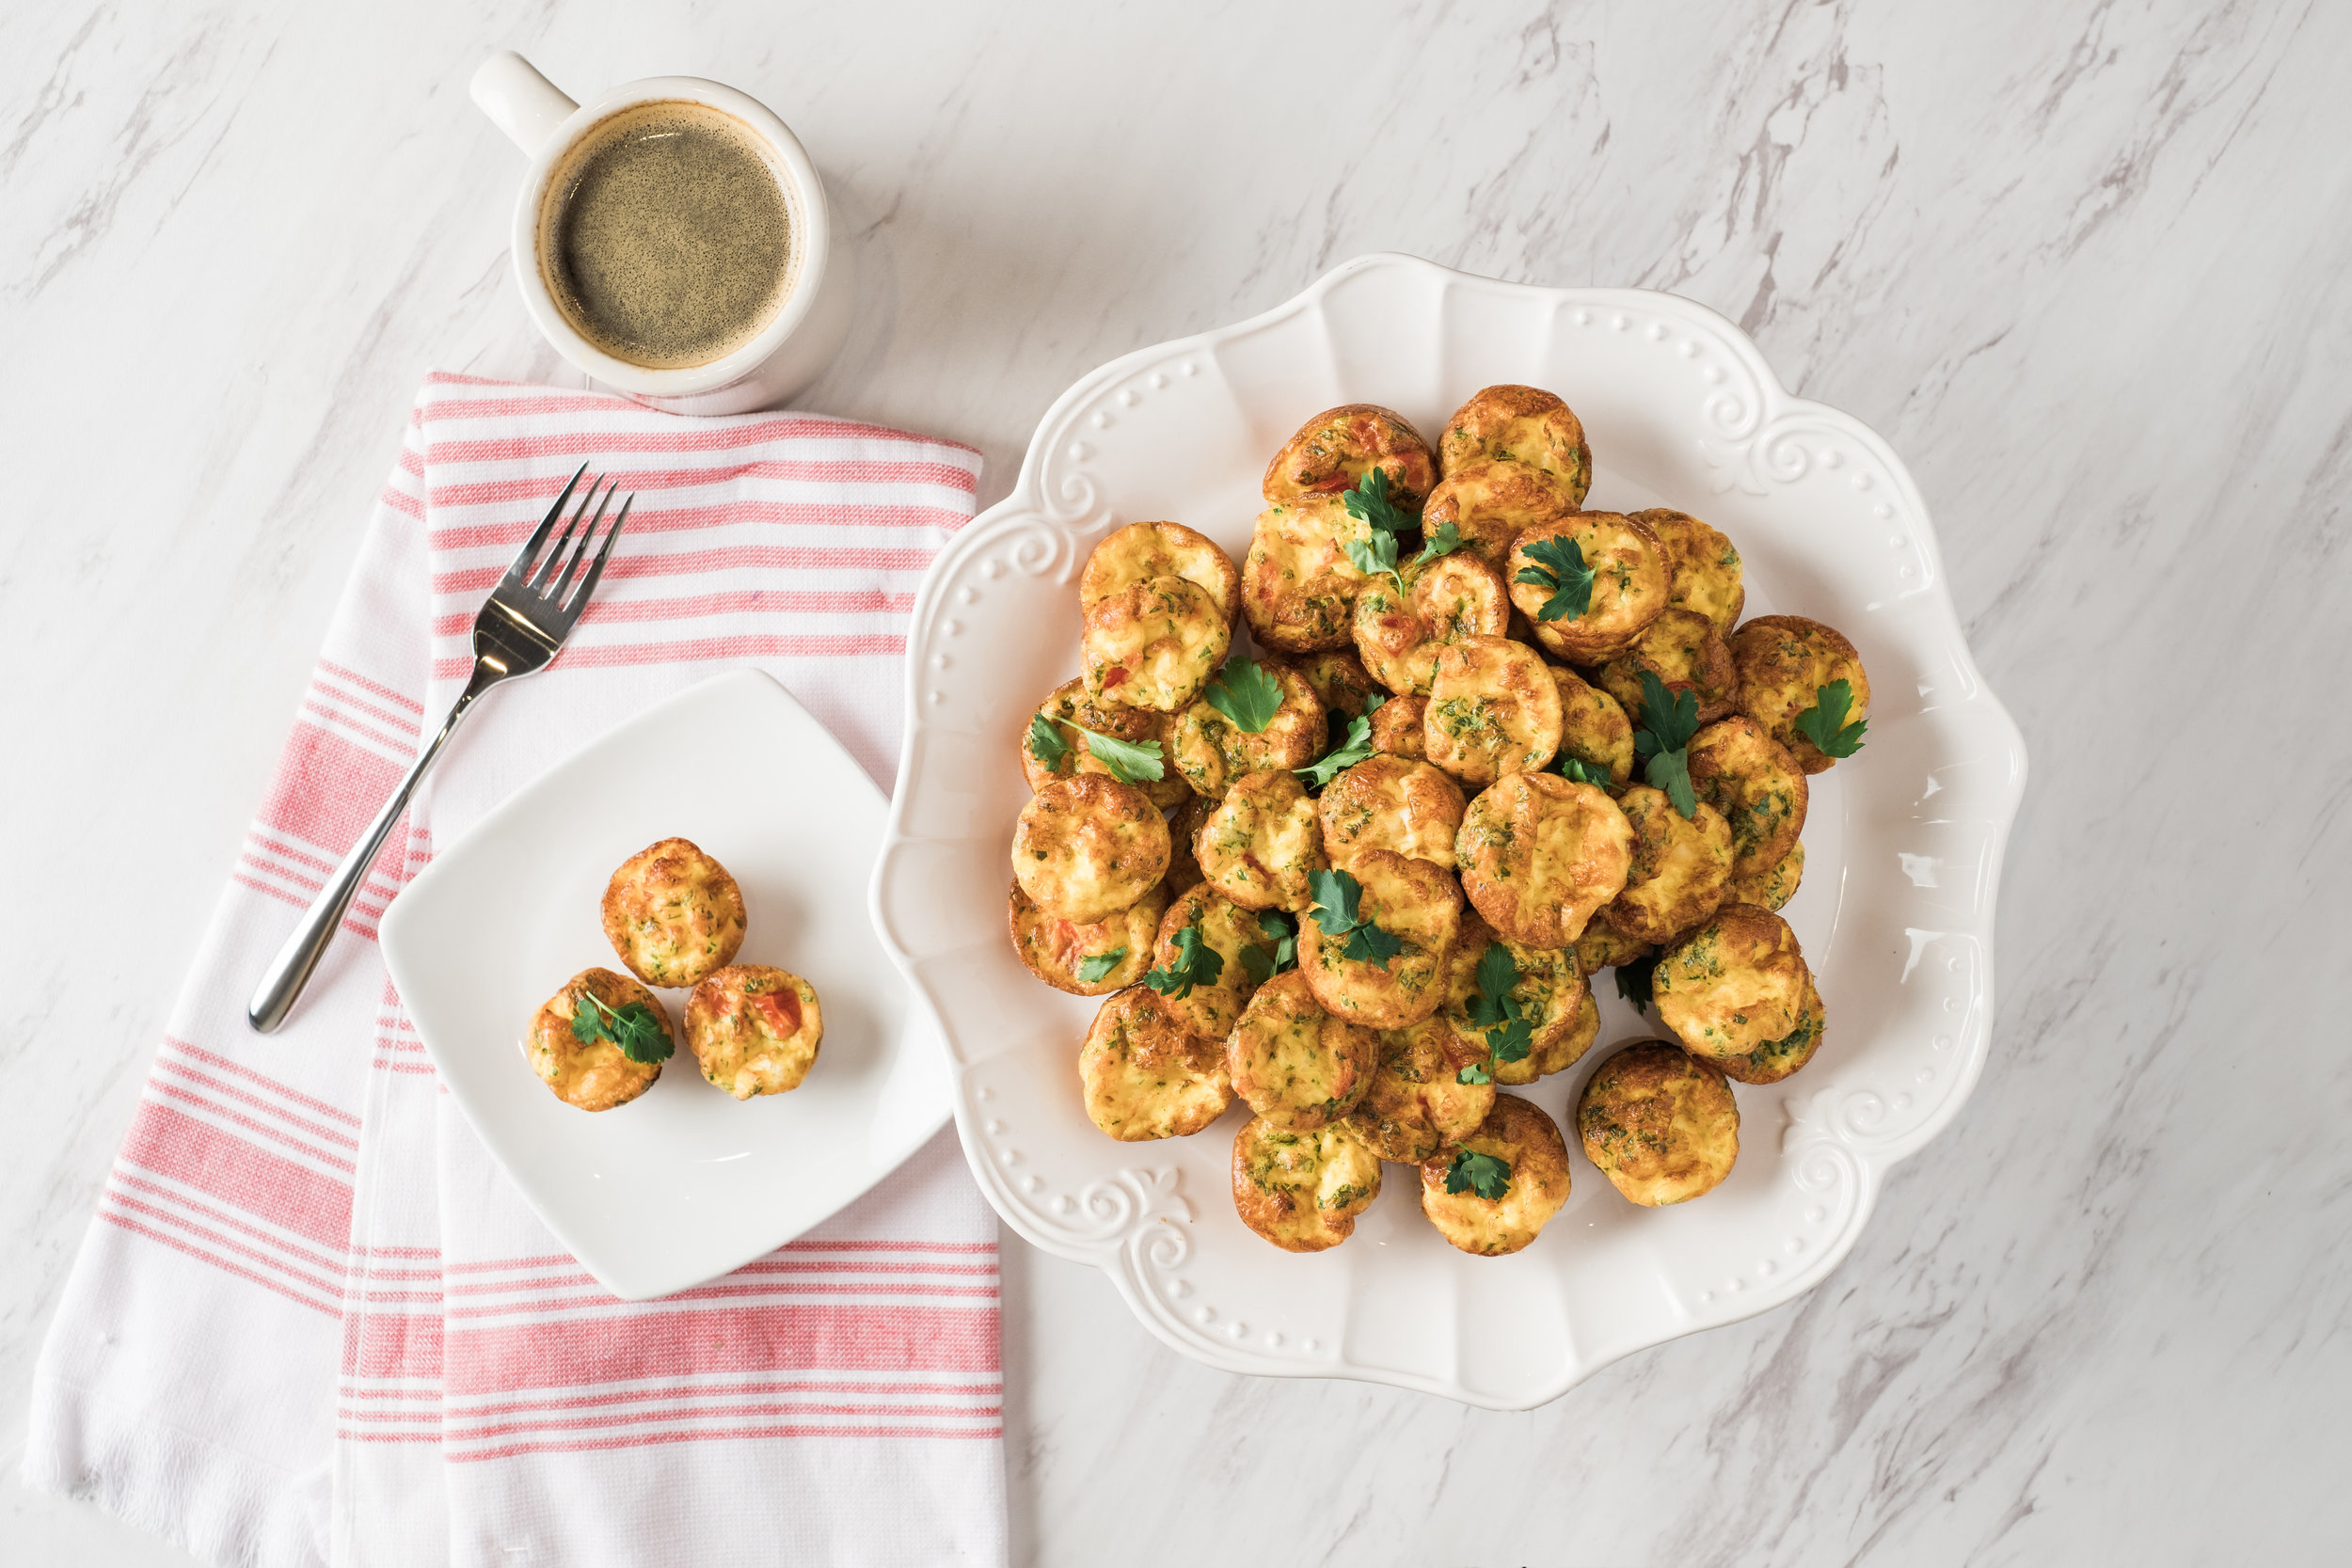
These are one of my go to snacks for Milly. Obviously they are great for breakfast but she enjoys them anytime. It’s a great way to sneak in a ton of veggies and you can make a dozen at a time. I use whatever I have on hand and there’s something about food shaped like a cupcake that makes toddlers love them! It’s the perfect size for their little hands.

Photography Credit: AshtonStan.com

Photography Credit: AshtonStan.com

These are also great for when you’re hosting a ton of people or when family is in town staying over. They’re great brunch foods! To make them even more decadent, sometimes I’ll add a little pie crust to the bottom so it’s almost like mini quiches. I love quiche. People don’t give quiche enough love. Scroll down for the recipe and then let me know what other variations you come up with. If you post the photo on instagram, be sure to use the hashtag #BrandisBites.

Photography Credit: AshtonStan.com

Photography Credit: AshtonStan.com

Green Eggs & Ham Breakfast Cuppies

By Brandi Milloy

Ingredients:

  • 12 large eggs

  • 1/2 cup milk

  • 1 heaping cup fresh spinach, chopped

  • 1 cup veggies or choice, chopped (like broccoli or mushroom)

  • 1/2 teaspoon seasoning salt

  • 1/4 teaspoon fresh grated black pepper

  • 1/4 teaspoon fresh grated nutmeg

  • 1 1/2 cups ham, sliced and chopped

  • 1 cup swiss cheese, shredded

  • 1/2 cup cheddar cheese, shredded

  • 2 teaspoons fresh Italian parsley, chopped (optional)


    Directions

  1. Preheat oven to 375F and spray muffin tins with non-stick cooking spray.

  2. In a large bowl, whisk the eggs, milk, veggies, salt and pepper and nutmeg. Fill muffin tins equally with ham and cheese and then carefully cover each with the egg mixture, about ¾ of the way full.

  3. Bake for 25-30 minutes or until eggs are set cups are golden. Let cool for 5 minutes before enjoying! 

Photography Credit: AshtonStan.com

Photography Credit: AshtonStan.com


Peanut Butter & Jelly Cups

Peanut Butter and Jelly Cups

This post was made possible by the U.S. Highbush Blueberry Council. Thank you for your support!

6D4A0672.jpg
6D4A0691.jpg
6D4A0814.jpg
6D4A0867.jpg
6D4A0885.jpg
6D4A0772.jpg
6D4A0961.jpg

PB & J Cups

by Brandi Milloy

Ingredients

  • 12 oz. fresh blueberries

  • 1 tbsp. water

  • 1/2 cup sugar

  • 12 oz. semi sweet chocolate, melted

  • 3/4 cup creamy peanut butter

  • fluer de sel, optional

Directions

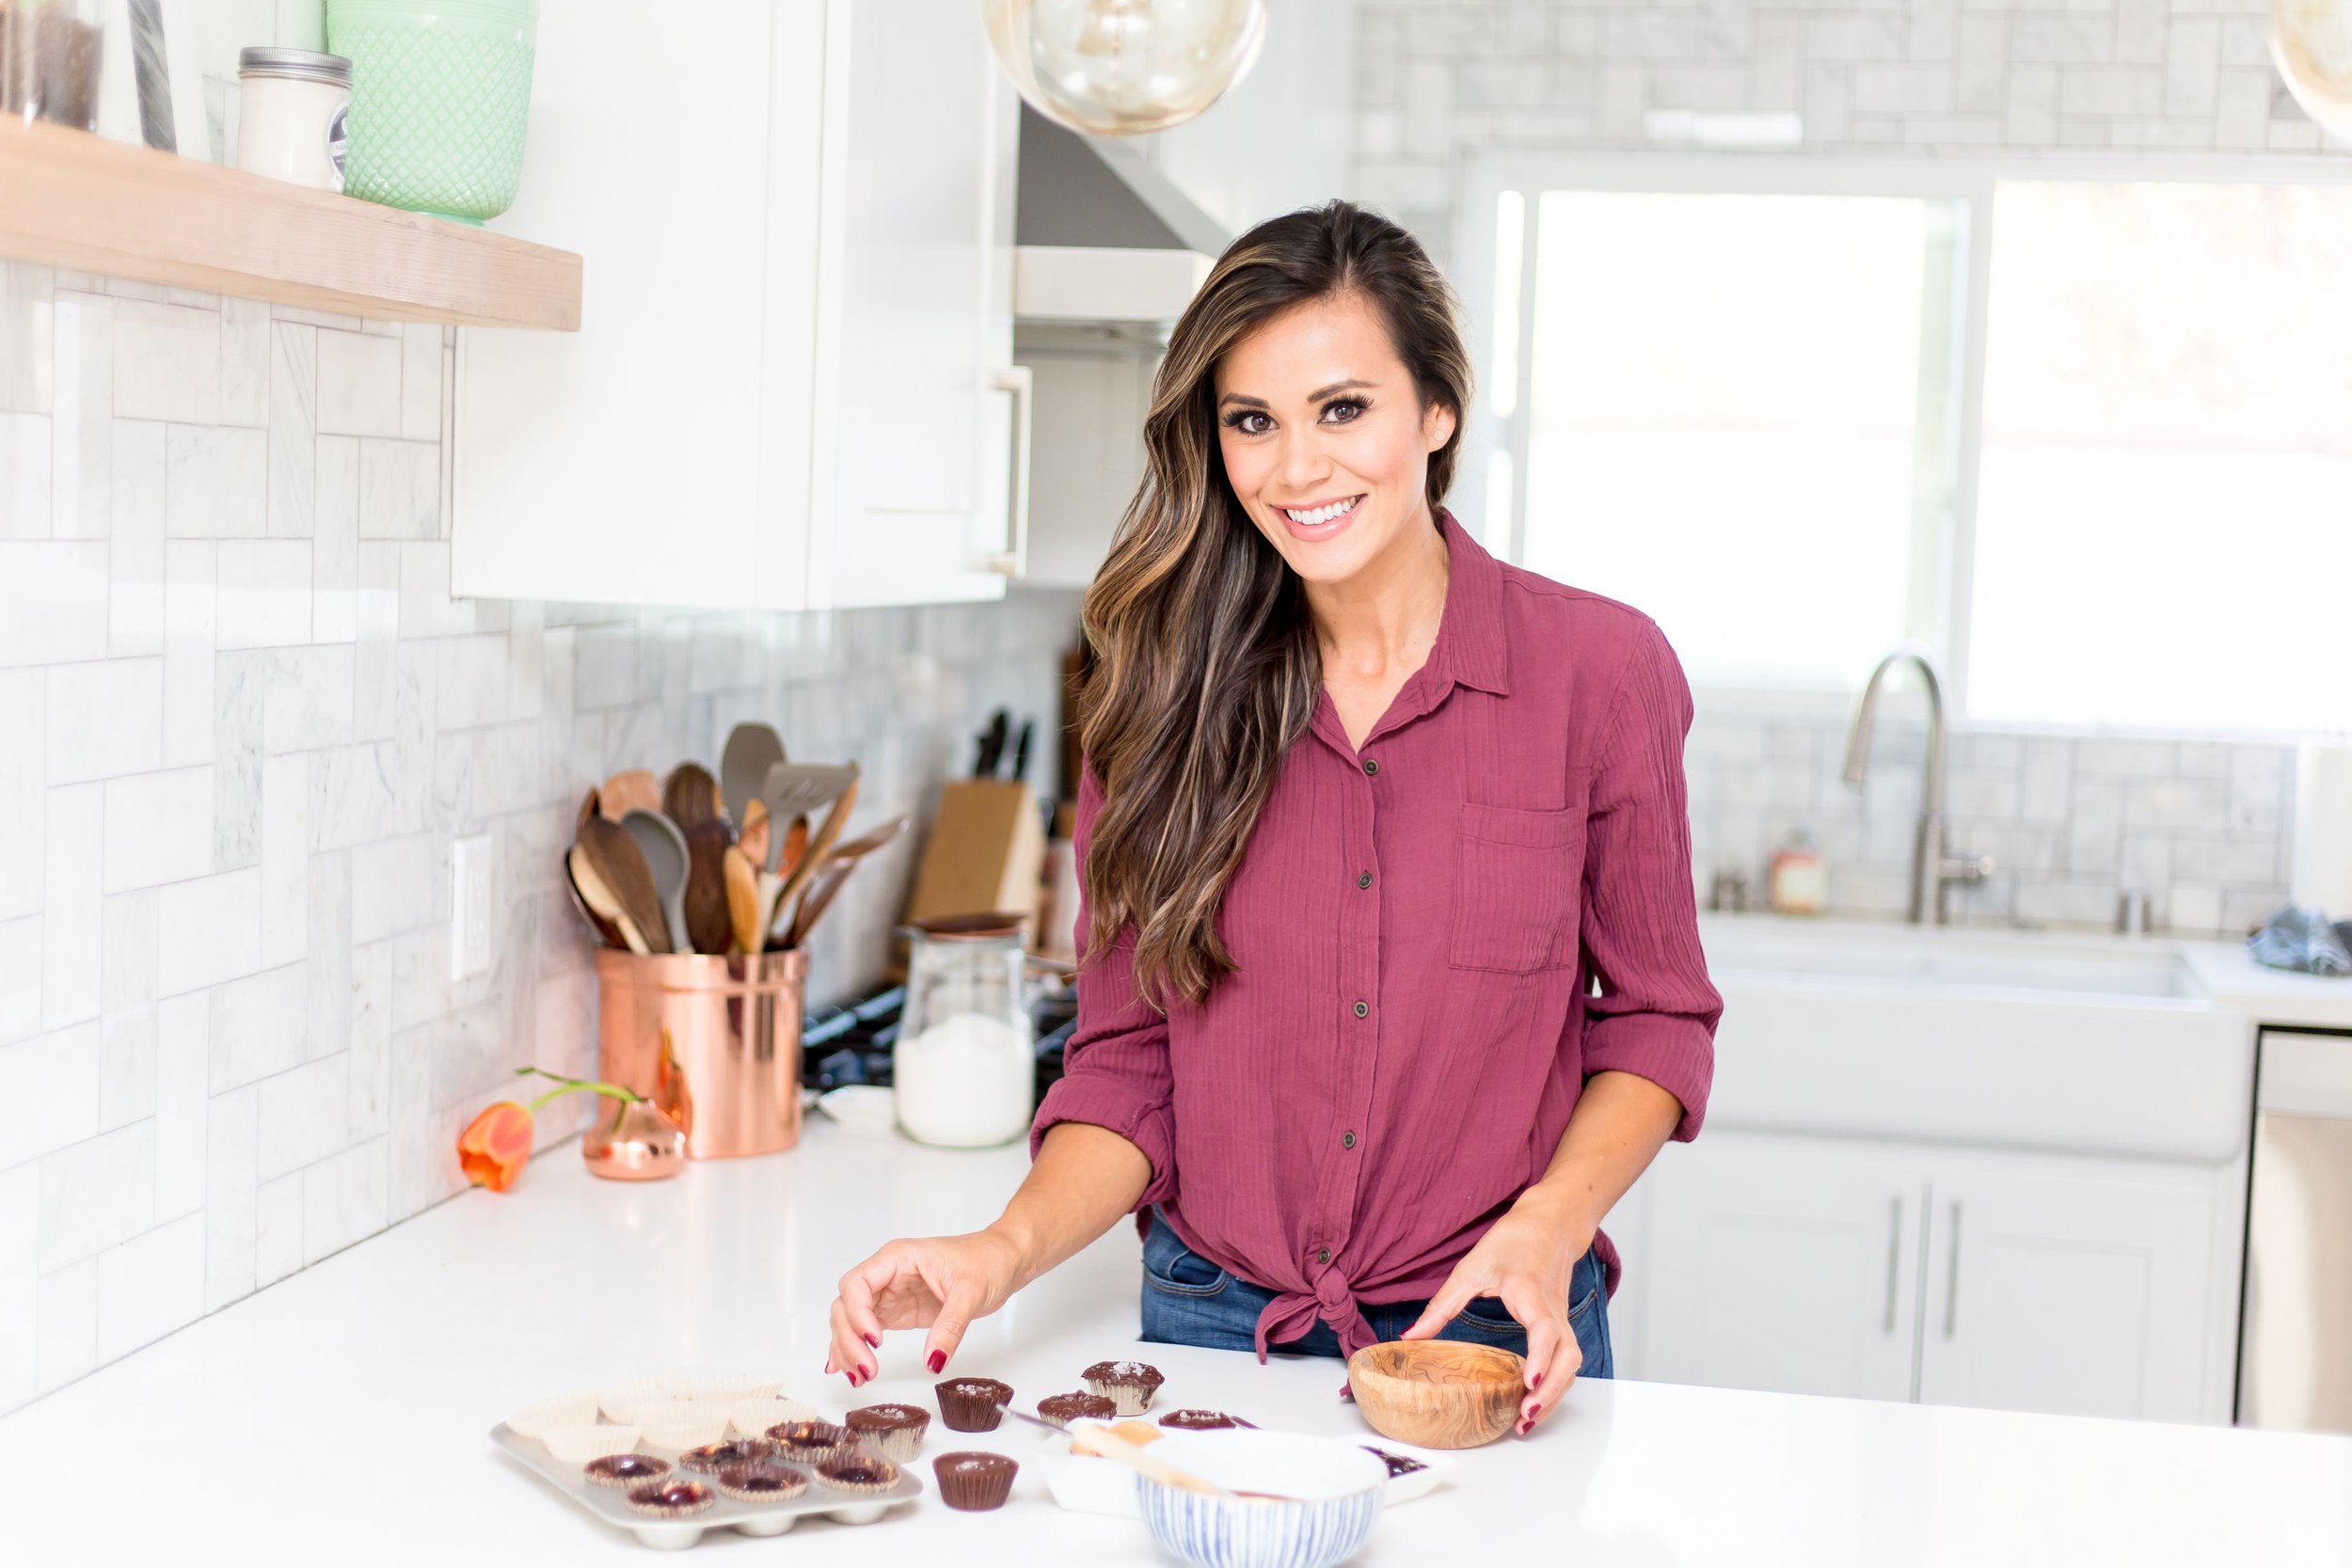
  1. Make jam by placing blueberries, sugar and water in pot on medium-high heat and bring to a boil. Boil for a minute and mash slightly. Turn off heat to cool. Pour jam into clean jar and keep in refrigerator up to a month.

  2. Using a pastry brush, spread chocolate up sides of mini muffin liners and place in muffin tin. Freeze to set, about 5 minutes.

  3. Spread 1/2 tablespoon of peanut butter into bottom of chocolate shell. Top each with 1/2 tablespoon of jam. Place back in freezer to harden, about 5 minutes.

  4. Top each cup with melted chocolate and garnish with a sprinkle of sea salt. Place back in freezer one final time to set completely. Keep in refrigerator for ultimate freshness and enjoy within 10 days!

Ring POPsicles
Photography Credit: Karen DeGrazio

Photography Credit: Karen DeGrazio

So Milly hates milk and I mean who can blame her when Mama’s milk is so good (breastfeeding joke-haha!) I’ve never been a fan of cows milk but give me all the cheese and ice cream. Love diary but not a cow’s milk drinker. We are basic b’s around here and love our organic almond milk, pea milk and always cereal milk. Ha! But when it comes to Milly’s health and how crucial it is for her to get essential vitamins and minerals (Vitamin D and Calcium) plus dietary fats for brain development (80% of your child’s brain development happens before they are 2 years old-whoa!), proteins plus all the other essential nutrients in whole milk- I had to get creative. Easy. Whole milk yogurt popsicles. This isn’t a new idea. My sister has been making these for my nephews for years and the last time we were in AZ visiting them they made Milly her own and she was all over them (her cousins and the popsicles).

Photography Credit: Karen DeGrazio

Photography Credit: Karen DeGrazio

What I like about having these on hand is they act as a “special treat/dessert” even though they aren’t really a dessert at all. I mean… the way I make them they are pretty straight forward. I like to buy a large tub of organic pasture raised plain whole milk yogurt and flavor it myself but you can also buy the flavored ones. I will add fresh or frozen fruit purees, fresh or frozen fruit and some spices if I’m feeling naughty.

Photography Credit: Karen DeGrazio

Photography Credit: Karen DeGrazio

These are one part organic pumpkn puree, two parts whole milk yogurt and a few sprinkles of cinnamon and nutmeg. Very PSL minus the L and 100% basic b again. Milly loves them! They aren’t sweet at all but super flavorful. A quick hack for making them even easier is just alternate squeezing a pouch of yogurt with your favorite fruit pouch and freeze! No excuses for not making your babes something semi-homemade!

Photography Credit: Karen DeGrazio

Photography Credit: Karen DeGrazio

I love these popsicles so much. Some days they are breakfast pops, other days an afternoon snack, her appetizer for dinner. I just love she’s getting another source of calcium in addition to other calcium rich foods she eats like greens, tempeh, almond butter, broccoli, pinto beans. Plus how freaking cute are these ring pop molds. Don’t think I wasn’t going to gush about how stinkin adorable these are!!!

Photography Credit: Karen DeGrazio

Photography Credit: Karen DeGrazio

Super affordable and didn’t need all 18 so we gave a set to our friends. The molds I got for my sis when her boys were small are these and I think I might like them better but you get half the amount of pops so just depends on what you need.

Photography Credit: Karen DeGrazio

Photography Credit: Karen DeGrazio

I love that they’re the perfect size for little hands and so soothing for swollen gums and teething mouths! Milly has fun trying to get to the frozen blueberries hidden inside so in some ways it’s a bit of an activity her.

Photography Credit: Karen DeGrazio

Photography Credit: Karen DeGrazio

I’d love to know what combinations you come up with. Let me know in the comments below and post your ring pop pics on IG and tag me @BrandiMilloy #BrandisBites.


Pumpkin Spice Blueberry Donuts

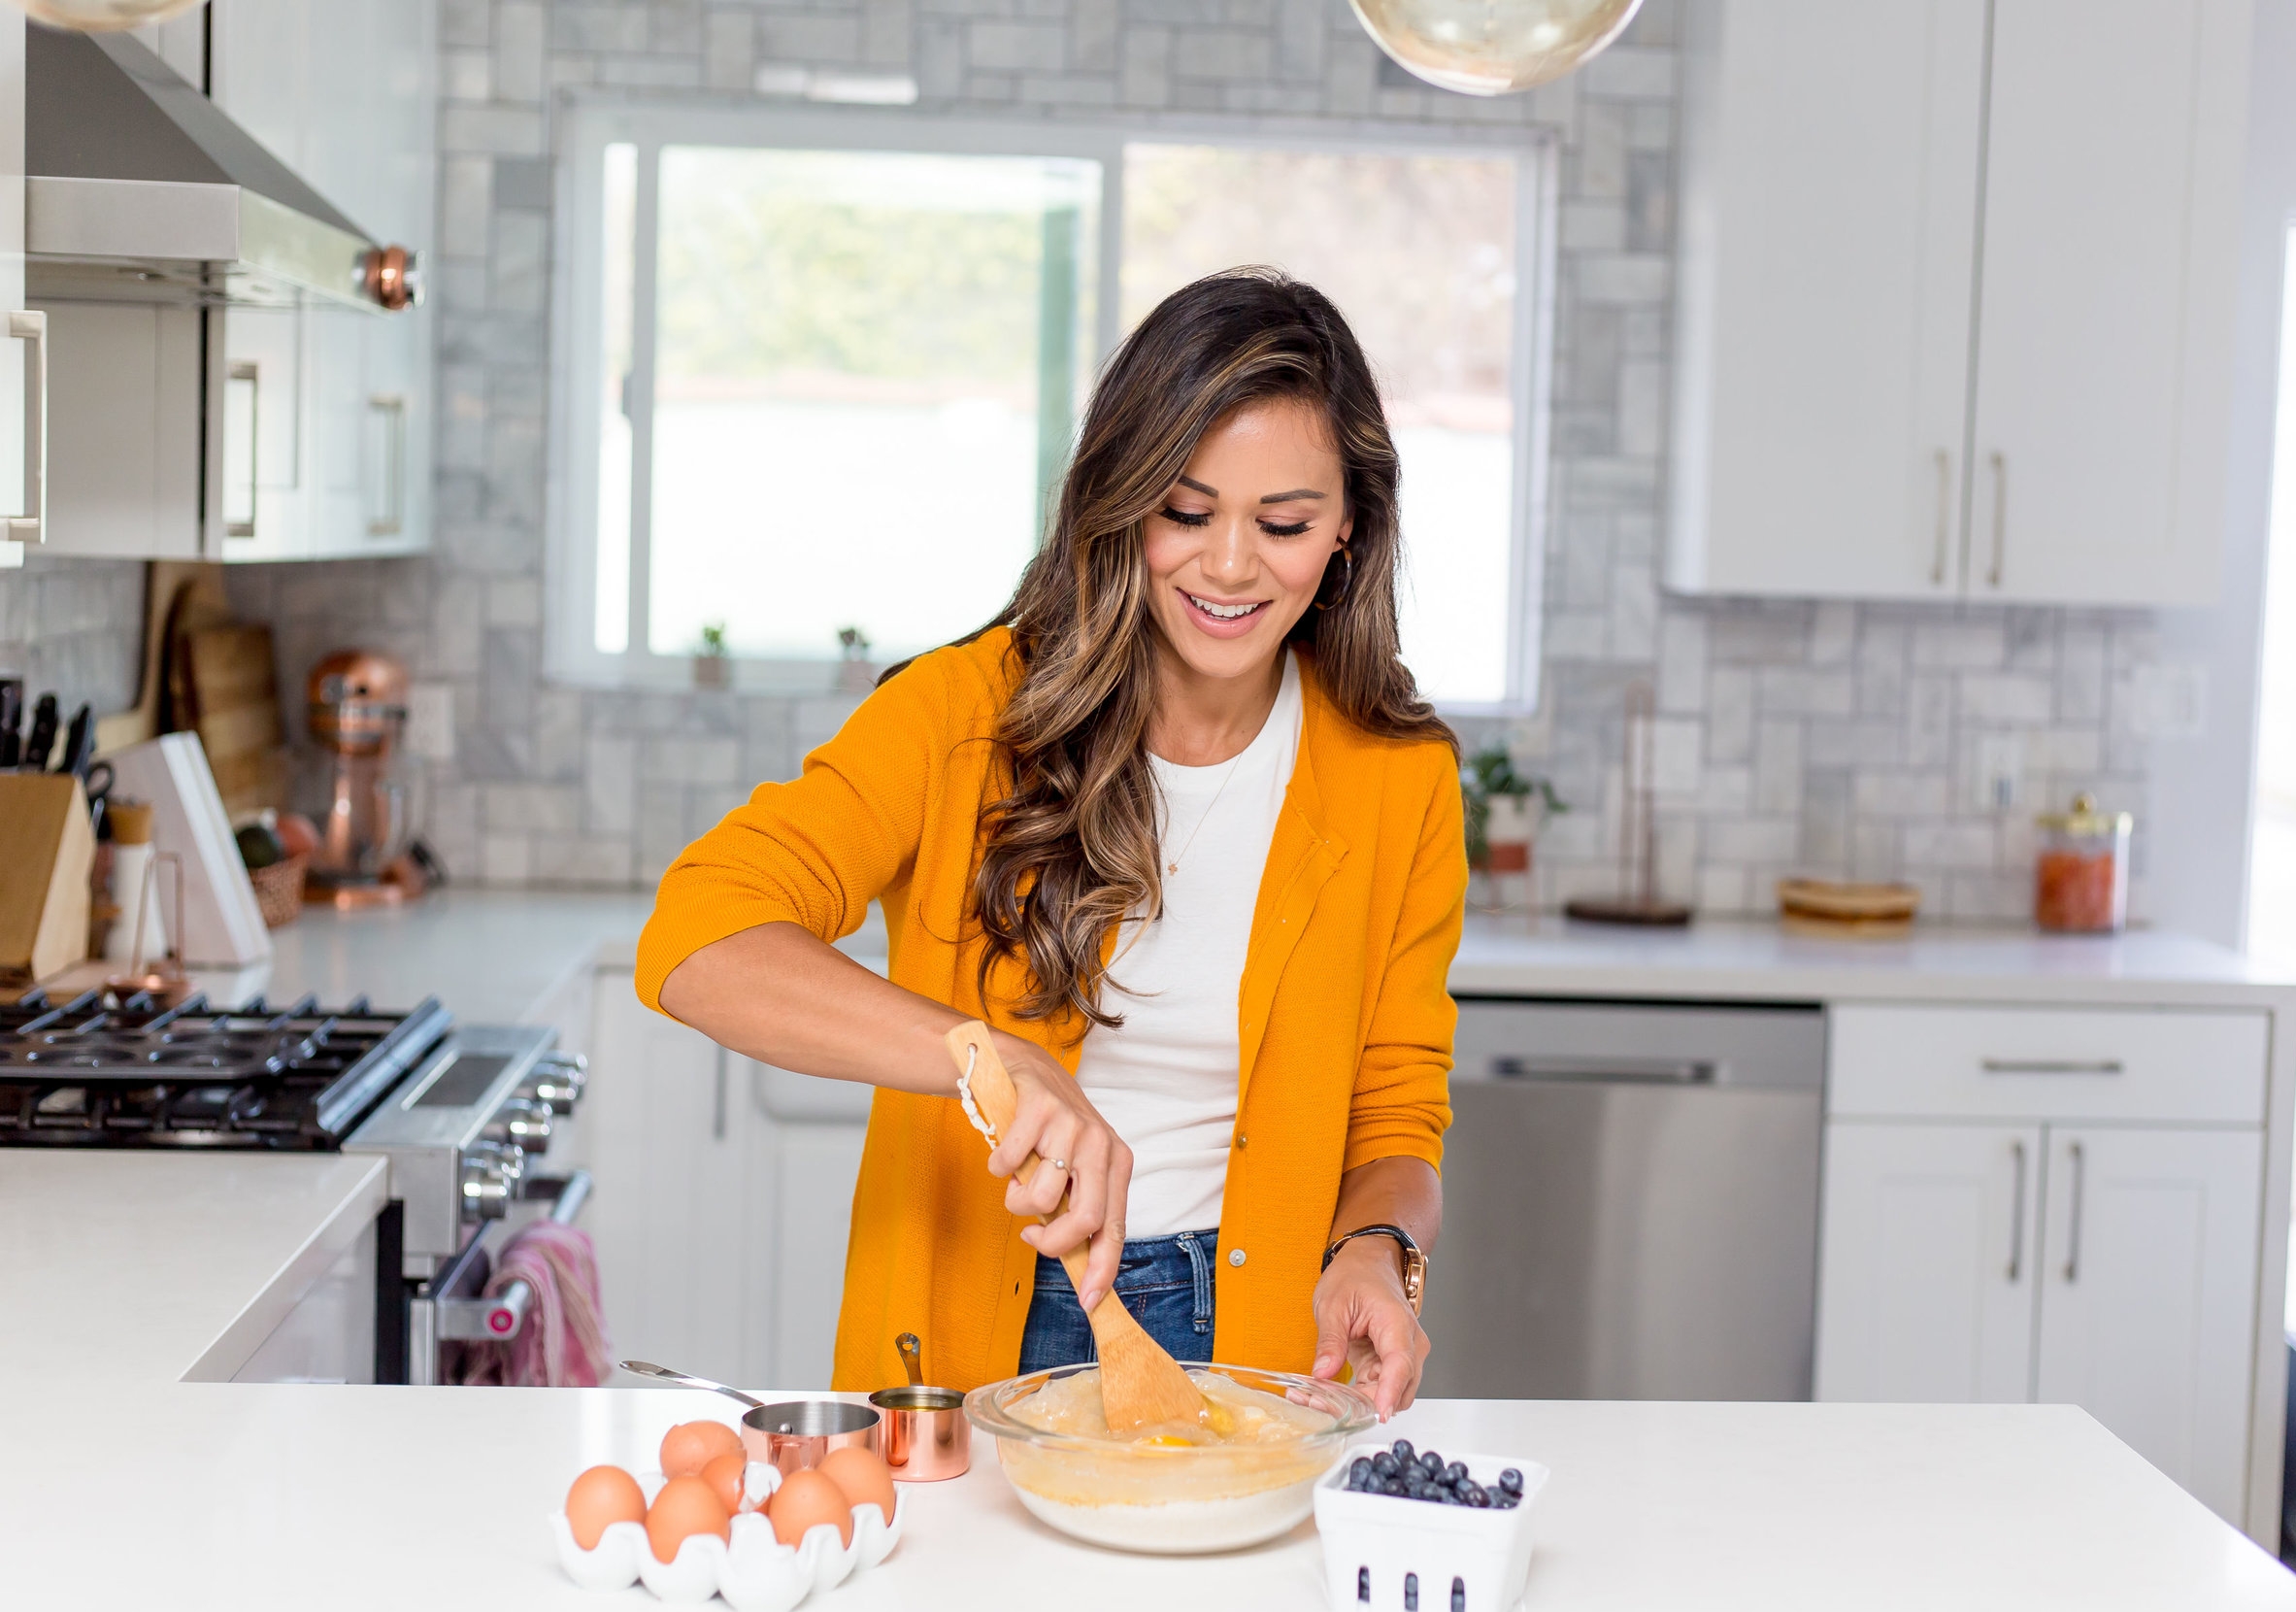
Blueberries are an absolute staple in our home so I’m thrilled to partner with the U.S. Highbush Blueberry Council on some fun and easy recipes like these pumpkin spice blueberry donuts. Some might argue these aren’t donuts because they aren’t fried but I promise you they are every bit delicious. These cake donuts are fluffy and tender with juicy blueberries, a creamy frosting and if you like pumpkin spice-they have all those warm comforting flavors that instantly get you in the fall mood.

6D4A1137.jpg

And when I say this recipe is easy, I mean SO simple! All you need is pumpkin bread/muffin mix, oil, eggs, water and blueberries!

6D4A1349.jpg

You basically make the batter, fold in the blueberries and then pour it into your donut pan and bake. That’s it. This is the donut pan I use.

6D4A1436.jpg

If you want to add a simple glaze on top, you need a little bit of powdered sugar, water or milk (I used almond milk cause that’s what we had on hand) and some chopped blueberries. Then just frost them after they’ve cooled.

6D4A1369.jpg

Even my 15 month old daughter, Milly was able to join in on the fun! If you’re like me and your kiddos won’t let you do anything without them, invite them to help you! I love using cooking and baking as a teaching tool. I had Milly help me add the blueberries to the batter. It may have took her a while and she ate about half of the blueberries but she did it and was so proud of herself!

6D4A1208.jpg
6D4A1241.jpg

For a finishing touch, I added a few fresh blueberries on top of each donut while the frosting was still wet and I had Milly help with this too.

6D4A1395.jpg
6D4A1264.jpg

I mean, can you even with those cute chubby baby hands!?

6D4A1274.jpg
6D4A1292.jpg

I just love this recipe and I hope you do too. The flavors of the pumpkin spice and blueberries work so well together and frankly, I think it’s a beautiful treat to show off at any of those holiday parties you have coming up!

6D4A1472.jpg
6D4A1324.jpg
recipe.jpg

Photography Credit: @Ographr

A Mermaid Inspired Dessert Table
JQ2_0643.jpg

I adore a good dessert table. It's perfect for someone like me that can never just commit to one dessert. Anyone else want the cookie AND the ice cream? I remember when I was a little kid and my parents would let us get one treat-I'd always try to find a way to get two! Why have just ice cream when you can get an ice cream sandwich with two chewy cookies hugging that ice cream. Right?! A dessert table at a party is always a good thing...and in some ways it's easier! Making a batch of a few things brings me so much more joy than stressing about making one gigantic perfect cake. And something I've learned in my years of hosting parties and my experience owning a dessert catering company (raise your hand if you knew this-and if you didn't-let me know in the comments below and if you want me to blog about that amazing adventure) is not everyone likes cake (gasp!). So I knew a dessert table was the way to go when it came to our daughter, Milly's first birthday shellebration! 

JQ2_0771.jpg

How cute is this babe holding her birthday cake truffle? For the record Mama took it out of her hand before she could sneak a bite (sorry baby girl!).  If you read Milly's first birthday party post, then you already know I didn't end up making her a homemade smash cake like I wanted to. We actually didn't let her do a smash cake at all and guess what? It was fine! She already got her first taste of buttercream when we gave her a cupcake during her one year photos and that was enough for both Mr. A and I to agree that we don't need to let our babe go ham on some cake. 

JQ2_0654.jpg

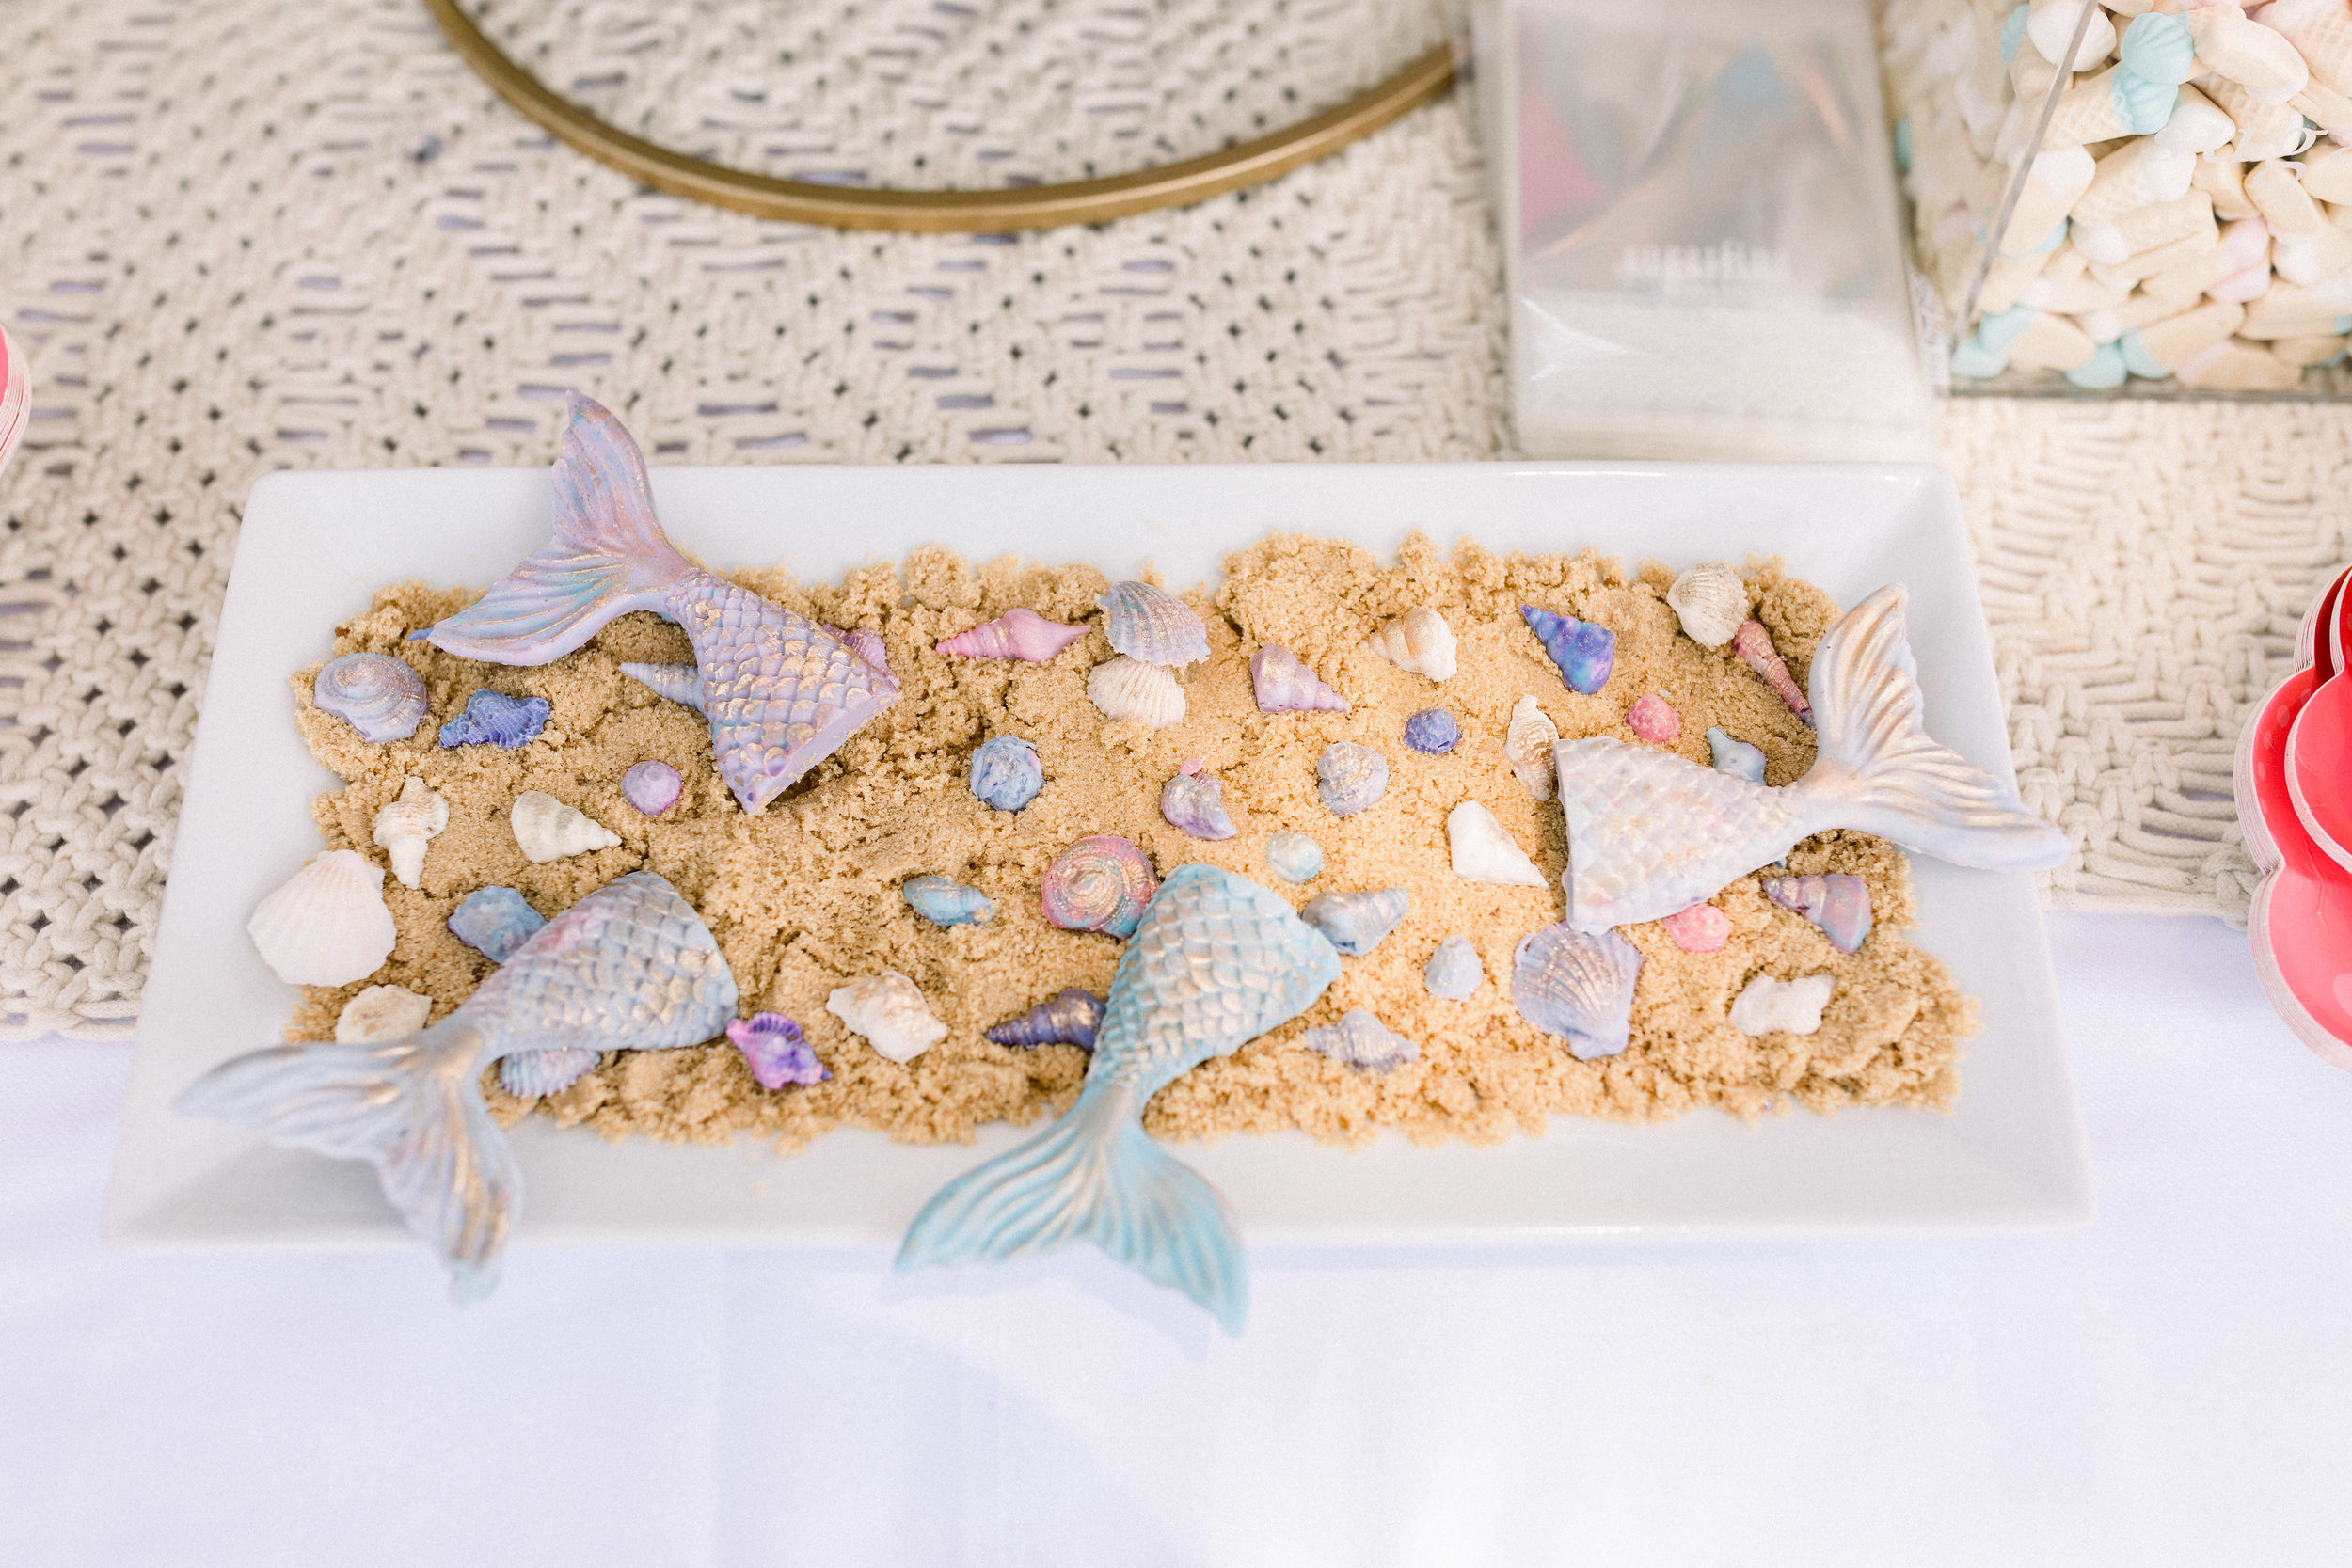
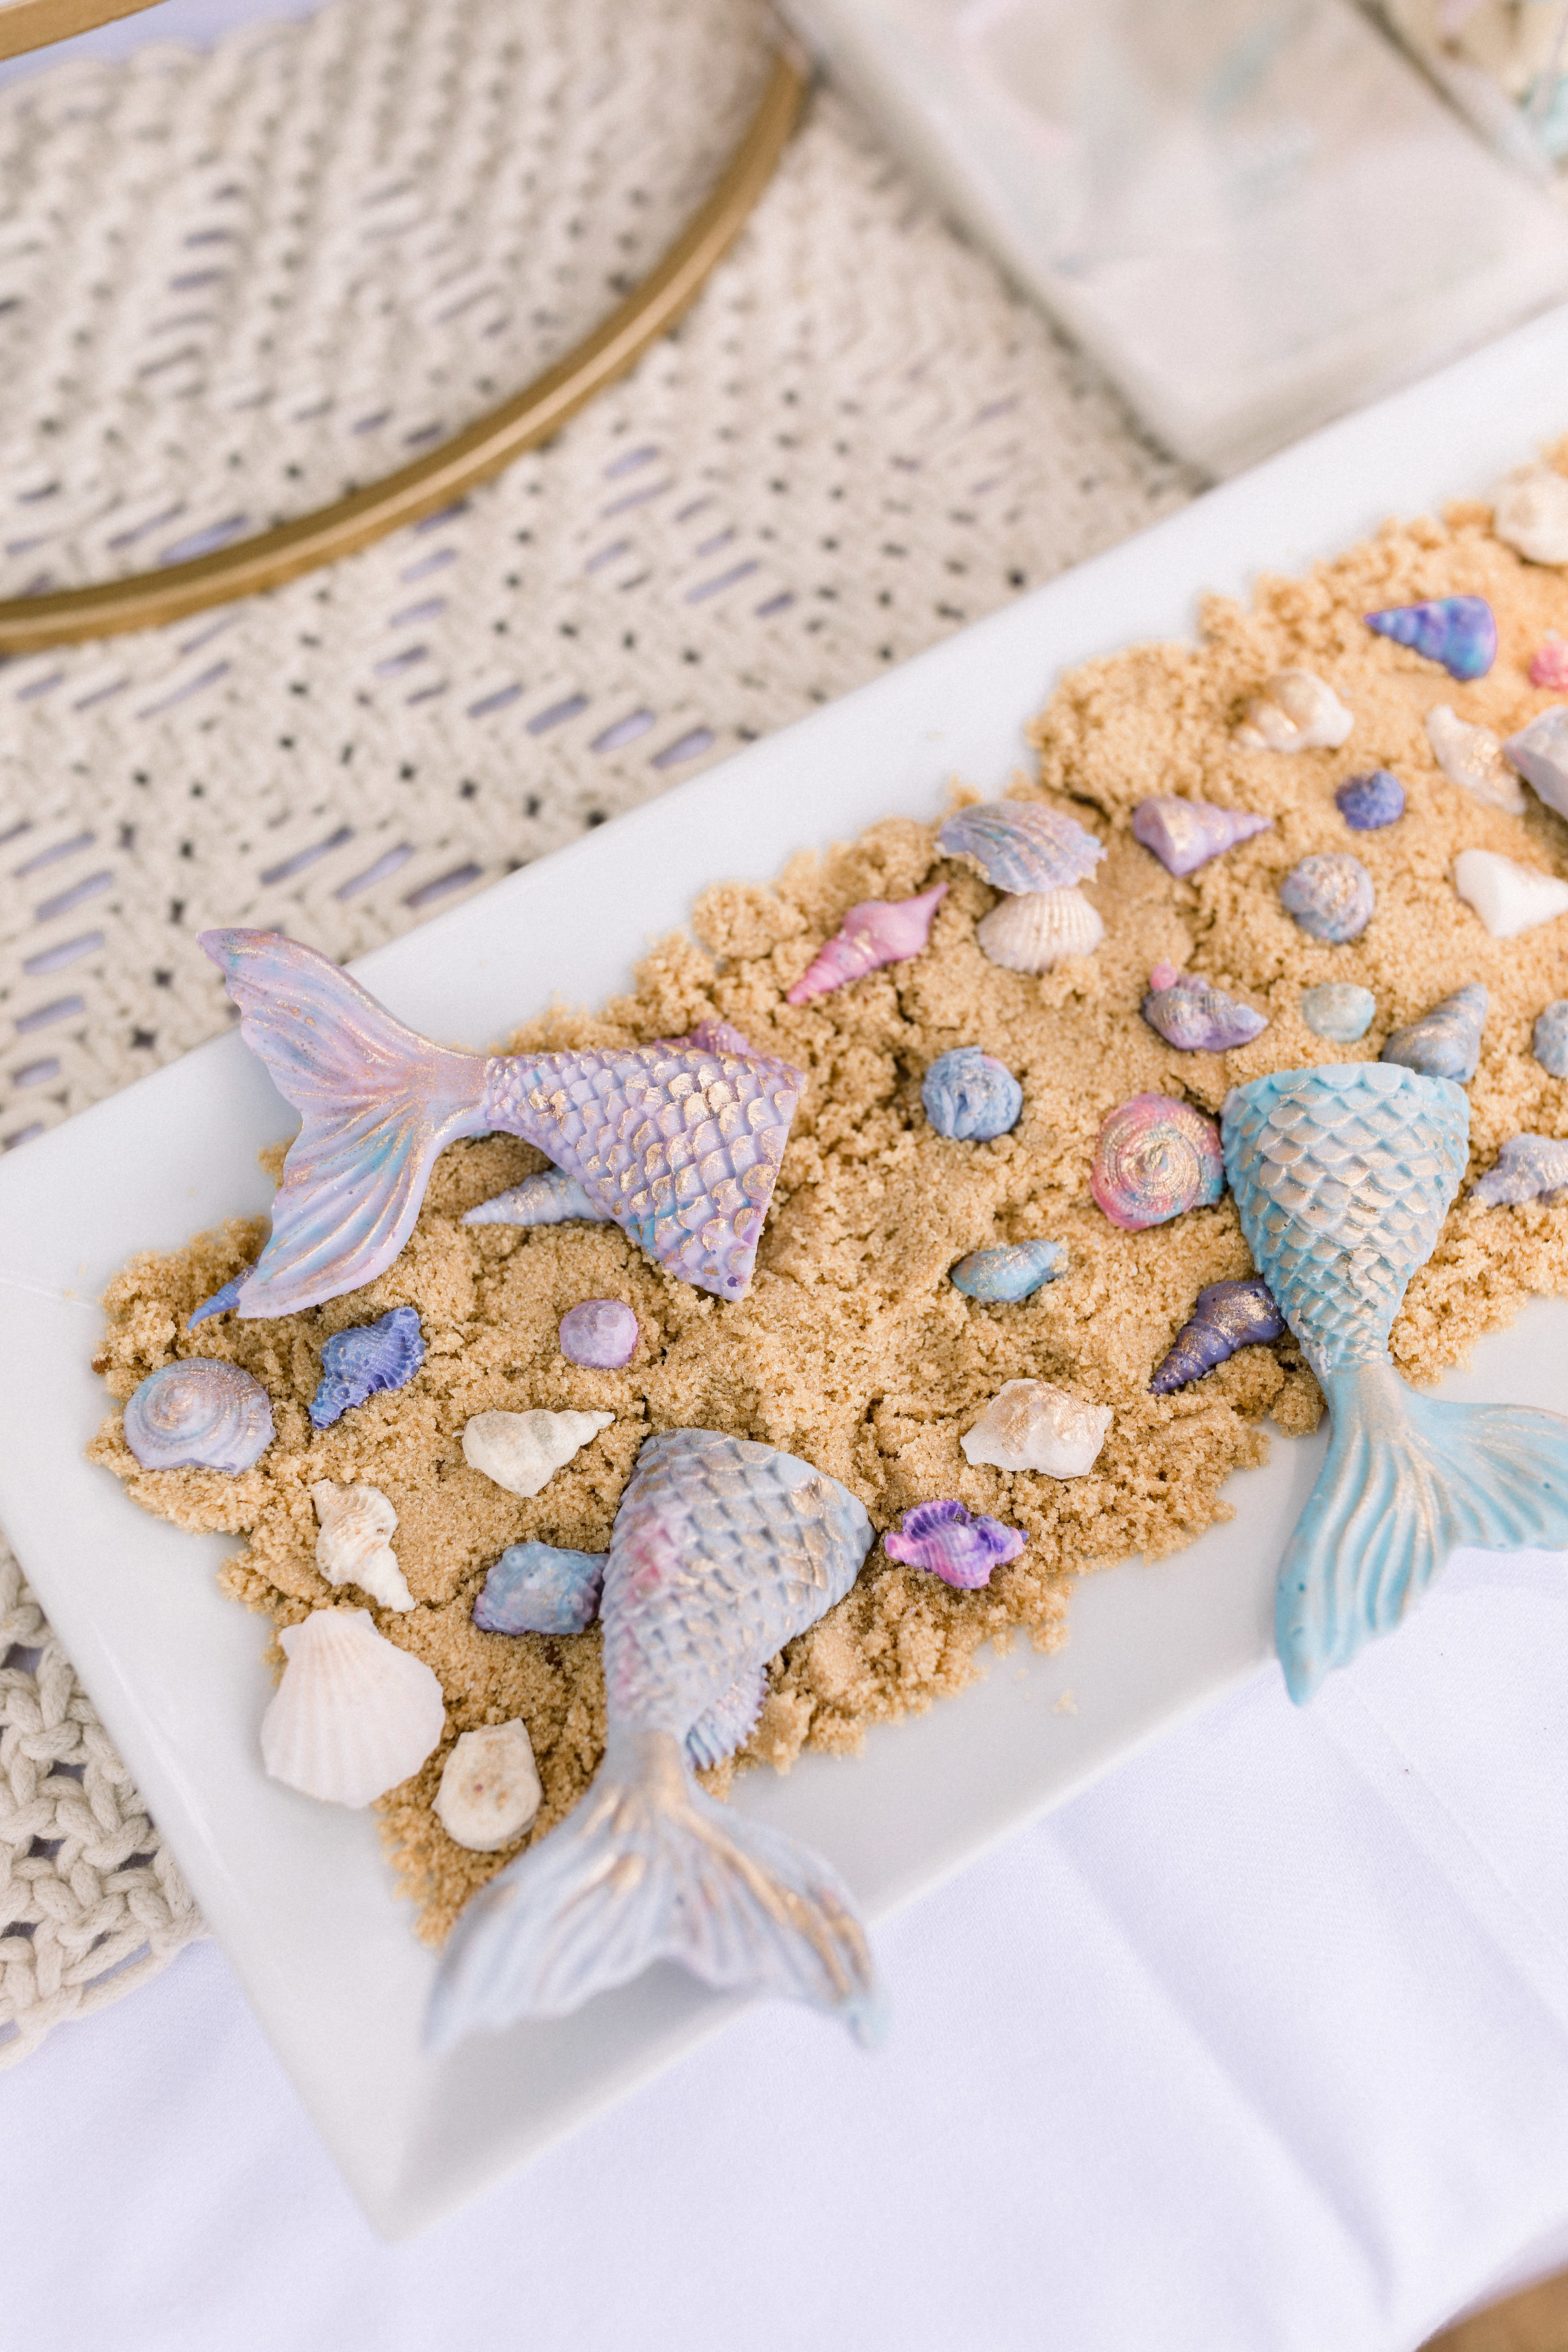
We did however make sure we had cake for our guests! I ordered our favorite birthday cake and truffles from Momofuku Milkbar and made my favorite funfetti cupcakes topped with chocolate seashells and mermaid tails.

JQ2_0658.jpg

These are SO easy to make and you can find the molds for each online. Scroll down for the full recipe/directions on how to make these. 

JQ2_0670.jpg

One of the easiest treats to make ahead of time for a party are marshmallow treats! You can't tell, but these are made with brown butter giving them a salty caramel flavor.  It's my absolute favorite way to elevate any dessert.  Then while they were still warm, I sprinkled my favorite sprinkles from Sweetapolita on top. These were gone in like .2 seconds!

JQ2_0680.jpg

And if that's too much work and you want to keep things simple, host a candy bar! Even if it's just to see adults act like giddy little kids-have a candy bar at your party.  I'm telling you it's amazing! We love Sugarfina because they have all the best candy.

JQ2_0659.jpg

I'm partial to gummies so we chose 5 of our favorites (baby whales, peach bellini, baby butterflies, apple frogs and ice cream cones). Nothing brings me more joy than to watch the look on people’s faces as they load up their candy bag! I also love how this pretty much acts as a party favor meaning one less thing I need to do which by the way-I don’t like party favors and think they’re a total waste of money. :)

JQ2_0661.jpg

The last dessert we made were these cookie dough gems. Mr. A and I actually tag teamed making these because they’re that easy to do! They’re filled with homemade egg less cookie dough using this recipe (or you can also just buy Edoughble). All I did was tint white chocolate using gel food coloring (you can also use candy melts) and then filled each mold with the melted chocolate. Flip it over to allow the excess to drip and then place in freezer for about 5 minutes to set. Then you fill each chocolate coated mold with cookie dough and top with more melted chocolate to seal. Place back in the freezer for at least 15 minutes to harden. To remove gems from the mold, just tap on a kitchen towel covered counter. You can make these up to a week in advance if kept in a cool, dark place. You can also keep them in the refrigerator but they can sometimes sweat. For a finishing touch, I dusted mine with luster dust.

JQ2_0665.jpg

I melted several different colors of white chocolate and then swirled them with a knife to create the marble effect before coating each mold!

JQ2_0672.jpg

I actually used the same chocolate for the gems as I did with the mermaid tails and shells. Keep it simple!

JQ2_0679.jpg

 I just adore how our daughter's party turned out. Let me know what you think! And if you recreate any of these recipes or ideas, tag me on instagram @BrandiMilloy. For the full party blog post including the simple DIY balloon arch Mr. A and I made, be sure to check out Milly’s First Birthday Shellebration. And scroll down for a quick recipe for these show stopping mermaid tails!

JQ2_0681.jpg

CHOCOLATE MERMAID TAILS RECIPE

by Brandi Milloy

Ingredients:

Directions

  1. Slowly melt candy melts using a double boiler method or in the microwave for 30 seconds and then 10 seconds at a time. Once they are melted, use a spoon to carefully fill the mold, tapping it on a hard surface to get rid of any air bubbles. I mixed a few different colors to achieve the pastel watercolor look.

  2. Place mold in the freezer to harden and set for about 10 minutes. You can make these up to a week in advance and they will still taste and look fresh as long as you keep them in a dry cool place. 

Milly's 1st Birthday Shellebration
JQ2_0764.jpg

Thank you to Jenny Quicksall for her amazing photography in capturing this special day for us. Like all parties, it's always a whirlwind trying to say hi to everyone, make sure food is replenished, all your guests have a drink, baby is happy, etc. I can't imagine trying to remember to take pictures on top of all of that much less pictures that include both myself, Mr. A and Milly- so to have our friend, Jenny there taking photos of each moment was an immeasurable relief and a priceless gift we will cherish forever!

JQ2_0749.jpg

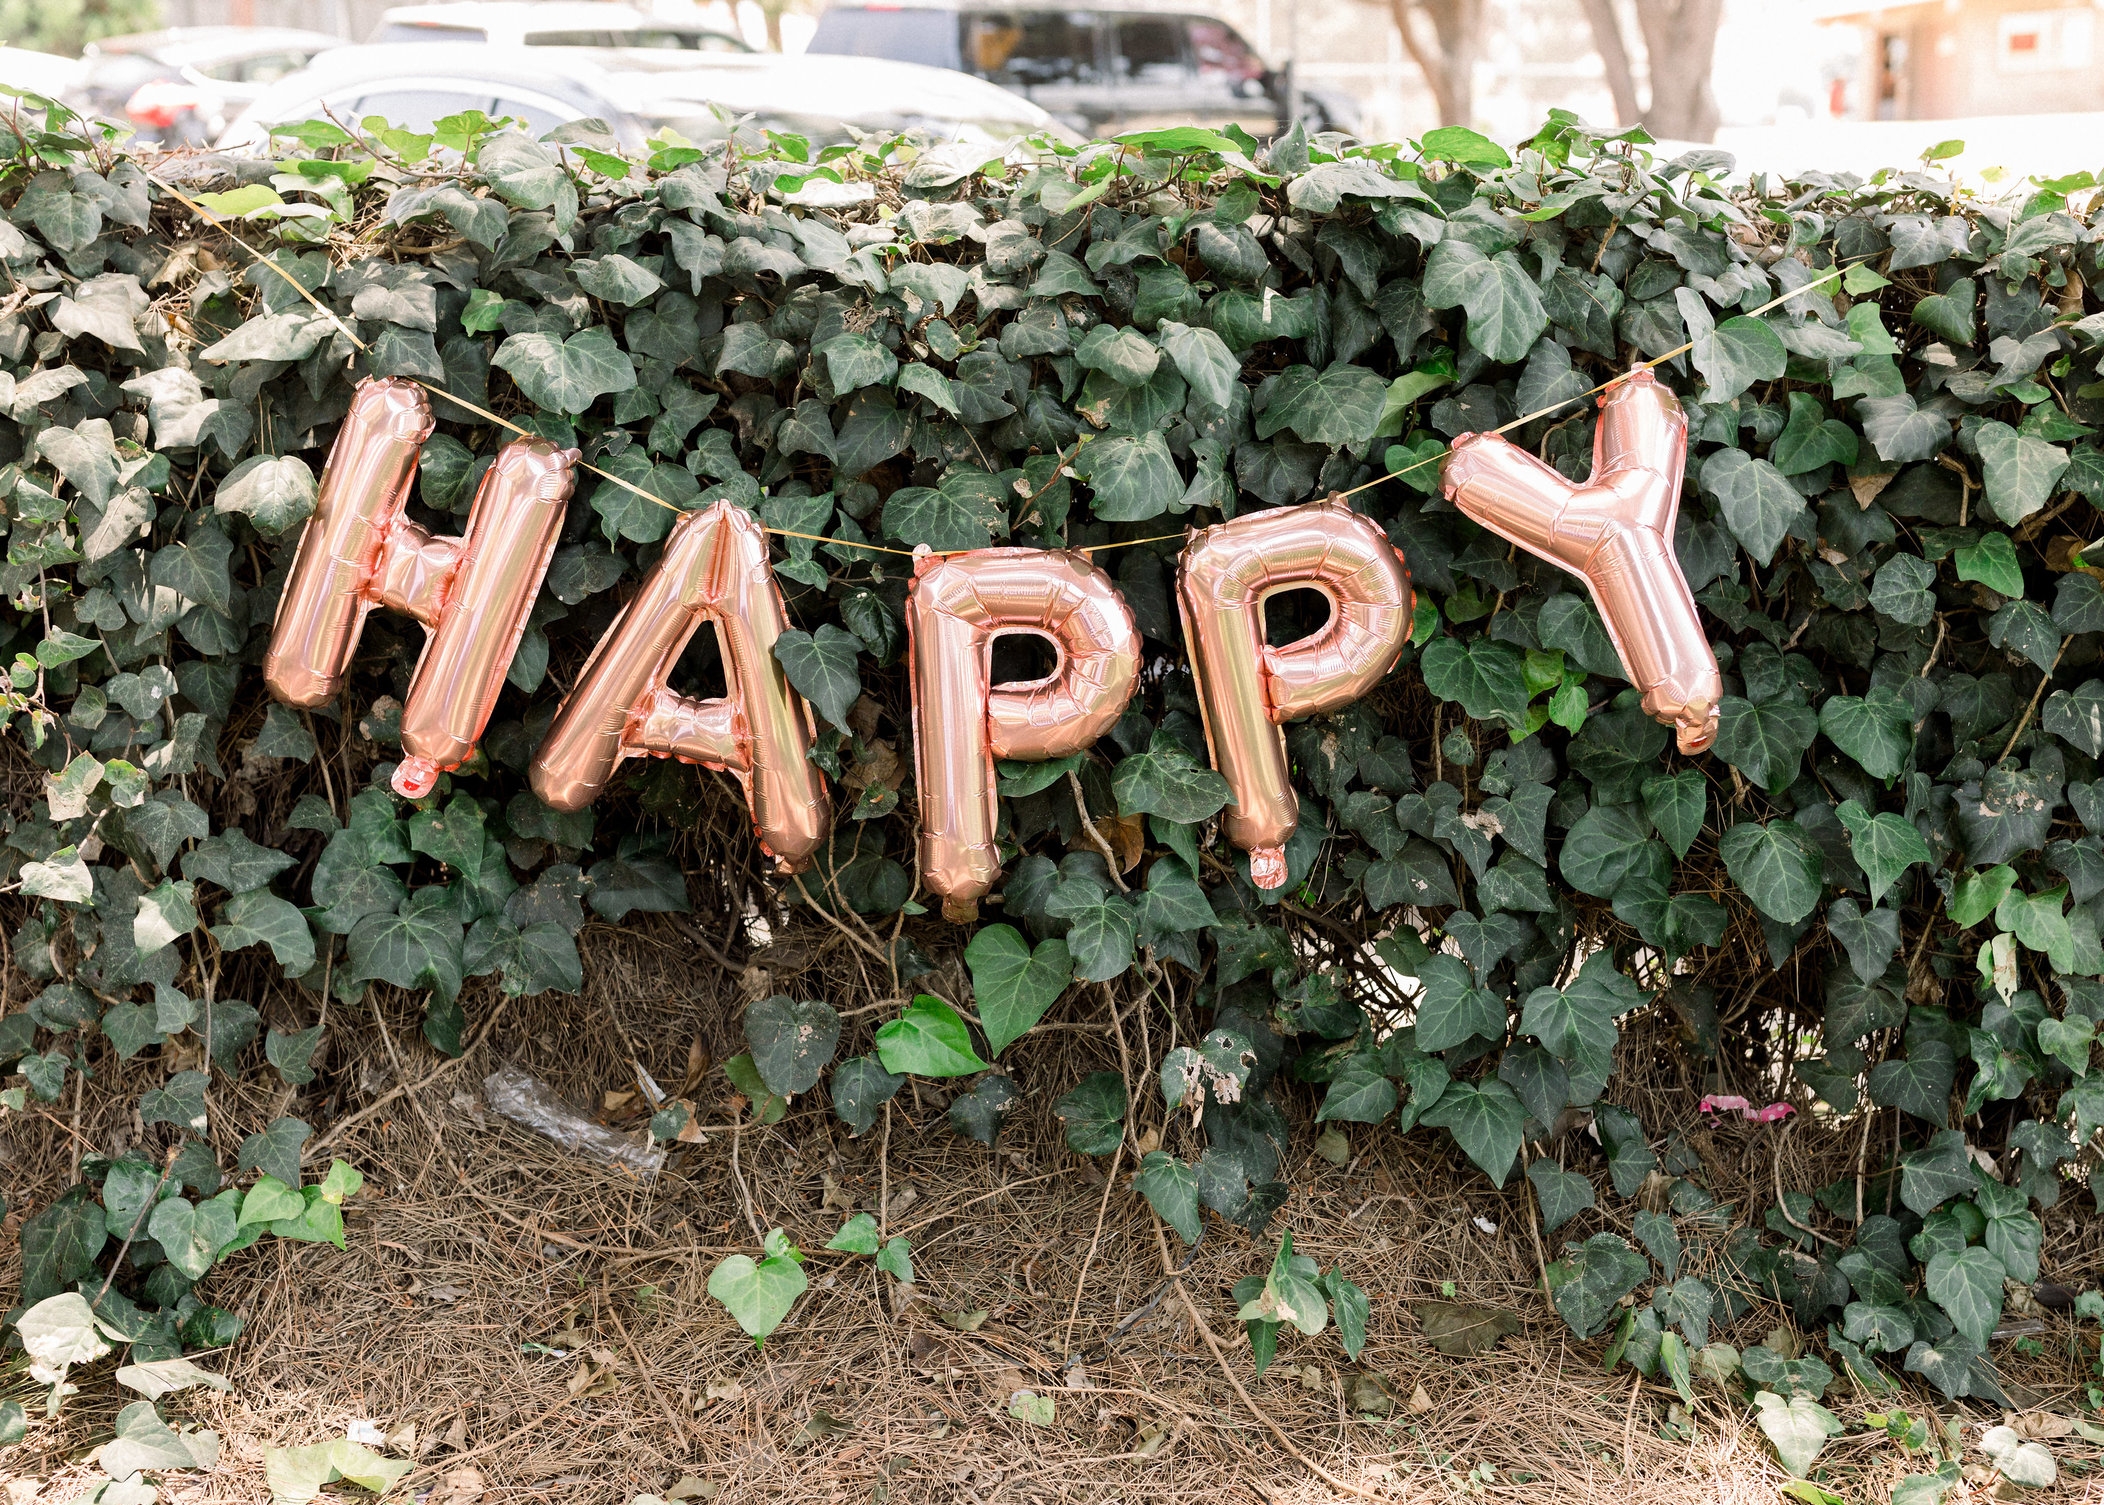
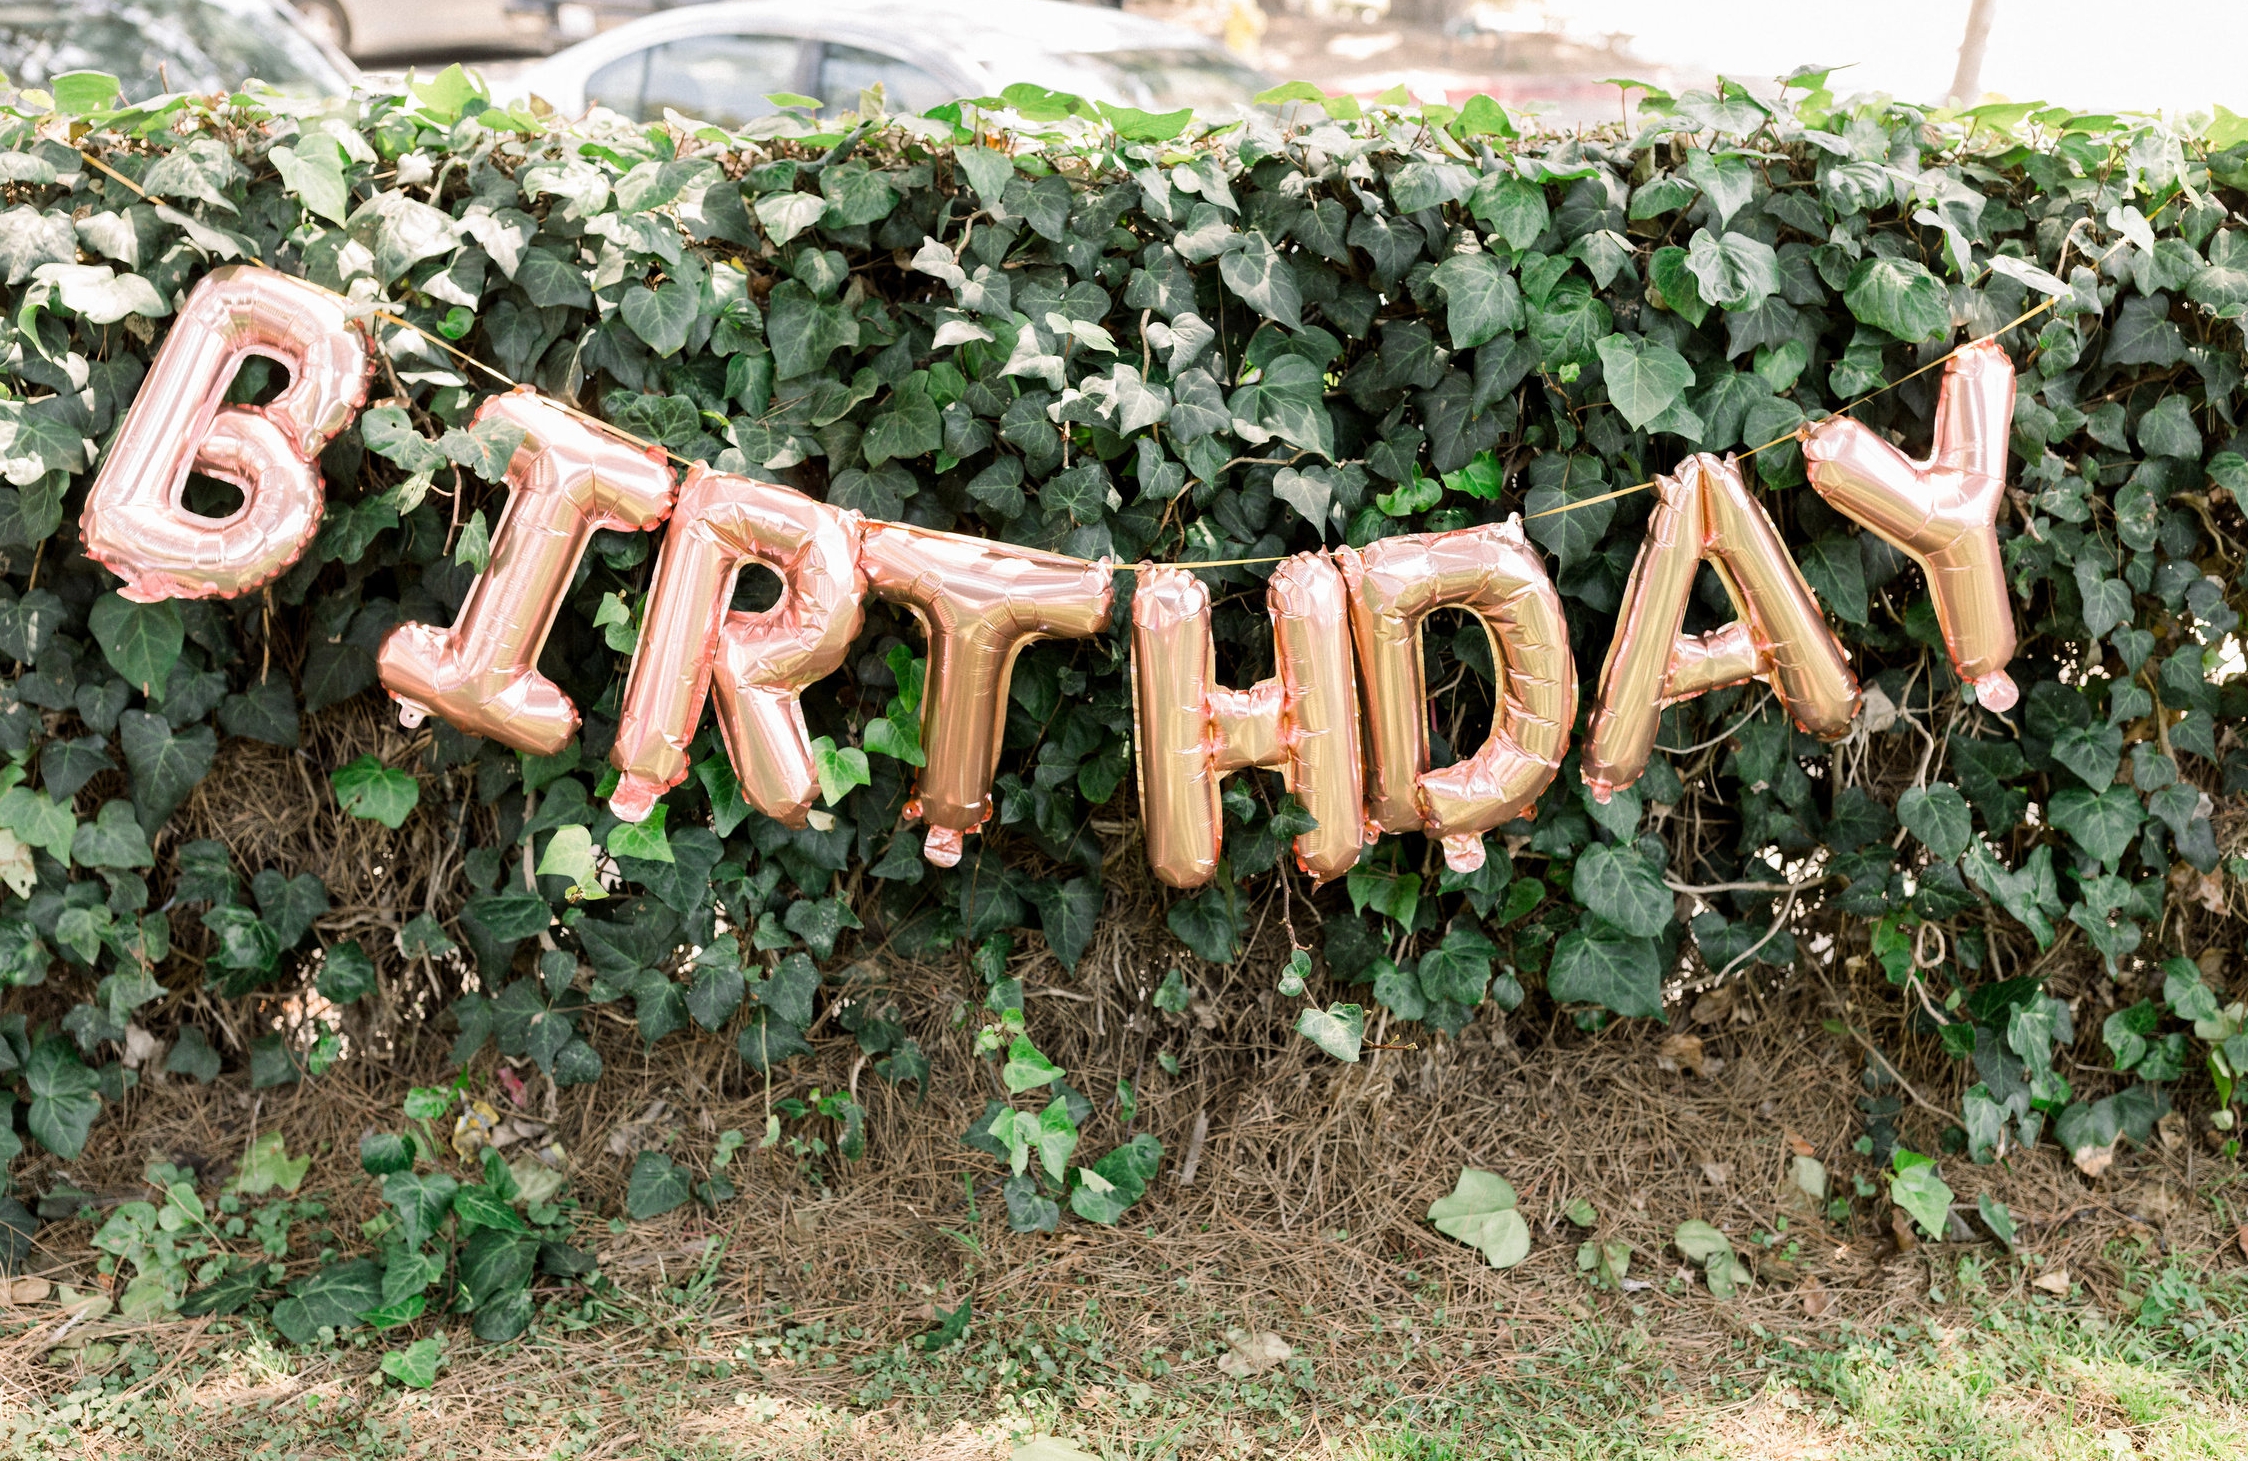
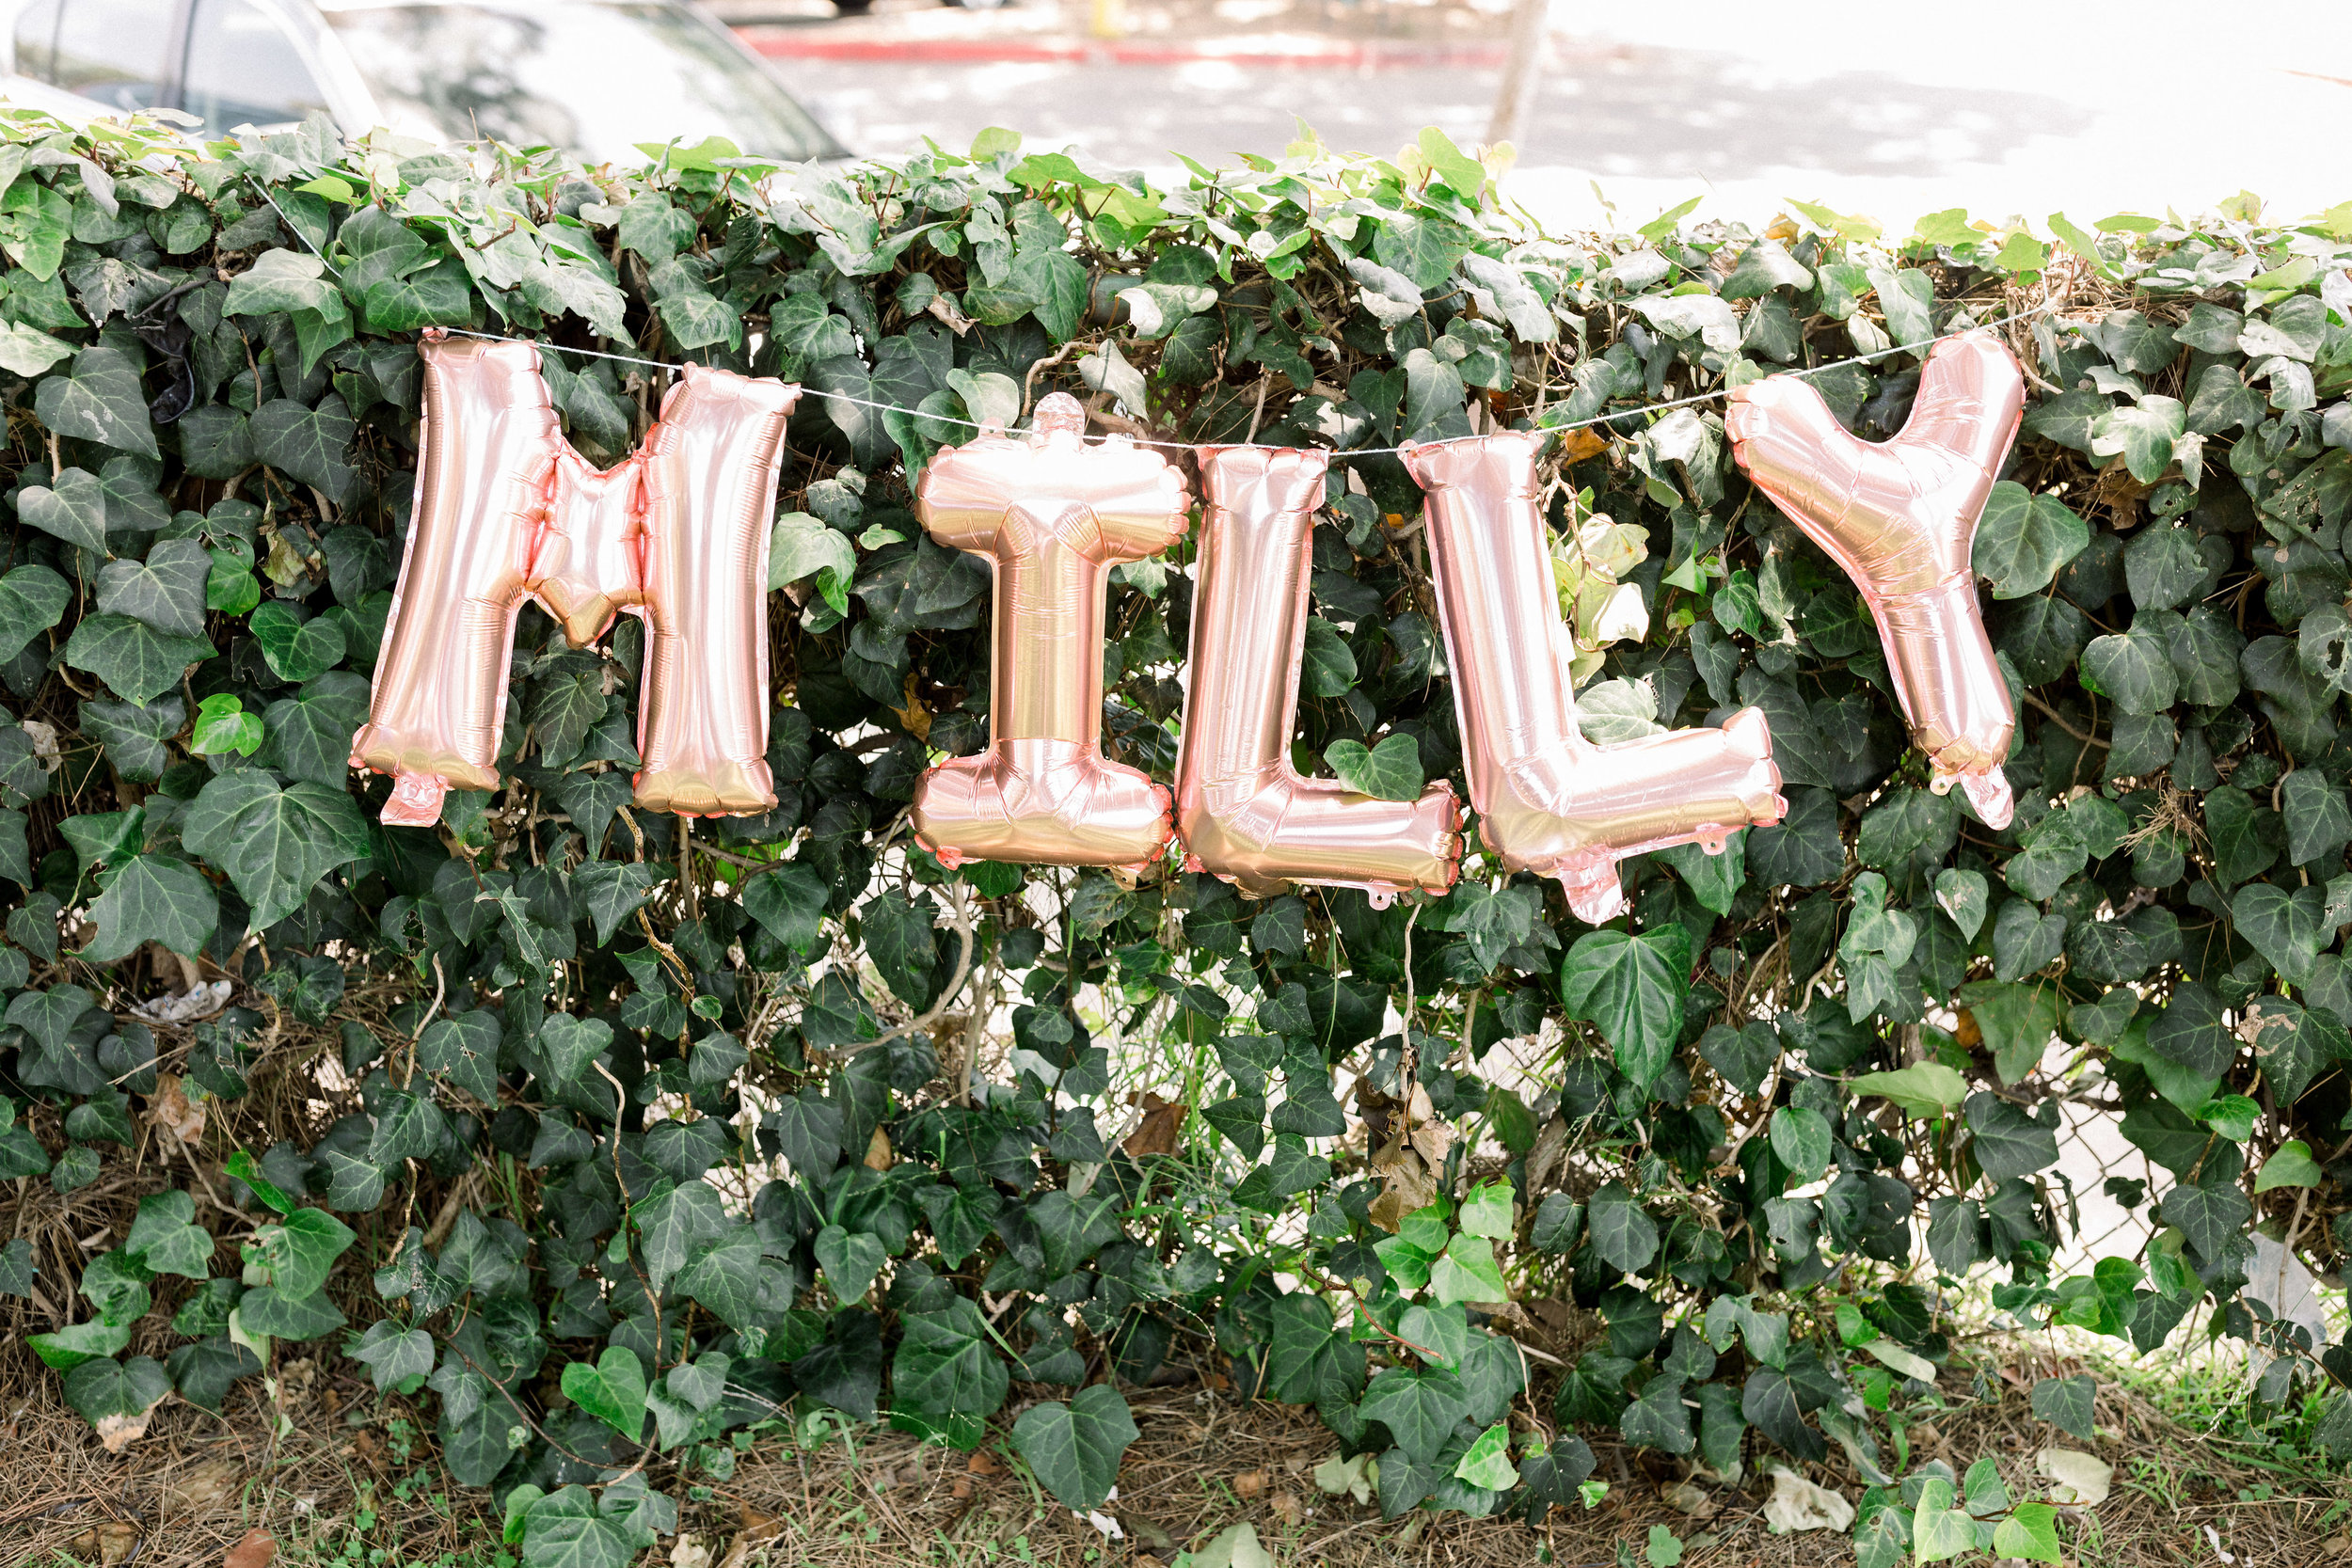
Happy Birthday Little Amazing!!! I can't believe our baby girl is already 1 year old. They say the days are long and the years are short and now that I'm a Mama I totally get it.  My little mermaid baby that couldn't wait to meet us, who was almost born in Daddy's car-is here and has given us so much joy in the last year it's hard to remember life before her. She is a dream baby but I don't know if I ever really looked at her like a "baby" because to me she's always been a magical gift from God, this tiny person that I've always known and continue to fall more and more in love with. Every night after we put her to bed Mr. A and I will look at each other and talk about how amazing she is. Sometimes we do this for hours. We love being Milly's Mama & Daddy! And we couldn't wait to shellabrate her with a party fit for the mermaid babe she is and invite all her friends.

JQ2_0871.jpg
JQ2_1022.jpg

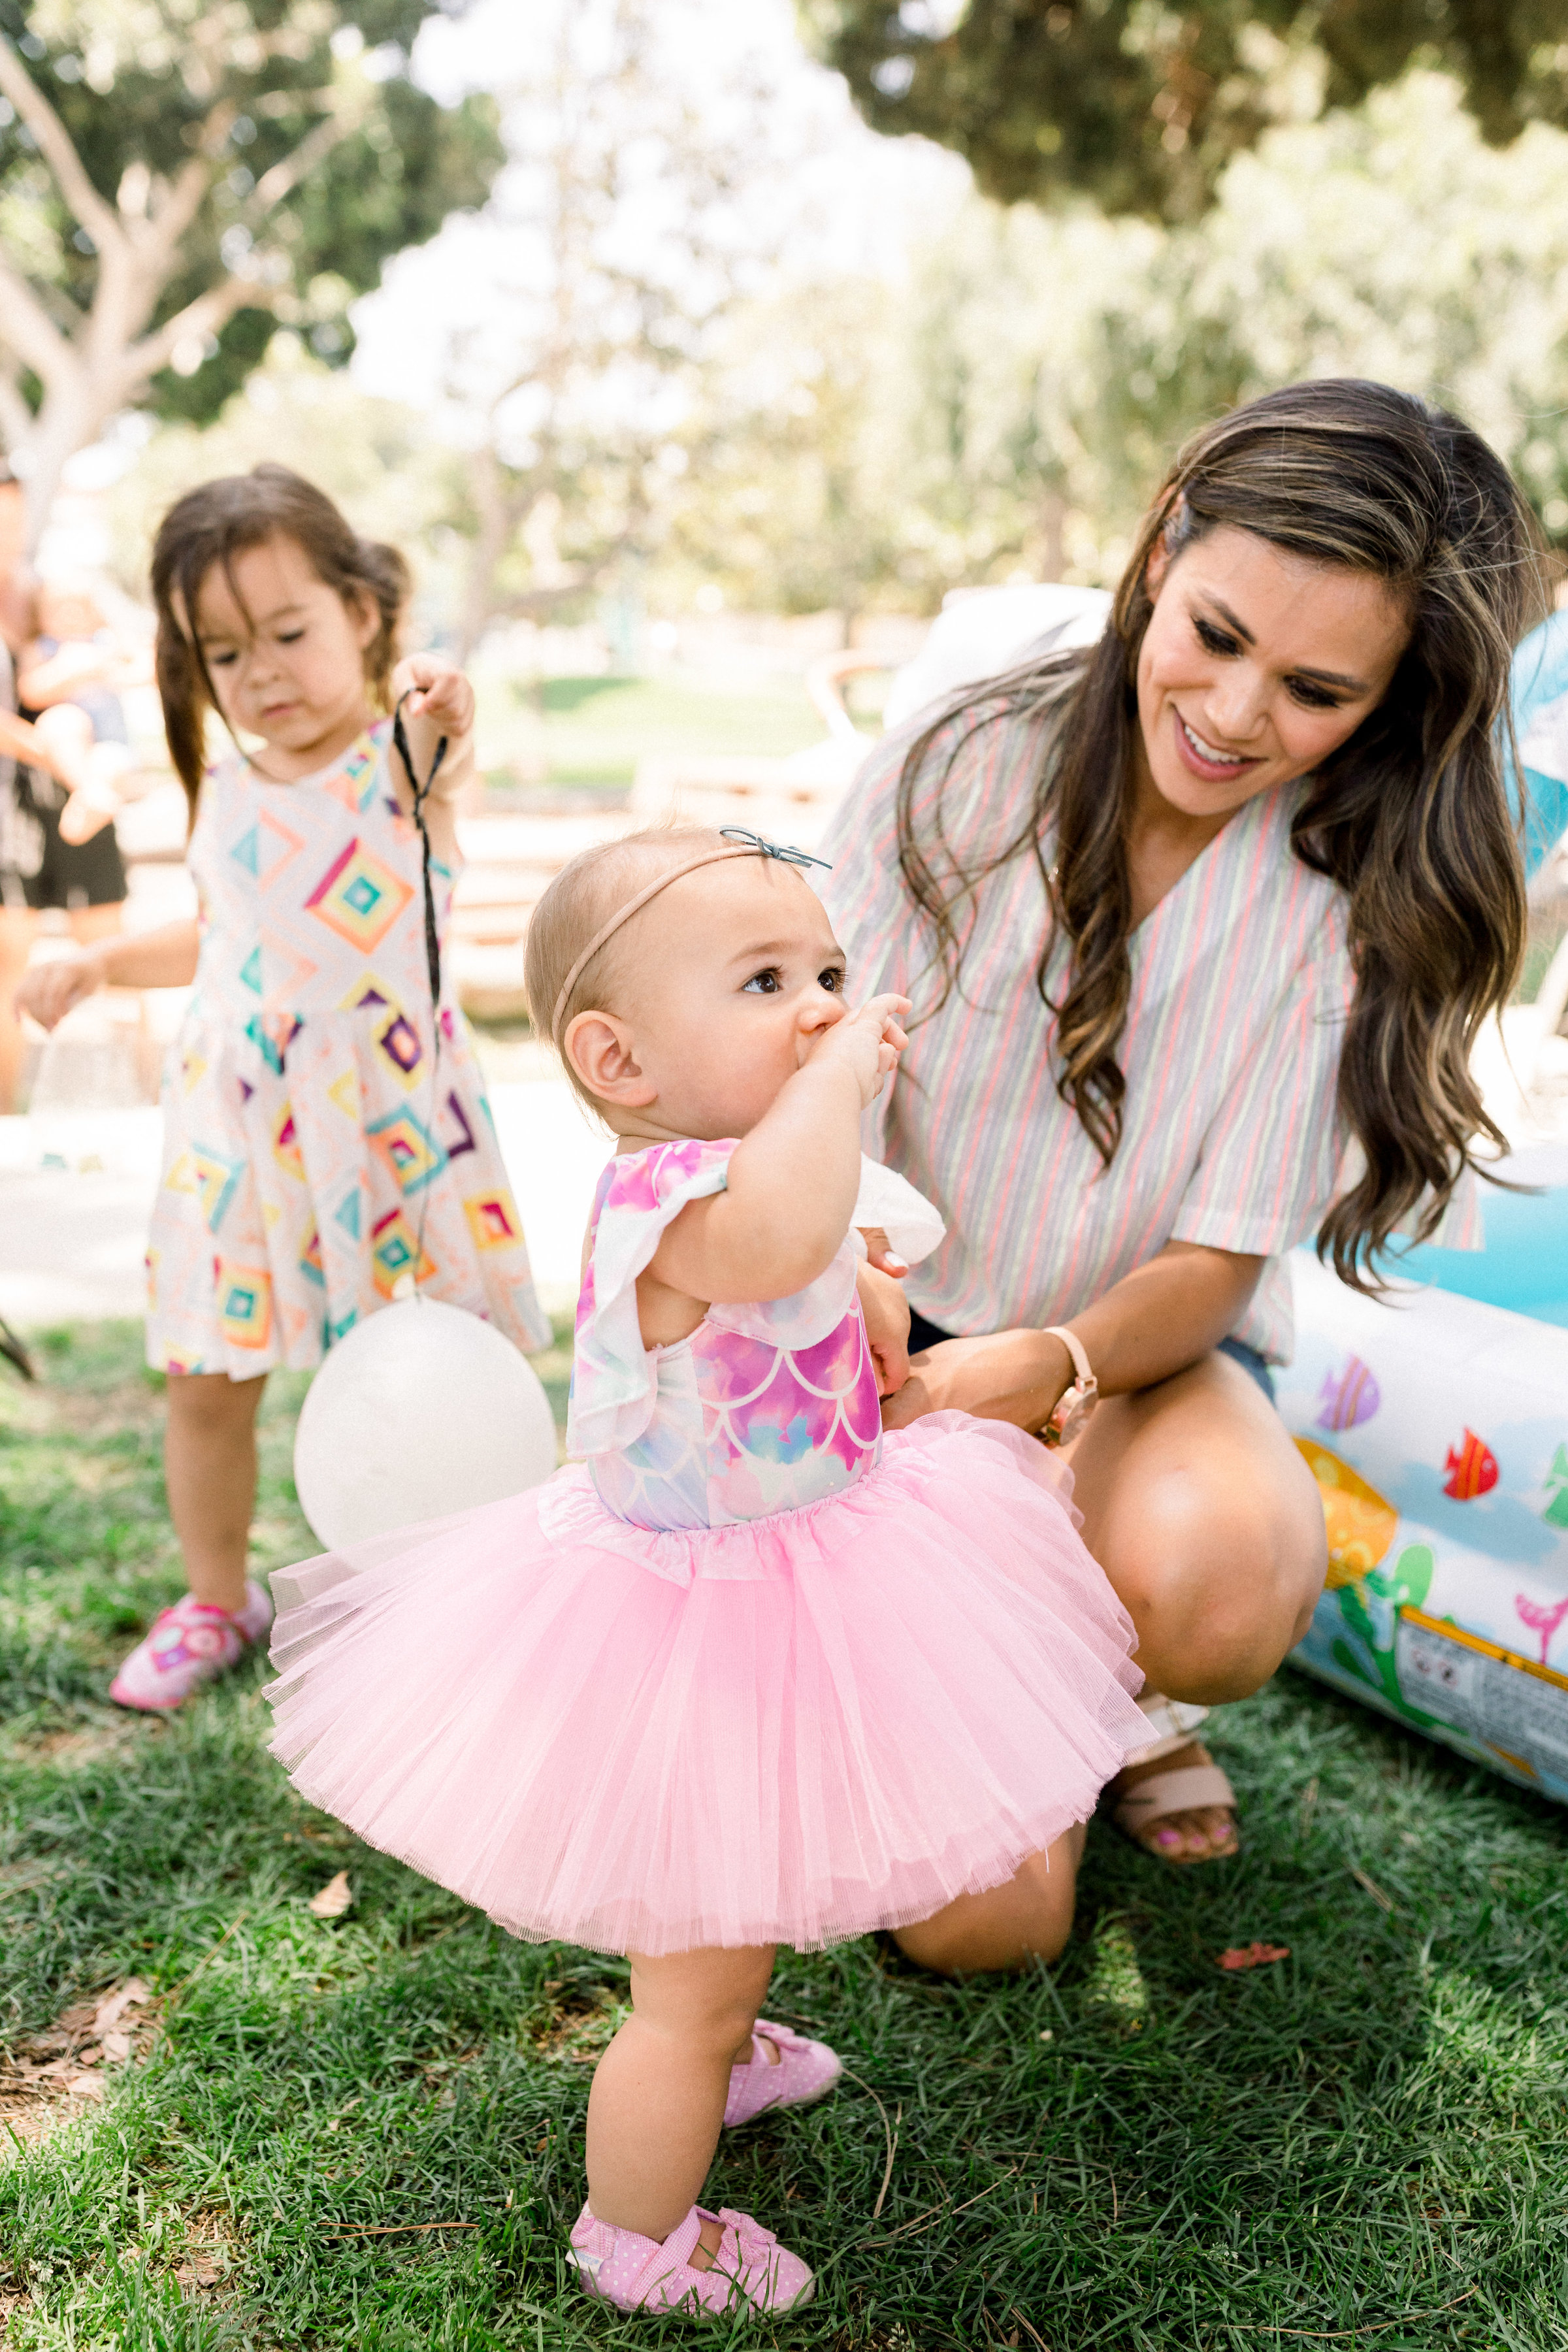
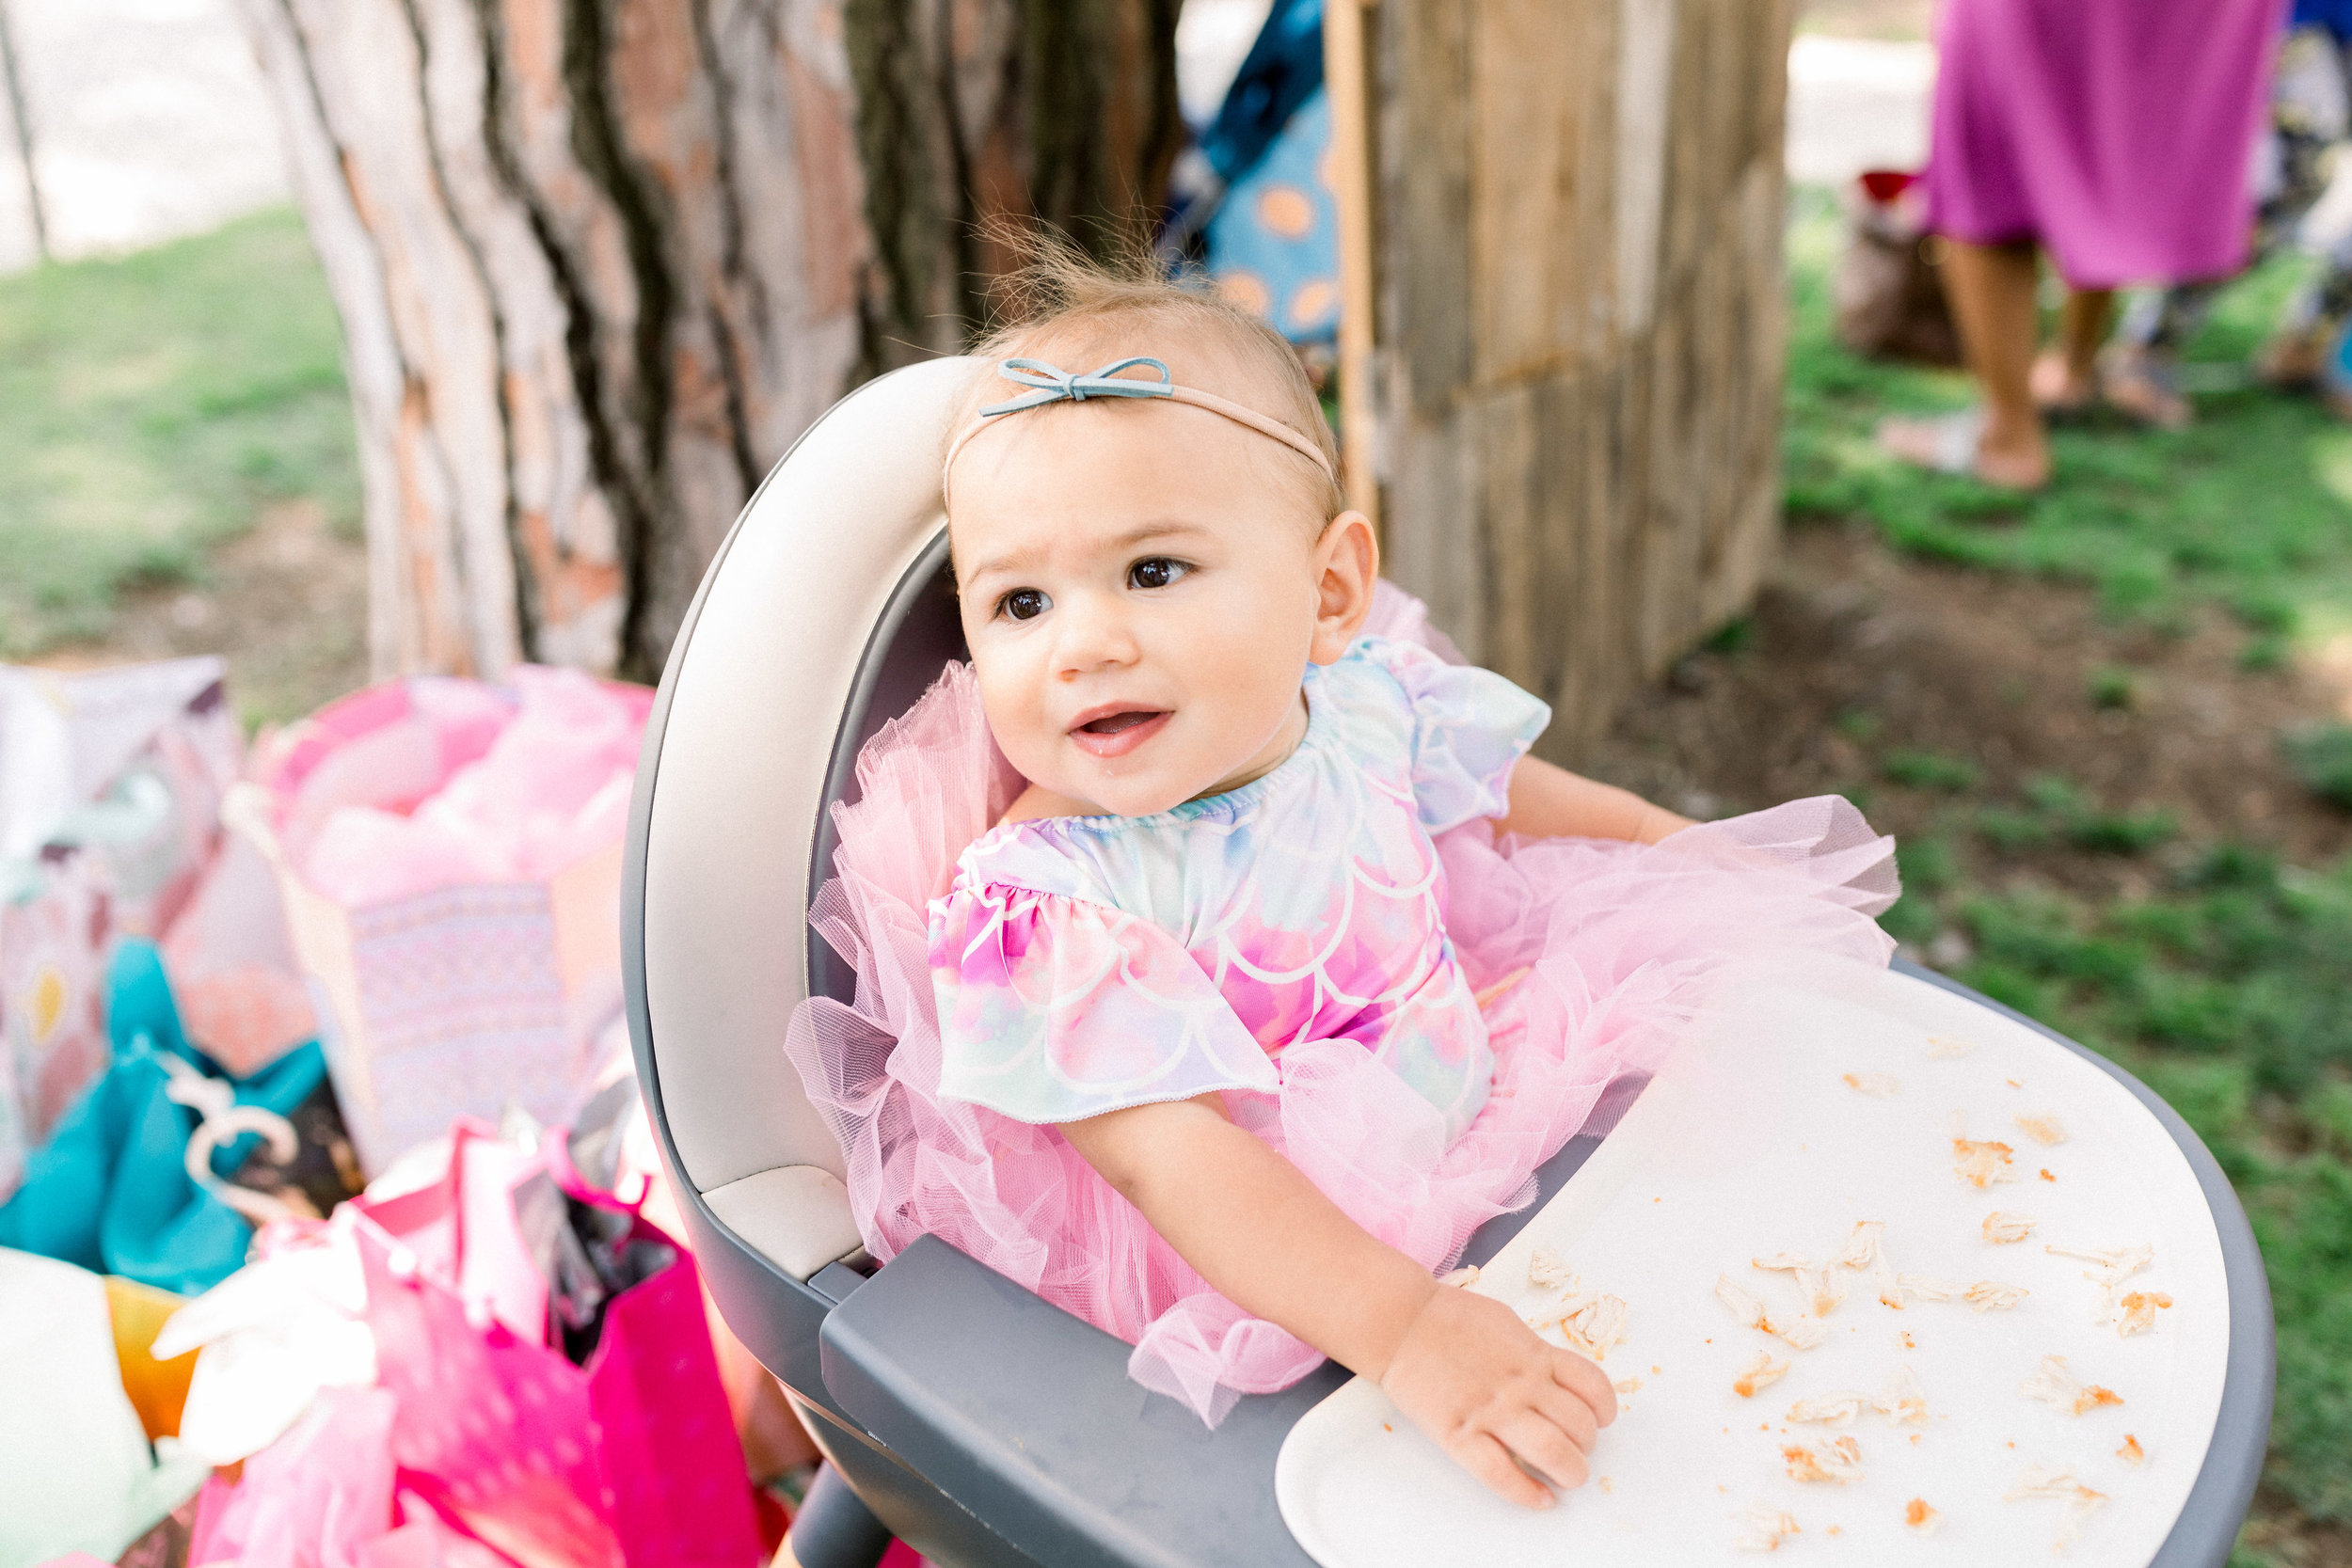
The inspiration for her party began with the sweet ruffled one piece she wore. I bought this on Amazon a few months after she was born because I liked it so much but never really planned on it being her birthday outfit. After months of looking at it hanging in her closet, I couldn't wait for her to wear it for her special day.  I like that it has the mermaid scales and pastel watercolors without being a true mermaid costume/outfit. When I added the pink tutu all of a sudden it was the perfect birthday ensemble. 

JQ2_0634.jpg

Our favorite park felt like the best spot to celebrate. There's plenty of room for all of her friends and their families and I liked the idea that guests could bring a blanket and we could all party under the trees.  The only predicament with this idea was figuring out where to hang decor and how to make the large space personal for our birthday girl. One night I was wasting hours on Pinterest when I showed Mr. A a balloon arch and backdrop. I explained to him how I didn't know where I was going to hang a simple Happy Birthday banner much less any other decor and he told me he'd make it for me.  Wait. What? He said he'd make a backdrop for the party. Maybe two of them. We had a ton of reclaimed wood on the side of the house his dad had given us from old projects/who-knows-what-else and he'd make them for me.  You guys-I HAD NO IDEA Mr. Amazing was so handy when I married him. I mean-the man is actually beyond handy. He is a home engineer! He fixes things, builds things, did a ton of remodeling on our house and so much more. In two days he had created two wood backdrops.

JQ2_0642.jpg

I'm obsessed with them. Oh but his help with the party didn't stop there. The man pretty much created both of the balloon arches in one evening so there's that too. I totally scored the best husband.  Granted these balloon arches look way more complicated than they actually are. I should have taken tutorial photos to share but it's not even necessary cause anyone can make these. All you need is balloon tape, balloons and a balloon pump (to make your life easier). The balloon tape is a plastic ribbon with holes where you place the tied balloons. Once you've blown up your balloons in various sizes, you just push each balloon tie into the holes on the ribbon (alternating colors and sizes). Once you have the length you want, simply cut the ribbon and fasten the arch. We used a staple gun to attach our balloon arches to the wood backdrops. If at this point you want to fill in any spaces and build out your arch with other balloons to make it fuller, you can tape them on, use glue dots or use a low temperature glue gun to add more. We ended up being pretty satisfied with how it looked the way it was! I think the real key is making sure you use different colored balloons that are still complimentary. I love these affordable variety packs I found and I still had balloons leftover!

JQ2_0824.jpg

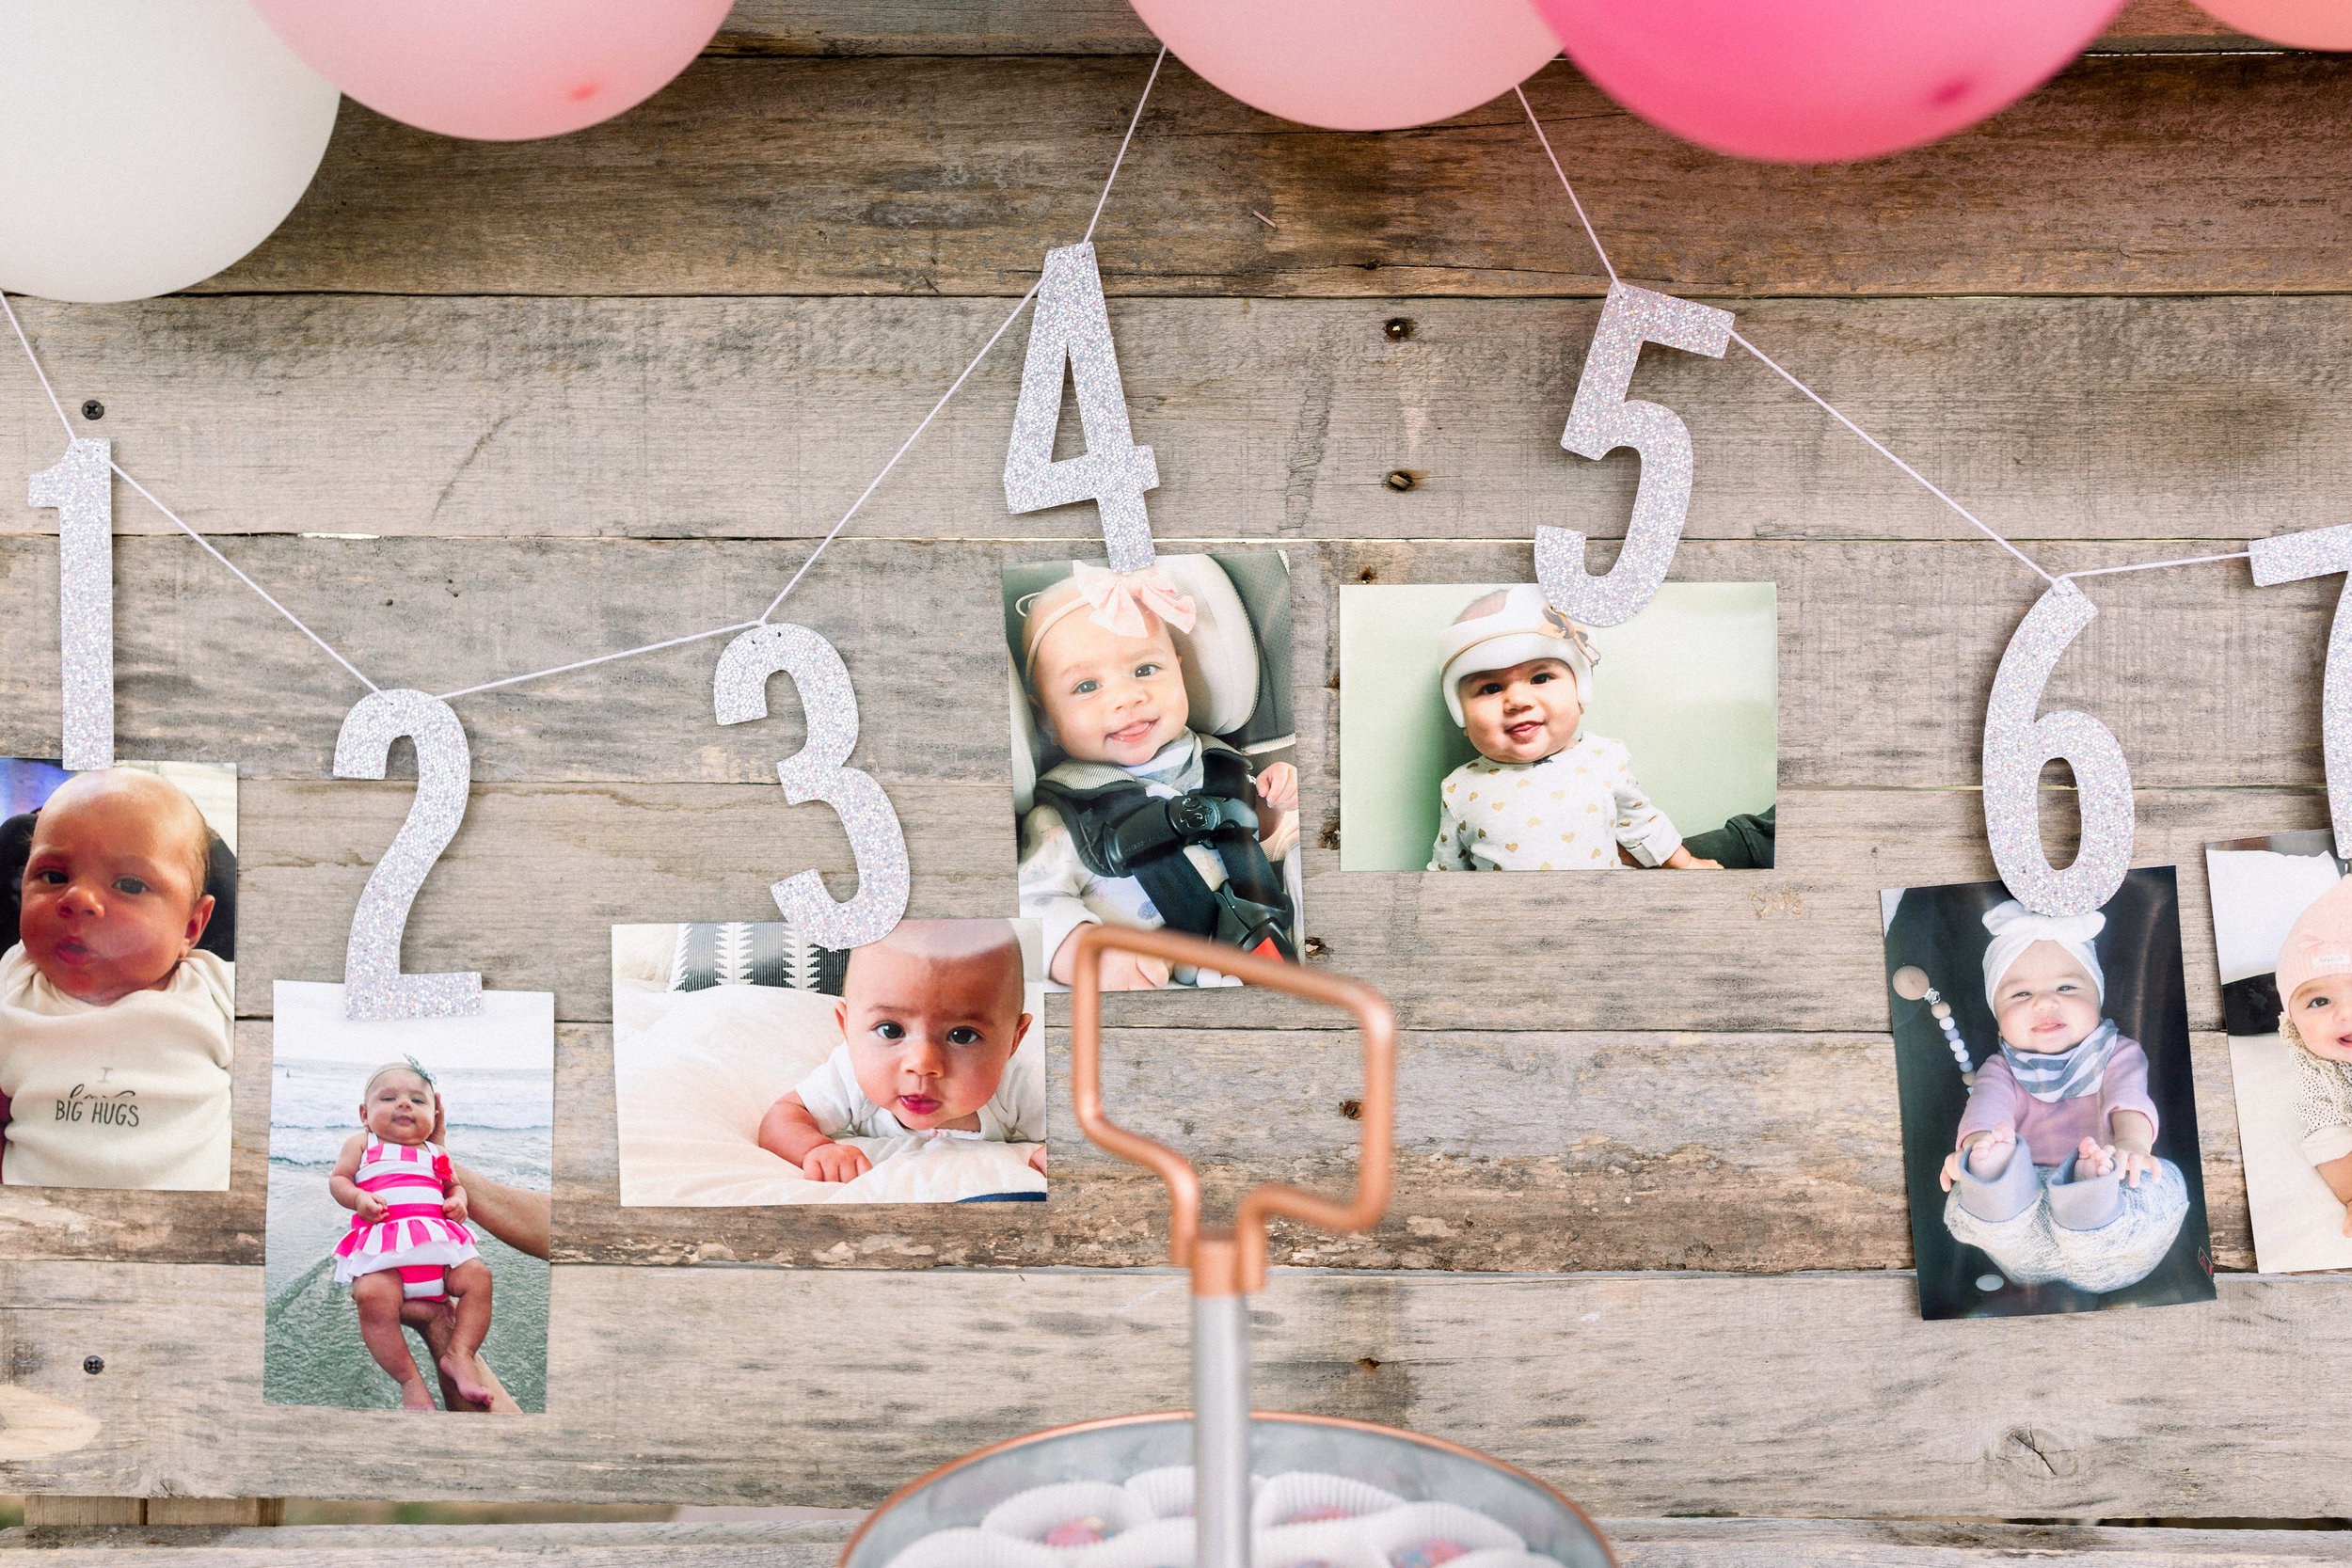
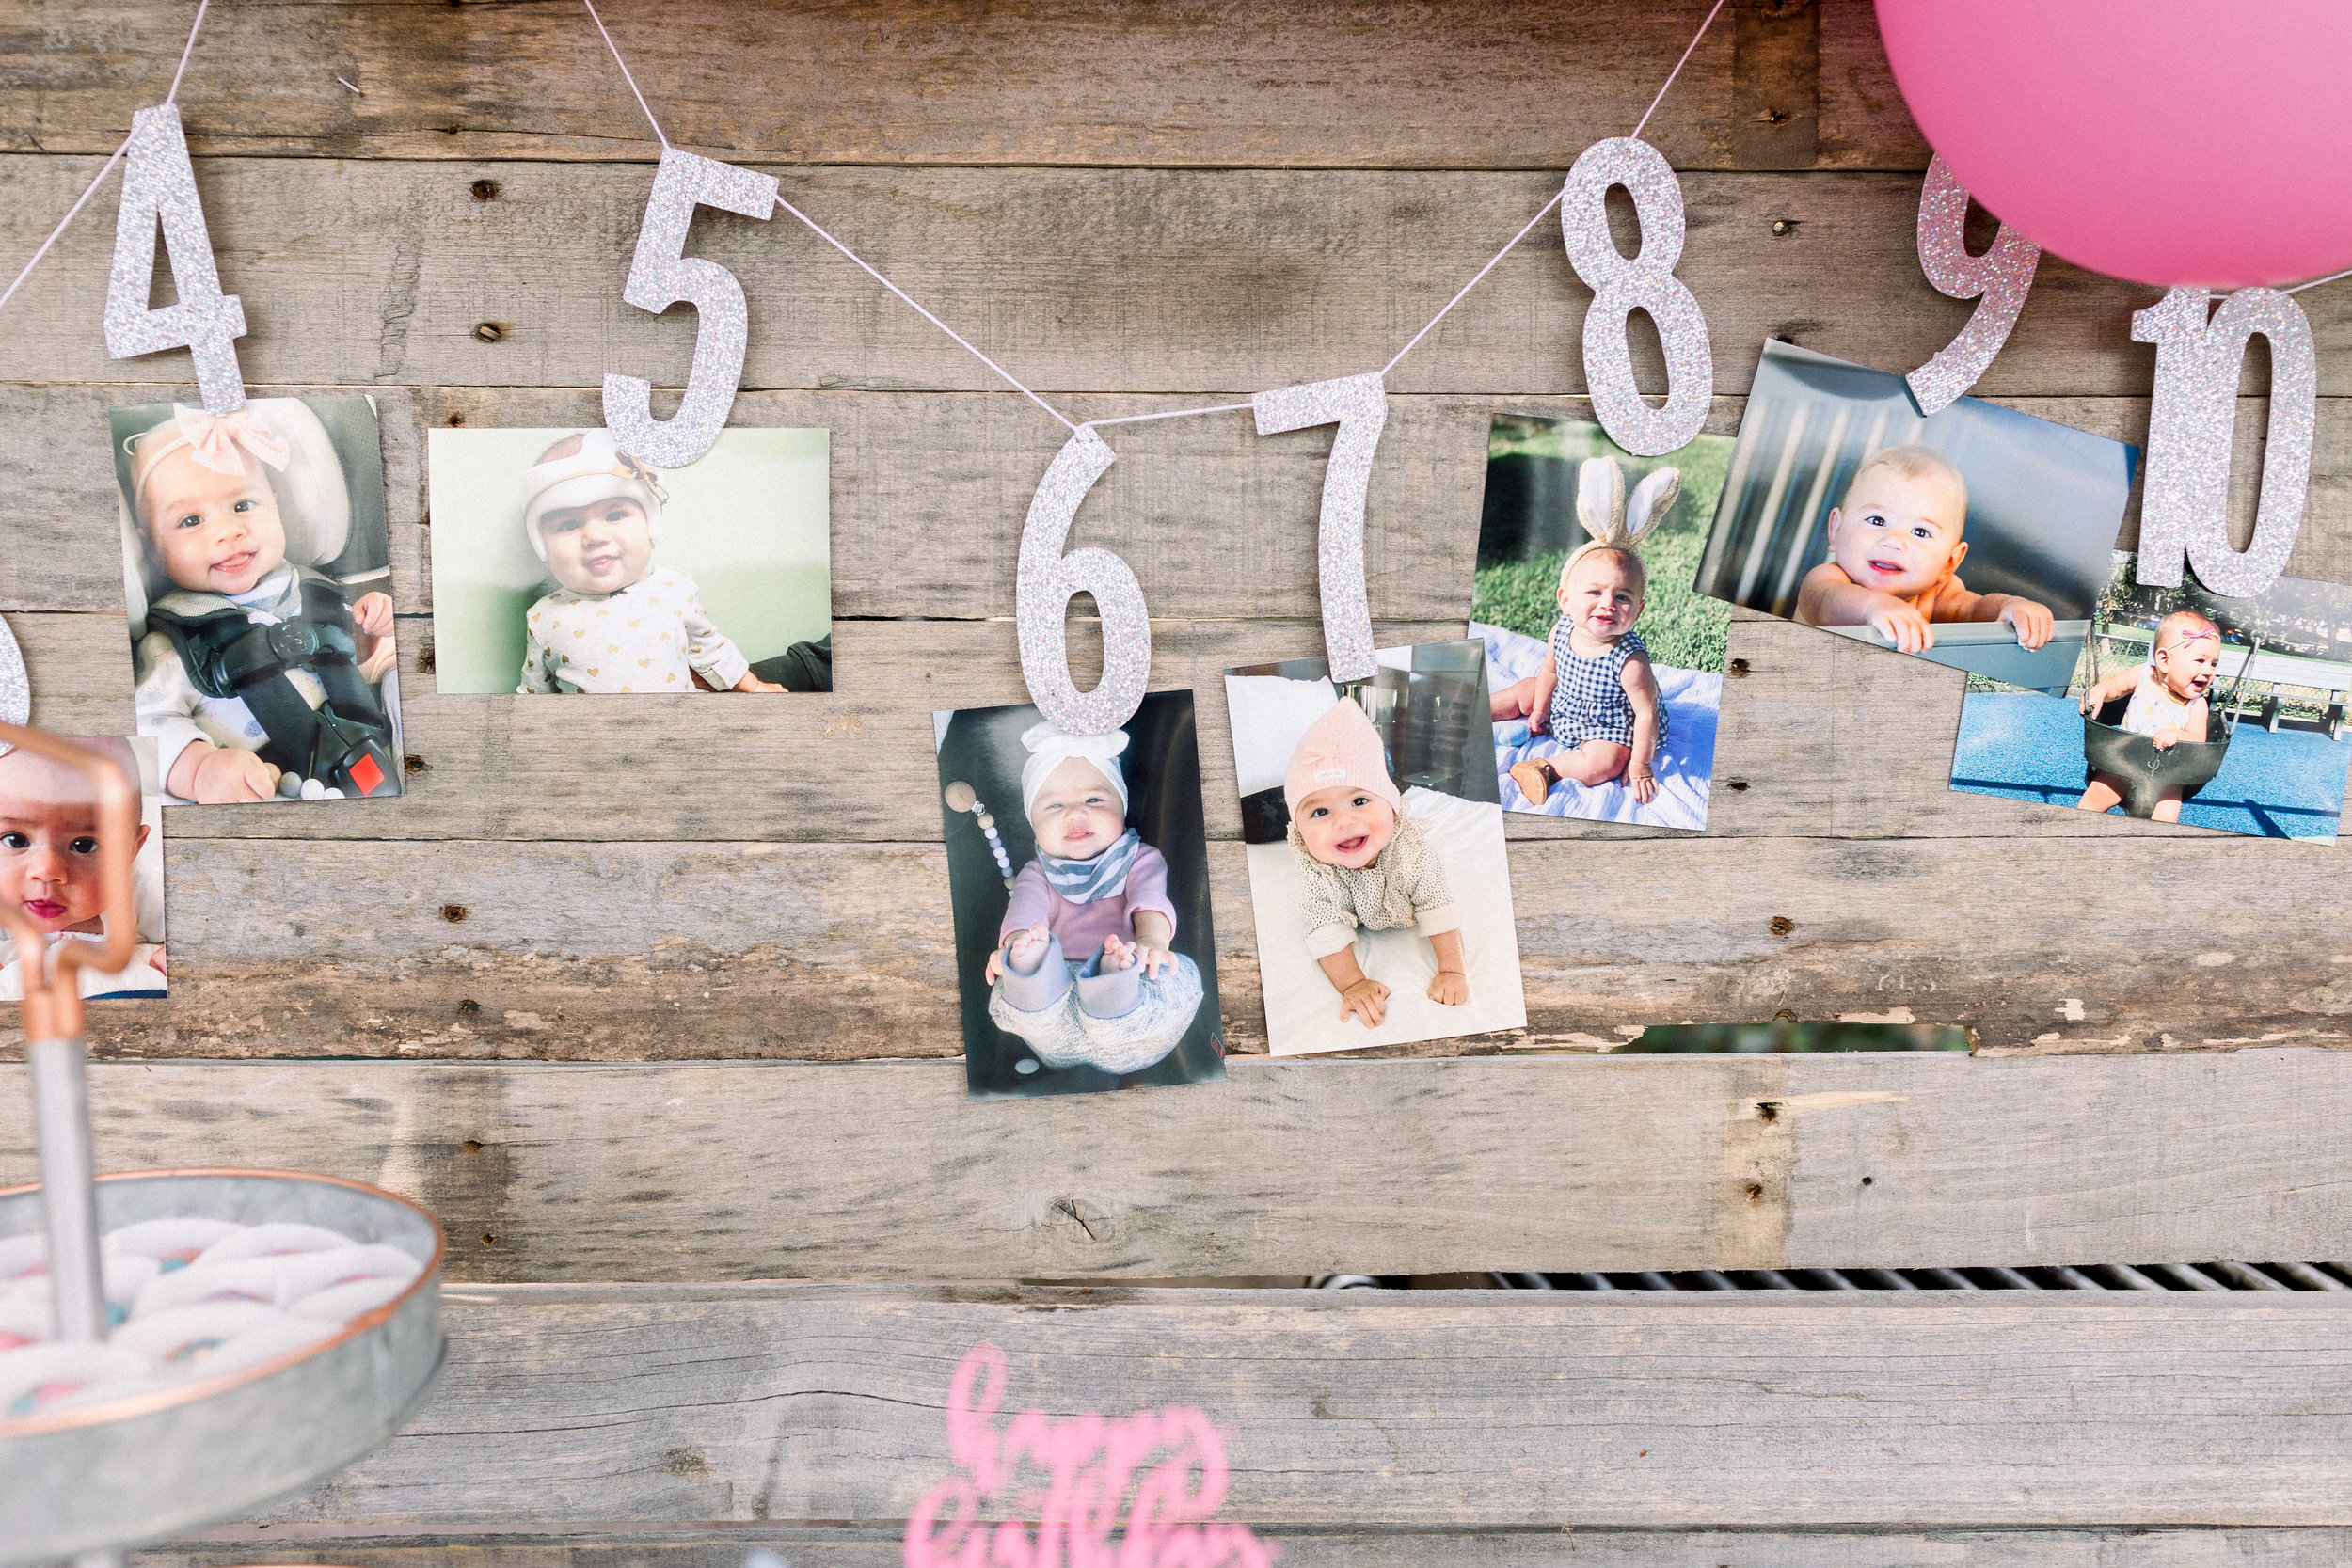
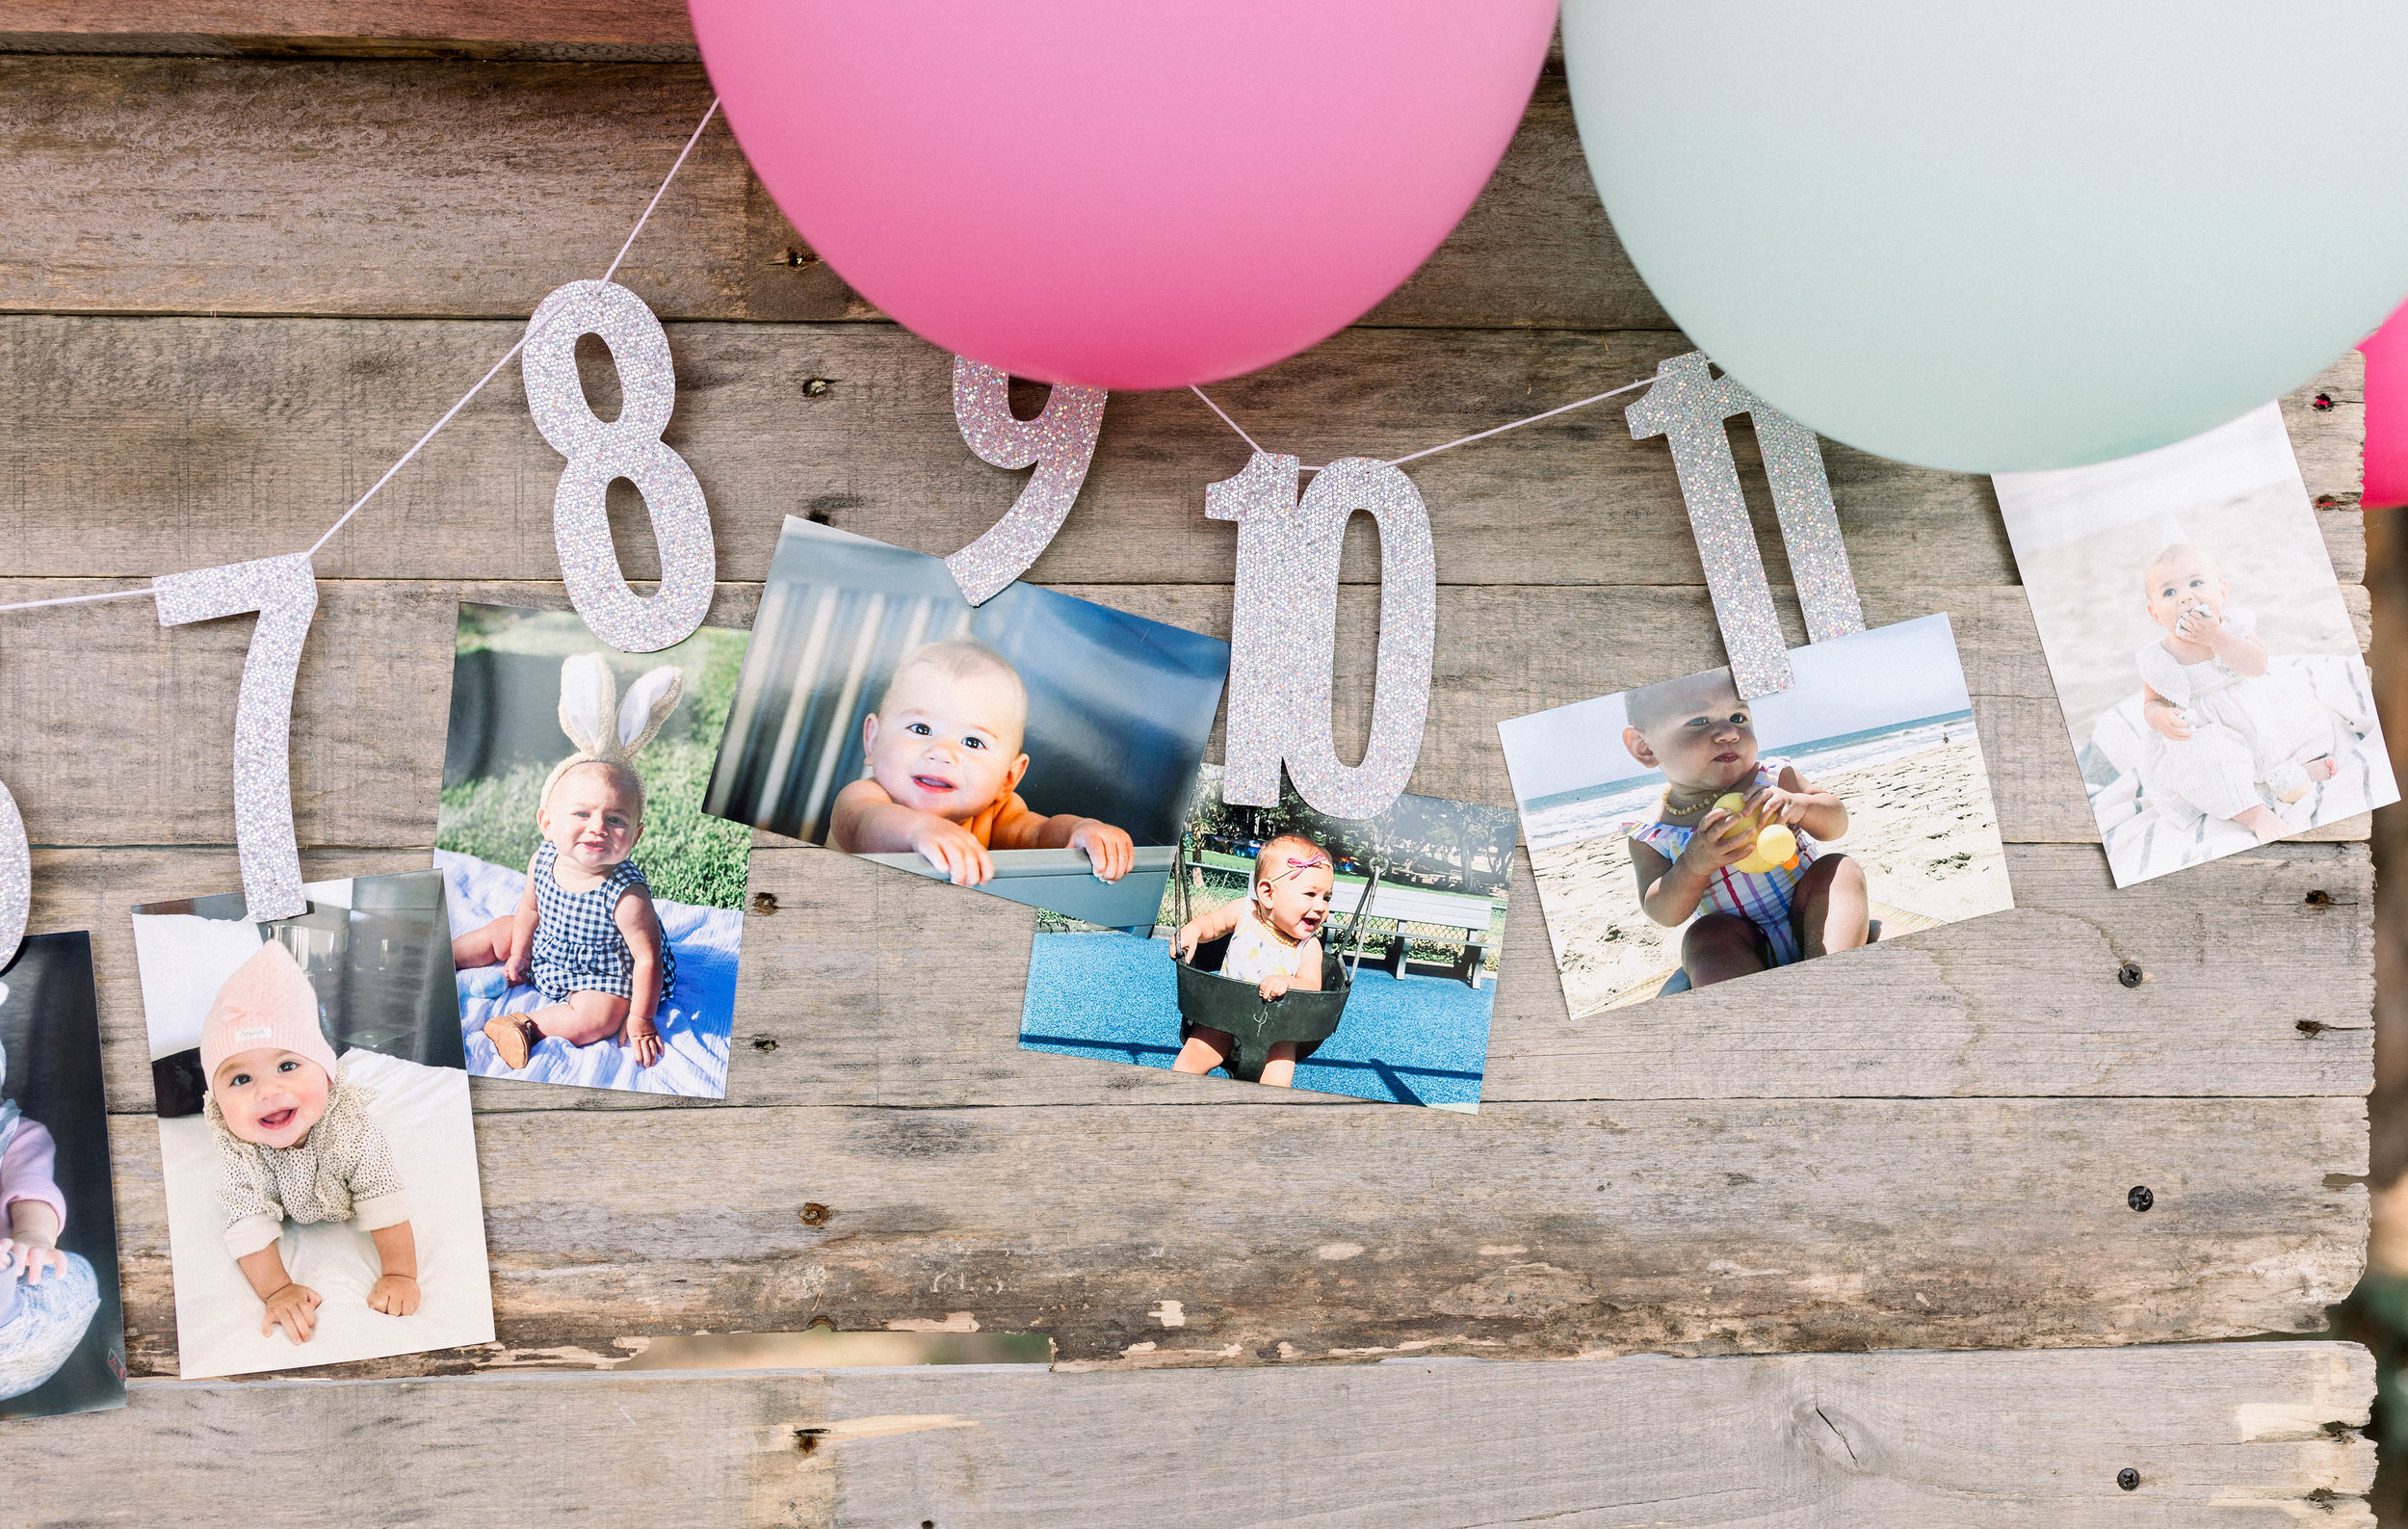
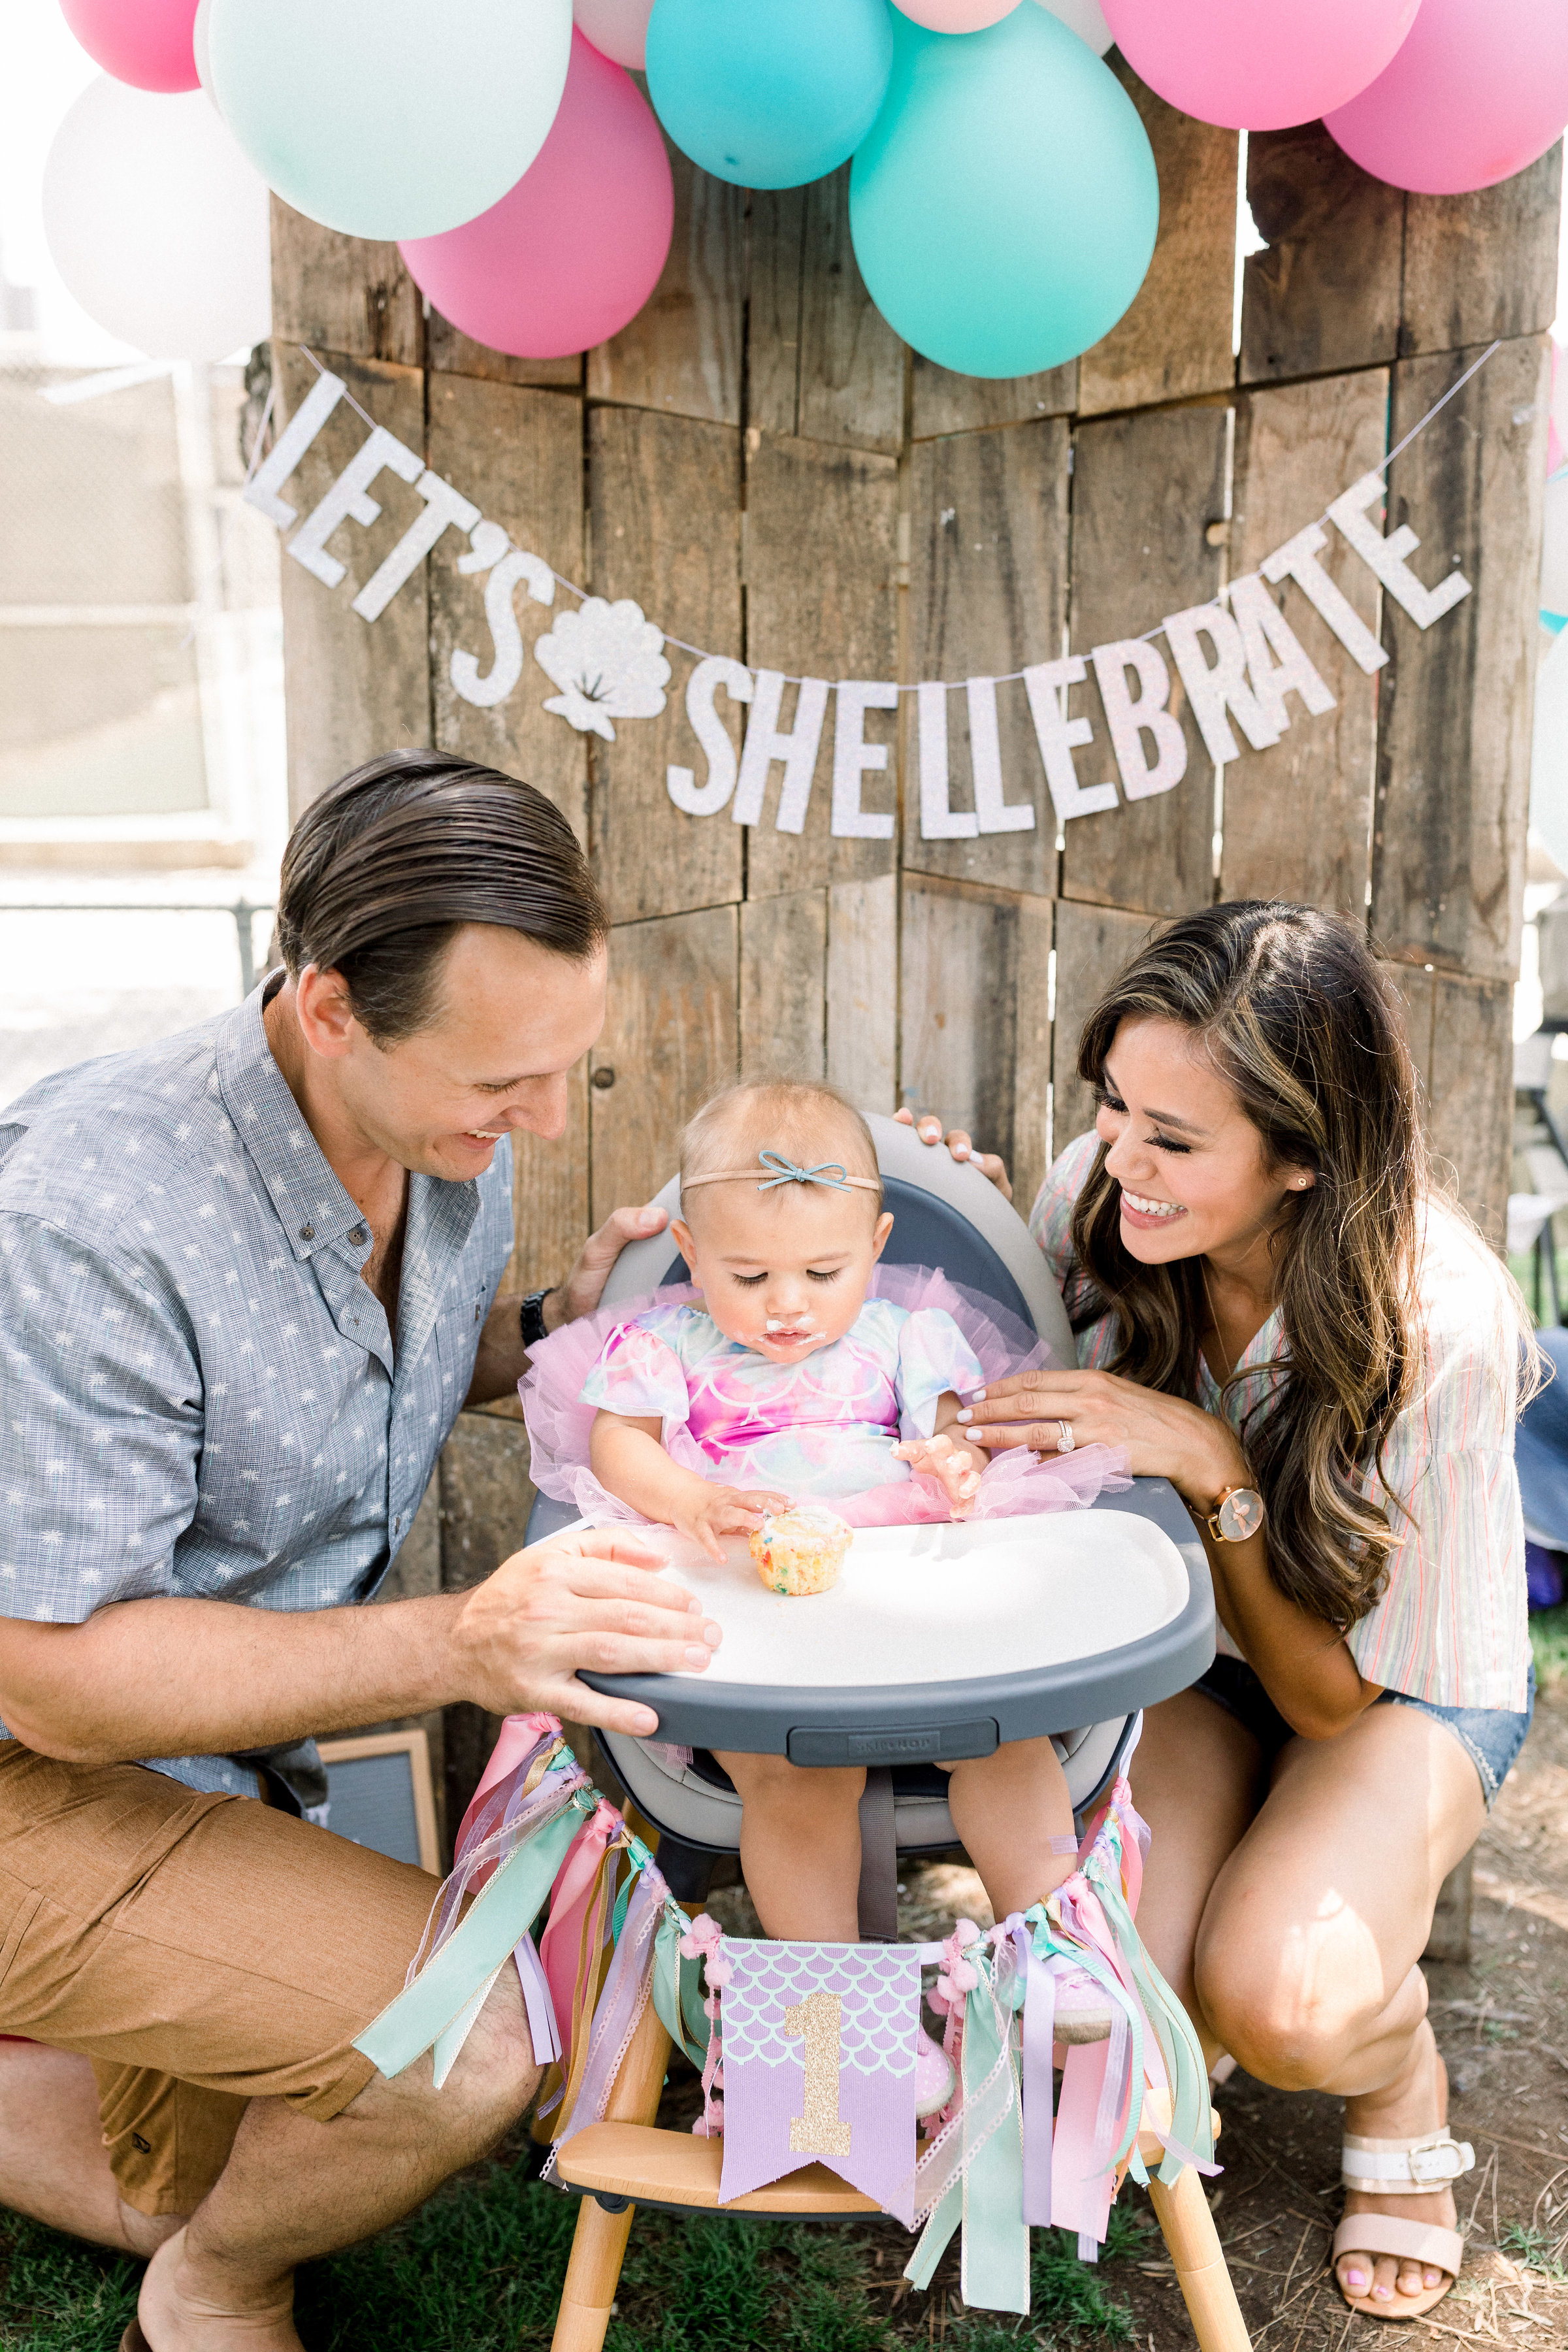
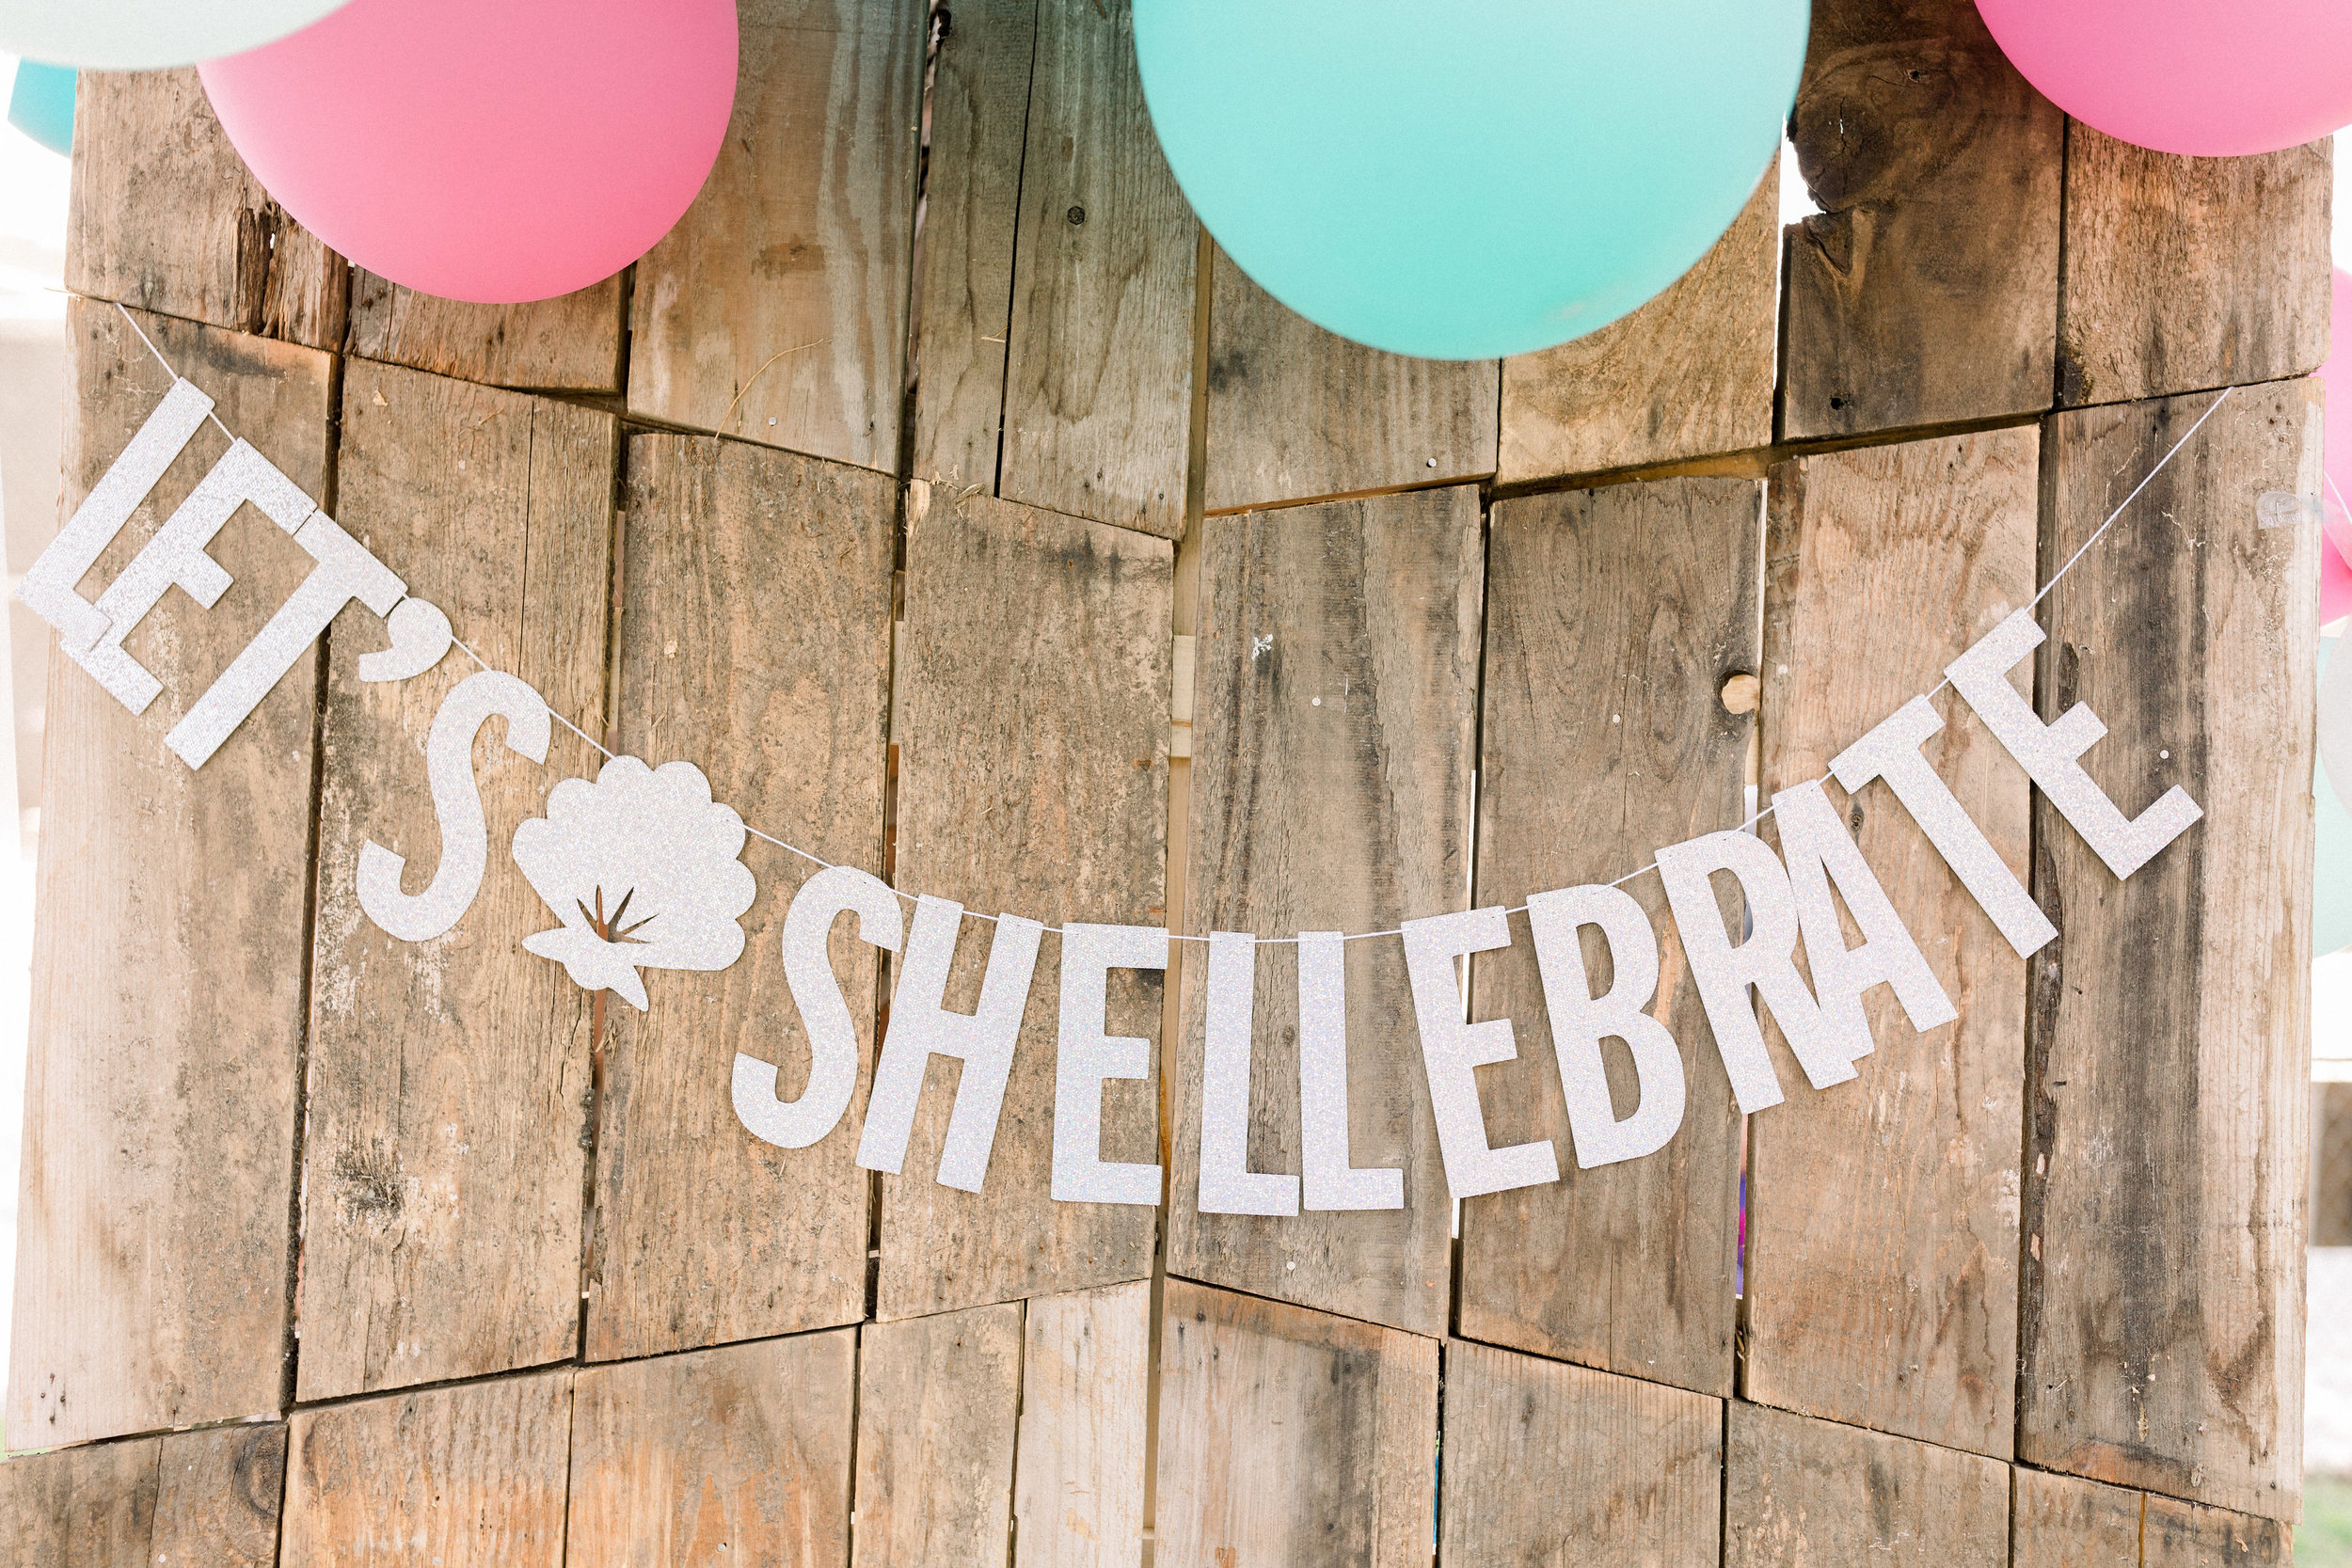
But I think what really made the backdrops were the two banners we got from Glam Banners. It's tough to tell in the photo but both the "Let's Shellebrate" and the monthly photo banner are made with this fun disco glitter card stock so they catch the light and have this fun colorful prism look. I just adore the playfulness of the Let's Shellebrate banner and the monthly photo banner holding Milly's pics from month 1-12 is a must have at any first birthday party! It's so sweet to see the changes month to month!

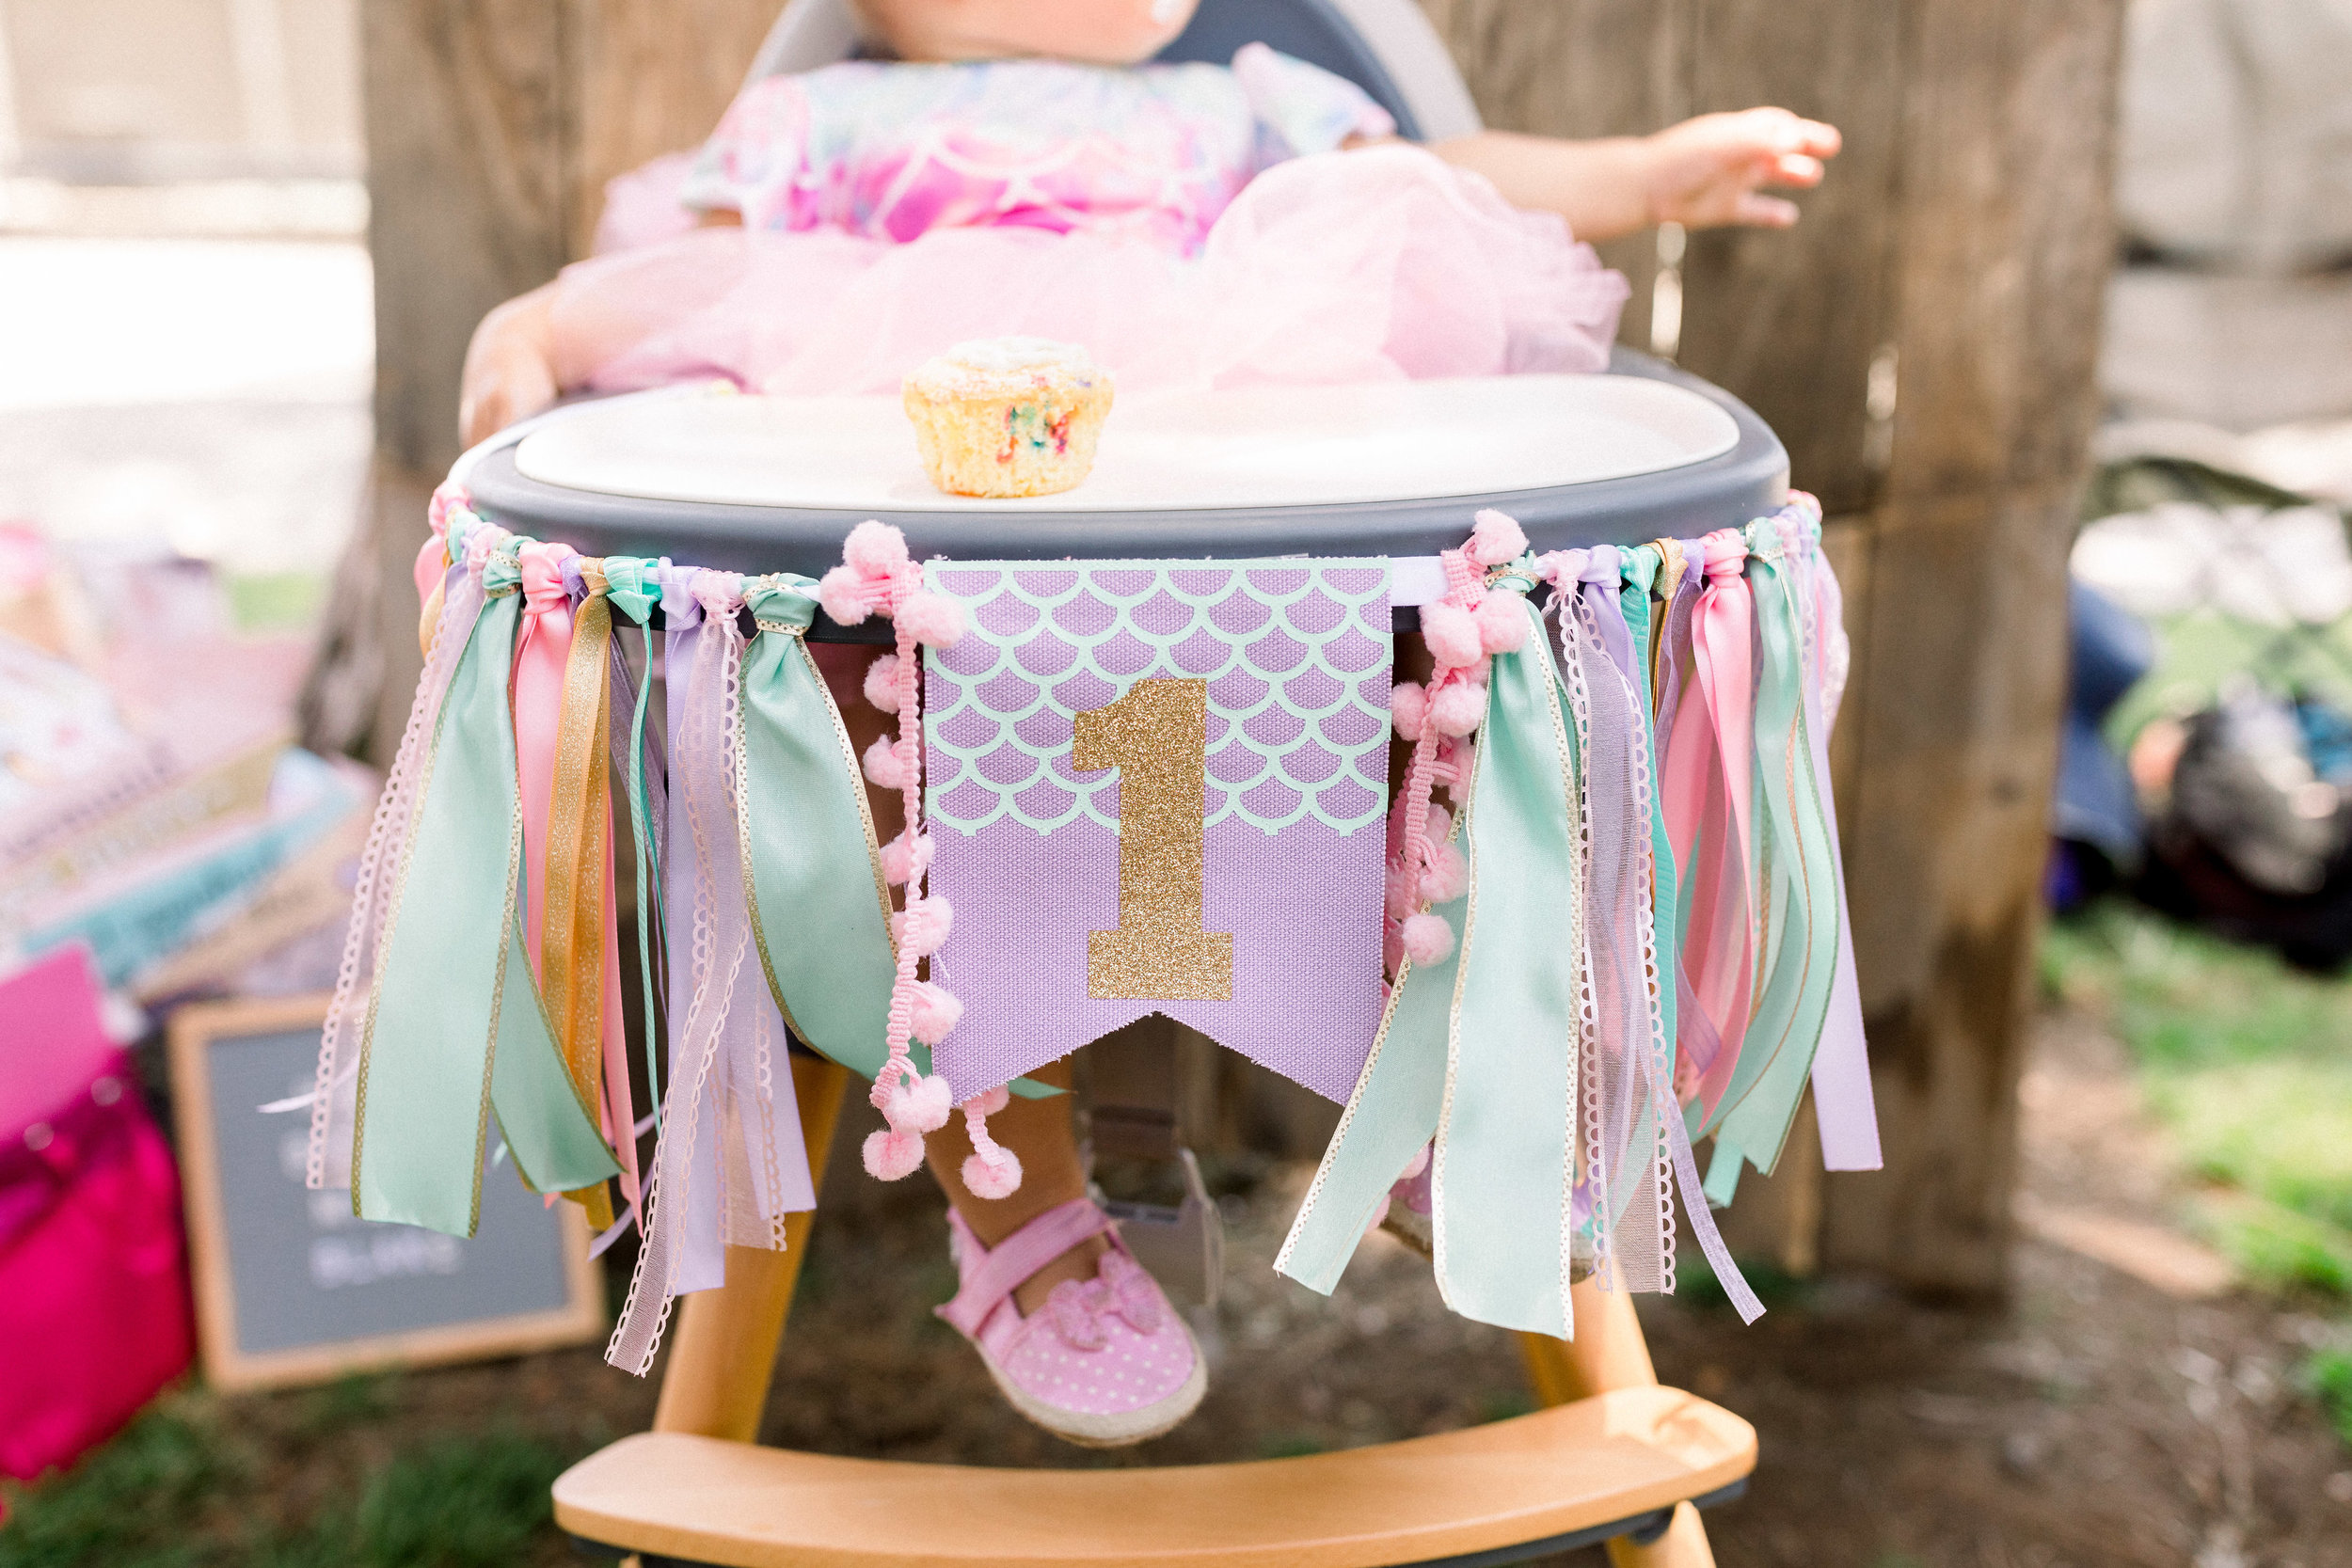
Mr. A and I went back and forth on if we were going to let Milly enjoy a smash cake. I mean we wanted her to enjoy something and I couldn't wait to hang this adorable high chair banner I got on Etsy.  As you know, Milly's been self feeding since 6 months so she is very capable and able to pick up a ton of cake and frosting at a time. She's definitely not one of those kids that will just poke at a cake. If she sees food in front of her, she's devouring all of it. But all of this sugar can't be good for any child, especially a 1 year old so I thought I would make a carrot or zucchini cake with coco whip. Then the night before her party I absolutely bailed on that idea after having a complete melt down (literally-our city got hit with a heat wave that wouldn't let up) and I threw in the towel and went to bed deciding I would just use the Momofuku Milk Bar Birthday Cake we ordered for the dessert table as her cake. Done and done. This is one of those moments where I had to just let go of what I had planned and go with the flow. Everything in our house was melting (no AC for this beach town living family) and I was losing my mind trying to control everything. 

JQ2_0925.jpg

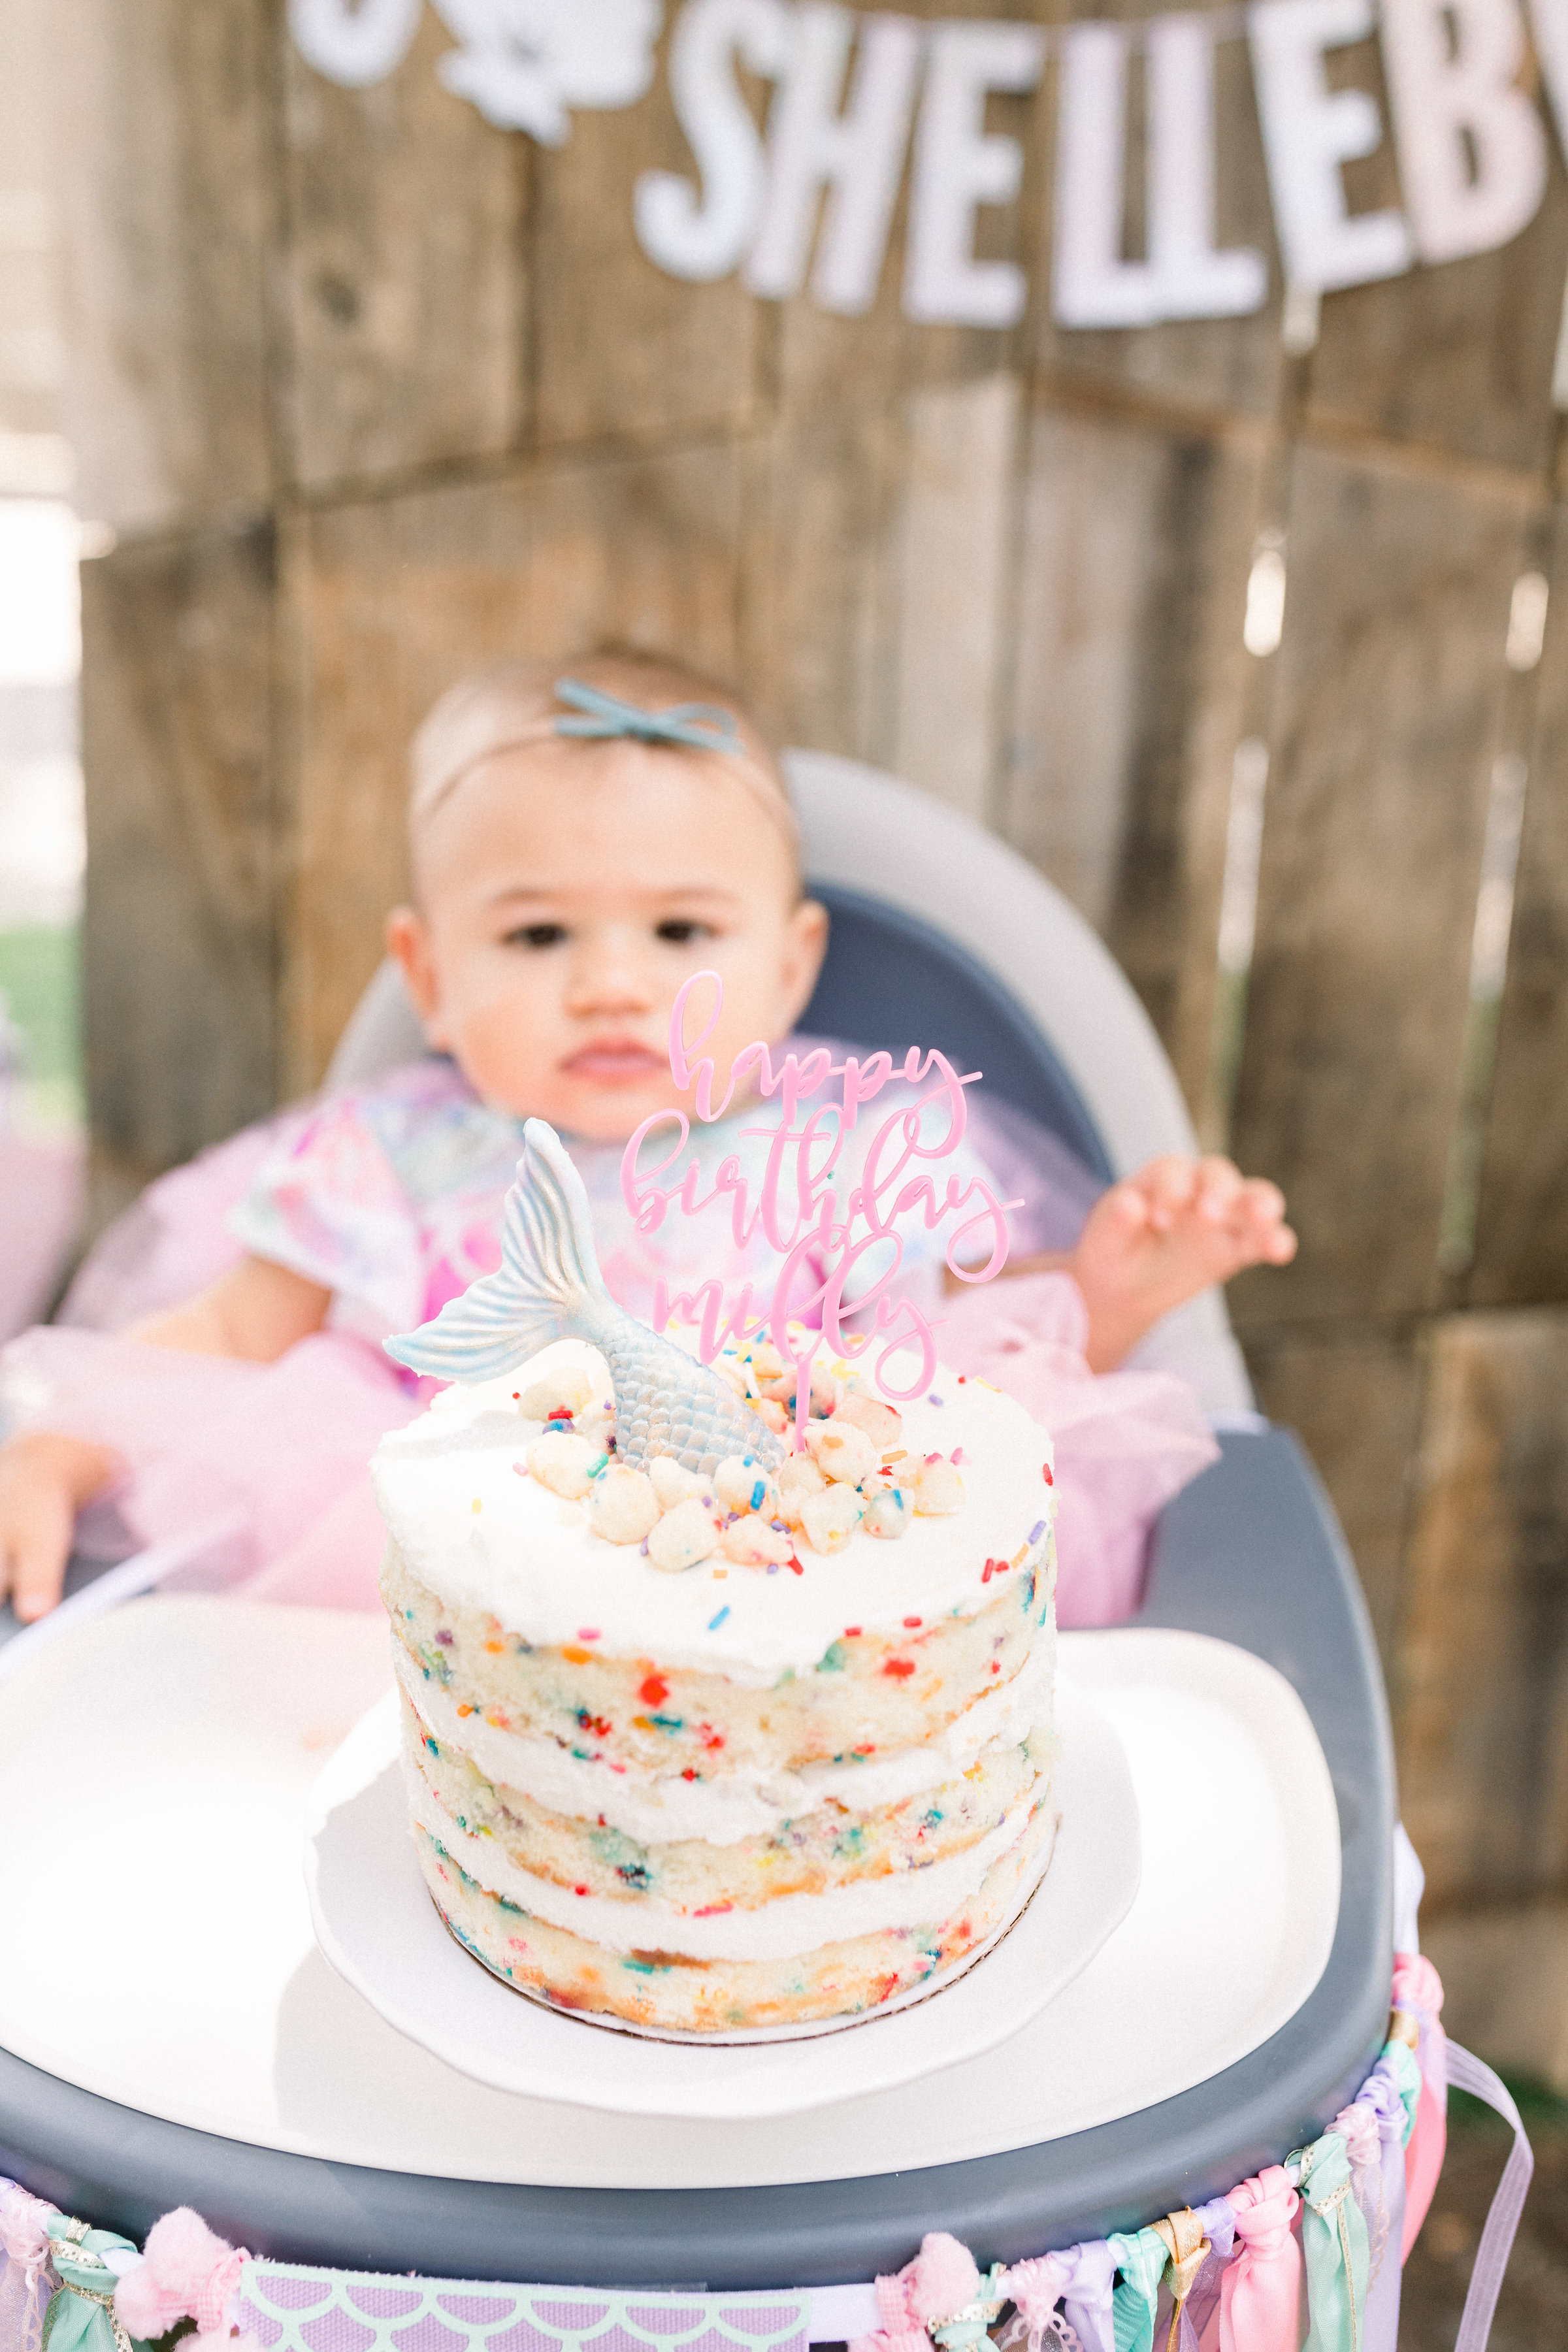
The morning of her party we added a chocolate mermaid tail I had made for the dessert table to the center of the cake, a custom cake topper from DeLovely Details and the cake was done! I figure I have plenty of years ahead to take cake requests from my daughter and joyfully look forward to making all her sugary dreams come true.

And even though I didn't make her cake, I made plenty of other sweet treats for our guests including brown butter rice krispie treats, cookie dough chocolate gems, funfetti cupcakes and so many chocolate mermaid tails and seashells. Sugarfina gummies completed the dessert table and are always the star of the show. I've never seen adults get more excited than when you give them a cello bag to fill with candy from Sugarfina. To read all about the dessert table of our underwater dreams, I'm creating a dedicated blog post just for this with a ton more photos tonight so stay tuned for more!

JQ2_0676.jpg
JQ2_0772.jpg

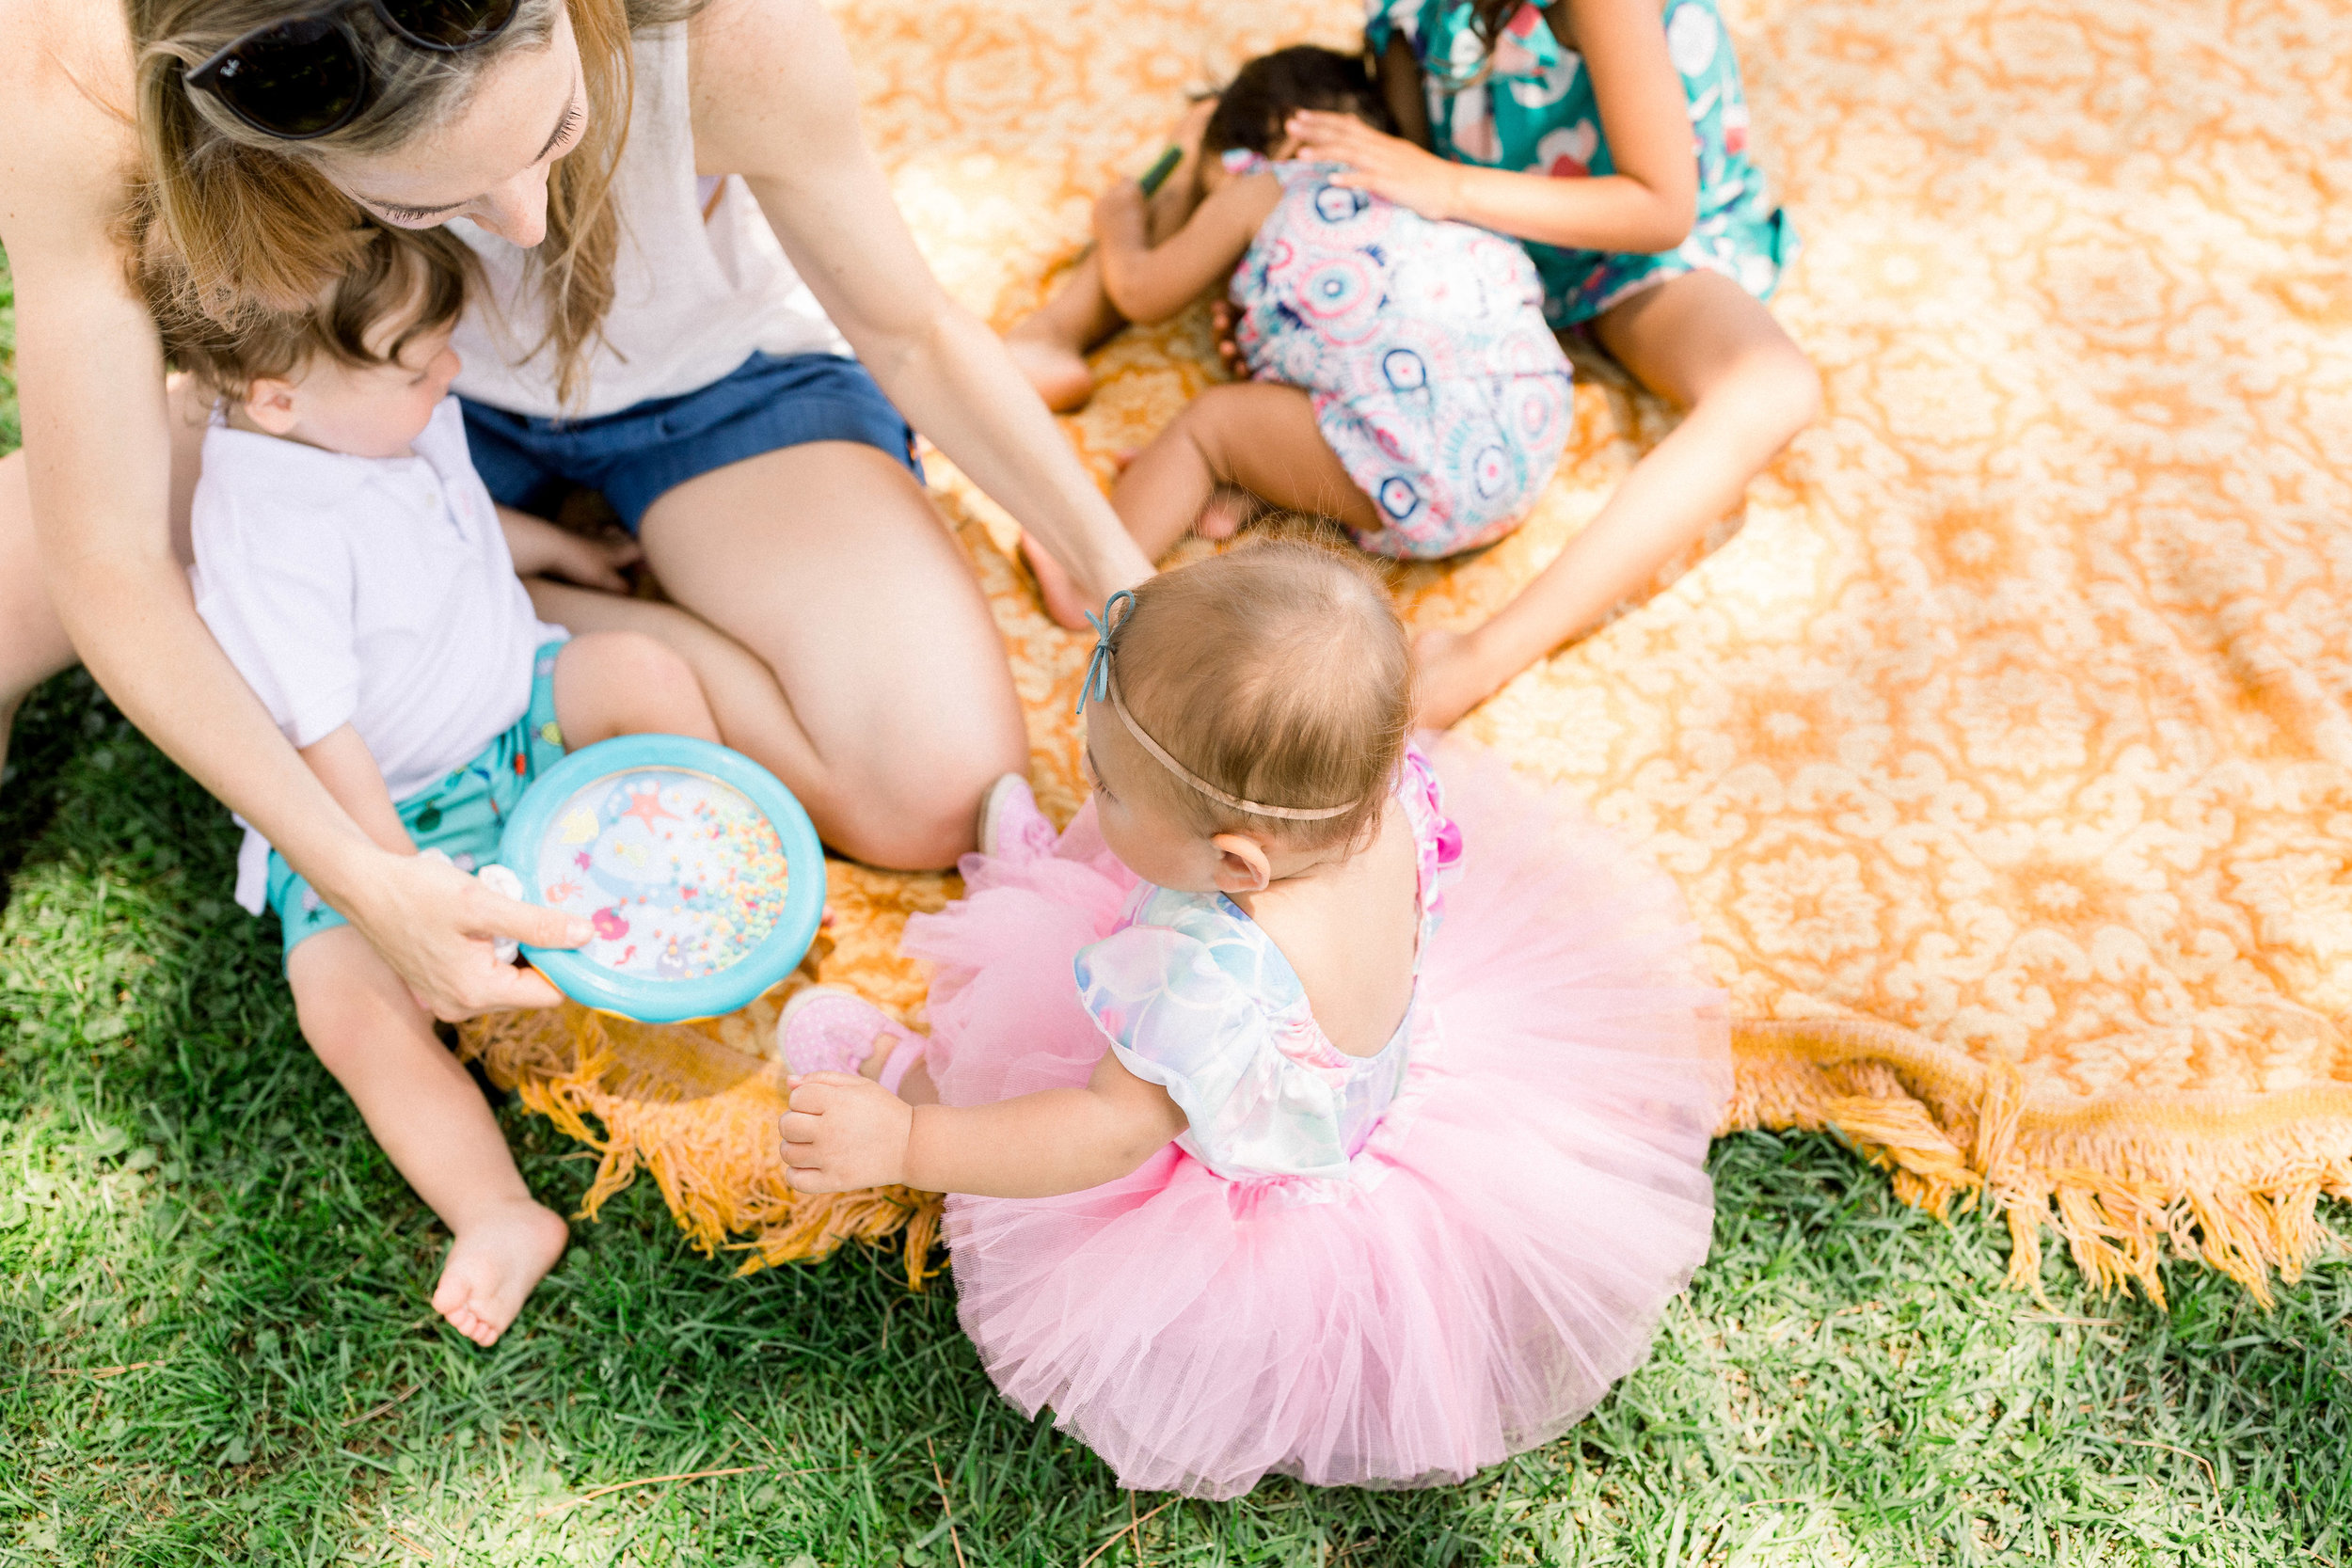
The dessert table was such a big hit, I think people skipped lunch and ate dessert first or maybe only dessert! We hosted lunch from our favorite, Chick-fil-A (sandwiches and nuggets), sweet tea and lemonade and made pasta salad, sliced fresh fruit and a veggie platter. It was so wonderful to have most of Milly's friends there (a few were out of town!), our friends, some of Mr. A's family and a ton of my extended family that live in SoCal but I hardly ever get to see.  Milly had so much fun playing with her friends, crawling and cruising around, eating everything in sight and waving at everyone passing by! 

JQ2_0902.jpg

We are so grateful to everyone who was there physically and in spirit to celebrate our daughter. And even though we put "no gifts necessary" on the invitation, Milly was spoiled beyond belief and we were spoiled too. The cards with sweet messages telling us we are kicking ass as parents and how much they've enjoyed watching us as parents are cards I will keep forever! Thank you to everyone for being a part of our first year as parents. We couldn't do it without our village. 

JQ2_1016.jpg
Mr. A made this too! This was a total surprise.

Mr. A made this too! This was a total surprise.

JQ2_0980.jpg
JQ2_0751.jpg
My New Food Network Show, Let's Eat!
JQ2_0908.jpg

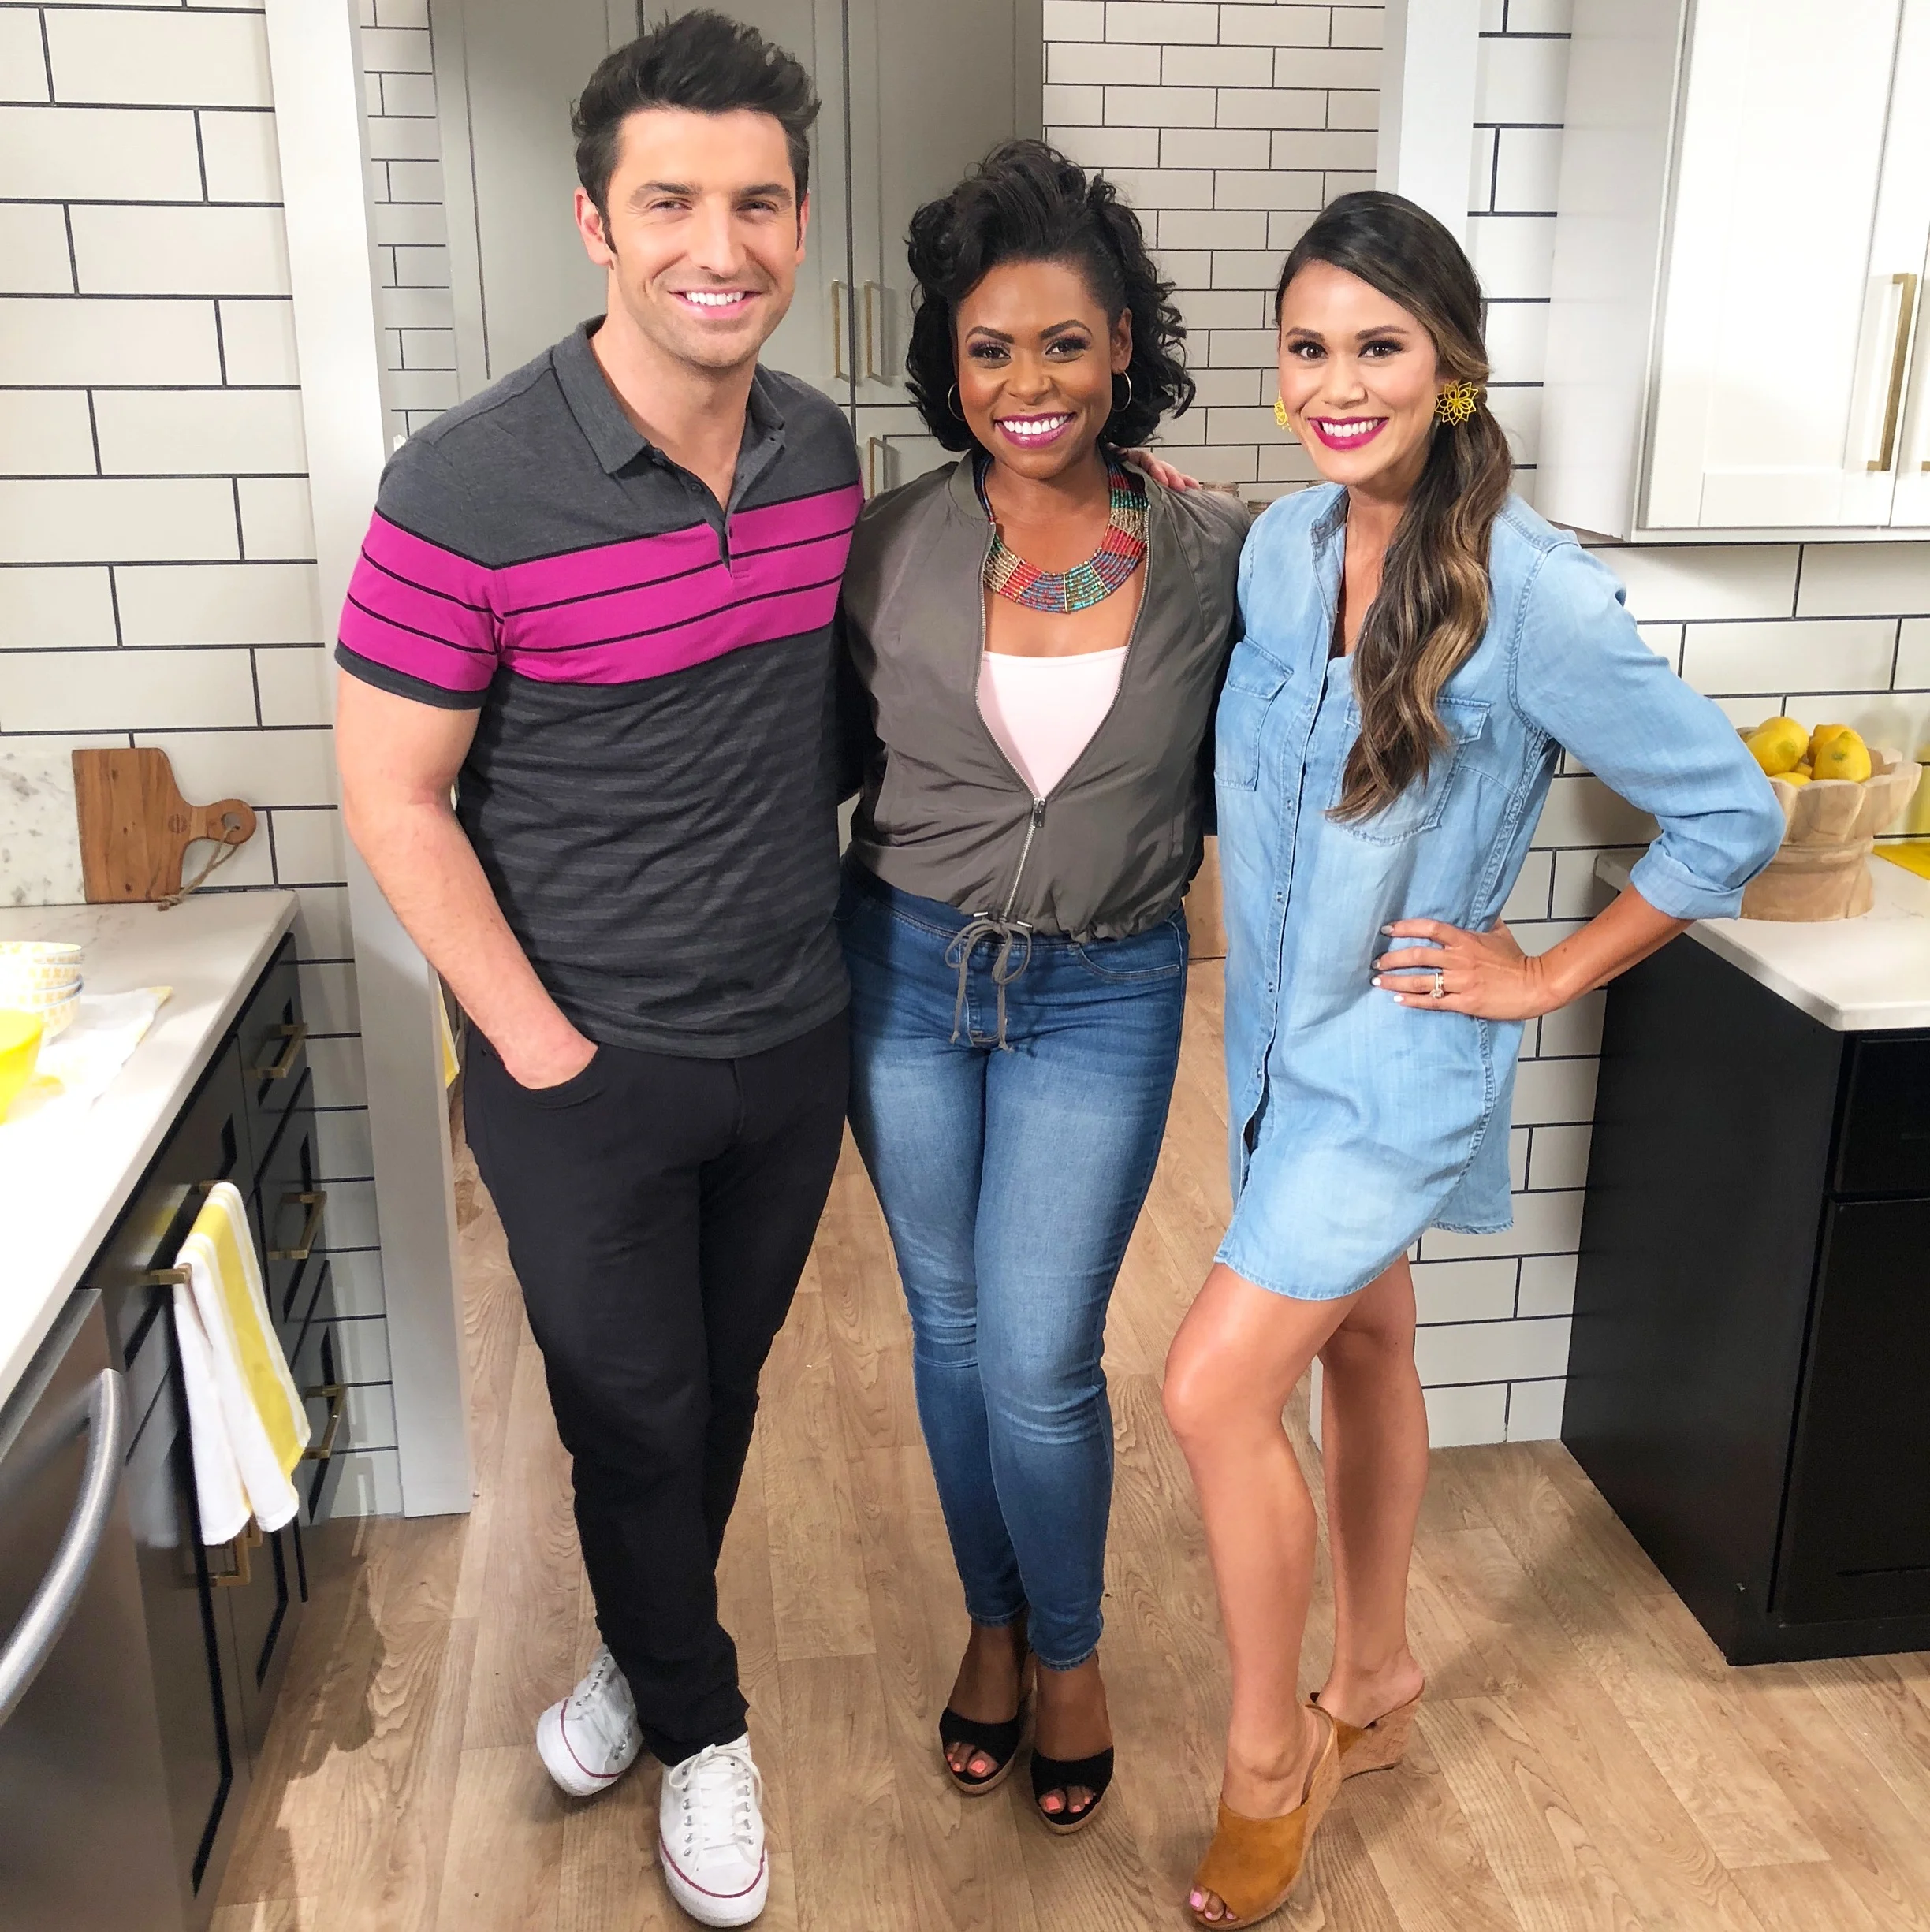
I'm thrilled to finally officially announce my new show on Food Network premiering August 12th at 11/10c called Let's Eat! I'll be alongside Stuart O'Keeffe and Jamika Pessoa who also happen to be good friends of mine. There's nothing better than doing what you love with people you love too! I can't wait for you to see us together in the kitchen showing you our favorite delicious recipes, food hacks you need to know and drool worthy food mash ups that are bound to become new favorites.  You can read more about the show here but be sure to mark your calendars now! I'll be LIVE tweeting every single episode.

Patriotic Oreo Cheesecake Bars
IMG_8615.JPG
4th of july.jpeg

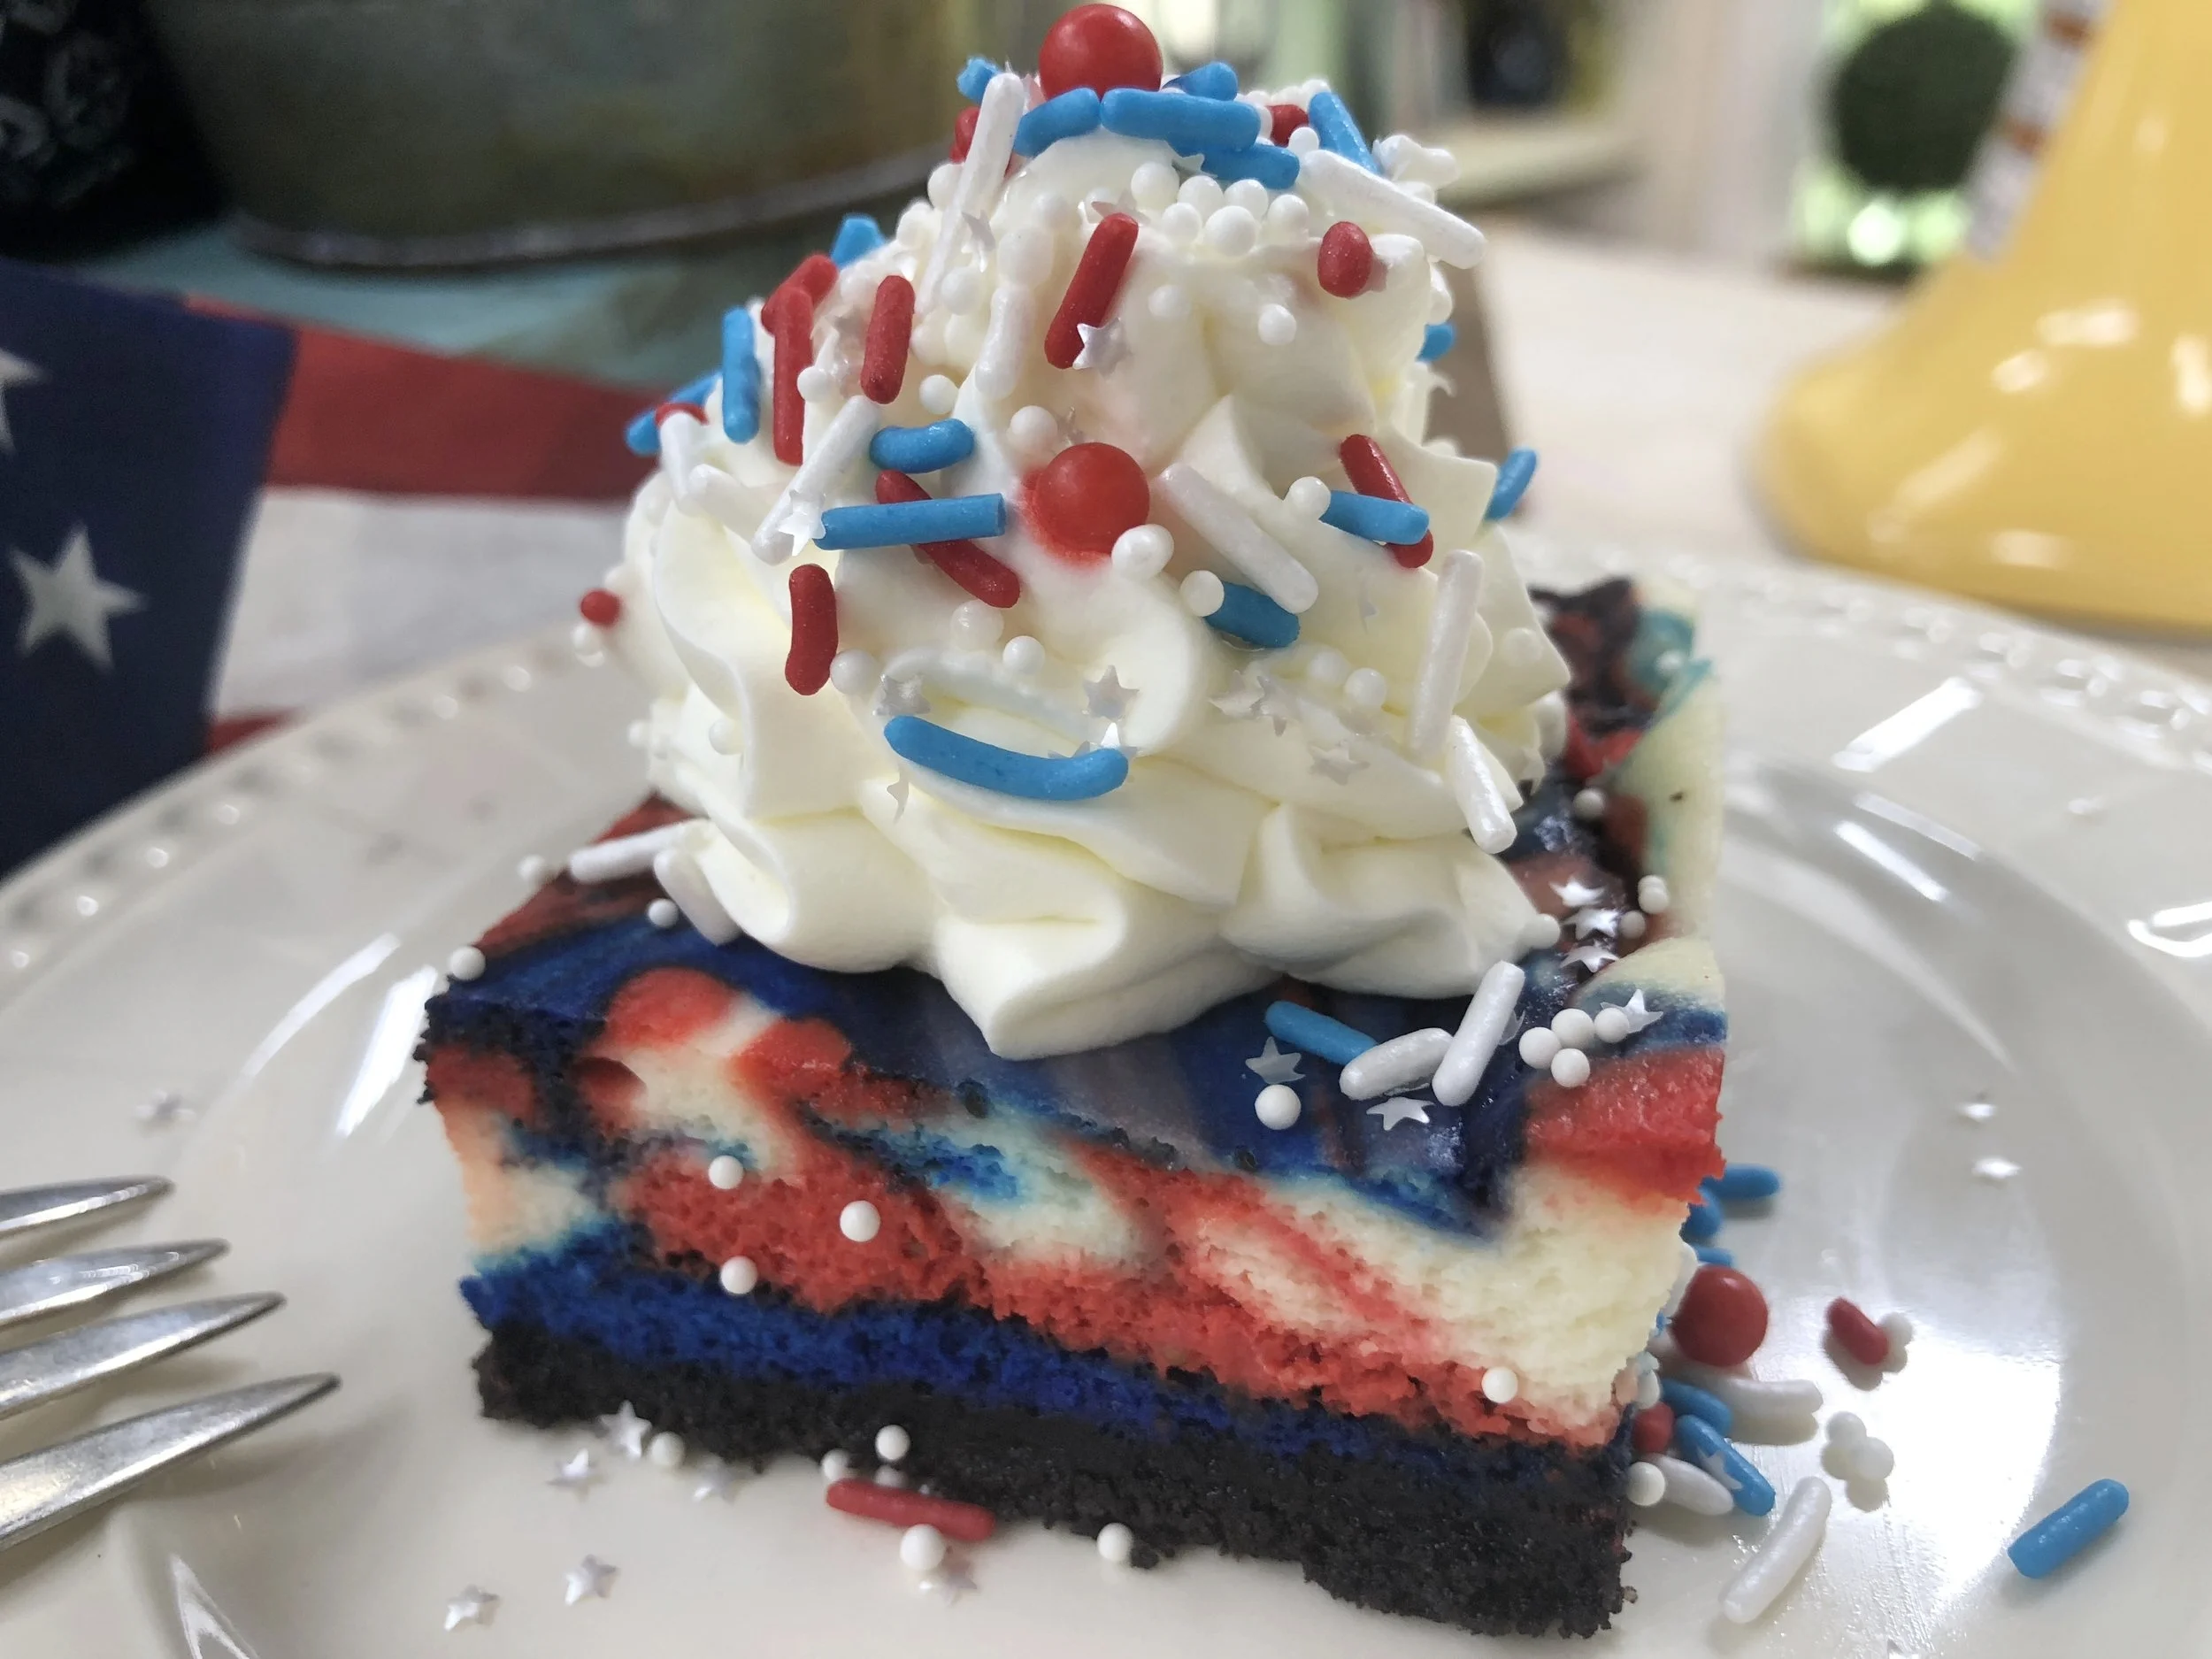
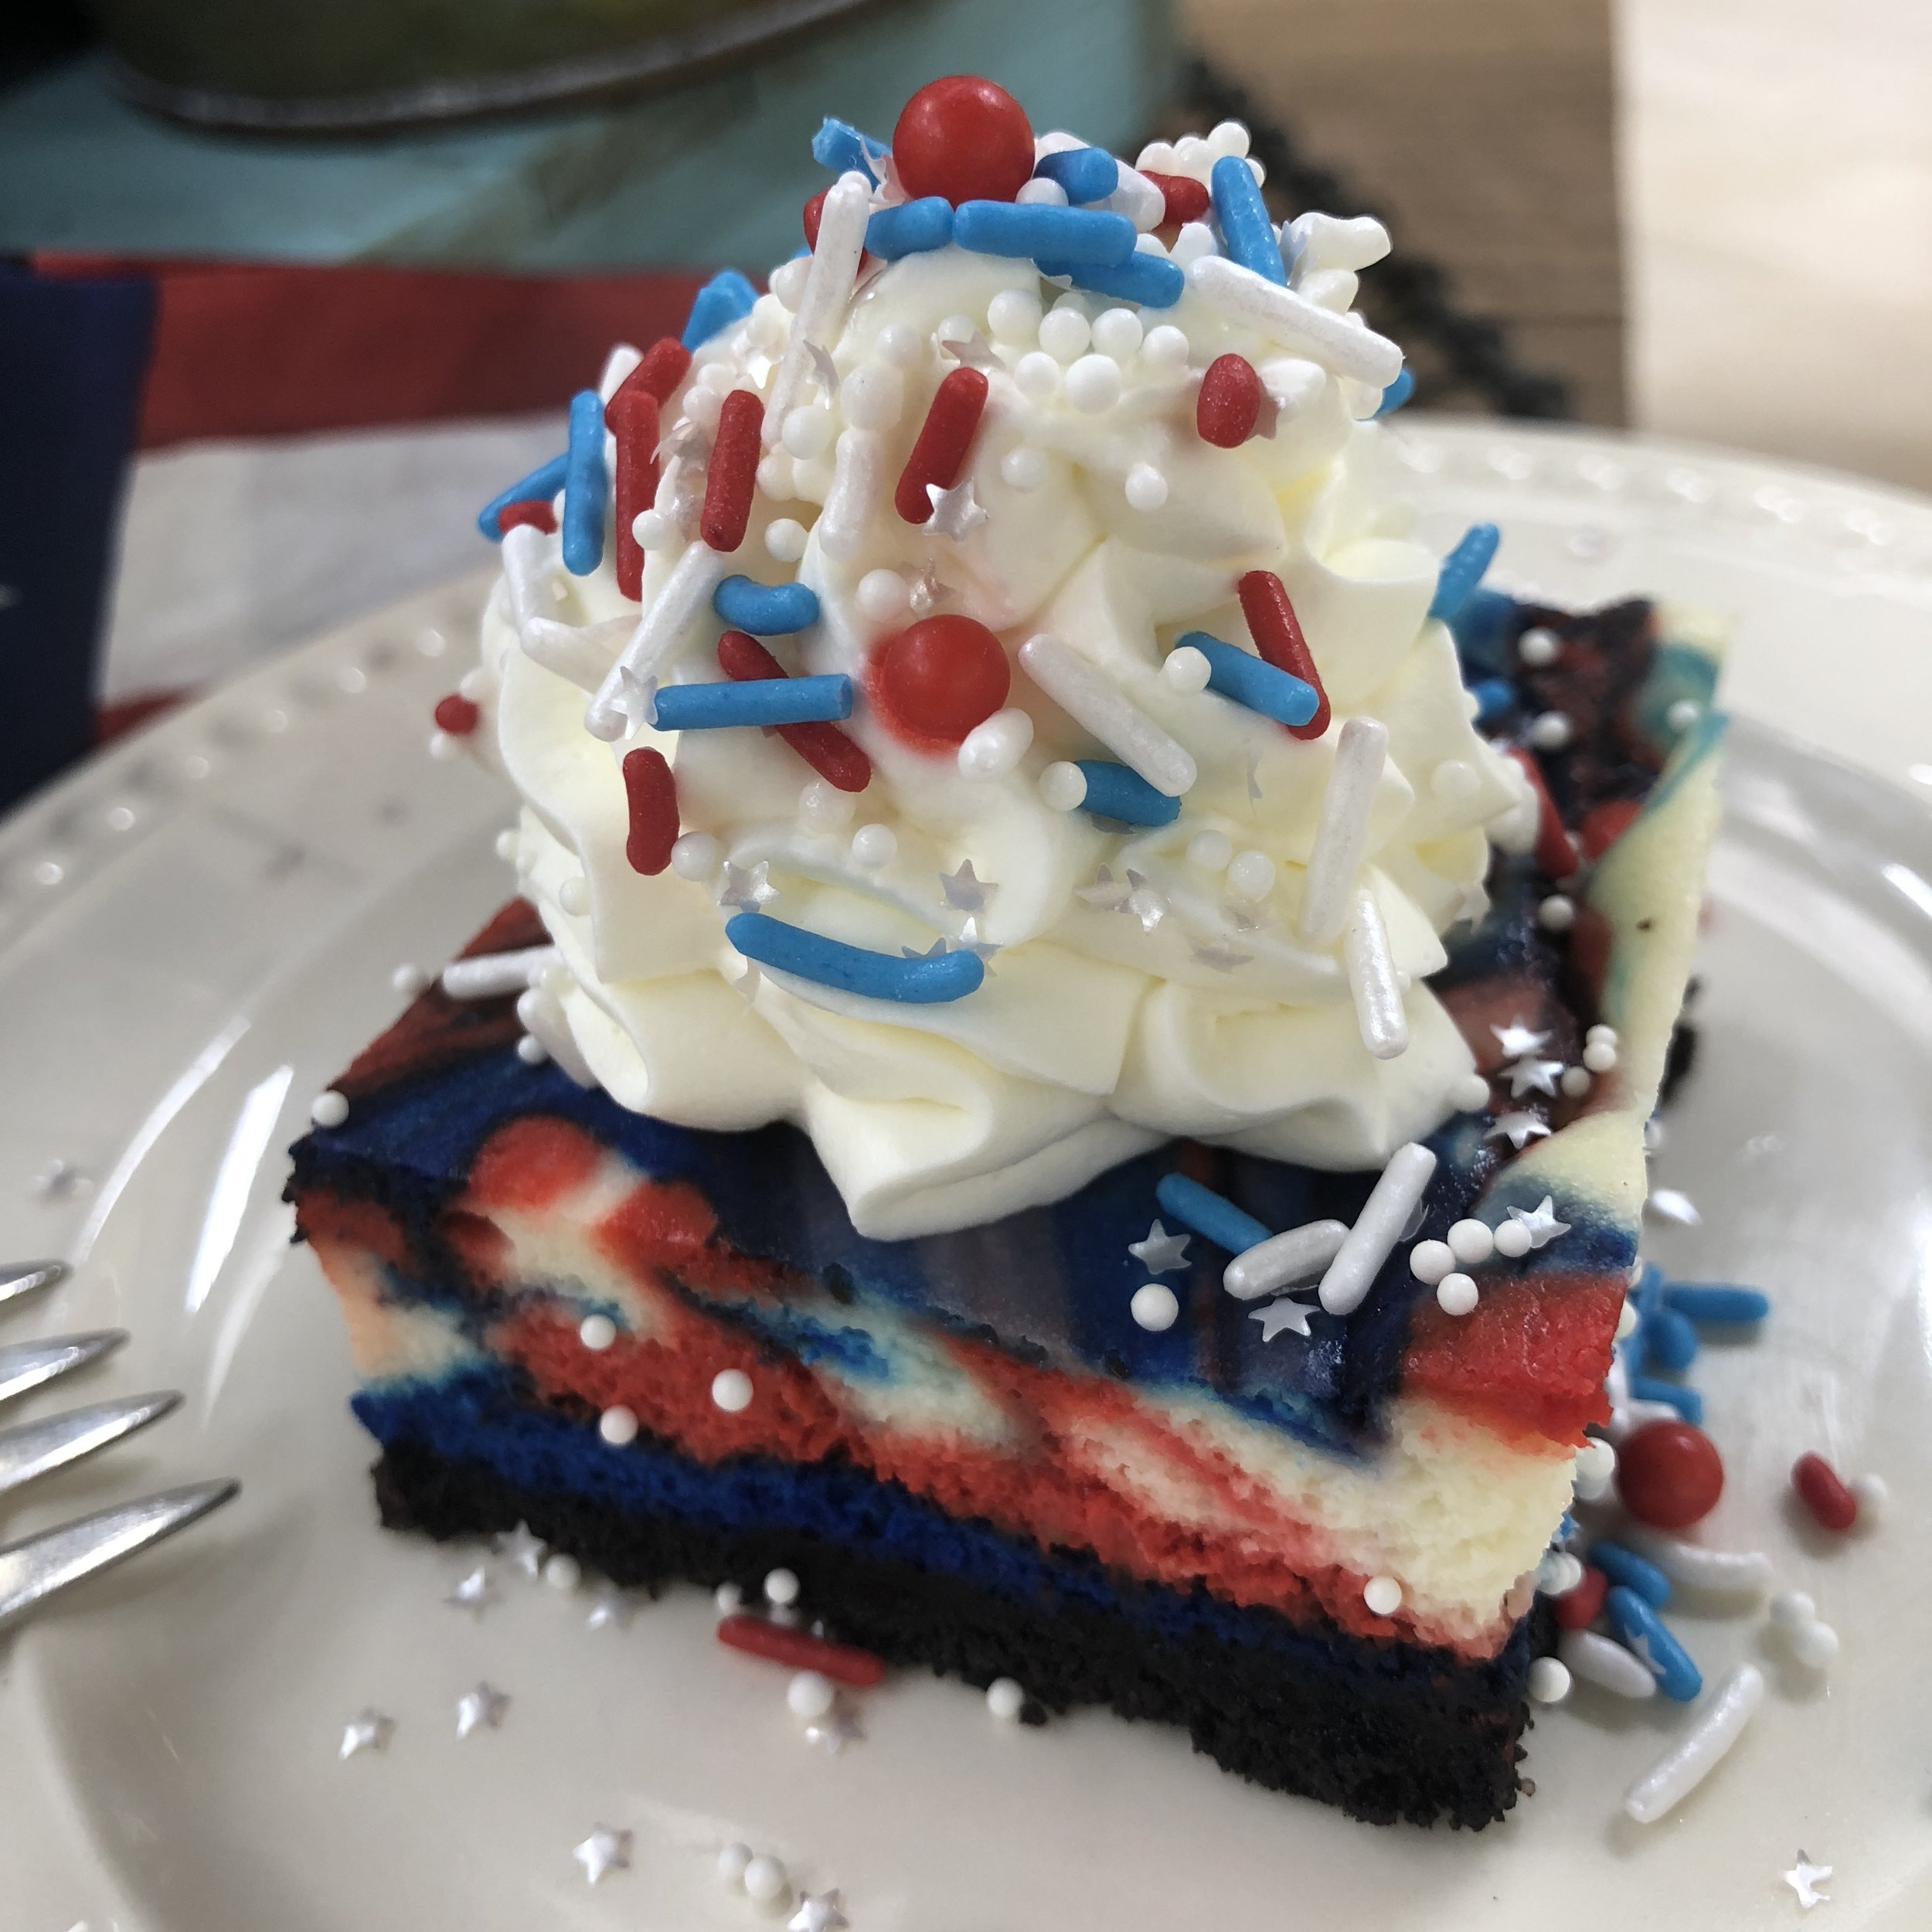
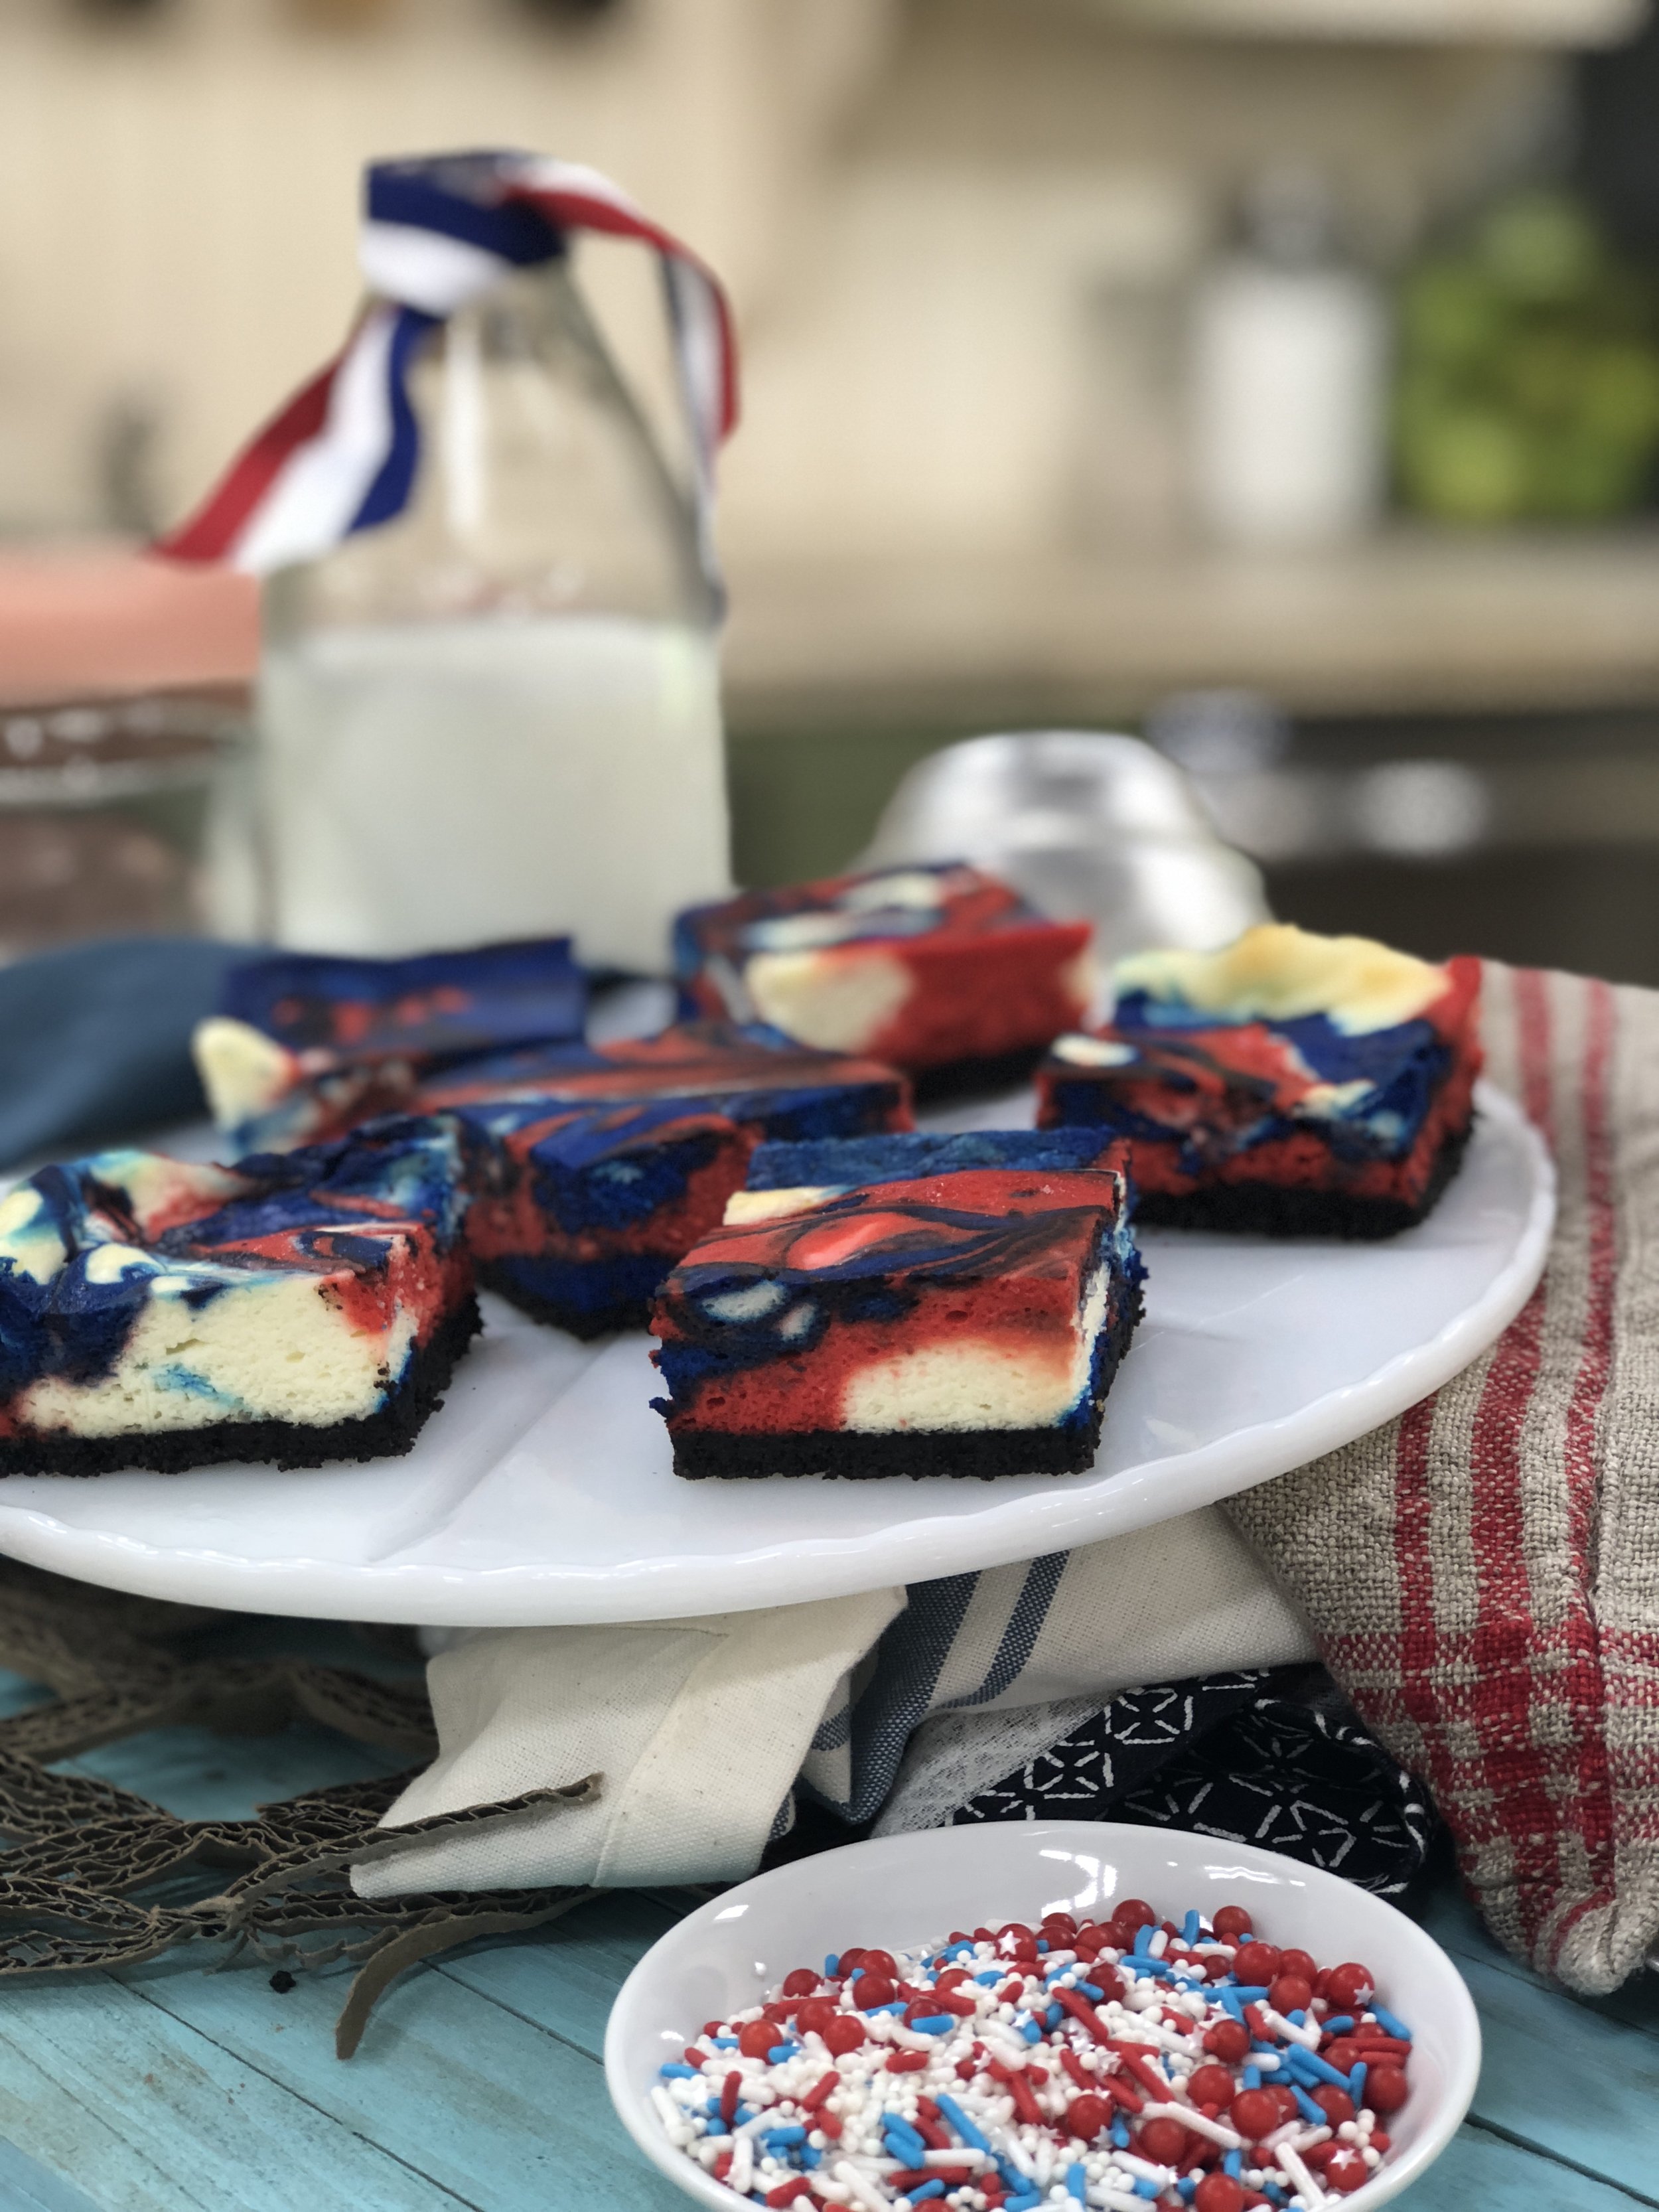
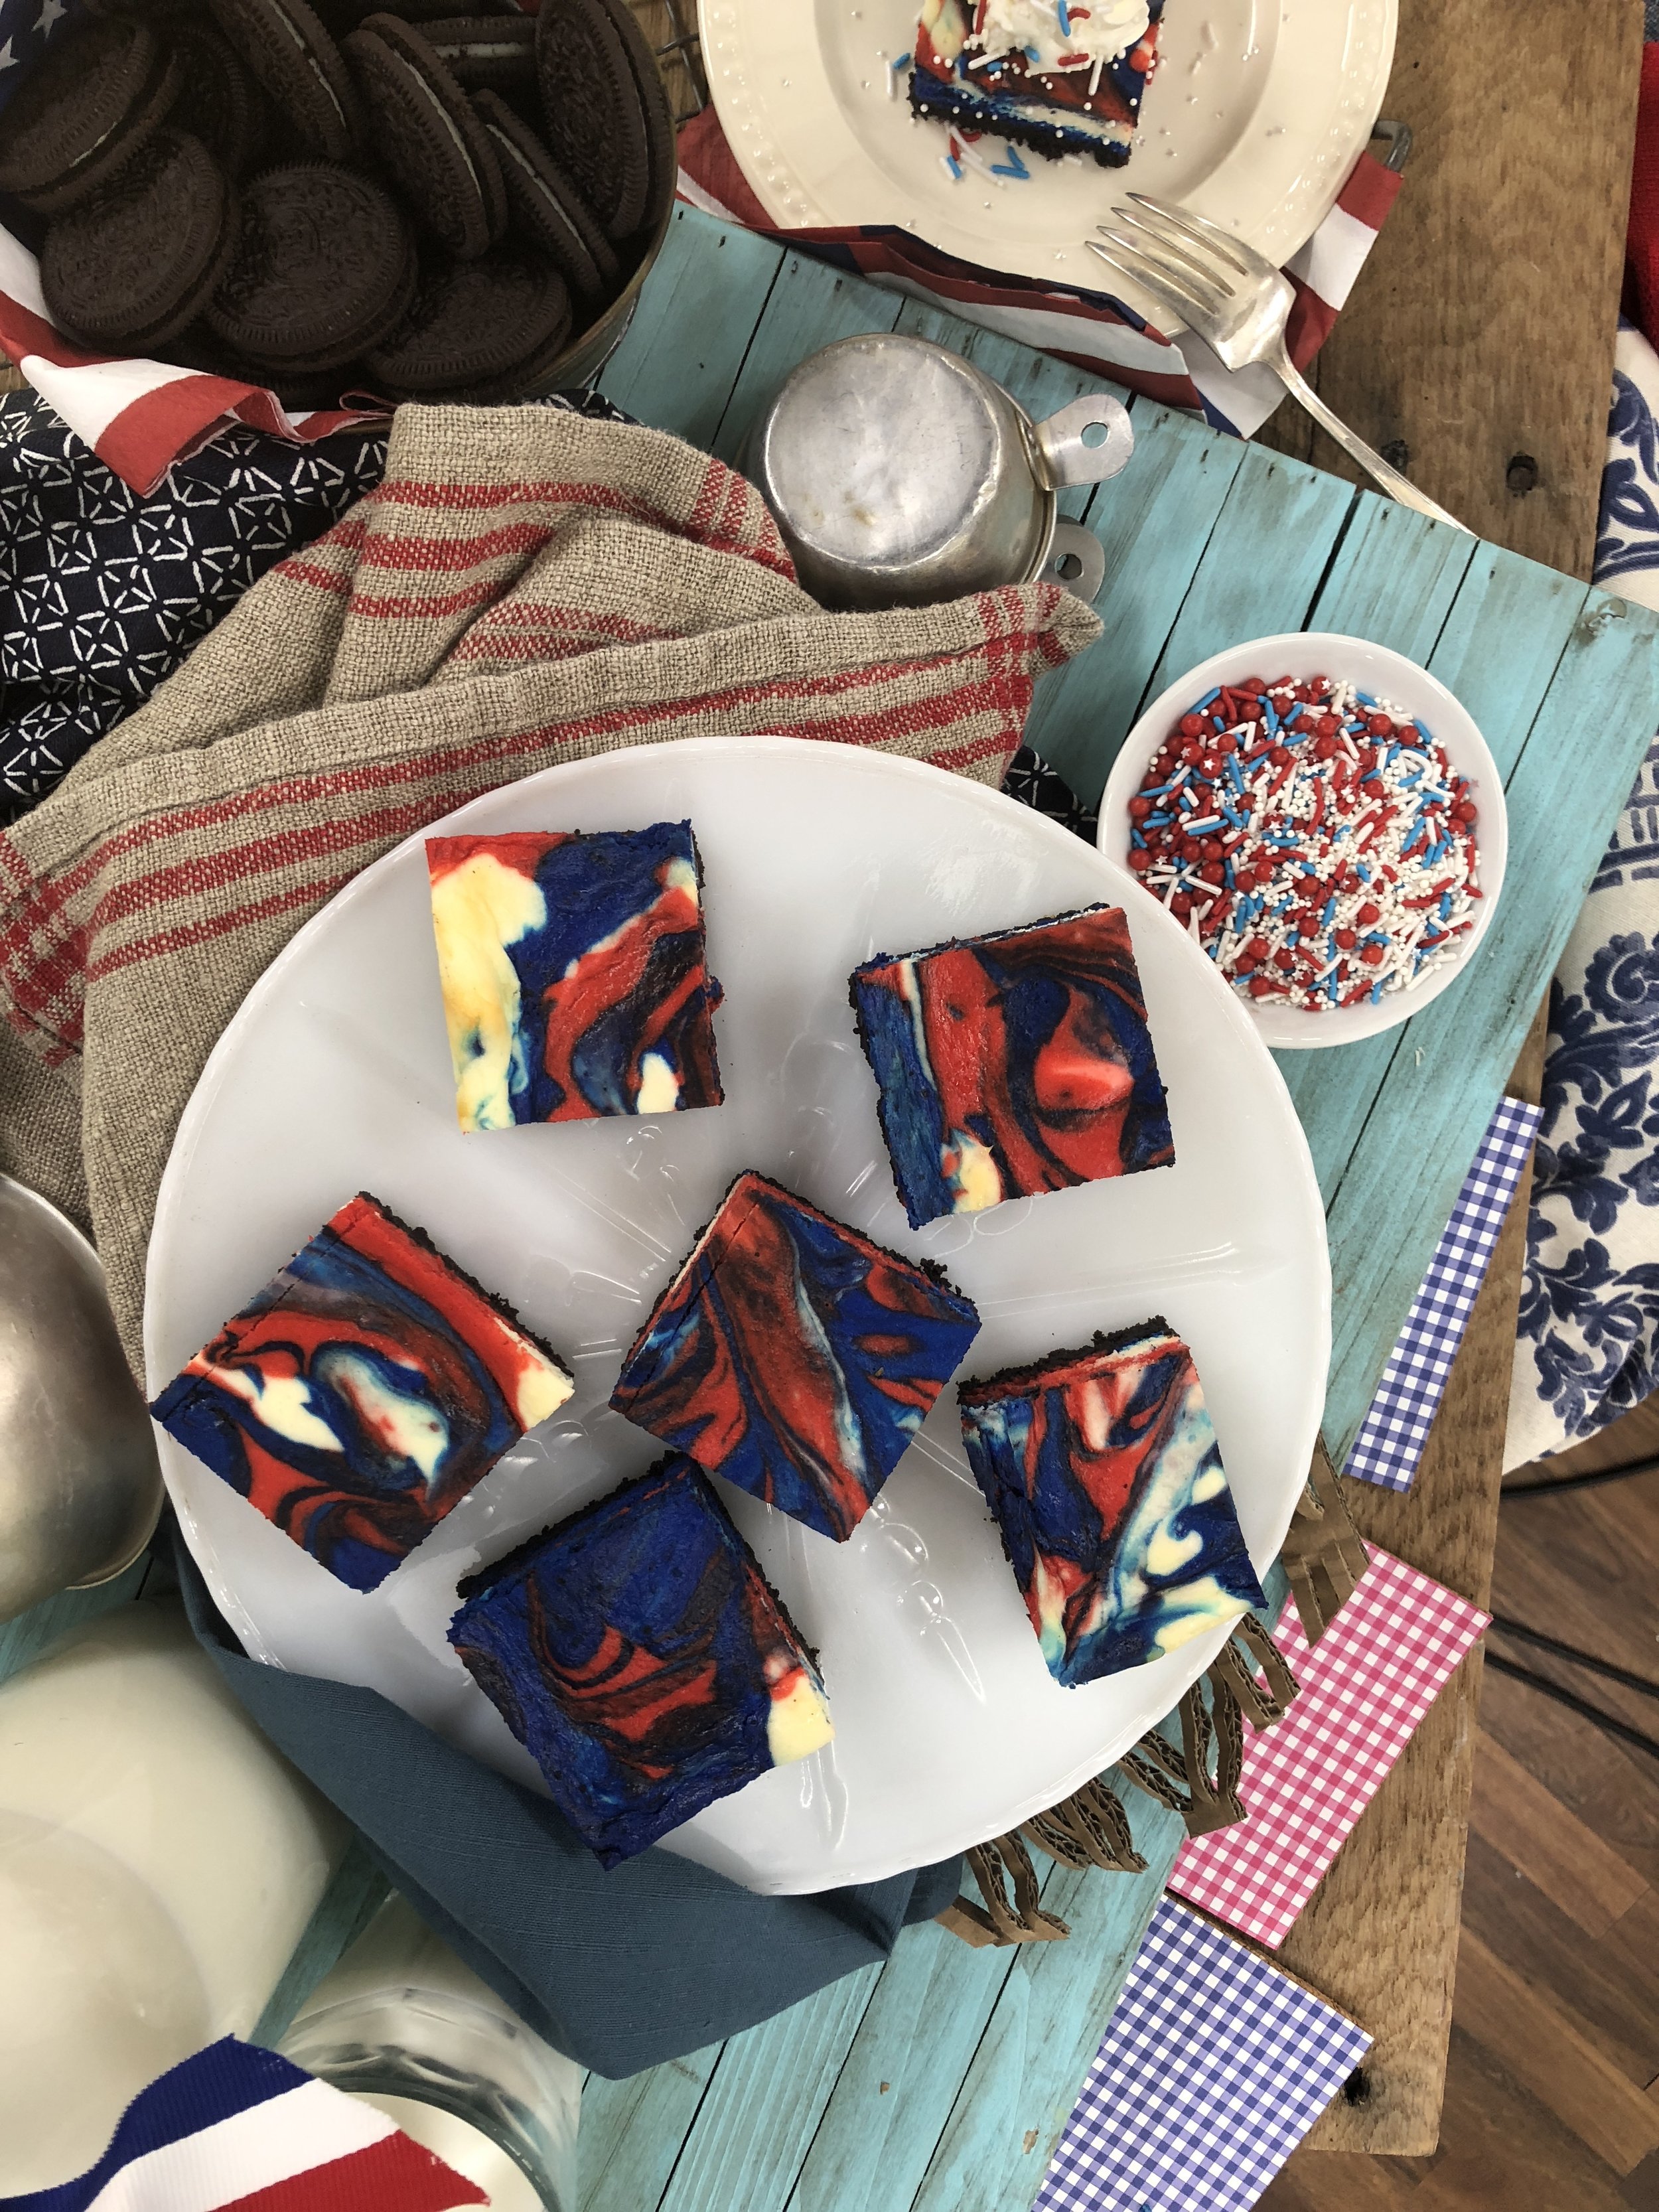
If you're tired of showing up to 4th of July parties with the same berry flag cake (no offense), you've gotta stop what you're doing right now and make my patriotic oreo cheesecake bars.

They are super creamy with a chocolatey oreo crust and the red and blue swirls are actually pureed strawberries and blueberries (with a little gel food coloring for bold color)! These bars are relatively easy to make-the hardest part is waiting for them to set up! If you're short on time, follow the same fruit swirl technique using your favorite no bake cheesecake recipe!

IMG_8872.JPG

I had so much fun making these on Home & Family.You can grab the full recipe here.

American Egg Board Disney•Pixar’s “Incredibles 2” World Premiere
premiere.jpg

This is a sponsored post written by me on behalf of the American Egg Board. The opinions and text are mine.

In case you missed my INCREDIBLE night, which I documented on Instagram stories, I had the opportunity to attend the Disney•Pixar’s “Incredibles 2” World Premiere on behalf of the American Egg Board. I can’t believe it’s been almost 14 years since the first movie premiered so if you’re a Super fan like me, you can agree it’s about time for this sequel to finally happen!

The premiere shut down Hollywood Boulevard, stretching from the Roosevelt Hotel to the El Capitan Theatre. I joined some members from The Incredible Egg and we watched anxiously as the stars arrived.  From the iconic Disney•Pixar’s “Incredibles 2”-themed red carpet, to the décor and activities, the event completely transported us to Metroville. Even the food was on theme! 

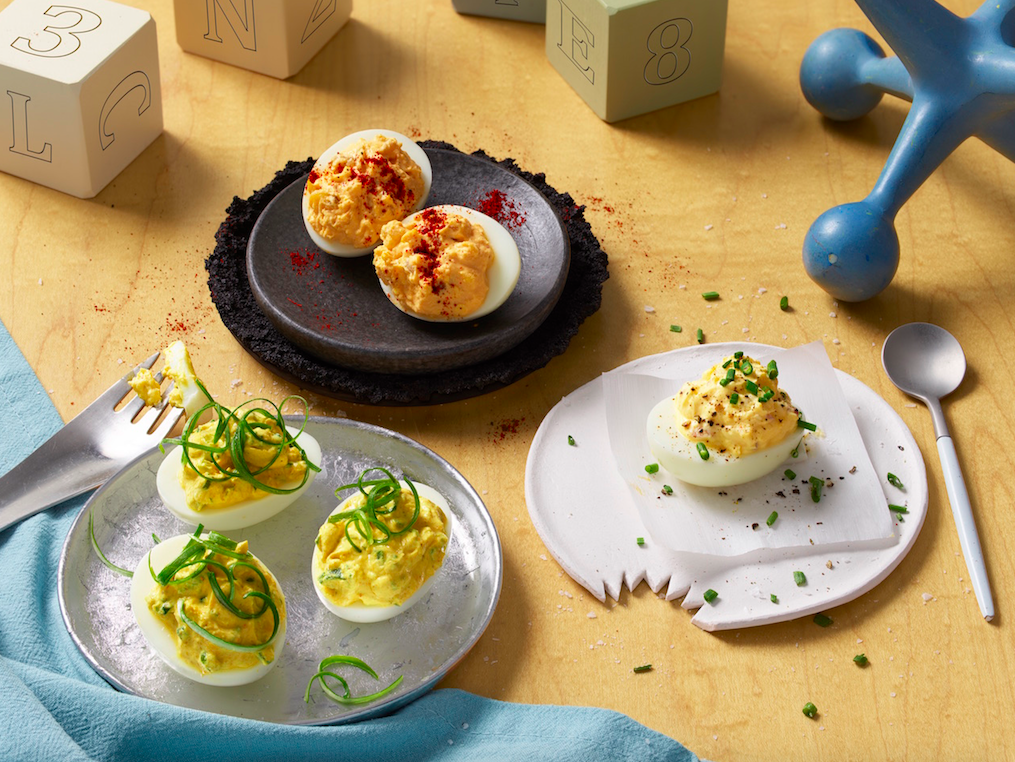
I went straight for the Incredible deviled eggs and sugar cookie masks! Don’t mind if I do. Then I snapped a pic with Edna and did my best Super pose before heading in to watch the movie.  It was fantastic! There is so much to love about this sequel! The humor is fantastic, the family dynamic was spot on, there’s non-stop action and so much love for female heroines!  It’s hard to choose what was my favorite part about the movie. All I kept thinking while watching it was “what would my superpower be if I lived in Metroville?”

incredibles pic.jpg

I love taking personality quizzes, so when I learned that the Incredible Egg had created a quiz to see which Disney•Pixar’s “Incredibles 2” character you are, I had to find out! (If you want to try it yourself, visit The Incredible Egg’s blog!)

Then based on your results, it will tell you how you like your eggs – with recipes paired with each character’s distinct personality. I totally got a kick out of my results because it said I was Jack-Jack. He reminded me of my daughter, Milly, totally stealing the show! His dish is Multiplied Deviled Eggs.

Photo Credit: Incredible Egg

Photo Credit: Incredible Egg

I had so much fun taking the quiz, I tried it out again just to see what my results would be. The second time I got Mr. Incredible, which was even funnier to me because out of all the egg dishes I enjoy, I eat egg avocado toast and deviled eggs on a weekly basis. Try Mr. Incredible’s Clobbered Egg Avocado Toast!  

Photo Credit: Incredible Egg

Photo Credit: Incredible Egg

Can’t choose which recipe to try out? You can find all the customized recipes for each of the leading characters at IncredibleEgg.org/DisneyPixarIncredibles2.

This is making me so excited—I’m contemplating changing Milly’s 1st birthday party theme to Disney•Pixar’s “Incredibles 2” since the menu is already done!

Thank you to the American Egg Board for inviting me to this unforgettable event.  


All You Need to Know about Baby Led Weaning

Milly and I loved hanging with Nora of Modamob to give her some tips on baby led weaning. Her darling little babe, six month old Ayah is definitely ready to start feeding herself solid foods so I made sure to share all I know with Nora! It makes me so happy anytime I get to meet with other moms and offer any insights with them about my motherhood journey. I cover everything from how to get started to what to do about allergies and so much more in this video. After you watch, leave a comment below letting me know what you think. Plus I'd love to hear any tips or tricks you might have about baby led weaning including any simple recipes. Also, you might need to watch it a few times since Milly is adorably distracting...especially around 1 minute when I give her a piece of pear but she thinks it's gonna be a lemon? LOL! Love her! 

Yogurt Bark: Tropical & Peanut Butter and Jelly
yogurt bark1.jpg

Looking for a healthier option to ice cream? Yogurt bark is a frozen snack packed with sweet fruit that takes minutes to make and keeps in the freezer. I love having fun in the kitchen and this is definitely one you can get the kiddos involved!  It starts with the same base-any type of yogurt (I make this with coconut milk yogurt for my 10 month old), maple syrup/honey/agave for a little sweetness, vanilla extract and any mix-ins you want! Use what you already have to keep it easy.  I love to use chopped fruit, fruit purees, dried fruit, nuts, spreads like peanut butter or chocolate hazelnut spread. Anything you would put in a smoothie or top a smoothie bowl is fair game.  I tend to over buy produce so this is what I do when I have too many strawberries. I ether make yogurt bark or homemade jam.

yogurt bark2.jpg

So when Home & Family invited me on the show to make a treat, I decided to share two of my favorite flavors. The tropical bark is loaded with mango, kiwi, pineapple and dragonfruit. If you've never seen dragonfruit in your market, ask the produce manager to get you some. Otherwise usually you can find it in speciality grocery stores or in the freezer section in frozen puree packs.

Pitaya-Plus-Smoothie-Packs-600x600.jpg

The pb & j has that classic peanut butter and jelly flavor and is super creamy and addicting. If you prefer almond butter, that works too. I also love to sneak n crushed nuts or even slices of fruit. For this one, I used strawberry jam and added sliced strawberries. 

Let me know what flavor you try to make or if you create your own. Be sure to post your photos on instagram and tag me @BrandiMilloy

yogurt bark3.jpg

Tropical Yogurt Bark

by Brandi Milloy

Ingredients

  • 2 cups nonfat plain or Greek yogurt
  • 3 tbsp. agave, honey or maple syrup
  • 1 tsp. vanilla extract 
  • dragonfruit, pieces (you can also fold in dragonfruit puree found in the freezer section)
  • mango, sliced
  • pineapple, chunks
  • kiwi, pieces
  • shaved coconut
  • mini chocolate chips, optional

Directions:

Onto a baking sheet lined with parchment paper, spread your yogurt mixture about 1/4" thick. Sprinkle toppings evenly. Freeze overnight and then break into pieces and enjoy.

Peanut Butter & Jelly Bark

by Brandi Milloy

Ingredients

  • 2 cups nonfat plain or Greek yogurt
  • 1/4 cup peanut butter, melted
  • 1 tsp. vanilla extract
  • 4 tbsp. strawberry jam
  • fresh strawberries, sliced 
  • chopped peanuts, optional

Directions:

Onto a baking sheet lined with parchment paper, spread your yogurt about 1/4" thick. Top with peanut butter, using a knife to swirl it through. Do the same with the strawberry jam.  Sprinkle toppings evenly. Freeze overnight and then break into pieces and enjoy.


A Rainbow & Sprinkles Unicorn Marshmallow Cereal Cake
IMG_4272.JPG

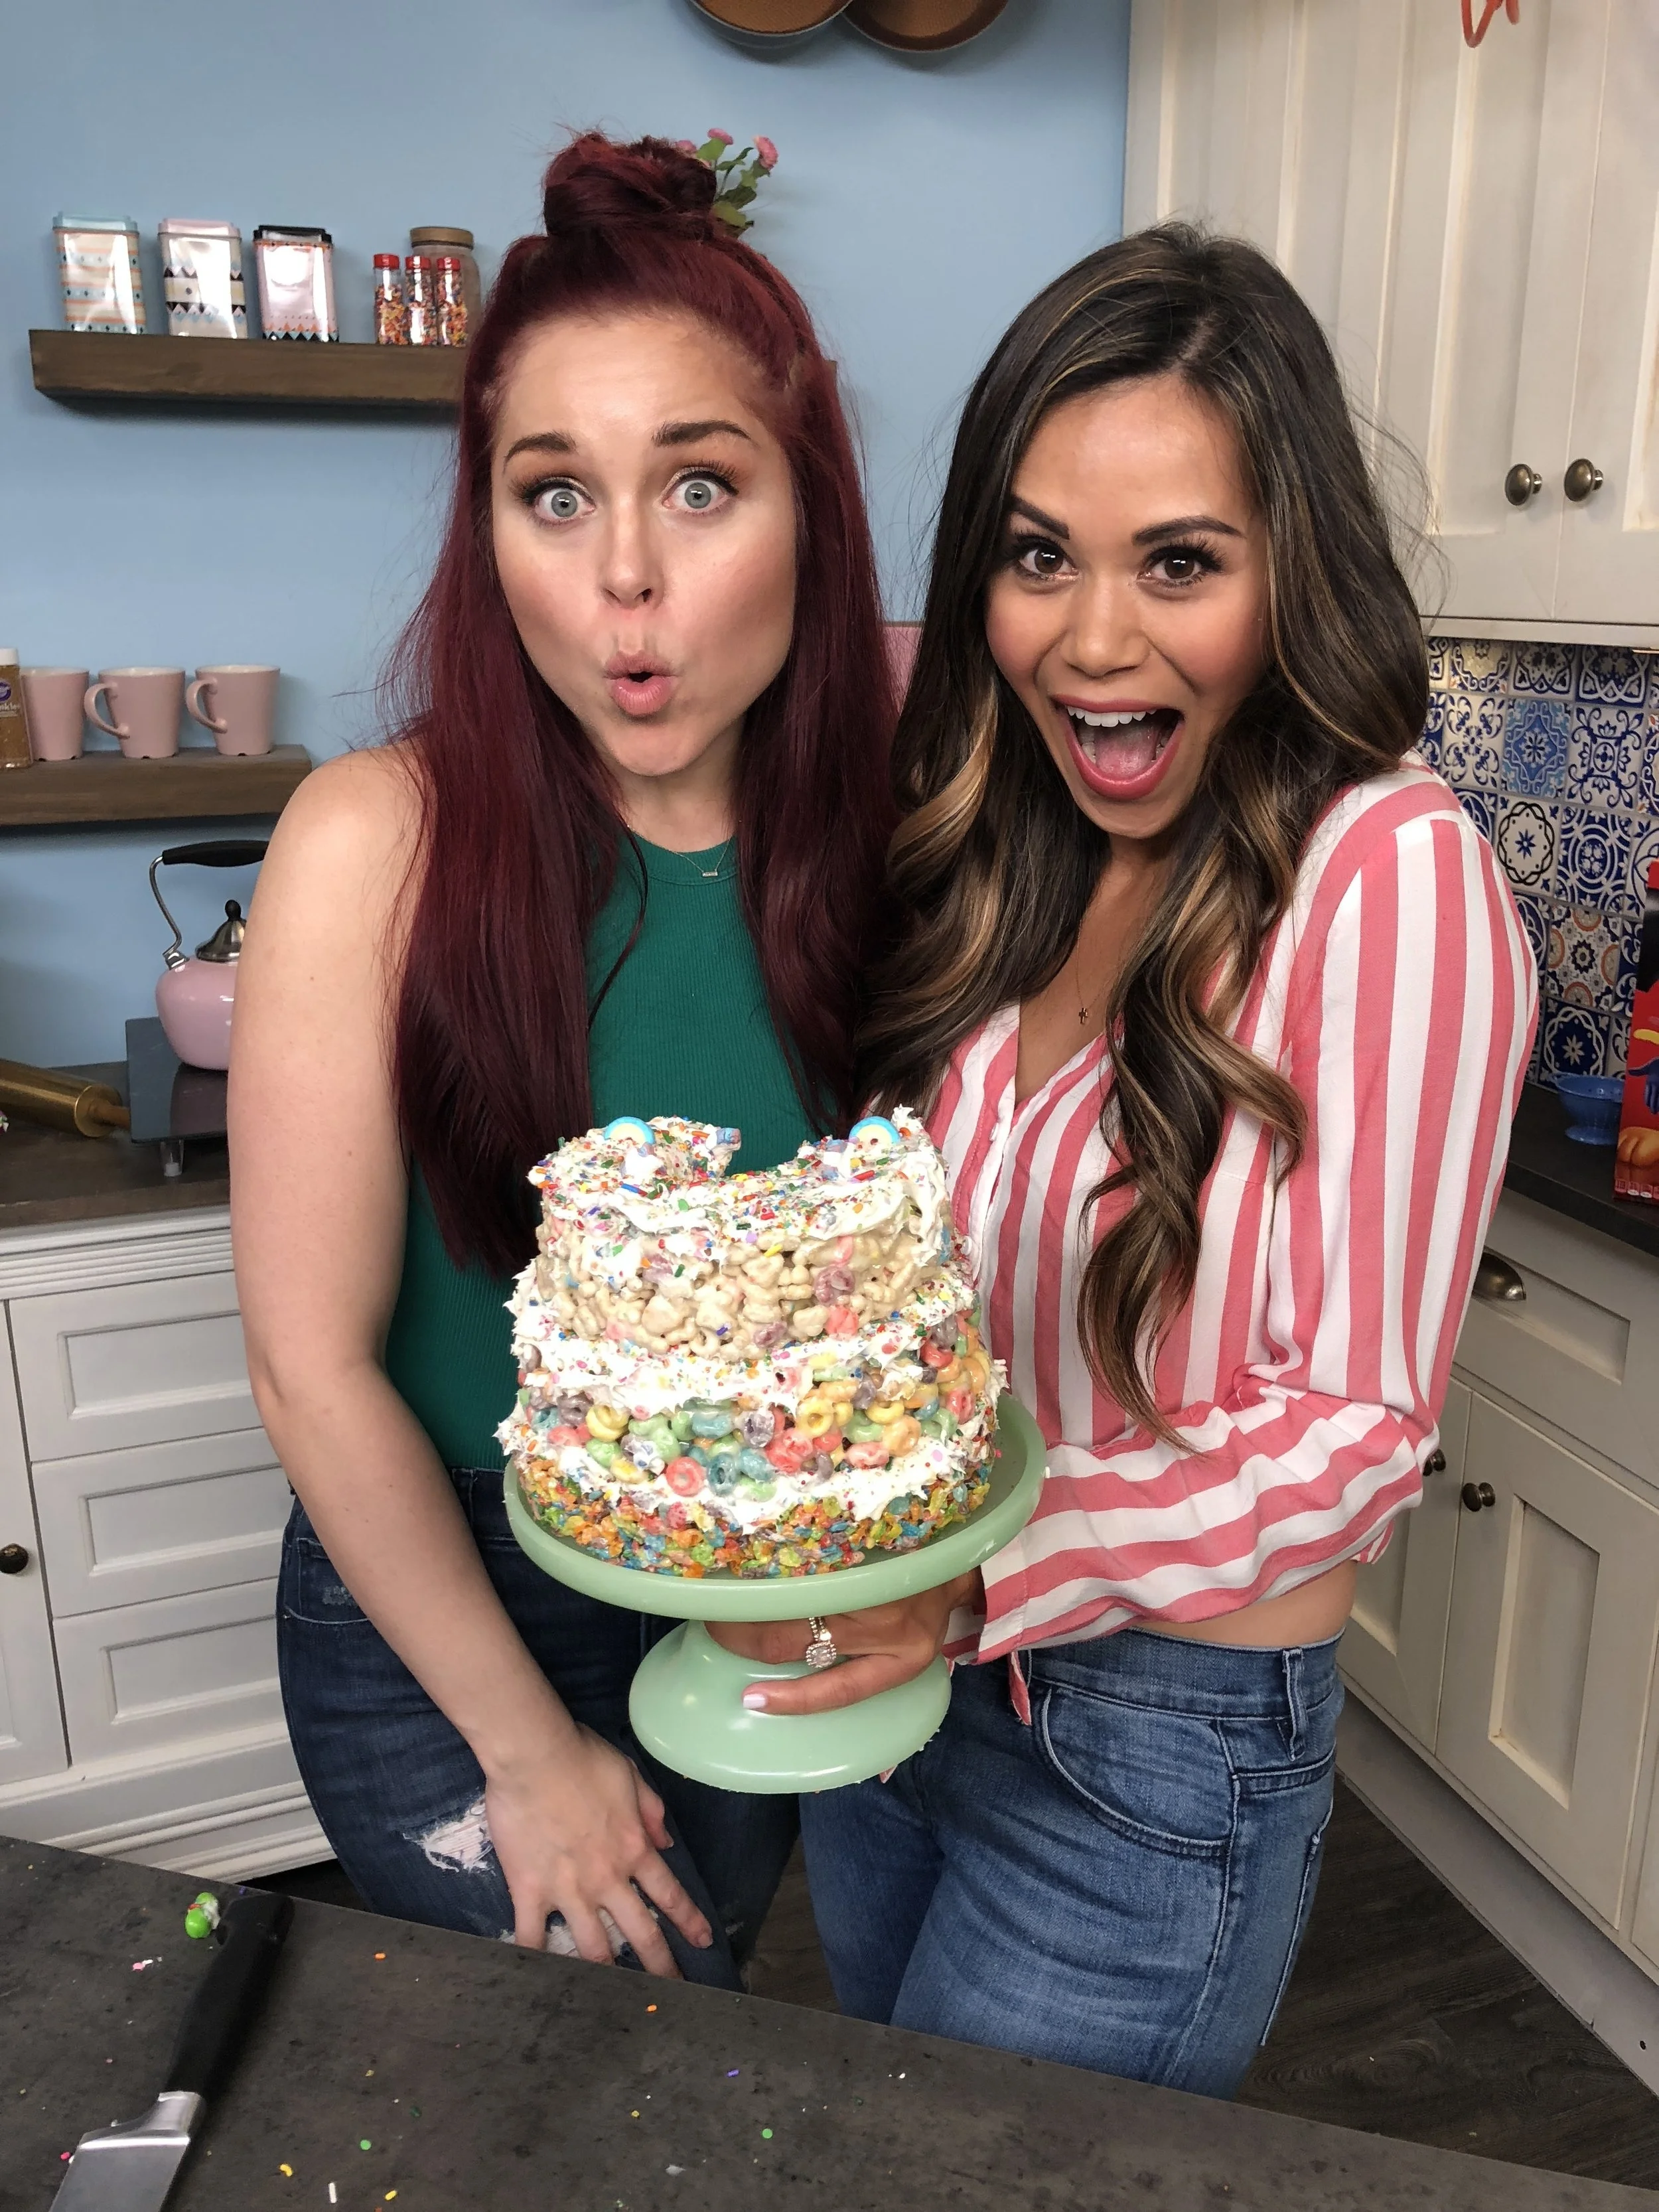
I just loved hanging with Erin Robinson on the set of her new show, What the Flavor on ClevverTV. She is every bit relatable, adorable and so much fun to be around. It didn't even feel like we were working.  I just loved showing her how to make one of my favorite treats in cake form-a ooey gooey marshmallow cereal treat cake featuring the A team or your childhood (Fruit Loops, Fruity Pebbles & Lucky Charms). We made a "cake layer" of each cereal and put yummy frosting in between. Then because we are both living our best lives, decided to hide Skittles and sprinkles in the middle- cause why not. 

IMG_4274.JPG

This cake would be perfect for a party especially one where you want to show off how amazing you are. Who doesn't love rice krispie treats and candy? Hello! No one! Be sure to watch some fun behind the scenes we did together below.

Then check out the episode here and then be sure to make the cake and post all your gorgeous photos on instagram and tag me @BrandiMilloy and @ErinRobinson. 

I promise to remake this and post some better pics! LOL This was after we had eaten half of it. Whoopsie.

I promise to remake this and post some better pics! LOL This was after we had eaten half of it. Whoopsie.

RAINBOW & SPRINKLES UNICORN MARSHMALLOW CEREAL CAKE

By Brandi Milloy

  • 6 tbsp. butter
  • 9 cups marshmallows
  • 12 cups cereal
  • 1-16oz. container frosting
  • 1/2 cup sprinkles plus more for decorating
  • 3/4 cup skittles or candy of choice plus more for decorating
  • cereal marshmallows

Special tools

8" round cake stand

6" round cake tins/pans

Directions

  1. Into a heavy bottom pot, 2 tbsp. butter on medium heat, being careful not to burn. Once melted, add 3 cups of cereal and mix. Allow to cool slightly and then press into 6" round cake pan that's been sprayed with non-stick cooking spray.
  2. Repeat step 1 until you've made all three layers of cereal cake. Allow to cool.
  3. Using a biscuit or cookie cutter, cut out a hole in the center of each cake. Set aside.
  4. To assemble: spread a little frosting onto your cake stand to keep the cake from moving.  Place one cereal layer in the center of your stand and top with frosting and sprinkles. Repeat with the next two layers. 
  5. Once you have three frosted cake layers stacked on each other, pour your skittles into center of cake and top with a piece of excess cereal to close hole. Frost your cake and decorate with candy, sprinkles and marshmallows. Serve immediately and enjoy! 
Delicious Vegan Queso For Folks Who Aren't Even Vegan
7718092528_IMG_5290.JPG

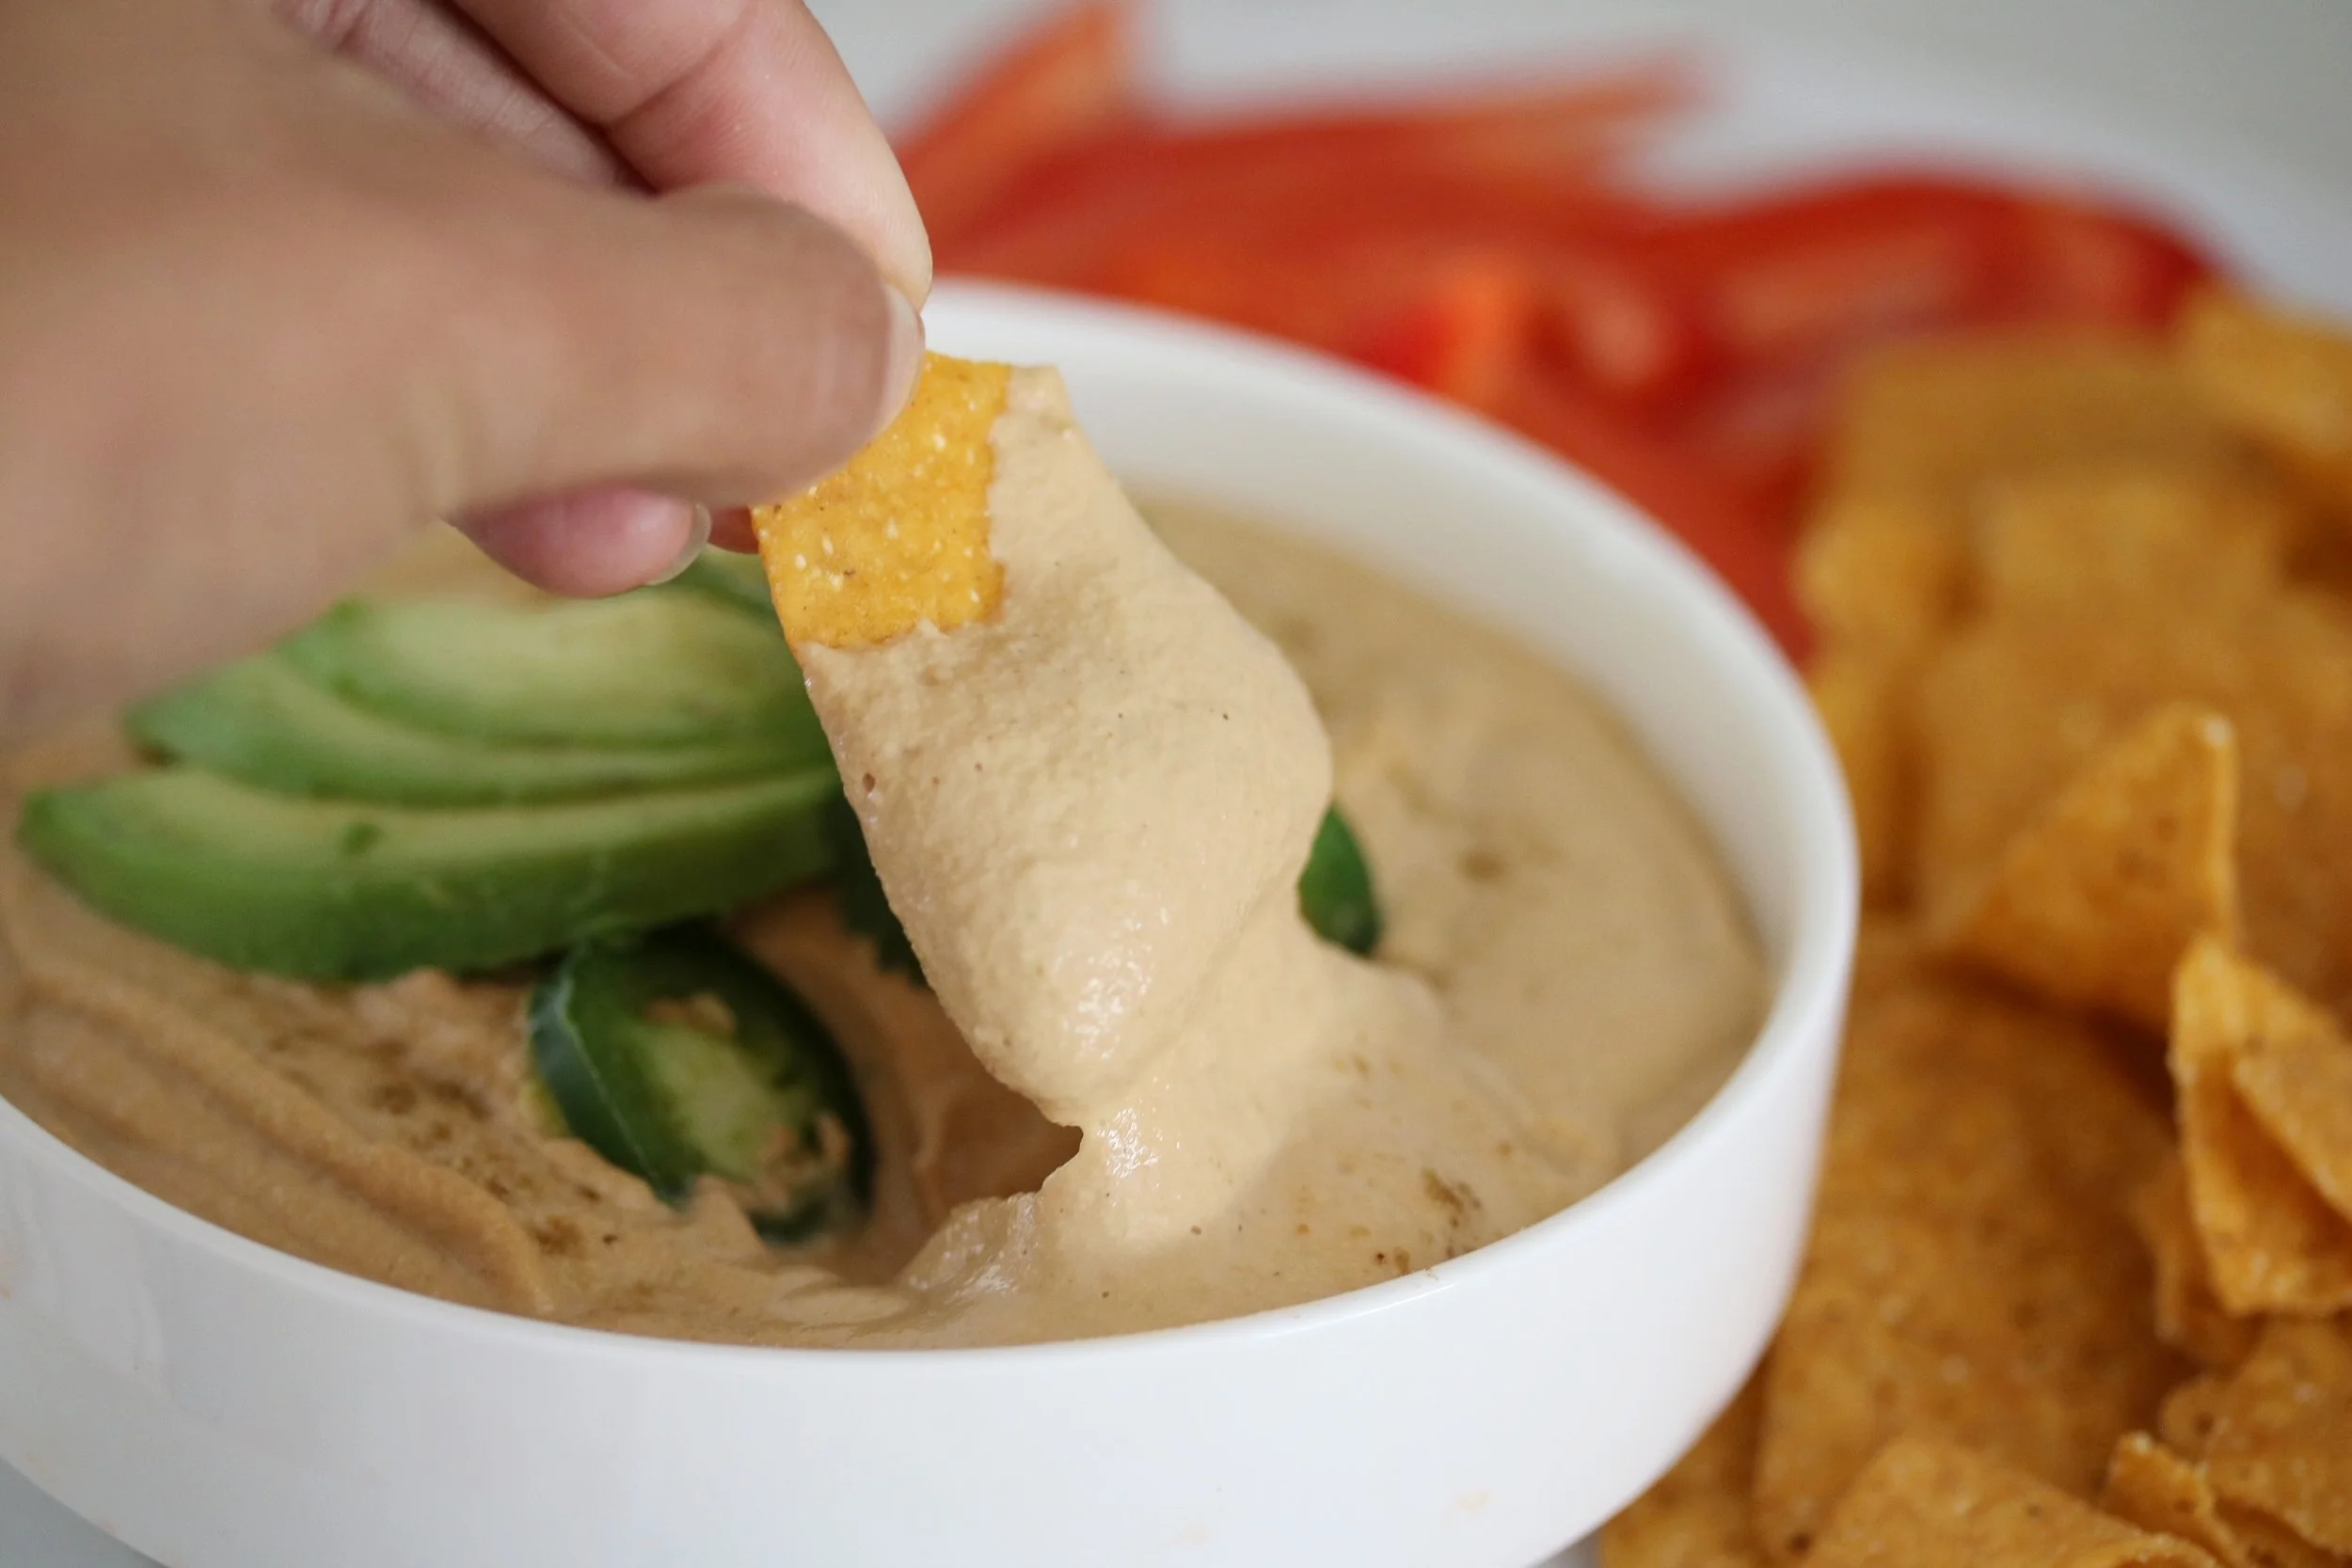
You don't even know how proud I am of this recipe. I consider myself the queen of dips, the master of appetizers and love greeting my guests with a snack as soon as they arrive. So when we invited our friends over who are vegan, I was met with a bit of a challenge.  I couldn't make my go to buffalo chicken dip or my massive cheese & meat boards. So....instead of serving veggie sticks I decided to attempt my own homemade vegan queso. I've had cashew cheeses before and always liked the flavor and texture so I decided to start there.

7718092528_IMG_5284.JPG

This "queso" has everything its traditional counterpart has including heat, gooey goodness and flavor. I served it with all the fixins for nachos:  homemade salsa (recipe to come!), homemade guacamole (I'll write that one up too!), roasted corn, black beans and jalapeños. For my meat substitute I chopped sweet potato and mushroom and sauteed it in homemade taco seasoning until soft. The entire meal was delish!

If you want more cheesy flavor & color (none of my photos are ever photoshopped cause I don't know how (insert laughing emoji) just add a bit more nutritional yeast.

If you want more cheesy flavor & color (none of my photos are ever photoshopped cause I don't know how (insert laughing emoji) just add a bit more nutritional yeast.

I hope you enjoy this as much as we did and I dare you to make it for your next party and we can keep the vegan part our little secret and watch as it gets devoured in minutes! Don't forget to post your photos on IG and tag me @BrandiMilloy and let me know if you're going to try this in the comments below OR if you have a recipe you'd like to see me make! xo

Vegan Queso 

by Brandi Milloy

  • 1 heaping cup of raw unsalted cashews
  • 1/2 cup nutritional yeast (I found mine at Trader Joe's-this adds cheesy flavor & color)
  • 2 tbsp. tomato paste
  • 1 tsp cumin
  • 1 tsp garlic powder
  • 1/2 tsp seasoning salt
  • 1/2 tbsp. hot sauce like El Pato (you could also seedless jalapeño as desired for heat)
  • 3/4 cup-1 1/2 cups of filtered water (start with 3/4 cup and add as needed for desired consistency)

Directions

  1. Soak cashews in cold water overnight or in hot water for a few hours before making recipe. Drain before using.
  2. Into a high powered blender (like a Vitamix), add soaked & drained cashews, tomato paste, cumin, garlic powder, seasoning salt, hot sauce and 3/4 cup water. Blend until smooth scraping down the sides as needed.  Add water in 1/2 cup increments until desired consistency. Add salt and other seasoning as needed.  I served my queso with salty sweet potato chips so I didn't need to add more salt. 
Sweet Laurel Classic Vanilla Cake
7583899840_IMG_5115.JPG

Over the weekend we had the opportunity to celebrate the first cookbook behind the the whole foods baking company, Sweet Laurel and what a sweet treat it was!

Milly LOVED the Lemon Cake.

Milly LOVED the Lemon Cake.

All of their recipes are grain free, dairy free, refined sugar free, paleo and many are also gluten free, vegan and raw. If your eyes are glazed over simply by reading those words and you're tempted to exit out of this post, stop! The cake you clicked on is most of those things AND delicious. 

7583899840_IMG_5116.JPG

That wasn't just click bait. Would the queen of sweets every steer you wrong? When done well, none of those things have to be bland and flavorless. In fact, when done right, it can be absolutely divine. That's what's so amazing about cooking and baking and the power of creativity when combined with fresh ingredients. 

7583899840_IMG_5169.JPG

The story behind Sweet Laurel is one of necessity. When baker, Laurel Gallucci was diagnosed with an aggressive auto-immune disorder and put on a strict elimination diet, she started experimenting with ingredients she could eat so she could still enjoy the sweets she loved without having to sacrifice flavor.  Because just like most of us, usually gluten free desserts are bland and better used as paper weights.  Using simple, whole ingredients Laurel was able to create baked goods that are tender, moist and full of flavor. Some of them are so simple, they're only five ingredients or less. From there, she partnered with friend Claire Thomas of Kitchy Kitchen and created the Sweet Laurel brand. 

I've already flagged plenty of the recipes in their new cookbook, Sweet Laurel including Summer Strawberry Tart, Vanilla Bean Peach Cobbler and Double Dark Chocolate Cookies. With summer right around the corner, I can't wait to try them. Congrats girls! For the recipe to Sweet Laurel's Classic Vanilla Cake go here. 

With Sweet Laurel's Laura Gallucci and Claire Thomas

With Sweet Laurel's Laura Gallucci and Claire Thomas

Spring Cookie Dough Cones
haf3.jpg

Anytime I'm invited on Home & Family (H&F), I get so excited because everyone there is so friendly and really makes you feel like family. The culinary team is absolutely amazing and every producer I've worked with is super organized, enthusiastic and professional.  I was especially happy to meet Ali Fedotowsky, who was guest hosting that day. I love reading her blog and following her journey to becoming a Mama of two. Hopefully you'll see a collab with her very soon. 

For this appearance on H&F I wanted to create a playful dessert for Spring.  We came up with a sprinkled loaded cookie dough...that you eat in a cone (or on a spoon or out of the bowl-no judgement here!).  This raw cookie dough recipe is safe to eat because it features no raw egg and instead using applesauce for a little sweetness and for the right consistency.  Start with the cookie dough base and have fun adding your own mix ins and toppings. Mr. A's favorite is loaded with Reese's Pieces and chopped Reese's Cups with salted almonds. You get the picture. The possibilities are endless.

Go here to watch the video and for the full recipe.

haf2.jpg
My Mother's Filipino Adobo Recipe

Adobo was one of my favorite recipes growing up as a kid. It's flavorful, comforting and so delicious. It's also one of those recipes that tastes like it's been cooking all day but it only takes about 15 minutes to prepare and about 45 minutes to cook. So if you stop what you're doing right now and make this, you could be eating the most iconic Filipino dishes in about an hour. Scroll down for my Mom's recipe and watch the video here.

adobo2.jpg

Filipino Adobo 

By Carol Arzaga Milloy

Ingredients

  • 3 tbsp. olive oil
  • 1 large onion, diced
  • 3 cloves garlic, crushed
  • 3 lb. skinless chicken
  • 3 large potatoes, peeled and quartered
  • 1/2 cup vinegar
  • 1/4 cup soy sauce
  • 1 1/2 cups water
  • 3 bay leafs, crushed
  • 1 tsp. smoked or regular paprika
  • 1/4 tsp. salt
  • 1/4 tsp. peppercorns, crushed

Directions

  1. Into a pot set on medium heat, add your oil and onions and saute until translucent. Add garlic and cook for a few minutes.  Add in the all of the remaining ingredients and bring to a medium high heat and cover. Leave cooking and covered for 45 minutes. Do not remove cover. Serve with white rice and more soy sauce.
Ooey Gooey Marshmallow Cereal Treats
IMG_0505.JPG

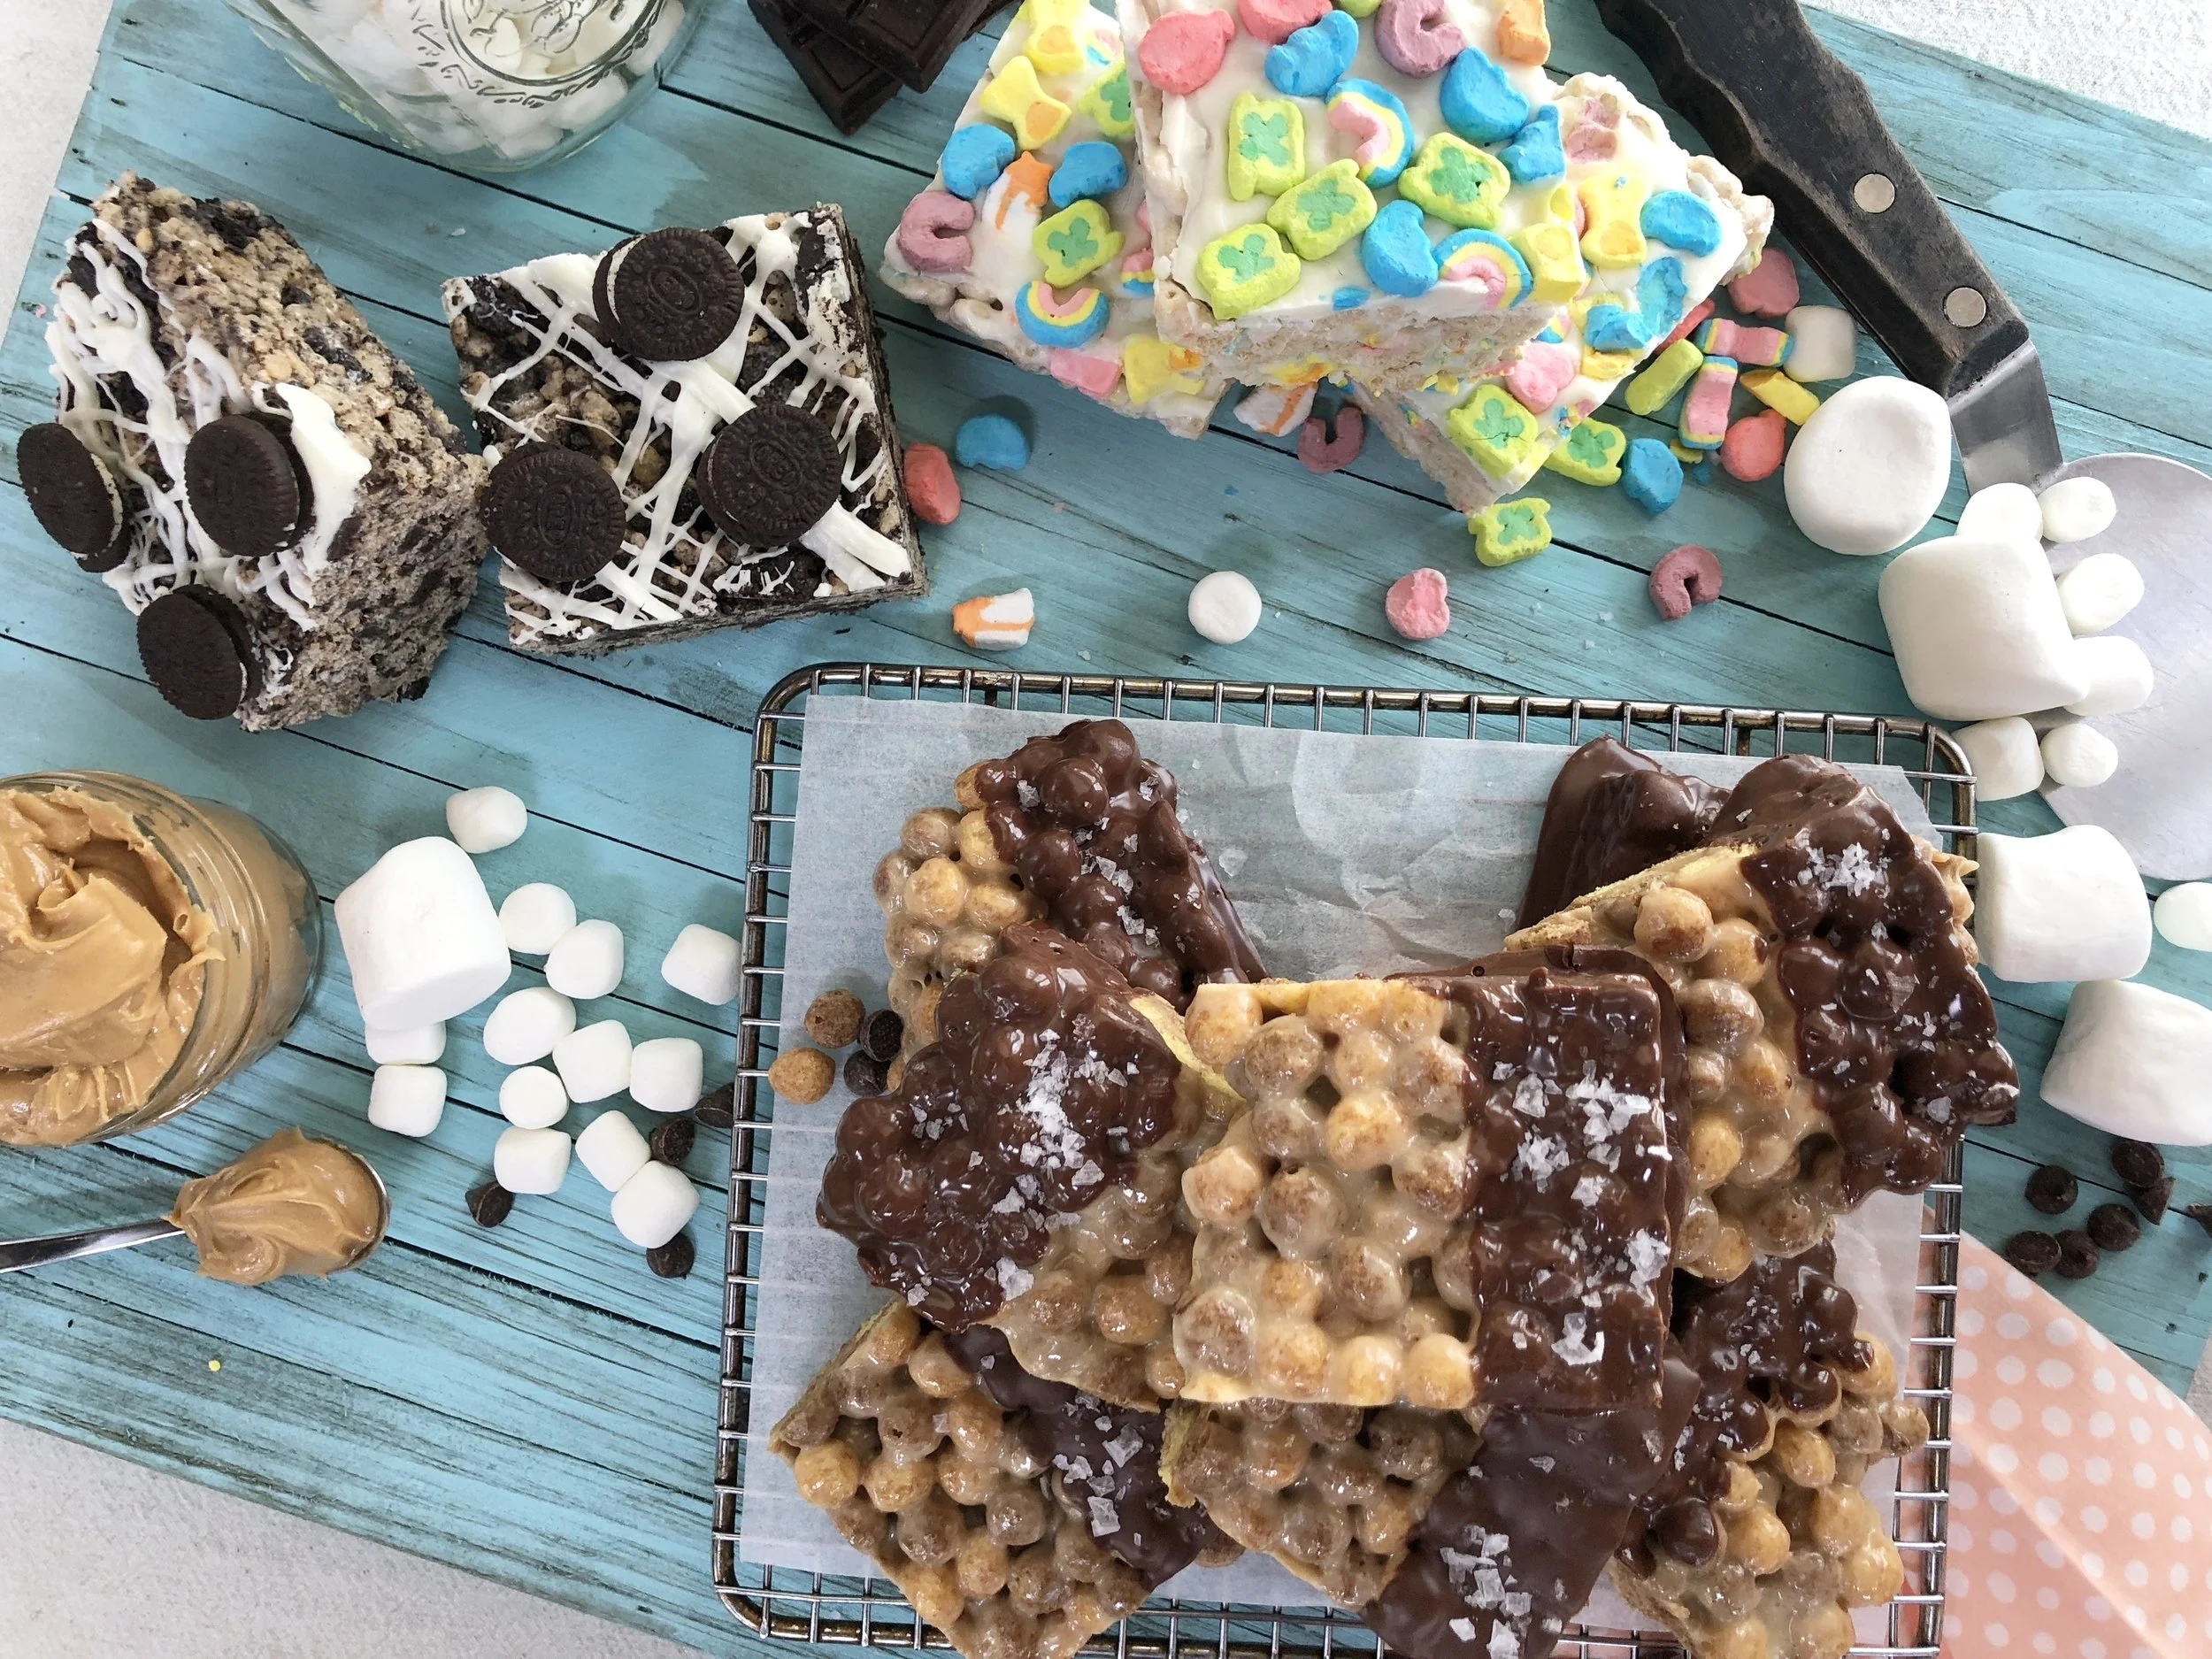
Recently I was invited to Home & Family on The Hallmark Channel to make my Ooey Gooey Marshmallow Cereal Treats. I had so much fun cooking in the kitchen with Mark Steines. From his adorable (but questionable) dance moves to talking about our daughters (his daughter, Parker is about the same age as Milly), it was the most I've laughed while working in a long time! You can watch the full segment here. Then scroll down for the most delicious cereal bar recipes you've ever had. I've made sure to pack them with plenty of marshmallow and loads of flavor. You can have fun making them your own by customizing them with different cereals, add ins and toppings! Enjoy!

IMG_0499.JPG

Ooey Gooey Peanut Butter & Chocolate Cereal Treats

By Brandi Milloy

INGREDIENTS

  • Cooking spray
  • 4 tablespoons butter
  • 1 (10-ounce) bag Jet-Puffed mini marshmallows
  • 1/4 cup creamy peanut butter
  • 5 cups Reese’s Puffs Cereal
  • 1 cup semi sweet chocolate, melted
  • Fleur de Sel, for garnish

DIRECTIONS

1.     Lightly grease a spatula and a 9 x 9” casserole dish.

2.     In large nonstick saucepan, melt butter over low heat. Add marshmallows, and stir occasionally until just melted. Fold in peanut butter. Remove from heat.

3.     Add cereal and quickly stir until cereal is well coated.

4.     Pour and press into casserole dish until evenly distributed. Cool before cutting into squares.
5.     Dip each square halfway into chocolate and sprinkle with fleur de sel. Place on baking sheet lined with parchment paper to set chocolate.

6.     Best if served the same day. Otherwise, store in an airtight container or plastic wrap for up to two days. 

IMG_0501.JPG

Ooey Gooey Lucky Charms Marshmallow Treats

By Brandi Milloy

INGREDIENTS

  • Cooking spray
  • 4 tablespoons butter
  • 1 (10-ounce) bag Jet-Puffed mini marshmallows
  • 5 cups Lucky Charms Cereal
  • 1/3 cup white chocolate, melted
  • Lucky Charms Marshmallows (marshmallows only), for garnish

DIRECTIONS

1.     Lightly grease a spatula and a 9 x 9” casserole dish.

2.     In large nonstick saucepan, melt butter over low heat. Add marshmallows, and stir occasionally until just melted. Remove from heat.

3.     Add cereal. Quickly stir until cereal is well coated.

4.     Pour and press into casserole dish until evenly distributed. Using a spatual, spread chocolate on top and garnish with marshmallows. 

5.     Cool before cutting into squares. Best if served the same day. Otherwise, store in an airtight container or plastic wrap for up to two days.

IMG_0500.JPG

Ooey Gooey Marshmallow Cookies & Cream Treats

By Brandi Milloy

  • INGREDIENTS
  • Cooking spray
  • 4 tablespoons butter
  • 1 (10-ounce) bag Jet-Puffed mini marshmallows
  • 4 cups rice krispie cereal
  • 1 package or about 25 Oreo cookies, crushed
  • 1/4 tsp. coarse sea salt
  • White chocolate, melted
  • Mini Oreo Cookies, for garnish

DIRECTIONS

1.     Lightly grease a spatula and a 9 x 9” casserole dish.

2.     In large nonstick saucepan, melt butter over low heat. Add marshmallows, and stir occasionally until just melted. Remove from heat.

3.     Add cereal, crushed cookies and salt and mix until everything is combined.

4.     Pour and press into casserole dish until evenly distributed. Cool completely.

5.     Drizzle with chocolate on top and garnish with mini Oreo cookies.

6.      Cut into squares.

7.     Best if served the same day. Otherwise, store in an airtight container or plastic wrap for up to two days.